79 Rebuild/Restore Project Brittany
 Mar 6, 2013 | 01:30 PM
#21

Thread Starter
Registered User
Joined: Mar 2013
Posts: 47
Likes: 0
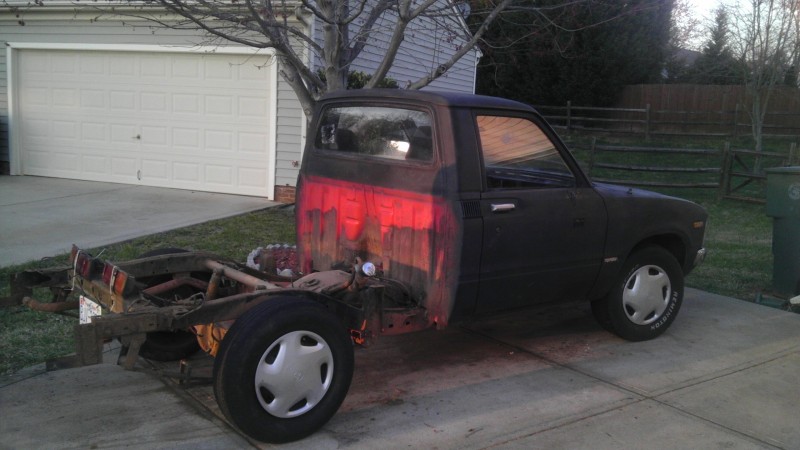
Well she is mostly back together. Got her back on the road, got a 10 day tag so I can find some tires to get it to pass inspection. I also got some exhaust putty, I have used it before with great results. It will hopefully be a temporary fix for now, and I will spend my funds on other areas.
Mar 7, 2013 | 02:55 PM
#22
I am pretty sure he was asking what brand of DIY powder coat kit you used.
With a 5 digit odometer how do you know it is only 175k?
You are off to a great start, truck is gonna be awesome when you are done
 Mar 7, 2013 | 05:24 PM
#23

Good job so far!!
If you don't mind my input, I never had good luck with exhaust putty on any kind of leak, it blows out in a few km, but it doesn't seem the same for you so why not try it. And if you go with the pacesetter header I would suggest powder coating that aswell since the paint they use don't last at all and they end up all rusty in no time. My pacesetter header needed a good beating to clear the frame rail. It is a good fix for the price but if I had to do it again I would go with a better quality unit for more performance, nicer fit and finish.
If you don't mind my input, I never had good luck with exhaust putty on any kind of leak, it blows out in a few km, but it doesn't seem the same for you so why not try it. And if you go with the pacesetter header I would suggest powder coating that aswell since the paint they use don't last at all and they end up all rusty in no time. My pacesetter header needed a good beating to clear the frame rail. It is a good fix for the price but if I had to do it again I would go with a better quality unit for more performance, nicer fit and finish.
Mar 8, 2013 | 05:33 AM
#24
Thread Starter
Registered User
Joined: Mar 2013
Posts: 47
Likes: 0
Well was driving her home from work and bam no clutch, saw fluid in the floor board. Master cylinder is gone. So went and bought a new $20 from the auto parts store. Will hopefully have time today to do it
Mar 10, 2013 | 02:39 PM
#26
Thread Starter
Registered User
Joined: Mar 2013
Posts: 47
Likes: 0
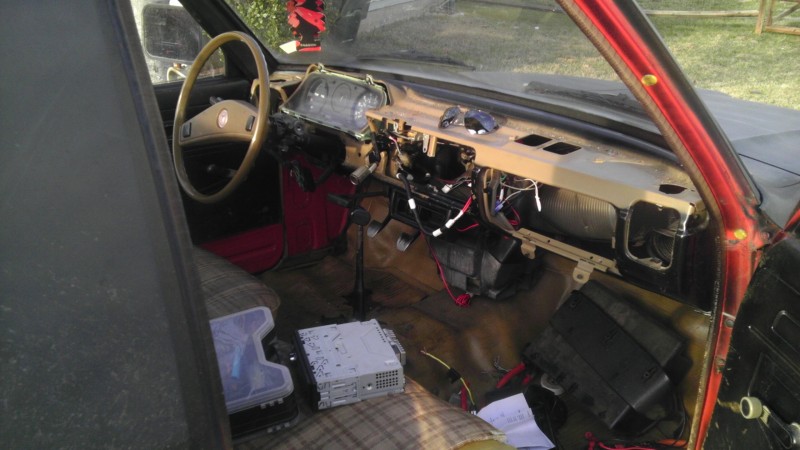
Well I got a decent amount of work done today. I took out the horrid cracked dash which I am hoping to bring back to life with some fiberglass. I also started fixing the wiring nightmare of the interior. The previous owners had removed all stock radio wiring and made some"custom" wiring. Wow what a mess, so I tore it all out and did it the right way. I also am painting a few interior panels, so far glove box , and trim above and over the steering column.
I also fixed the horn it needed a few washers behind the brass o ring. Tomorrow is inspection day
I also fixed the horn it needed a few washers behind the brass o ring. Tomorrow is inspection day
Mar 13, 2013 | 04:36 PM
#27
Thread Starter
Registered User
Joined: Mar 2013
Posts: 47
Likes: 0
Painted the metal dash part today. Now I just need to find a new heater control part as mine wont select different sections to blow air from unless I reach my hand in and do it manually. Also need the plastic trim for the same as mine is broken
Mar 18, 2013 | 09:44 AM
#28
Thread Starter
Registered User
Joined: Mar 2013
Posts: 47
Likes: 0
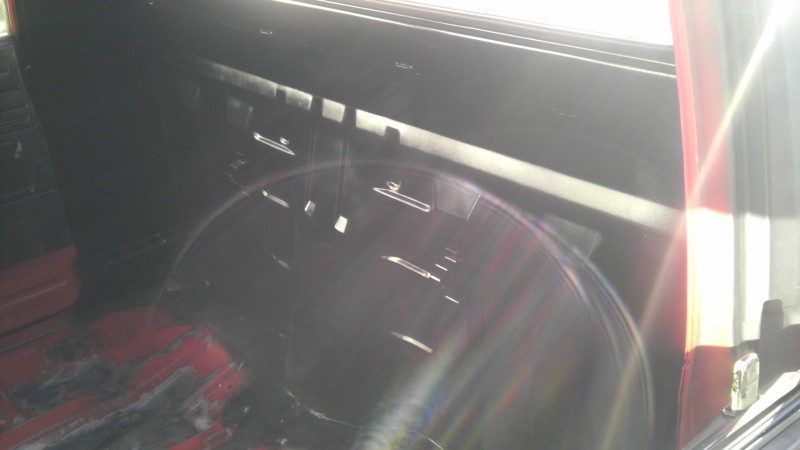
Well got some work done today. So far I took out the bench seat(likely trashing it), cleaned the back part of the floor pan, started grinding it so clean it for paint and to remove the surface rust. More to come
Wow messy previous owners
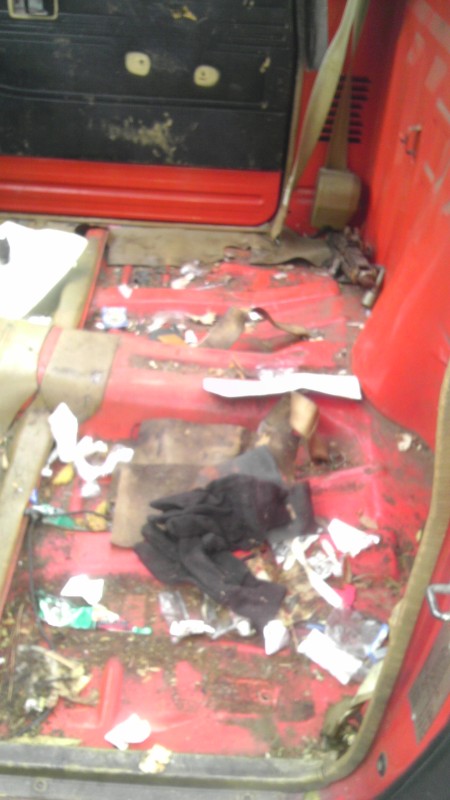
After some shop vac work and scrubbing
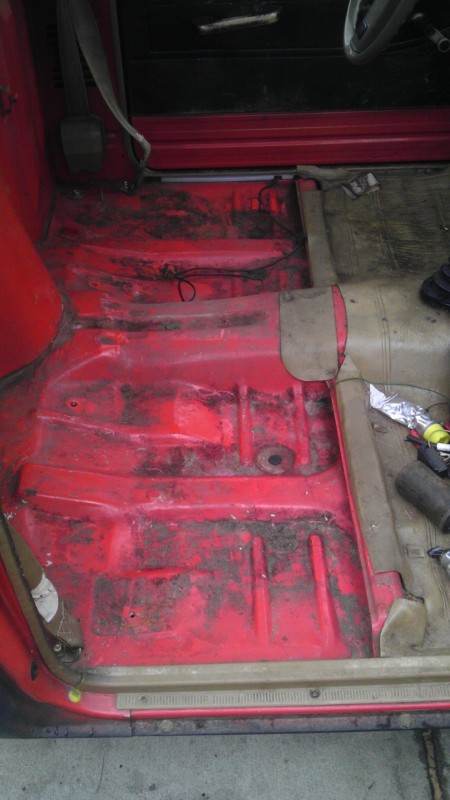
Still more grinding to do but coming along nicely
I dread the front section, looks even worse and I know I have a small rust hole(hopefully only one) to fix right under the gas pedal
Wow messy previous owners
After some shop vac work and scrubbing
Still more grinding to do but coming along nicely
I dread the front section, looks even worse and I know I have a small rust hole(hopefully only one) to fix right under the gas pedal
Mar 19, 2013 | 03:25 PM
#29
Thread Starter
Registered User
Joined: Mar 2013
Posts: 47
Likes: 0
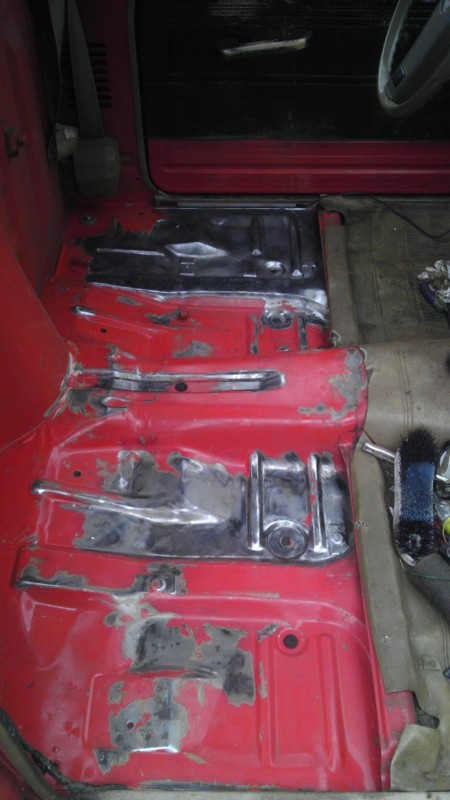
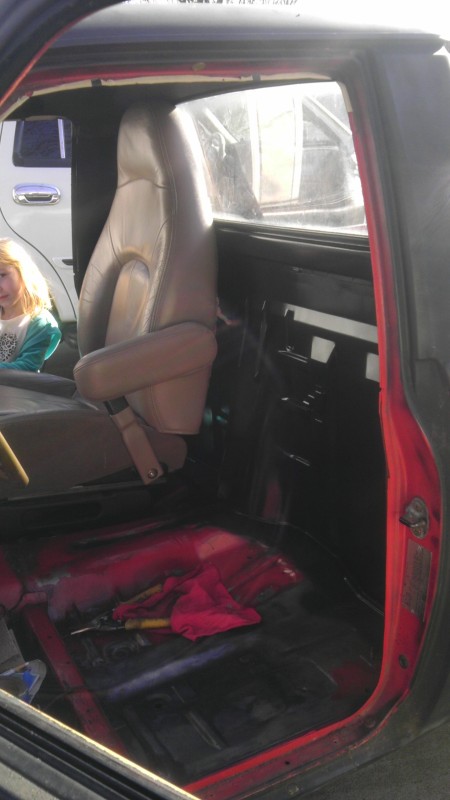
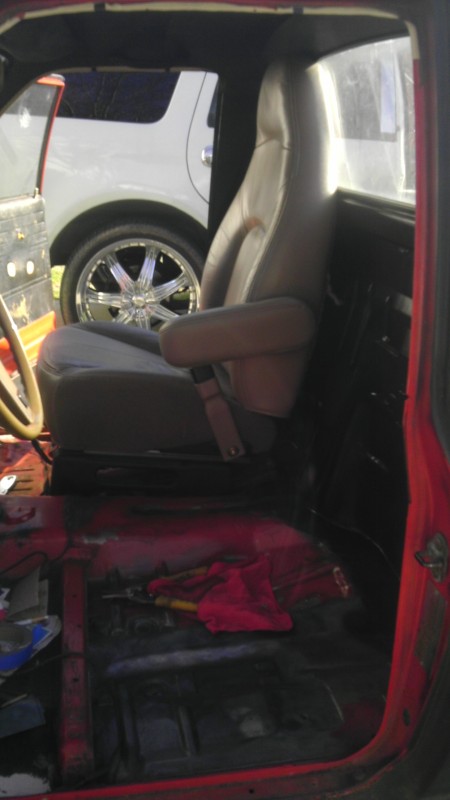
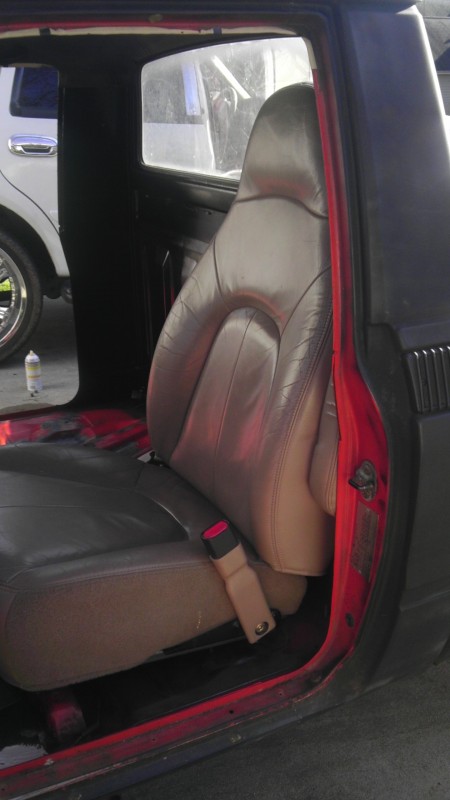
Well today I addressed the rusted floor pans. I used rust killer and began to patch the holes. Since I dont have a welder I used pieces of metal and jb weld. I know I know not the proper way but hey it works just fine. So I have a few more to do and will be finished. I also started to think hard on the seats. I took the passenger seat out of my 99 Expedition and test fit it. With stock mounts it was way too high. Took them off and it still is just too much of a seat . Width would be almost arm to arm and a lot of foam. But hey was worth the try.
I also sprayed the back wall black as I don't want any red when I'm finished
Without tracks They feel great but just too tall
I also sprayed the back wall black as I don't want any red when I'm finished
Without tracks They feel great but just too tall
Mar 22, 2013 | 09:06 PM
#30
Thread Starter
Registered User
Joined: Mar 2013
Posts: 47
Likes: 0
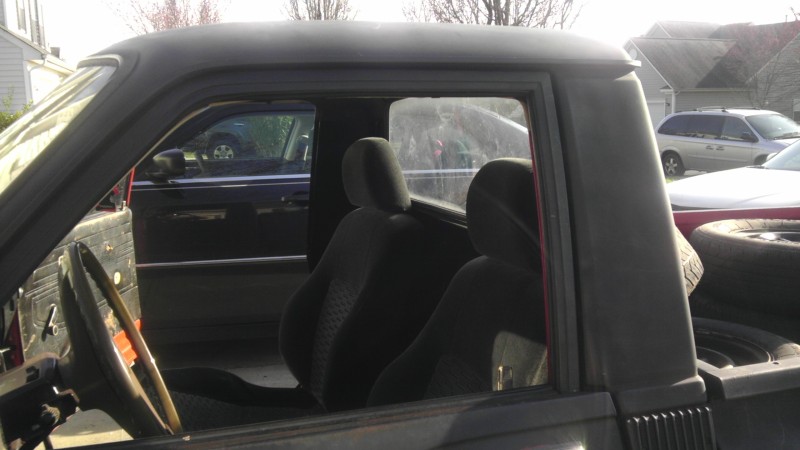
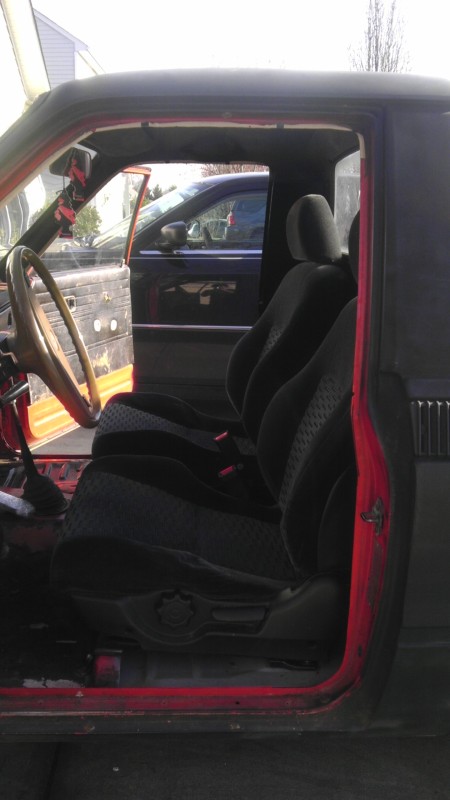
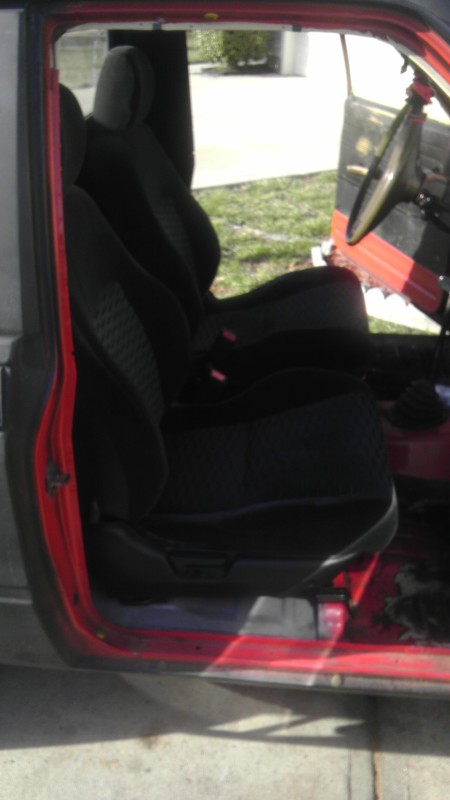
Well I should be getting the new seats tomorrow. I scrapped the heated lwatherw idea as I am running out of funds lol. But I am getting a set from a 98 prelude. They will hopefully work nice with some fab work.

 Mar 23, 2013 | 02:29 PM
#32
Registered User
Joined: Sep 2011
Posts: 1,463
Likes: 4
From: monroe nc
just found your thread. i was gonna suggest you go to pull a part on north tryon to score a good deal on seats. also you can patch your inner fender rust problem with fiberglass being it is a small area with no load.
my first yota was a 79 4x4.
my first yota was a 79 4x4.
Mar 24, 2013 | 12:32 PM
#34
Thread Starter
Registered User
Joined: Mar 2013
Posts: 47
Likes: 0
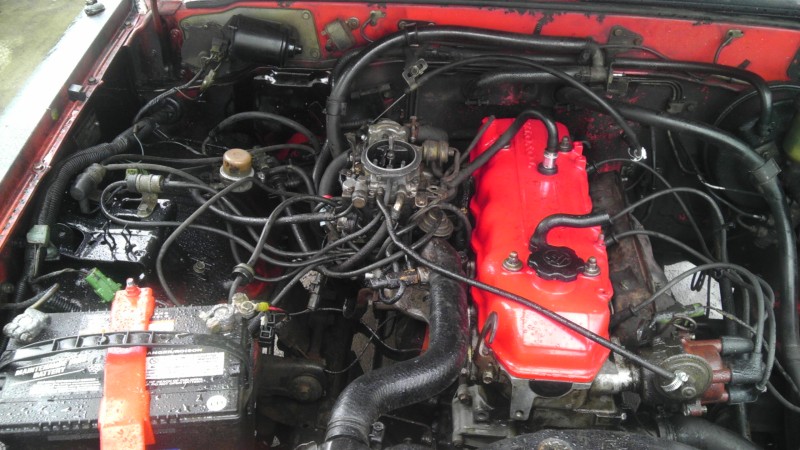
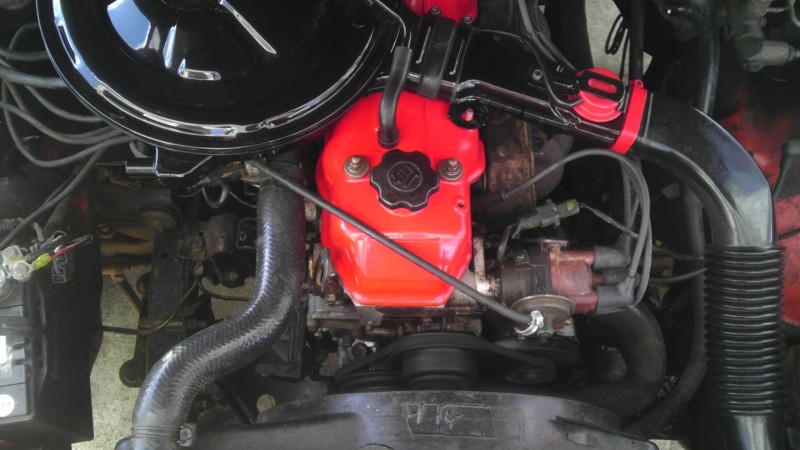
Ok guys lots of progress done. Last night my buddy came over and welded in patch panels for the floor pan, and also welded up the cracks in the exhaust manifold. Today I installed the exhaust and continued to egr removal. Now I am searching for what lines to cap off and such. Should be fun.
 Apr 1, 2013 | 06:41 PM
#37
Thread Starter
Registered User
Joined: Mar 2013
Posts: 47
Likes: 0
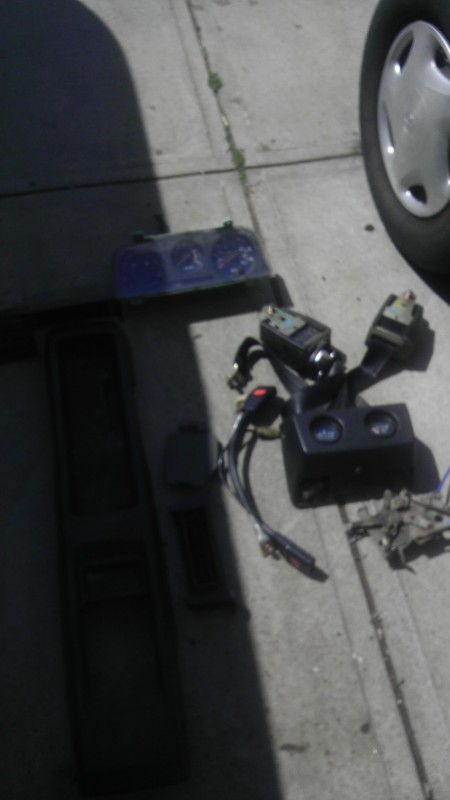
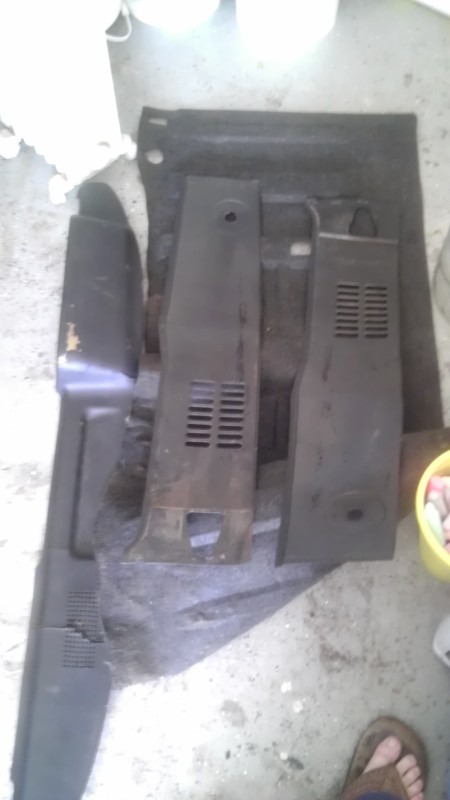
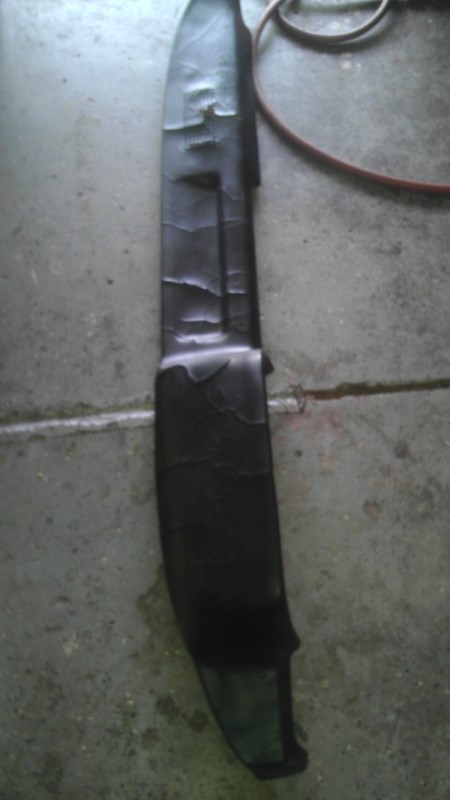
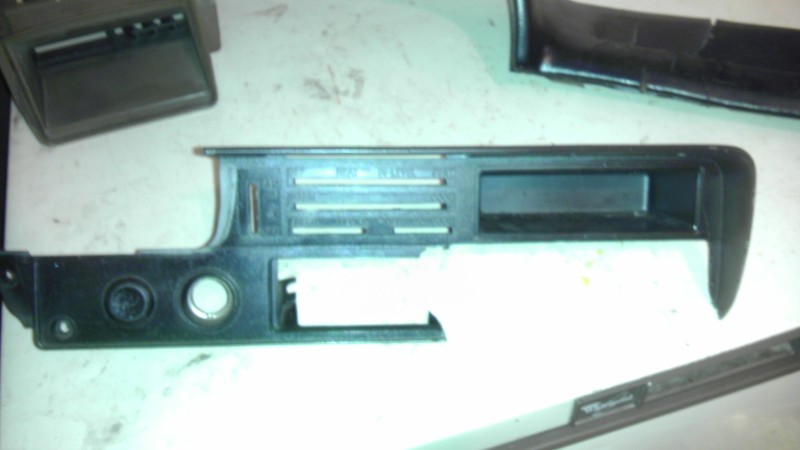
Thanks. Today I ravaged a 81 SR5 at pull a part. I got the back wall carpet, seat belts color black for bucket seats, gauge cluster with tach(even though I can't get it to work) side black plastic trim for walls, center console(though It doesn't seem to fit right) center gauges (which I will install later),and a dash that's less cracked up than mine which will be much easier to fiberglass. And a new heater selector switch assembly, also with the trim piece it's broken but less broken than mine.