
KawaZX636's 1983 Toyota Pickup Restoration
 Jul 22, 2013 | 10:14 AM
#161
Thread Starter
Super Moderator
iTrader: (3)
Joined: Jan 2012
Posts: 3,218
Likes: 26
From: Salisbury, MD
yotantn, oh it will get driven! I'm not going to put this much time and effort into it to let it sit in the garage. And I'll get classic full coverage insurance for it so that if somebody hits me I'll collect a check to start my next project!
Rob, thanks! I'm somewhat of a perfectionist.
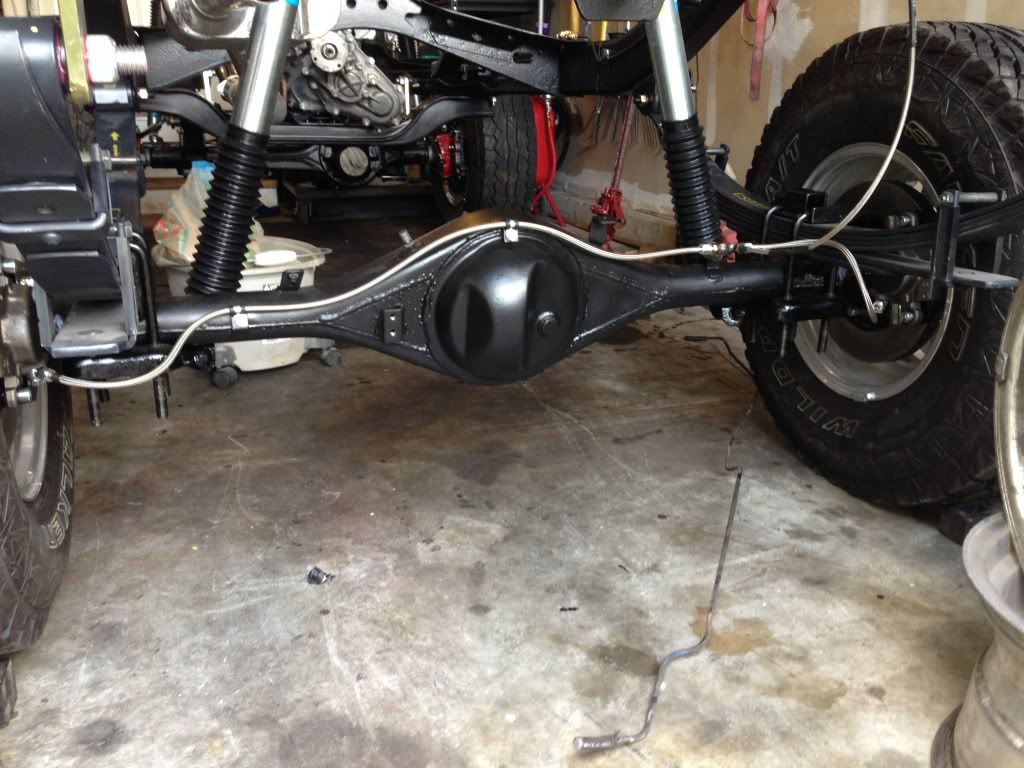
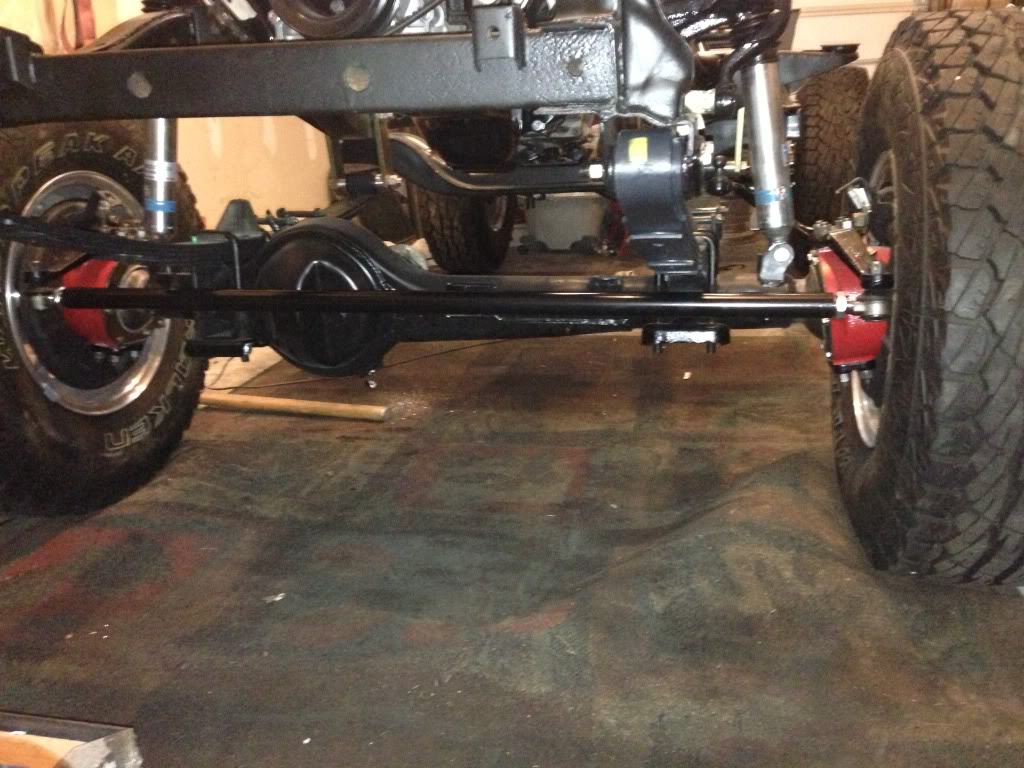
Yesterday afternoon I clipped up the braid steel brake lines on the rear axle. I just used some rubber lined clips from the auto parts store and new stainless hardware, but I'll probably go back and make some stainless clips since these look like they might turn into rust buckets. I also need to powdercoat the T-fitting where the line drops down from the axle. Used the old braided steel line that runs from the frame to the axle for mock up. I order a new one from LCE since this one is a little too grimy for my taste and is about 2-3" too short.
Rob, thanks! I'm somewhat of a perfectionist.
Yesterday afternoon I clipped up the braid steel brake lines on the rear axle. I just used some rubber lined clips from the auto parts store and new stainless hardware, but I'll probably go back and make some stainless clips since these look like they might turn into rust buckets. I also need to powdercoat the T-fitting where the line drops down from the axle. Used the old braided steel line that runs from the frame to the axle for mock up. I order a new one from LCE since this one is a little too grimy for my taste and is about 2-3" too short.
 Jul 22, 2013 | 12:21 PM
#163
Registered User
Joined: May 2012
Posts: 396
Likes: 2
From: Jackson, TN
Dood, that is some fine work. I don't know about that classic coverage, I guess I might have to check into that. I was just going to get collision with my insurance co.
Jul 22, 2013 | 12:30 PM
#164
Thread Starter
Super Moderator
iTrader: (3)
Joined: Jan 2012
Posts: 3,218
Likes: 26
From: Salisbury, MD
Absolutely...not! LOL Once I finish up the chassis (which right now is basically cleaning/painting the drive shafts and fuel tank as well as some small odds and ins) I will move on to the body work. I'm not 100% how much body work I'm in for. I know that the body panels themselves are pretty good, but I imagine that I'm going to end up replacing the floor pans. I also want fab a new transmission tunnel on which I plan on fabbing a center console which will also house a few gauges. It shouldn't be difficult, but could probably be time consuming. I won't really know until I media blast everything to see what's under the paint. Ideally, I would like to have everything done by the first snow fall (usually around late December here) so I can take it out for some fun, but that could be wishfully thinking. I also have a 16 month old son that takes up a good bit of my time and I can't use any loud tools (grinders and such) once he goes to bed each night. Time will tell, but I'm in no rush.


 Jul 23, 2013 | 02:50 PM
#168
Registered User
Joined: Apr 2013
Posts: 29
Likes: 0
From: So CAl
Insurance
Hey Great work and it's coming along sweet....Haggerty Insurance is pretty cheap for a whole year they just dont want you driving alot of miles...7500 or so and the rates are cheap. For a daily I dont know for your Truck yet...my 62 Chrysler Wagon is 386.00 for a year. comp and collision dont drive it a lot but I dont have to worry about it.
Jul 23, 2013 | 07:58 PM
#170
Thread Starter
Super Moderator
iTrader: (3)
Joined: Jan 2012
Posts: 3,218
Likes: 26
From: Salisbury, MD
A couple weeks ago I bought a little 20lb media blaster from harbor freight. The reviews on it were up and down but it was on sale for $50 so I figured that I'd give it a shot. It's a little pressure pot guy and doesn't hold a whole lot, but it does a pretty good job - Definitely worth $50 and it stores easy too given its compact size. I used it tonight to blast a few small random brackets, the tie rod, gas tank, gas tank cover and drag link. It made short work of what I needed to do using just sifted play sand. I got almost all of the tank done, but had to stop short when my son hit the bed. I'll post some pictures when I get done.
I also powdercoated some exhaust brackets, brake line fittings/brackets and my drag link tonight. And got the drag link put back together with the Moog drag link repair kit that I ordered a couple weeks ago.
Hopefully I can finish blasting the tank tomorrow night and slap some paint on it.
I also powdercoated some exhaust brackets, brake line fittings/brackets and my drag link tonight. And got the drag link put back together with the Moog drag link repair kit that I ordered a couple weeks ago.
Hopefully I can finish blasting the tank tomorrow night and slap some paint on it.
Jul 28, 2013 | 03:04 PM
#171
Thread Starter
Super Moderator
iTrader: (3)
Joined: Jan 2012
Posts: 3,218
Likes: 26
From: Salisbury, MD
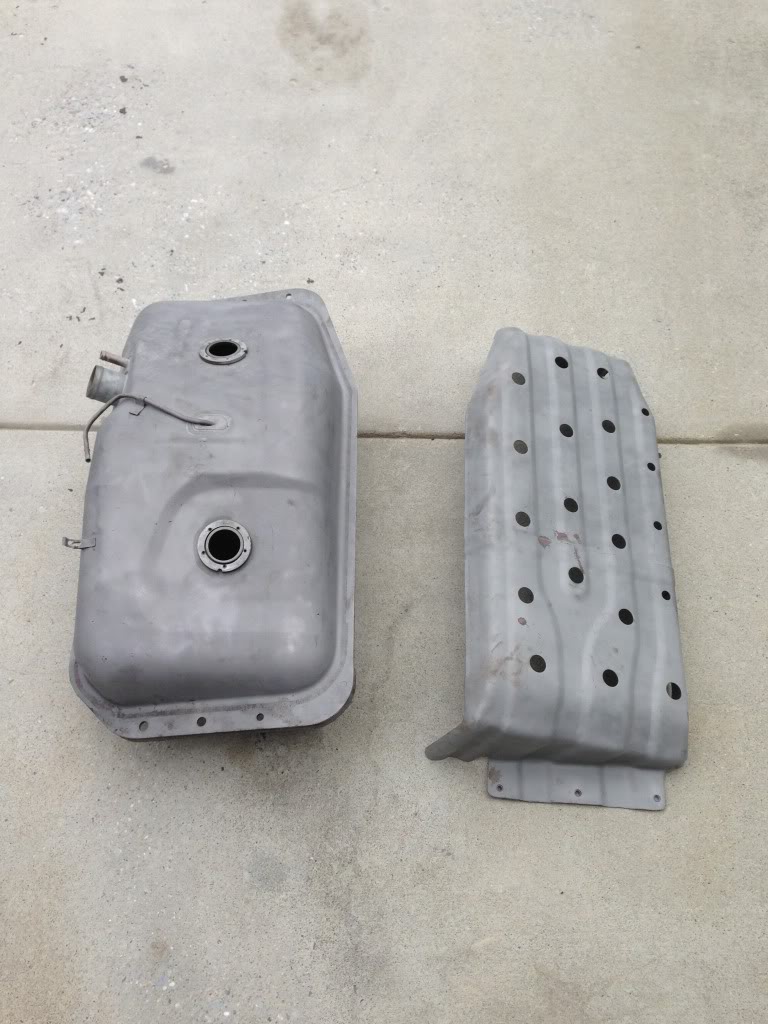
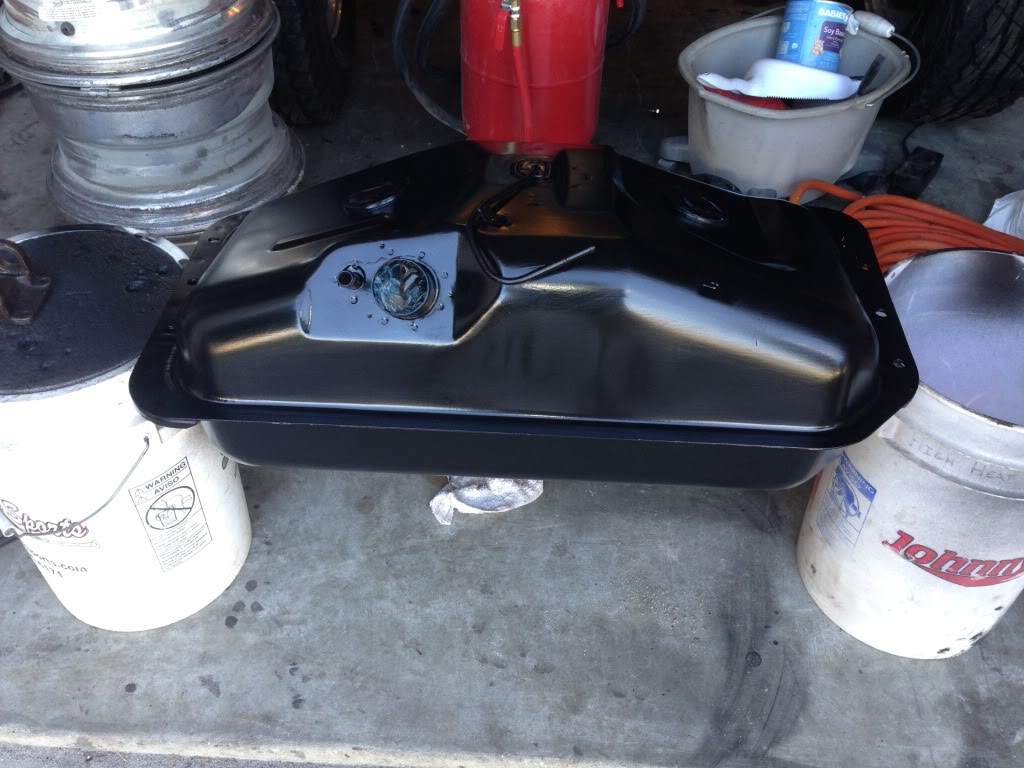
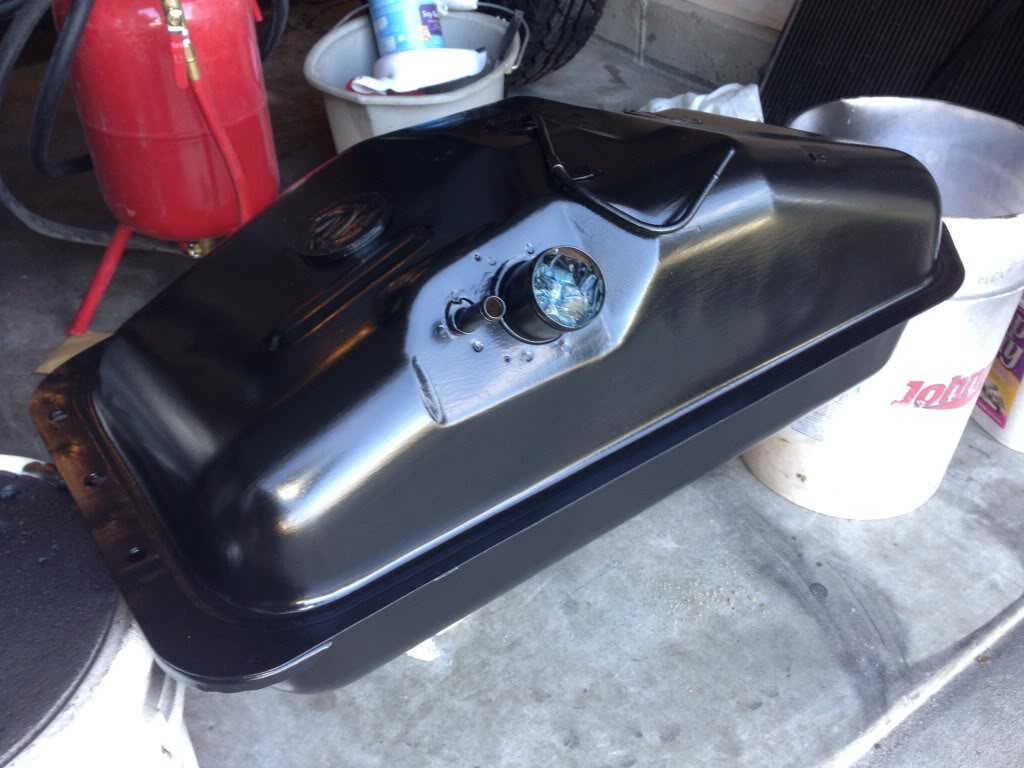
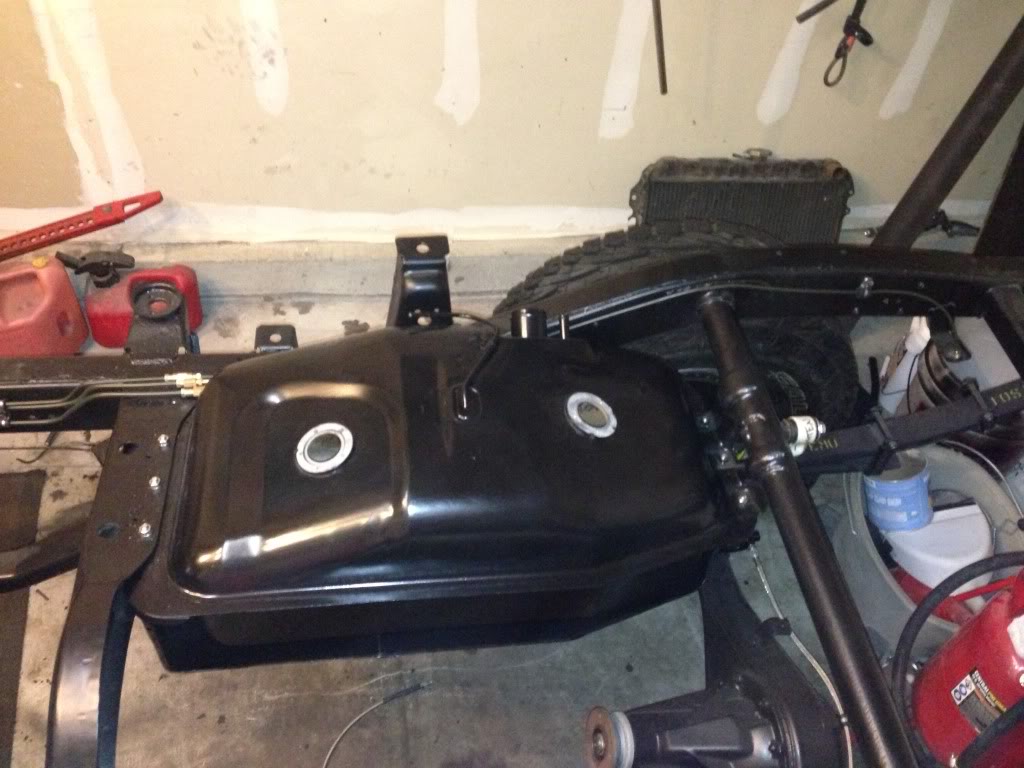
Finished sandblasting my tank and skid plate on Thursday night and managed to get a couple coats of paint on them on Friday before I left for D.C. to visit my in-laws (they drive me nuts!!).
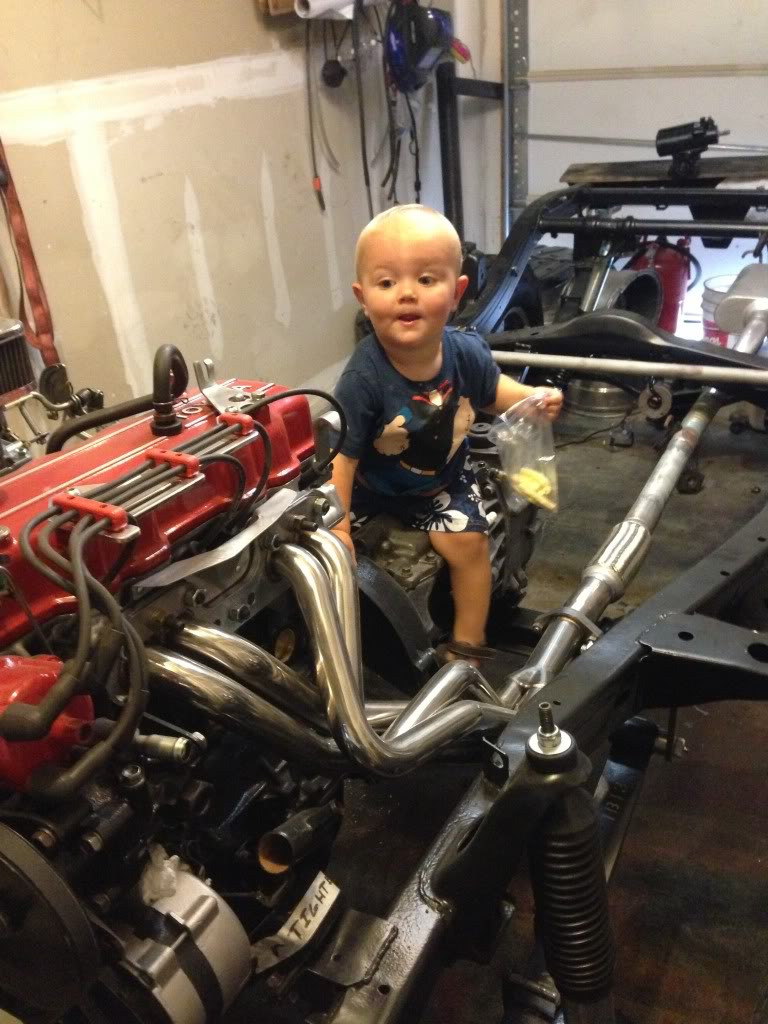
Had my little helper in the garage holding some washers and bolts while I finished buttoning up my brake lines.
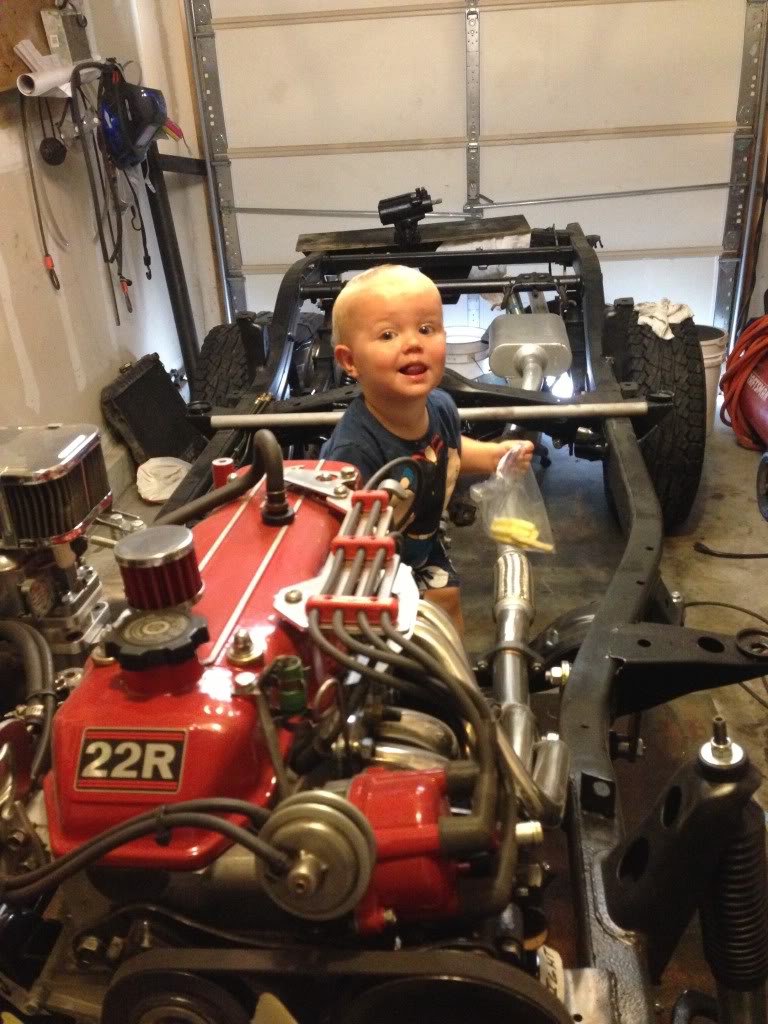
Came home today from D.C. and put the final 2 coats of top coat on the tank, skid plate, steering box and tie rod.


Had my little helper in the garage holding some washers and bolts while I finished buttoning up my brake lines.


Came home today from D.C. and put the final 2 coats of top coat on the tank, skid plate, steering box and tie rod.


 Jul 28, 2013 | 03:12 PM
#172
Thread Starter
Super Moderator
iTrader: (3)
Joined: Jan 2012
Posts: 3,218
Likes: 26
From: Salisbury, MD
While I was pressing out the old u-joints from my drive shafts, I managed to crack one of the rear driveshaft yokes:
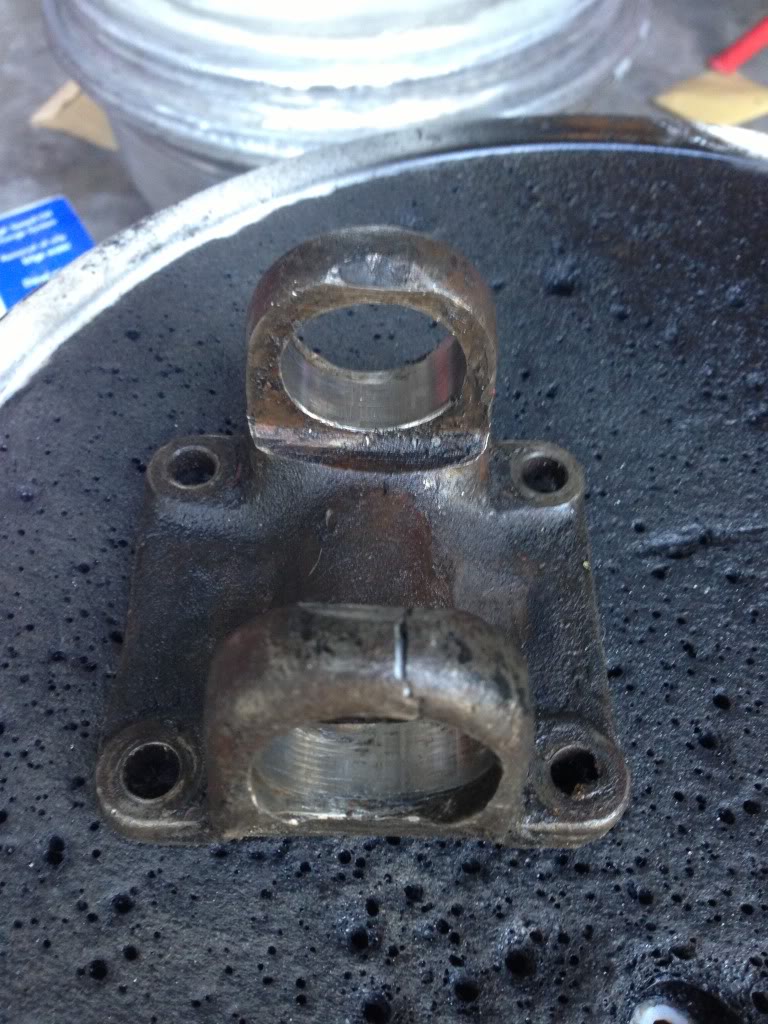
Does anybody happen to have a spare that I could buy off of them? or perhaps know a source for a new one. I haven't checked around much yet, but I imagine that this will be a stealership part if they have it.
By the way, if you are thinking about replacing the u-joints in your front drive shaft just because, I would put it off until they are just about falling apart! LOL That double cardan joint is a pain in the ass!!
Jul 29, 2013 | 05:51 PM
#175
Thread Starter
Super Moderator
iTrader: (3)
Joined: Jan 2012
Posts: 3,218
Likes: 26
From: Salisbury, MD
Painted and mounted the Sky Manufacturing HD tie rod. I like how beefy this thing is - would definitely recommend it to anybody who doesn't want to go with crossover steering but wants something stronger than the stock tie rod.
Also got the tank and skid plate mounted today as well.
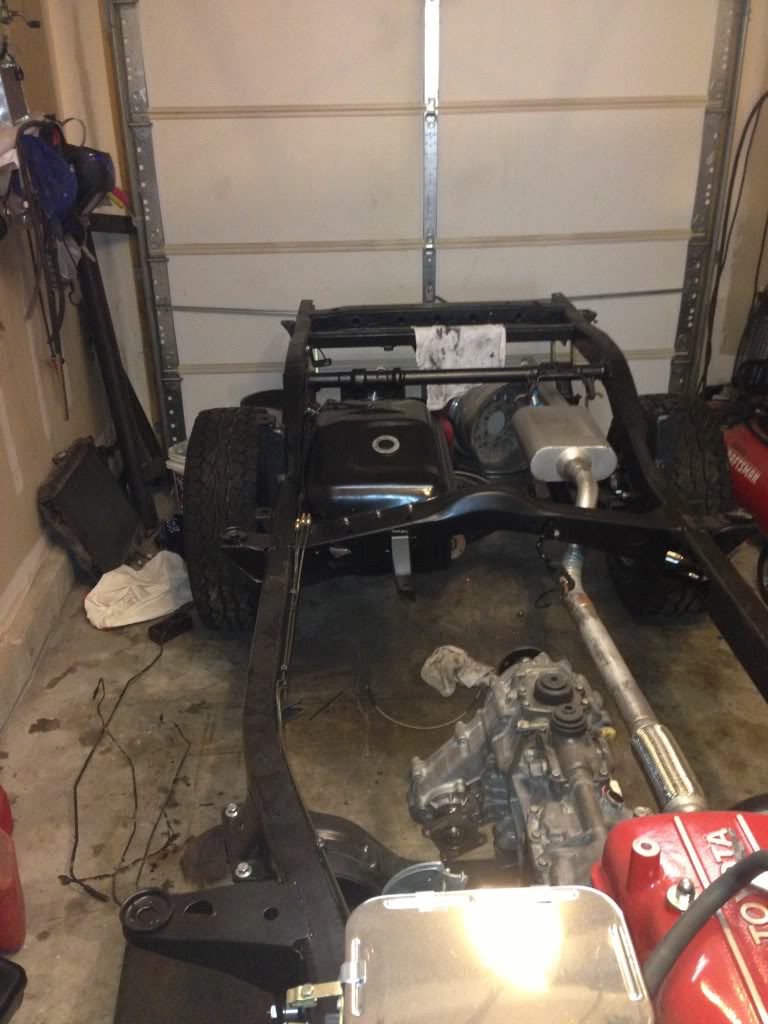
On to the driveshafts...

Also got the tank and skid plate mounted today as well.


On to the driveshafts...
Aug 6, 2013 | 07:28 PM
#176
Thread Starter
Super Moderator
iTrader: (3)
Joined: Jan 2012
Posts: 3,218
Likes: 26
From: Salisbury, MD
Waiting on a drive shaft that I scored off eBay so I can replace that yoke that I broke. For now I'm just doing some odds and ins while I wait for some parts to get in so I can get everything ready prior to throwing the chassis in storage. I put some cheapo gear lube in the tranny, t-case and differentials just to coat everything and prevent any corrosion in the event that some moisture got in there while it was opened up. I'll replace it with some good stuff before I finish out the build. I've also worked back through all the nuts and bolts and re-torqued everything to be sure that I didn't miss anything.
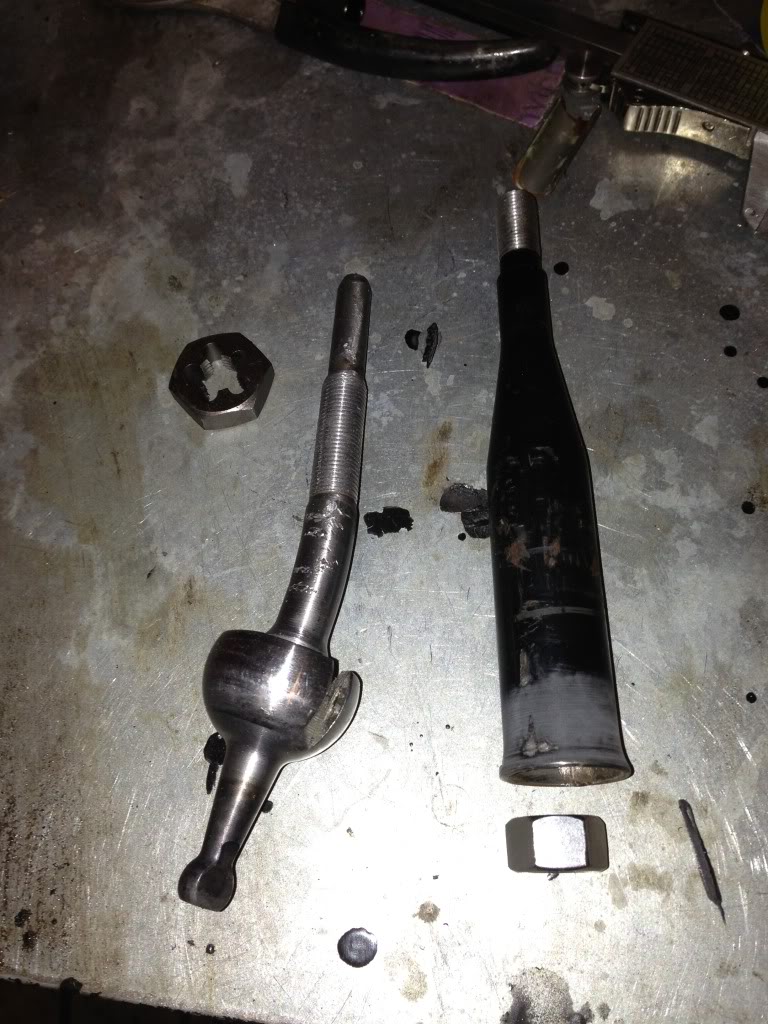
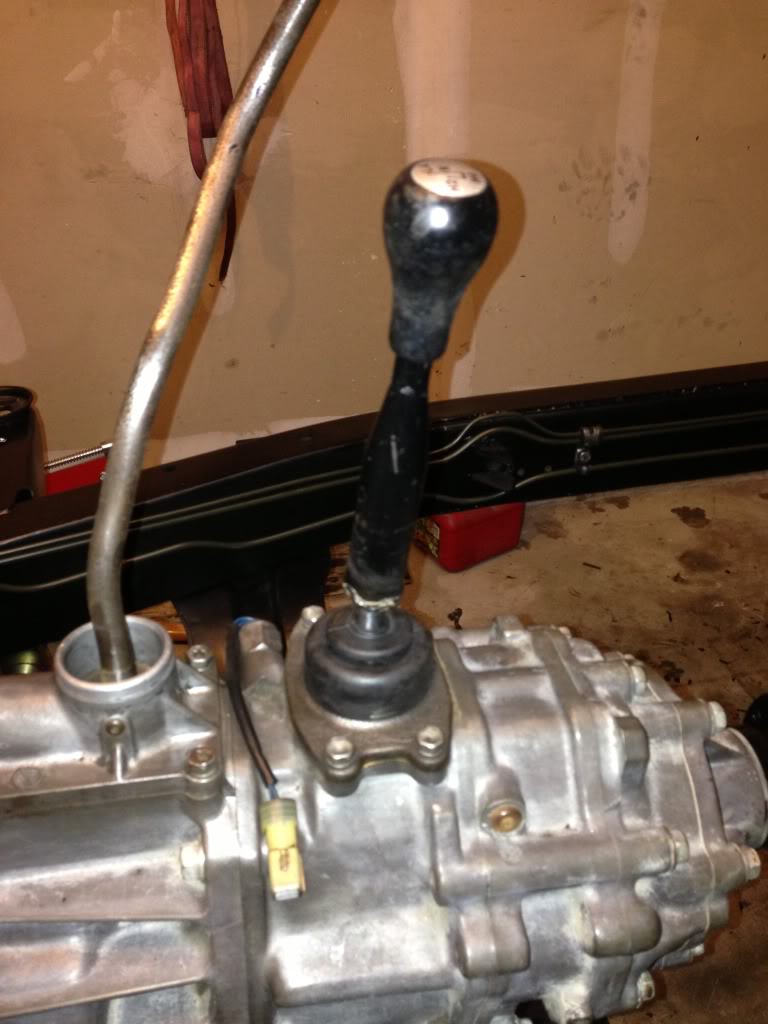
So last night I was sitting in the garage bored and decided to pull out the shifters to install them before the chassis goes to storage. Of course they couldn't go back on without a fresh coat of powdercoating! Sooooo.... I was trying to separate the t-case shaft from the shifter ball when I realized that they were pressed together with some sort of rubber bushing. Well, I boogered that up good so I decided to come up with a fix that I think will make it a little easier to separate in the future.
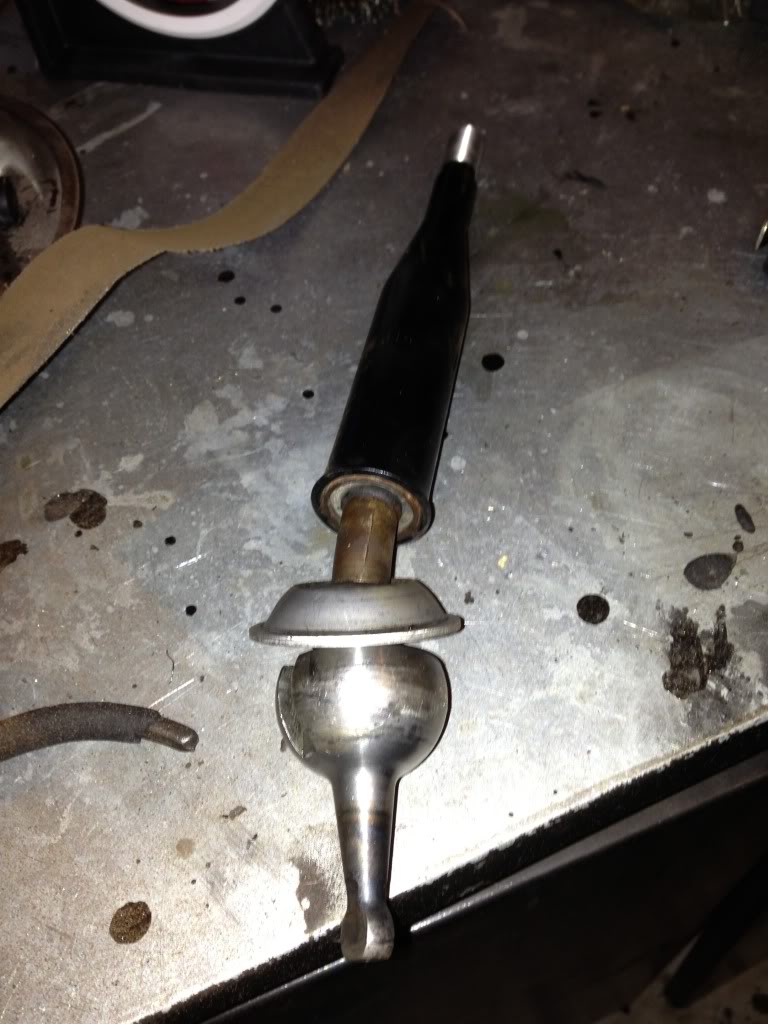
Here's what it looked like originally (you can see the rubber bushing in there):
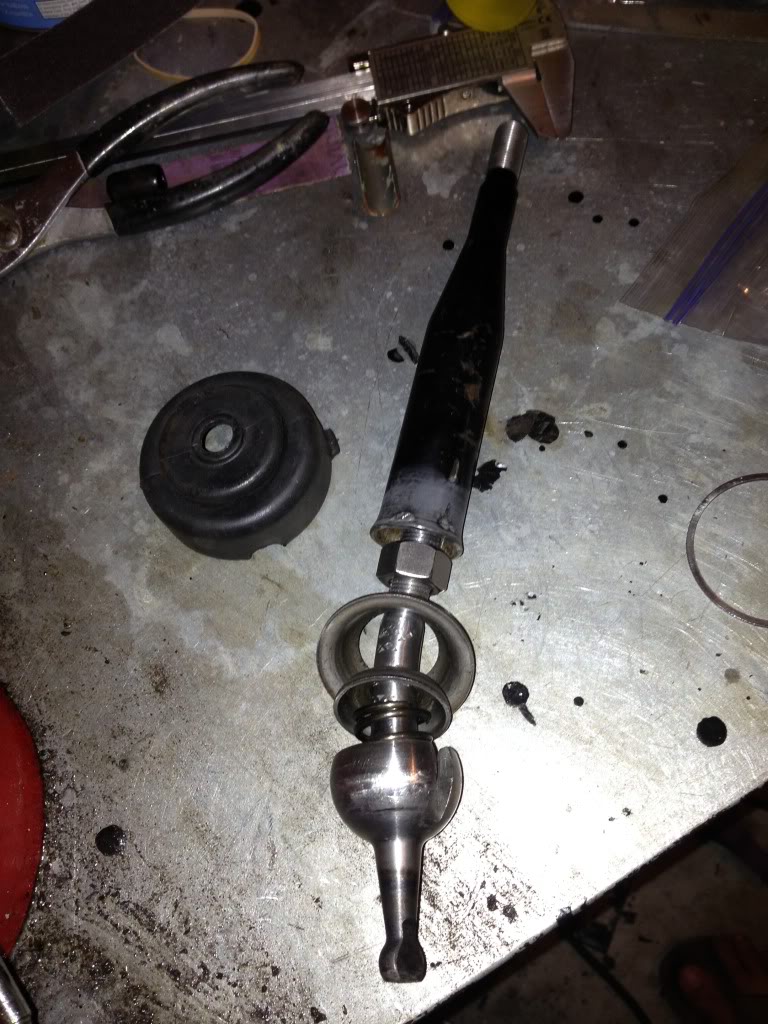
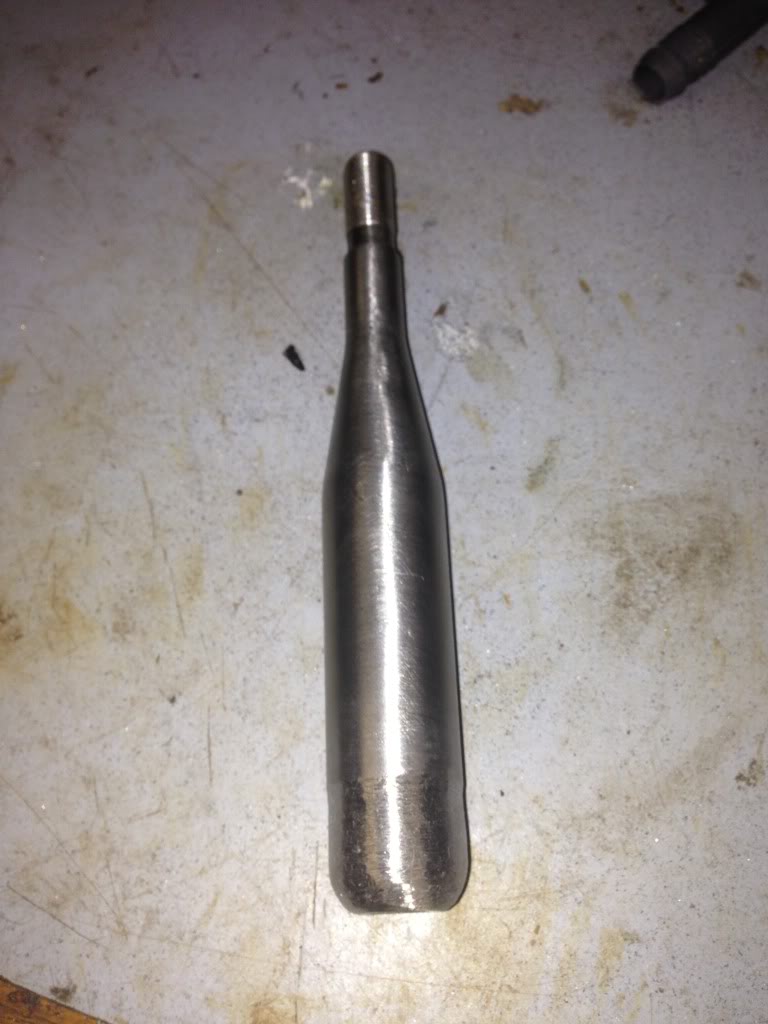
After some cussing, reaming and temper tantrums, I got the two pieces separated. The shaft attached to the ball wasn't originally threaded so I grabbed a 1/2" x 20 die and cut some threads on it (Die fit the shaft diameter perfectly). Also went out and grabbed a 1/2" x 20 nut to weld into the shifter shaft:
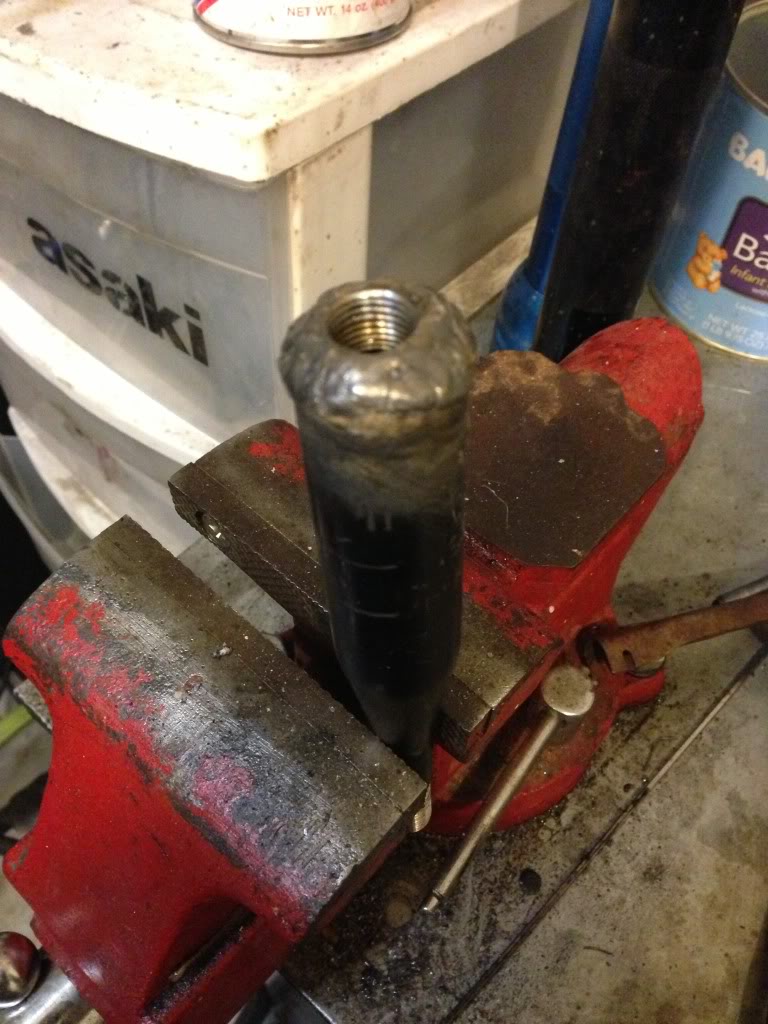
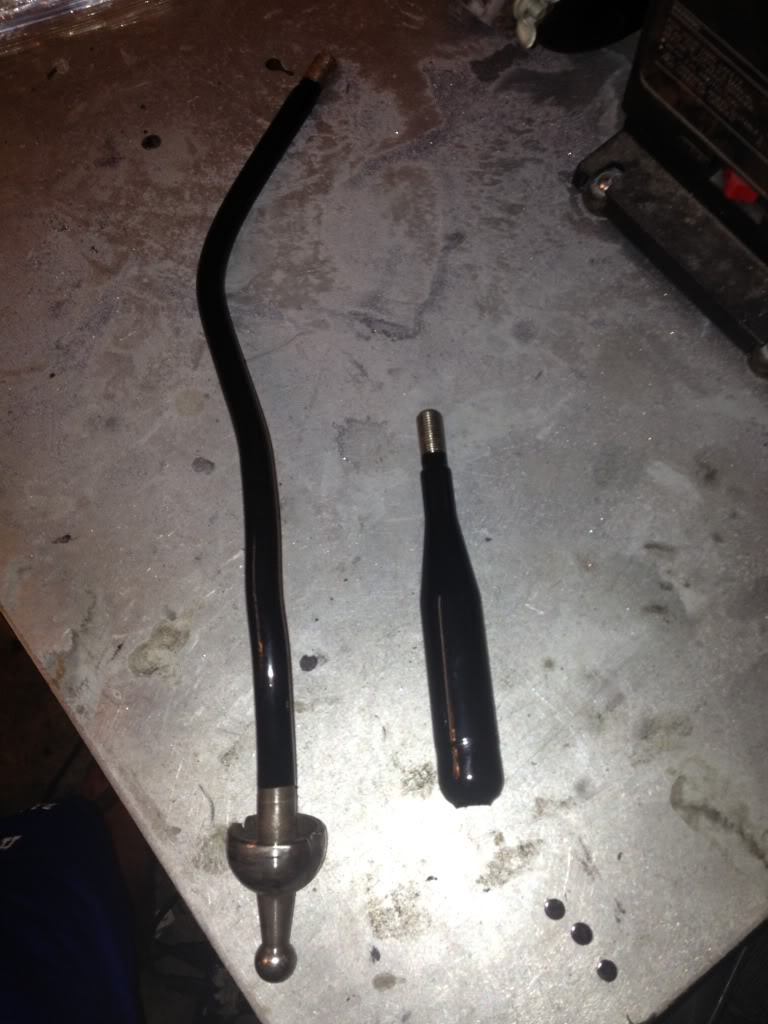
You can see how it's going to go together here with the nut going inside the shifter shaft so the the ball shaft can thread into it:
I welded the nut to the inside of the shifter shaft. Don't make fun of my crappy welds; I ran out of gas when I was doing my frame and I probably bought the worst flux core welding wire ever! I'll clean it up with the grinder before I powdercoat it.
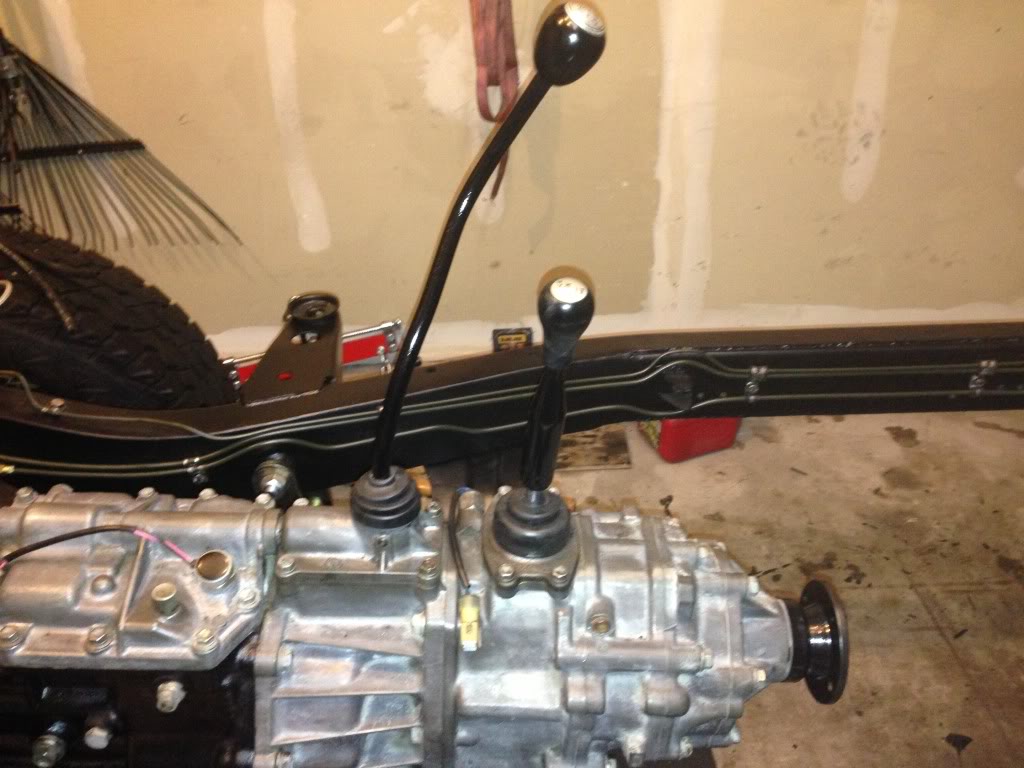
Here's the ball installed in the t-case socket:
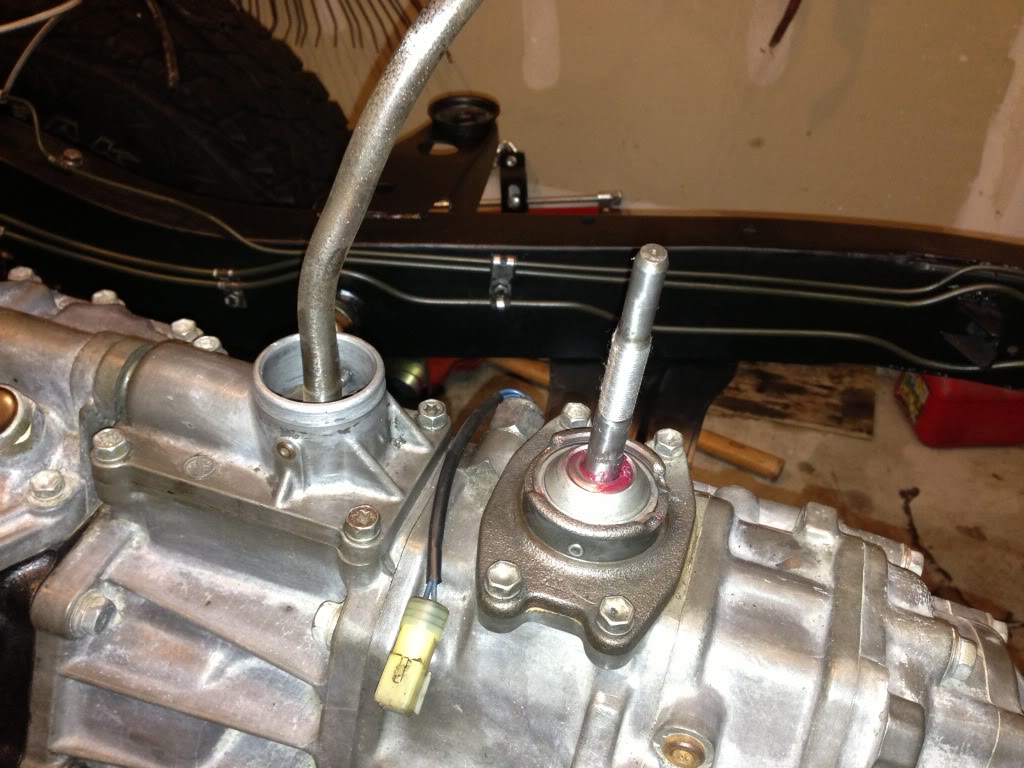
ANNNND the shifter shaft and knob just thread right on:
I'm pretty satified with the result, although I'm not quite sure why Toyota designed it the way they did since you can't remove the shaft to replace the spring and retainer caps if you need to. I suppose that's one way the stealership makes money...
So last night I was sitting in the garage bored and decided to pull out the shifters to install them before the chassis goes to storage. Of course they couldn't go back on without a fresh coat of powdercoating! Sooooo.... I was trying to separate the t-case shaft from the shifter ball when I realized that they were pressed together with some sort of rubber bushing. Well, I boogered that up good so I decided to come up with a fix that I think will make it a little easier to separate in the future.
Here's what it looked like originally (you can see the rubber bushing in there):

After some cussing, reaming and temper tantrums, I got the two pieces separated. The shaft attached to the ball wasn't originally threaded so I grabbed a 1/2" x 20 die and cut some threads on it (Die fit the shaft diameter perfectly). Also went out and grabbed a 1/2" x 20 nut to weld into the shifter shaft:

You can see how it's going to go together here with the nut going inside the shifter shaft so the the ball shaft can thread into it:

I welded the nut to the inside of the shifter shaft. Don't make fun of my crappy welds; I ran out of gas when I was doing my frame and I probably bought the worst flux core welding wire ever! I'll clean it up with the grinder before I powdercoat it.

Here's the ball installed in the t-case socket:

ANNNND the shifter shaft and knob just thread right on:

I'm pretty satified with the result, although I'm not quite sure why Toyota designed it the way they did since you can't remove the shaft to replace the spring and retainer caps if you need to. I suppose that's one way the stealership makes money...
Last edited by kawazx636; Aug 8, 2013 at 08:07 PM.
Aug 7, 2013 | 07:19 PM
#177
Thread Starter
Super Moderator
iTrader: (3)
Joined: Jan 2012
Posts: 3,218
Likes: 26
From: Salisbury, MD
Cleaned up the welds on my modified t-case shifter:
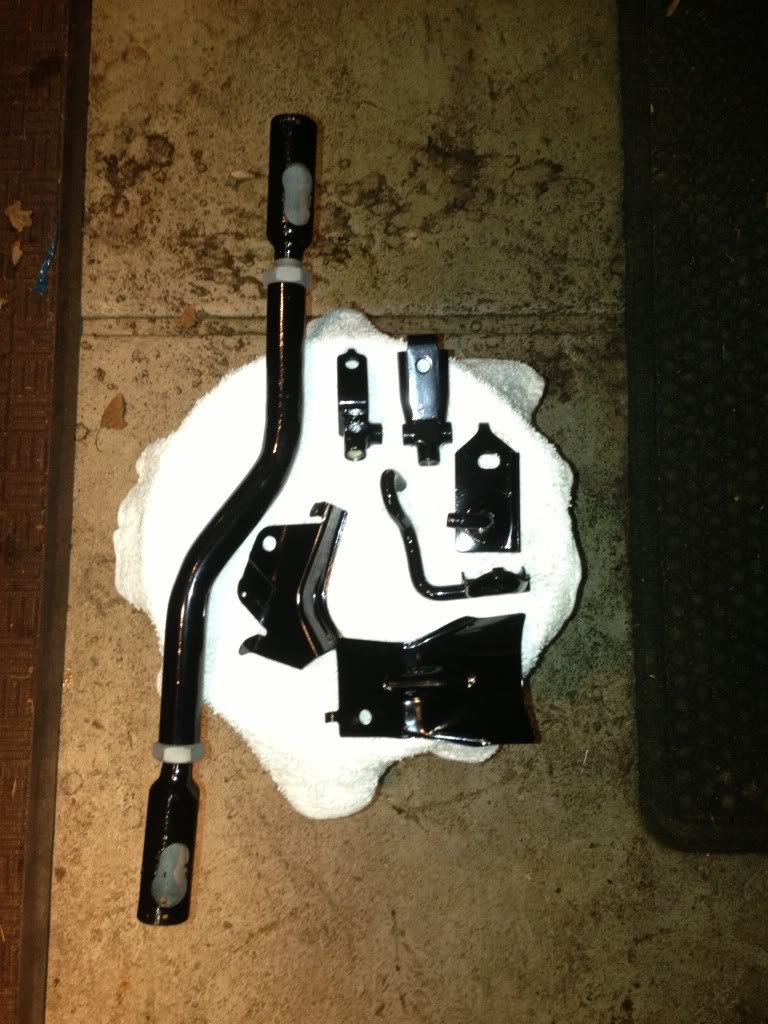
Powdercoated both shifters:
And installed those biznatches:

I know I'll have to remove them to drop the cab on, but I wanted get them installed so that I'm less likely to get moisture and grime in the tranny and t-case.
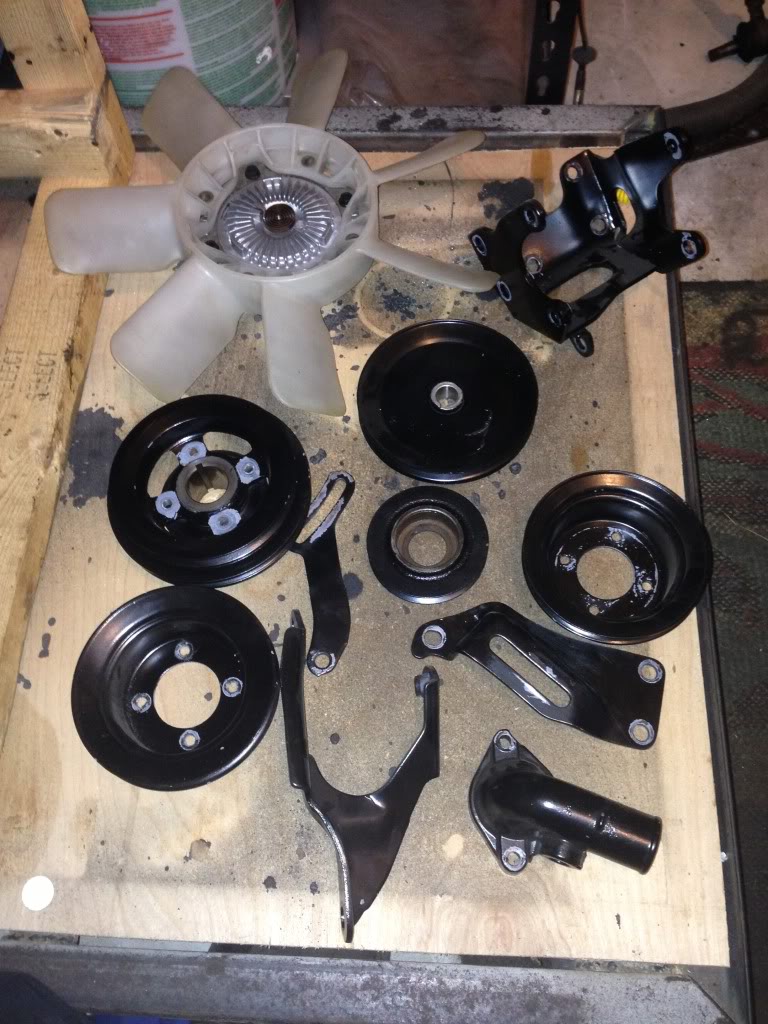
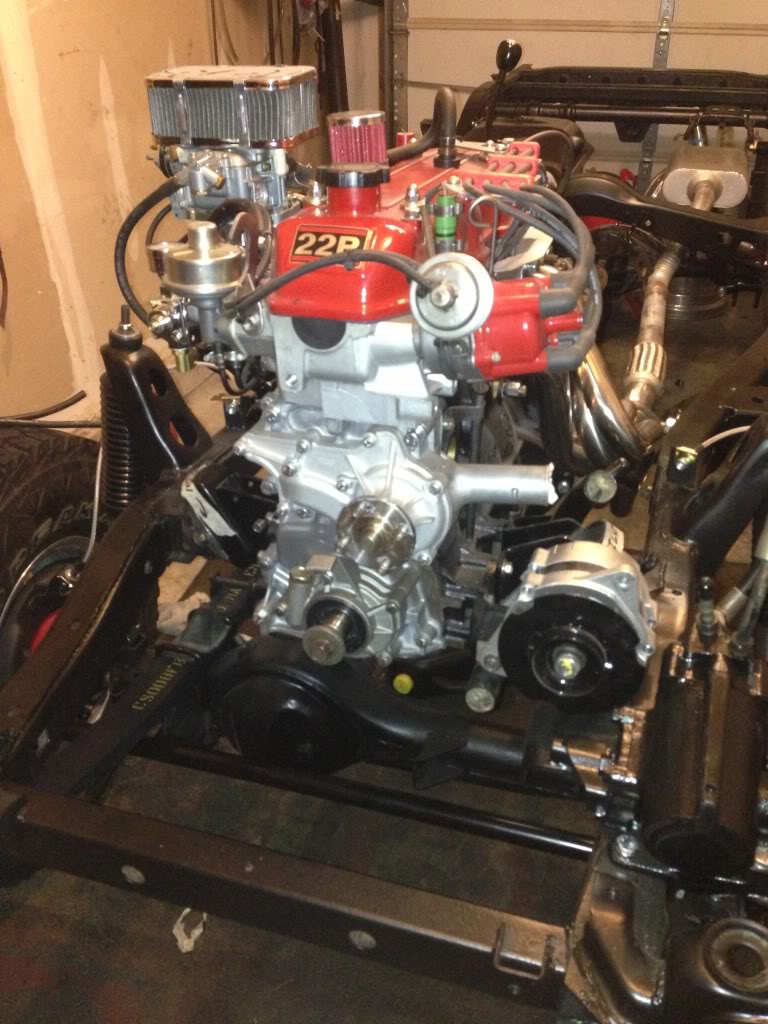
I also decided to remove all the front end pulleys and braclets so that I can strip and powdercoat them. I primed and painted everything with high temperature paint when I rebuilt the motor, but I wanted to go with something more durable so powdercoating it is! I've definitely got my money's worth with that powdercoating kit. The motor hasn't even been started yet and you can see how the high temp paint just wasn't holding up very well in the pictures below.

Powdercoated both shifters:

And installed those biznatches:


I know I'll have to remove them to drop the cab on, but I wanted get them installed so that I'm less likely to get moisture and grime in the tranny and t-case.
I also decided to remove all the front end pulleys and braclets so that I can strip and powdercoat them. I primed and painted everything with high temperature paint when I rebuilt the motor, but I wanted to go with something more durable so powdercoating it is! I've definitely got my money's worth with that powdercoating kit. The motor hasn't even been started yet and you can see how the high temp paint just wasn't holding up very well in the pictures below.

 Aug 7, 2013 | 07:44 PM
#179
Thread Starter
Super Moderator
iTrader: (3)
Joined: Jan 2012
Posts: 3,218
Likes: 26
From: Salisbury, MD
I would if I were you. It's one of the best $150 purchases I have ever made and it pays for itself. I know I used 2 cans of primer and 2 cans of gloss black to paint all the pulleys and accessory brackets on my motor. That's about $40 in spray paint. When I powder coat them I will probably only use about $8-12 worth of powder and it will last damn near forever while the spray paint would have looked like crap in a year or two. My motto in refurbishing parts is "if it can fit in an oven then it's getting powdercoated." So far I've done my knuckles, hubs, hub locks, j-arms, drag link, brake shields, exhaust brackets, transmission plate, brake brackets, rear disc bracket, double cardan shield, clutch fork, lower coolant line, motor mounts, shifters, hanger pins, bump stops and probably a few other parts that I can't recall and I have yet to use more than $40 worth of powder. It's a no brainer to me, just buy one!
(Sent from my iPhone using the YotaTech app)
(Sent from my iPhone using the YotaTech app)


