HOW-TO: How to Mount & Hardwire a GPS Unit in Your ‘Yota
Add a permanent GPS unit mount in your truck for those times when your mobile’s GPS just won’t cut it in remote areas.
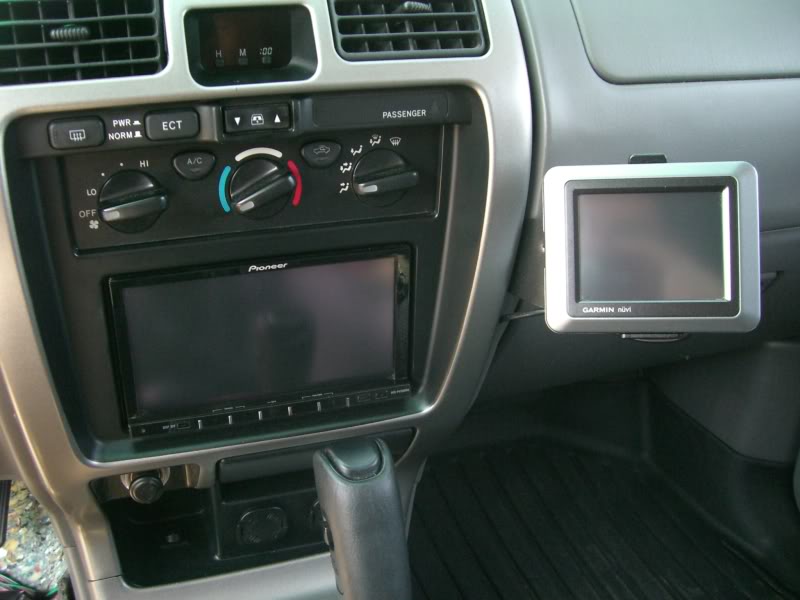
Dedicated GPS units are not as commonplace as they once were. However, they still have their place, and their topographical maps and ability to operate in remote places smartphones don’t make them good secondary units to your mobile’s GPS offerings. With that said, no one wants a clunky GPS mounted to their truck’s windshield that all passersby could see, much less a power cord draped across the dash. The solution: Mount the GPS to the dash. It’s a simple resolve that you can do yourself.
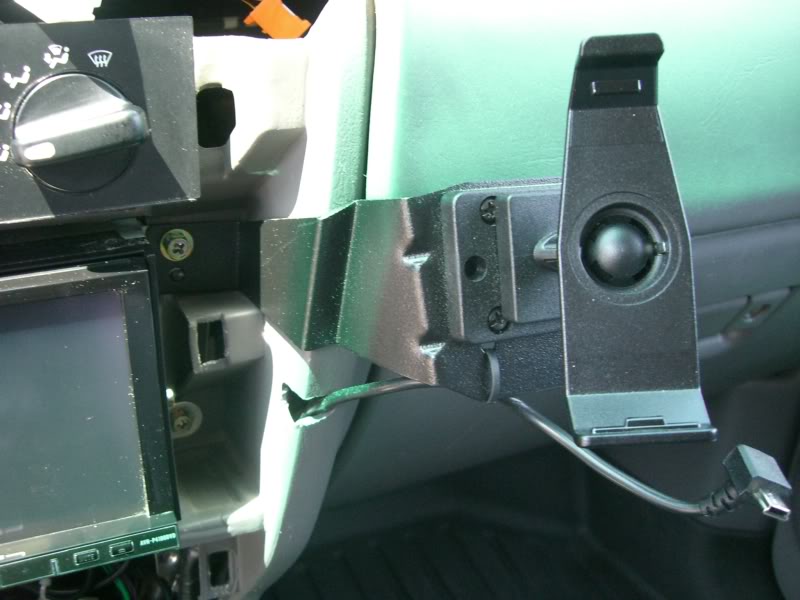
The first step is to check out a company called Pro-Fit, which offers vehicle-specific mounts for all sorts of devices. We were able to hardwire and mount a Garmin Nuvi 500 to the right of our HU using a Pro-Fit mount (part number: TY-70-96) and Garmin Nuvi adapter plate (TT-39), which is needed to hold the GPS to the mount.
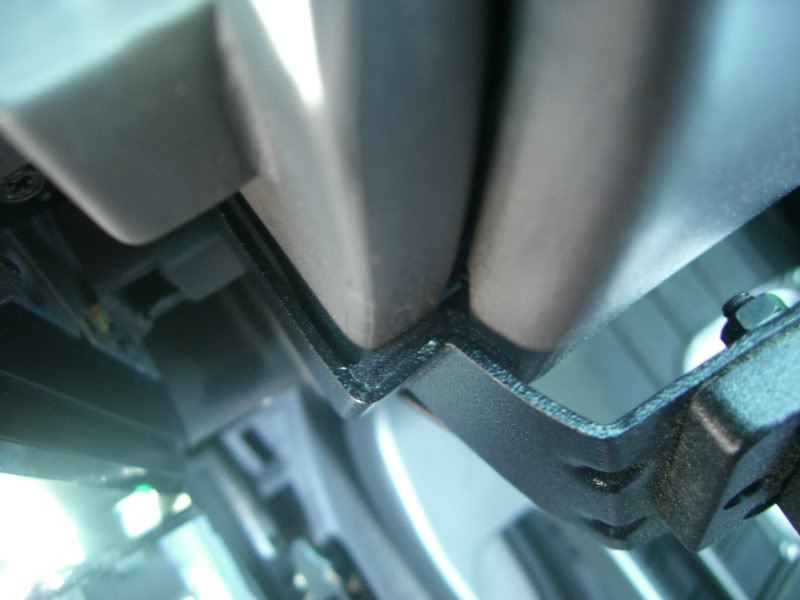
We strategically ran the wires behind the dash, and we wired the GPS to turn on/off with the vehicle itself. (To run the cord thru the dash, take a Dremel and make a small notch to run the power cord up and through.)
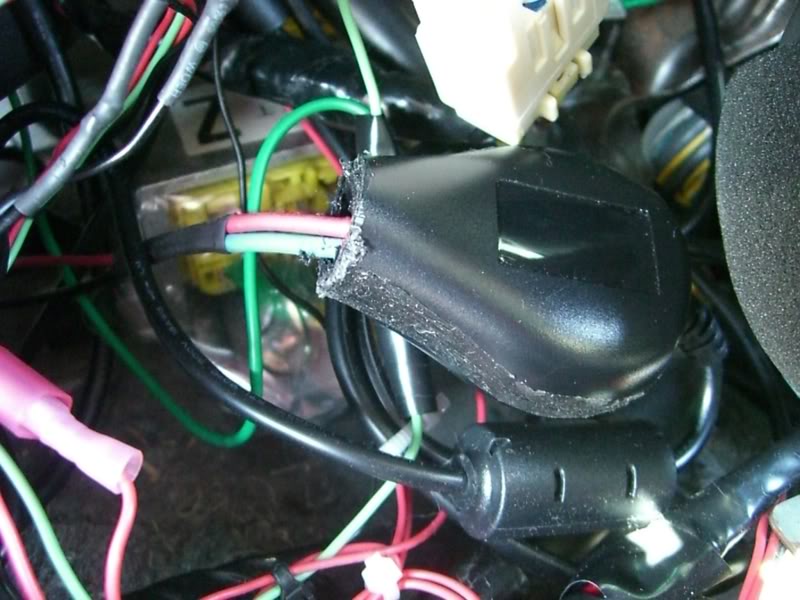
To begin the project, first we disassembled the cig light adapter plug of the power cable and took the small circuit board out. Then, the existing power and ground wires were removed using a soldering gun.
Next, we heated up the backside of the solder holding the wires in place and then just pulled the wires out. (The gauge of these wires was too thin for our liking and the wires themselves were very short to work with.) Then we soldered in longer, heavier gauge wire for both power and ground. Before replacing the circuit board back from where it came, we used a dremel and cut off the shaft of the cig light adapter. The circuit board was then reinstalled, and we reused the back half of the case to protect the internals. It was sealed back up with some RTV silicone.
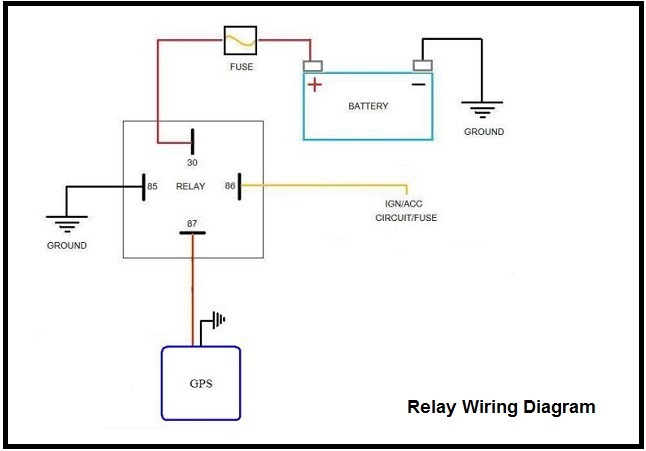
We ran the power wire thru a relay so the unit would come on and off with a turn of the key. The ground wire was grounded to part of the dash frame.
Here’s a PDF of the installation instructions of the vehicle-specific mount for 3rd gen 4Runners. (Pro-Fit does not show the 3rd gen vehicle-specific mount on its site, so you may have to contact them directly for it.)
Step 1: Buy a vehicle-specific mount and adapter plate.
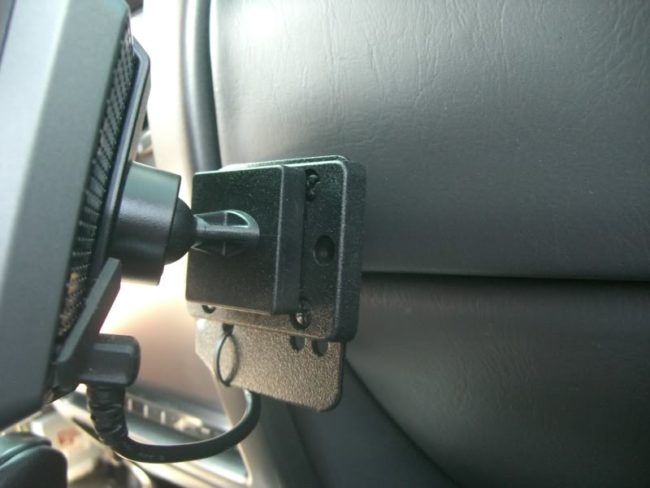
Step 2: Pinpoint the exact spot where you want to permanently mount and hardwire the GPS unit.
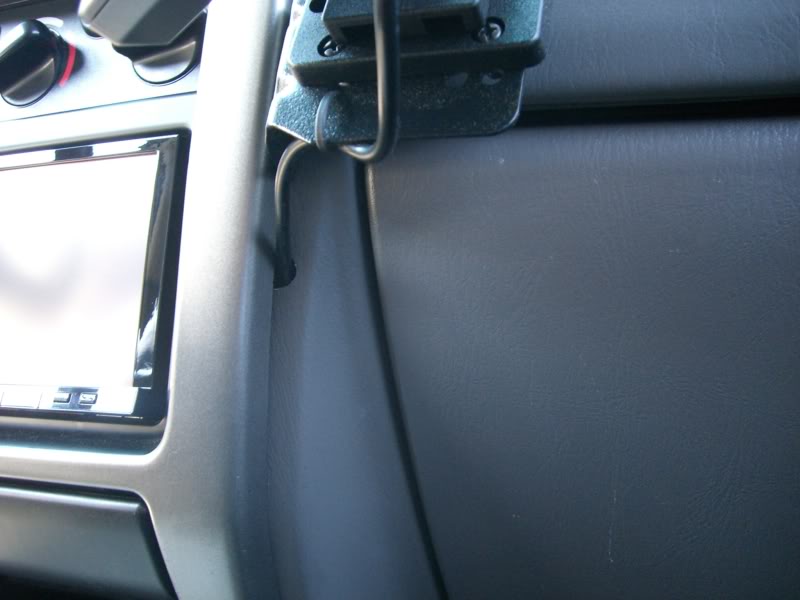
Step 3: To run the cord thru the dash, take a dremel and make a small notch to run the power cord up through.
Step 4: Reinstall the circuit board, and reuse the back half of the case to protect the internals. Then seal it with some RTV silicone
Step 5: Add some foam padding between the GPS mount and dash to keep the GPS unit from vibrating while the vehicle is moving.
You must be logged in to post a comment.