Jason's 1996 4Runner Ltd. rebirth
 04-07-2016, 07:03 AM
#41
Contributing Member
KM2s look excellent on there! 
 06-05-2016, 06:39 AM
#43
Registered User
Thread Starter
iTrader: (1)
Join Date: Jun 2003
Location: Raleigh, NC
Posts: 923
Likes: 0
Received 0 Likes
on
0 Posts
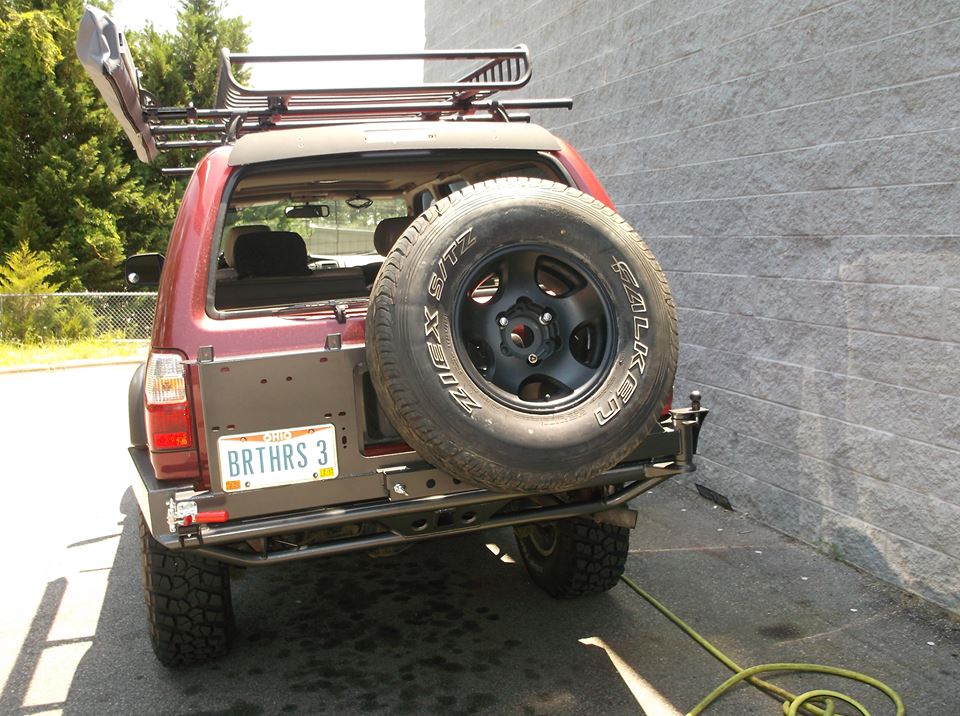
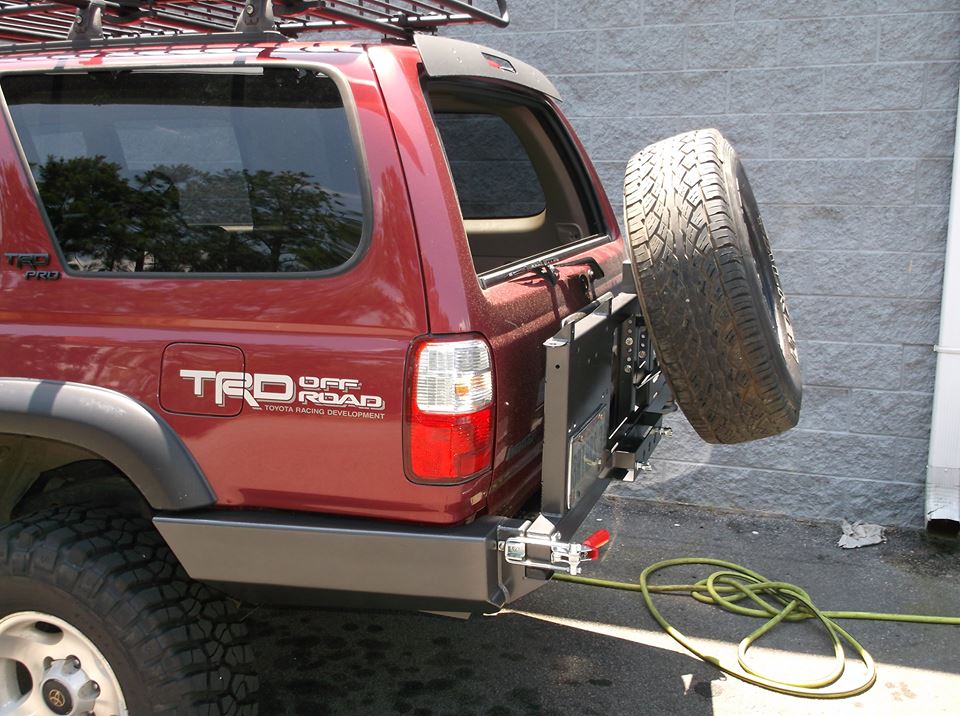
CBI Hybrid Bumper installed
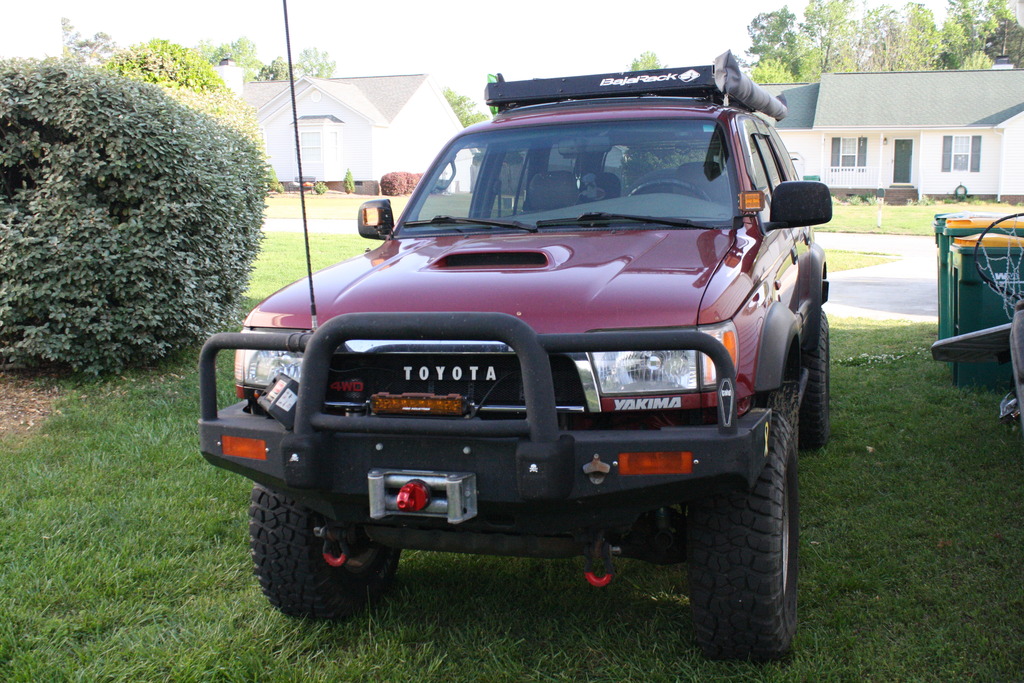
Got the CBI Offroad bumper on, used the black hammer finish but turned out grey so may paint it black, not sure yet. The install was a total PITA, a tad too tight on the frame rail sides and had to cut the back of the frame off about a inch so the angled bumper mounts would allow the bumper to sit flush with the frame. Once it was trimmed it fits terrific! Jerry can holder to come later once funds build back up.


 04-20-2017, 04:44 AM
#45
Registered User
Thread Starter
iTrader: (1)
Join Date: Jun 2003
Location: Raleigh, NC
Posts: 923
Likes: 0
Received 0 Likes
on
0 Posts
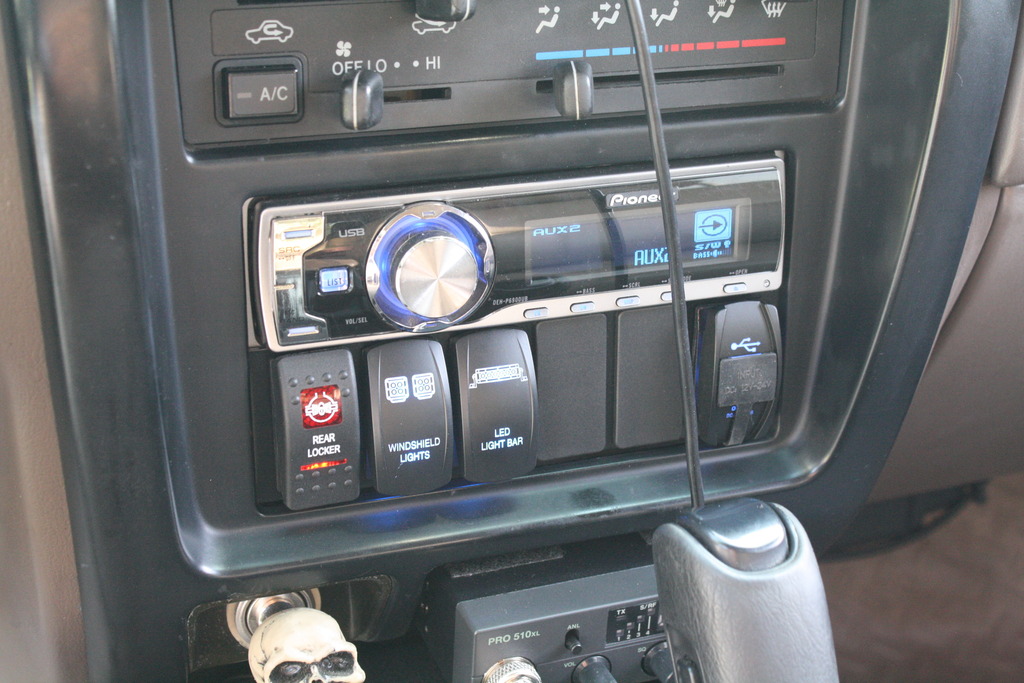
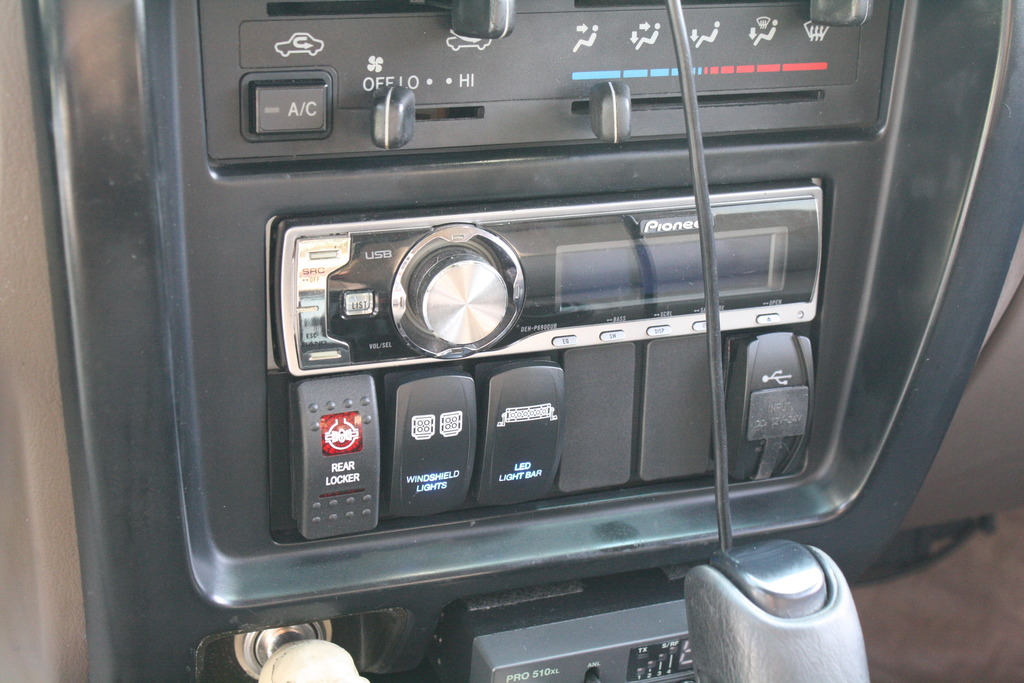
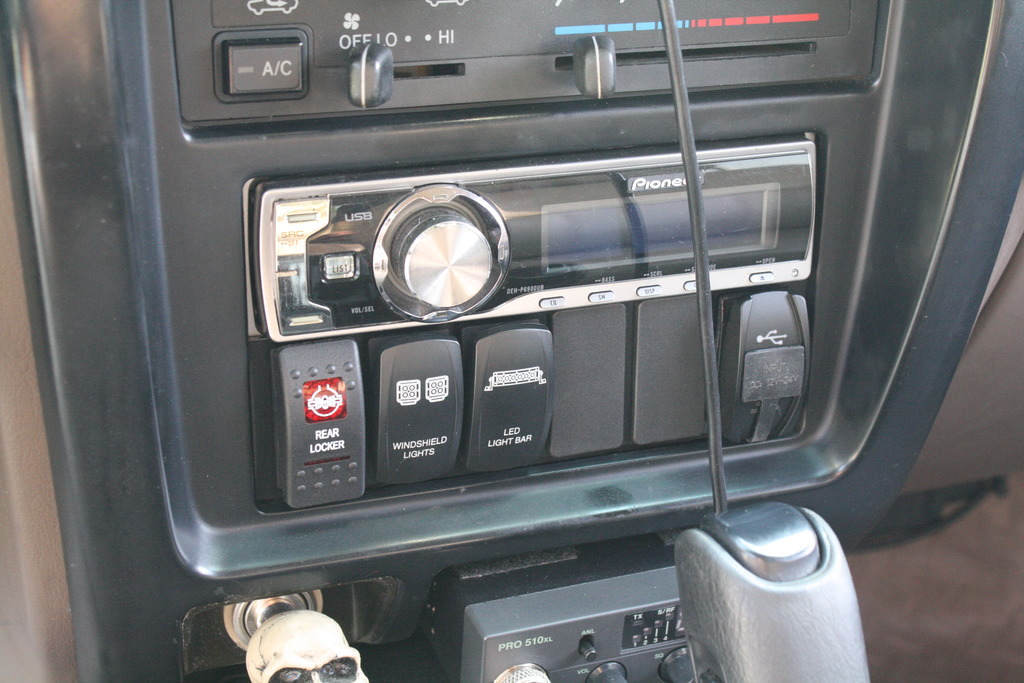
Took time yesterday to rewire my windshield lights and mini light bar on separate switches and install a new CB. The switches are from OTRATTW and man they make it easy to on you with good directions and all the pieces you need to make a harness. The switch panel is Paranoid Fabrications and bolts to the factory radio brackets. I highly recommend both of these sites if you have switches to install. I also installed my Low Range Off Road Ultimate Toyota E Locker harness. That took some time but it's ready to go now. No pics of the install but I had to remove the wires out of the tubing so it would fit under the carpet and down the driver side sill panel. I then ran it to the fuel pump access panel, taping it completely a few inches before and then back into the tubing under the vehicle. It's tied up to the parking brake cable away from the driveshaft for now. Have to get the locking rear end cleaned up, painted and installed now!


 04-20-2017, 05:04 AM
#46
Contributing Member
Somehow I missed your CBI bumper. Haven't seen anyone mount an awning like that, neat idea to get the most usable space under it.
The switches and panel look good, clean. Bet that usb comes in handy.
Have fun with that locker.
The switches and panel look good, clean. Bet that usb comes in handy.
Have fun with that locker.
04-20-2017, 01:20 PM
#47
Registered User
Thread Starter
iTrader: (1)
Join Date: Jun 2003
Location: Raleigh, NC
Posts: 923
Likes: 0
Received 0 Likes
on
0 Posts
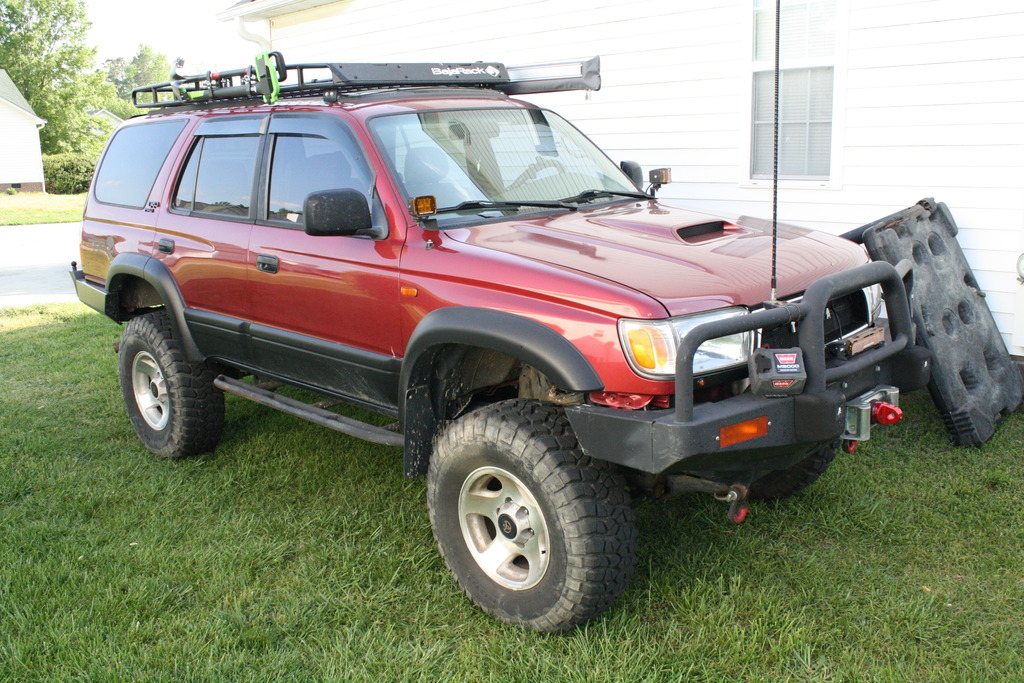
I had to use the Yakima mounts and roundbars to get the awning on there. I now have a full length Bajarack and it's mounted to that. Much cleaner and closer to the body. Need to take another pic I suppose!
I still love your rig and that color Hab!
I still love your rig and that color Hab!
04-20-2017, 03:40 PM
#48
Registered User
Thread Starter
iTrader: (1)
Join Date: Jun 2003
Location: Raleigh, NC
Posts: 923
Likes: 0
Received 0 Likes
on
0 Posts
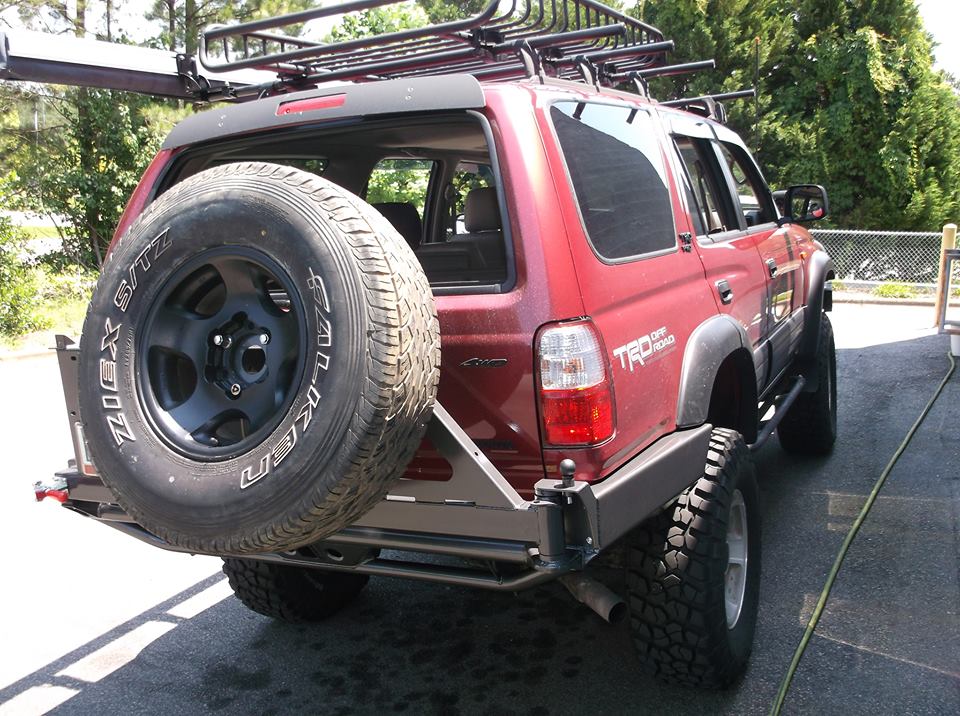
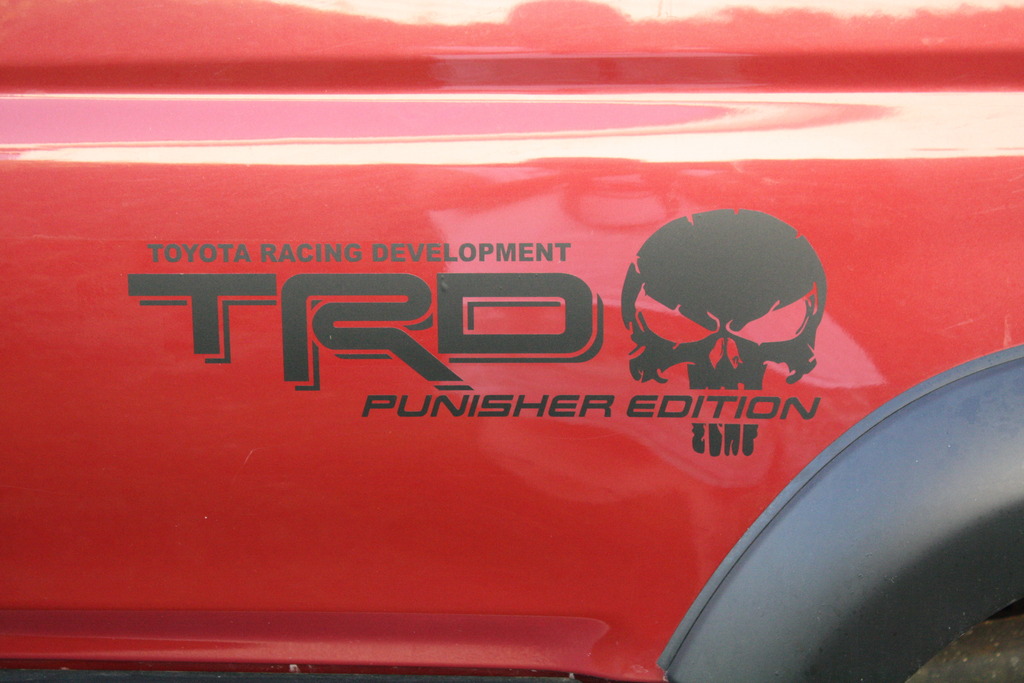
OK, pics of the full length BajaRack with the awning and axe/shovel mounted. I love it, very strong and sturdy. I also changed my quarter panel decals.


 04-20-2017, 04:10 PM
#49
Contributing Member
Thanks for the color compliment. The awning does look more aerodynamic and less dangerous for heads on the baja rack. Okay, I'll call it a win.
The updated pics were worth the wait.
Hmmm, wonder if they have a sticker called the TRD Punished Edition. You know, for those days when it's been a long fun day of working on the truck but the everything is tired and sore.
The updated pics were worth the wait.
Hmmm, wonder if they have a sticker called the TRD Punished Edition. You know, for those days when it's been a long fun day of working on the truck but the everything is tired and sore.
04-21-2017, 03:18 AM
#50
Registered User
Thread Starter
iTrader: (1)
Join Date: Jun 2003
Location: Raleigh, NC
Posts: 923
Likes: 0
Received 0 Likes
on
0 Posts
That's good, Punished Edition b/c that's me right now!
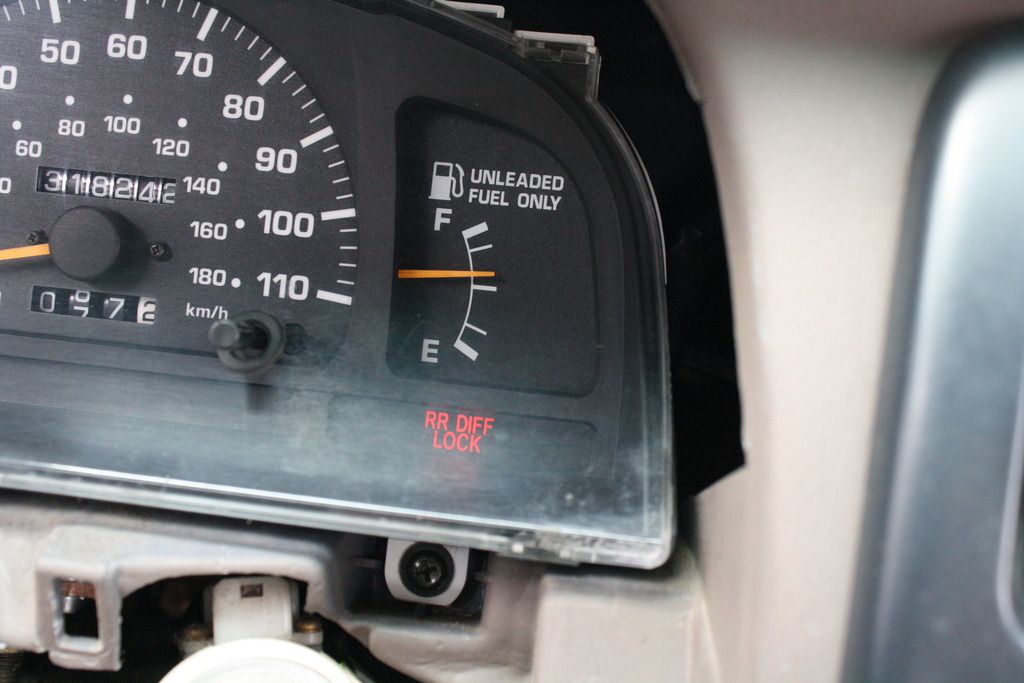
I need to figure out how to light my RR Diff Lock light now, that's freaking cool!
I need to figure out how to light my RR Diff Lock light now, that's freaking cool!
Last edited by terminator; 04-21-2017 at 03:48 AM.
04-21-2017, 05:06 AM
#51
Contributing Member
Pin 5 Lock Sensor from the connector under the left rear seat (or should be yellow/blue wire at e-locker) to added wire (Toyota# 82998-24180 or junkyard) at pin 8 on the tan connector in the instrument panel. Put bulb in proper spot. Thanks goes to shinyblackdeer for that info.
pics
Last edited by habanero; 04-21-2017 at 05:07 AM.
04-21-2017, 10:14 AM
#52
Registered User
Thread Starter
iTrader: (1)
Join Date: Jun 2003
Location: Raleigh, NC
Posts: 923
Likes: 0
Received 0 Likes
on
0 Posts
I've been reading up on the wiring via links in your build thread around page 94 or so. Good info, I'll definitely give it a whirl. No locker brain here, just the Low Range Off Road harness so I should be similar to your setup.
Thanks Hab!
Thanks Hab!
I only know wiring without locker computer...don't know if this helps or not...actually, shouldn't it be similar either way?
Pin 5 Lock Sensor from the connector under the left rear seat (or should be yellow/blue wire at e-locker) to added wire (Toyota# 82998-24180 or junkyard) at pin 8 on the tan connector in the instrument panel. Put bulb in proper spot. Thanks goes to shinyblackdeer for that info.
pics
Pin 5 Lock Sensor from the connector under the left rear seat (or should be yellow/blue wire at e-locker) to added wire (Toyota# 82998-24180 or junkyard) at pin 8 on the tan connector in the instrument panel. Put bulb in proper spot. Thanks goes to shinyblackdeer for that info.
pics
04-21-2017, 03:15 PM
#53
Contributing Member
Without other people's research and write-ups I'd still be out there holding wires and scratchin' my noggin, it's great to have a knowledge base, isn't it?
Makes sense that your deal should be similar as well as your cluster. Holler if you want any clarifications though.
Makes sense that your deal should be similar as well as your cluster. Holler if you want any clarifications though.
04-21-2017, 03:18 PM
#54
Registered User
Thread Starter
iTrader: (1)
Join Date: Jun 2003
Location: Raleigh, NC
Posts: 923
Likes: 0
Received 0 Likes
on
0 Posts
Certainly does help. Been using the info on this forum and TTORA when I had my Tacoma, love it. When I finally get to it and have a question I can't figure out I'll hit you up, thanks!
Without other people's research and write-ups I'd still be out there holding wires and scratchin' my noggin, it's great to have a knowledge base, isn't it?
Makes sense that your deal should be similar as well as your cluster. Holler if you want any clarifications though.
Makes sense that your deal should be similar as well as your cluster. Holler if you want any clarifications though.
05-13-2017, 12:31 PM
#55
Registered User
Thread Starter
iTrader: (1)
Join Date: Jun 2003
Location: Raleigh, NC
Posts: 923
Likes: 0
Received 0 Likes
on
0 Posts
I ordered the Toyota repair wire and put it in the gauge cluster brown harness, added a bulb and BOOM! RR Diff Lock is now illuminated!!!!! I have the power lead tied under the dash until I get the rear installed, I plan to tap the Low Range Off Road Ultimate Harness to light the dash when the locker is engaged.
Well no thanks to Photobucket right now, dumb site won't let me log on so no pics - working now!!!. I also have some new UCA's to install, SPC from Amazon to save about $50. Still haven't had the opportunity to install that locking rear yet but EVERYTHING else is ready, or pertnear to ready!
Well no thanks to Photobucket right now, dumb site won't let me log on so no pics - working now!!!. I also have some new UCA's to install, SPC from Amazon to save about $50. Still haven't had the opportunity to install that locking rear yet but EVERYTHING else is ready, or pertnear to ready!
 05-13-2017, 01:00 PM
#56
Contributing Member
Awesome! Seeing those little red words when you hit the locker switch will be the coolest thing since sliced bread.

 05-14-2017, 05:24 PM
#59
Contributing Member
Whaaaa???
I have that! It's fun!!
Looks good, any plans for it?
I have that! It's fun!!
Looks good, any plans for it?
05-15-2017, 04:19 AM
#60
Registered User
Thread Starter
iTrader: (1)
Join Date: Jun 2003
Location: Raleigh, NC
Posts: 923
Likes: 0
Received 0 Likes
on
0 Posts
No plans yet but you know how that goes.
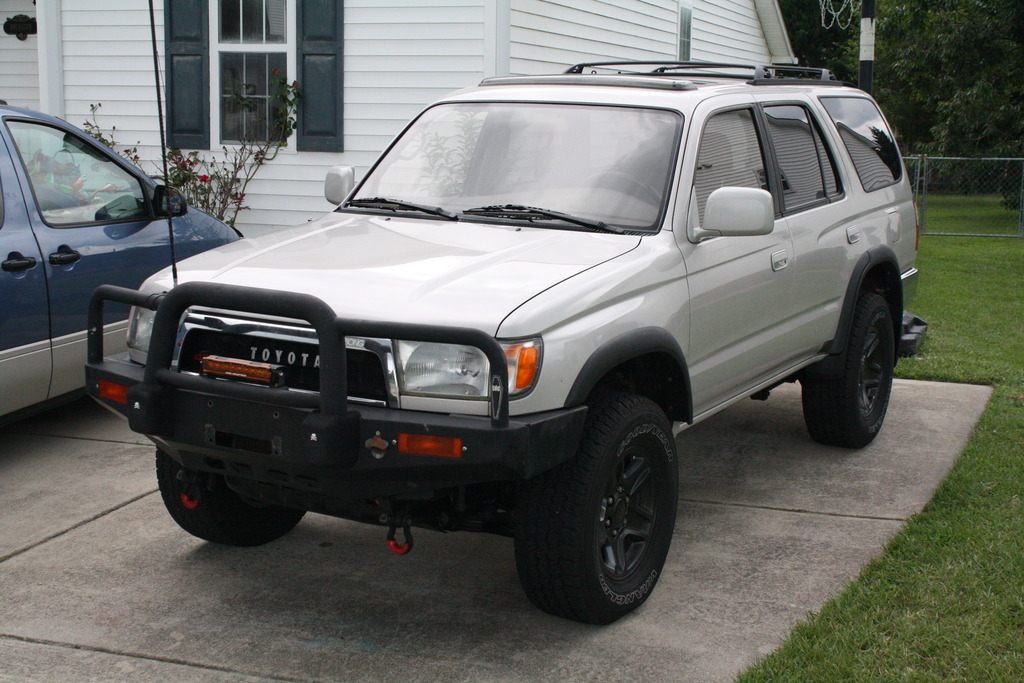
OK, so the vehicle has received the 99+ console upgrade, SR5 flares, Limited wheel painted, rear wind deflector, 99 coils front and rear and my TJM T15 and Satoshi grill from my 96 4Runner which will now get an ARB bumper and Raptor style grill.
 .
.
OK, so the vehicle has received the 99+ console upgrade, SR5 flares, Limited wheel painted, rear wind deflector, 99 coils front and rear and my TJM T15 and Satoshi grill from my 96 4Runner which will now get an ARB bumper and Raptor style grill.
 .
.
Last edited by terminator; 07-08-2017 at 03:41 PM.


