My Home made Safari Rack
 02-13-2010, 09:31 AM
#1
Registered User
Thread Starter
Join Date: Jul 2009
Location: Ontario, Canada
Posts: 246
Likes: 0
Received 0 Likes
on
0 Posts
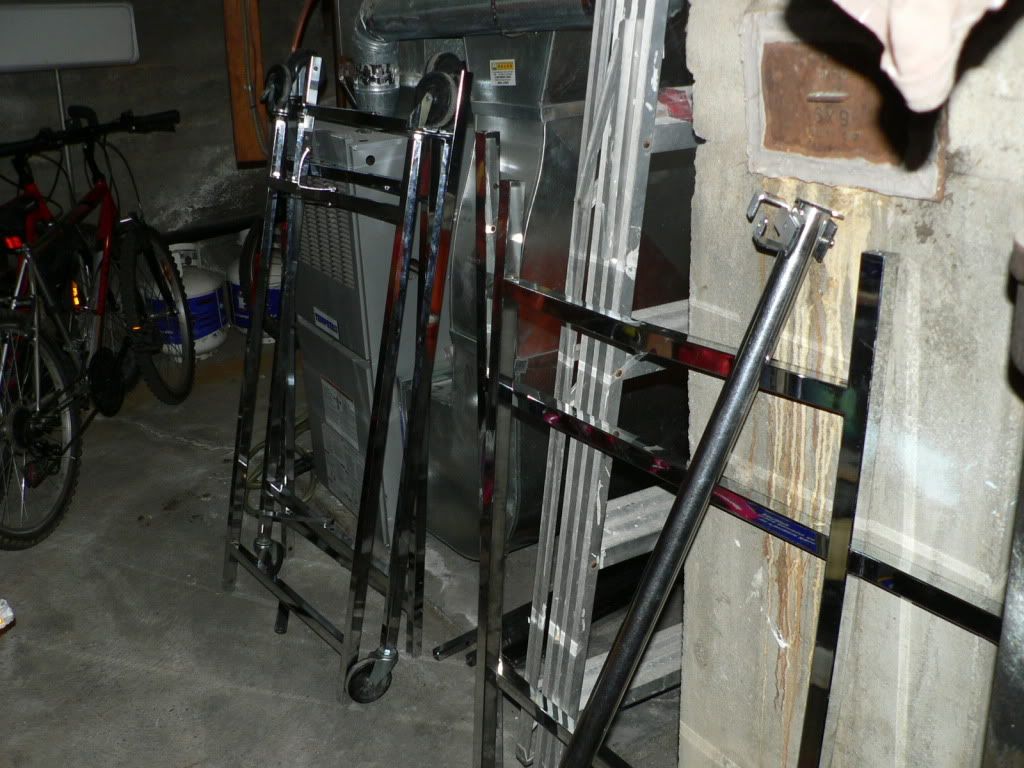
It ain't much, and may not look the nicest, but I made this thing out of discarded Retail Clothing Racks.
Here are some of the pieces left over from the racks I disassembled to build the rack.
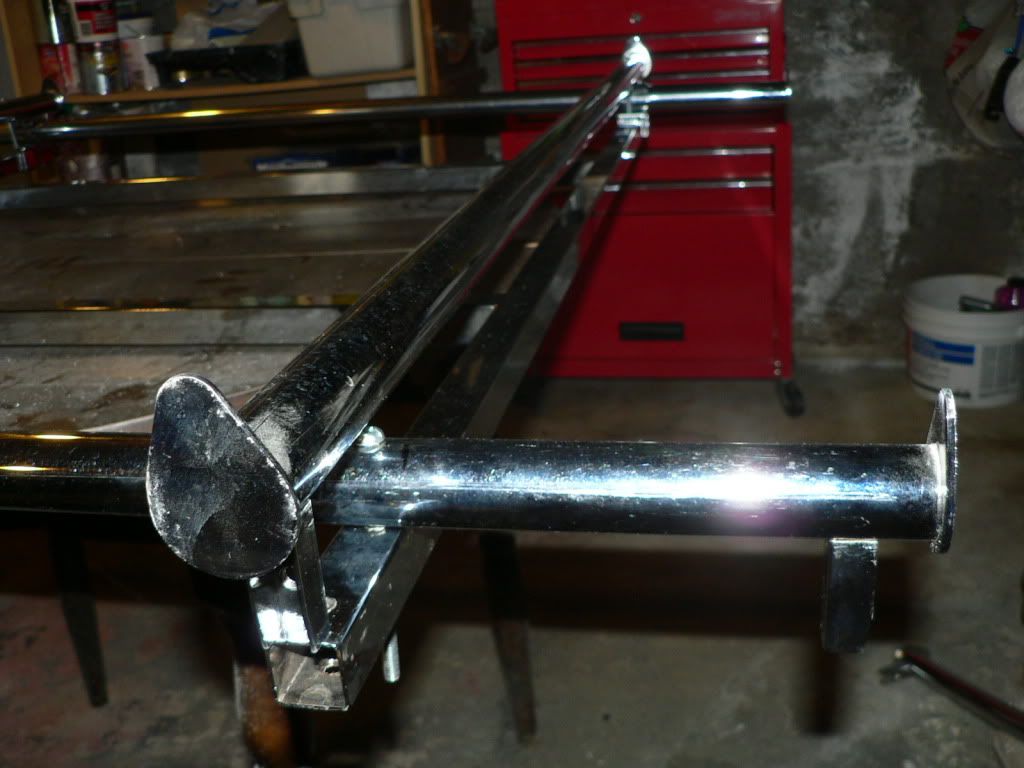
Here is a shot of it mocked up

Another shot of the mock up
I'm currently Rubber Coating it, with Rubberized Rocker Guard spray.
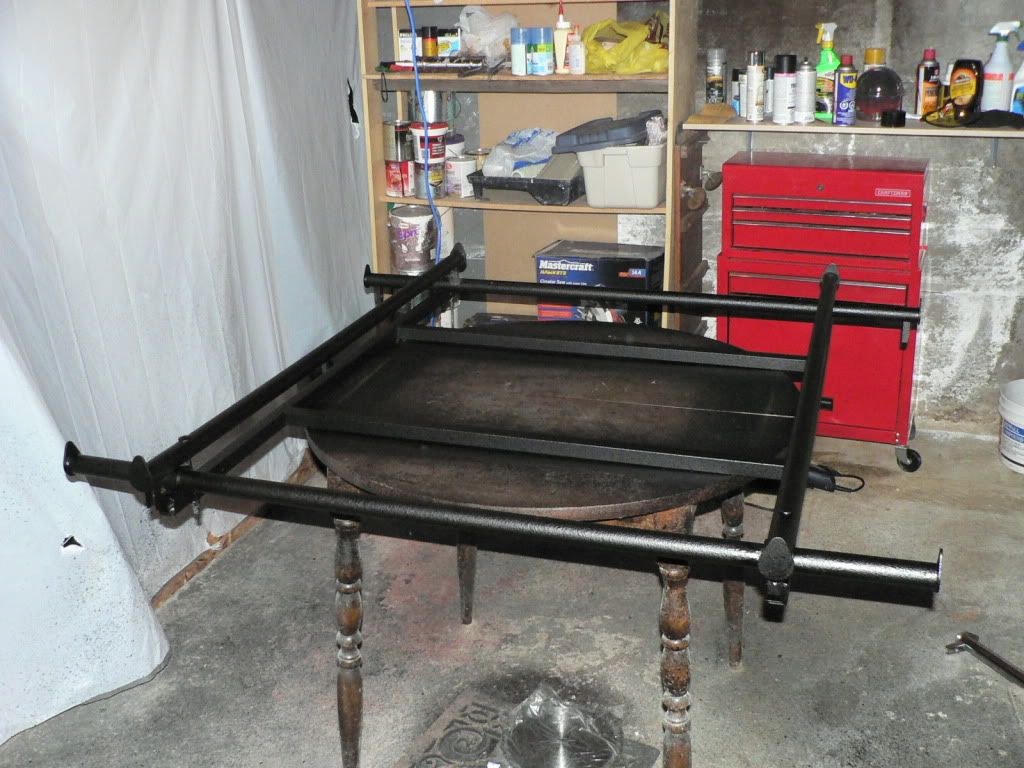
I'm still looking into getting some sort of Metal Grill to mount on the bottom of the rack to act as a floor. In the meantime, I'll just run the rack like it is.
Here are some of the pieces left over from the racks I disassembled to build the rack.
Here is a shot of it mocked up
Another shot of the mock up
I'm currently Rubber Coating it, with Rubberized Rocker Guard spray.
I'm still looking into getting some sort of Metal Grill to mount on the bottom of the rack to act as a floor. In the meantime, I'll just run the rack like it is.
 02-13-2010, 09:39 AM
#2
Registered User
Join Date: Sep 2008
Location: middle of no where Alaska
Posts: 4,355
Likes: 0
Received 2 Likes
on
2 Posts
Haha! I LIKE IT!!!
Is it all bolt together?
Are you going to be carrying very heavy stuff?
Also, Home Depot and (I'm sure) Lowes carries some expanded metal type things for a grate you're looking for.
Is it all bolt together?
Are you going to be carrying very heavy stuff?
Also, Home Depot and (I'm sure) Lowes carries some expanded metal type things for a grate you're looking for.
Last edited by toyota4x4907; 02-13-2010 at 09:40 AM.
02-13-2010, 09:47 AM
#3
Registered User
Thread Starter
Join Date: Jul 2009
Location: Ontario, Canada
Posts: 246
Likes: 0
Received 0 Likes
on
0 Posts
It is all bolted together. However, the center section was actually all welded during it's original fabrication. I re-used alot of the original hardware to assemble it, and then bought some bolts, lock washers, and nuts to finish the assembly.
I checked out Home Depot last night, looking for the meshing, but was going with a larger sized base of 39" X 36". I think I'm going to reduce it to 20" X 36" and see what I can find. The meshing I found at Home Depot, was about $30.00 for one sheet. So far, I only have about $10.00 bucks into this thing!
I checked out Home Depot last night, looking for the meshing, but was going with a larger sized base of 39" X 36". I think I'm going to reduce it to 20" X 36" and see what I can find. The meshing I found at Home Depot, was about $30.00 for one sheet. So far, I only have about $10.00 bucks into this thing!

 02-13-2010, 05:57 PM
#7
Registered User
Thread Starter
Join Date: Jul 2009
Location: Ontario, Canada
Posts: 246
Likes: 0
Received 0 Likes
on
0 Posts
Thanks guys. I've been wanting a safari rack for a while now, but couldn't find one I could afford. I was driving by my store one day, and noticed that they had a large Garbage bin outside in the back of the store. It was just loaded with scrapped clothing racks and light fixtures. I came back the same day, and found some guy in the bin, taking off all of the casters off the racks. I grabbed a couple full racks, and put them in my Runner......and well, you know the rest.
Trending Topics
02-13-2010, 07:23 PM
#9
Registered User
iTrader: (1)
Join Date: Jul 2009
Location: Central, Arkansas
Posts: 1,088
Likes: 0
Received 0 Likes
on
0 Posts
Nice.. I like it, especially cus if anything happens to it you don't have to imagine you wasted a lot of money!  Time to fab up some mounts for a hi-lift, tire carrier, and other doo-dads...
Time to fab up some mounts for a hi-lift, tire carrier, and other doo-dads...
02-13-2010, 10:50 PM
#10
Registered User
Thread Starter
Join Date: Jul 2009
Location: Ontario, Canada
Posts: 246
Likes: 0
Received 0 Likes
on
0 Posts
02-14-2010, 11:51 PM
#11
Registered User
iTrader: (1)
Join Date: Jul 2009
Location: Central, Arkansas
Posts: 1,088
Likes: 0
Received 0 Likes
on
0 Posts
ahh hahh.. I forgot you built that. Def. a cool mod, and lookig forward to seeing how it plays out later down the line. But back to your rack (roof rack  ) keep us posted with updates. Interested in seeing how this "goin' green" rack turns out.
) keep us posted with updates. Interested in seeing how this "goin' green" rack turns out.
02-15-2010, 04:22 AM
#12
Registered User
Thread Starter
Join Date: Jul 2009
Location: Ontario, Canada
Posts: 246
Likes: 0
Received 0 Likes
on
0 Posts
I definately will keep this thread updated. I'm still waiting for some of the paint to dry. My next step is to find something to use as the floor of the rack. Then I might fab up some brackets to mount some lights, and a trail axe and maybe the high lift......
02-28-2010, 05:57 PM
#13
Registered User
Thread Starter
Join Date: Jul 2009
Location: Ontario, Canada
Posts: 246
Likes: 0
Received 0 Likes
on
0 Posts
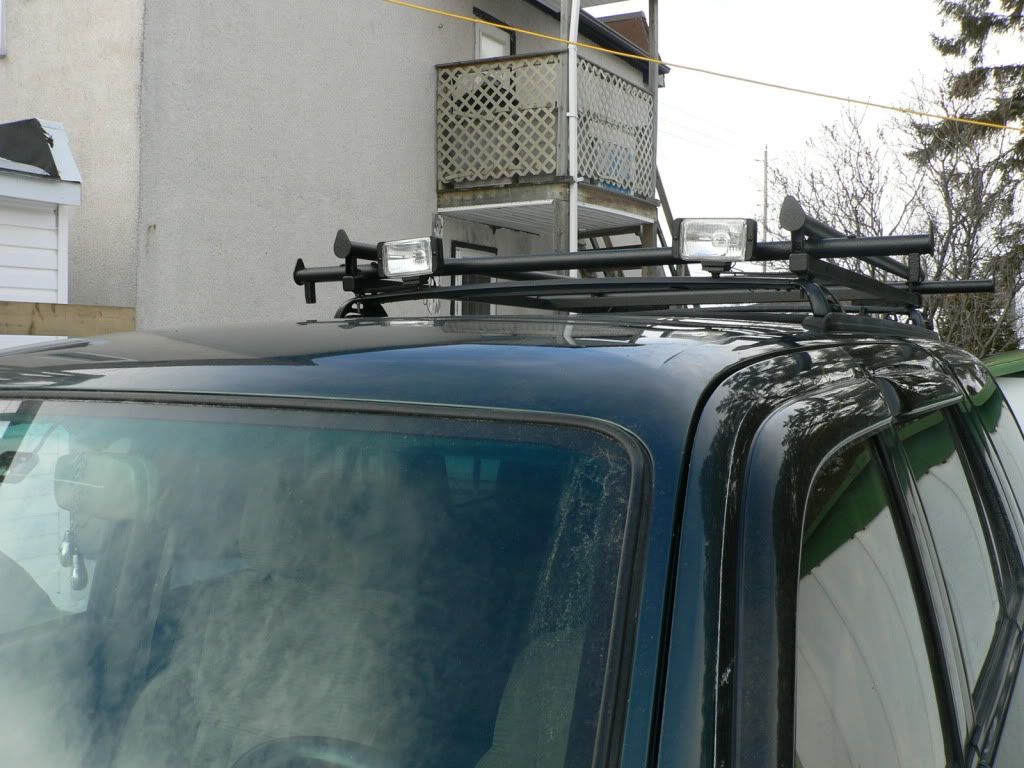
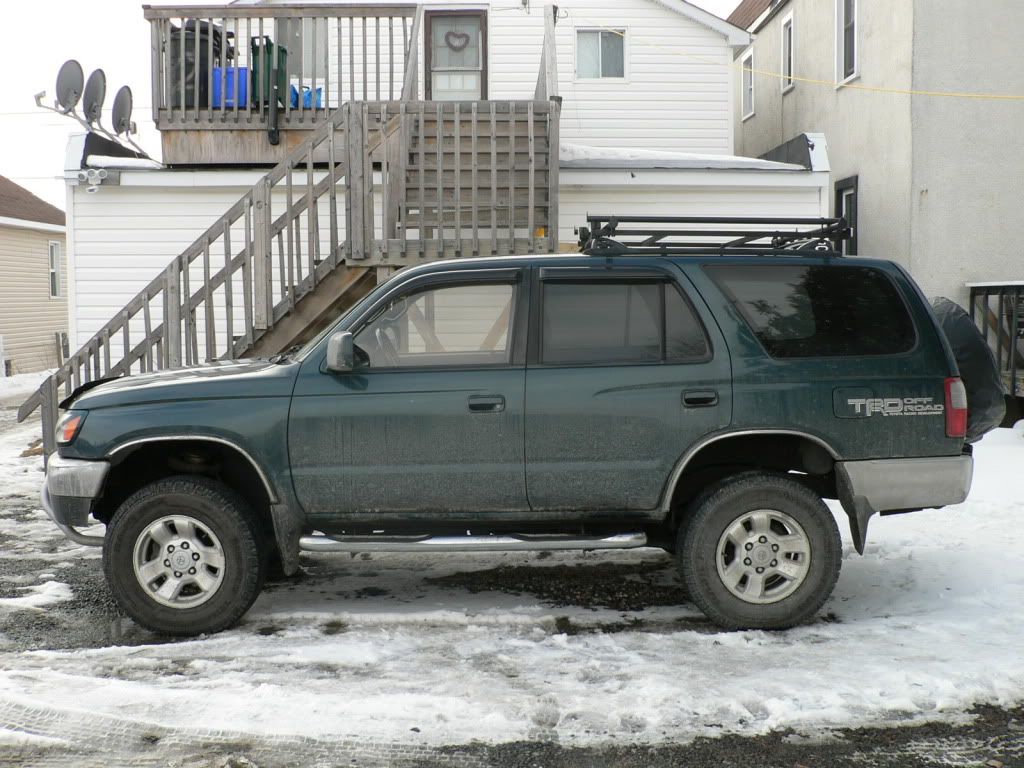
I fabbed up some mounts for the lights, I'm going to wire it up, in the coming weeks. I'm planning on going through the plastic plug under the stock rail, to run the wires through the roof. The wiring will be routed from the driving lights to the inside of the cab to a toggle switch, and the rear will be wired directly off my back-up lights. Here's some pics of the mock up on the truck.......
Front view of Driving lights
View of the Back-up lights
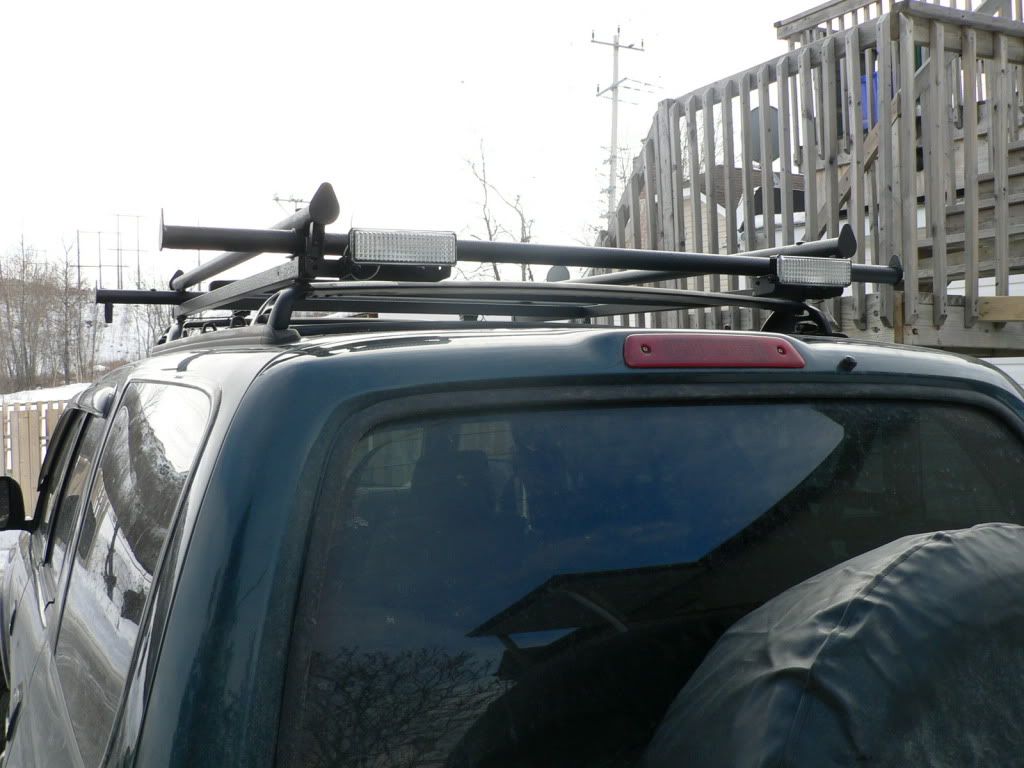
Quarter shot

Side View
What do you guys think? So far, it cost me about $90.00 for the lights, and $10.00 for the paint and rubber guard!
Front view of Driving lights
View of the Back-up lights
Quarter shot
Side View
What do you guys think? So far, it cost me about $90.00 for the lights, and $10.00 for the paint and rubber guard!
 03-03-2010, 04:53 AM
#17
Registered User
Thread Starter
Join Date: Jul 2009
Location: Ontario, Canada
Posts: 246
Likes: 0
Received 0 Likes
on
0 Posts
I know.....but I couldn't afford to buy better lights, due to the fact that I'm currently buying a house, and trying to save some cash for the down payment and closing costs....Once the front one's crap out, I'm thinking of buying some PIAA's or some Hella's......
03-03-2010, 04:55 AM
#18
Registered User
Thread Starter
Join Date: Jul 2009
Location: Ontario, Canada
Posts: 246
Likes: 0
Received 0 Likes
on
0 Posts
Thanks! I left the bars long, so that If I decided to put a canoe or a small Aluminum boat up there, I could do so without strapping wooden boards to the rack. It's a little more functional that way....I think??
03-03-2010, 05:05 PM
#19
Registered User
Thread Starter
Join Date: Jul 2009
Location: Ontario, Canada
Posts: 246
Likes: 0
Received 0 Likes
on
0 Posts
I don't really have any closeups of the mounts right now, but all I did was re-use some of the hardware from the clothing racks! All I did, was drill some extra holes, and bolt them up. The mounts are just some flat "L" shaped pieces of Steel that were chromed like the rest of the rack.

Thread
Thread Starter
Forum
Replies
Last Post
the1998sr5
95.5-2004 Tacomas & 96-2002 4Runners
15
07-14-2020 08:35 PM
jasonty
Pre 84 Trucks (Build-Up Section)
41
12-23-2018 01:00 PM
Jcrawl94
84-85 Trucks & 4Runners (Build-Up Section)
10
10-24-2015 04:34 PM
moonpie
Newbie Tech Section
0
07-31-2015 11:58 PM


