Stanz's 1986 4Runner
 04-20-2012, 12:45 AM
#1
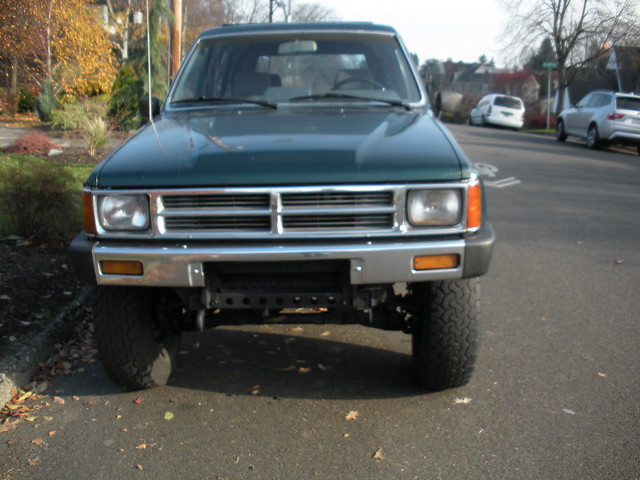
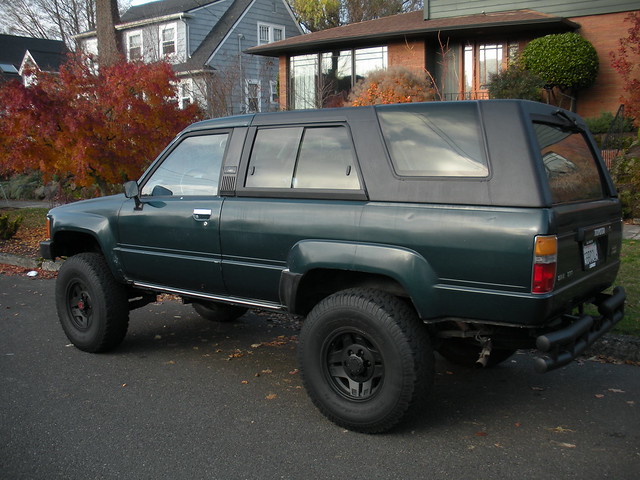
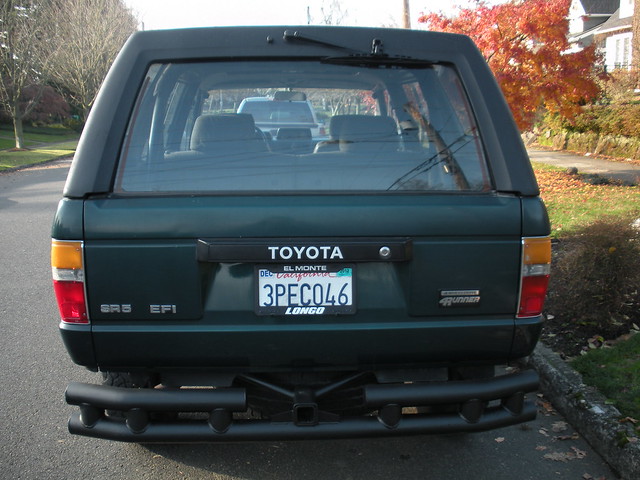
Stanz's 1986 4Runner
Starting this thread retroactively. I'm still mid-build but thought I'd document my progress here:
Day 1: Purchase in December 2011 in LA, drove it back to Portland.
Despite having a local dealer do a full inspection, they missed all of the following:
1) No chassis ground - symptoms emerged on the drive home: dim headlights, ridiculously slow wipers and heater blower
2) Driver door lock cylinder had been tampered with (I had to crawl across the passenger seat to unlock the driver door)
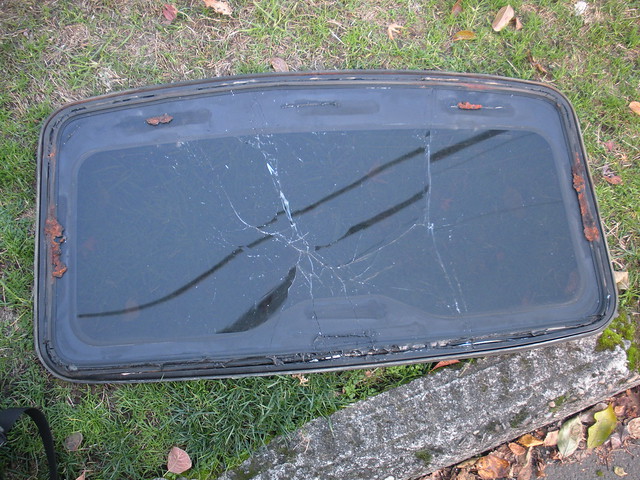
3) Rubber seals dry rotted - windshield leaked, several body grommets leaked and the sunroof seals were so dry rotted that the glass delaminated within 2 hours into the journey home - ejecting at highway speed (see carnage below)
4) Power steering hose leak
5) Clutch master cylinder leaking through firewall
6) Power windows only worked if you repeatedly stabbed the switches (dealer described them as slightly slow)
7) Cracked exhaust manifold
8) No reverse lights
Day 1 Pics:
In tact sunroof frame (sans glass) - this is what the glass separated from at 60mph
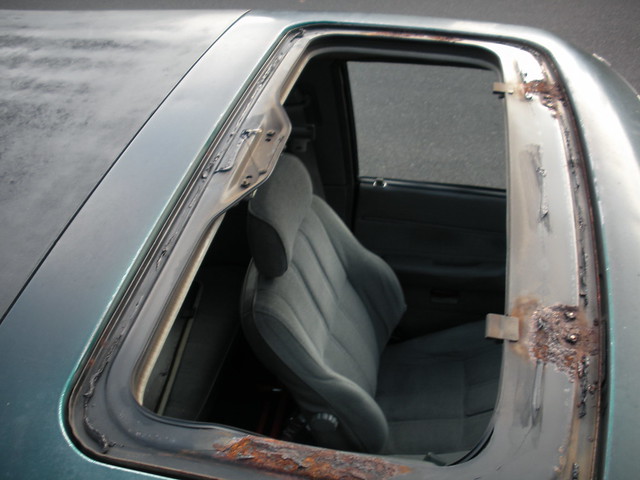
A fine strand of butyl rubber held on the glass when it ejected. It held it to the vehicle but it hit the rear canopy so hard I thought it cracked it.
December Repairs:
-Big 3 wire mod
-New windshield
-New heater blower, resistor and fan speed switch
-New speedo cable
-New heator core and heater valve
-New idler arm
-New 31x10.5 BFGs
-New factory sunroof
-New cat back exhaust
Day 1: Purchase in December 2011 in LA, drove it back to Portland.
Despite having a local dealer do a full inspection, they missed all of the following:
1) No chassis ground - symptoms emerged on the drive home: dim headlights, ridiculously slow wipers and heater blower
2) Driver door lock cylinder had been tampered with (I had to crawl across the passenger seat to unlock the driver door)
3) Rubber seals dry rotted - windshield leaked, several body grommets leaked and the sunroof seals were so dry rotted that the glass delaminated within 2 hours into the journey home - ejecting at highway speed (see carnage below)
4) Power steering hose leak
5) Clutch master cylinder leaking through firewall
6) Power windows only worked if you repeatedly stabbed the switches (dealer described them as slightly slow)
7) Cracked exhaust manifold
8) No reverse lights
Day 1 Pics:
In tact sunroof frame (sans glass) - this is what the glass separated from at 60mph
A fine strand of butyl rubber held on the glass when it ejected. It held it to the vehicle but it hit the rear canopy so hard I thought it cracked it.
December Repairs:
-Big 3 wire mod
-New windshield
-New heater blower, resistor and fan speed switch
-New speedo cable
-New heator core and heater valve
-New idler arm
-New 31x10.5 BFGs
-New factory sunroof
-New cat back exhaust
Last edited by stanz; 04-20-2012 at 01:19 AM.
 04-20-2012, 12:50 AM
#2
Pics from heater core replacement:
http://www.flickr.com/photos/72188695@N05/6519971191/
I replaced all of the dry rotted foam on all of the flapper doors with peel n seal then I covered them with foil duct tape from Home Depot to provide durability and ensure that it would not peel off
http://www.flickr.com/photos/72188695@N05/6519946551/
http://www.flickr.com/photos/72188695@N05/6519946191/
04-20-2012, 12:56 AM
#3
January 2013 repairs and mods:
New Rear window/wiper relays replaced on circuit board (no pictures)
Replaced every vacuum hose and every coolant hose (no pictures)
Exhaust manifold:
The JB Weld package is correct, it is not intended for exhaust manifolds. It melts:
http://www.flickr.com/photos/72188695@N05/6839695565/
http://www.flickr.com/photos/72188695@N05/6839724717/
http://www.flickr.com/photos/72188695@N05/6828489985/
Trail Gear rear bumper:
Of course I discovered the first one I got was for a pick-up (local shop ordered wrong one). Learned that after I painted it.
http://www.flickr.com/photos/72188695@N05/6839725063/
Test fit of new bumper, PIAA fog lights and LED turn signals:
http://www.flickr.com/photos/72188695@N05/6536134467/
Last edited by stanz; 04-20-2012 at 12:58 AM.
04-20-2012, 01:07 AM
#4
Feb 2013:
New O2 Sensor (no pictures)
New Cold Start Injector (no pictures)
Reverse light repair (turned out the harness was unplugged in the engine bay)
Adjusted valves
Cleaned and calibrated throttle body/TPS
Cap/rotor/plugs
Installed Front Bumper:
http://www.flickr.com/photos/72188695@N05/6607316307/
http://www.flickr.com/photos/72188695@N05/6839100295/
Contura Fog Light Switch:
http://www.flickr.com/photos/72188695@N05/6828488723/
http://www.flickr.com/photos/72188695@N05/6828489397/
1992 4Runner Seat Conversion:
http://www.flickr.com/photos/72188695@N05/6866364339/
http://www.flickr.com/photos/72188695@N05/6866363199/
Began restoration of interior parts - replacement and redying
Old:
http://www.flickr.com/photos/72188695@N05/6834582663/
http://www.flickr.com/photos/72188695@N05/6834583241/
Replacement ready for dying:
http://www.flickr.com/photos/72188695@N05/6839139477/
After:
http://www.flickr.com/photos/72188695@N05/6834272497/
http://www.flickr.com/photos/72188695@N05/6839652095/
http://www.flickr.com/photos/72188695@N05/6834582413/
Billet swtich plate for rear cargo area: rear window, led lights, 12V power
http://www.flickr.com/photos/72188695@N05/6839695381/
Last edited by stanz; 04-29-2012 at 06:12 PM.
04-20-2012, 01:12 AM
#5
March/April 2012:
Custom diamond plate panel for tailgate (to be Line-X'd):
http://www.flickr.com/photos/72188695@N05/6787943704/
http://www.flickr.com/photos/72188695@N05/6934046799/
Custom diamond plate seat backs (to be Line-X'd):
http://www.flickr.com/photos/72188695@N05/6995668047/
Headliner tear out (started a separate thread for this)
IPF H4 Headlights:
http://www.flickr.com/photos/72188695@N05/7059041975/
Trending Topics
 04-20-2012, 07:47 AM
#9
About half of the front seat bolts line up. There are a couple of options you can take from there on how to address. I found that two of the front seat mounting brackets, if swapped from the other seat, made for a perfect alignment. There is also a factory hole already threaded and under the carpet that matches up with the outside rear pass side bolt, etc.
Bottom rear seat cushions need to be swapped to the 1st gen seat frames. Then you have the choice as to whether to swap the seat backs or relocating the latch loops. I went for the latter.
It's all documented here: https://www.yotatech.com/forums/f116...t-swap-118423/
Bottom rear seat cushions need to be swapped to the 1st gen seat frames. Then you have the choice as to whether to swap the seat backs or relocating the latch loops. I went for the latter.
It's all documented here: https://www.yotatech.com/forums/f116...t-swap-118423/
 04-26-2012, 10:30 PM
#12
04-29-2012, 04:58 PM
#13
Some progress shots to show the Line-X job on the bed and the tailgate diamond plate cover (I also dyed the tailgate interior plastic trim black to match)
http://www.flickr.com/photos/72188695@N05/7126477801/
http://www.flickr.com/photos/72188695@N05/7126477185/
http://www.flickr.com/photos/72188695@N05/7126477801/
http://www.flickr.com/photos/72188695@N05/7126477185/
04-29-2012, 05:21 PM
#14
Registered User
iTrader: (1)
Join Date: Apr 2011
Location: Denver, CO
Posts: 235
Likes: 0
Received 0 Likes
on
0 Posts
I'm loving this build. The diamond plating in the rear looks great. How much did it cost you and was it very tough to cut? I also love the forest green paint. Keep up the good work!


