84-85 Trucks & 4Runners (Build-Up Section) Post your build-ups here

Cabot's '85 SR5 Extended Cab 4x4 (re)Build

Thread Tools
 
Search this Thread
 
Old 03-28-2020, 01:57 PM
  #81  
Registered User
Thread Starter
 
cabot's Avatar
 
Join Date: Jul 2012
Location: Estill Springs TN / Atl GA
Posts: 205
Received 5 Likes on 3 Posts
I'm totally baffled at my power steering. No leaks. No bubbles. No power steering.

I figured out why there was no power to the radio. The cigarette lighter hot was creating a short to ground.

The clock works again now too.

Couple of references that I need in the next few days.
Pirate4x4 Toyota FAQ
Rebuilding a Toyota 4x4 IFS Power Steering Box


Last edited by cabot; 03-28-2020 at 09:22 PM.
Old 03-29-2020, 11:17 AM
  #82  
Registered User
Thread Starter
 
cabot's Avatar
 
Join Date: Jul 2012
Location: Estill Springs TN / Atl GA
Posts: 205
Received 5 Likes on 3 Posts


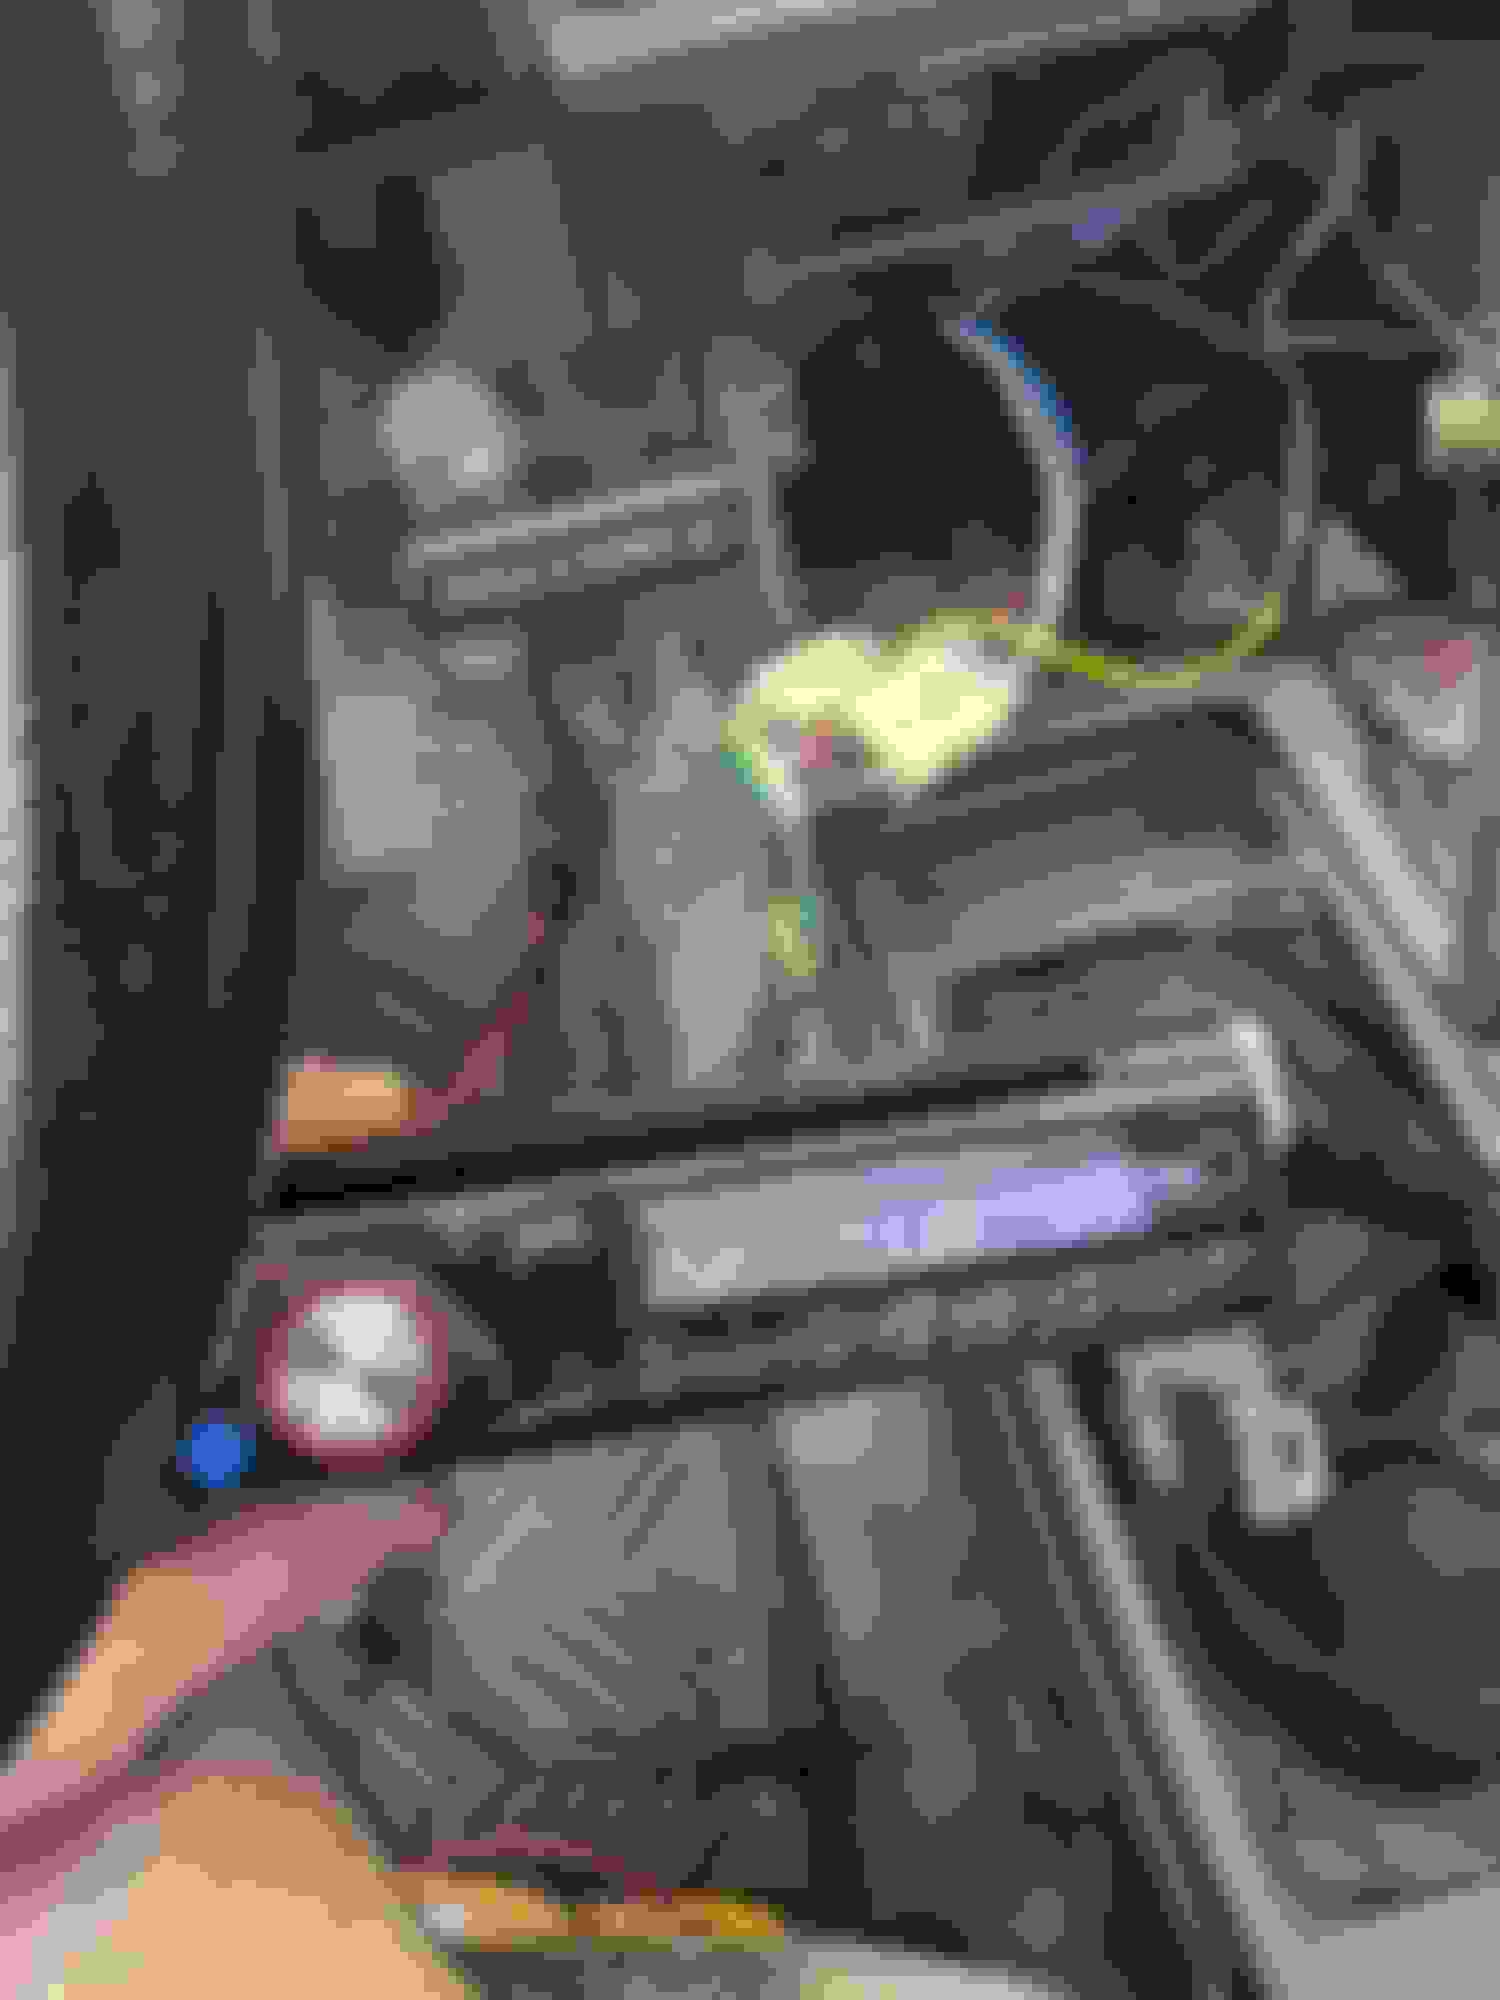
I pulled the power steering pump back out and made sure that everything internal was oriented correctly per the factory service manual. While it was out I drilled out the restrictor plate to 11/32". My power steering is now excellent.
​​​​
Old 03-30-2020, 01:16 PM
  #83  
Registered User
Thread Starter
 
cabot's Avatar
 
Join Date: Jul 2012
Location: Estill Springs TN / Atl GA
Posts: 205
Received 5 Likes on 3 Posts
I need to put a spacer in here somewhere.


I reworked my rear lower shock mounts today.


Last edited by cabot; 03-30-2020 at 09:14 PM.
Old 03-31-2020, 06:50 AM
  #84  
Registered User
 
jakey poo's Avatar
 
Join Date: Jan 2015
Location: Gaston, OR
Posts: 960
Received 147 Likes on 105 Posts
Looking good!
The following users liked this post:
cabot (03-31-2020)
Old 03-31-2020, 11:01 AM
  #85  
Registered User
Thread Starter
 
cabot's Avatar
 
Join Date: Jul 2012
Location: Estill Springs TN / Atl GA
Posts: 205
Received 5 Likes on 3 Posts
Today, I won the fight with my stuck crank bolt and replaced my leaky front oil seal. A really useful tip that I picked up from WheeliePete on YouTube is that you can remove 4 bolts and the power steering pulley to reveal some slots in the main crank pulley. You can jam something sturdy in there to stop the engine from turning over if all other methods fail.


Old 03-31-2020, 11:02 AM
  #86  
Registered User
Thread Starter
 
cabot's Avatar
 
Join Date: Jul 2012
Location: Estill Springs TN / Atl GA
Posts: 205
Received 5 Likes on 3 Posts
Originally Posted by jakey poo
Looking good!
Thanks, bud!
Old 03-31-2020, 12:08 PM
  #87  
Registered User
 
2ToyGuy's Avatar
 
Join Date: Jul 2005
Location: Chiloquin, OR
Posts: 2,286
Received 637 Likes on 513 Posts
A method I was taught by some professional mechanics might be of help in removing that front crank bolt.
Use a 1/2 drive, deepwell, impact socket, and a 1/2 drive breaker bar that's a couple feet long. 24" or so does very well. Preferably one with a built in universal joint. Put the breaker bar on in such a way that it's in contact with a frame member. One that would be in the direction the breaker would move if the engine were turning over. This is critical. I believe it's the passenger side that you need, but I may be wrong.
Hold the breaker bar up against the frame member as firmly as possible.
Remove the center lead from the distributor. BOTH ends! Also, make damn sure the transmission and transfer case are in NEUTRAL. You do NOT want the truck to move! Then, while one person holds the breaker bar tight against the frame member, have someone else TAP the key to the start position. Just a momentary tap to the start position. MOMENTARY.
The starter will rotate the engine, but the breaker bar will hold the bolt stationary. Thus, the engine it's self will cause the bolt to loosen in it's threads. It sounds backwards, turning the engine around the bolt, but it works perfectly. Every time I've had to remove the oil pump to replace the front oil seal, I think 4-5 on my pickup and 2 or 3 on the 4Runner, I've used this method. And yes, I'm the one holding the breaker bar. My wife taps the key for me. After the bolt is broken loose, it comes out very easily with a normal ratchet driver.

Doesn't work for tightening the bolt tot he correct torque, but it sure works for removing it
Just make sure to do it safely!

Good luck!
Pat☺
The following users liked this post:
cabot (03-31-2020)
Old 03-31-2020, 12:16 PM
  #88  
Registered User
Thread Starter
 
cabot's Avatar
 
Join Date: Jul 2012
Location: Estill Springs TN / Atl GA
Posts: 205
Received 5 Likes on 3 Posts
Originally Posted by 2ToyGuy
A method I was taught...
Good luck!
Pat☺
Yeah... I tried that. Starter wasn't budging it. Impact wasn't doing anything. I broke that socket on it. I bought a new 19mm impact socket. I wedged that 1/4" extension in there and tried until it was too rounded off for the new socket to get any grip. I welded that socket to it, put a 3/4" to 1/2" adapter on my 3/4" drive breaker bar. I slipped an 18" section of 1.4x.250 round tube on the end of that guy and put my whole weight into that.
Old 04-01-2020, 09:56 AM
  #89  
Registered User
Thread Starter
 
cabot's Avatar
 
Join Date: Jul 2012
Location: Estill Springs TN / Atl GA
Posts: 205
Received 5 Likes on 3 Posts
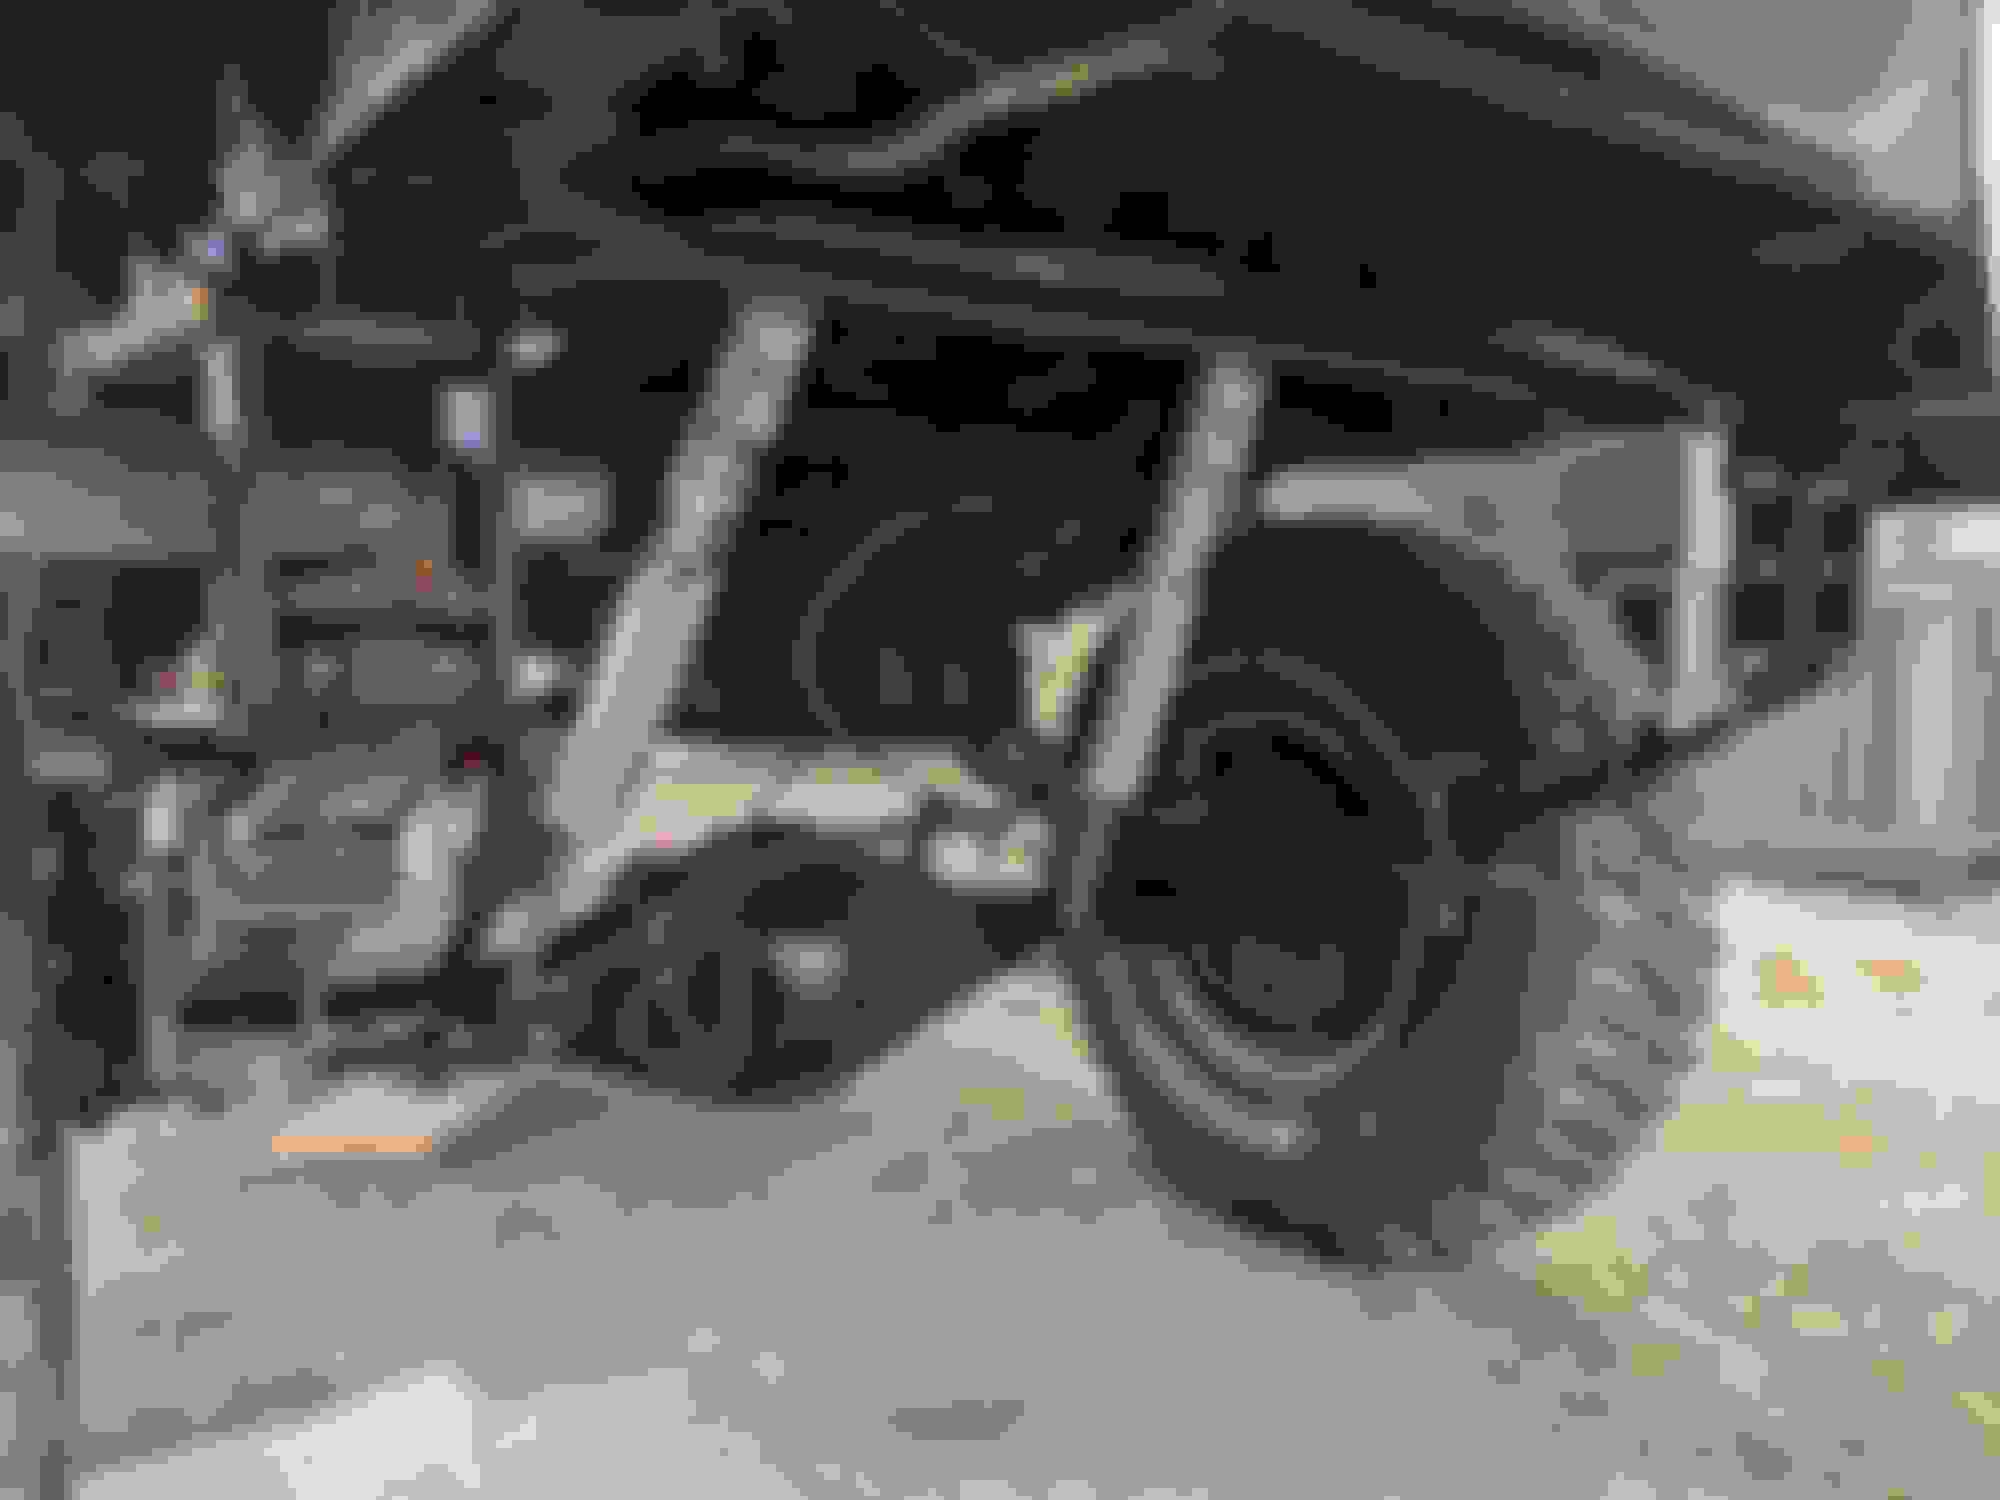
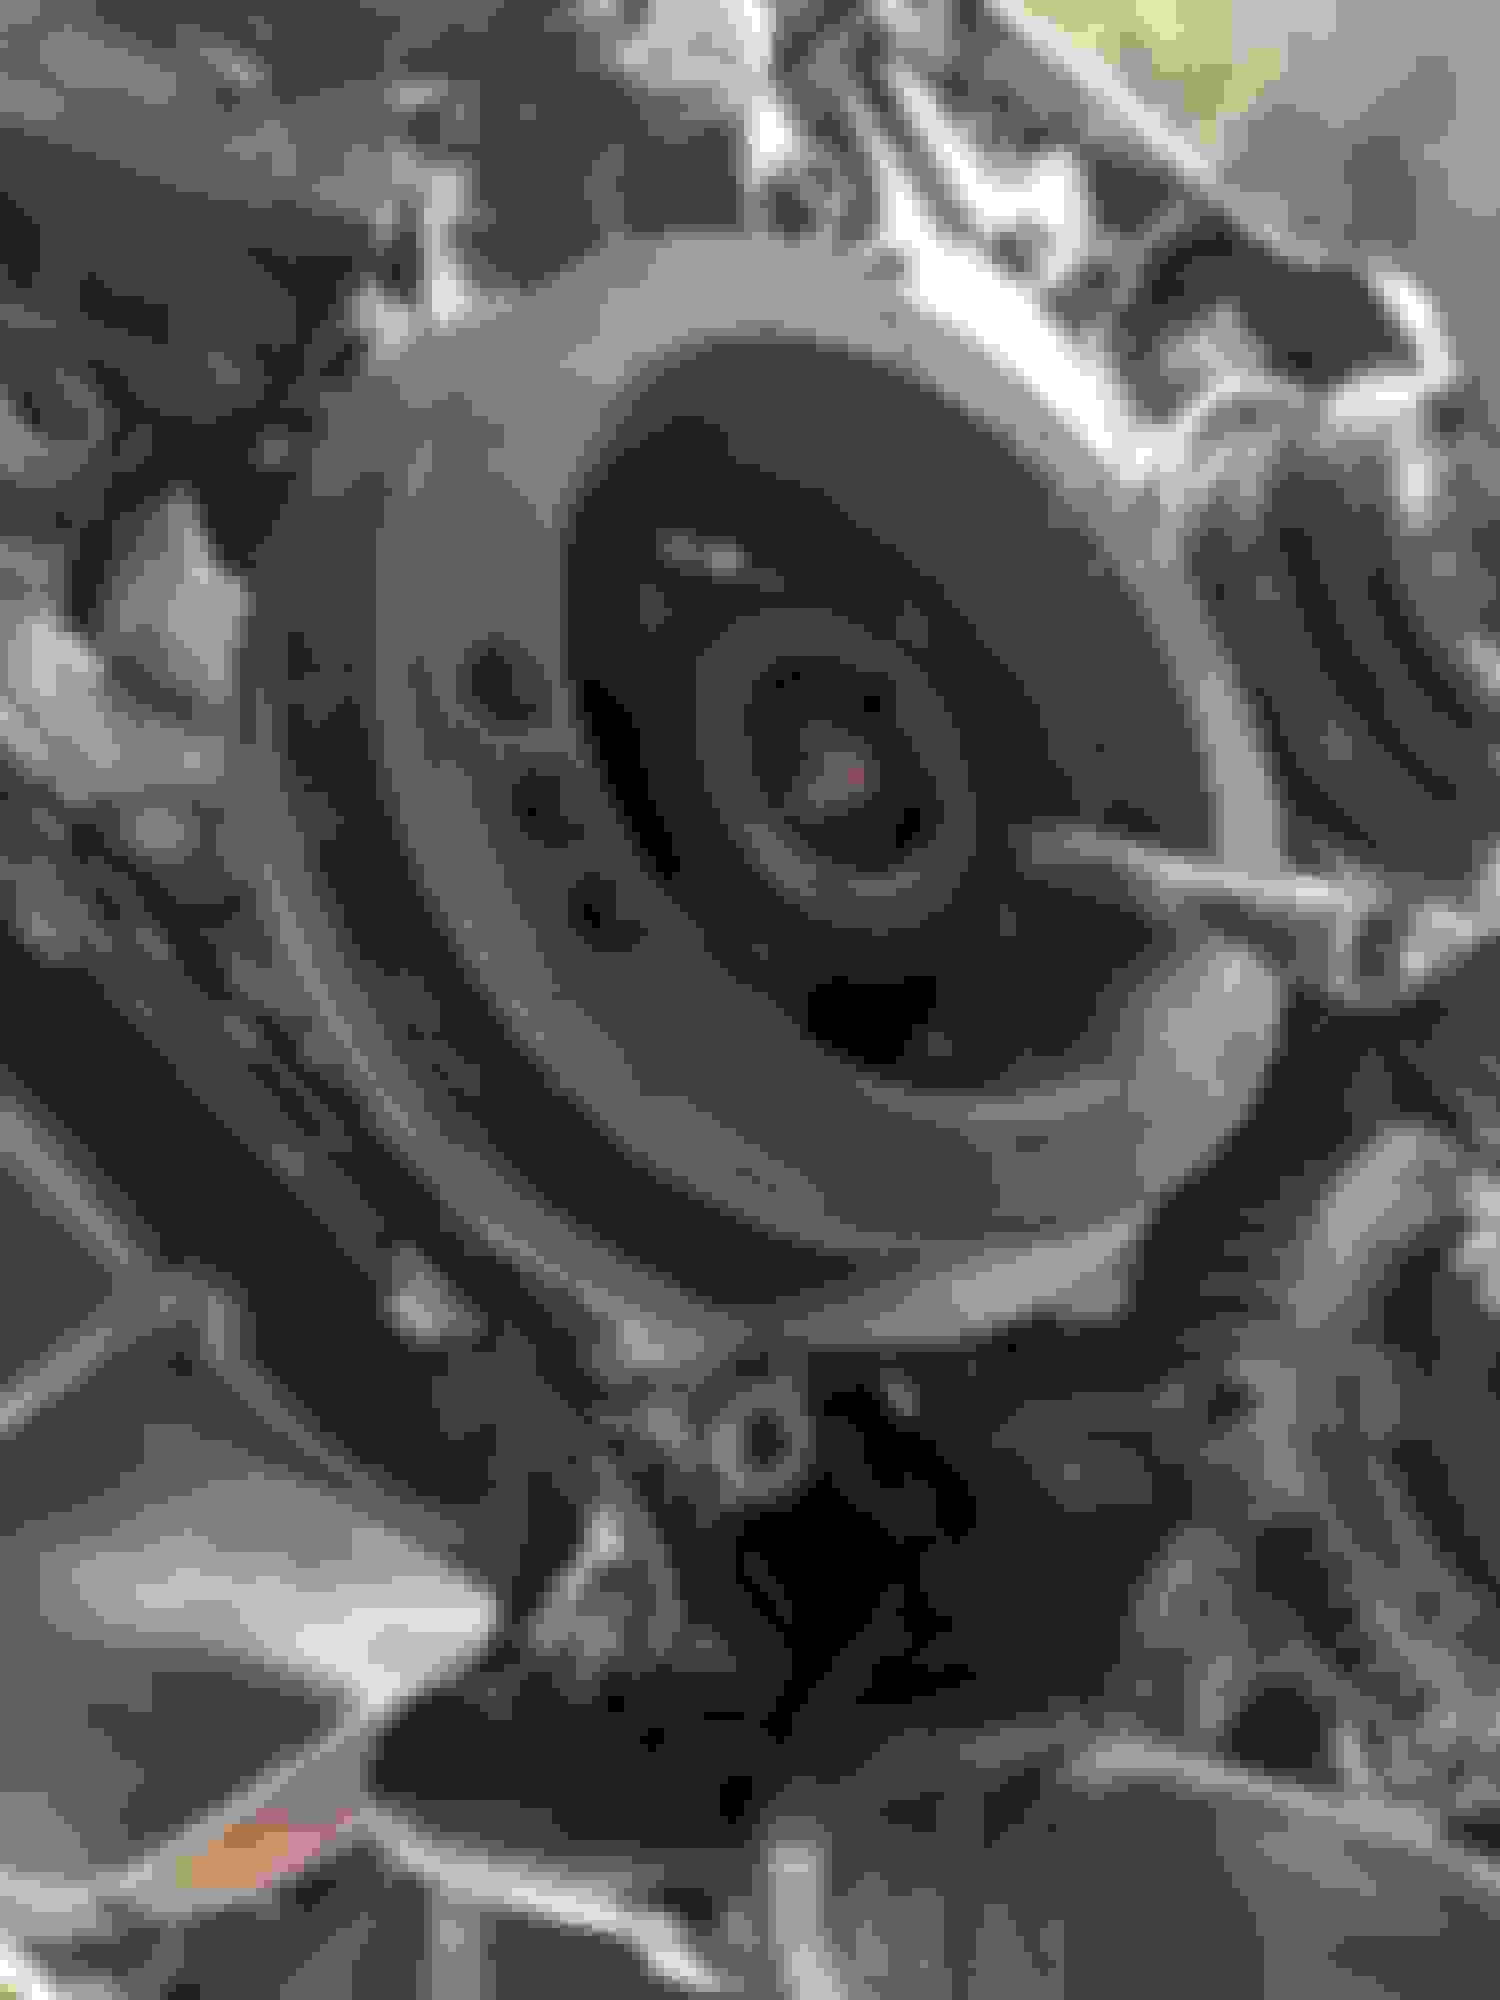
I put in a Timken HB17 center support bearing, greased my u-joints, and filled up the rear differential with 80W90 GL-5 today. I took it for about a 15 mile drive. That's the best it's run and the least it's leaked since I've had it.

The following users liked this post:
old87yota (04-06-2020)
Old 04-01-2020, 11:25 AM
  #90  
Registered User
 
2ToyGuy's Avatar
 
Join Date: Jul 2005
Location: Chiloquin, OR
Posts: 2,286
Received 637 Likes on 513 Posts
Originally Posted by cabot
Yeah... I tried that. Starter wasn't budging it. Impact wasn't doing anything. I broke that socket on it. I bought a new 19mm impact socket. I wedged that 1/4" extension in there and tried until it was too rounded off for the new socket to get any grip. I welded that socket to it, put a 3/4" to 1/2" adapter on my 3/4" drive breaker bar. I slipped an 18" section of 1.4x.250 round tube on the end of that guy and put my whole weight into that.
Wow! That sucker was IN there, wasn't it!

Glad you got it, finally.
Pat☺
Old 04-01-2020, 12:17 PM
  #91  
Registered User
Thread Starter
 
cabot's Avatar
 
Join Date: Jul 2012
Location: Estill Springs TN / Atl GA
Posts: 205
Received 5 Likes on 3 Posts
Originally Posted by 2ToyGuy
Wow! That sucker was IN there, wasn't it!

Glad you got it, finally.
Pat☺
Yeah. One of the more frustrating bolts I've ever fooled with. Thanks!
Old 04-01-2020, 12:21 PM
  #92  
Registered User
Thread Starter
 
cabot's Avatar
 
Join Date: Jul 2012
Location: Estill Springs TN / Atl GA
Posts: 205
Received 5 Likes on 3 Posts
A few more photos as it sits now:


The following users liked this post:
old87yota (04-06-2020)
Related Topics
Thread
Thread Starter
Forum
Replies
Last Post
whiteyota93
86-95 Trucks & 4Runners
2
08-07-2017 08:22 PM
supersaiyan93
86-95 Trucks & 4Runners (Build-Up Section)
11
10-05-2016 02:00 PM
grant526
84-85 Trucks & 4Runners (Build-Up Section)
27
08-22-2013 11:39 PM
jd350az
84-85 Trucks & 4Runners (Build-Up Section)
9
03-31-2012 07:43 PM
WD_40
84-85 Trucks & 4Runners (Build-Up Section)
24
05-24-2011 08:15 AM


Quick Reply: Cabot's '85 SR5 Extended Cab 4x4 (re)Build


All times are GMT -8. The time now is 07:56 PM.