When you click on links to various merchants on this site and make a purchase, this can result in this site earning a commission. Affiliate programs and affiliations include, but are not limited to, the eBay Partner Network.
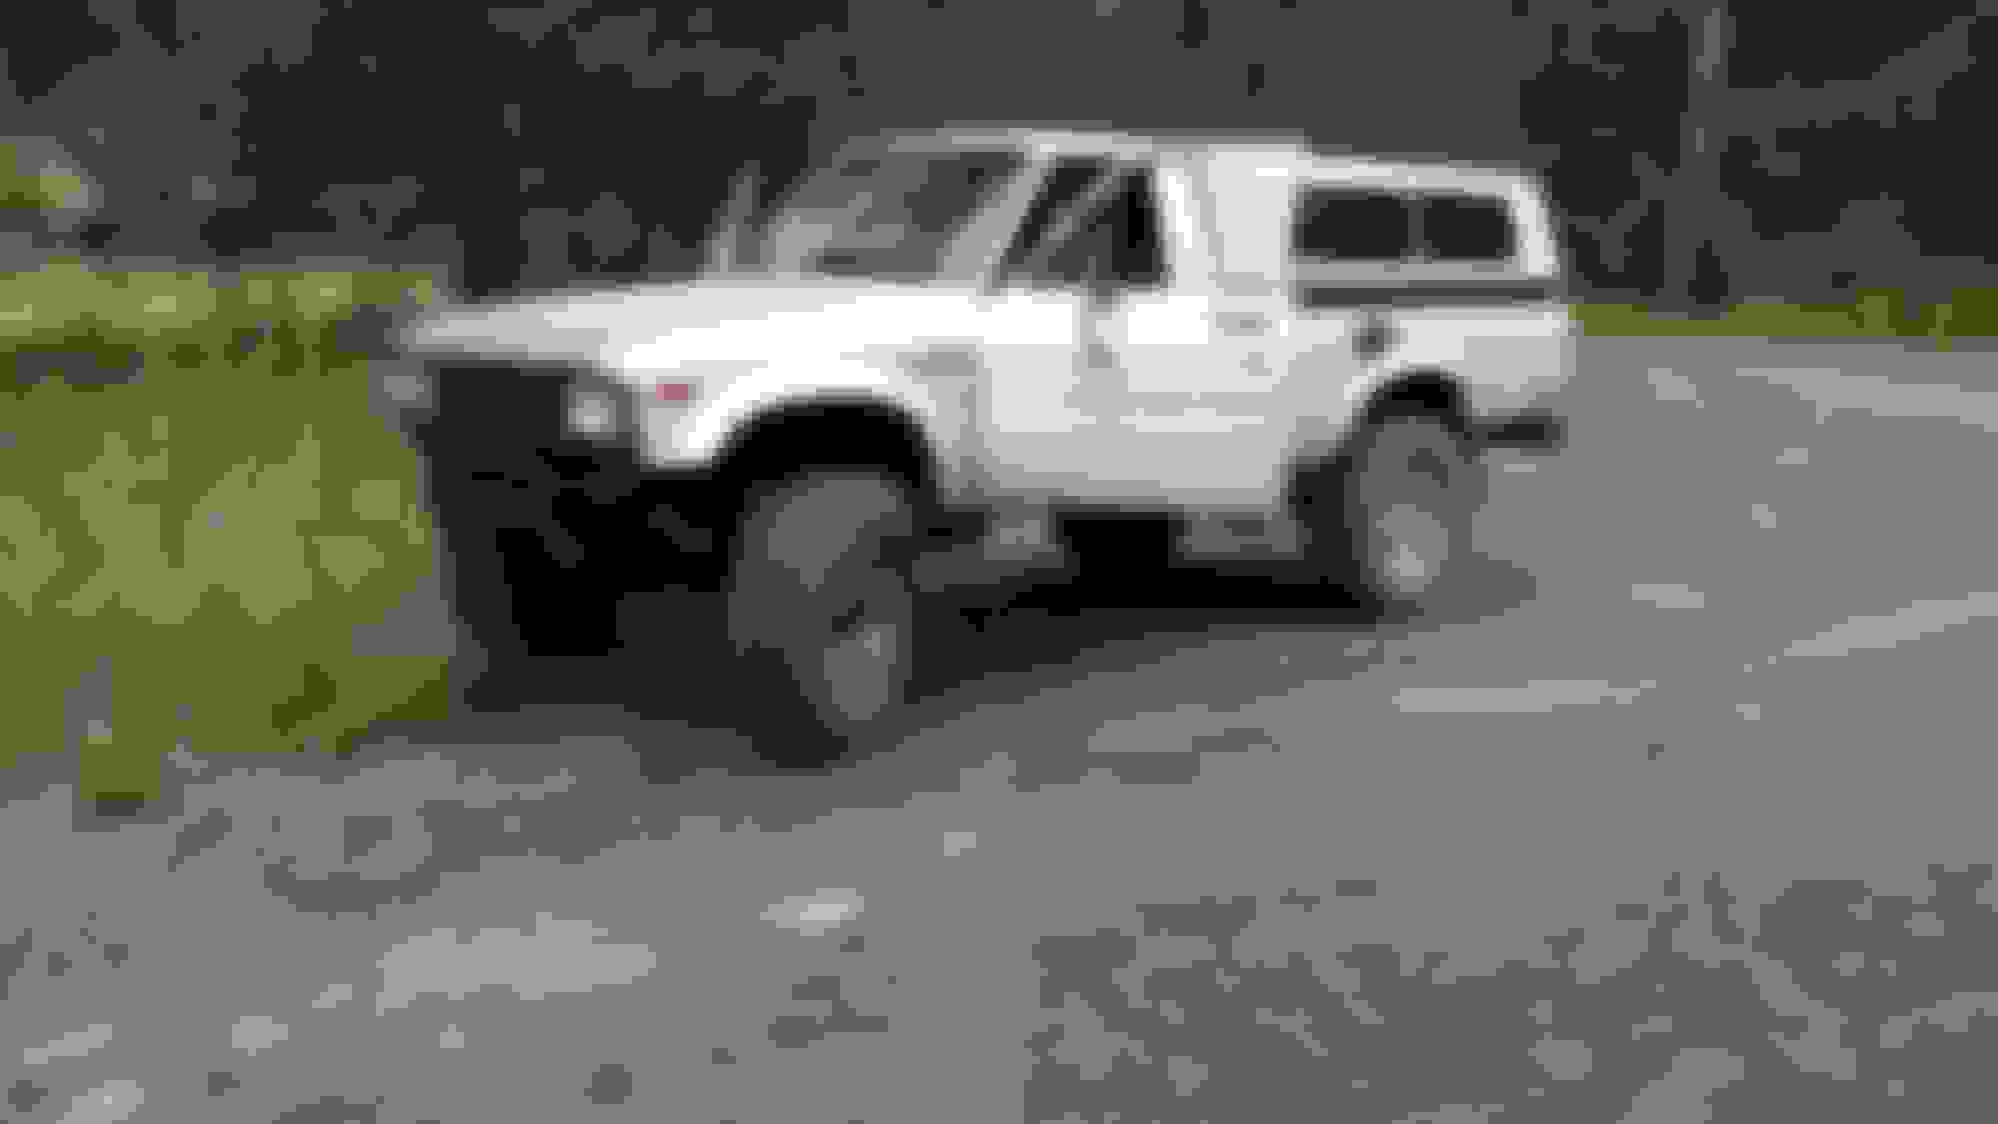
]After having three previous yotas, I have finally decided to do a build up thread for my 1st gen. I picked it up two weeks ago in Spokane Washington for $1100. She is pretty stock with 168xxx miles, no lift, longbed, top shift 5 speed, rusty bed. It's going to start off slow though because my time off is really nonexistent while the wife is out of classes. I will post some pics tonight after I get off work.
Last edited by warmonger88; 05-30-2013 at 09:00 AM.
Where the hell does everyone find these deals? I paid $1700 for my beat to hell 4runner and yet people are getting decent 1st gens for even less than that.
Rust is a huge bargaining chip in the northwest, I talked the dude down from $1600. There is some small rust spots here and there, but nothing has become major yet. I f I don't get them taken care of now, they will develop into holes. Mangled bodies are a common occurrence here, and can really make you asses what you are willing to do. I looked for a yota continuously for the first year I was here with no real luck.
So, I found a junkyard with a few Toyotas in it that I could snag up some parts from. I bought a power steering setup, but Haven't got around to ordering new lines and a belt for it yet, so that will be my next project. Currently I have done a few things here and there.
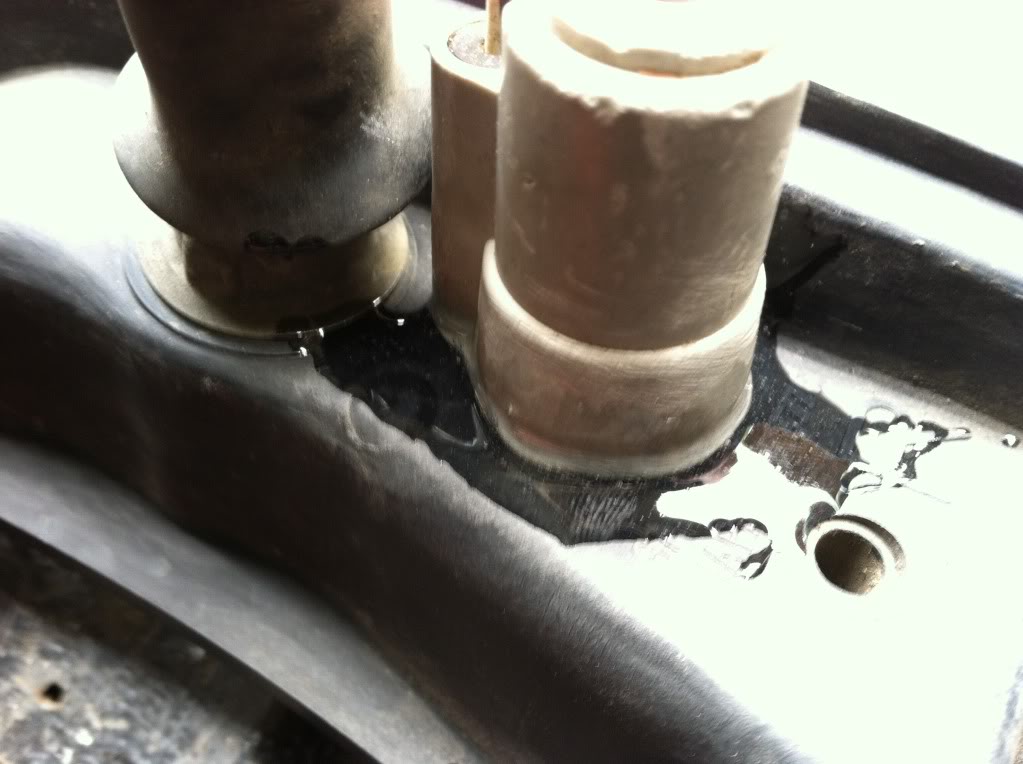
I went ahead and pulled my shifter out to put in a new seat and end bushing and found this!
Uploaded with ImageShack.us
I cleaned it up pretty well and knocked the burrs off of the ball and retainer with a file and some 300 grit.
Uploaded with ImageShack.us
This is my shift boot. it was so trashed that it crumbled in my hands after I took this photo. I'm working on stitching another one together right now out of an old pair of pants.
Uploaded with ImageShack.us
I took the bulb retainers out of the back of my gauge cluster to install some red LEDs, but the green sleeve made it look horrible. So I took my retainers and cut them around the base and left the tabs intact so I could snap them back in and have a nice tight fit for the bulb.
Uploaded with ImageShack.us
Here is one I cut down.
Uploaded with ImageShack.us
Here is the finished product. I changed the one behind my two smaller gauges too, so now the whole thing glows a nice mellow red.
Uploaded with ImageShack.us
This gauge was my next project. I couldn't stand it!
Uploaded with ImageShack.us
Here it is all apart. I took my swiss army knife and gently pryed up the edge of the chrome surround on the back to take out the glass and plastic.
Uploaded with ImageShack.us
This is the destroyed ring that came out of the gauge.
Uploaded with ImageShack.us
So, I glued a few of the rings around the outside diameter of the face to support the glass and used a leftover turn signal lens seal that I found left over from my 84 build last year to make a sealed rubber ring for the glass.
Uploaded with ImageShack.us
This was my end result. You can sort of see the plastic chunks peeking out from the edge of the chrome, but the gauge is now readable again.
Uploaded with ImageShack.us
And here is a few photos of my junkyard bounty from Friday.
Uploaded with ImageShack.us
Uploaded with ImageShack.us
Uploaded with ImageShack.us
Uploaded with ImageShack.us
Uploaded with ImageShack.us
The fan and climate control setup is a little different from the one in the truck right now, but I think I might go and pull the climate controls from the 2WD and see if I can make them work in the 4WD.
Just a little FYI, you want to put some new rubber boots on those shifter if you don't have them already. Otherwise you'll get dirt in grime caught up in there causing problems.
That's exactly what I did. I didn't do the transfer case because it was fine, but I will probably add that shift seat and boot on my next order. I just needed to get the transmission done because I'm going to be driving the yota while I do some work on my s10.
So, I have made some progress and found some problems recently. Photobucket issues have kept me from posting any photos until I downloaded the mobile app for my iphone. Anyway, here are some updates on my ridiculously slow build.
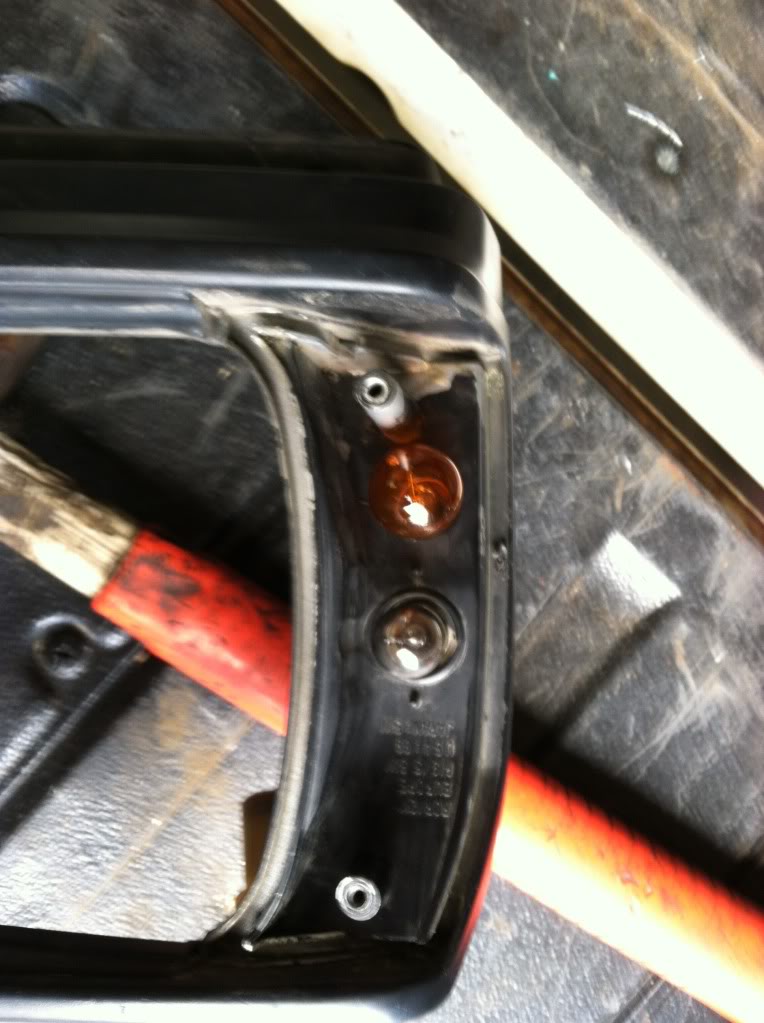
I actually found an extra set of turn signals from my 84, so I decided to relocate my signals into the corner markers!
I really like the end result, whoever came up with this mod is awesome.
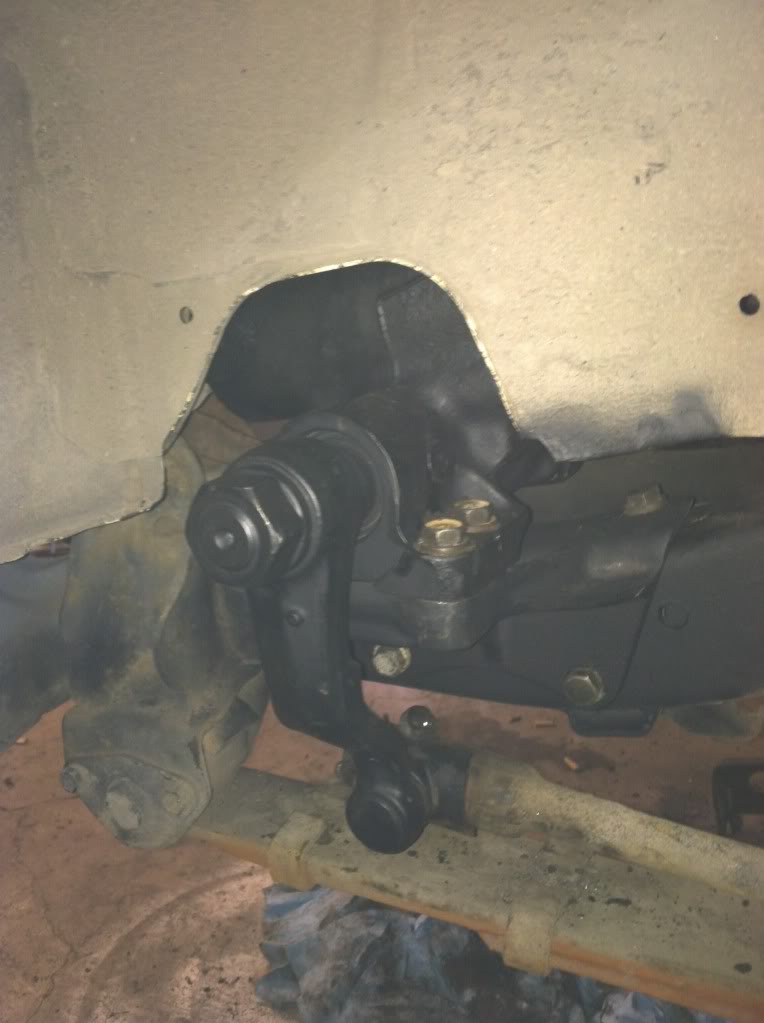
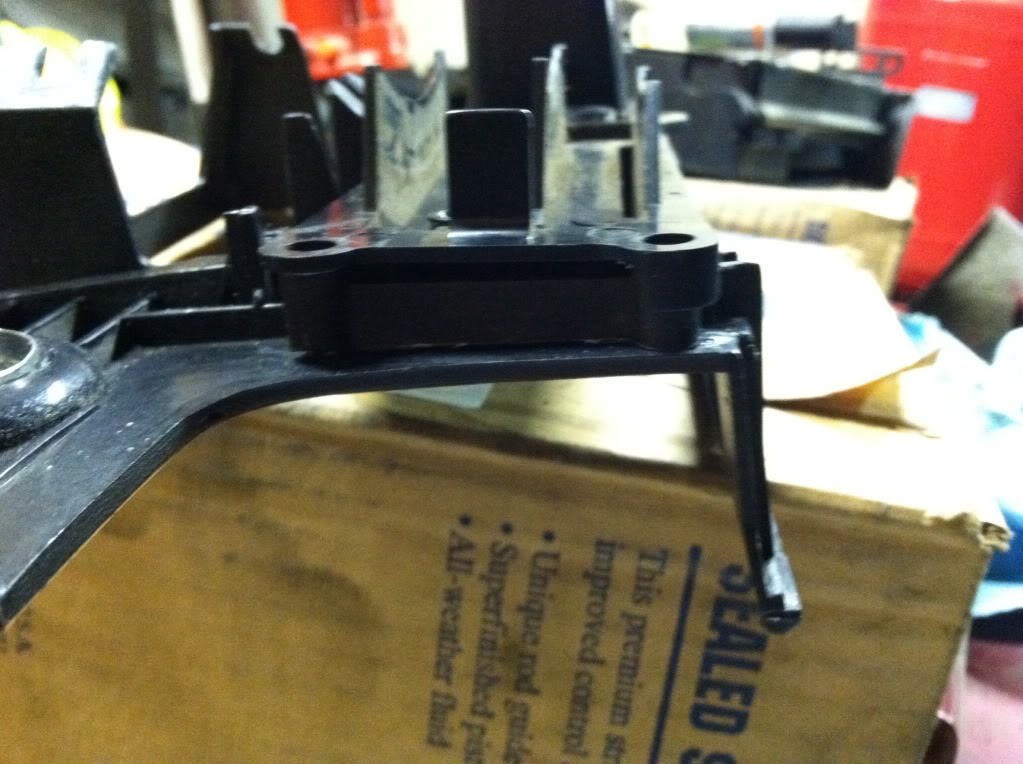
So next I decided to blast off all of the rust from my push pull box while I waited for my high pressure line to come in. Its just until I do real suspension work down the road, the I will put it crossover and an ifs box.
I went ahead and cleaned the rust off of the mount and frame so I could put a decent coat of paint on before I installed it.
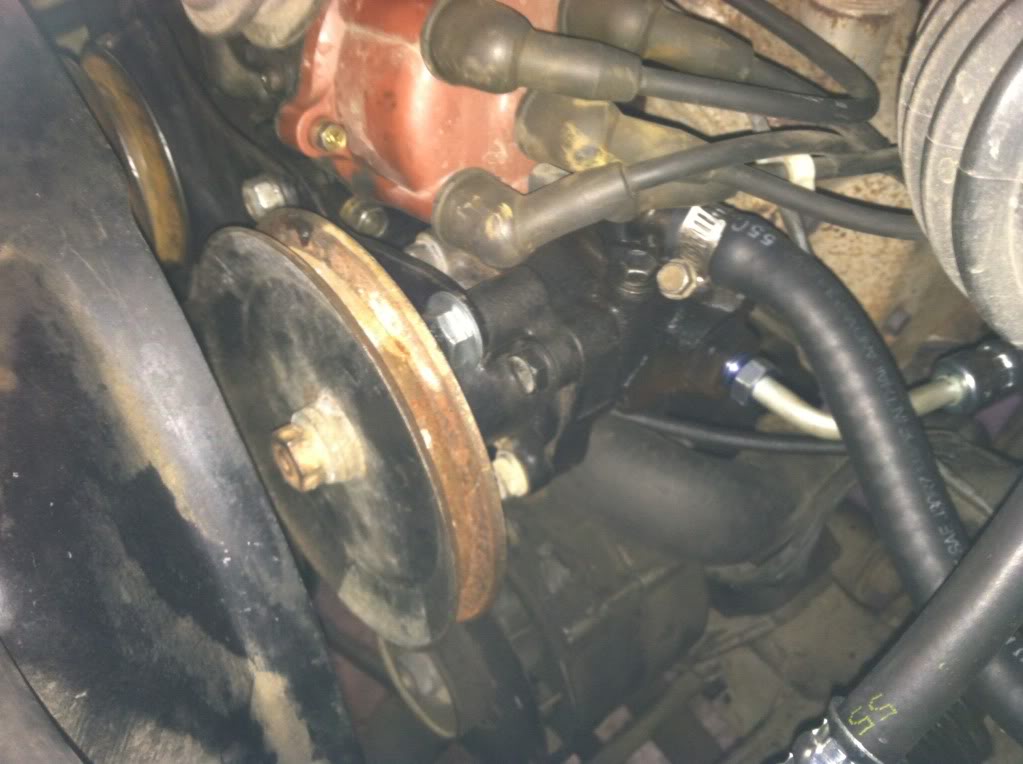
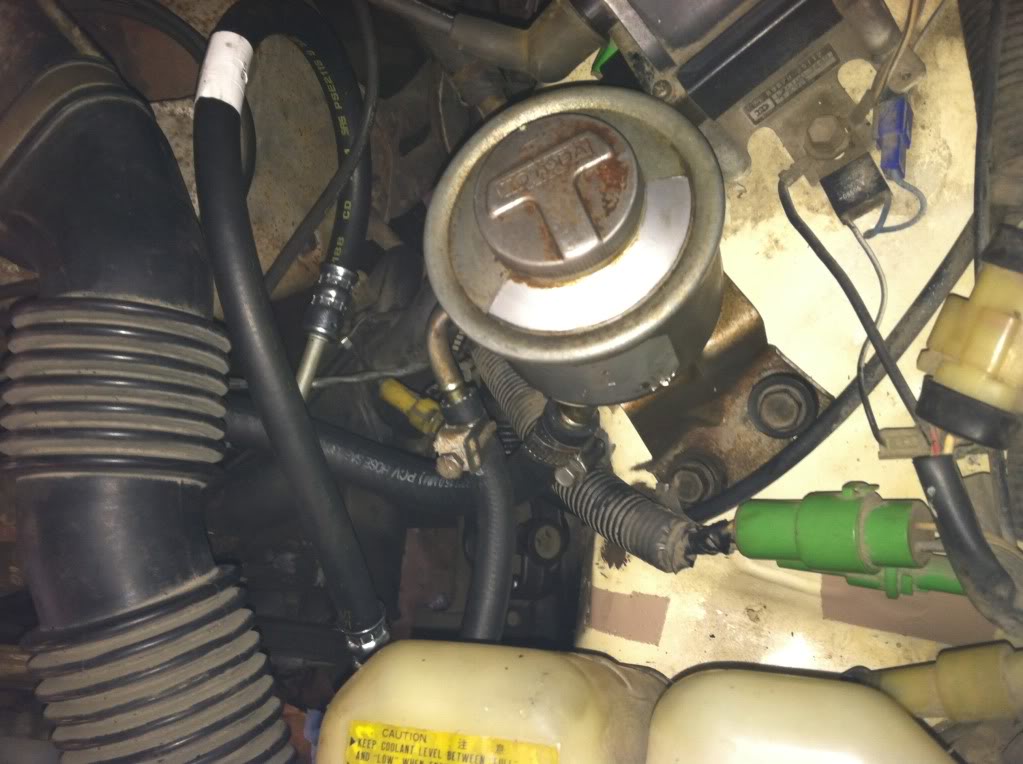
Here is the pump mounted up.
I didn't have mounting holes on the fender well, so I played around with the reservoir until it sat level and drilled three holes. I put bolts with large washers on the bottom side after painting the holes I drilled to deter rust.
I decided to replace my shocks with a set from skyjacker. I bought a set of scratch and dents from them direct for $118. I did it to replace these incredibly tired Monroe adjustable air shocks.
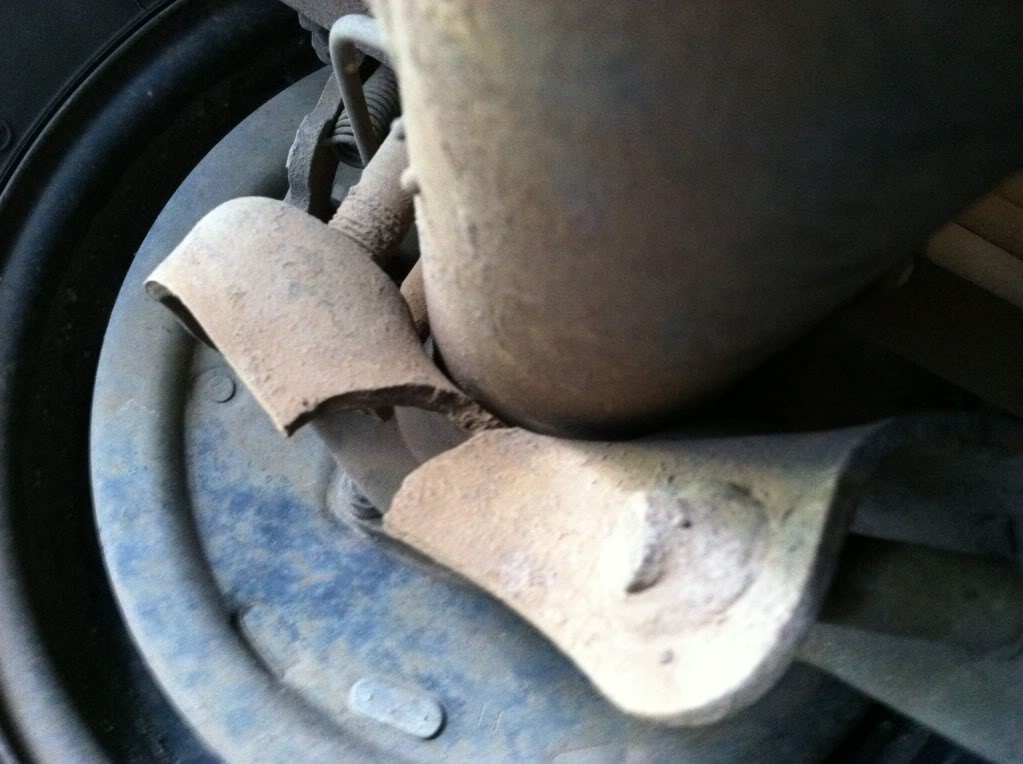
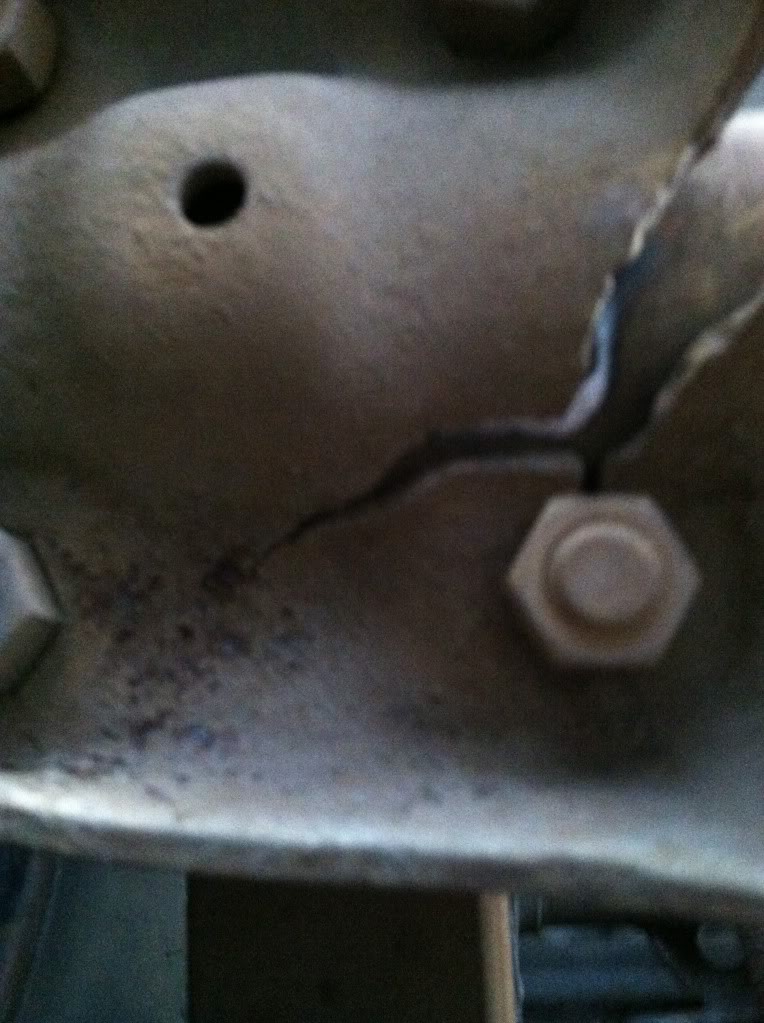
In the process of dealing with this, I was greeted with a split u bolt plate on the rear drivers side.
I thought the shock were just garbage, and that's why the ride sucked.I drove it home from Spokane Washington which is about 100 miles like this!
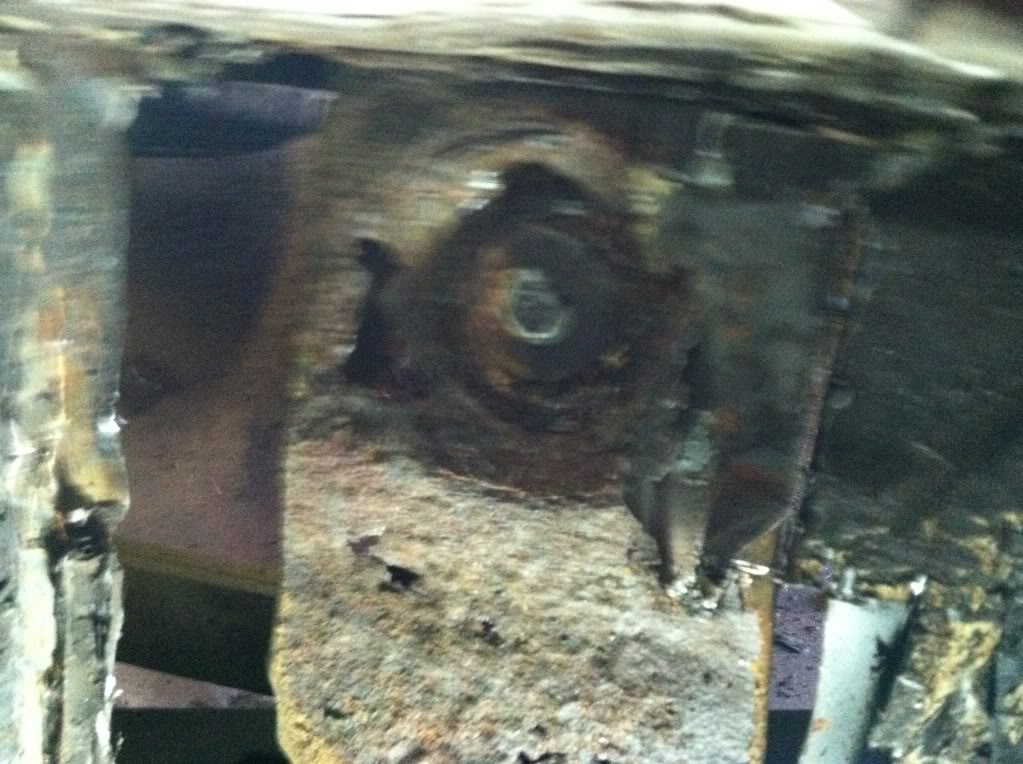
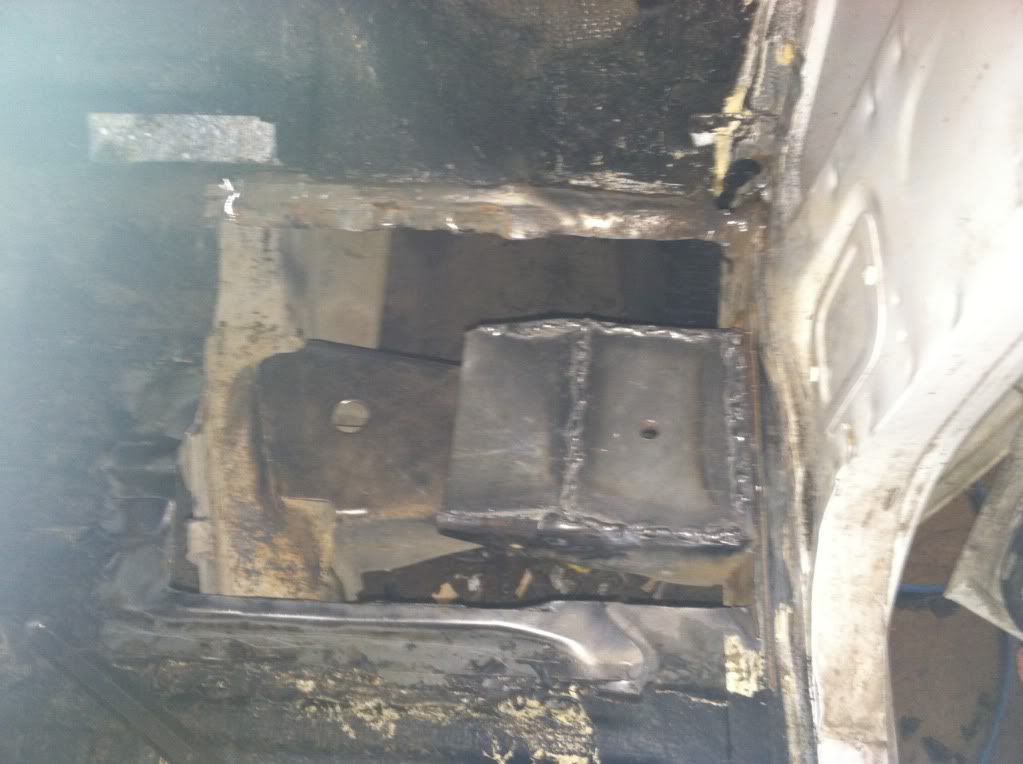
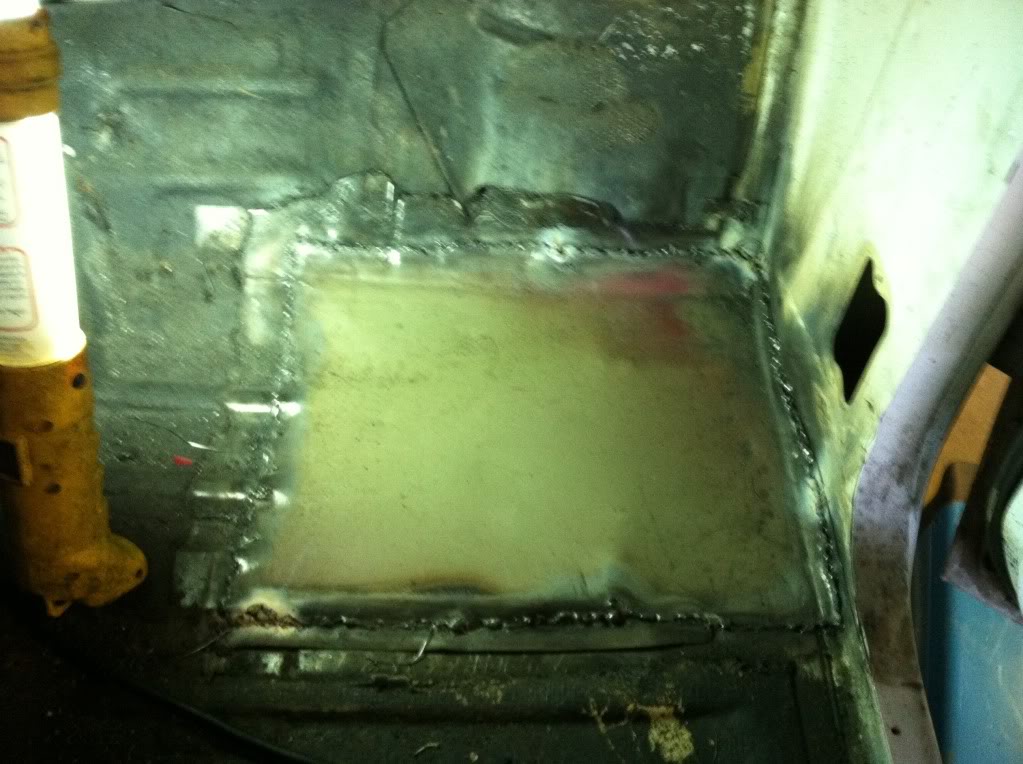
While doing my front shocks the other night, I bumped my elbow on the cab corner and found that a little bit of rusted metal flaked off. after digging at it for a second out of curiosity, I decided to pull up the carpet. This in on both sides. YAY!
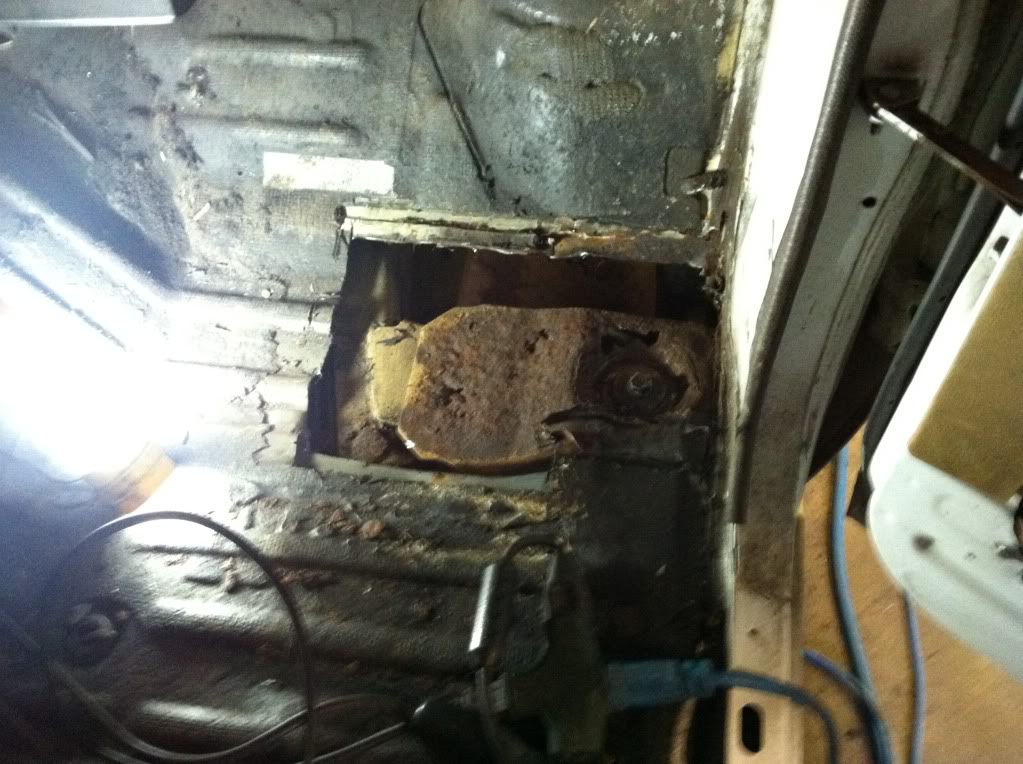
So I pulled my seat and carpet out, and started cutting like a drunk surgeon. All in all, the spots aren't too big, but it did eat out the top of my cab mounts pretty bad, but the sides are fine.
so I cut off the top and started cleaning up the sides. When I cut the top out, the sides towed out and I could feel that the metal was still really strong when I pushed it back into place.
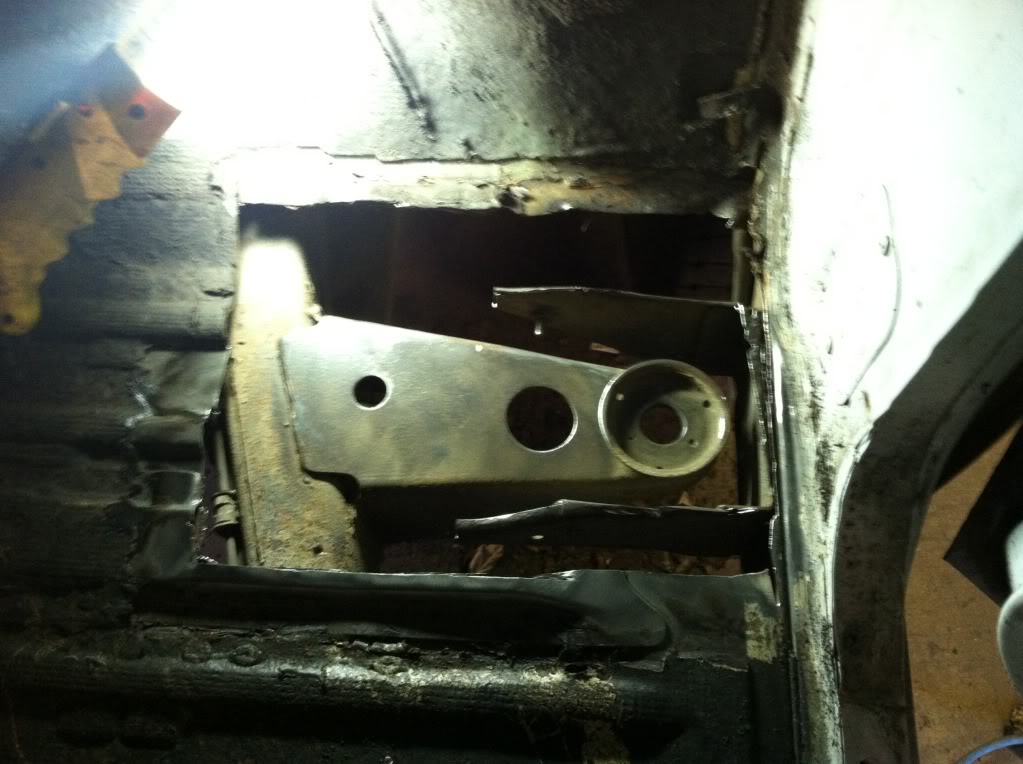
So here is the top of the two part plate I'm making for the body mount. I brought the sides together with a c clamp where the plate ends on the left. Underneath is 1/2 angle iron welded to the sides of the body mount to support the plate for the top. I forgot to take a pic, but I will get one when I do the drivers side on Tuesday.
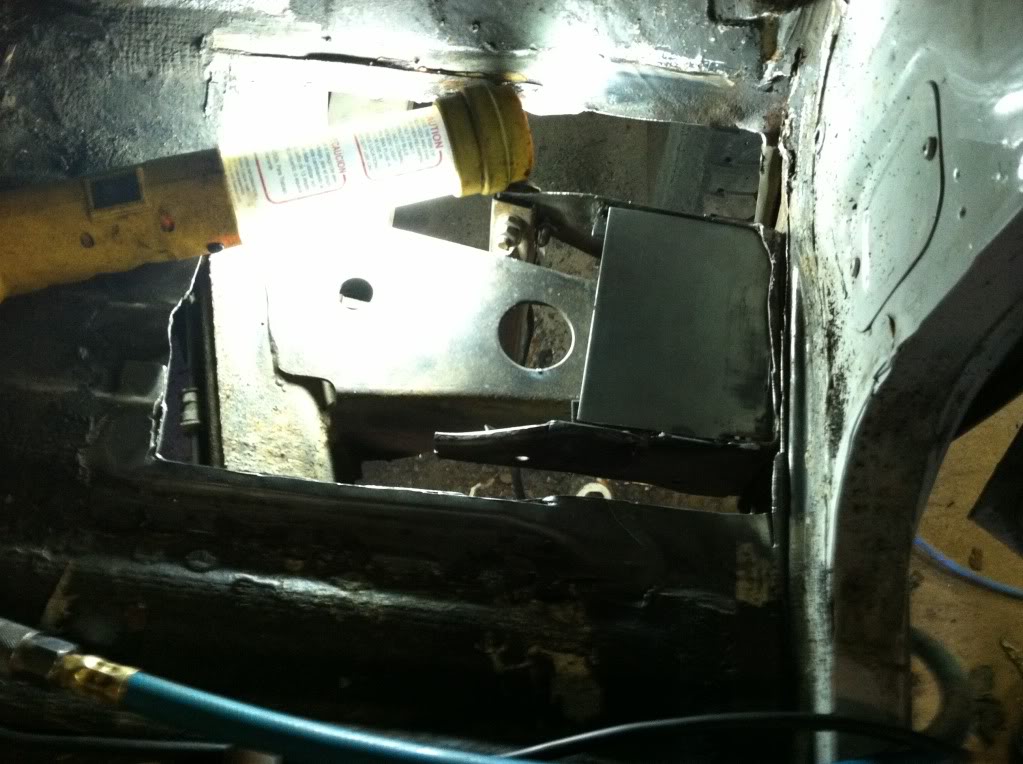
Here it is welded and hole drilled for the bushing. I used the bushing in place to measure the height of the top portion of the mount. It took a while to weld it because I had the bushing in place while welding. I didn't light it on fire though, so it was a success. I have some sheet metal from a set of fenders that I was thinking about cutting up for floor panels, but I have three days of this week, so I might go to the junkyard and cut a set of floorboards out of a 2wd if I can find some decent ones.
Anyway, I will post some more stuff after work, I found some of the original paint behind my tail light housing, and its awesome.
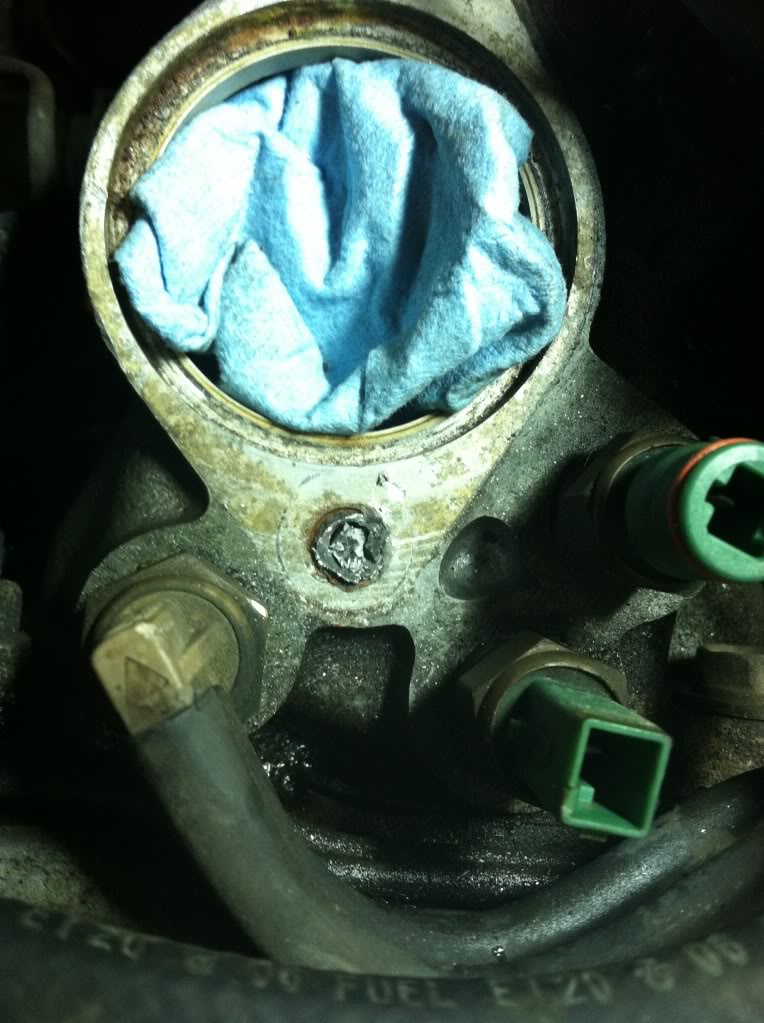
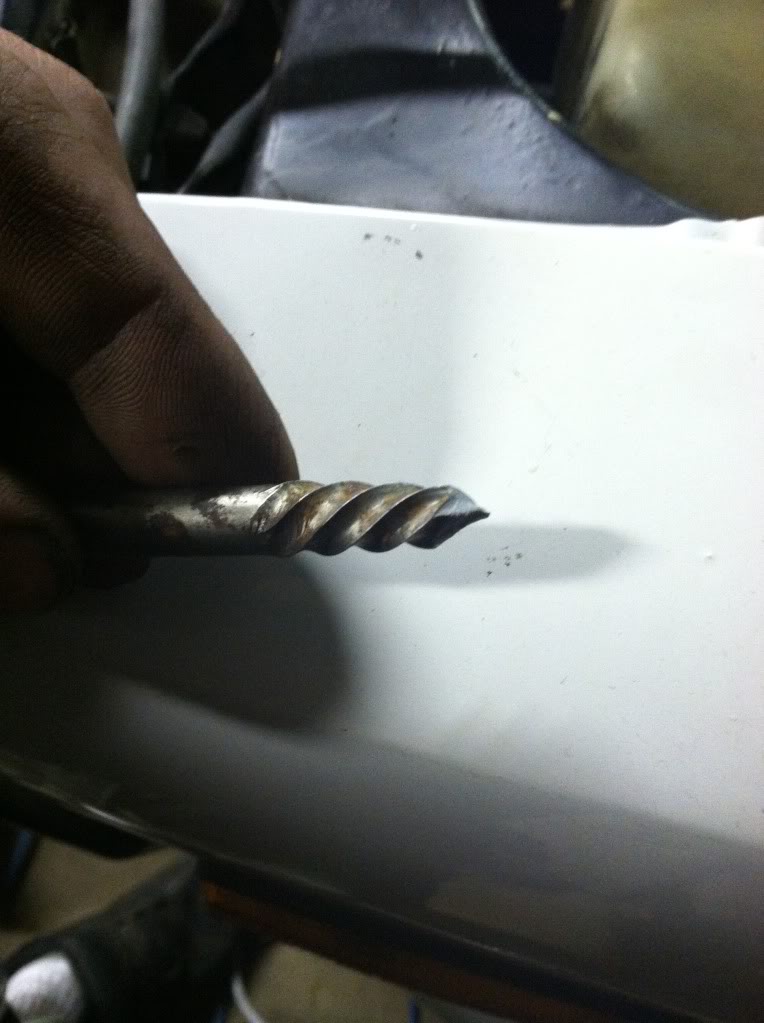
So I decided to replace my thermostat last night, and broke both bolts off. I removed one with a pair of nuts sandwiched together, but the other one broke off almost flush. So I drilled it and used an easy out to extract the bolt. But I shattered that too, leaving a significant chunk inside.
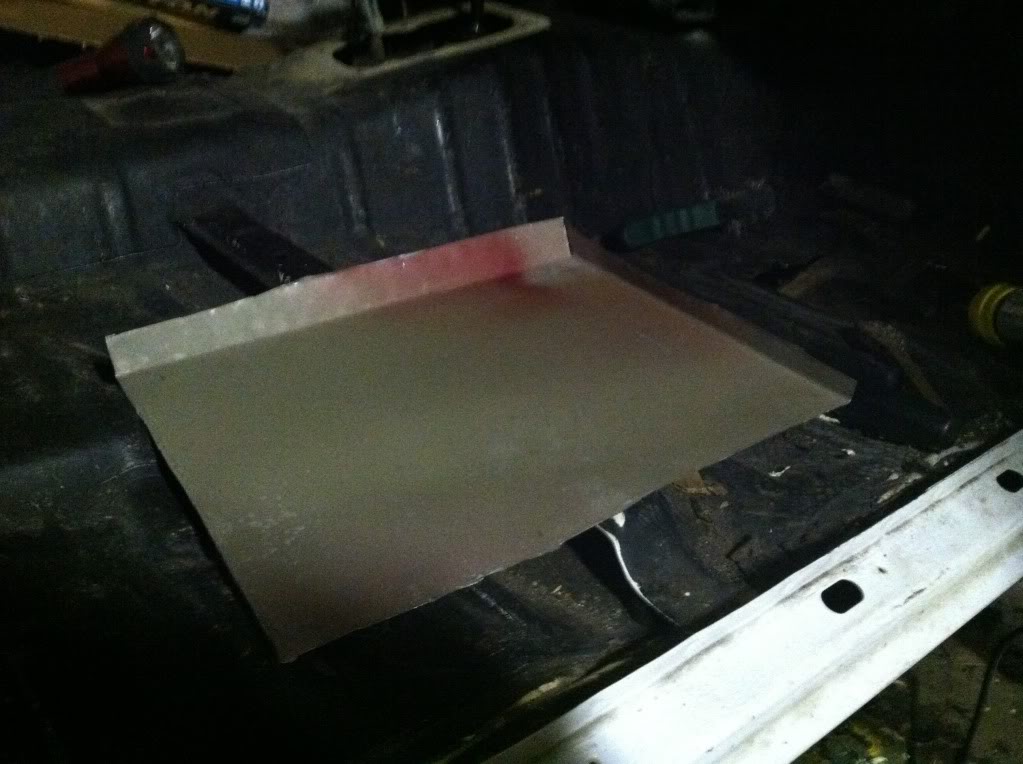
I made some progress on my passenger floor today. I have two more days off, so hopefully I can get the other side done by Thursday afternoon.
So this is the patch I roughed out last night with a pair of tin snips. It took me a while because it was super late and I doubt the neighbors would have appreciated the grinder at 1:00 am.
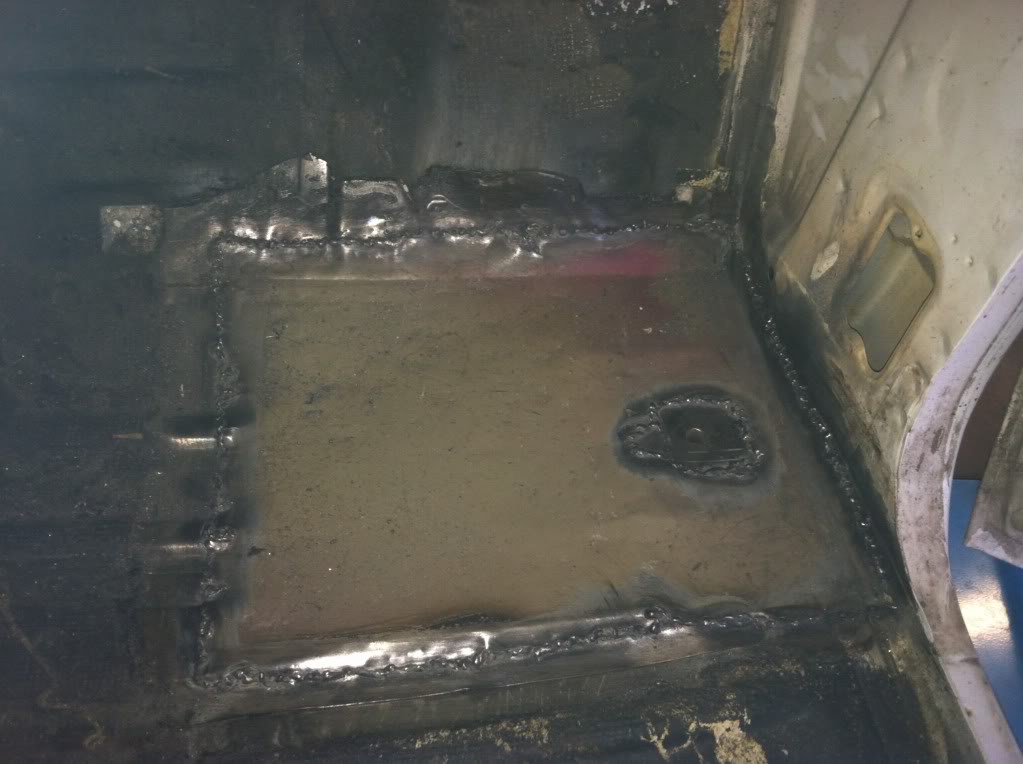
Here it is after about two hours of beating on it with a hammer and chisel and welded up. If you'll notice, I forgot to cut the hole out for the body mount bolt.
So, I decided to make an ugly hole for the bolt and washer to sit in. It's probably a good thing that nobody will ever see it again.
I decided to go ahead and rub some ultra black into the welds from the top since I'm going to paint the floor with some bedliner anyway.
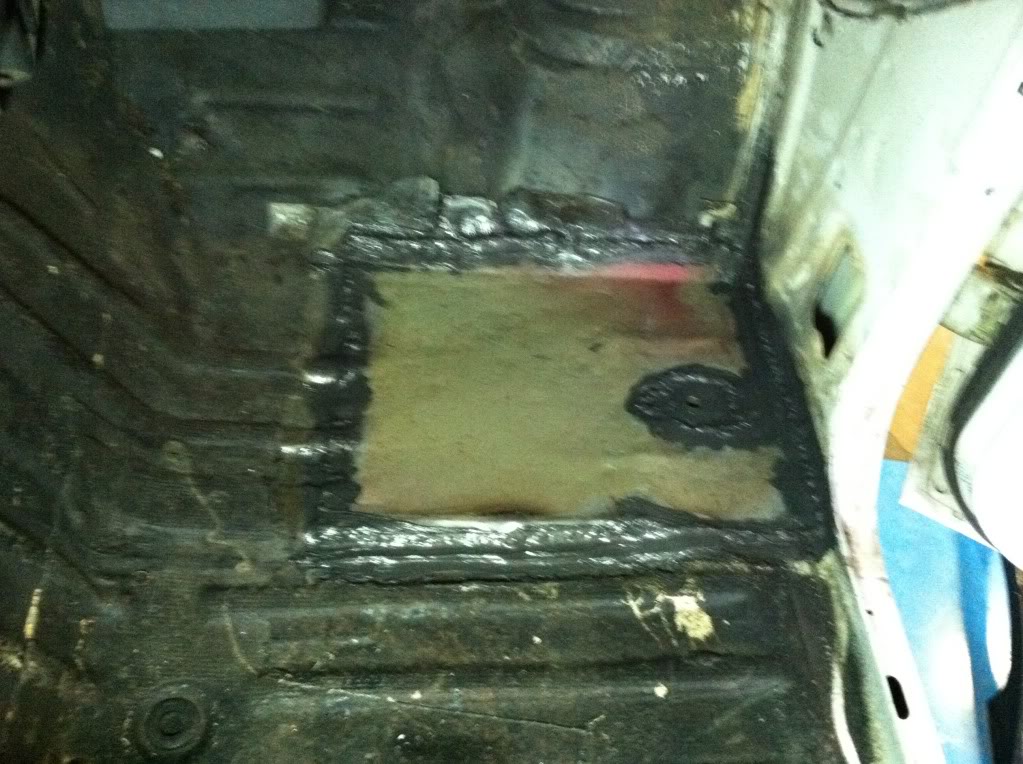
I think I'm going to fill the edges along the bottom side of the cab with some fiberglass and re-enforce the panel before I Spray it with underbody spray.
I know I haven't posted anything in a while, but I've been super busy with work. I have gotten quite a few things done on the truck also.
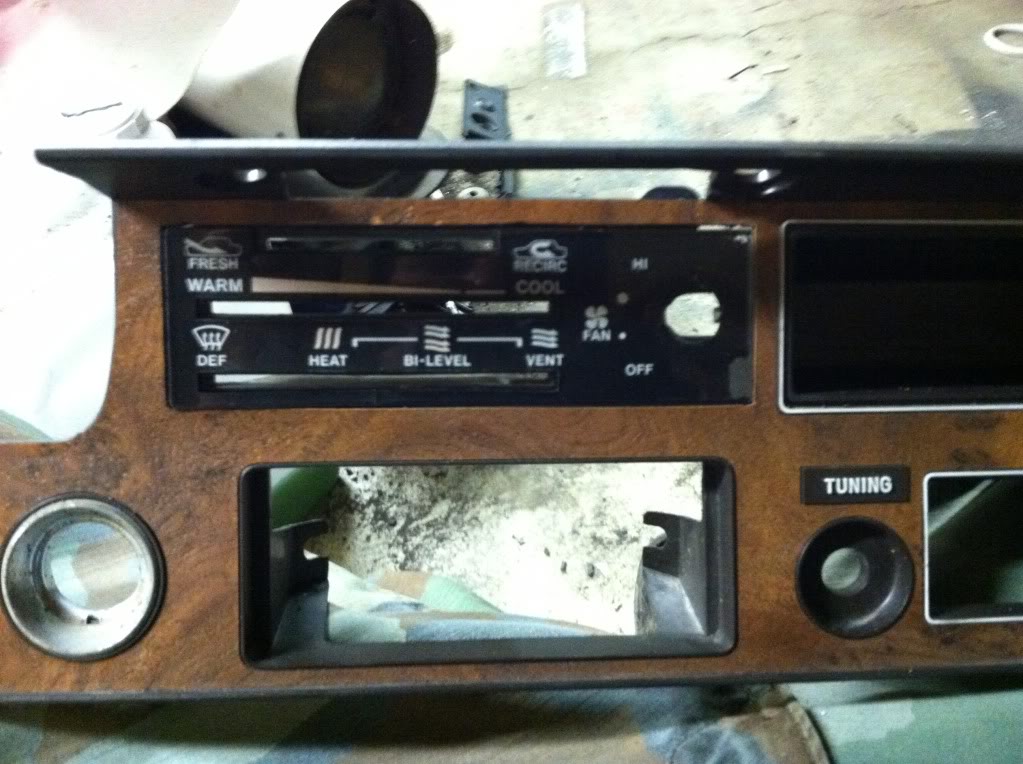
First, I took the complete trim I bought earlier this year and cut out the climate control section to replace it with the one from the 83'. I took forever with a dremel and a file to get it to look decent.
Then I took and cut the climate control mounts off of what was left of the original trim and epoxied them to the back side of the trim. It took forever, but it came out pretty decent.
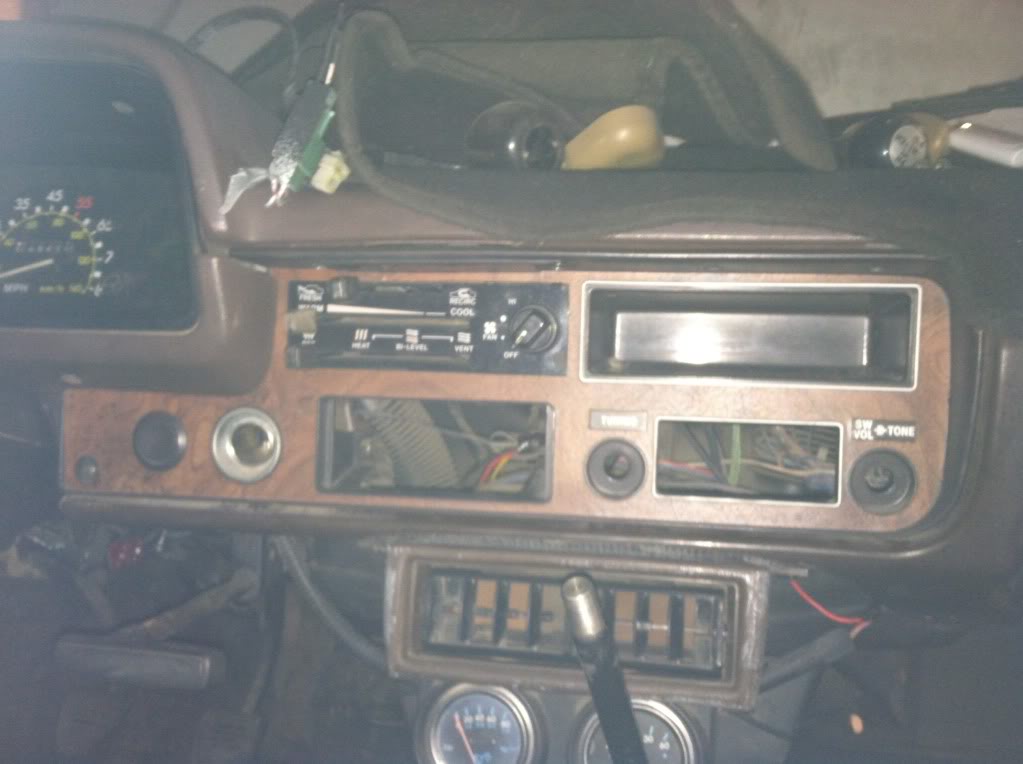
Here is the final product. it's not perfect, but it's only noticeable if you are looking for defects in it.
Installed.
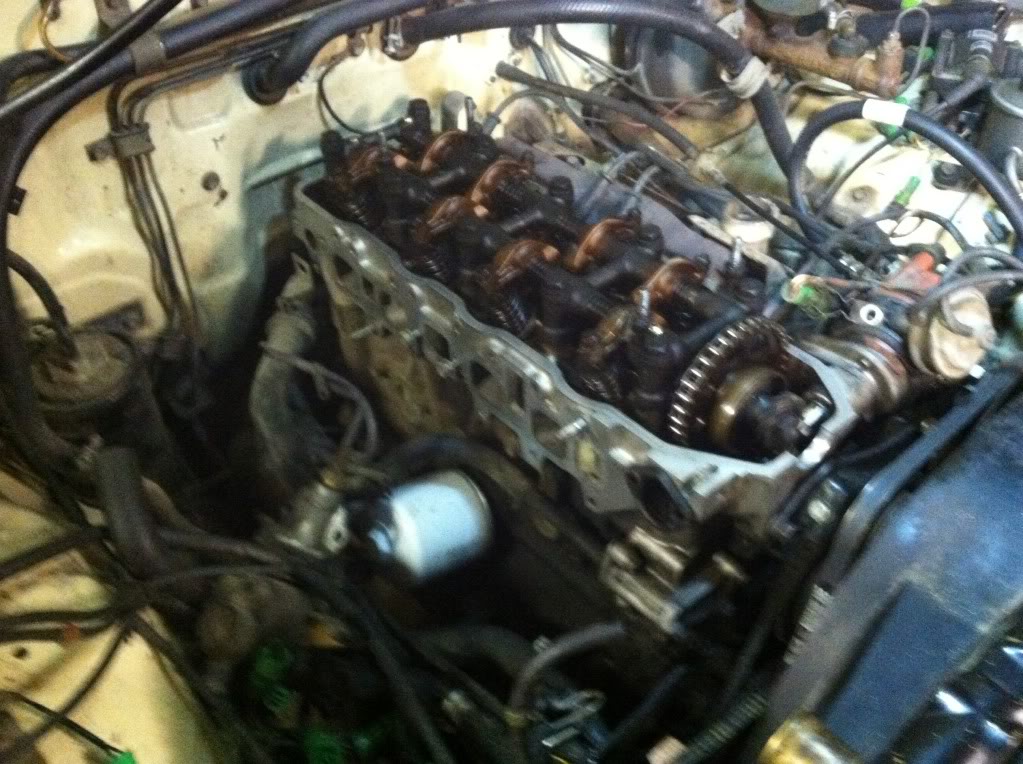
Since I destroyed my intake while changing my thermostat, I picked up another one off ebay and just outright replaced it. The only issue I came up on with that was my original intake was cali smog and the new one was federal. I bypassed everything for California smog and adjusted my valves at the same time.
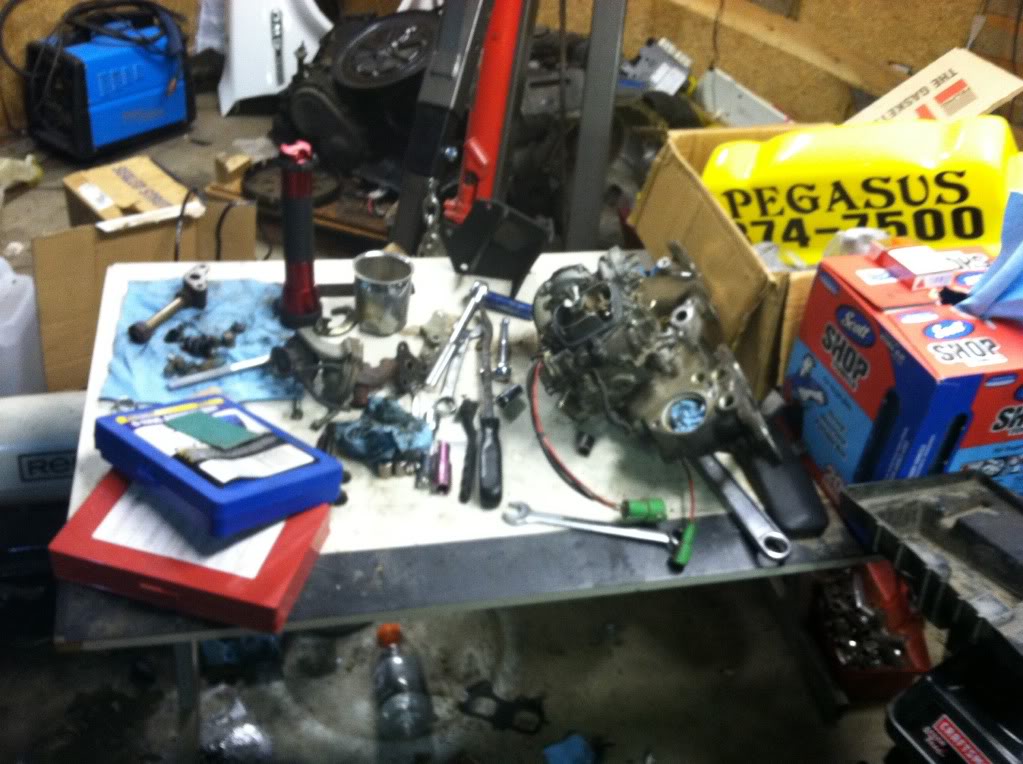
This is the mess on my workbench in the middle of the intake swap.
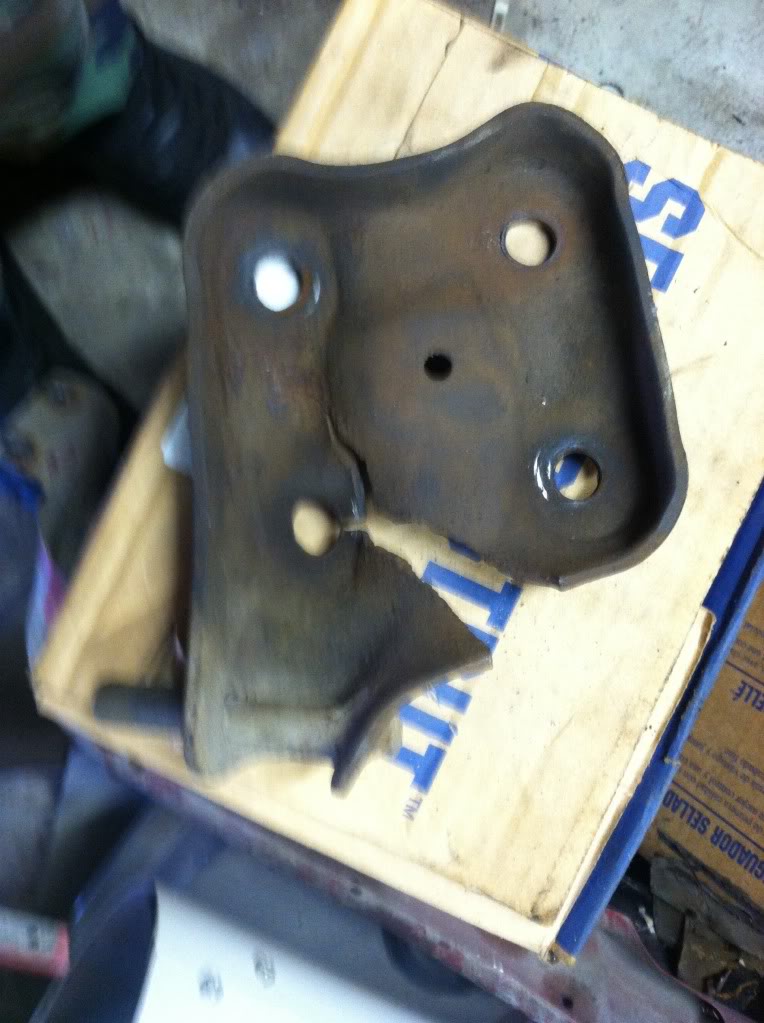
I also managed to find a new u bolt plate from yota jim, and here is the broken one.
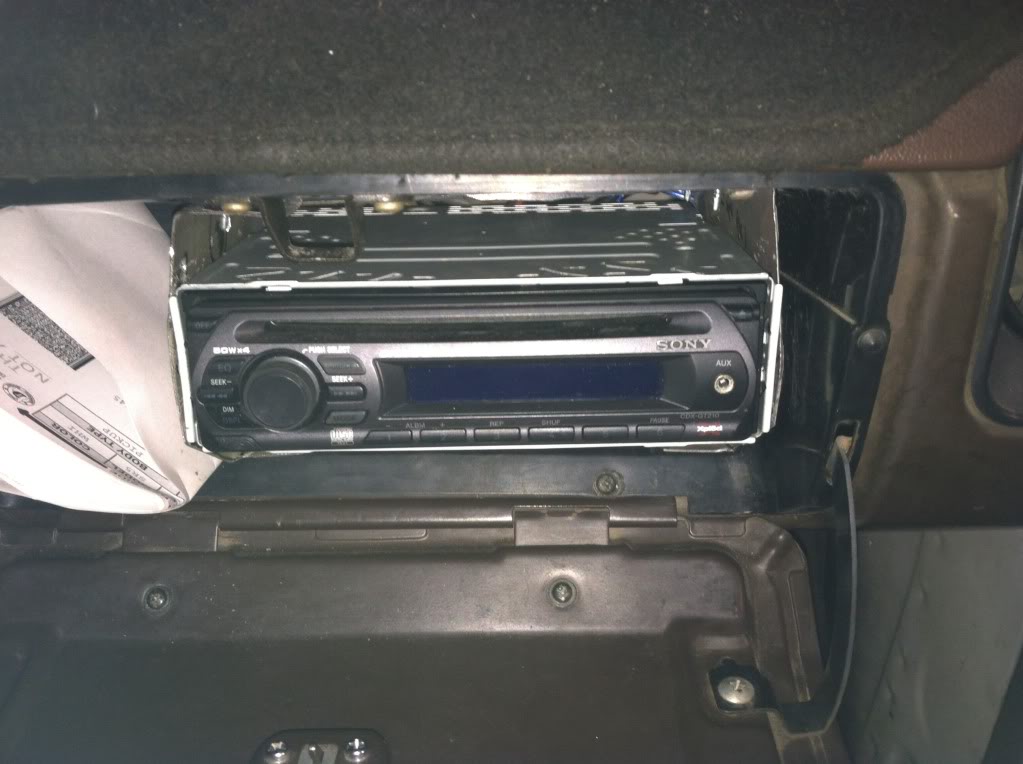
Here is the start of my stereo glove box mount. Its just mocked up on a wood block.
And it finished.
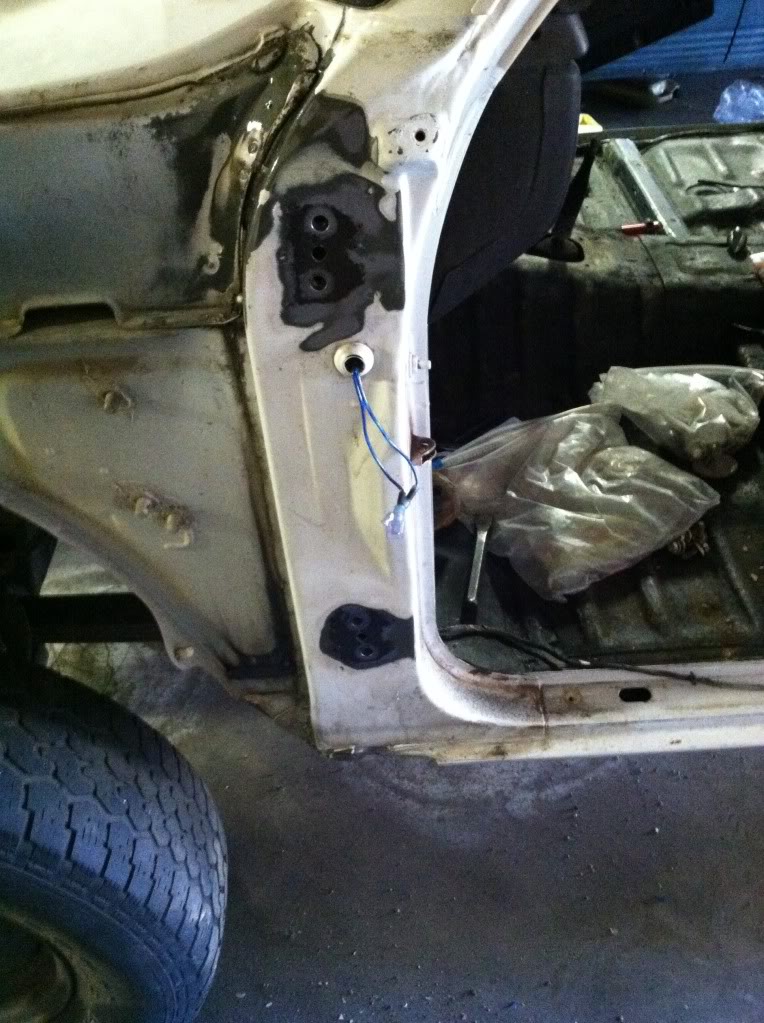
I also took my doors off to do the fiberglass and underbody spray from my floor patches. When I did, I found some rust under the door hinges.
I found this under the front edge of my hood too. I'm not going to deal with it right now, but I think I'm going to cut it out and fill it after the winter mellows out.
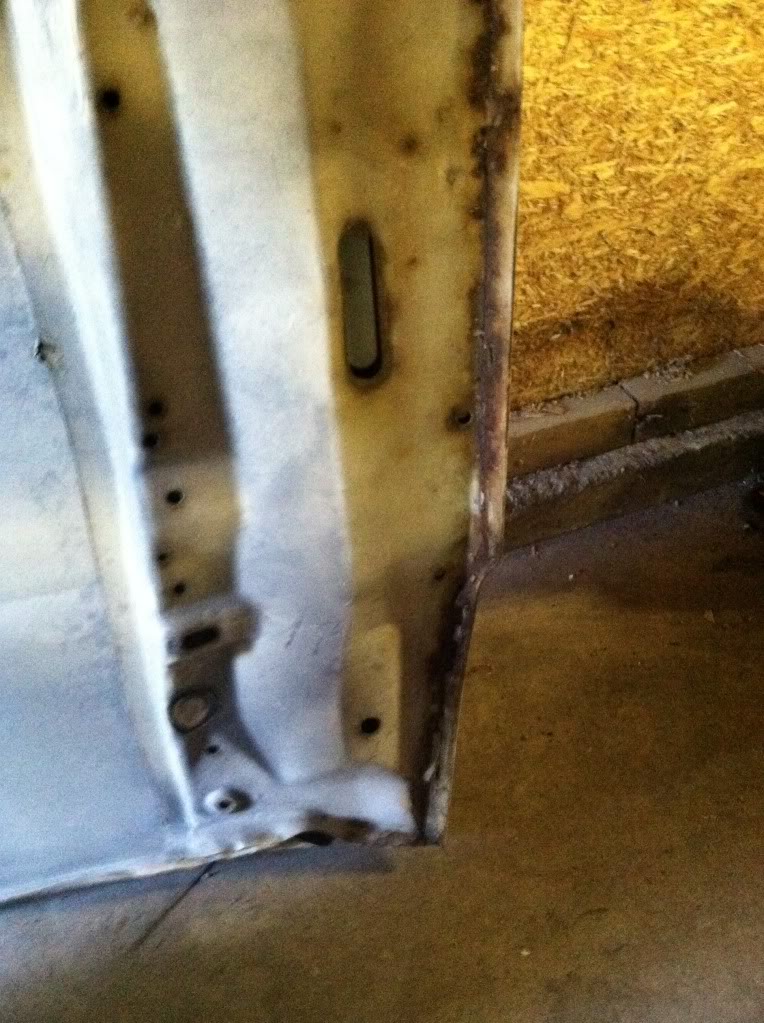
I know it's hard to see, but the PO decided to trim the cab seal for the canopy and did a terrible job of it. I got it pushed up against the cab enough to seal all of the way around.
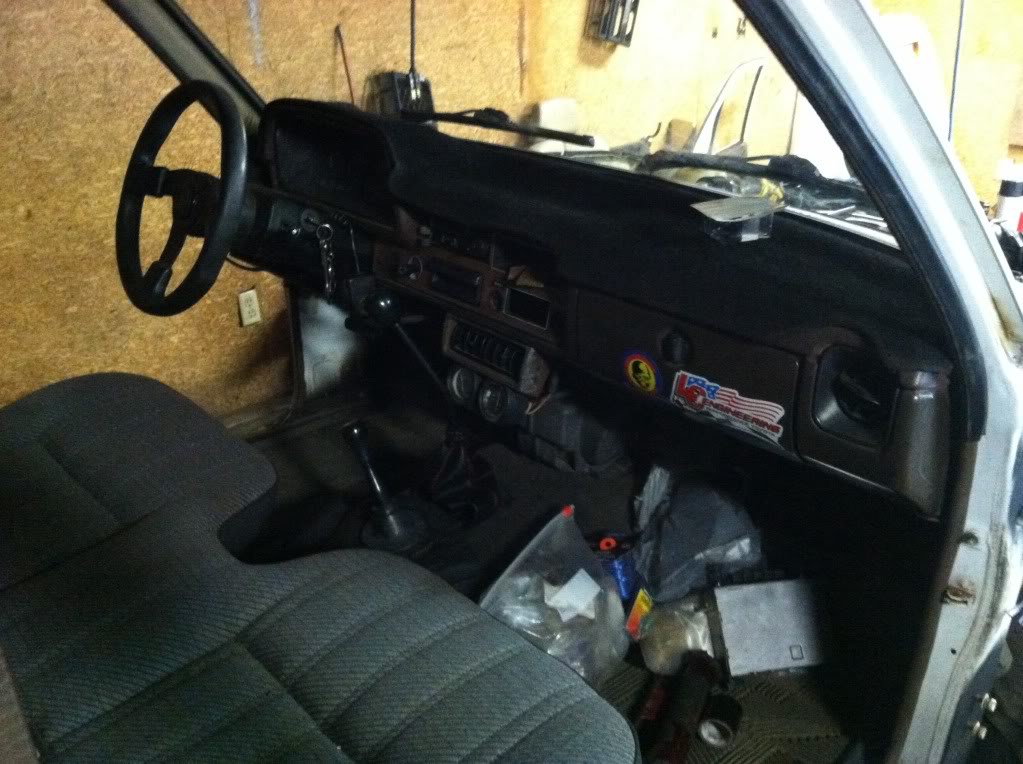
Here is my interior back in.
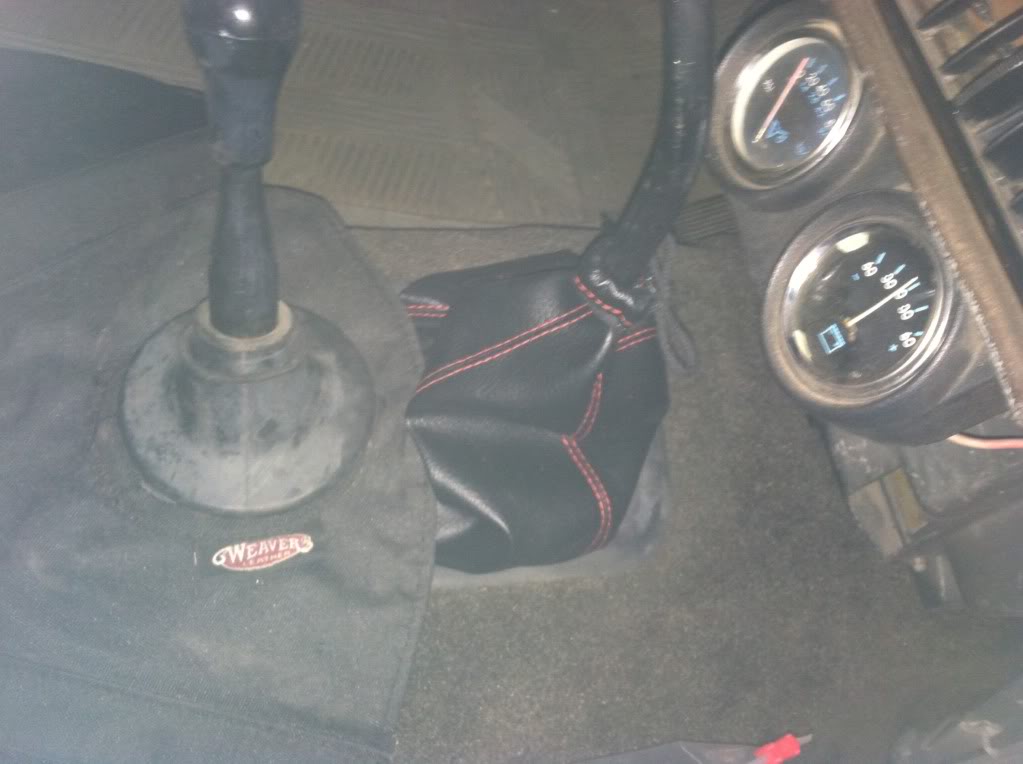
My new shift boot from auto zone. $10 I don't regret spending.
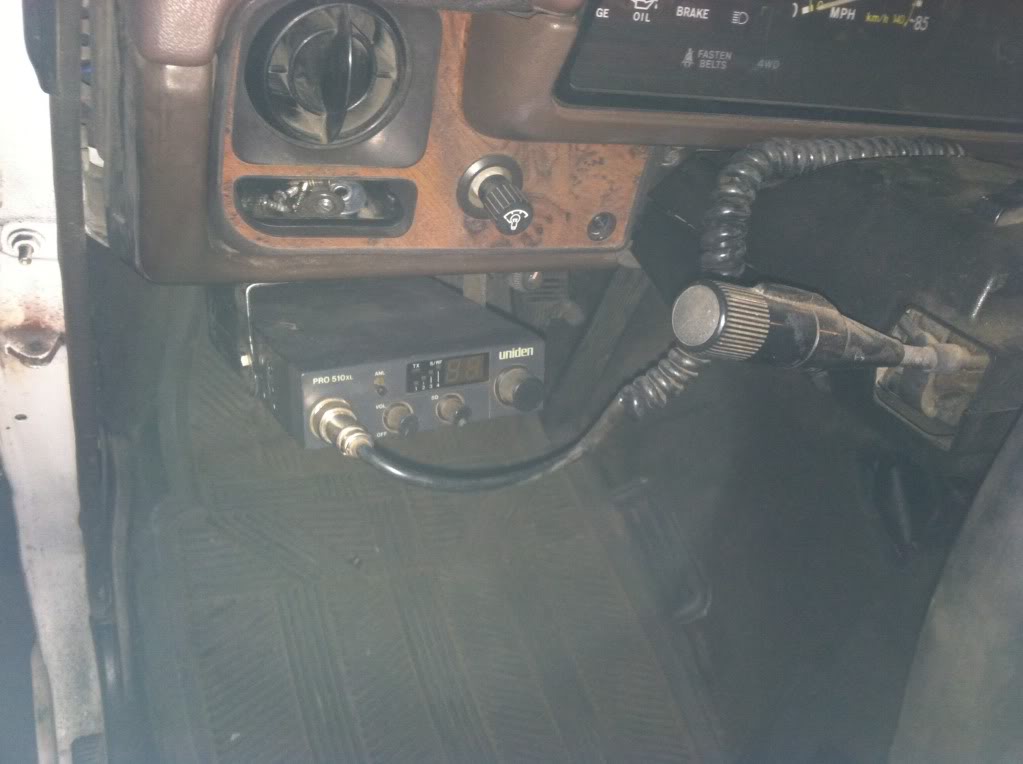
And my CB installed too. I have the whip mount and a new cable coming in Monday.
I managed to get the cab back together today and a new battery in also. I'm running out of things to sort out and should have it drivable by next week.
So I've been driving it for the last two days, and she runs great! The clutch is a little low, but I picked up a master and slave as well as front and rear brakes. I have some rear wheel cylinders on order too, but my starter is weak and my alternator isn't charging much either. I'm also not getting any hot air from my heater, which really sucks because it's been in the low 40s in the morning. I'll get to work and post some pics later this week.
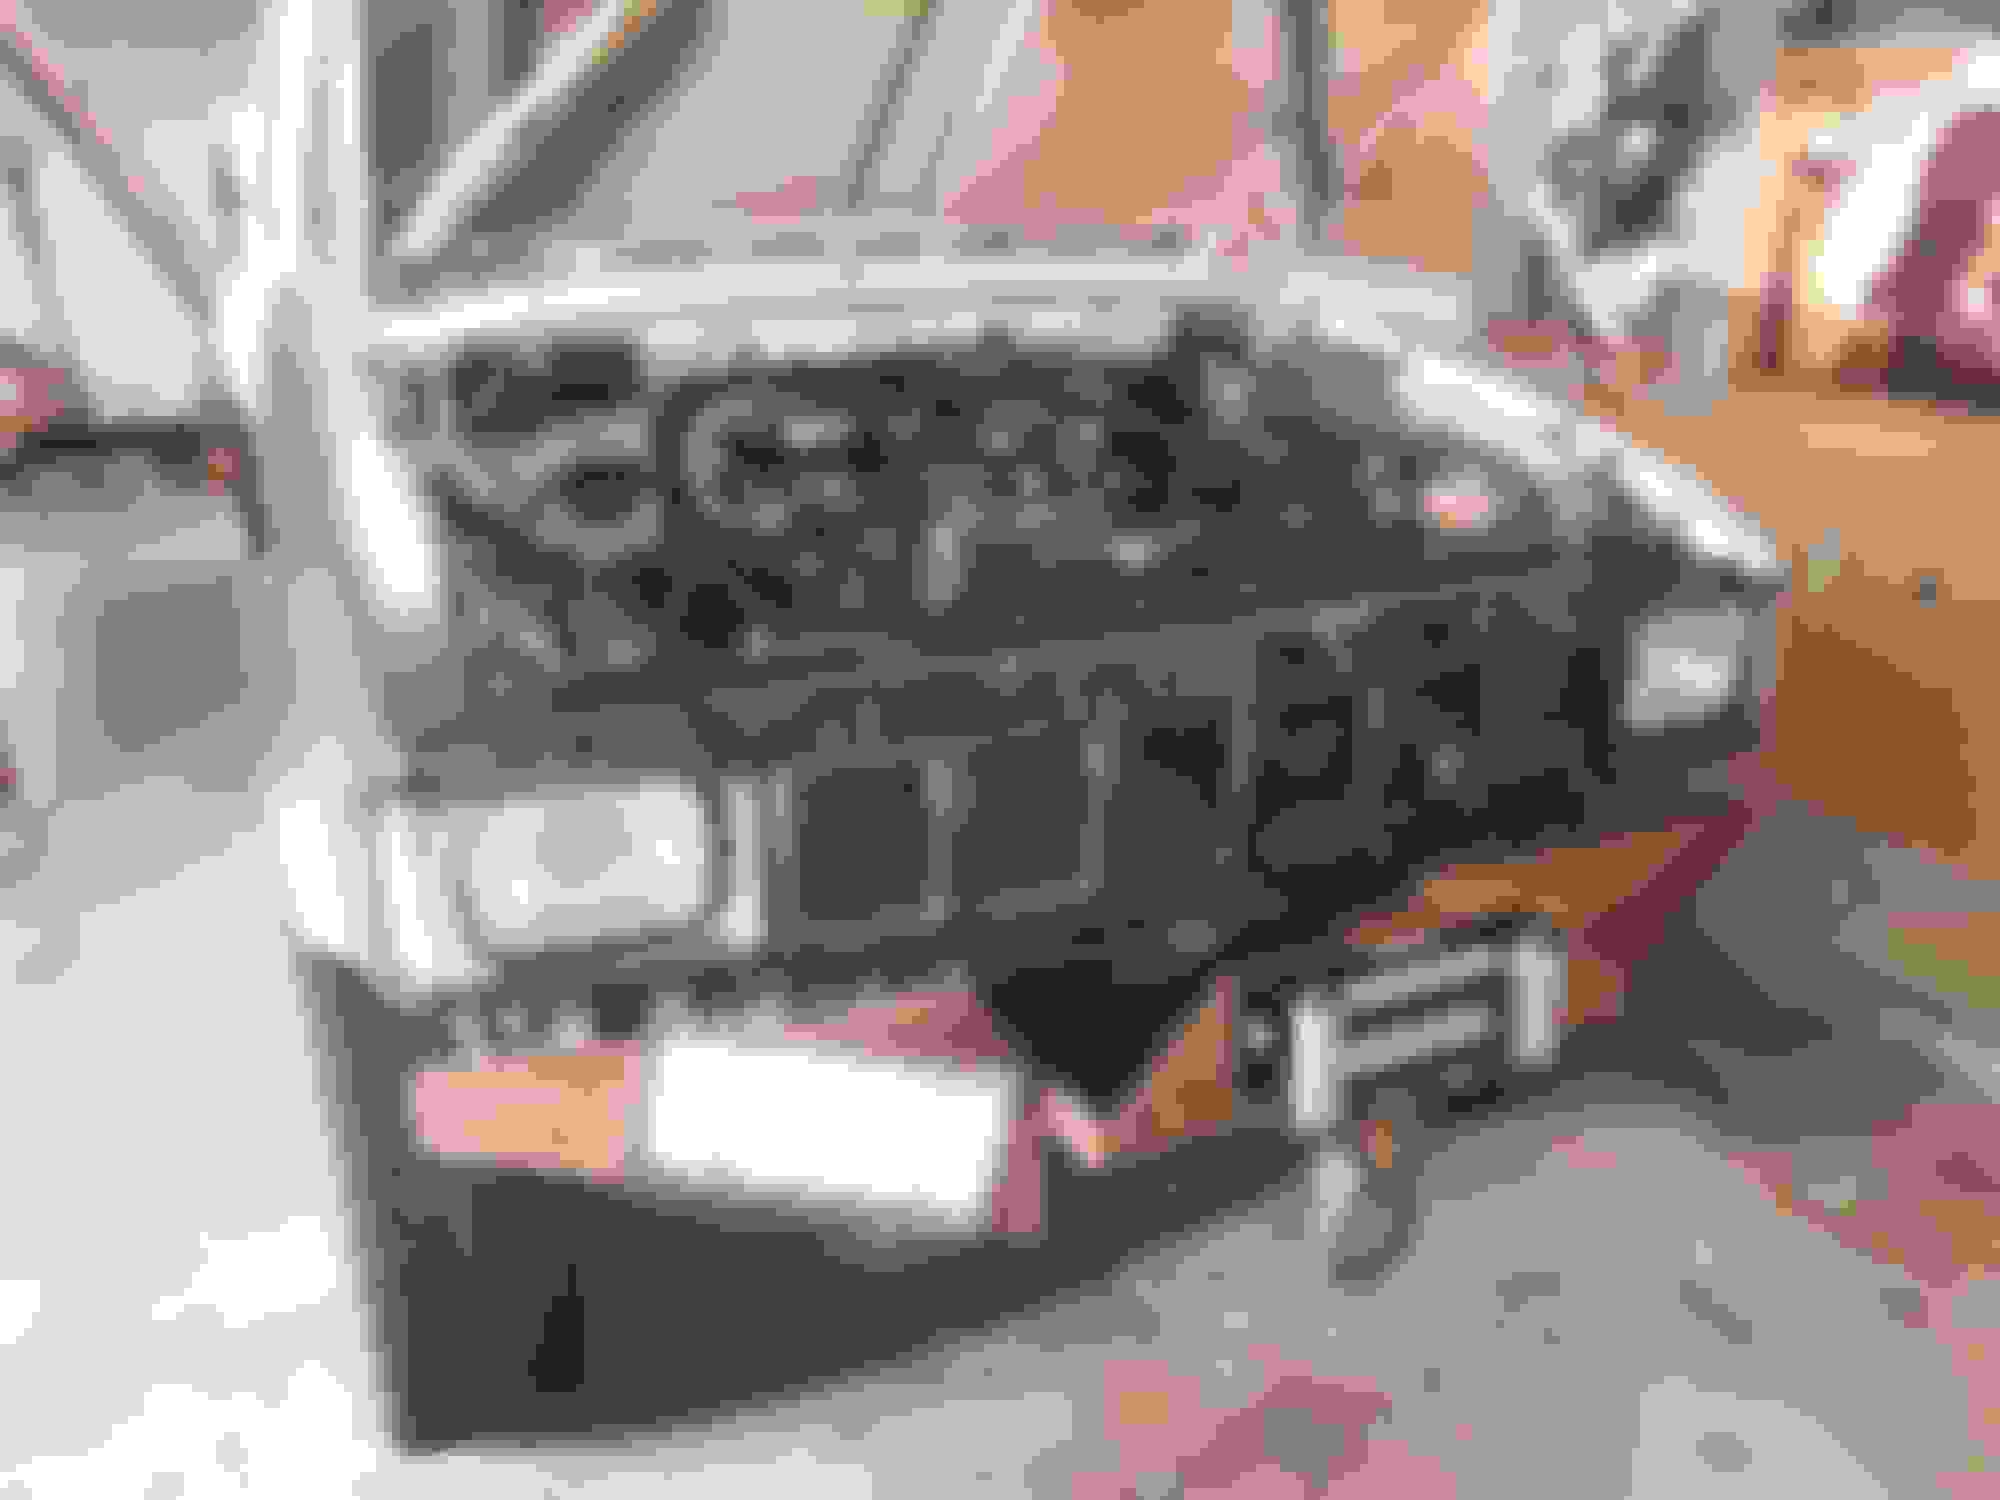
I forgot I had a build thread for my pickup, its been six years since my last post. I've broke and changed a ton of stuff since then, getting ready to start making bigger, more drastic changes to the pickup in the coming months.I' going to do the quick photo montage to get it up to speed. Engine rebuild, added weber 32/36 Mostly stock still, before trashing the passanger side hitting a deer. 2" OME hd front lift springs added 87' IFS rear end with OME 2" rear springs, U bolt flip kit, moved lower shock mount to tube IFS front hubs
Taco rotors, Ifs hubs, v6 calipers new hard brake lines, Backing plate cut, extended brake lines
on 285 tires, running like a champ Work perks I love how tight it sits, but the lip was too close to mount my winch. All 3/16 mild, except 1/8 diamond on top.
Front bumper almost a year old now, nice and rusty. I extended the winch tray and made a taller front lipout of some diamond plate, 9000lb winch Welded in a front frame reenforcement plate, bend 3/16 to make the winch tray.reciever all of the way to the back. Brake booster and master cylinder from a second gen 4runner. I made a firewall spacer and booster to pedal linkage, so its all bolt in. Open 4.88 yukon gears with new everything, triple drilled flanges, solid spacers. these are going in soon wit a set of lubelocker seals for the thirds. My OM617 being slowly cleaned and prepped for install W56 and crossmember for the diesel Aluminum fuel tank (for a boat) with yet to be determined capacity. Im collecting some more diamond plate for a flatbed, this will be added into the system when that happens.
all US 4x4 pickups are spring over to start with, But from what I have read around here and IH8Mud, you don't need much lift to do the swap. I have a 2" OME setup right now and it seems like it should just about fit, but I also do not have an anti wrap bar anymore, so axle bracketry is no longer an issue either. I currently still have stock push/pull steering as well, this keeps my tie rod under my springs and out of the way of an oil pan.
So as of 12/19 I've started stripping down the cab of my pickup and removed the drivetrain in preparation for both my diesel swap and general repair of the truck's rust stricken body. This includes not only the flooring, but most of the body seams behind my dashboard where water was traveling beneath the caulking, the window frame was also a big concern as the rubber was cracking and crumbling. Here is the progress so far. Also I replaced both differentials already with Yukon 4.88s, solid pinion spacers, triple drilled flanges, all rear seals and bearings, rear brakes, front brakes, bearings, seals, and re-greased everything. I also decided to try out Lubelocker diff seals.
At this point my focus started shifting to removing the interior to free up the heater core, steering, pedals, and wiring.
Glad I won't have to throw this heavy bitch back in. This is the truss I put on the front when I went and rebuilt the axle and regeared. This is what I found under my rear bolt to my seats. Both side were rusted , but the drivers side was the worst. These are the panels I cut out of my floors, respective to their sides in the cab. The jog in each side are for the seat belt bolt holes, neither of which were damaged.
Grinding out all of the old paint, rust, and remaining rubber chunks. Lower Passanger corner of my window frame, there is another hole started outside of the frame as well. The upper drivers side of the frame. This ended up being deeper than it looked. I had to cut out the face of the frames, then deeper to some on the structure underneathbetween the roof and door frame. I treated it with rust neutralizer after pulling the small bits out with some needle nose pliers. This is the drivers side seam under the dash after removing the caulk. It looks like water was travelling behind the caulking. This is above the previous photo up to the window frame. This is the passanger side where the window frame rusted through into the cab. It was dripping off my dash bolt, which broke when i removed the dash. Repaired passanger floor. I had a few chunks of mild 1/8" plate i stashed at work and a Pirahna press did all of the work for me. Drivers side was a bit smaller of a section, but I had to cut the floor all of the wasy to the seam at the edge of my door jam. I know its not pretty, but it will hold a window. Of course everything was super close to the brazing. I also filled the whole that was under the edge of my fender at the window line. This was the large hole at the top drivers sidey cab, it ended up being three pieces. I know it looks like poo, but it is solid and you wont notice when I do the body filler.
I started cleaning the engine bay, I'm going to shoot a coat of black before I drop the diesel in. This is the last photo I took, this morning at 9am. Im a couple hours deep in scrubbing with engine brite and old t shirts, frame and cab all of the way to the hole for my shifters. From there I wen to red 3M scrubber pads to knock off any films, loose paint and get a deep scuff for the paint. I have a semi gloss tractor paint that I'm planning on using on the engine bay.
I have a couple cans of Eastwood rust encapsulater on the way right now. Once all of the seams are shot and dried, I'm going to dump a half can of bed liner that I have left over from my 4Runner into the floors to fill in where I welded and lost chunks of the deadening material. After that dries, I will be rolling FatMat into the floors, roof, door panels, firewall, and rear wall before the carpet comes back in. The only other interior work I'm doing after this will be tinting my rear window.
About 6 hours of scrubbing this transmission to get it clean enough to see aluminum mocked up my driveline flange and drilled out to the 8mm pattern from the first gen driveline Here is my rear section of the frame torn down and given a good once over with a wire wheel. two coats of eastwood rust encapsulator did a ton of good, the entire frame has been shot with the eastwood compound now, front to rear This is the first shot of TCI globals custom shop spray on bedliner in USMC dark olive, shot with a schutz gun
 05-30-2013, 08:55 AM