xxxtreme22r's 1987 Pickup Build-Up Thread
 12-07-2009, 07:38 PM
#1
Registered User
Thread Starter
xxxtreme22r's 1987 Pickup Build-Up Thread
I am reserving a spot now for future mods. Sorry not too many photos yet, since I am still out of a camera.
I have called this Project blueballs because the truck is Blue and I am never gonna be happy with the amount of mods to it. Oh yeah and it's got BALLS!!!
Here's the list so far.
Freshly rebuilt 22r motor w/Full ENGNBLDR Master Kit
ENGNBLDR street head and Head Bolts
ENGNBLDR 268 cam
ENGNBLDR 20 over Pistons
ENGNBLDR Steel Rail Timing Kit
ENGNBLDR Oil Pump
JAPANENGINES New Crank and Connecting Rods STD Size
JAPANENGINES New Timing Cover
DOWNEY 4-1 Header
LC Engineering Header Bolts
PERFECTION Clutch and Flywheel from ADVANCE AUTO PARTS
Stainless Steel Engine Bolt kit from MMS
DURALAST Water Pump from AUTOZONE
AIRTEX Fuel Pump from AUTOZONE
Rebuilt Toyota Aisin Carburetor
XXXTREME22r Built Wooden Flatbed
'00 CHEVY 2500/3500 Tail Lights
HAYDEN Fan Clutch from PEPBOYS
Custom 2.25" Exhaust made by COLE MUFFLER
THRUSH Turbo Muffler from CEEKAY AUTO
"SR5" Gauge Cluster swap from a 1986 4Runner
PROCOMP E3000 Shocks
PROCOMP E2000 Steering Stabilizer
Front Air Dam Removed
soon to come: turn signal/marker light mod, 31X10.50 tires, MARLIN CRAWLER Shifter Bushings, and hopefully a rattle can paint job (weather permitting)
wishlist: Baja Front Bumper & Skid Plate, 3" Flared Front Fenders, tubed Rear Bumper.
....more to come
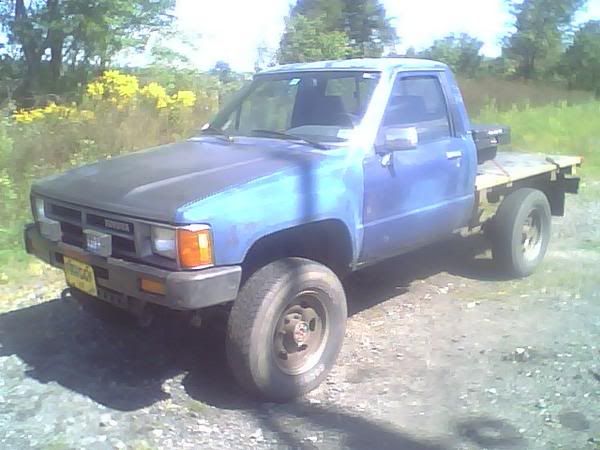
Couple photos of the truck taken right after I spun a rod bearing. I dropped the oil pan and front diff right in this field in the time it took the tow truck to show up:
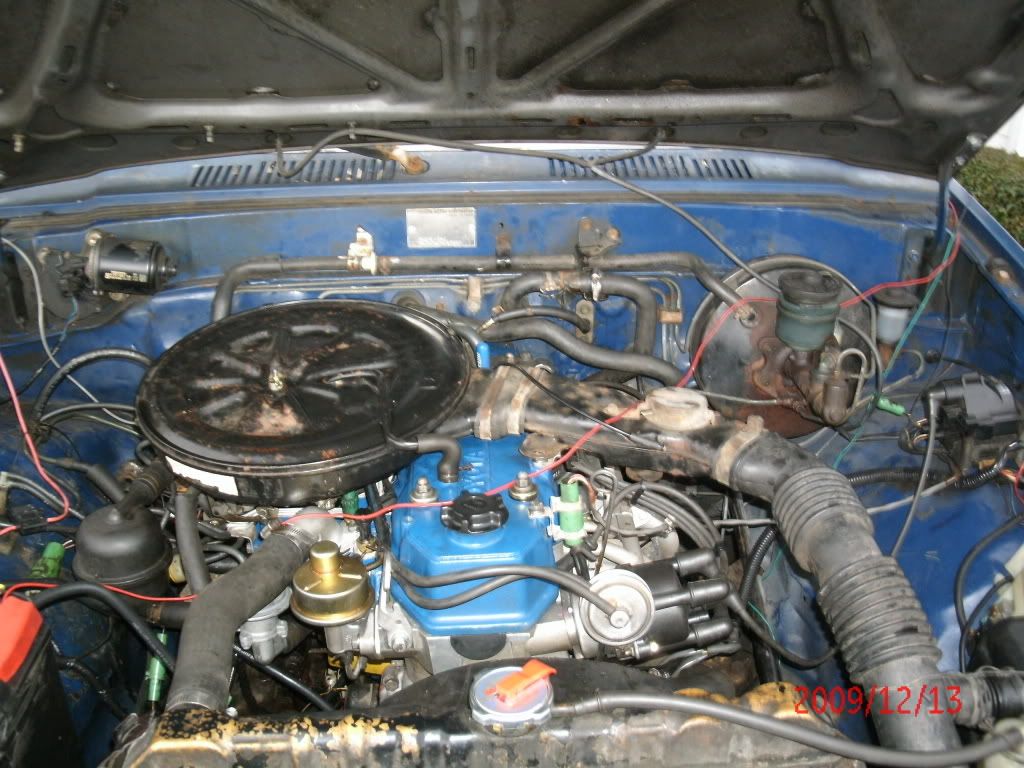
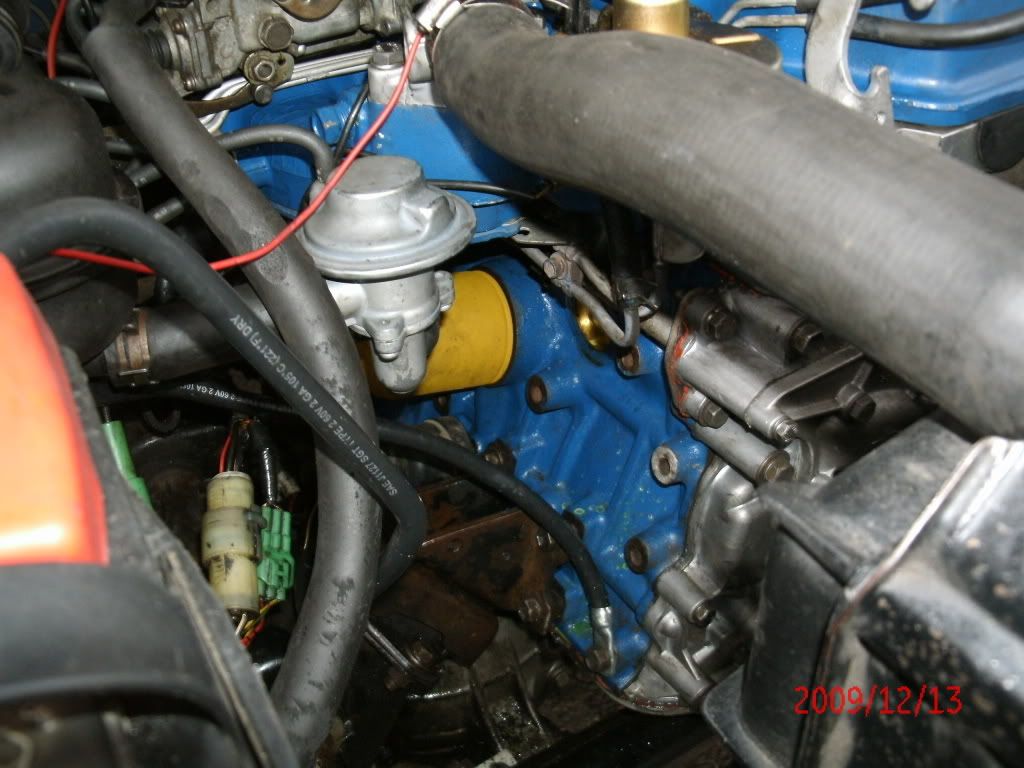
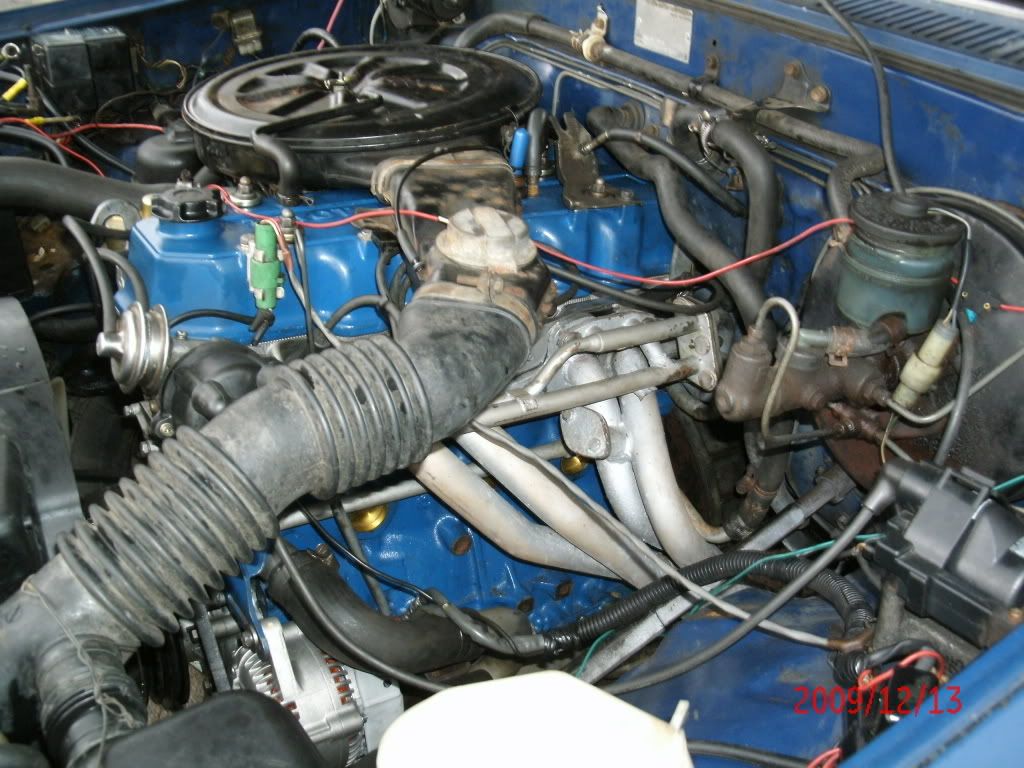
Some Engine Photos courtesy of 92 TOY:


I have called this Project blueballs because the truck is Blue and I am never gonna be happy with the amount of mods to it. Oh yeah and it's got BALLS!!!
Here's the list so far.
Freshly rebuilt 22r motor w/Full ENGNBLDR Master Kit
ENGNBLDR street head and Head Bolts
ENGNBLDR 268 cam
ENGNBLDR 20 over Pistons
ENGNBLDR Steel Rail Timing Kit
ENGNBLDR Oil Pump
JAPANENGINES New Crank and Connecting Rods STD Size
JAPANENGINES New Timing Cover
DOWNEY 4-1 Header
LC Engineering Header Bolts
PERFECTION Clutch and Flywheel from ADVANCE AUTO PARTS
Stainless Steel Engine Bolt kit from MMS
DURALAST Water Pump from AUTOZONE
AIRTEX Fuel Pump from AUTOZONE
Rebuilt Toyota Aisin Carburetor
XXXTREME22r Built Wooden Flatbed
'00 CHEVY 2500/3500 Tail Lights
HAYDEN Fan Clutch from PEPBOYS
Custom 2.25" Exhaust made by COLE MUFFLER
THRUSH Turbo Muffler from CEEKAY AUTO
"SR5" Gauge Cluster swap from a 1986 4Runner
PROCOMP E3000 Shocks
PROCOMP E2000 Steering Stabilizer
Front Air Dam Removed
soon to come: turn signal/marker light mod, 31X10.50 tires, MARLIN CRAWLER Shifter Bushings, and hopefully a rattle can paint job (weather permitting)
wishlist: Baja Front Bumper & Skid Plate, 3" Flared Front Fenders, tubed Rear Bumper.
....more to come
Couple photos of the truck taken right after I spun a rod bearing. I dropped the oil pan and front diff right in this field in the time it took the tow truck to show up:
Some Engine Photos courtesy of 92 TOY:
Last edited by xxxtreme22r; 07-24-2011 at 06:57 AM.
 12-10-2009, 11:34 AM
#2
Registered User
Thread Starter
He's got new shoes now, well at least new to the truck. I picked up a set of 31 X 10.50 Definity Dakota M/T tires used. What a difference tires make on this thing look wise. I also changed out the wheels as well, to the set that i had gotten with the truck. I believe them to be the stock ones. The ones I had on the PO said they came off a newer yota. THe ones I have on now have more of a triangle shape to the holes. I notice a little torque loss below 1500 and they are kinda noisy. First set of mud tires I've had on any of my trucks. I know all M/T's are gonna be loud, just gonna take some getting used to.
Last edited by xxxtreme22r; 12-10-2009 at 11:41 AM.
12-13-2009, 05:46 AM
#3
Registered User
Thread Starter
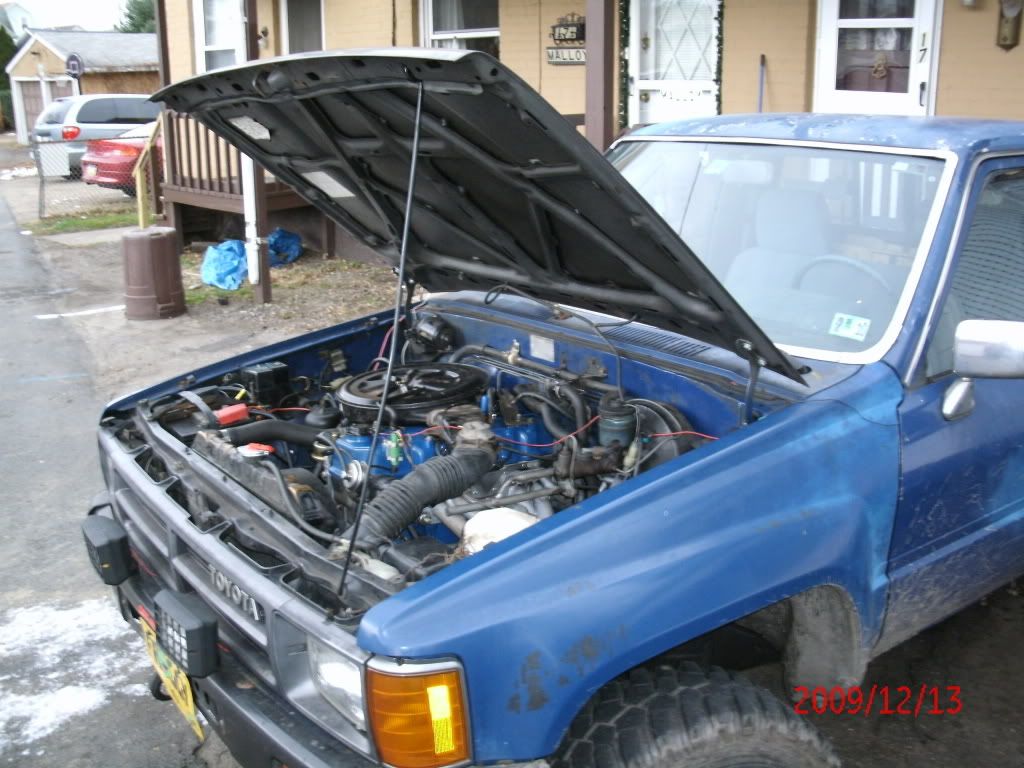
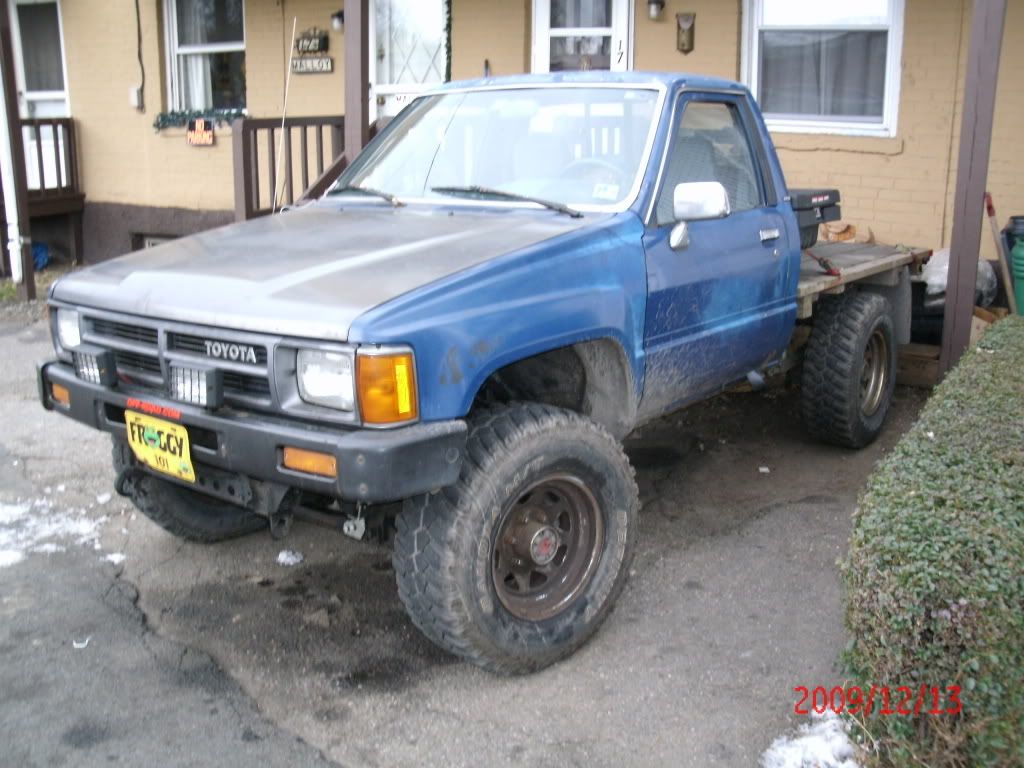
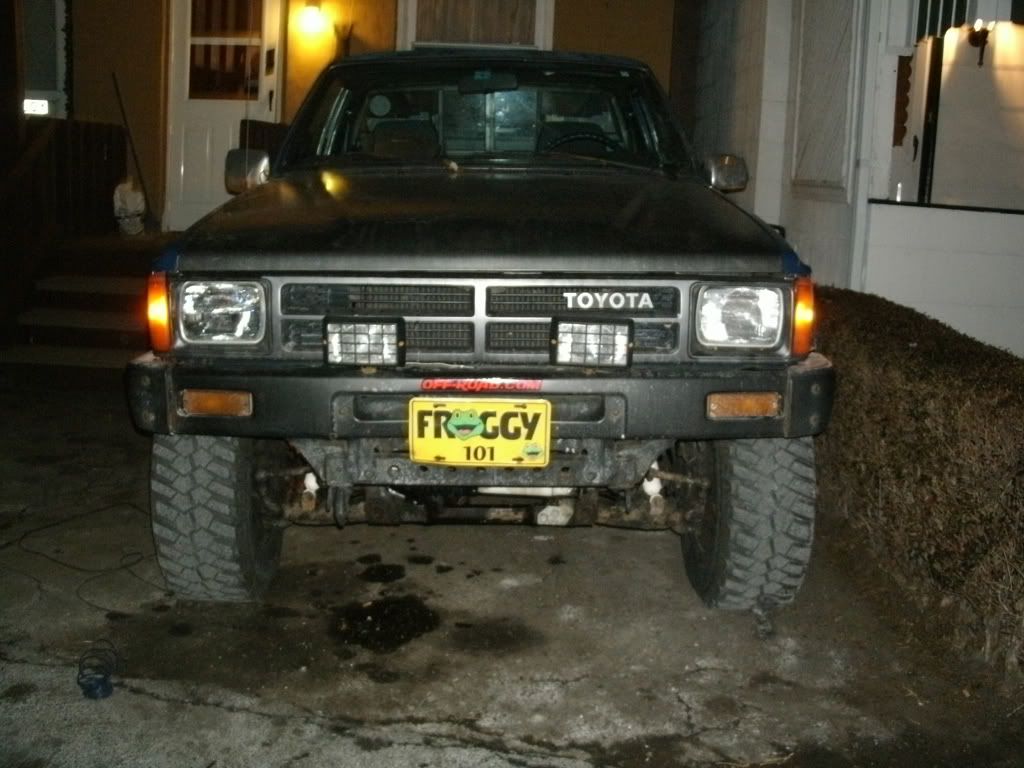
ok got some better photos, girlfriend needed to get a new camera and I had to test it.

Still Have To put on the PROCOMP Steering Stabilizer Yet.
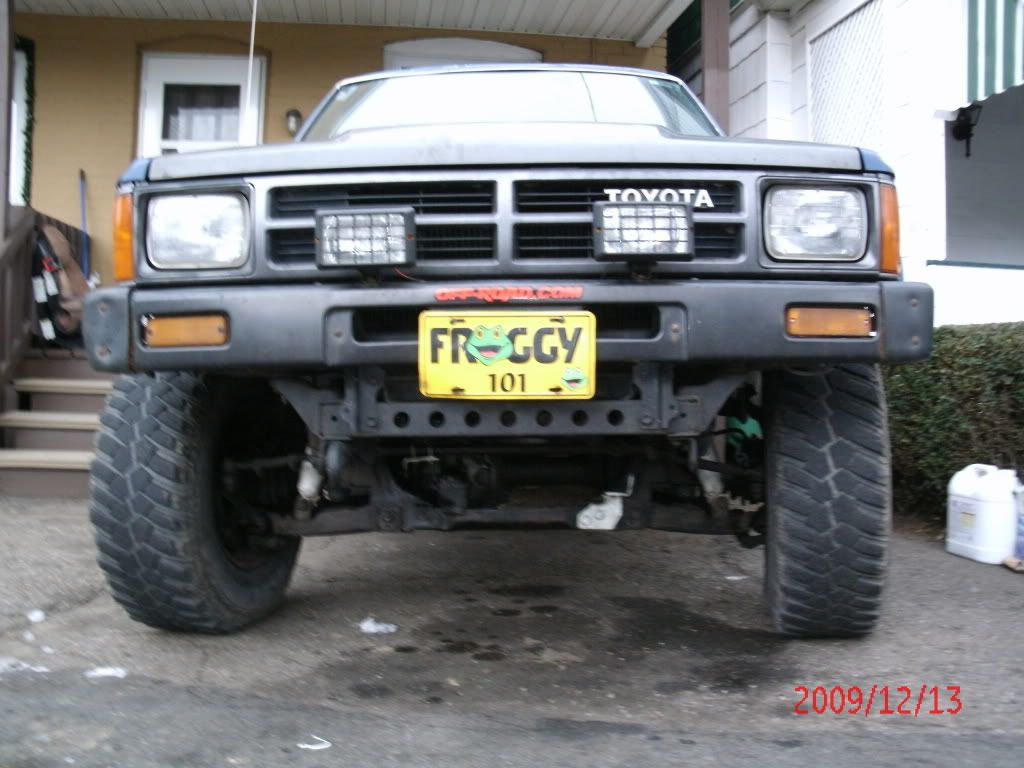
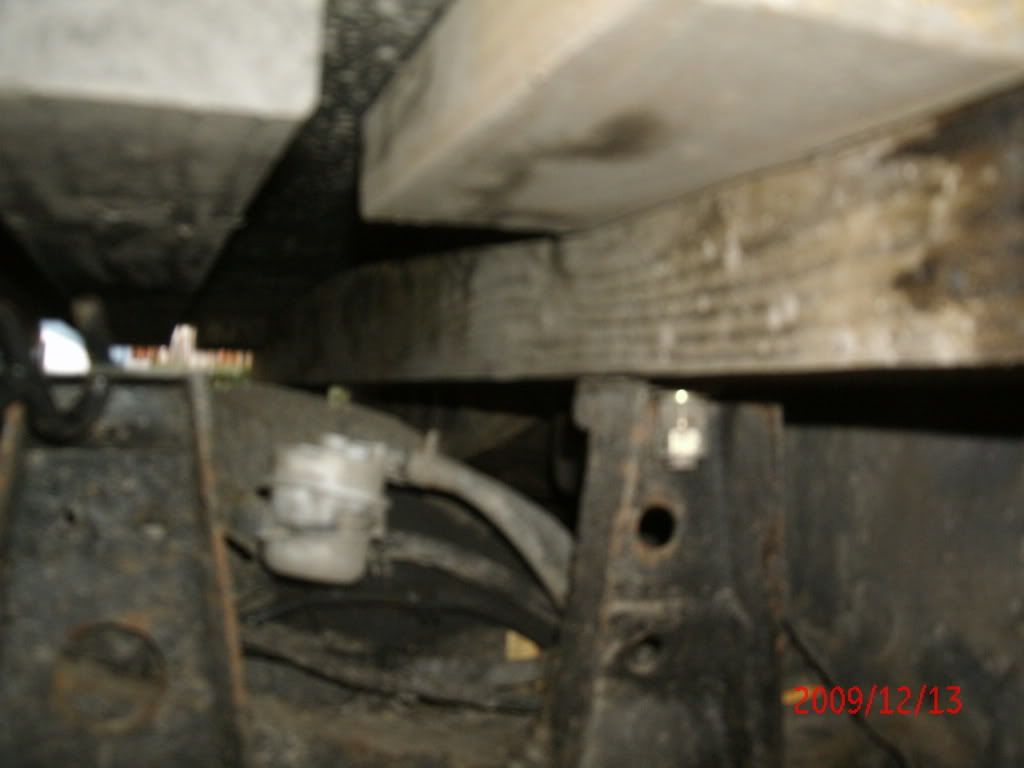
This is the exact spot where the motor was pulled for the rebuild.
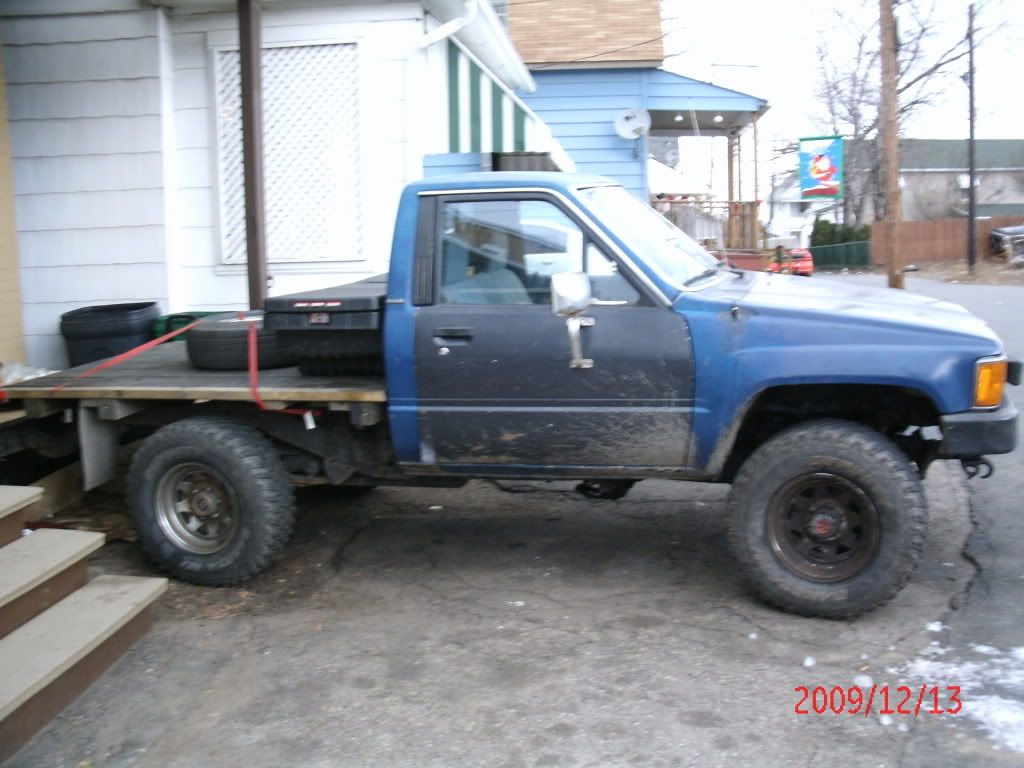
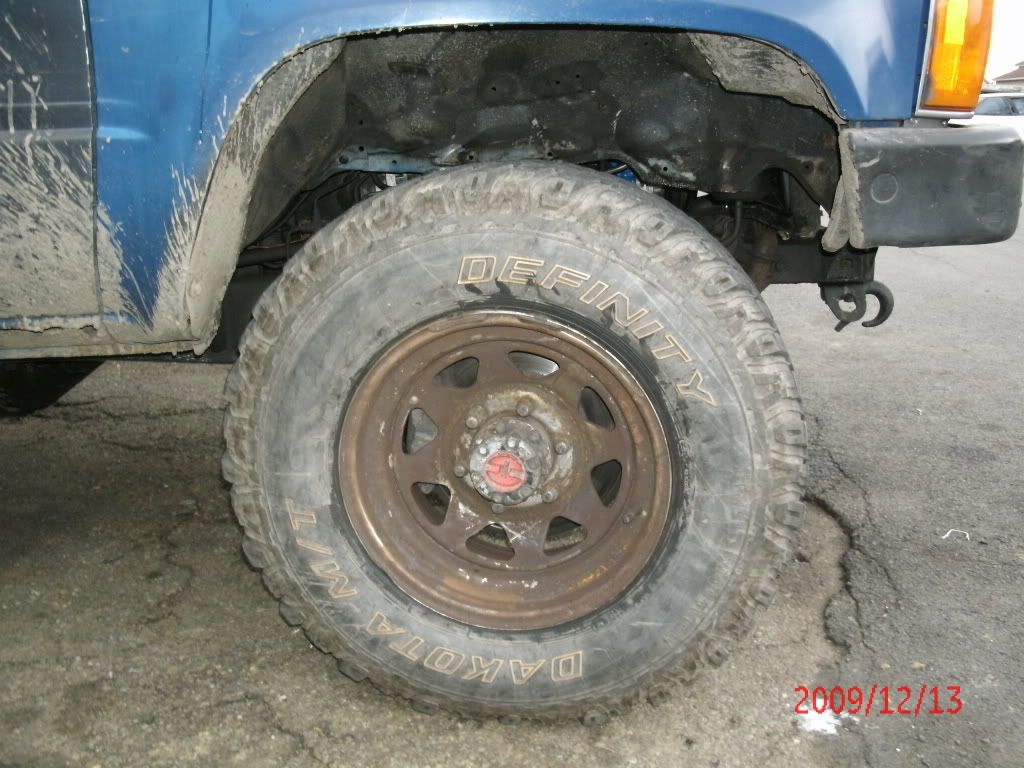
Front 31 X 10.50 Definity Dakota M/T Tire clearance.
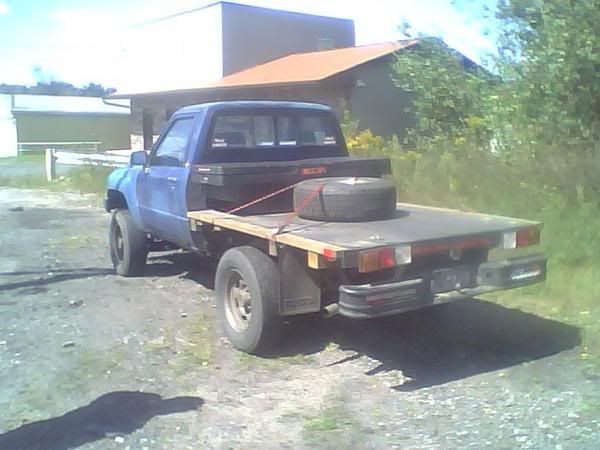
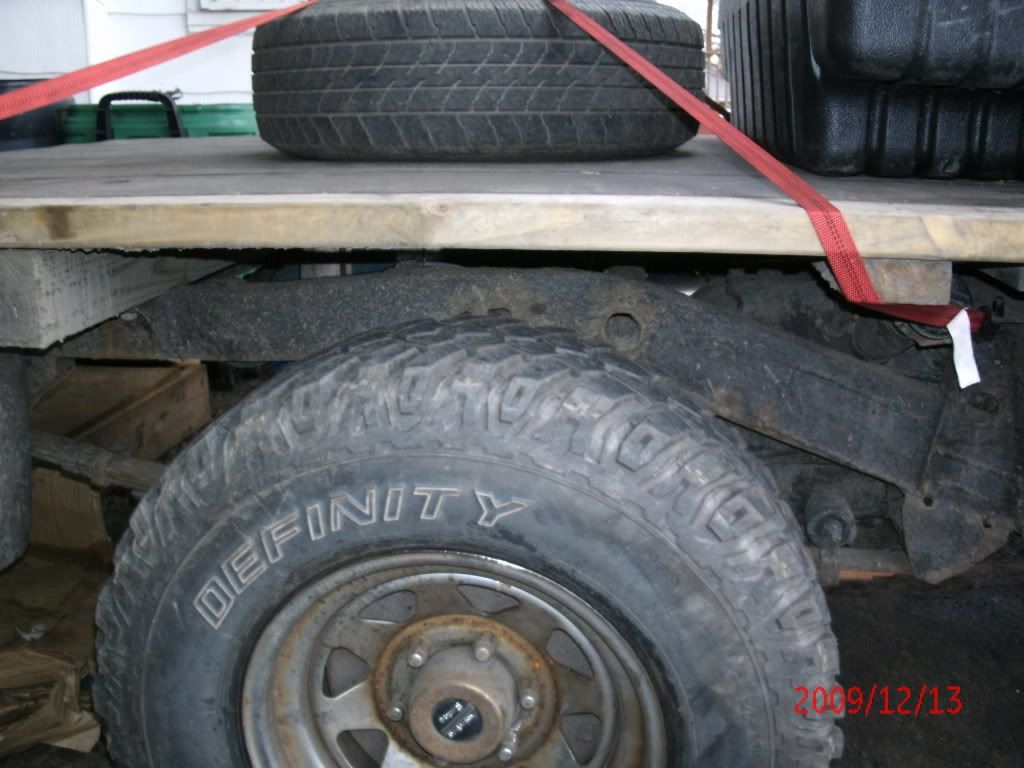
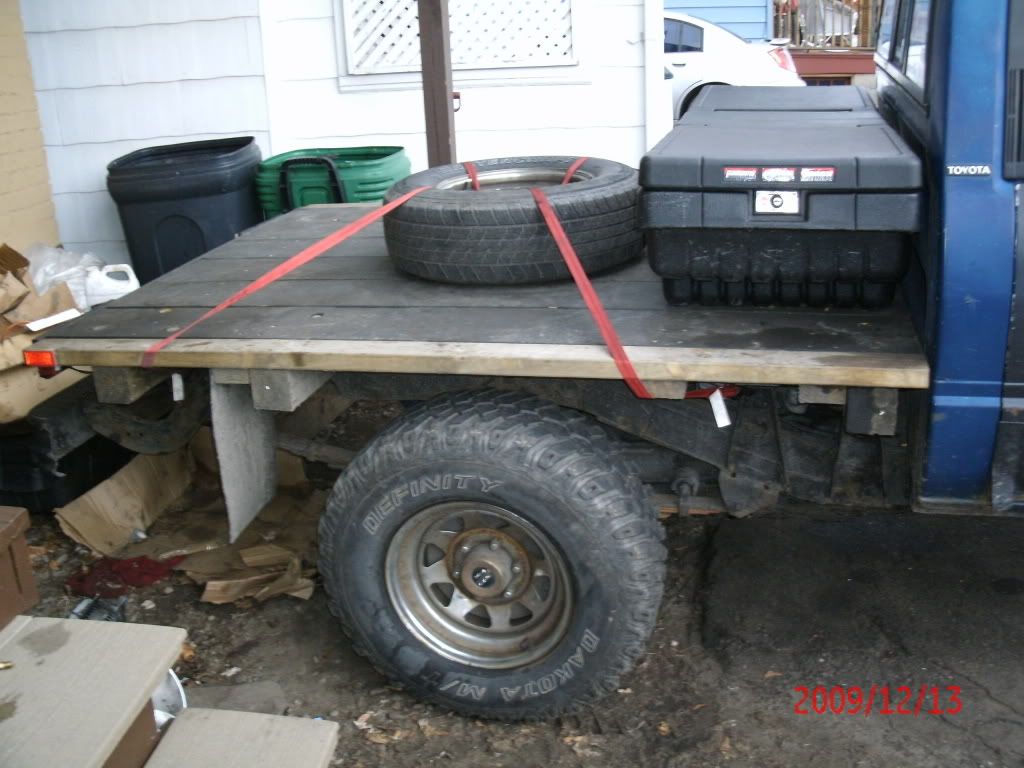
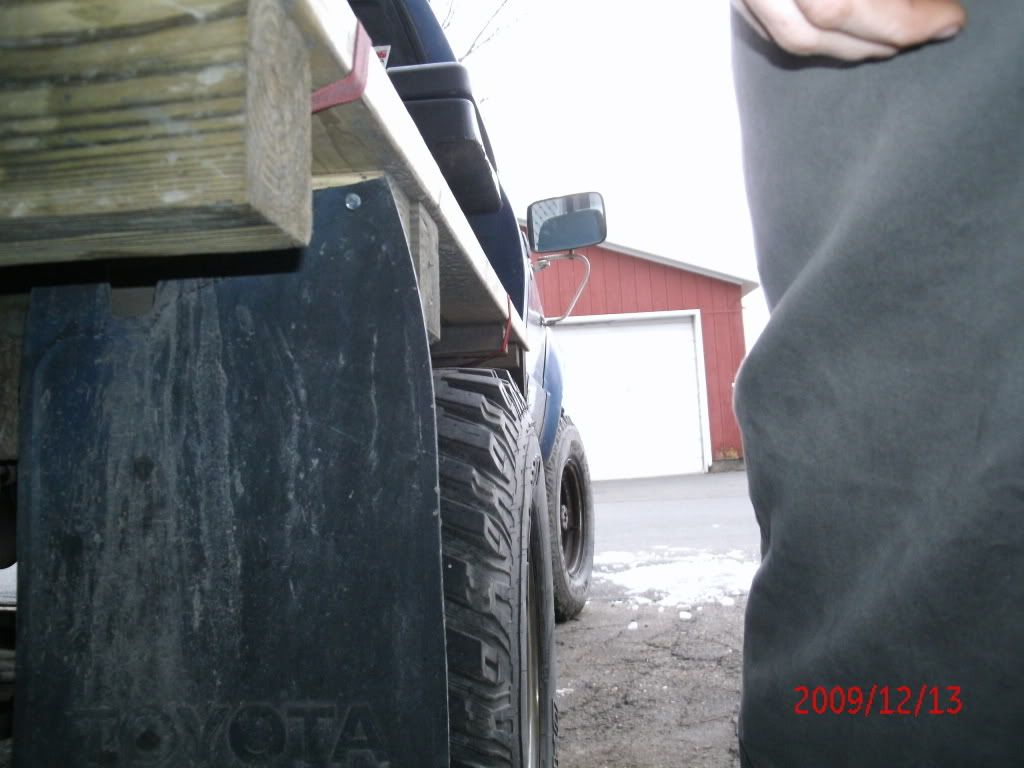
Rear 31 X 10.50 Definity Dakota M/T Tire Clearance. Pretty sure I am gonna have to lift the bed another 2 inches.
2 X 10 and 2 X 4 Wooden Flatbed. Still need to stain the outer wood, redo the taillights and make some side rails.
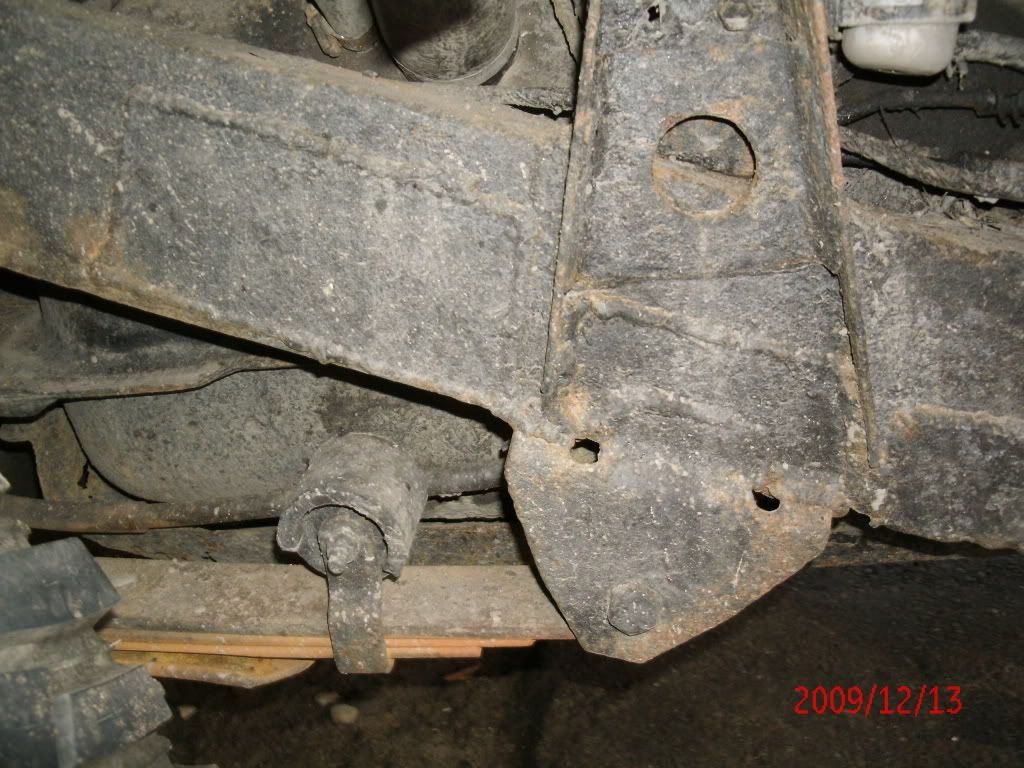
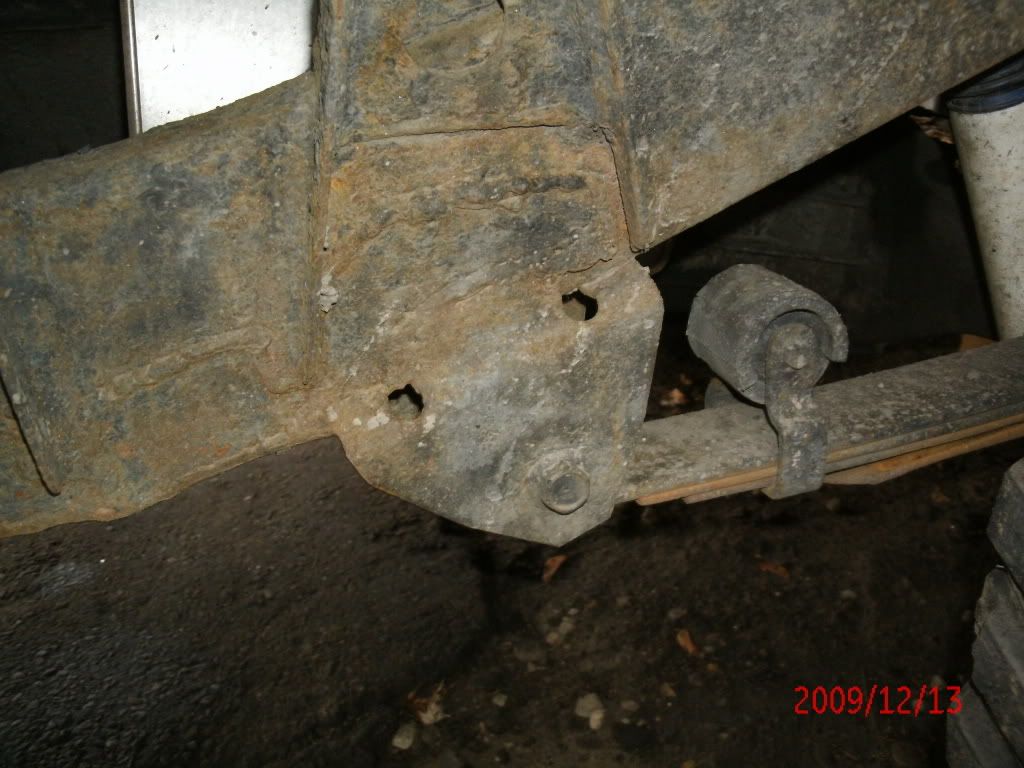
Frame welds
Mud Flap
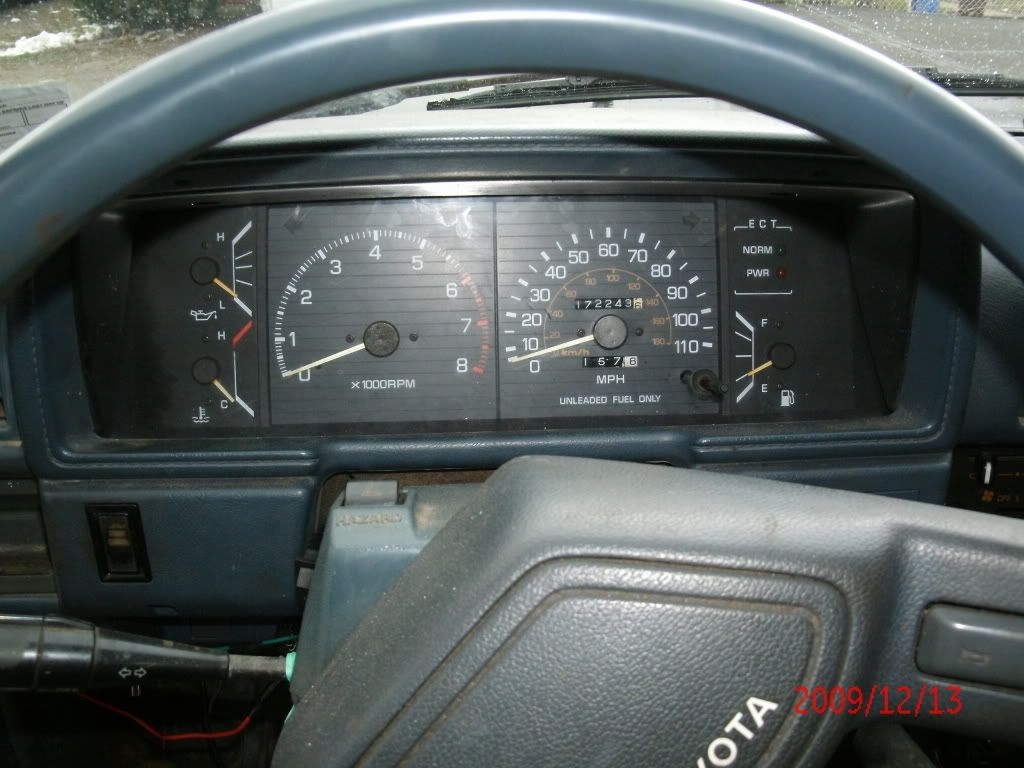
"SR5 Dash"
Still Have To put on the PROCOMP Steering Stabilizer Yet.
This is the exact spot where the motor was pulled for the rebuild.
Front 31 X 10.50 Definity Dakota M/T Tire clearance.
Rear 31 X 10.50 Definity Dakota M/T Tire Clearance. Pretty sure I am gonna have to lift the bed another 2 inches.
2 X 10 and 2 X 4 Wooden Flatbed. Still need to stain the outer wood, redo the taillights and make some side rails.
Frame welds
Mud Flap
"SR5 Dash"
Last edited by xxxtreme22r; 12-13-2009 at 10:17 AM.
01-25-2010, 09:59 PM
#4
Registered User
Thread Starter
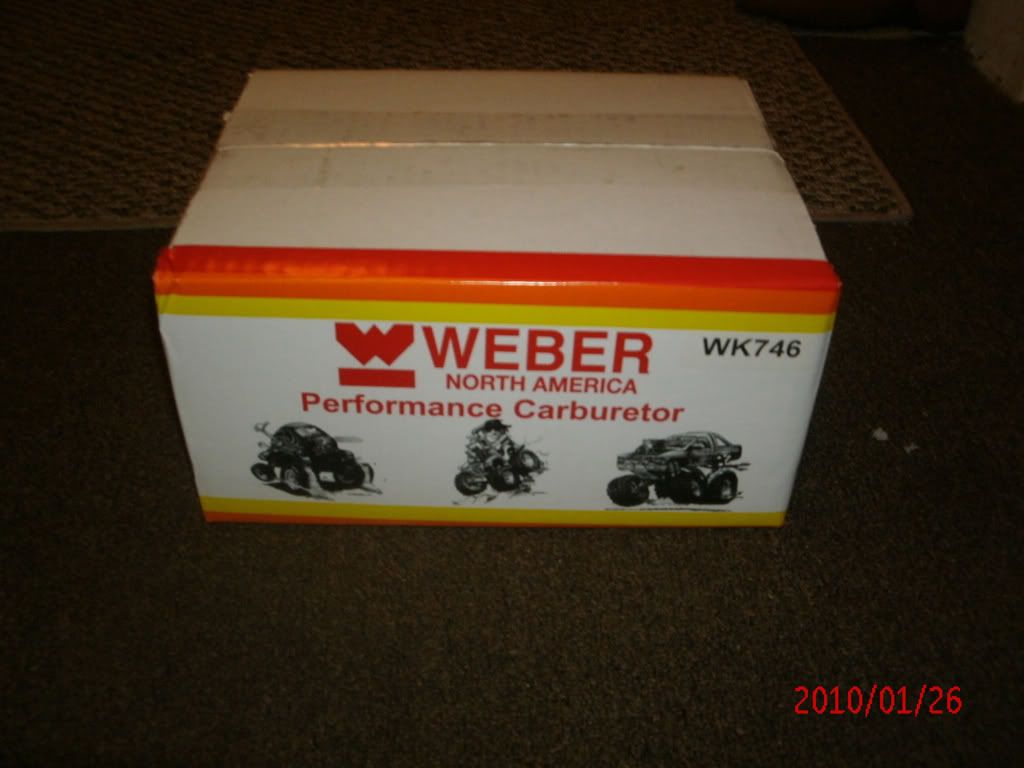
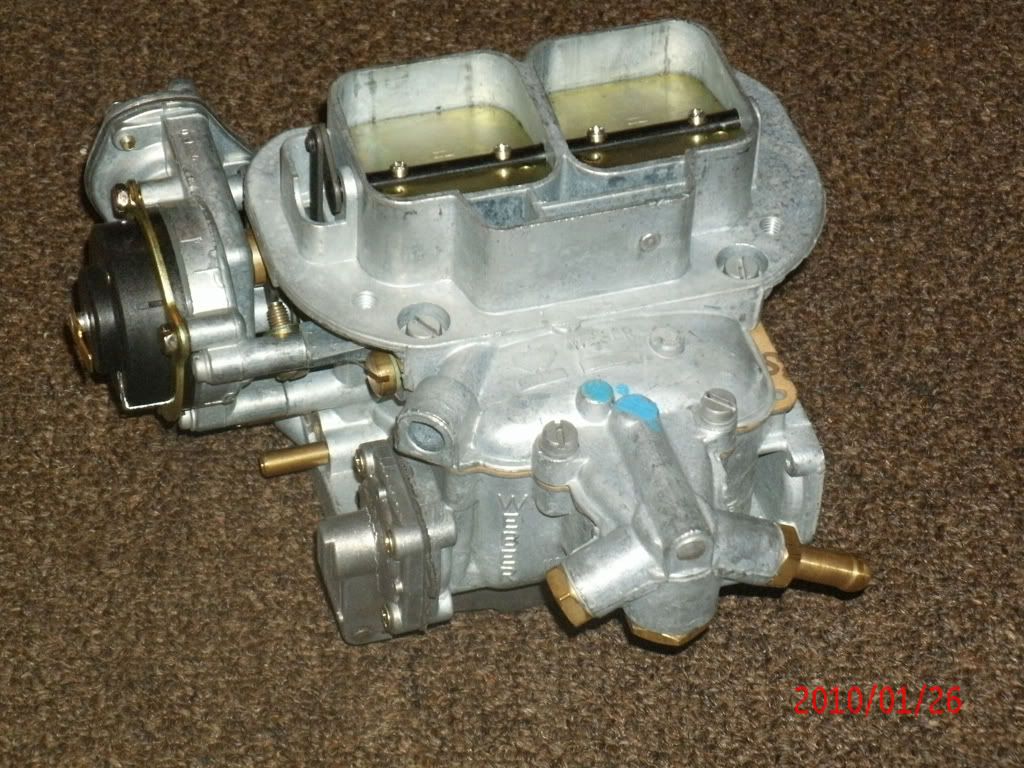
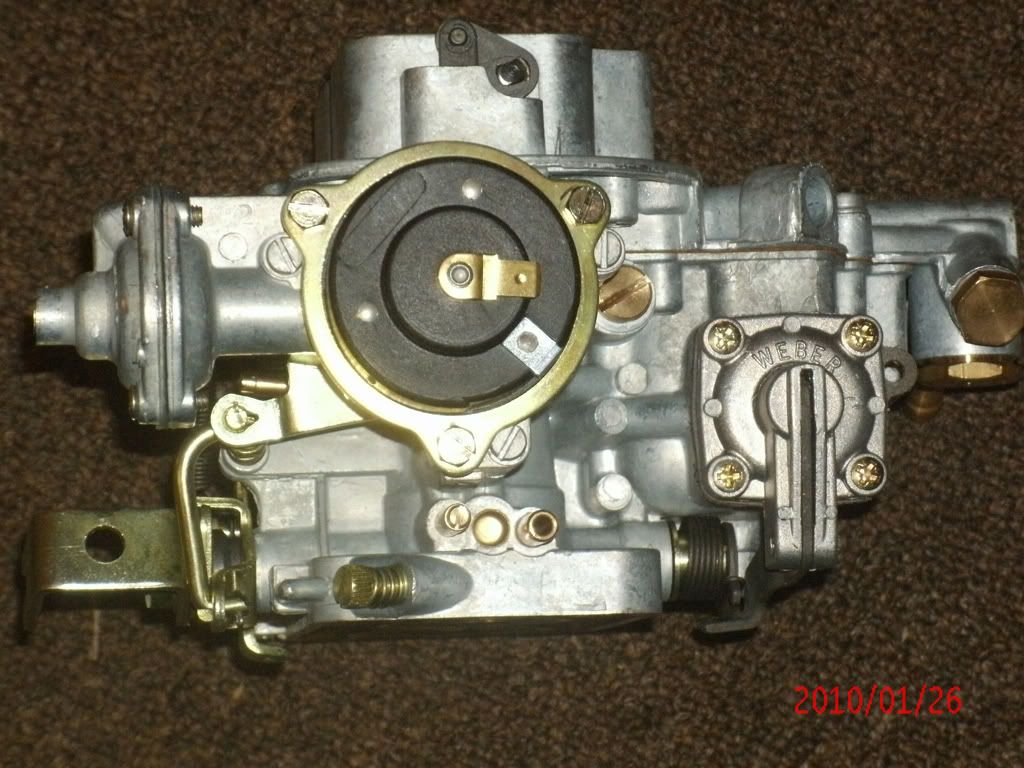
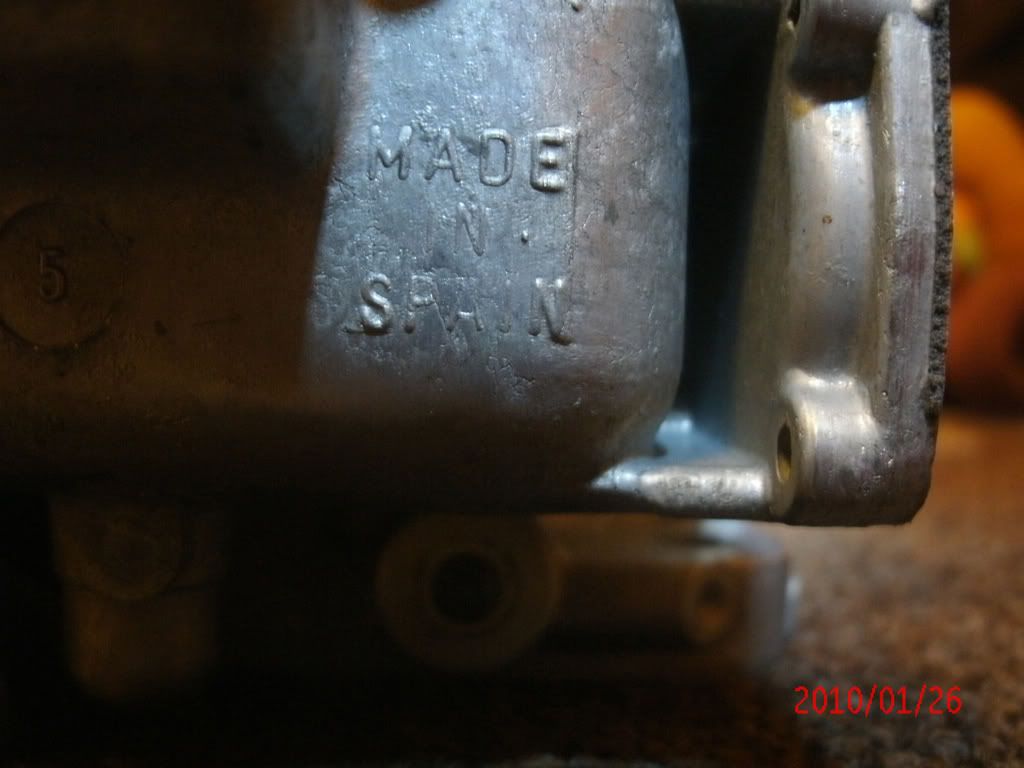
Well the next step is the Weber 32/36 Carb from WeberCarbsDirect. I must say very fast shipping ans sent the same day ordered. Although they are less than a 3 hour drive from me. As you can see in the following photos, this is the real thing, not an EMPI or Solex Copy. Please Correct me if I am wrong here. Not sure when I will get the time to put it in though. 12 hour days on 2nd shift kinda sucks in a way.
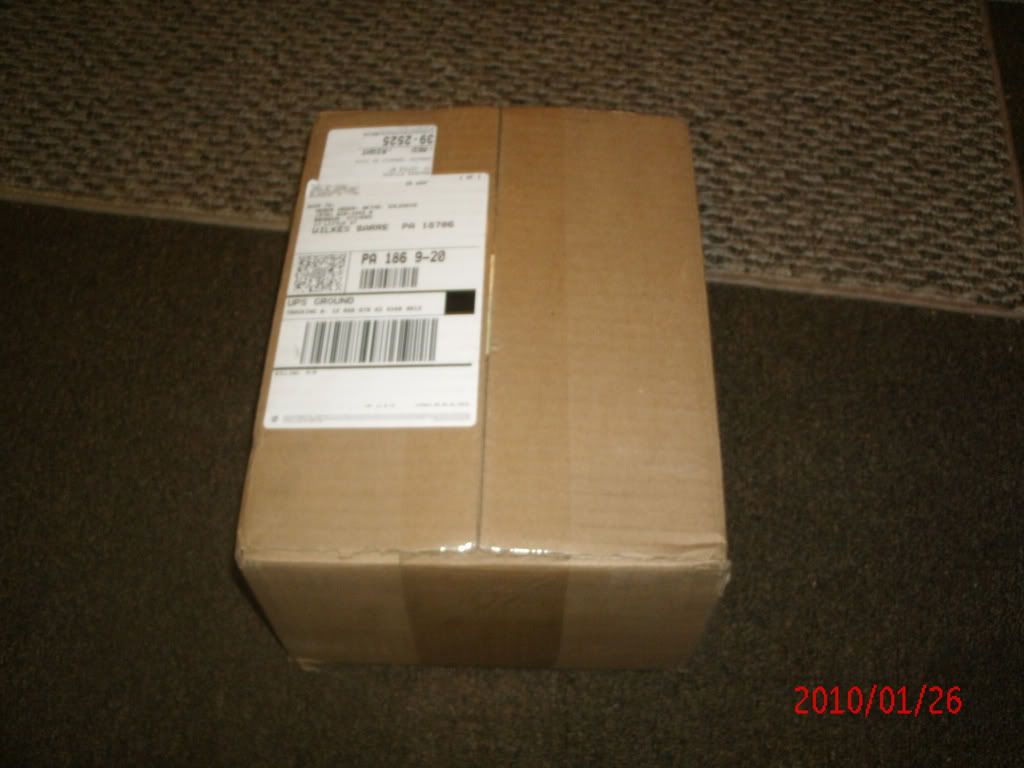
Shipping Box
Packaging
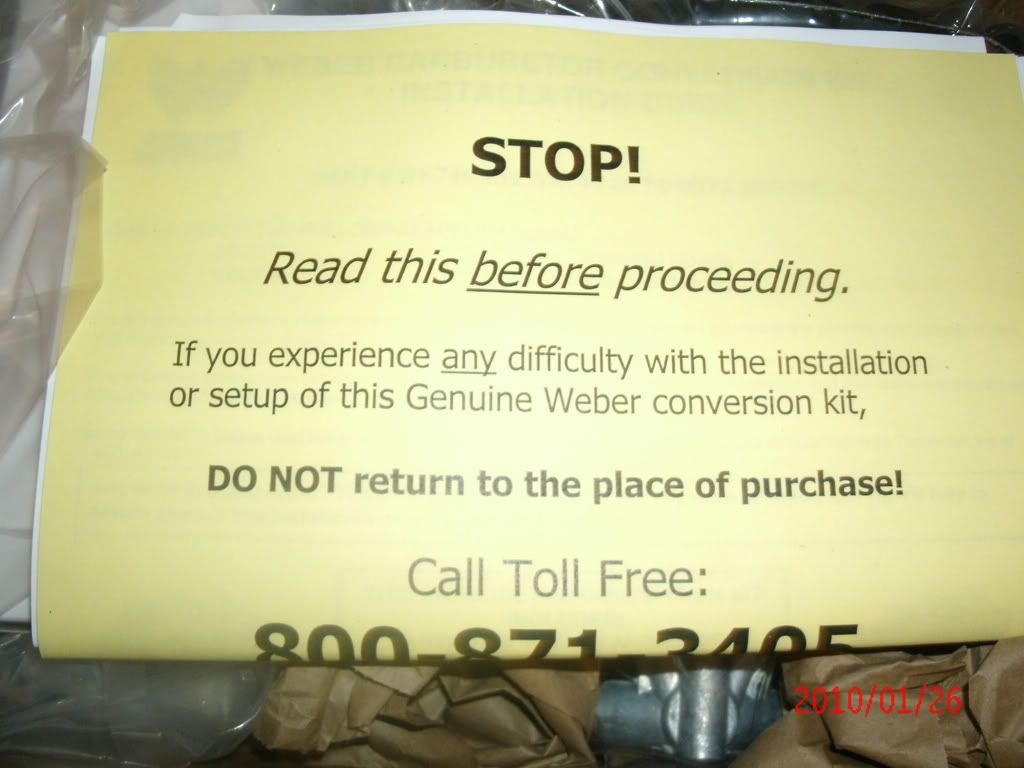
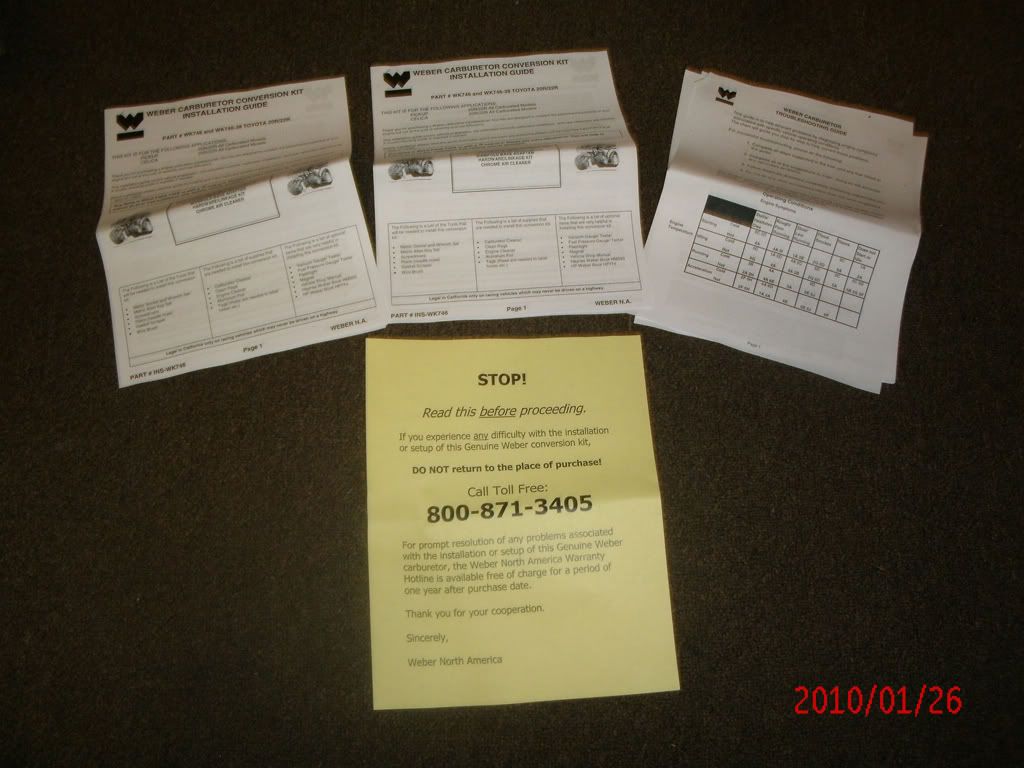
Warning
Instructions (Will Try to make a pdf on this as well)
They gave me two sets???
Packed Box
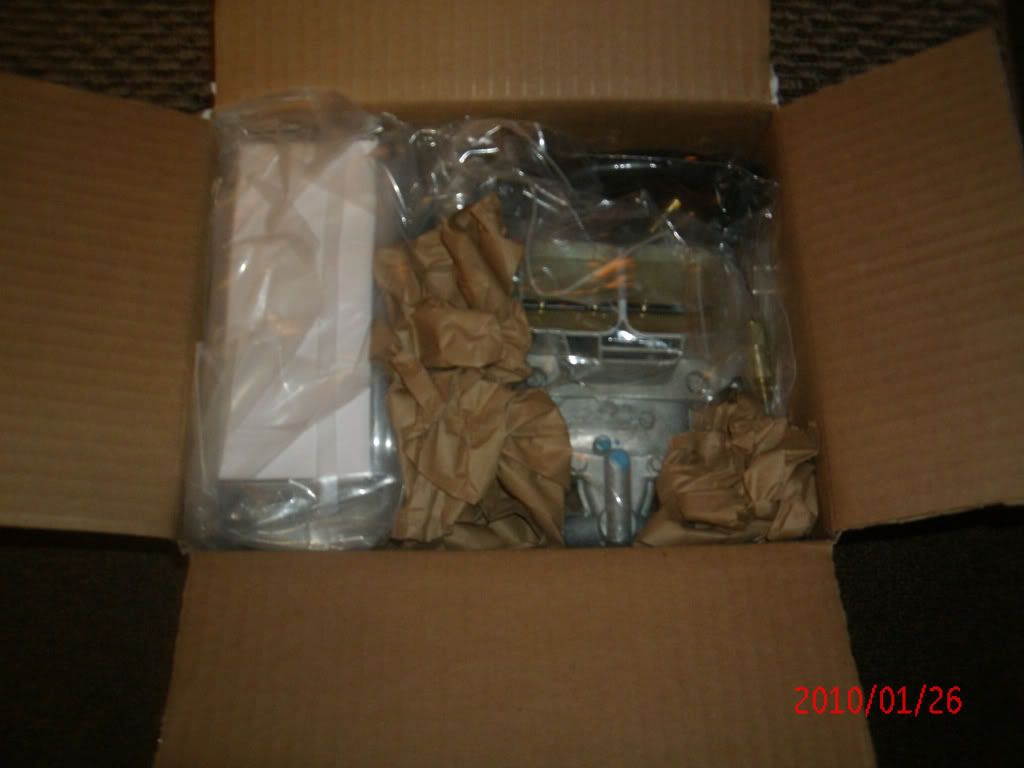
Un-packed Box

Weber 32/36
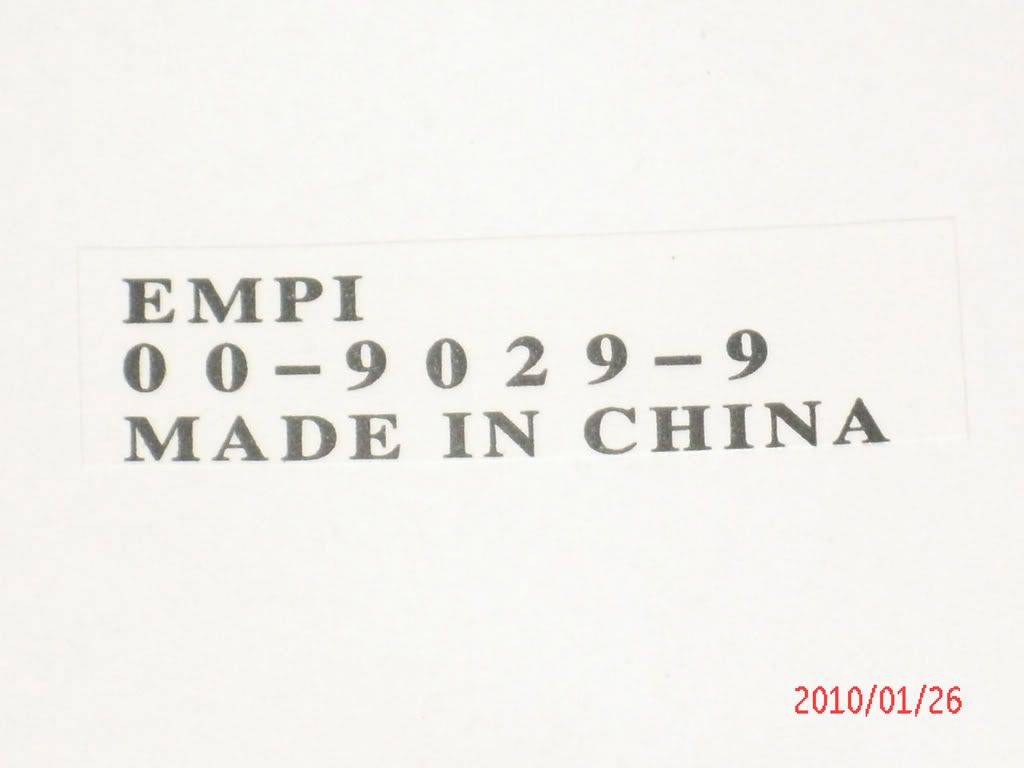
Air Filter Part Number
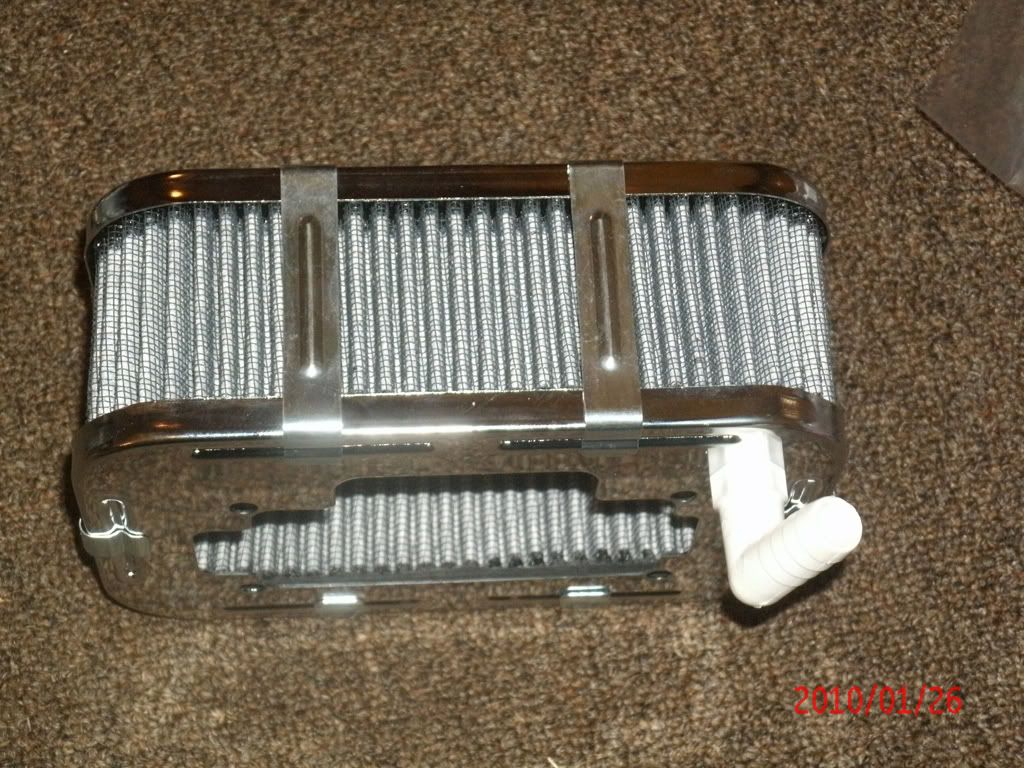
Even though their website says the WK746 comes with their F1000 1.75" Tall they sent the F2000 2.5" Tall Filter. BONUS I Guess.
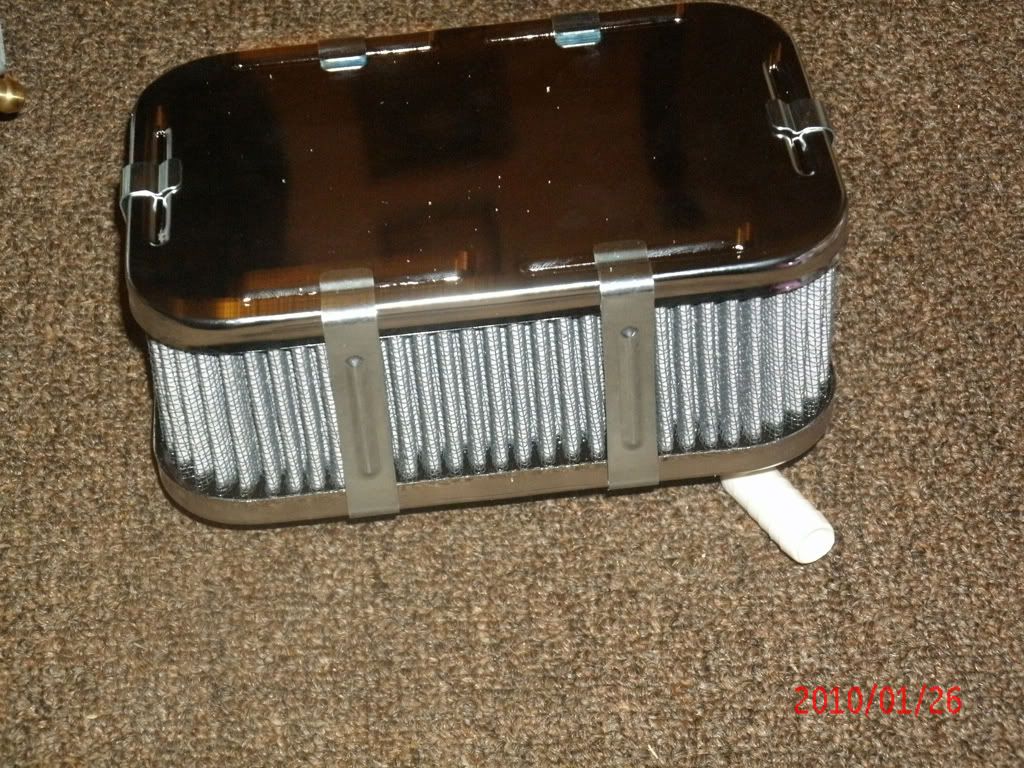
Air Filter
Not liking the flimsy chrome housing/clips though. Filter itself looks good though.
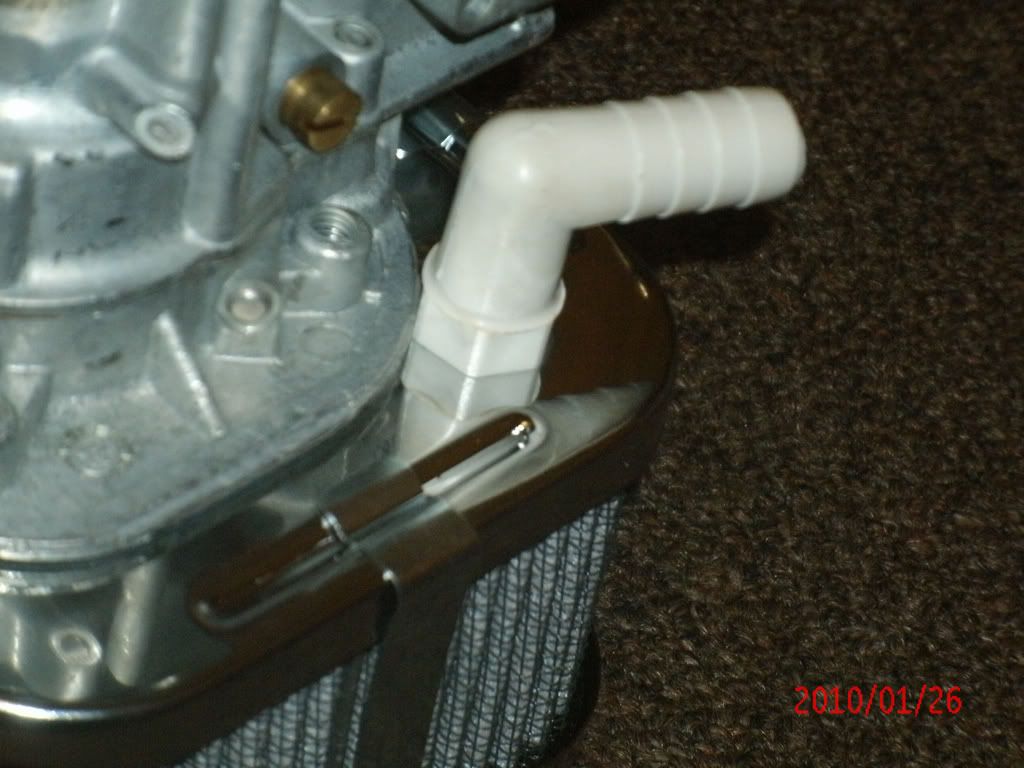
Air Filter/Weber Mock Up
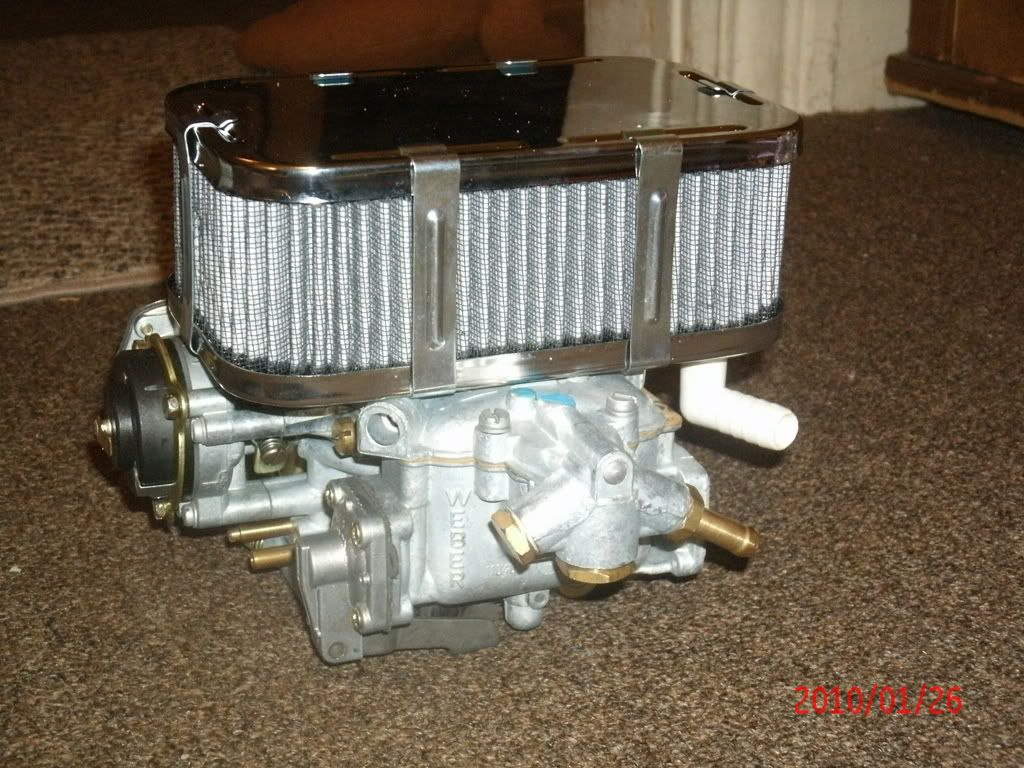
Got to watch out for clearance issues with the Breather Tube and Carb Body
Throttle Plates
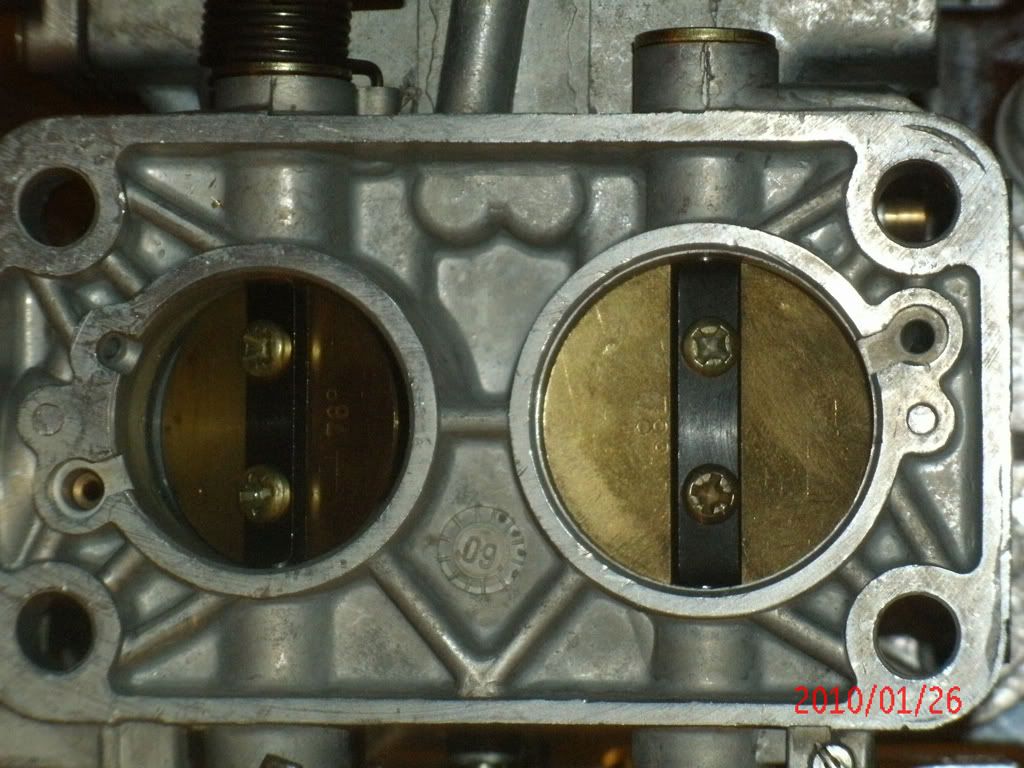
Toyota/Factory Throttle Linkage Side By Side
Will Need to take old one off and put new one on
Will not have any more choke problems
No more rivets here
[IMG]http://i561.photobucket.com/albums/ss52/xxxtreme22r/Weber%2032%2036/Weber_32_36_16.jpg[/IMGl]
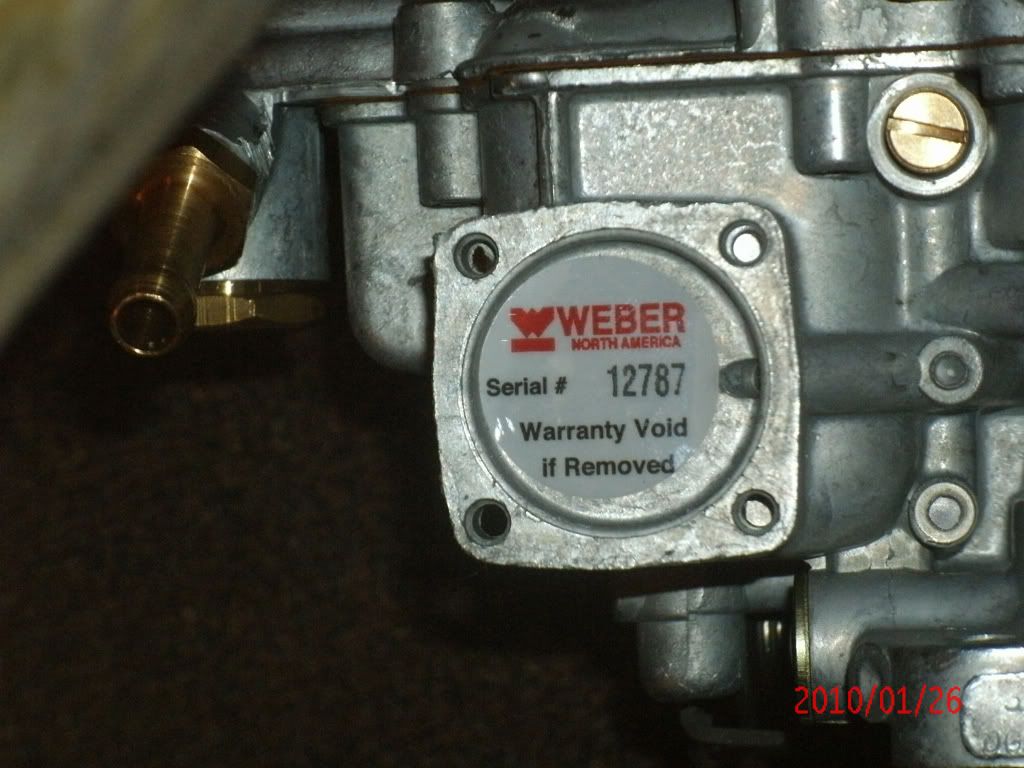
Tamper Sticker (not sure what this is covering though
Made in Spain Stamp
EGR PCV Plate
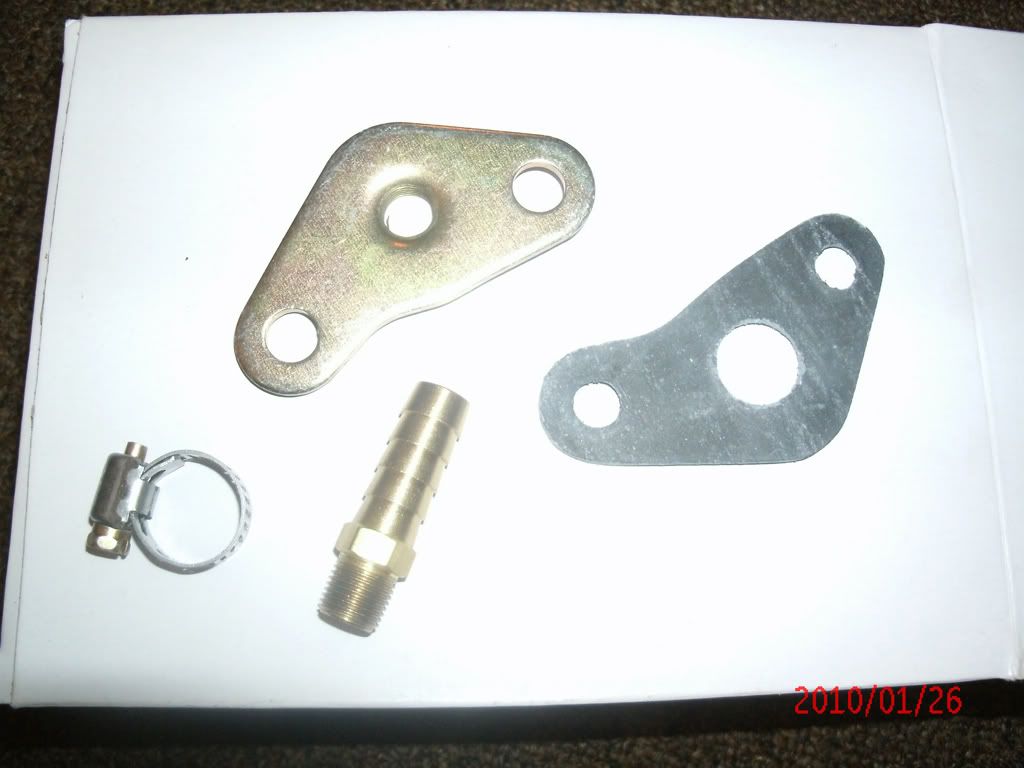
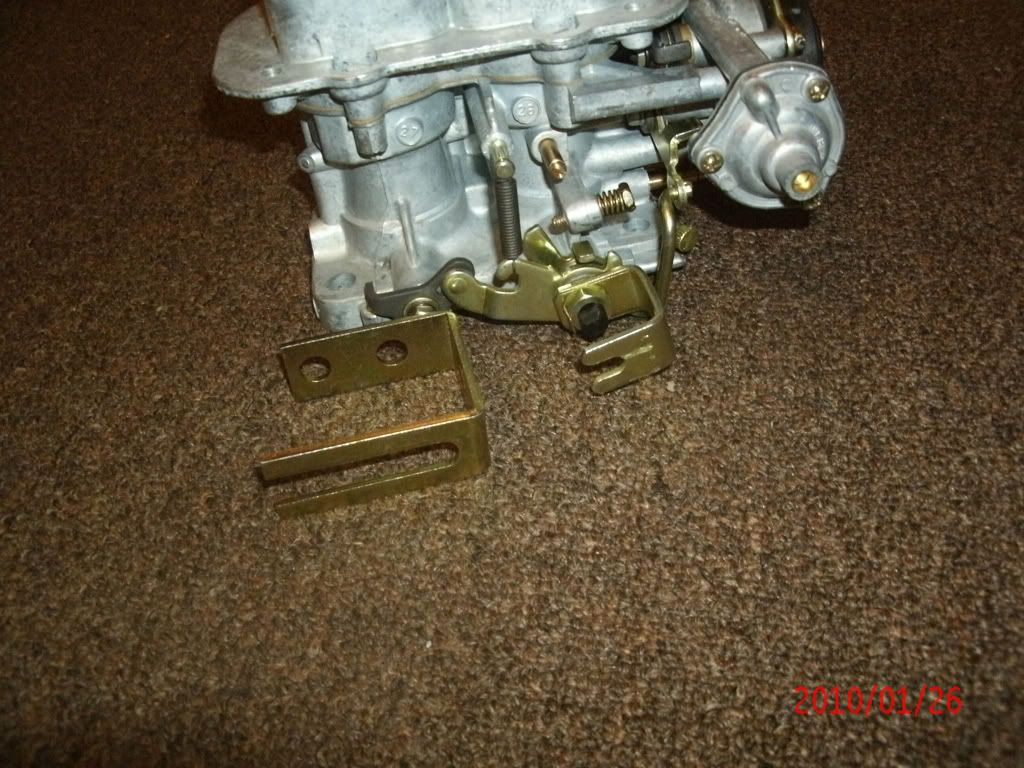
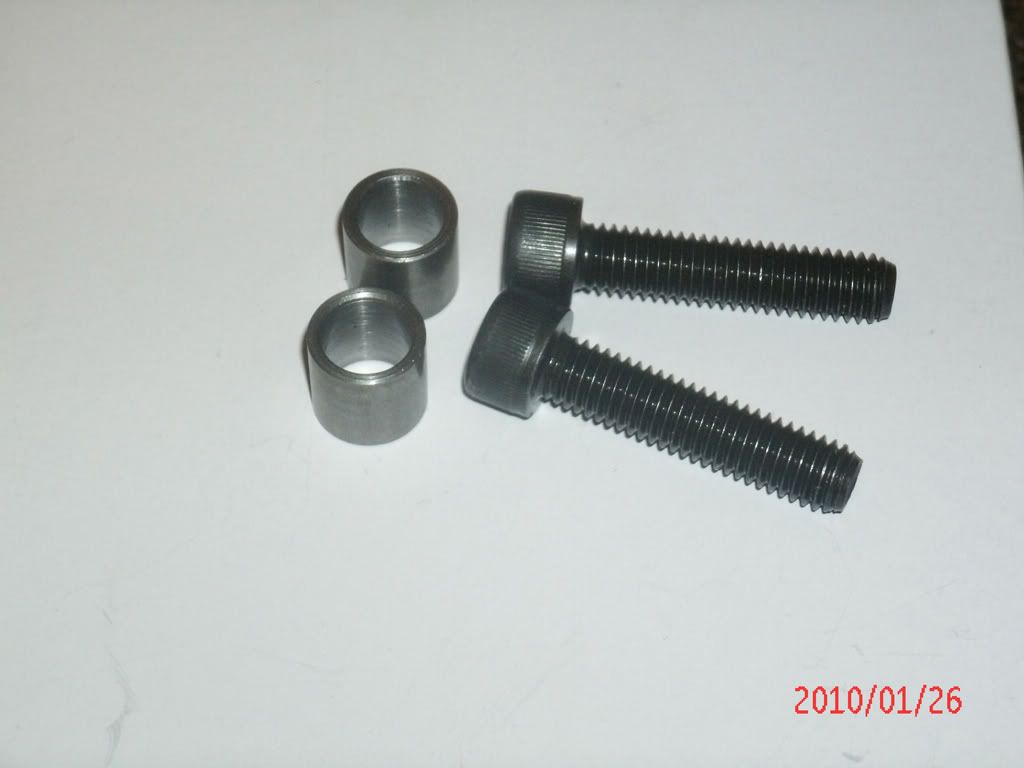
4WD only Throttle Bracket spacers
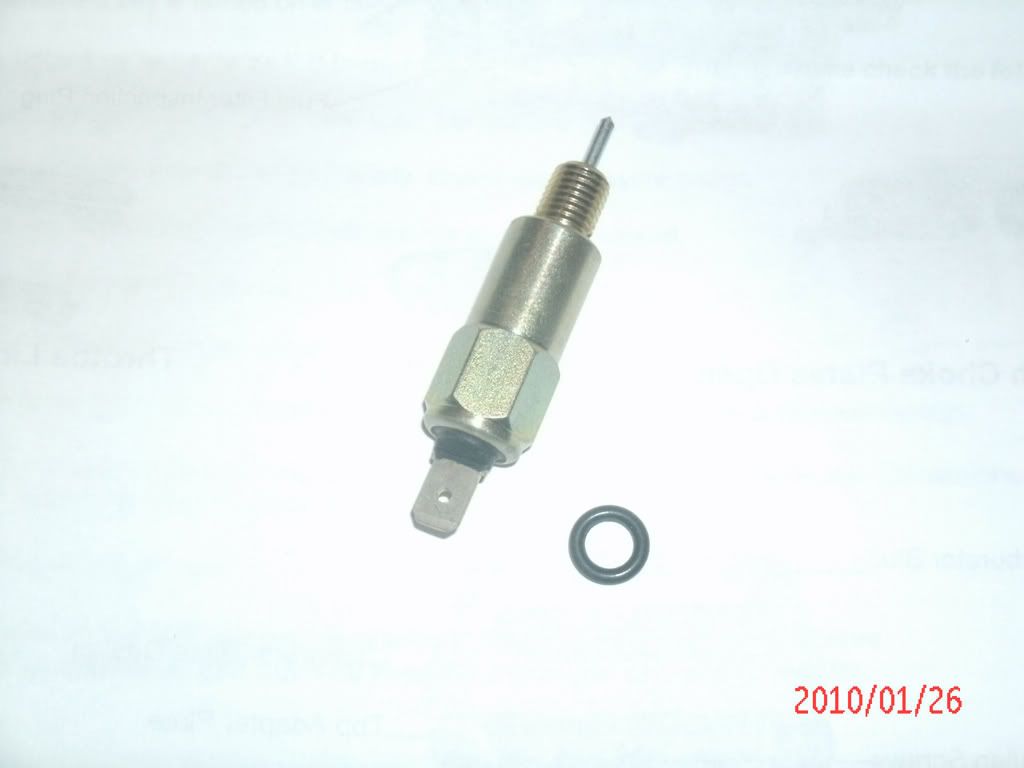
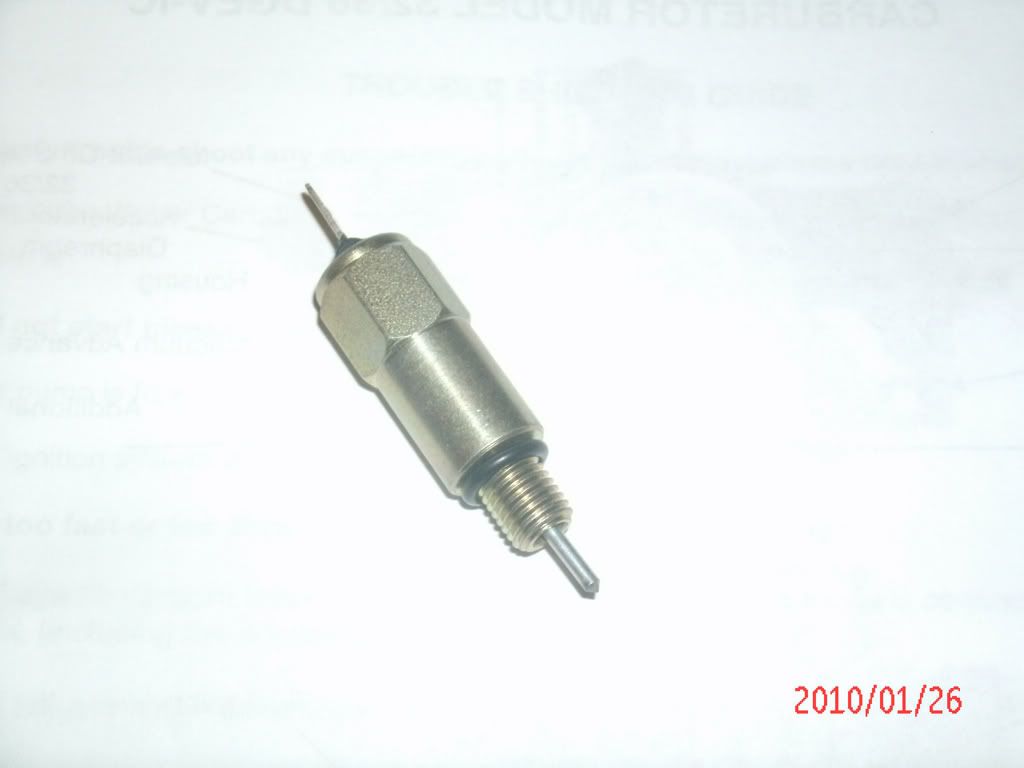
Idle Cut-off Solonoid with without the o-ring installed.
Not sure if I am going to need this, but for $16 insurance I decided to get it.
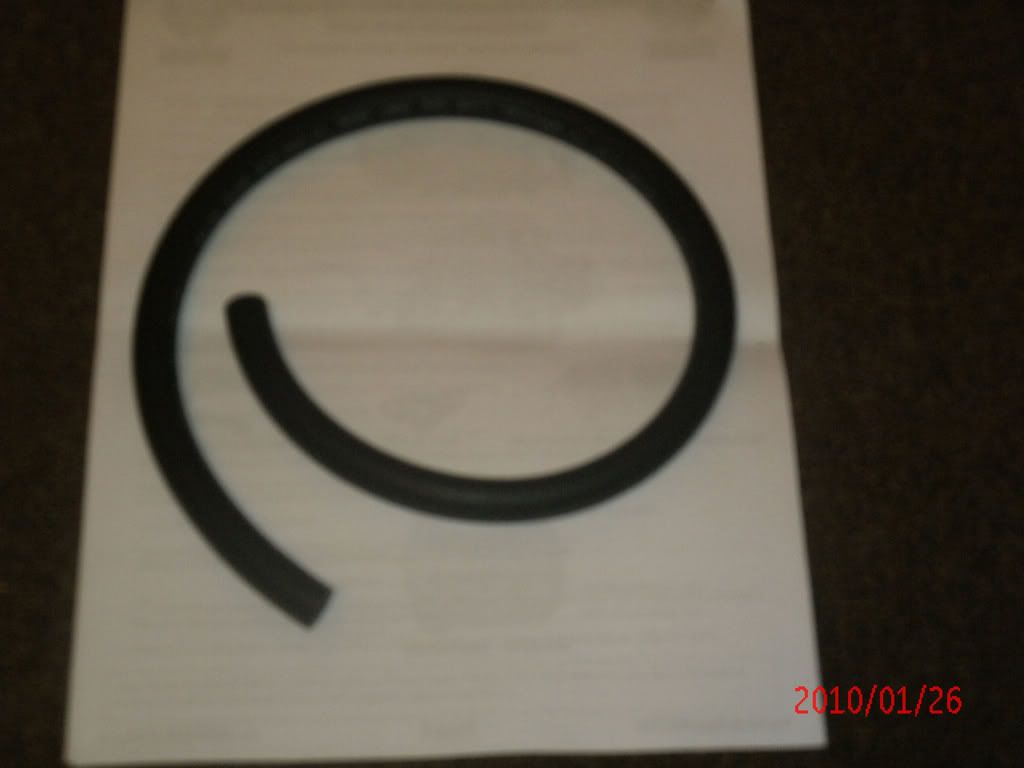
Supplied 5/8" fuel hose. Don't think this is gonna be enough though.
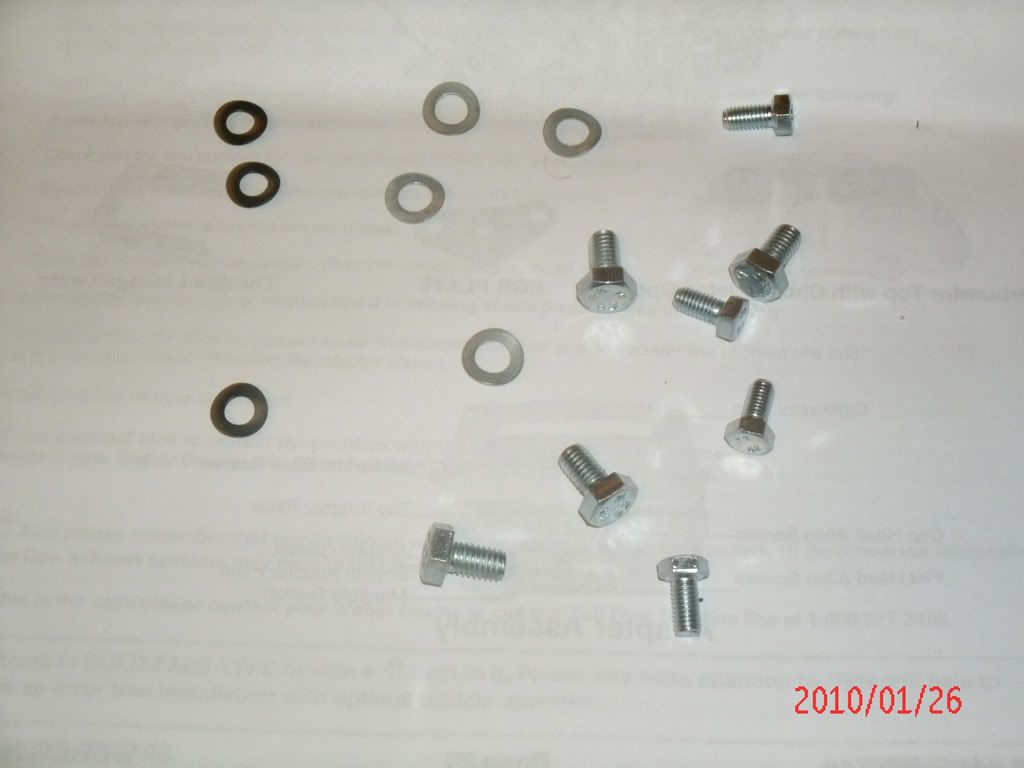
Air Filter Washers/Bolts.
There is 7, 4 I am assuming for the air filter, but not sure what the other 3 are for.
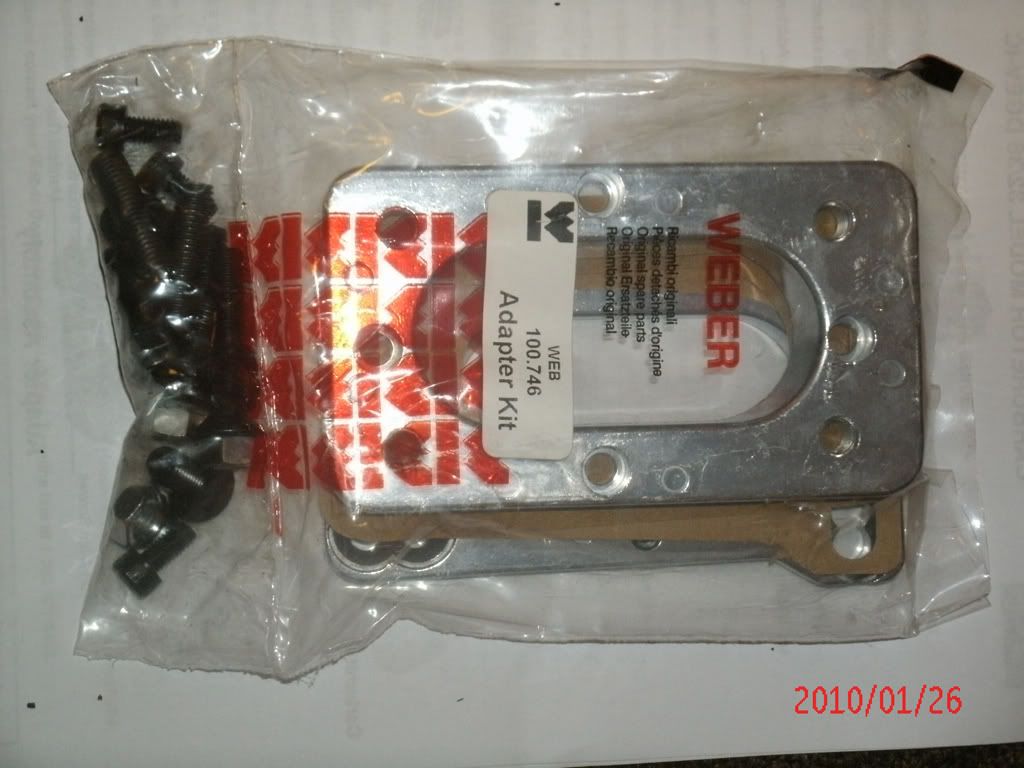
2 Piece (ugg) Intake Adapter.
If this gives me problems, I am gonna get the 1 piece from summit. Someone else on here might get a good deal later on.
That's it for now. 2am and time for bed.
Shipping Box
Packaging
Warning
Instructions (Will Try to make a pdf on this as well)
They gave me two sets???
Packed Box
Un-packed Box
Weber 32/36
Air Filter Part Number
Even though their website says the WK746 comes with their F1000 1.75" Tall they sent the F2000 2.5" Tall Filter. BONUS I Guess.
Air Filter
Not liking the flimsy chrome housing/clips though. Filter itself looks good though.
Air Filter/Weber Mock Up
Got to watch out for clearance issues with the Breather Tube and Carb Body
Throttle Plates
Toyota/Factory Throttle Linkage Side By Side
Will Need to take old one off and put new one on
Will not have any more choke problems
No more rivets here
[IMG]http://i561.photobucket.com/albums/ss52/xxxtreme22r/Weber%2032%2036/Weber_32_36_16.jpg[/IMGl]
Tamper Sticker (not sure what this is covering though
Made in Spain Stamp
EGR PCV Plate
4WD only Throttle Bracket spacers
Idle Cut-off Solonoid with without the o-ring installed.
Not sure if I am going to need this, but for $16 insurance I decided to get it.
Supplied 5/8" fuel hose. Don't think this is gonna be enough though.
Air Filter Washers/Bolts.
There is 7, 4 I am assuming for the air filter, but not sure what the other 3 are for.
2 Piece (ugg) Intake Adapter.
If this gives me problems, I am gonna get the 1 piece from summit. Someone else on here might get a good deal later on.
That's it for now. 2am and time for bed.
Last edited by xxxtreme22r; 01-25-2010 at 10:16 PM.
05-16-2010, 03:06 PM
#5
Registered User
Thread Starter
just an update, sorry no photos someone in my family lost our camera, since I started this I have added power sterring system from a 95 22re pickup, a dual diaphragm booster from a 91 3.0 pickup and a new t-100 1" master cyl.
Went pretty well, everything was put on when truck sitting on the ground. Was a little tricky to get the pitman back on because I have a procomp steering stabilizer on and it was interfering with me dropping the center link enough to clear the pitman rod end. Also had somewhat of a difficult time taking the crank balancer off to install the power steering belt pully. But I did this with the skid plate still on.
Night an day difference in both. No longer have to muscle the steering nor the brakes.
Very happy with the outcome. The booster and entire power steering setup cost me a little less than $50 from a junk yard and the master cyl new from autozone was $65 and putting on a Duralast greasable pitman arm when I get a good enough tool to pull the 20 year old pitman from the power steering box.
Gonna have to tweak the brake booster rod a little as I think it's not far enough out and the brakes don't grab until the pedal is about 1/4 of the way down, but when they do, wow !!!
That's it for now.
05-16-2010, 03:33 PM
#7
Registered User
Join Date: Dec 2009
Location: westlake ohio
Posts: 42
Likes: 0
Received 0 Likes
on
0 Posts
call up lc engineering you may want to buy there adapter to run a round filter on the webber. i did this cause you cant find a square one to replace that one with anywhere and they collect dirt like no tomorrow.
Trending Topics
05-30-2010, 07:07 AM
#8
Registered User
Thread Starter
http://www.webercarbsdirect.com/product_p/e2000.htm

You can also get K&N weber replacements as well as the precharger/prefilter covers.
06-16-2010, 06:13 AM
#10
Registered User
Thread Starter
I thought I put this up here a while ago, but I gues not. A little late but here we go:
Idea and original wrtie up is available here: https://www.yotatech.com/forums/f116.../#post51357255
ok here we go, bear with me cus I aint good on writeups, first his in an 87 truck, yours might be different.
Step 1: Locate your turn corner lights. Don't know where they are? Why are you even here in this thread?
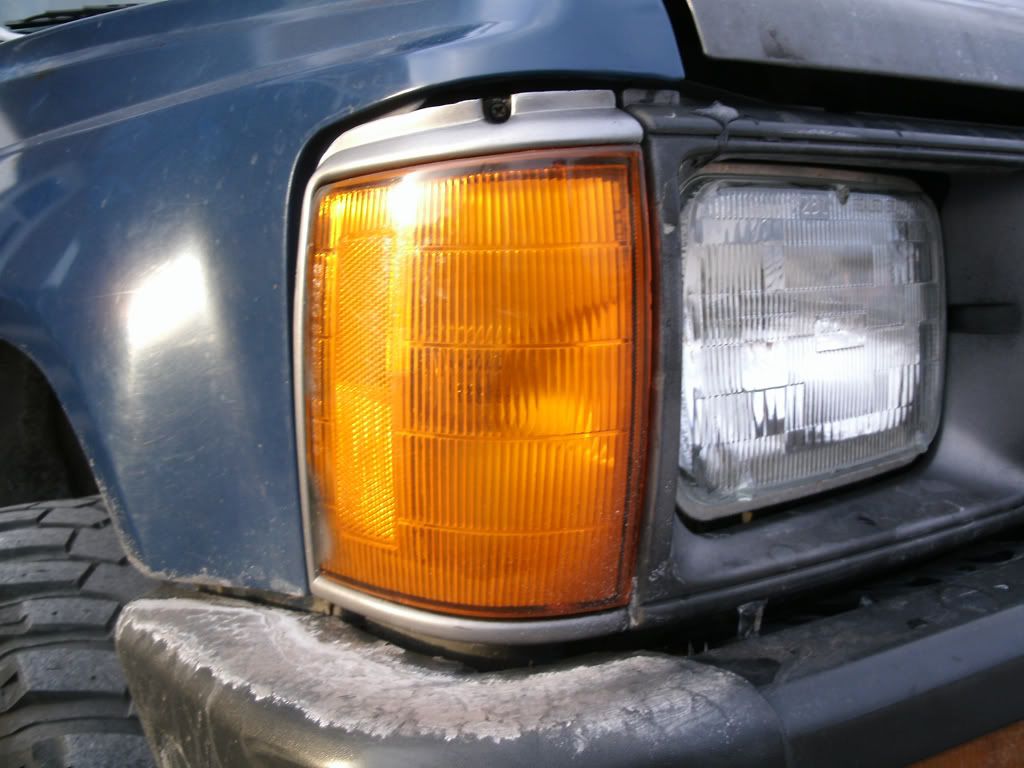
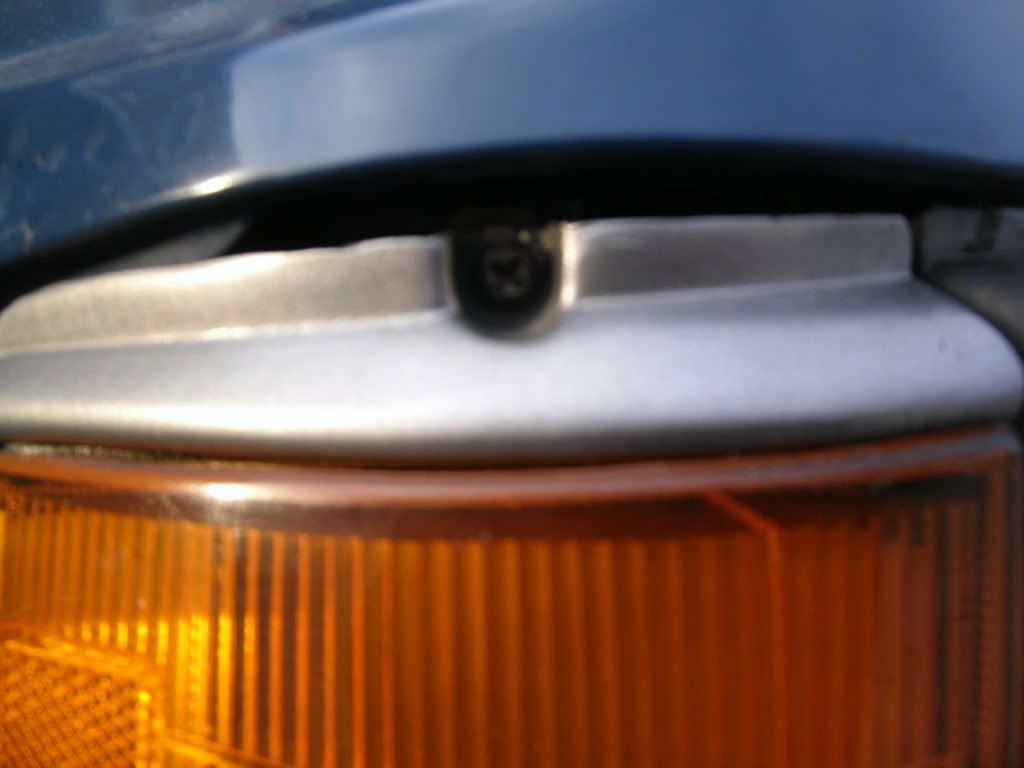
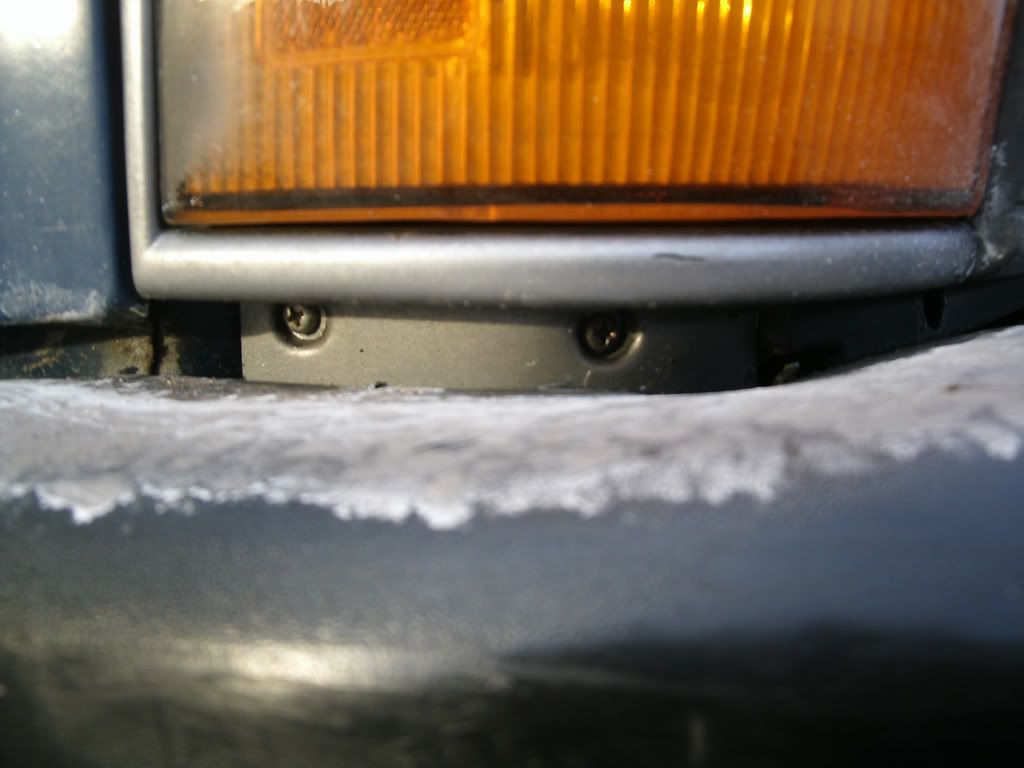
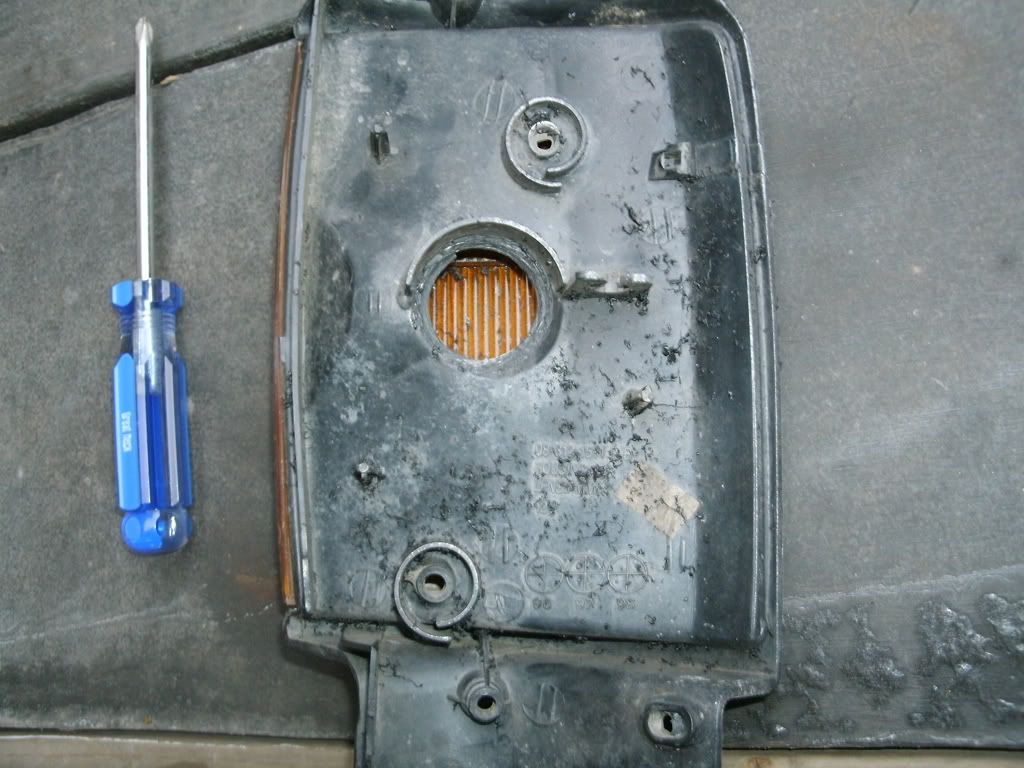
Step 2: Locate removal screws (there are 3 of them 1 on top, two on bottom).
Step 3: Remove corner lamps.
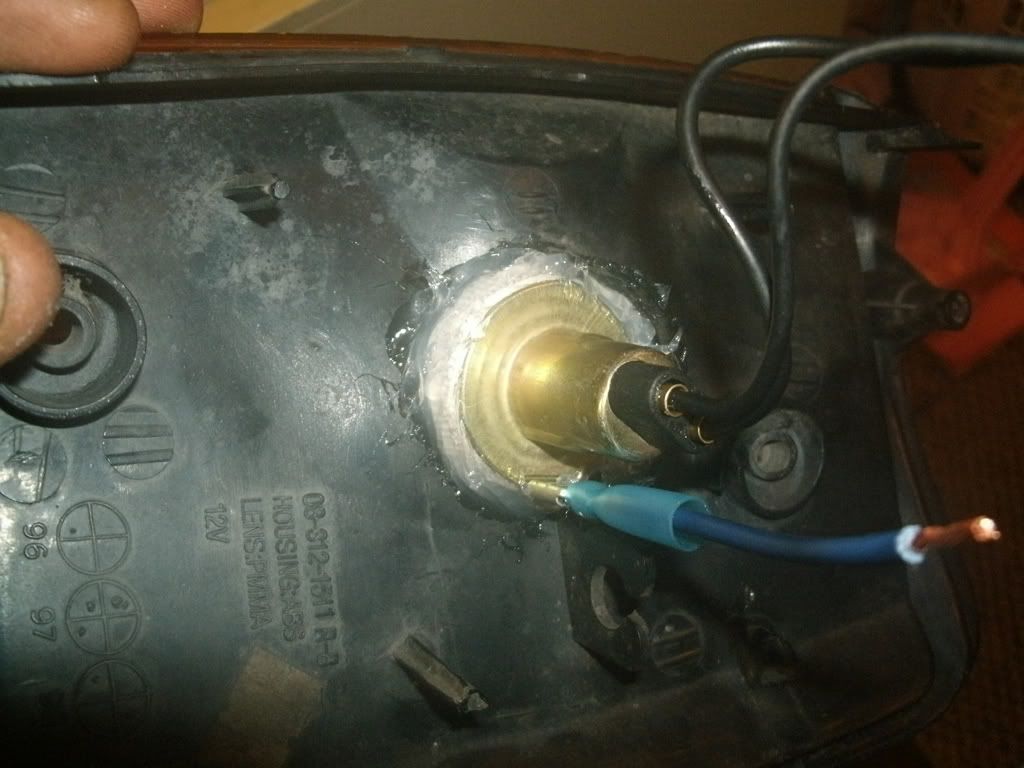
Step 4: Drill grind or whatever to make hole large enough to fit sockets. I used a 1 1/8 hole saw for the Dorman Brand #85860 1157 sockets available at A&A Auto Parts. Cost me $2.79 a piece. Don't know how many to buy? See step #1.
Original
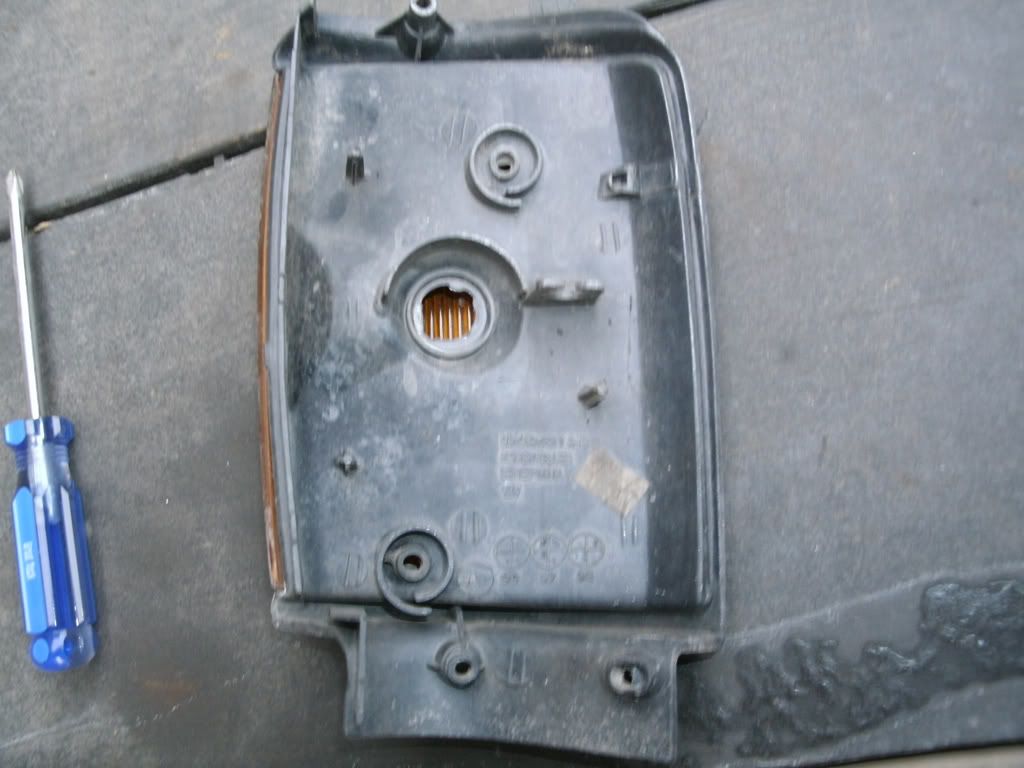
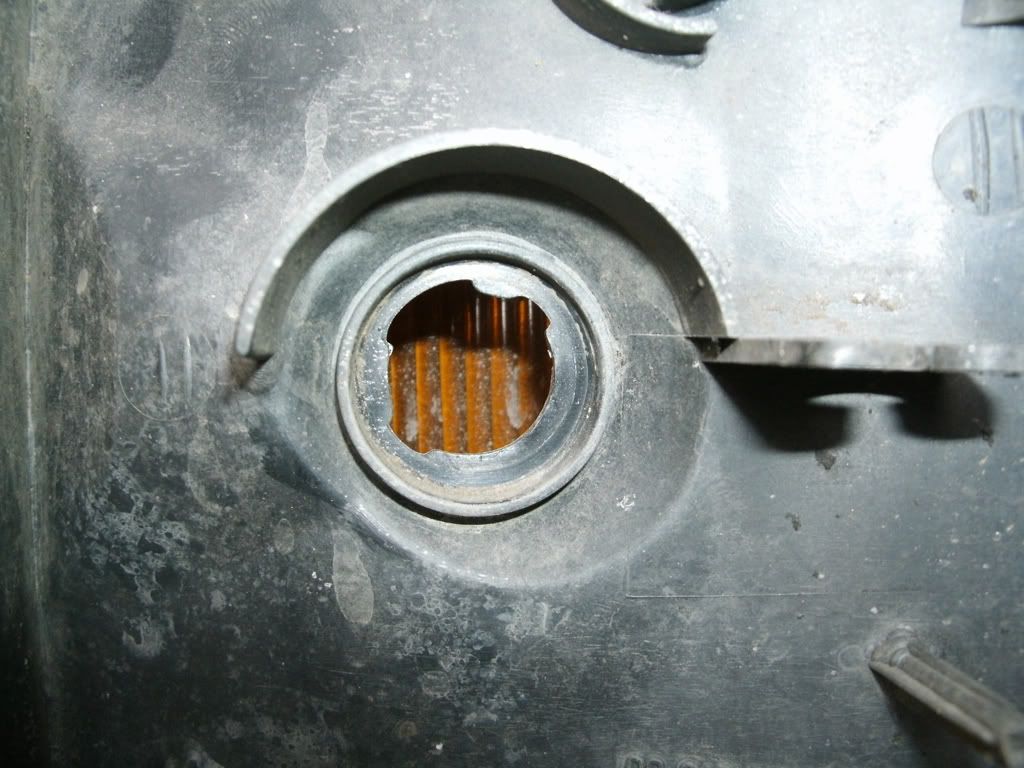
Drilled
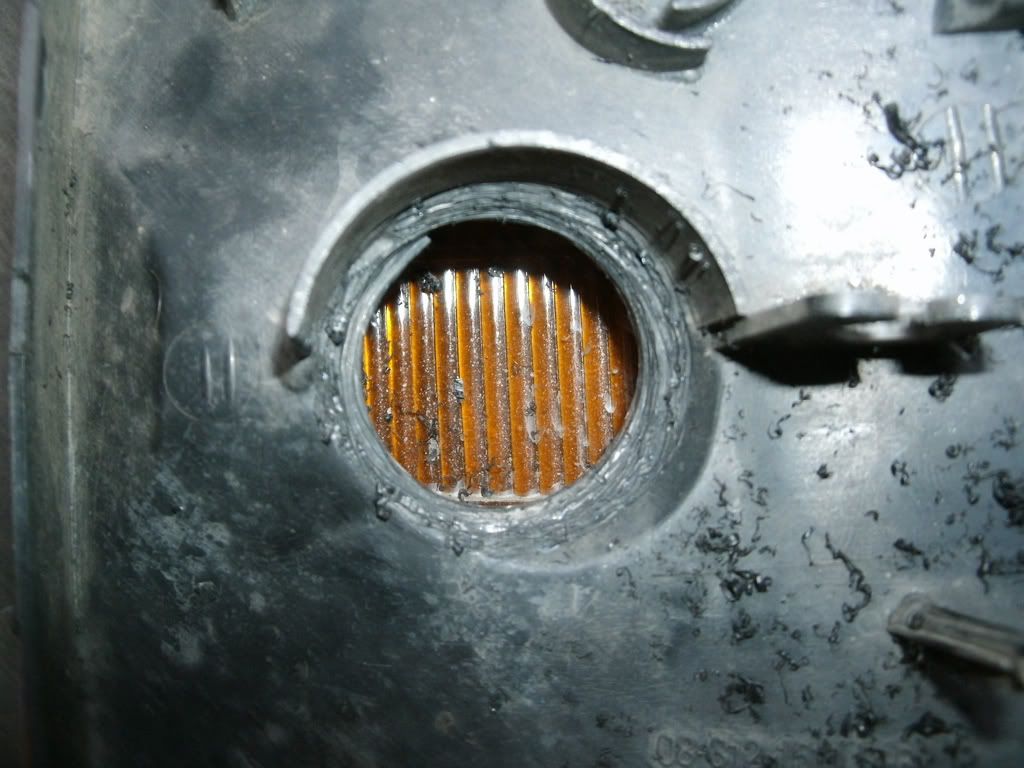
Step 3: Remove OEM harness connector and then attach an OEM wire to the ground location using a quick disconnect. Then figure out which wire on the Dorman socket goes to the brightest filament by attaching each wire to the other available OEM wire.
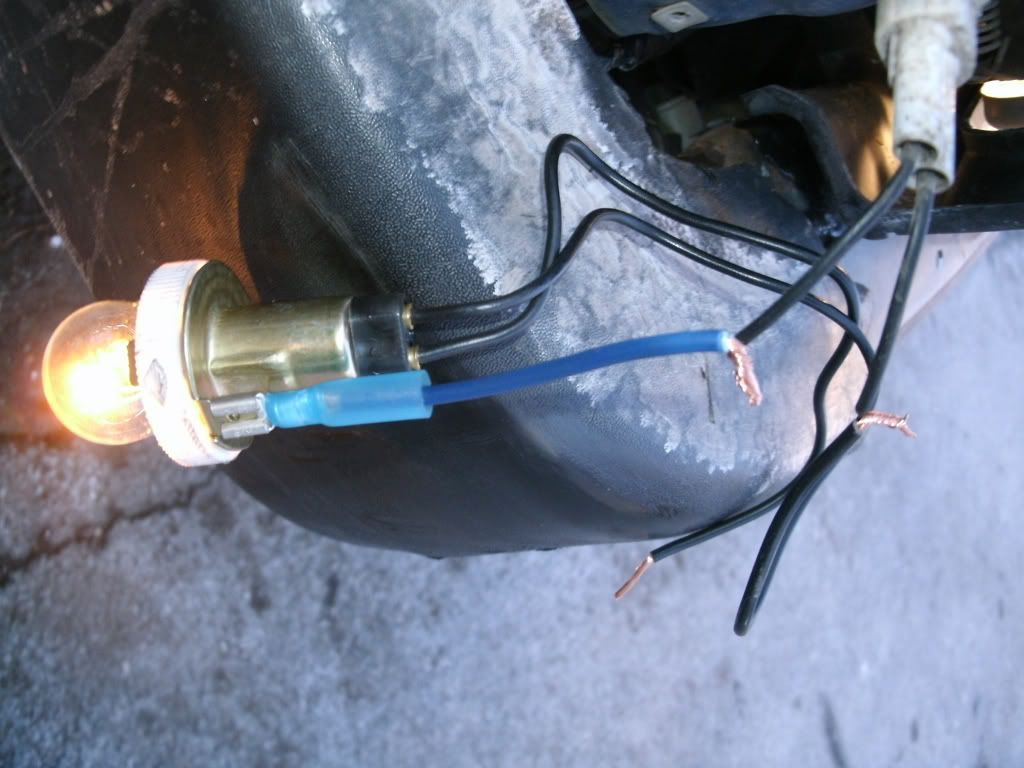
Step 4: Tap into the OEM turn signal wire and attach it to the last available wire on the Dorman socket. The OEM wire you want to use is the wire in the center of the connector not the one on the edge (Sorry Forgot to take a photo)
Step 5: As mentioned earlier in the thread, the larger bulb will not fit all the way in because it hits the Light cover. As mentioned earlier I used a pill bottle cap and drilled the same 1 1/8" hole in that. Place the bottle cap around the socket and using any adhesive/sealant ( I used Permatex clear RTV Silicone) seal the socket to the cap and after placing the socket into the corner light assembly.
Step 6 re-attach your new turn signal back onto the truck. Don't know how to? See step #1 again.
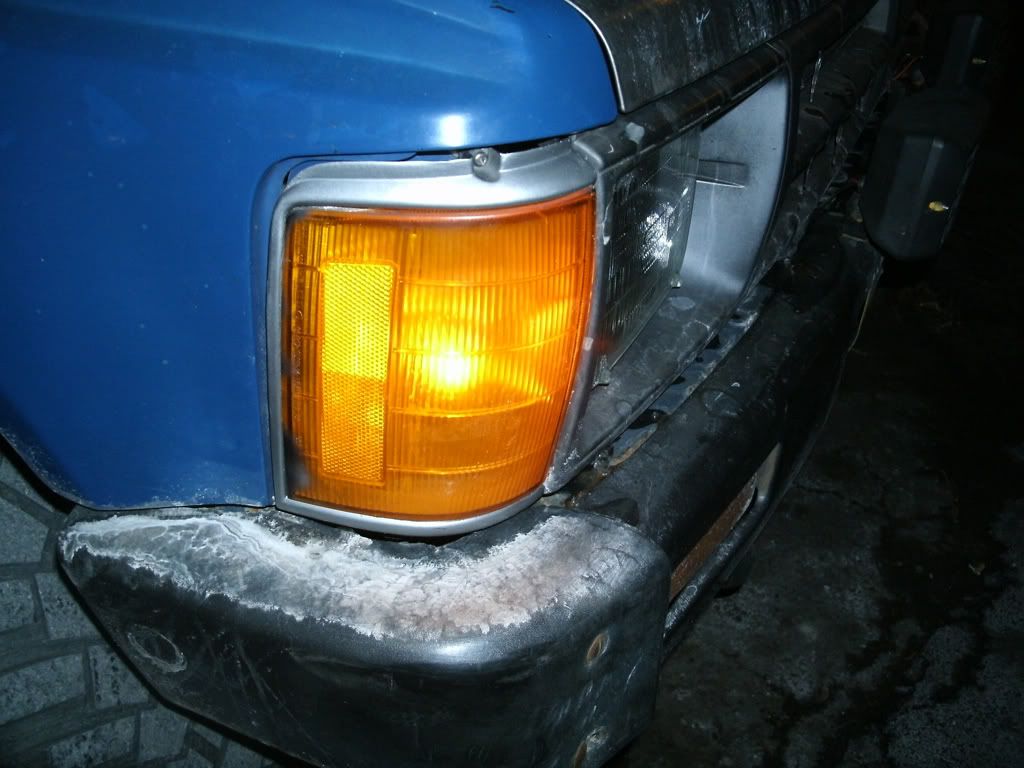
Here are comparisons.
NEW
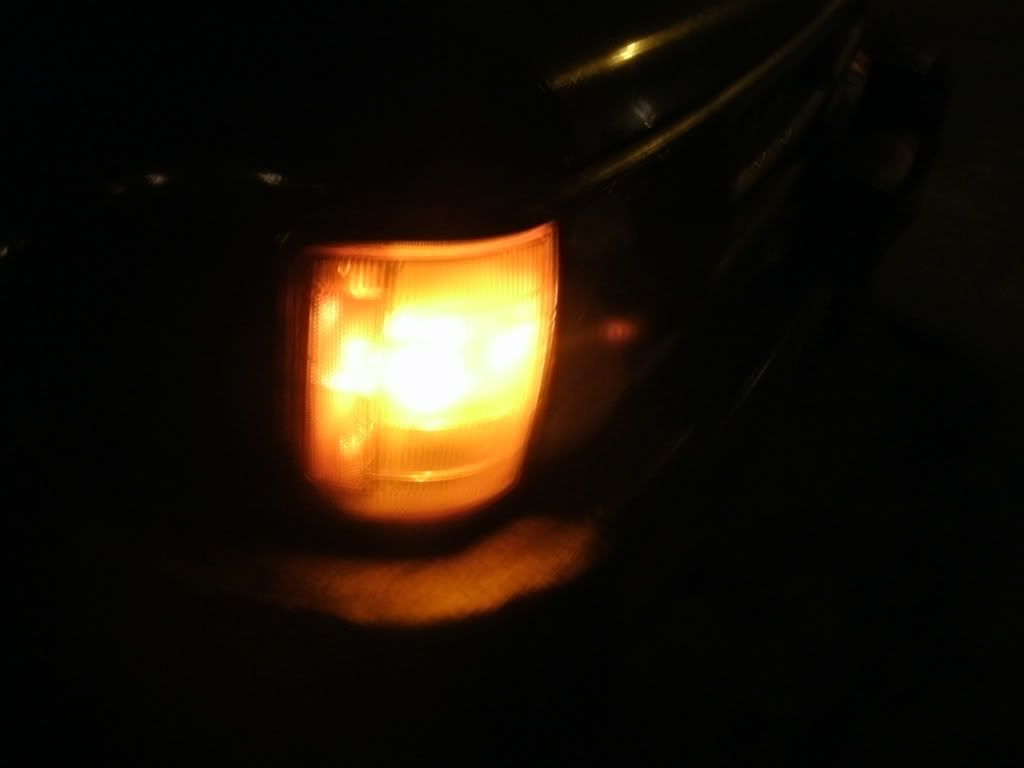
OLD
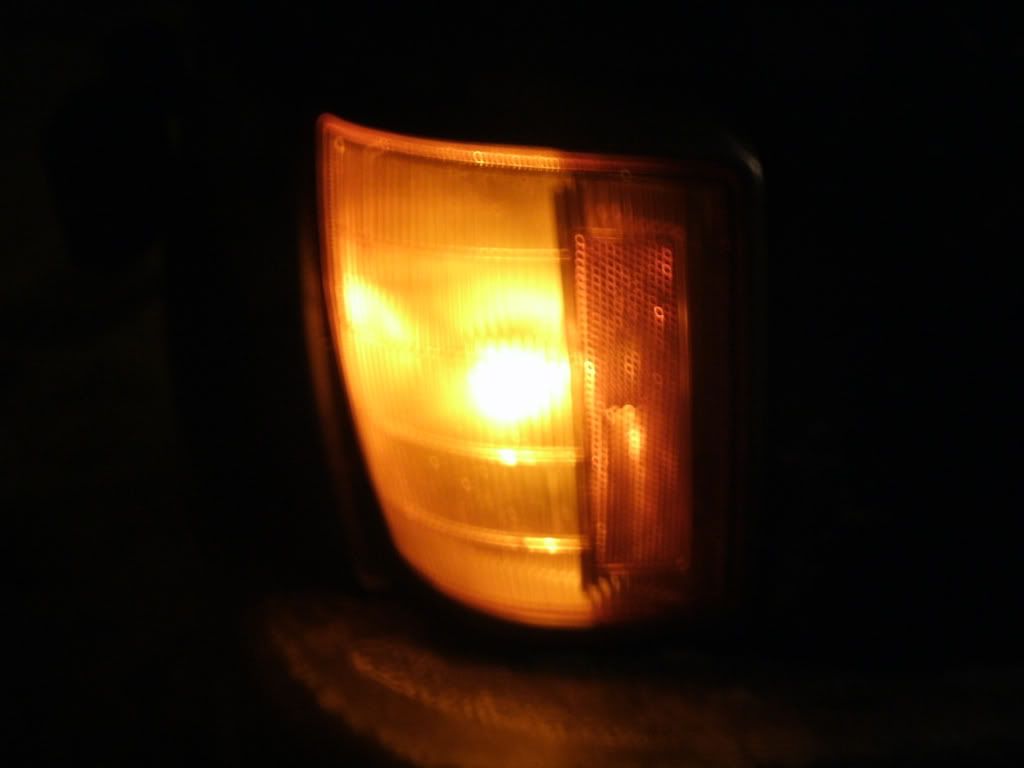
Passenger light is the new, Driver light is the old
Idea and original wrtie up is available here: https://www.yotatech.com/forums/f116.../#post51357255
ok here we go, bear with me cus I aint good on writeups, first his in an 87 truck, yours might be different.
Step 1: Locate your turn corner lights. Don't know where they are? Why are you even here in this thread?
Step 2: Locate removal screws (there are 3 of them 1 on top, two on bottom).
Step 3: Remove corner lamps.
Step 4: Drill grind or whatever to make hole large enough to fit sockets. I used a 1 1/8 hole saw for the Dorman Brand #85860 1157 sockets available at A&A Auto Parts. Cost me $2.79 a piece. Don't know how many to buy? See step #1.
Original
Drilled
Step 3: Remove OEM harness connector and then attach an OEM wire to the ground location using a quick disconnect. Then figure out which wire on the Dorman socket goes to the brightest filament by attaching each wire to the other available OEM wire.
Step 4: Tap into the OEM turn signal wire and attach it to the last available wire on the Dorman socket. The OEM wire you want to use is the wire in the center of the connector not the one on the edge (Sorry Forgot to take a photo)
Step 5: As mentioned earlier in the thread, the larger bulb will not fit all the way in because it hits the Light cover. As mentioned earlier I used a pill bottle cap and drilled the same 1 1/8" hole in that. Place the bottle cap around the socket and using any adhesive/sealant ( I used Permatex clear RTV Silicone) seal the socket to the cap and after placing the socket into the corner light assembly.
Step 6 re-attach your new turn signal back onto the truck. Don't know how to? See step #1 again.
Here are comparisons.
NEW
OLD
Passenger light is the new, Driver light is the old
06-16-2010, 07:05 AM
#12
Registered User
Thread Starter
not sure on the "hd version". I got that and the matching flywheel for both it was like $140 for the complete set from advanced auto.
It's the perfection series made by zoom, not the performance set actually under the zoom name, which are actually hello expensive.
clutch http://shop.advanceautoparts.com/web..._1251185248___
flywheel http://shop.advanceautoparts.com/web..._1251453555___
So far been doing really good. It's holding it's own with the 4:10 factory gears and 31" tires. Pedal pressure it not much different than the OEM clutch, although I did have to adjust the clutch pedal rod a little because it wasn't disengaging all the way at first. but that was probably due to previous adjustments for clutch wear..
In using this off-road and crawling, it does take a little finesse on the pedal to get it to slip enough to not stall. But I think that is just because of the tire/gear combo.
Now if I do a hard launch it does have enough grab to chip the tire(s) pretty good. I got a video up on here of me doing one of those lanches and running all the way into 3rd gear. no slipping at all with the 31's.
Last edited by xxxtreme22r; 06-16-2010 at 07:09 AM.
06-29-2010, 04:28 PM
#13
Registered User
Thread Starter
Finally more to add.
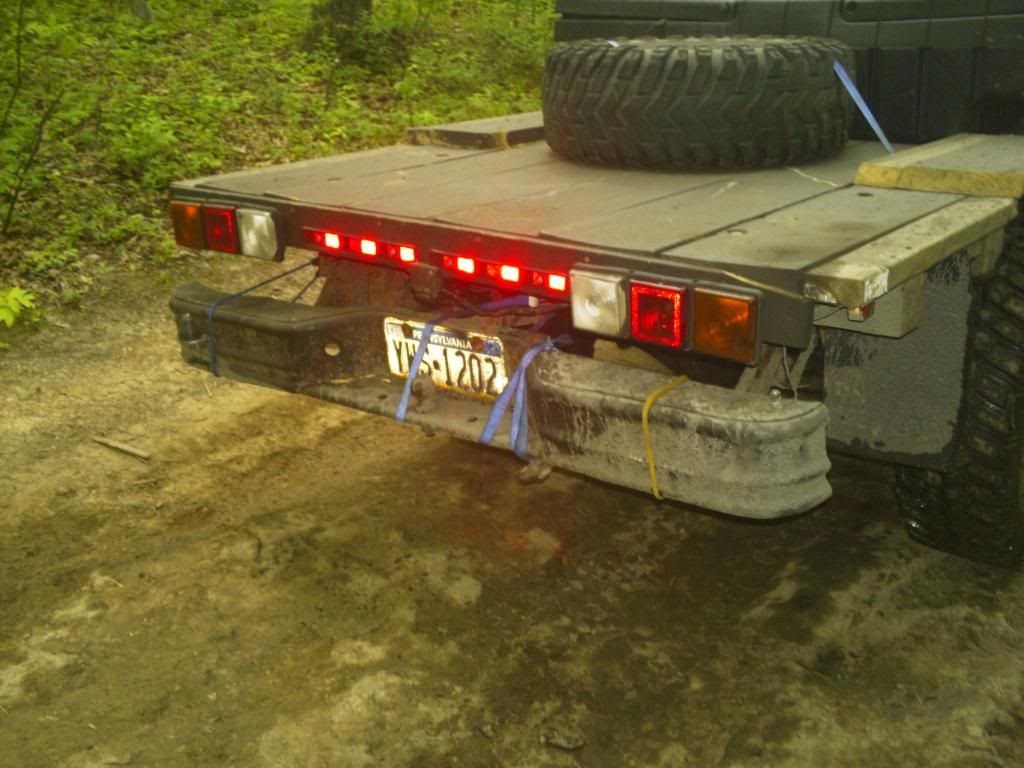
Looks as though my new real buildup mod on this is gonna be a rear bumper. After a recent Rausch Creek off-road trip, I ripped the rest of my bumper off. Plans are to use a piece of 2" X 4" x 1/4" Steel Rectangle tubing as the main part of the bumper and attach straight from the frame using 1/4" plate and 1/4" angle brackets. I am gonna attempt this not knowing how to weld and will try to make it all bolt on. Maybe eventually I will have someone tack/finish weld it later on.
Parallel Bumper build thread here: https://www.yotatech.com/forums/f88/...er-fab-215151/
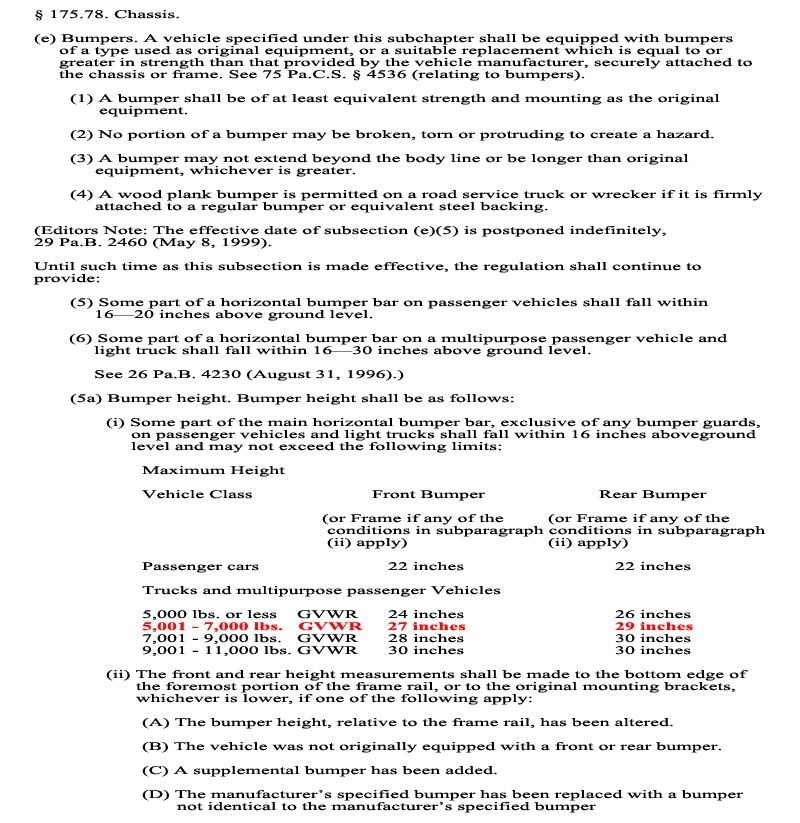
This is the guidelines I have to use as far as PA State inspection goes:
This is what the carnage on the FEY step bumper looked like and how I fixed it on a trail repair.

Looks as though my new real buildup mod on this is gonna be a rear bumper. After a recent Rausch Creek off-road trip, I ripped the rest of my bumper off. Plans are to use a piece of 2" X 4" x 1/4" Steel Rectangle tubing as the main part of the bumper and attach straight from the frame using 1/4" plate and 1/4" angle brackets. I am gonna attempt this not knowing how to weld and will try to make it all bolt on. Maybe eventually I will have someone tack/finish weld it later on.
Parallel Bumper build thread here: https://www.yotatech.com/forums/f88/...er-fab-215151/
This is the guidelines I have to use as far as PA State inspection goes:
This is what the carnage on the FEY step bumper looked like and how I fixed it on a trail repair.
Last edited by xxxtreme22r; 07-02-2010 at 11:05 AM.
06-29-2010, 05:40 PM
#16
Registered User
Thread Starter
Edited that post 2 posts above.
Since the GVWR listed on my door panel is 5081, I am limited to 27" in the front to the bottom of the factory bumper and 29" to the bottom of the factory bumper or in my case the bottom of the frame as measured here (as of right now with flat springs I am at about 24.5") :
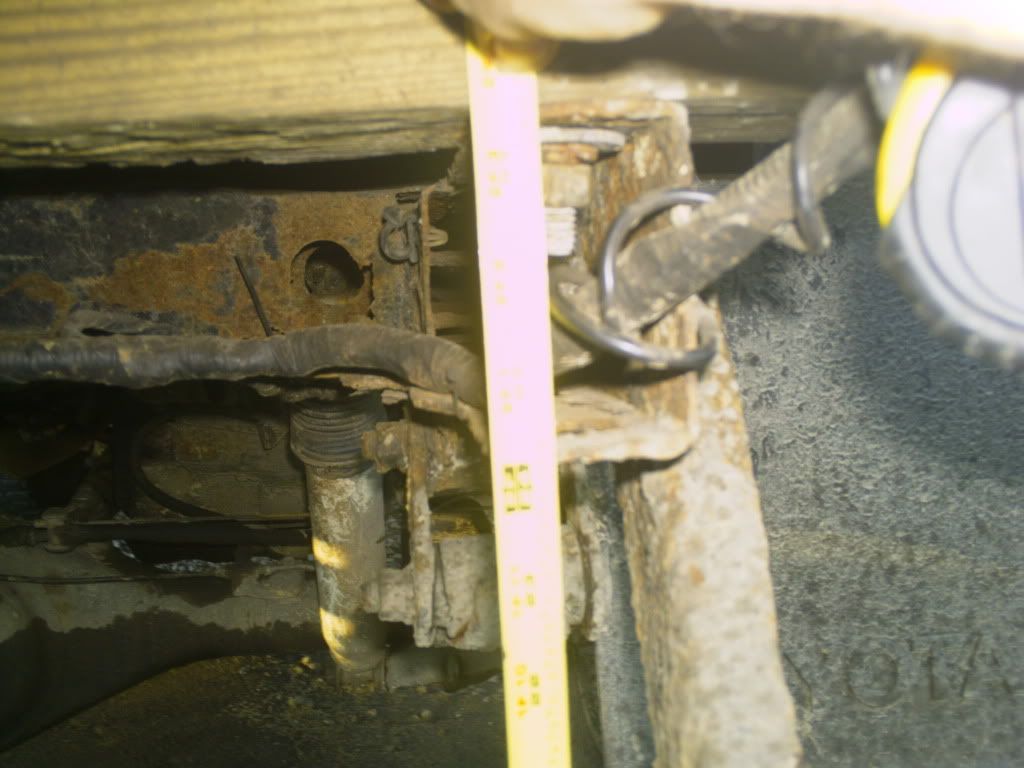
I am going to build it so I can meet the 29" to the bottom of the frame with the 2" rear OME leaf springs and 33" tires.
As of right now I have 4.5" of play. With the 2" lift from the springs and another 1" of lift from the tires size change from my current 31's I have, that gives me 1.5" left that I am probably loosing due to spring sag. I hope the tired factory leaf springs are not sagged anymore than that.
Since the GVWR listed on my door panel is 5081, I am limited to 27" in the front to the bottom of the factory bumper and 29" to the bottom of the factory bumper or in my case the bottom of the frame as measured here (as of right now with flat springs I am at about 24.5") :
I am going to build it so I can meet the 29" to the bottom of the frame with the 2" rear OME leaf springs and 33" tires.
As of right now I have 4.5" of play. With the 2" lift from the springs and another 1" of lift from the tires size change from my current 31's I have, that gives me 1.5" left that I am probably loosing due to spring sag. I hope the tired factory leaf springs are not sagged anymore than that.
Last edited by xxxtreme22r; 06-29-2010 at 05:43 PM.
06-30-2010, 03:42 AM
#19
Registered User
Thread Starter
If you think Saturday was bad, you shoulda been with me and Joe on sunday. Ask him, he'll tell ya.
06-30-2010, 03:53 AM
#20
YotaTech Milestone-Two Millionth Post
i'll give you 2 guys credit for doing all that on sunday.....and the rest of the group on saturday for staying out so long
you know how i am, i was totally certain i was gonna be coming home on a tow truck if i stayed out much longer....took quite a few hard shots in the 4 hours i was out and wasn't looking for any more.
in regards to the bumper.....
did you get a price on steel similar to what i posted from malteserunner? i'm thinking that is the way to go for a bumper and embellish it from there. probably could do it without welding too.
i don't have a welder and not sure who around here even has one.....i hate to borrow anything too.
what is that piece of metal called? if i were to call around for prices we would need it how wide?.....seems like 4 feet wide would do it.


