
How do you relocate blinkeres into parking lights?
 Feb 6, 2010 | 08:55 AM
#1
Thread Starter
Registered User


Joined: Mar 2006
Posts: 2,586
Likes: 9
From: Atlanta, GA
How to relocate blinkers into parking lights
EDIT: With the help of BBP and the guys here i was able to finish mine yesterday. Heres a simple little write-up to go with it. (Mods can you please rename the title of the thread to "How to relocate blinkers into parking lights")
Required Parts:
1157(A) dual filament bulb
1157 socket holder
soldering gun
heat shrink
spiral wrap
two eyelet connectors for grounds
two small screws (not sure what size screw my dad used, but the nut is 8MM)
dremel tool or other similar device
RTV or sealant of your choice
2 16.9 ounce water bottle caps
PATIENCE haha
Procedure:
Step 1: Remove corner lights from the truck and take them inside.
Step 2: Take out the stock parking light bulb and holder, turn counterclockwise to get it out.
Step 3:Using a dremel open up the hole so that the plastic that is inside the hole is gone, but leave the raised lip in place.

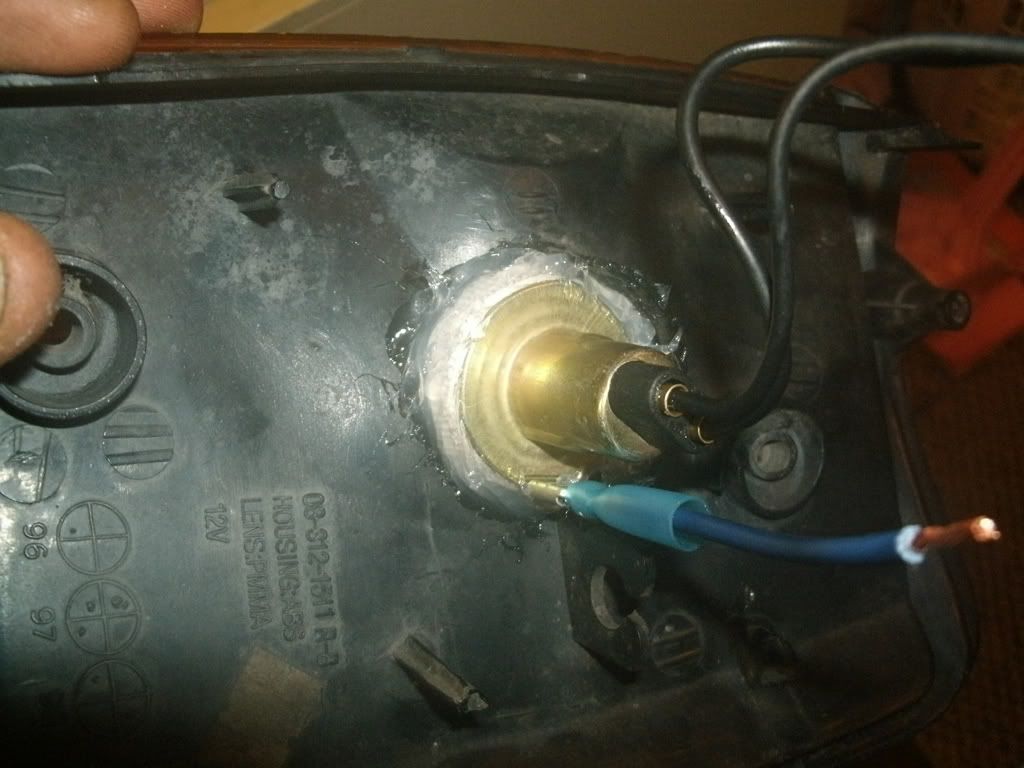
Step 4: Set the housing to the side and get your socket holders out. There are 2 raised edges on the outside of the holder, one goes further down the body of the holder, the other is shorter and is visible. Drill the very small hole at the bottom of the holder and put your screw through the hole and put a nut on the end of it to hold the screw in place.

Step 5: Place the wire holder with springs back into the holder and check to see if the plastic is hitting the screw inside.
Finished product:

Step 6: Take the housing to the nearest 12v source and put power to both wires, check to see which ones is brighter/dimmer. The brighter one is going to be your blinker, put some tape around the wire to signify which it is.
Step 7: Locate 2 16.9 ounce water bottle caps and take them and drill it out to the size of the bulb holder.

Dremel as needed

Make sure you keep the fitment tight so it stays in there good. Also be sure to be the tabs back into the cap with some needle nose pliers, helps hold it in there.

Finished product:

Step 8: Take a pic of the dog thats snooping around.

Step 9: Check fitment within the housing.


Step 10: Go outside to the truck and find the stock blinker connectors and the stock parking light connectors. On BOTH the green wire is positive and the white wire is negative. Cut the female end off of both and be sure to leave plenty of room to be able to strip wires back and solder.
Step 11: Create a long negative cable to go from the socket housing (on the screw you put in) to the two grounds on the switches.

Step 12: Attach ALL 3 ground wires together and solder them in place. Cover with heat shrink.
Step 13: Take the wire with the tape on it from Step 6 and attach it to the green wire from your blinker plug (larger one). Then take the other wire with no tape and connect it to the positive wire from your parking light plug. Solder appropriate wires together and cover with heat shrink.


Step 14: Once your harness is complete, repeat the steps again to do the same for the other side. Wrap in your choice of spiral wrap or other materials.


Step 15: lay down a bead of RTV all around the raised edge on the housing then put the bulb into the housing hole with the water bottle cap and everything too and put additional RTV all around the outside of the cap. Be sure not to get any on the bulb itself. Be sure to let the RTV dry for a LONG time as you dont want to disturb the drying process and have your bulbs fall out!


Step 16: Plug in your harness and screw your corner lights back on and youre done!
Took my dad and i about 4 hours total to finish.
Required Parts:
1157(A) dual filament bulb
1157 socket holder
soldering gun
heat shrink
spiral wrap
two eyelet connectors for grounds
two small screws (not sure what size screw my dad used, but the nut is 8MM)
dremel tool or other similar device
RTV or sealant of your choice
2 16.9 ounce water bottle caps
PATIENCE haha
Procedure:
Step 1: Remove corner lights from the truck and take them inside.
Step 2: Take out the stock parking light bulb and holder, turn counterclockwise to get it out.
Step 3:Using a dremel open up the hole so that the plastic that is inside the hole is gone, but leave the raised lip in place.
Step 4: Set the housing to the side and get your socket holders out. There are 2 raised edges on the outside of the holder, one goes further down the body of the holder, the other is shorter and is visible. Drill the very small hole at the bottom of the holder and put your screw through the hole and put a nut on the end of it to hold the screw in place.
Step 5: Place the wire holder with springs back into the holder and check to see if the plastic is hitting the screw inside.
Finished product:
Step 6: Take the housing to the nearest 12v source and put power to both wires, check to see which ones is brighter/dimmer. The brighter one is going to be your blinker, put some tape around the wire to signify which it is.
Step 7: Locate 2 16.9 ounce water bottle caps and take them and drill it out to the size of the bulb holder.
Dremel as needed
Make sure you keep the fitment tight so it stays in there good. Also be sure to be the tabs back into the cap with some needle nose pliers, helps hold it in there.
Finished product:
Step 8: Take a pic of the dog thats snooping around.
Step 9: Check fitment within the housing.
Step 10: Go outside to the truck and find the stock blinker connectors and the stock parking light connectors. On BOTH the green wire is positive and the white wire is negative. Cut the female end off of both and be sure to leave plenty of room to be able to strip wires back and solder.
Step 11: Create a long negative cable to go from the socket housing (on the screw you put in) to the two grounds on the switches.
Step 12: Attach ALL 3 ground wires together and solder them in place. Cover with heat shrink.
Step 13: Take the wire with the tape on it from Step 6 and attach it to the green wire from your blinker plug (larger one). Then take the other wire with no tape and connect it to the positive wire from your parking light plug. Solder appropriate wires together and cover with heat shrink.
Step 14: Once your harness is complete, repeat the steps again to do the same for the other side. Wrap in your choice of spiral wrap or other materials.
Step 15: lay down a bead of RTV all around the raised edge on the housing then put the bulb into the housing hole with the water bottle cap and everything too and put additional RTV all around the outside of the cap. Be sure not to get any on the bulb itself. Be sure to let the RTV dry for a LONG time as you dont want to disturb the drying process and have your bulbs fall out!
Step 16: Plug in your harness and screw your corner lights back on and youre done!
Took my dad and i about 4 hours total to finish.
Last edited by 881stGenRunner; Mar 27, 2010 at 10:42 PM. Reason: Added a write-up
Feb 6, 2010 | 09:02 AM
#2


 Feb 6, 2010 | 10:40 AM
#6
Registered User
Joined: Aug 2009
Posts: 13,574
Likes: 72
From: Wilkes-Barre, PA, USA
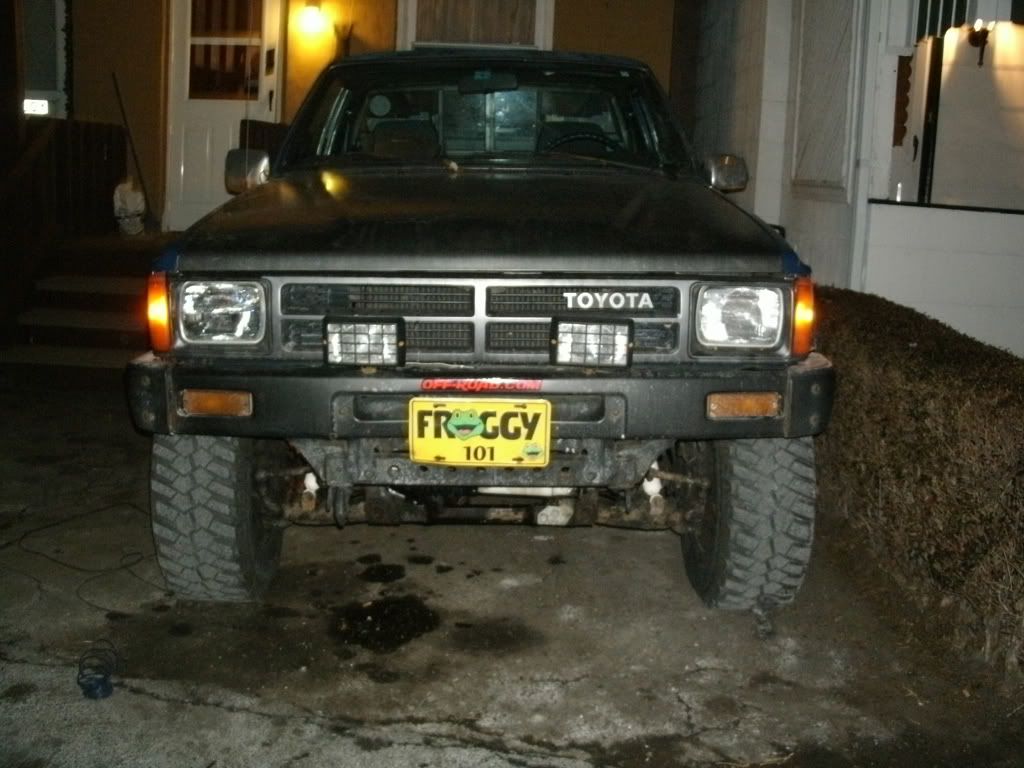
I got tired of looking at this small spec of a light in my corners and tired of people not seeing my turn signas when they on the side of me. Get outta my way dammit haha.
Feb 6, 2010 | 10:43 AM
#7
I have clear corners so I have the orange 1157 and during the day they are darn good and at night they'll actually light up the street(which didn't happen before) pretty well.
Funny, I actually had to go to TWO different parts stores as well to get the connectors AND the sockets. So, I know how that goes!! lol
Funny, I actually had to go to TWO different parts stores as well to get the connectors AND the sockets. So, I know how that goes!! lol
Trending Topics
Feb 6, 2010 | 10:46 AM
#8
Registered User
Joined: Aug 2007
Posts: 5,334
Likes: 4
From: Vian, OK
had somebody not see mine last night....and i KNOW i used my blinker because i ALWAYS use them..i HATE IT when somebody doesn't use their blinker...i chased em down and they said well they must not be workin..then i flipped it on and they were like..oh well uhh..guess i didn't see it i'm sorry..lol it was funn
Feb 6, 2010 | 10:50 AM
#10
it's a 1149 here! LOL!!
Really any parts should have these. Napa's are kinda a PITA anyways with their hours. Autozone, Advance, Pepboys-should all have what you'll need.
Really any parts should have these. Napa's are kinda a PITA anyways with their hours. Autozone, Advance, Pepboys-should all have what you'll need.
Feb 6, 2010 | 11:04 AM
#12
Thread Starter
Registered User
Joined: Mar 2006
Posts: 2,586
Likes: 9
From: Atlanta, GA
Well, we just got the hole drilled for the bulbs to fit through and it turns out the larger bulb hits the housing... Our solution use a cap from a small pill bottle (ibuprofen or something similar), or the cap from a bottle of water (the smaller 16.9 oz bottles) - These fit PERFECTLY and its what im using. Were going to glue that to the housing and drill a hole in it for the socket to stay in it.
I will hopefully have pics up later tonight, if not tomorrow
I will hopefully have pics up later tonight, if not tomorrow
Last edited by 881stGenRunner; Feb 6, 2010 at 11:06 AM.
Feb 6, 2010 | 12:34 PM
#13
Registered User
Joined: Aug 2009
Posts: 13,574
Likes: 72
From: Wilkes-Barre, PA, USA
Wahooo found 2 sockets. Good ole AA Auto Parts. Good thing though that there are two with 2 miles of each other here in town. Each store only stocks 1. So keep this in mind when you go to buy them. Now I got to recharge my drill battery. Dang thing is never charge when I need it. lol
Feb 6, 2010 | 02:37 PM
#14
Well, we just got the hole drilled for the bulbs to fit through and it turns out the larger bulb hits the housing... Our solution use a cap from a small pill bottle (ibuprofen or something similar), or the cap from a bottle of water (the smaller 16.9 oz bottles) - These fit PERFECTLY and its what im using. Were going to glue that to the housing and drill a hole in it for the socket to stay in it.
I will hopefully have pics up later tonight, if not tomorrow
I will hopefully have pics up later tonight, if not tomorrow
Wahooo found 2 sockets. Good ole AA Auto Parts. Good thing though that there are two with 2 miles of each other here in town. Each store only stocks 1. So keep this in mind when you go to buy them. Now I got to recharge my drill battery. Dang thing is never charge when I need it. lol
Feb 6, 2010 | 03:35 PM
#15
Registered User
Joined: Aug 2009
Posts: 13,574
Likes: 72
From: Wilkes-Barre, PA, USA
ok here we go, bear with me cus I aint good on writeups, first his in an 87 truck, yours might be different.
Step 1: Locate your turn corner lights. Don't know where they are? Why are you even here in this thread?
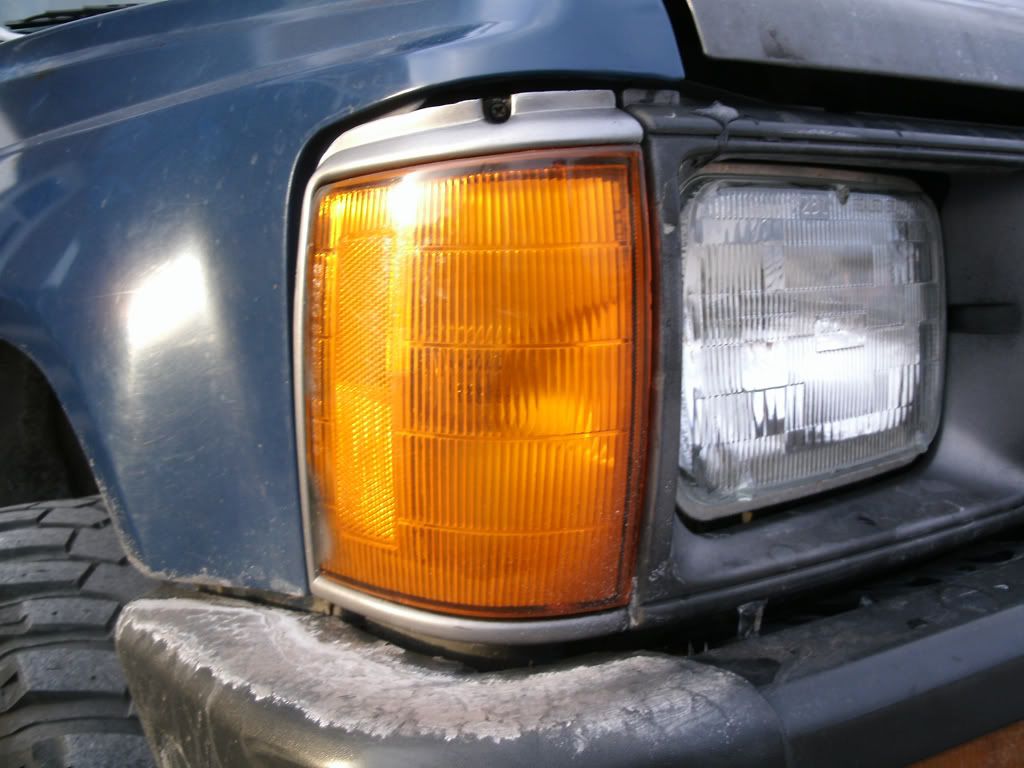
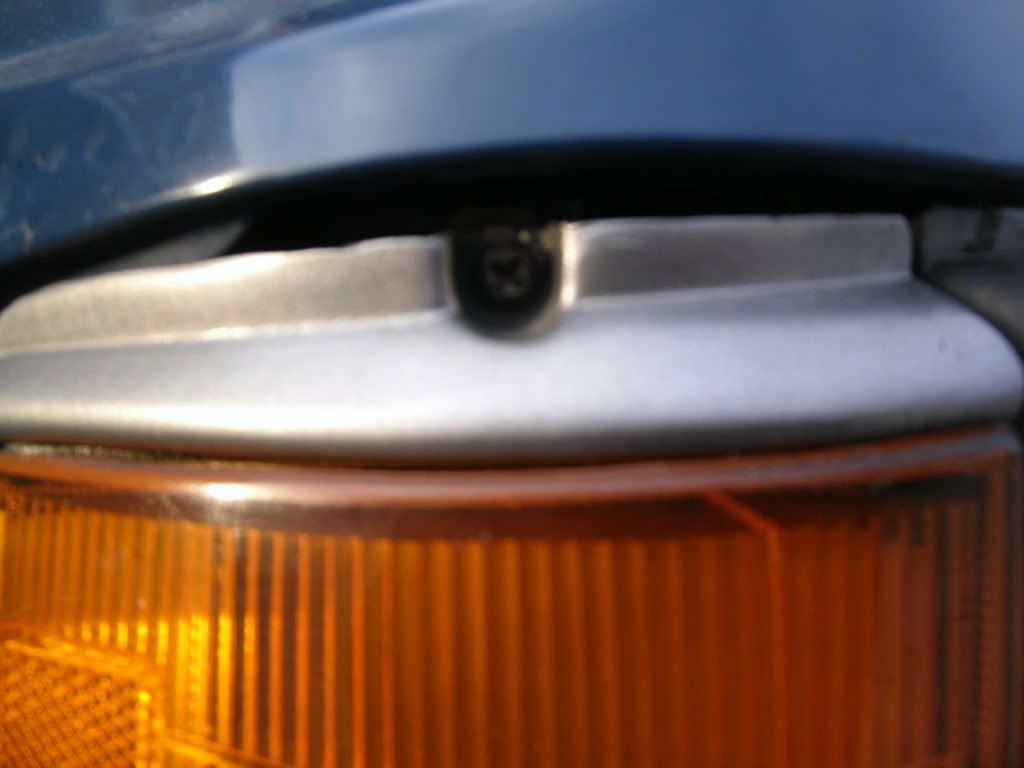
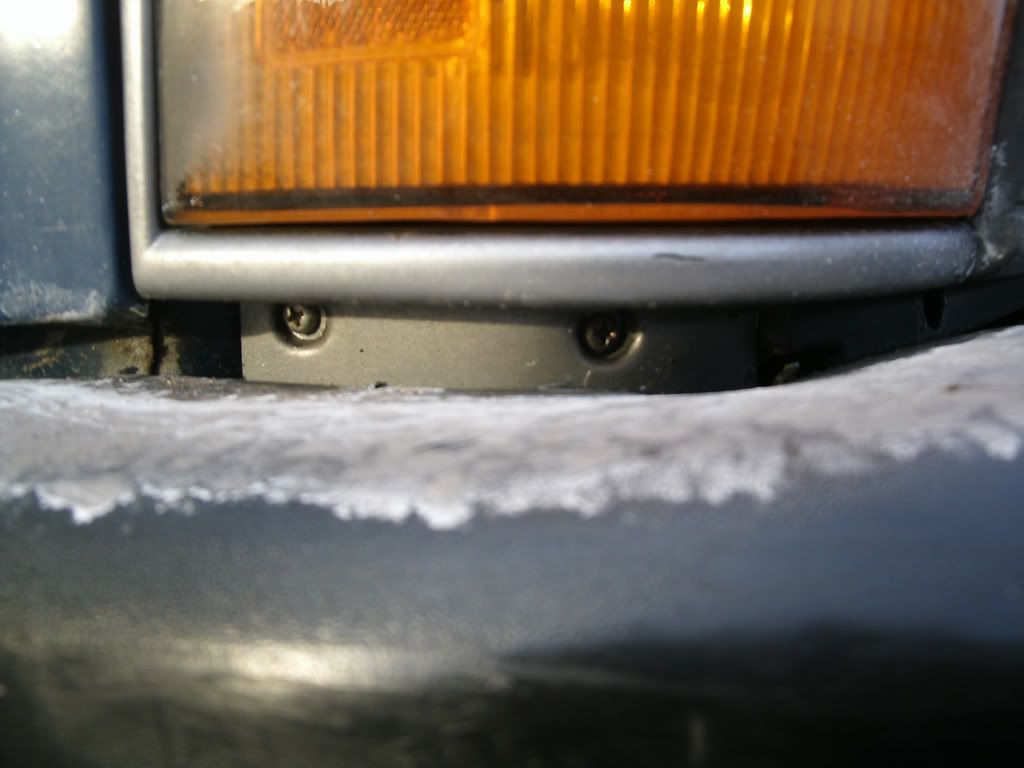
Step 2: Locate removal screws (there are 3 of them 1 on top, two on bottom).
Step 3: Remove corner lamps.
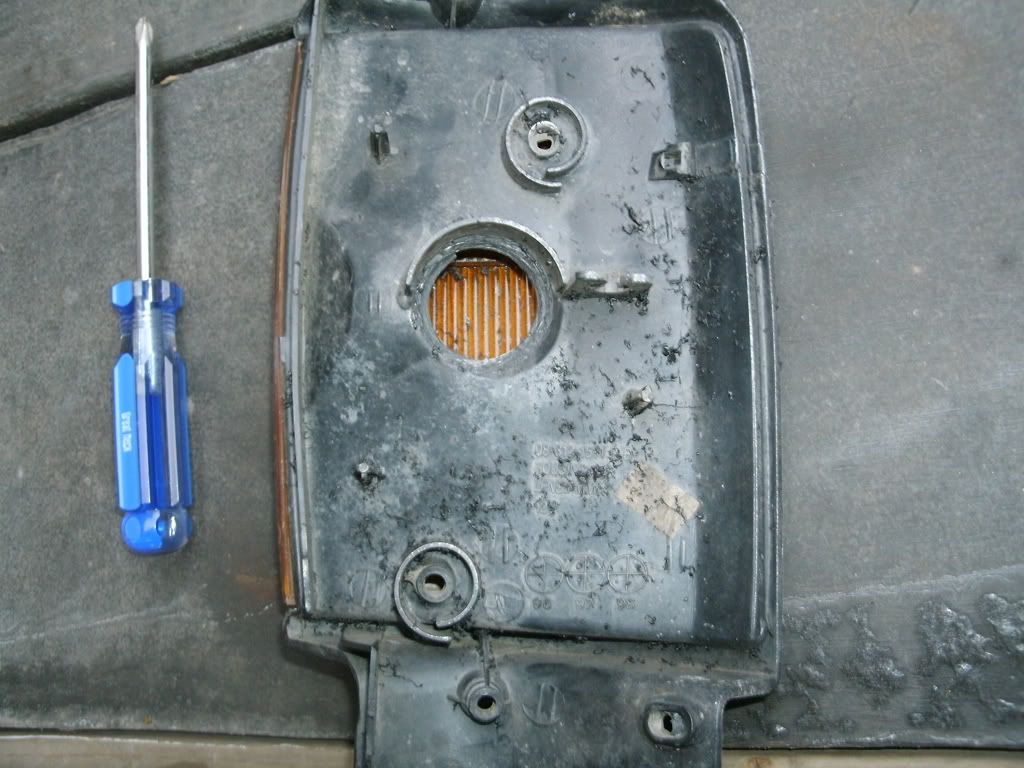
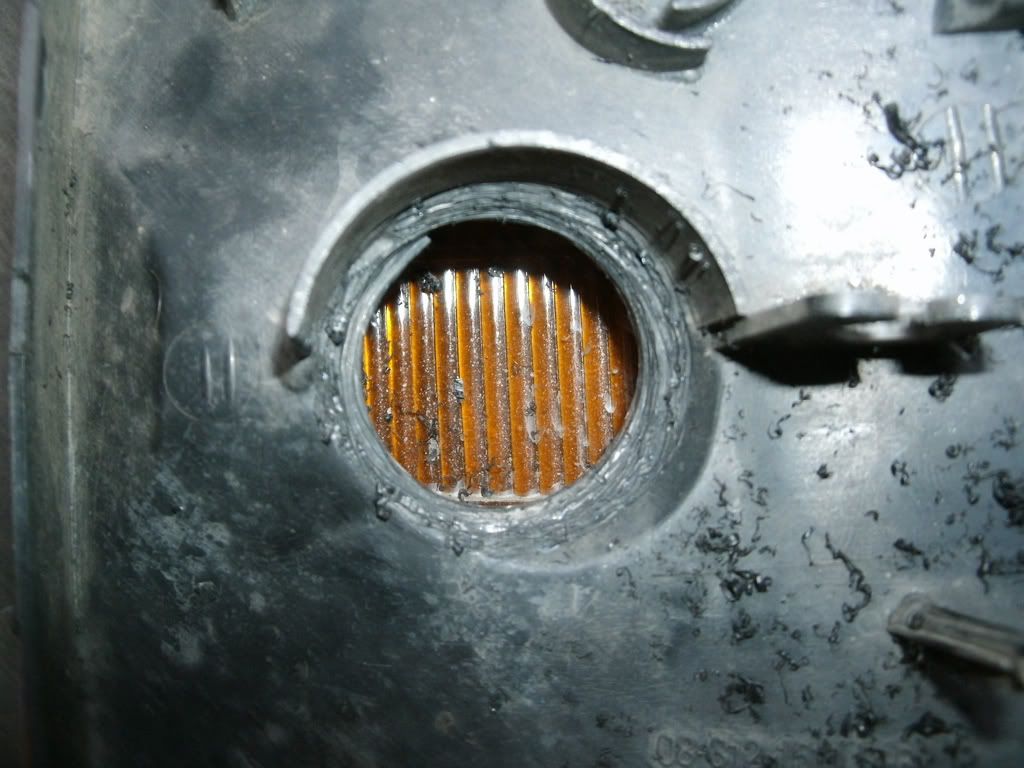
Step 4: Drill grind or whatever to make hole large enough to fit sockets. I used a 1 1/8 hole saw for the Dorman Brand #85860 1157 sockets available at A&A Auto Parts. Cost me $2.79 a piece. Don't know how many to buy? See step #1.
Original
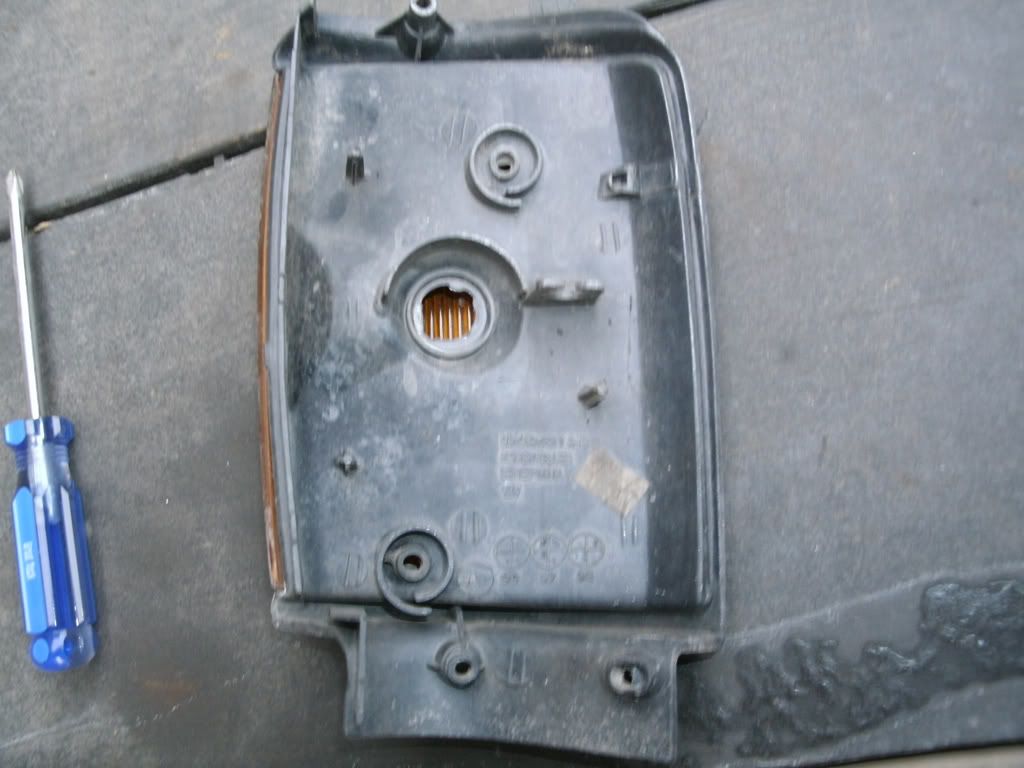
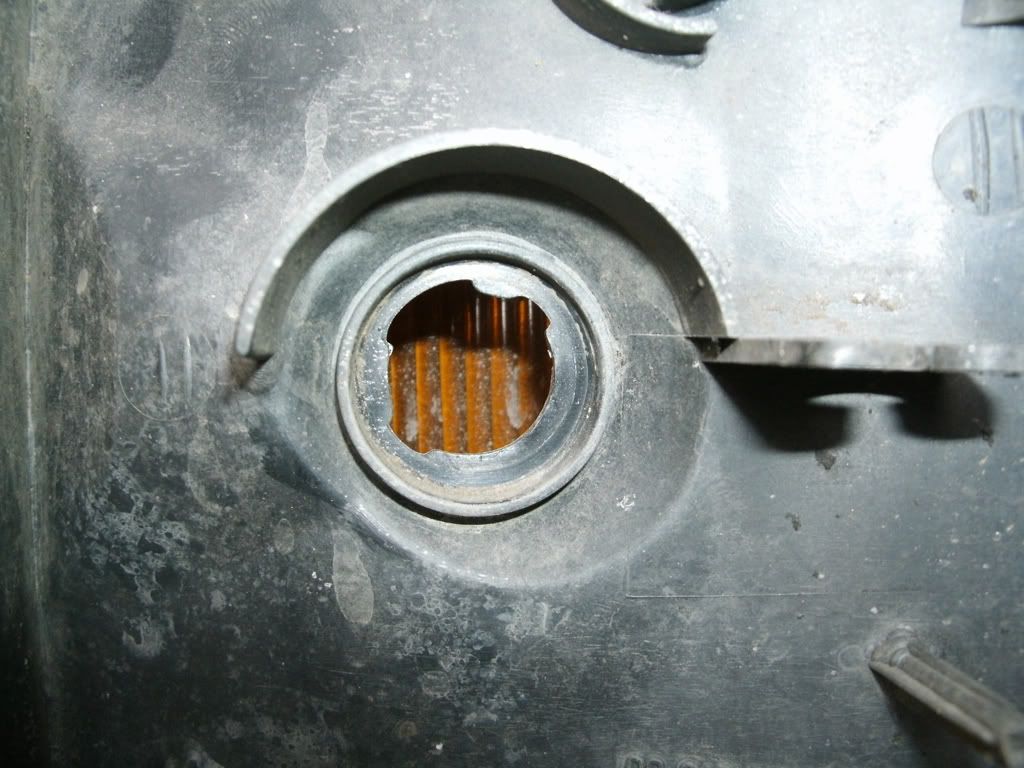
Drilled
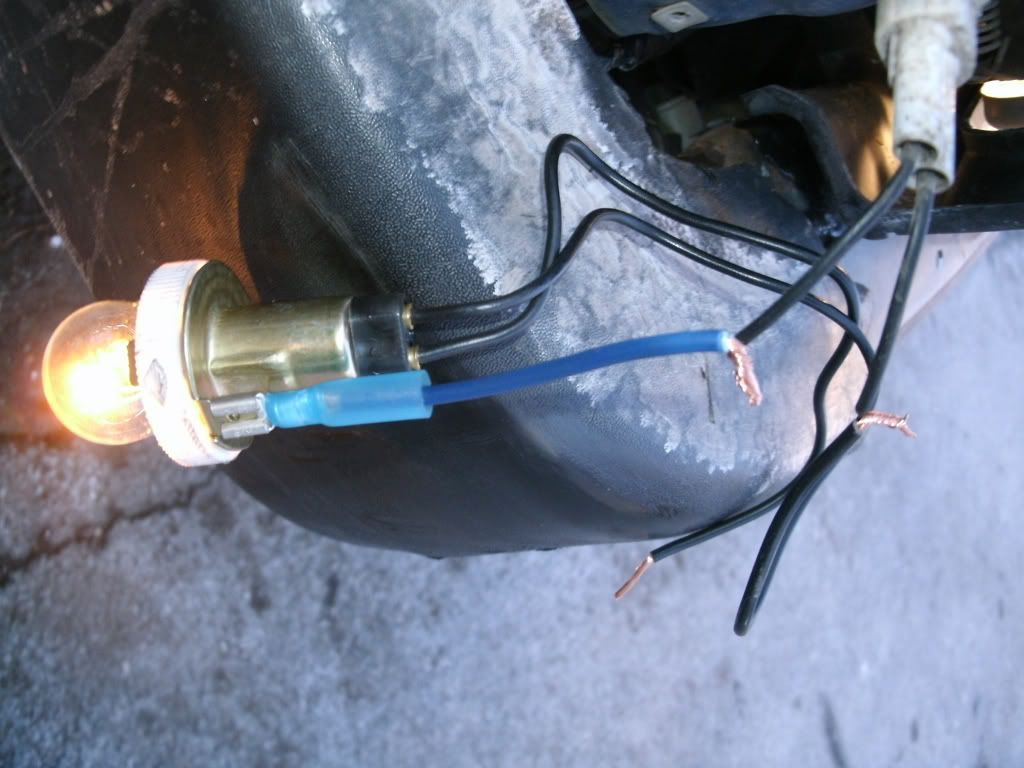
Step 3: Remove OEM harness connector and then attach an OEM wire to the ground location using a quick disconnect. Then figure out which wire on the Dorman socket goes to the brightest filament by attaching each wire to the other available OEM wire.
Step 4: Tap into the OEM turn signal wire and attach it to the last available wire on the Dorman socket. The OEM wire you want to use is the wire in the center of the connector not the one on the edge (Sorry Forgot to take a photo)
Step 5: As mentioned earlier in the thread, the larger bulb will not fit all the way in because it hits the Light cover. As mentioned earlier I used a pill bottle cap and drilled the same 1 1/8" hole in that. Place the bottle cap around the socket and using any adhesive/sealant ( I used Permatex clear RTV Silicone) seal the socket to the cap and after placing the socket into the corner light assembly.
Step 6 re-attach your new turn signal back onto the truck. Don't know how to? See step #1 again.
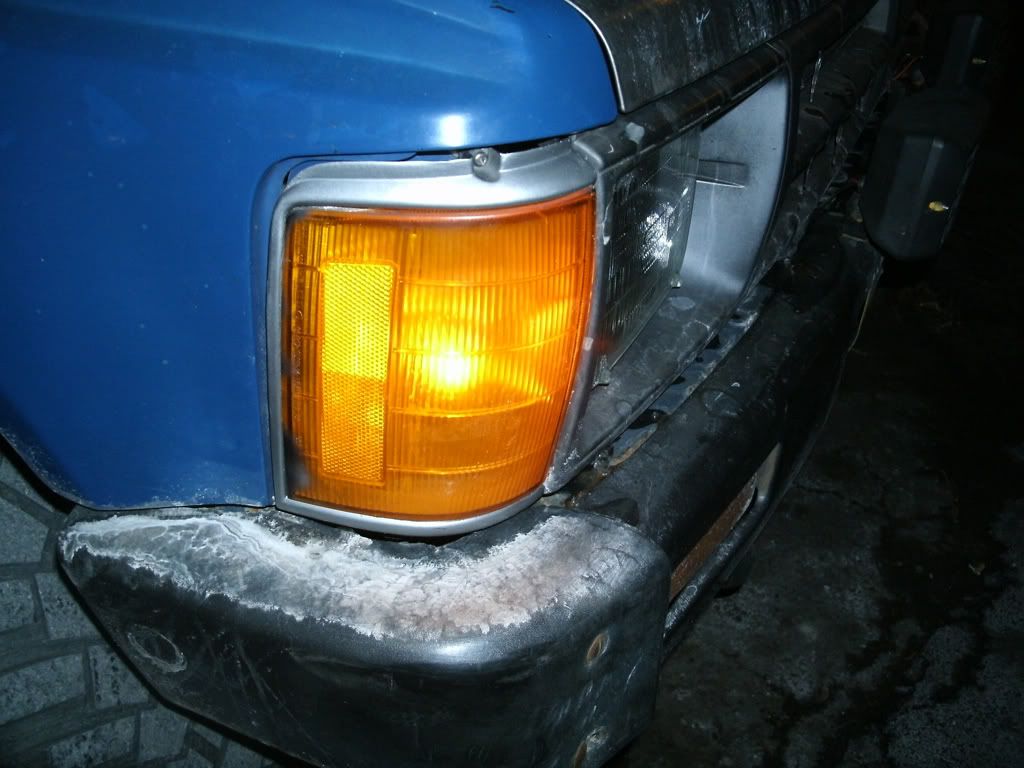
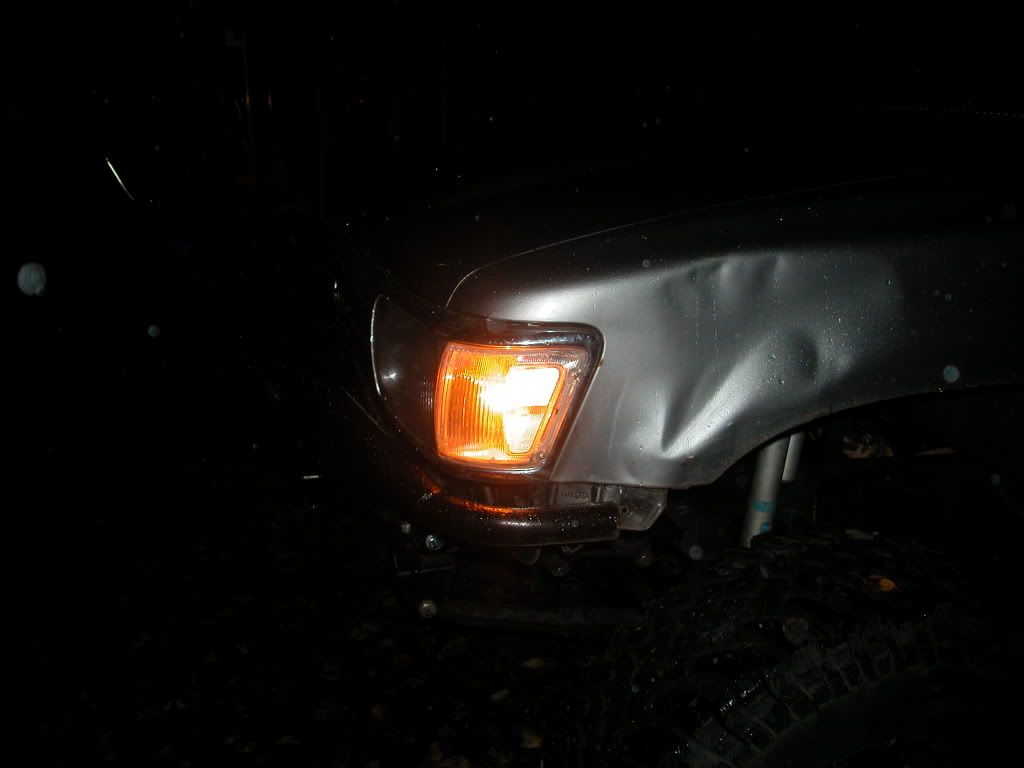
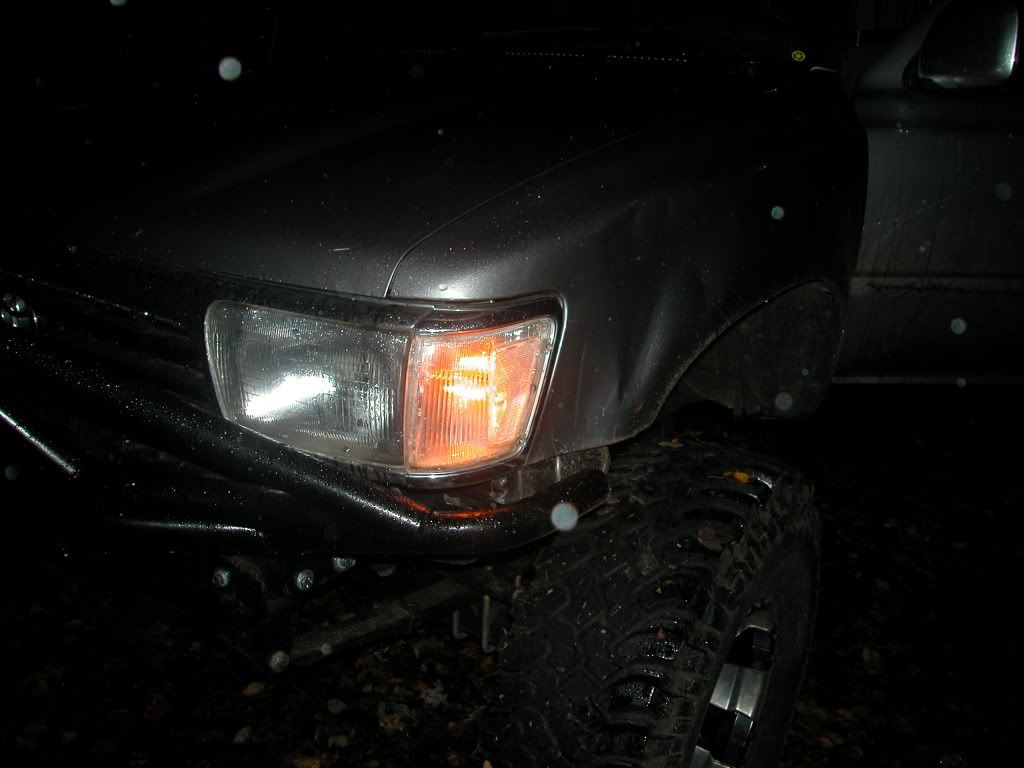
Here are comparisons.
NEW
OLD
Passenger light is the new, Driver light is the old
Step 1: Locate your turn corner lights. Don't know where they are? Why are you even here in this thread?
Step 2: Locate removal screws (there are 3 of them 1 on top, two on bottom).
Step 3: Remove corner lamps.
Step 4: Drill grind or whatever to make hole large enough to fit sockets. I used a 1 1/8 hole saw for the Dorman Brand #85860 1157 sockets available at A&A Auto Parts. Cost me $2.79 a piece. Don't know how many to buy? See step #1.
Original
Drilled
Step 3: Remove OEM harness connector and then attach an OEM wire to the ground location using a quick disconnect. Then figure out which wire on the Dorman socket goes to the brightest filament by attaching each wire to the other available OEM wire.
Step 4: Tap into the OEM turn signal wire and attach it to the last available wire on the Dorman socket. The OEM wire you want to use is the wire in the center of the connector not the one on the edge (Sorry Forgot to take a photo)
Step 5: As mentioned earlier in the thread, the larger bulb will not fit all the way in because it hits the Light cover. As mentioned earlier I used a pill bottle cap and drilled the same 1 1/8" hole in that. Place the bottle cap around the socket and using any adhesive/sealant ( I used Permatex clear RTV Silicone) seal the socket to the cap and after placing the socket into the corner light assembly.
Step 6 re-attach your new turn signal back onto the truck. Don't know how to? See step #1 again.
Here are comparisons.
NEW
OLD
Passenger light is the new, Driver light is the old
Last edited by xxxtreme22r; Feb 6, 2010 at 03:36 PM.
Feb 6, 2010 | 03:48 PM
#16
Contributing Member
Joined: Dec 2006
Posts: 3,607
Likes: 2
From: maryland
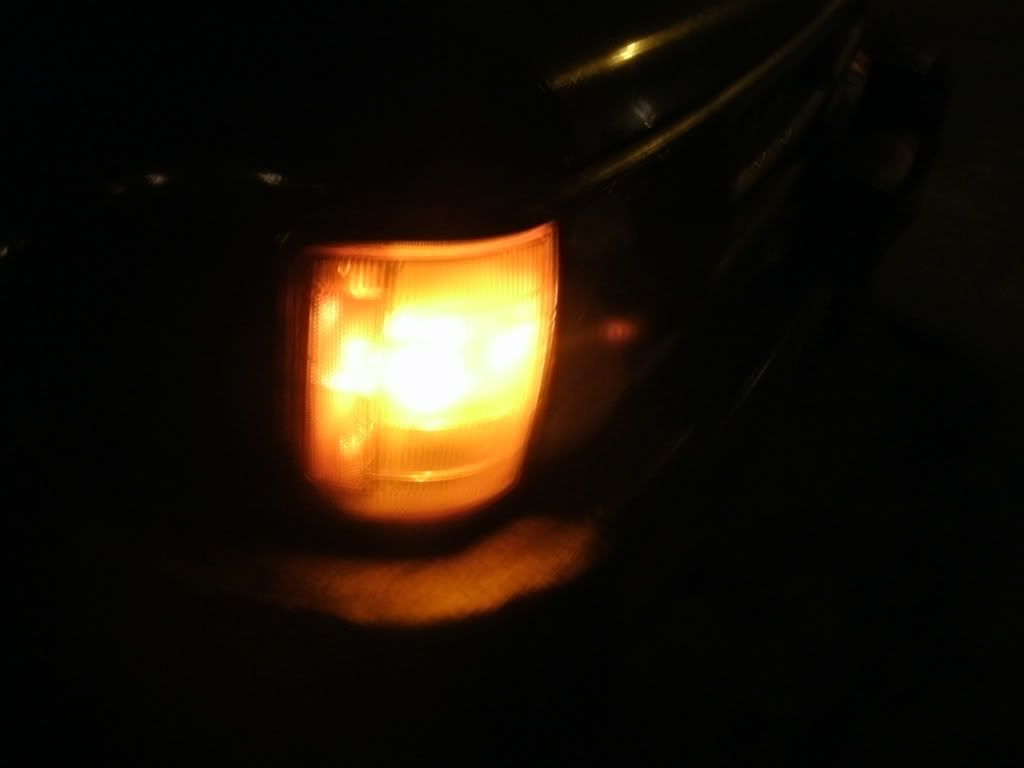
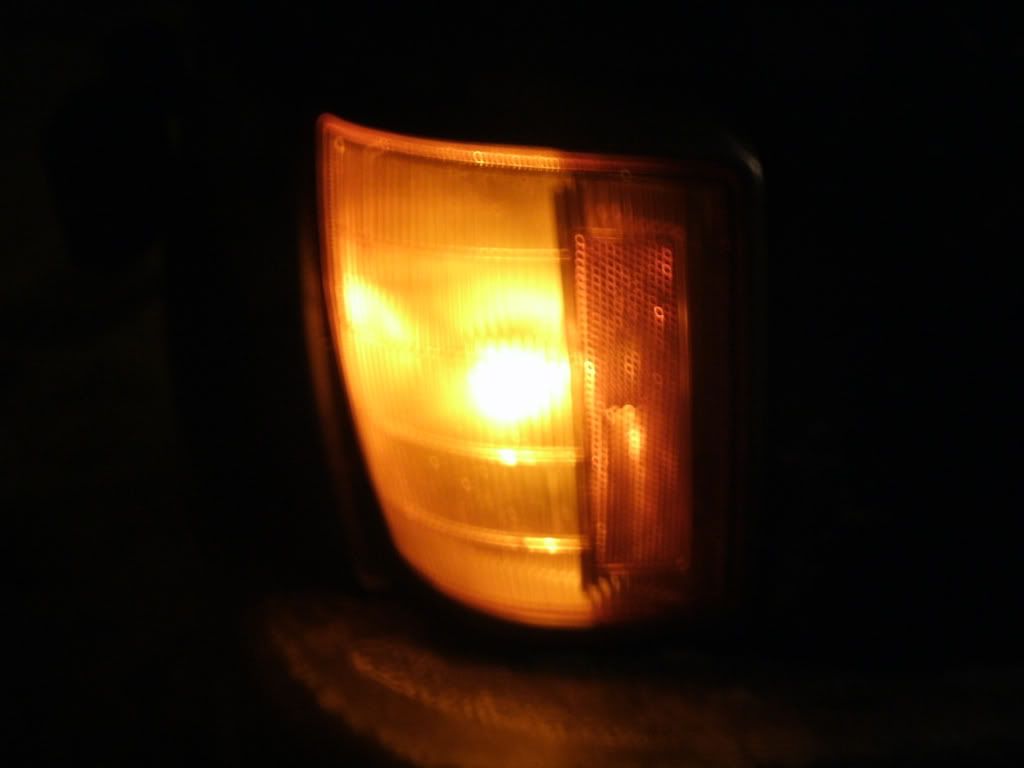
HERE'S MINE WITH CLEAR MARKER LIGHTS
Blinker blinking
Running light (used yellow 1157's)
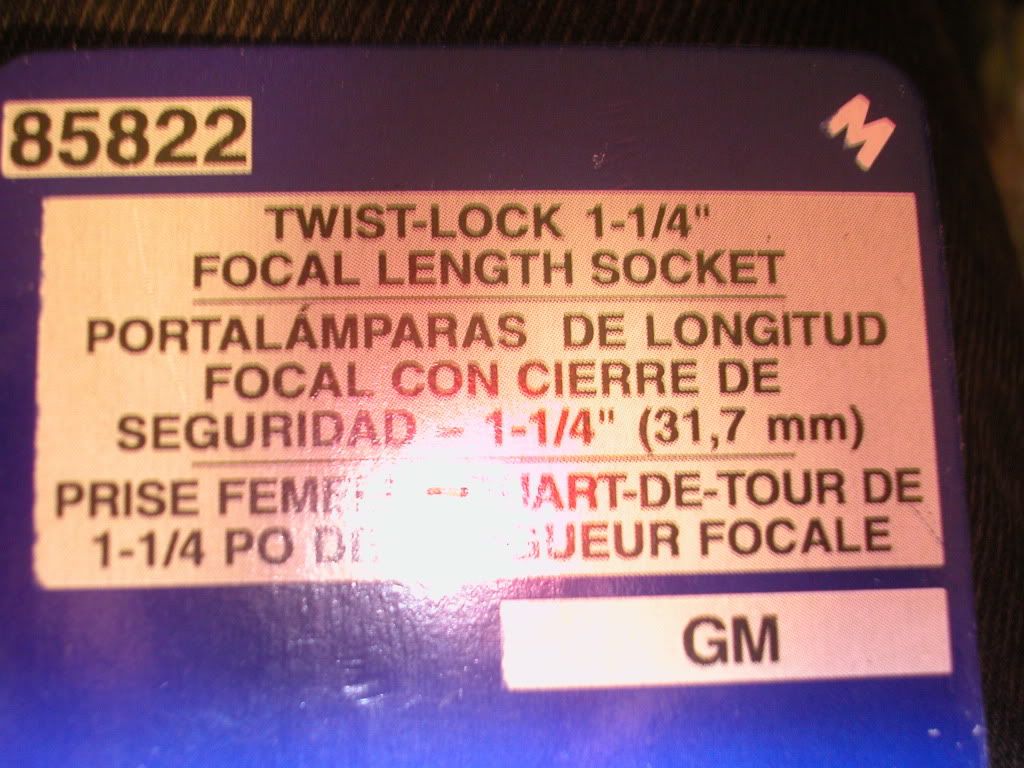
The sockets I used to do mine , they are a little different then most and have a common ground built in to them so that helps with the wiring a bit
Blinker blinking
Running light (used yellow 1157's)
The sockets I used to do mine , they are a little different then most and have a common ground built in to them so that helps with the wiring a bit
Feb 6, 2010 | 04:08 PM
#17
Registered User
Joined: Aug 2009
Posts: 13,574
Likes: 72
From: Wilkes-Barre, PA, USA
now what to do with OEM turn signals. Thinking of using white led turns and converting them to "foglights" lol at least till i build me a desert bumper haha.
Last edited by xxxtreme22r; Feb 6, 2010 at 04:09 PM.
Feb 6, 2010 | 05:58 PM
#19
Registered User
Joined: Aug 2009
Posts: 13,574
Likes: 72
From: Wilkes-Barre, PA, USA
Thanks. I still don't like how the OEM reflector works in this thing though. It creates like a small triangle thing. Doesn't lite up the whole light assembly. But I don't like clear corners. At least not on this year. Bleeders yes, mine no.


