
my new lift!! (rear shackle how to)
 Sep 2, 2008 | 09:53 PM
#1
Thread Starter
Registered User
Joined: Jan 2007
Posts: 2,801
Likes: 2
From: milwaukee, WI baby muddin in the streets!!
my new lift!! (rear shackle how to)
well i did go and do it thanks all to lftd_86_yota he helped me outy and gave me the part numbers and everything
where autozone
cost 14.99
time 3 hours
fun fun you see
ok so here it goes i was sick and tired of the rear being low and her looking like a old beater so i got ahold of lftd_86_yota and he pointed me in the right path!!
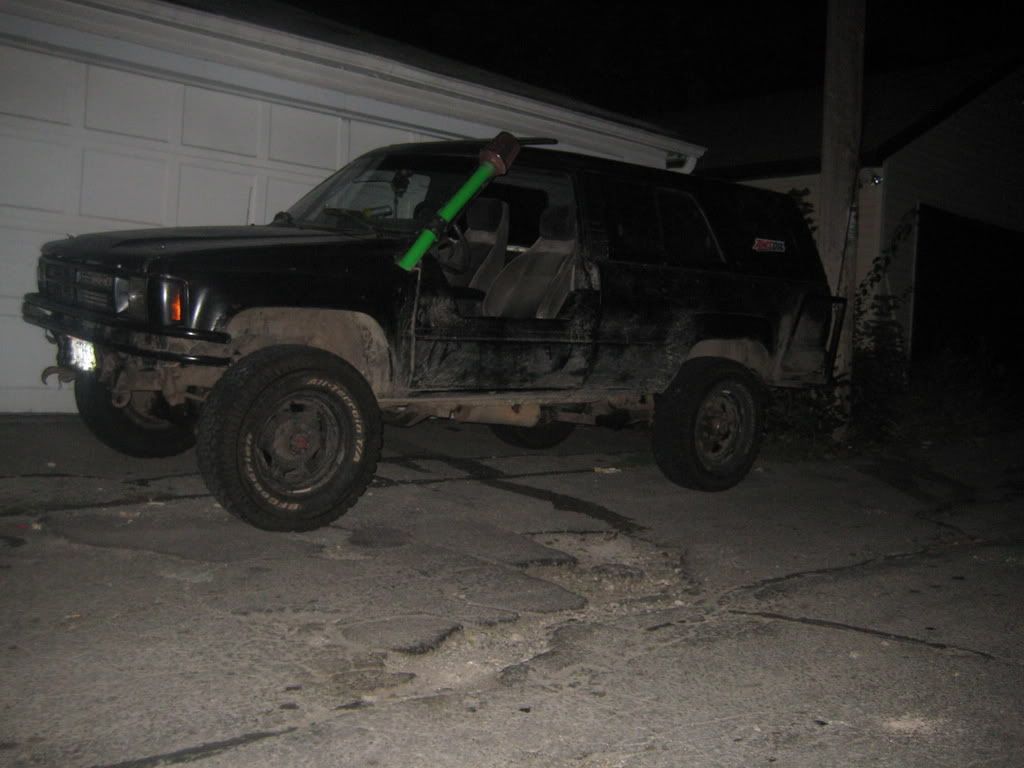
heres before and after just so you can see how much it lifted the rear end!

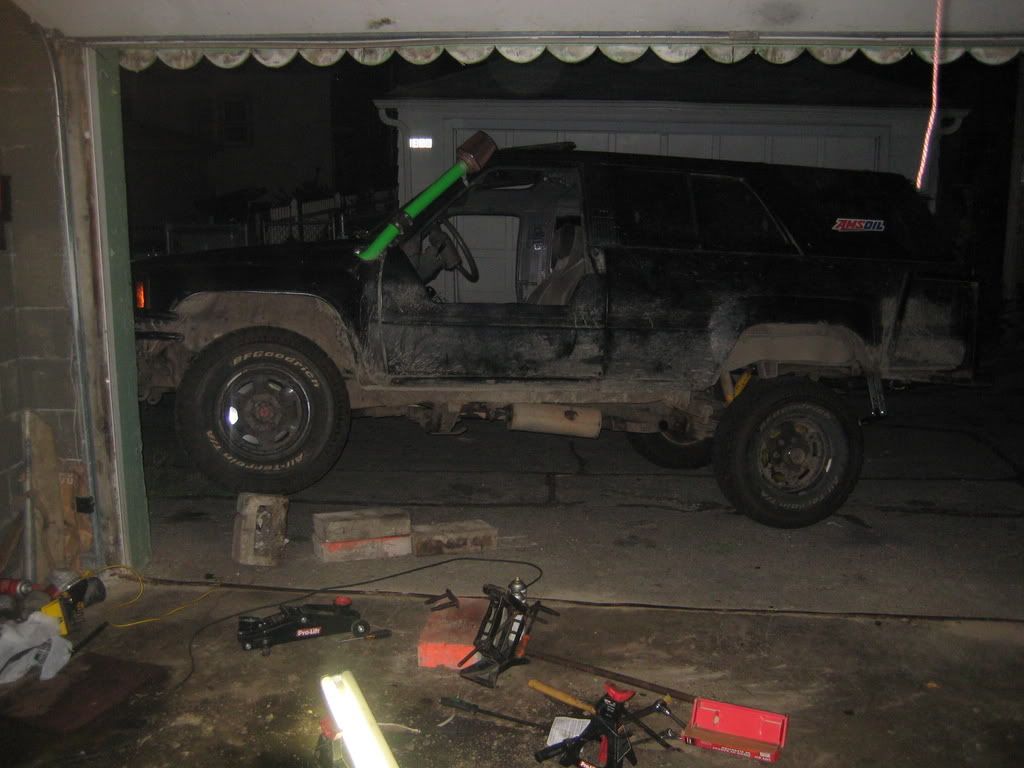
and after now

taken in the same spot on the ground look at my moms driver side mirror and my back up light
heres the tools needed to do
floor jack, bricks or something like that, 19mm wrench and or socket, PB BLASTER and lots off it, pry bars, hammer (bfg) breaker bar, and the kit
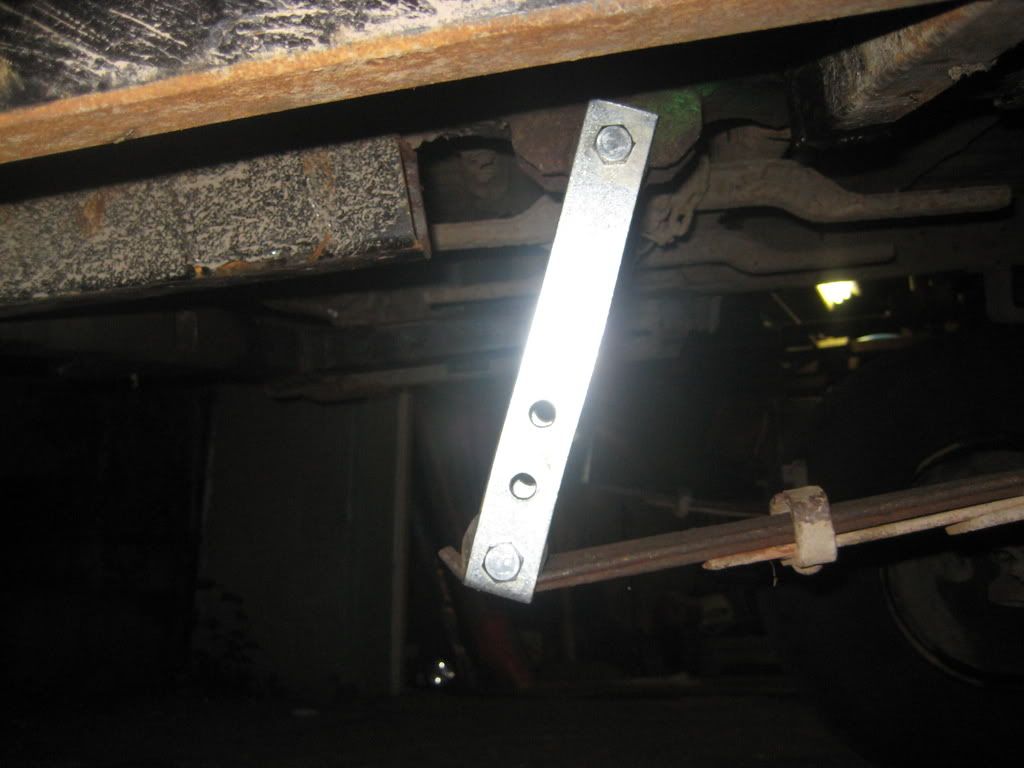
the kit sells for 14.99 at AUTOZONE heres the kit and it comes with the rear shackles both sides and the bolts needed to install

part numbers DONT MATCH this number comes up as a tie rod end but they will still find it for ya

heres a picture of everything you will need

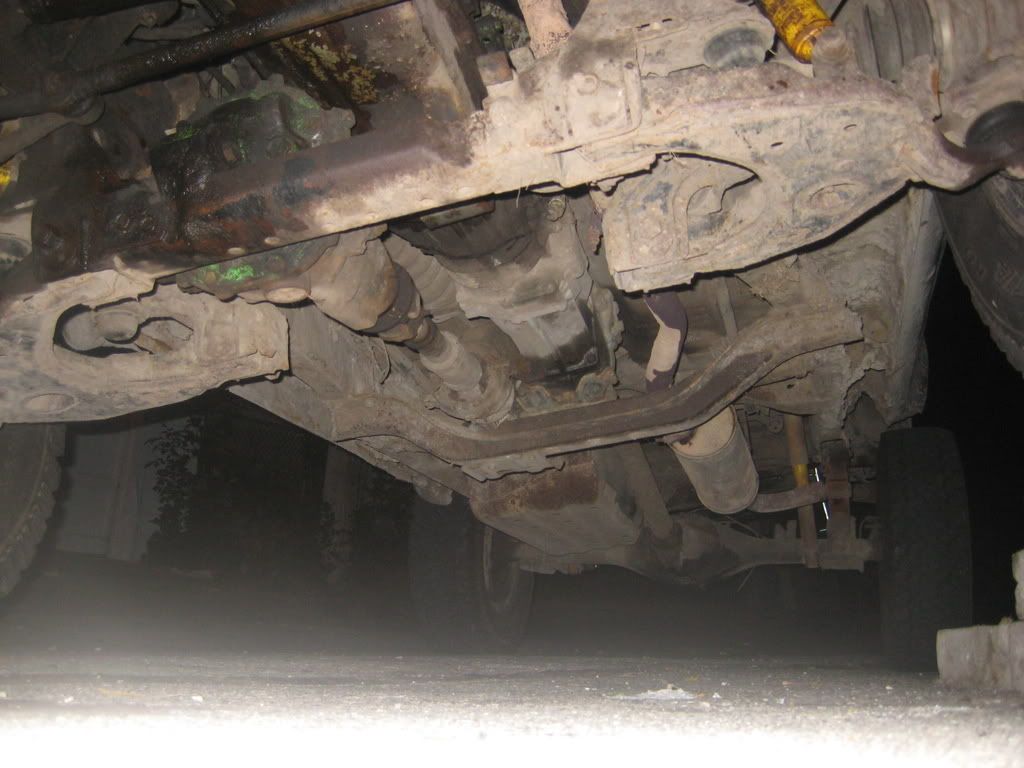
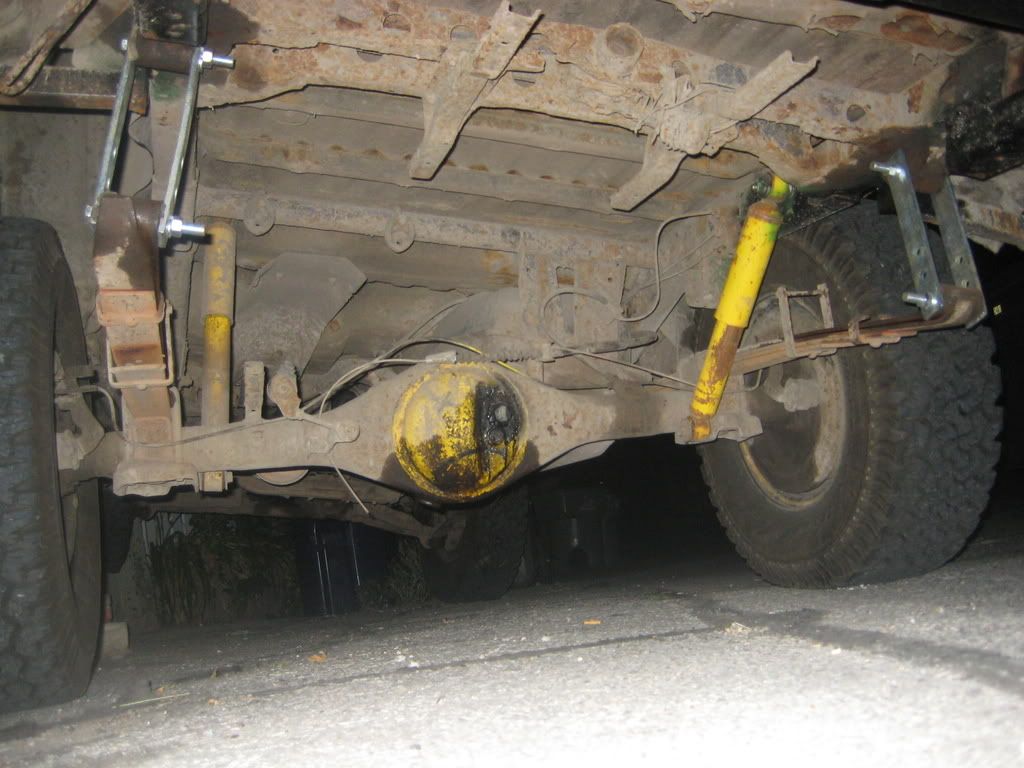
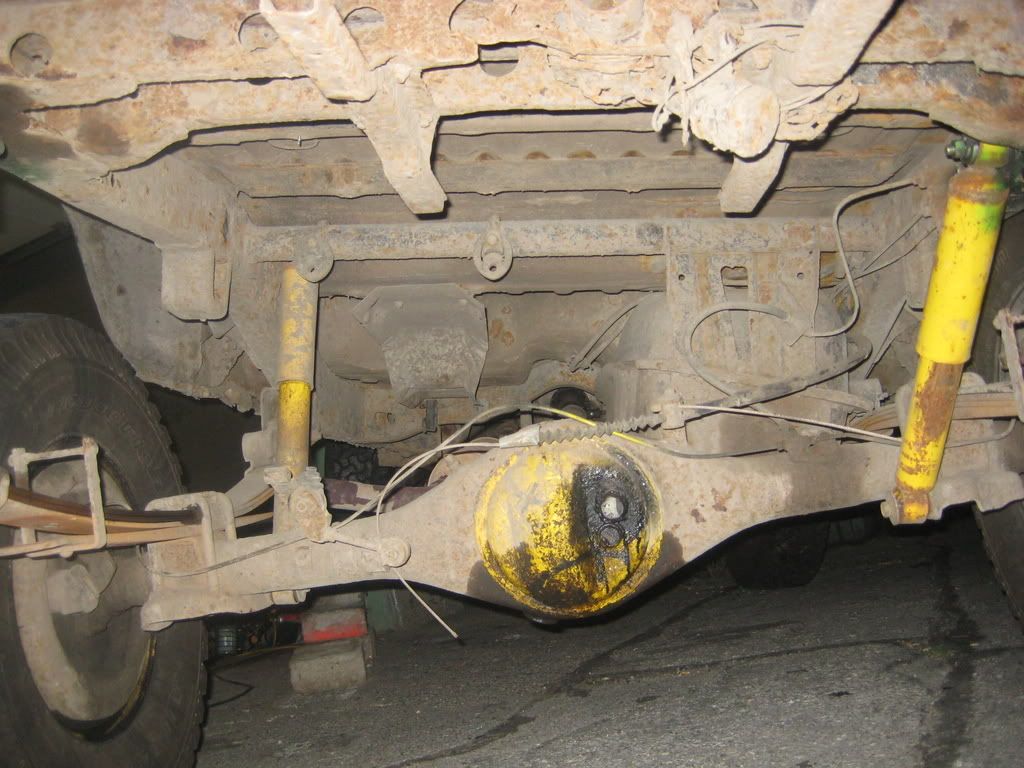
first you spary all 4 bolts down real good and wait a few days still spraying or if your like me then spray and crank you must jack the trucks butt up and get the rear tires off the ground and start turning the 19mm bolts get them off and then you start hammering away at the bolts the shackle is infact one peace so the inside will come off after the bolts but the outside with the bolts will be one peace just hammer top a few times then the bottom a few times and repeat will take a wile then you take a jack place it like this
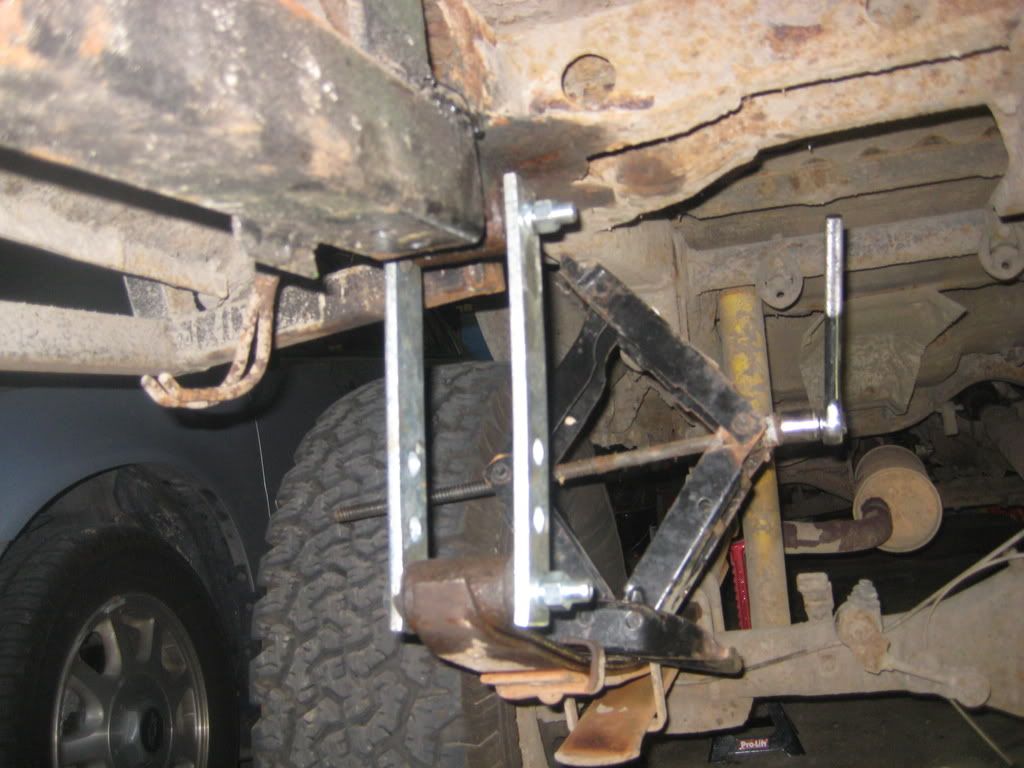
BE VERY CAREFUL you must do this to get the rear of the leaf to come down to the new bolt hole then you just slide the bolt in and let the jack out
and then go to the other side if you have any questions pm me or add to this!! now for all the pictures i took and boy the ride is way differnt feels like im falling off the front of her now
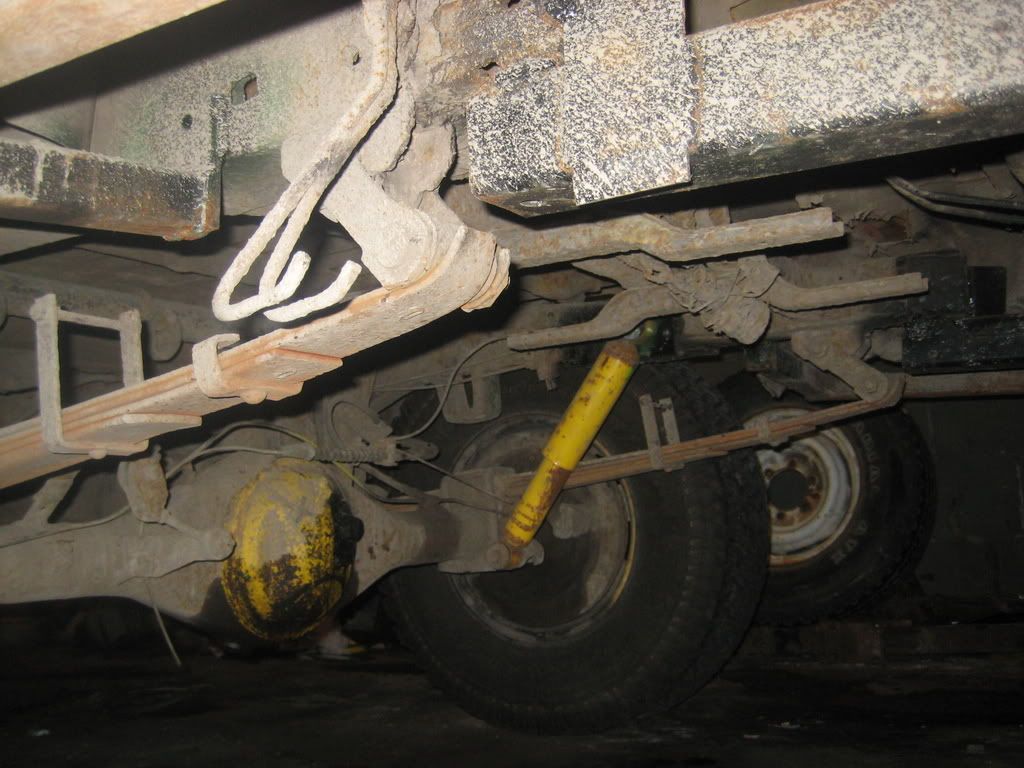
before the lift
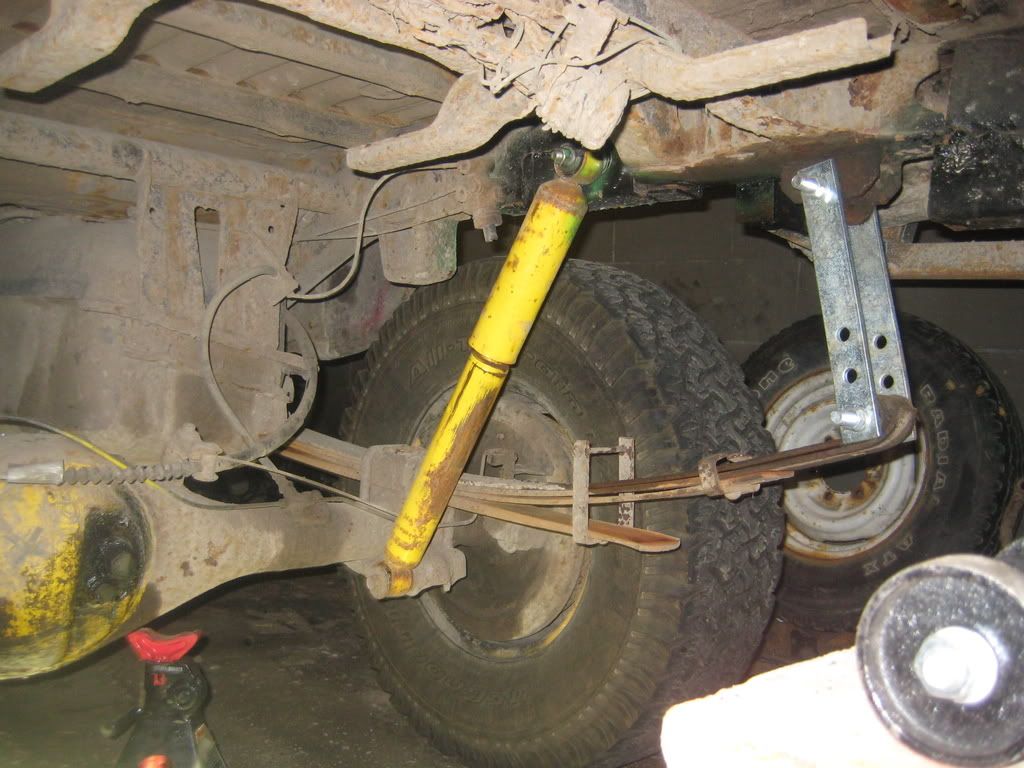
♠after the lift
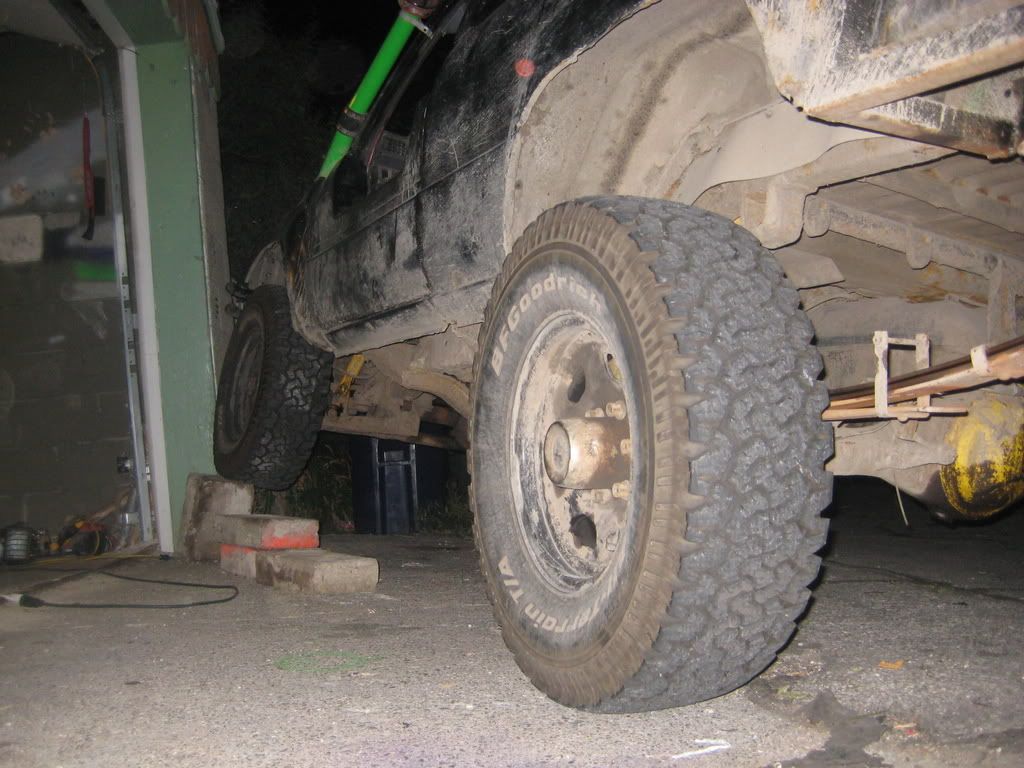
jacked up on my home made bumper
and if you think she wont flex anymore ha ha take a look again

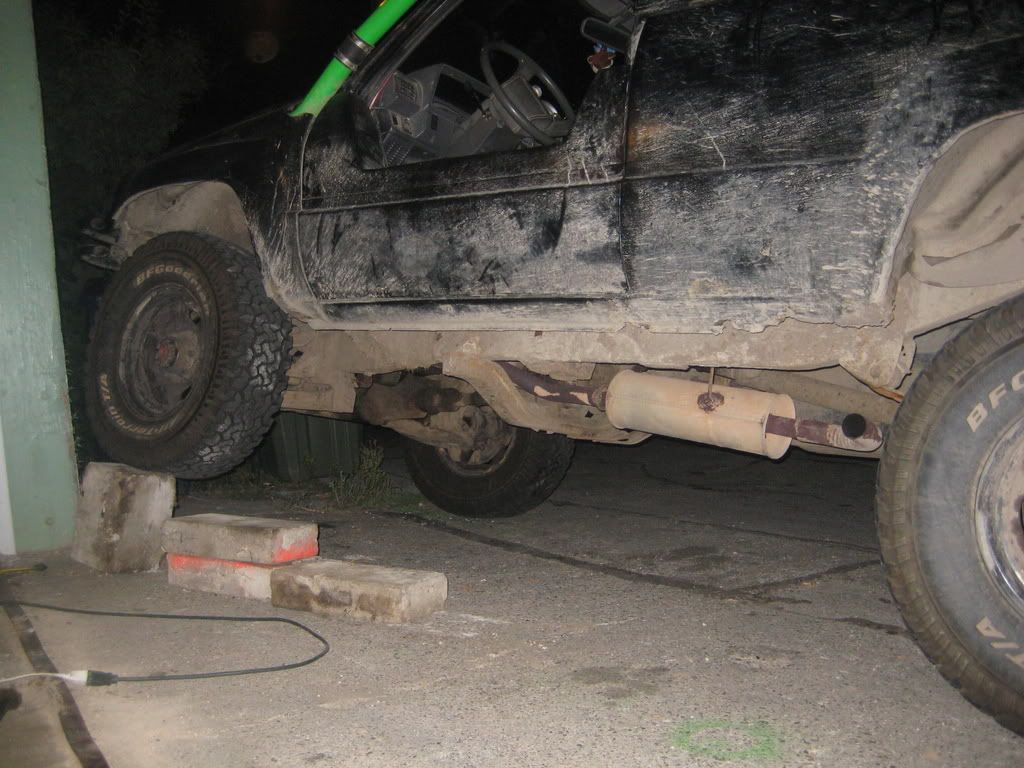
the before and after pisctures are the truck sitting on the floor and NOT jacked up look at them and you will see light between the jack and bumper thanks for looking and thanks a million to lftd_86_yota goood job on the find buddy!!!!!!!!!!!!!!!!!!!!
where autozone
cost 14.99
time 3 hours
fun fun you see
ok so here it goes i was sick and tired of the rear being low and her looking like a old beater so i got ahold of lftd_86_yota and he pointed me in the right path!!
heres before and after just so you can see how much it lifted the rear end!
and after now
taken in the same spot on the ground look at my moms driver side mirror and my back up light
heres the tools needed to do
floor jack, bricks or something like that, 19mm wrench and or socket, PB BLASTER and lots off it, pry bars, hammer (bfg) breaker bar, and the kit
the kit sells for 14.99 at AUTOZONE heres the kit and it comes with the rear shackles both sides and the bolts needed to install
part numbers DONT MATCH this number comes up as a tie rod end but they will still find it for ya
heres a picture of everything you will need
first you spary all 4 bolts down real good and wait a few days still spraying or if your like me then spray and crank you must jack the trucks butt up and get the rear tires off the ground and start turning the 19mm bolts get them off and then you start hammering away at the bolts the shackle is infact one peace so the inside will come off after the bolts but the outside with the bolts will be one peace just hammer top a few times then the bottom a few times and repeat will take a wile then you take a jack place it like this
BE VERY CAREFUL you must do this to get the rear of the leaf to come down to the new bolt hole then you just slide the bolt in and let the jack out
and then go to the other side if you have any questions pm me or add to this!! now for all the pictures i took and boy the ride is way differnt feels like im falling off the front of her now
before the lift
♠after the lift
jacked up on my home made bumper
and if you think she wont flex anymore ha ha take a look again
the before and after pisctures are the truck sitting on the floor and NOT jacked up look at them and you will see light between the jack and bumper thanks for looking and thanks a million to lftd_86_yota goood job on the find buddy!!!!!!!!!!!!!!!!!!!!
Sep 2, 2008 | 10:02 PM
#2
looks good buddy... i just wonder how hard it would be to twist those lengthened shackles... i mean, they look pretty beefy, but they are awefully long...
and did that rear axel used to be all yellow??? hard to tell now... lol...
and did that rear axel used to be all yellow??? hard to tell now... lol...
Sep 2, 2008 | 10:09 PM
#3
Registered User
Joined: Jul 2008
Posts: 4,592
Likes: 0
From: Grew up in S.C.V, So Cal.....now in Hampstead, NC
And you talk'd smack to me 'bout my spacers!!!!! So that what, gave ya 2"-3" or 3"-4" lift in the back? In the pic be4 your poser flex shots, it still looks like your saggin. And ya should take some pics in the daylight, the night pics aren't doing a whole lotta justice.....
Last edited by a4runnerfreak; Sep 2, 2008 at 10:10 PM.
Sep 3, 2008 | 03:26 AM
#5
Registered User
Joined: Jul 2007
Posts: 347
Likes: 0
From: 26.3 road miles from the AT (VA)
You should brace those shackles in the center with some steel before they twist or snap while wheeling.
Also something else to consider fabing up would be a set of flex shackles. I recall JT Outfitters (which started as a FJ40 speciality shop) sold a lot of their "Hyper shackles". Their site was out of stock but here is a guy who had them installed. You could fab them so you have a higher than normal ride high but then extended another 2 inches when your wheel drops in a hole to keep ground contact....just a thought. But your ride height does look better.
It looks like the one on the center side of the left is already starting to bend.
Last edited by wardriver; Sep 3, 2008 at 03:29 AM.
 Sep 3, 2008 | 04:32 AM
#7
Registered User
Joined: Jul 2005
Posts: 117
Likes: 0
I know there is snapage in the future...and it wont even take much.
I bought the same exact kit from my local Advance auto I drilled an extra hole thru the center to brace it. And even with that there was too much space and in some light wheelin my LR snapped leavin me to have to un hook the right side and chaining my rear springs to the frame rails and limping home.
My permenent fix...an inexpensive add a leaf kit from Rough Country.
I also bought a set of stock replacement spring packs from JC Whitney for 120 bucks a side. To go with that I bought a set of 1 1/2 lift gresable shackles from daystar. Those were installed with the add a leaf kit at a later date. I.E. I put the add a leaf kit in the stock spring set till i got the new parts a few weeks later. Then added the add a leaf kit the the new stuff upon installation.
http://www.jcwhitney.com/ALLOY-STEEL...3409_10101.jcw
http://www.jcwhitney.com/ROUGH-COUNT...3409_10101.jcw
http://www.rockymountainsusp.com/W_shackles_Toyota.HTM
all together I got about 4 inches of lift and by the time everything settled a little over 3. And its a far more reliable set up than those shackles you installed.
Trending Topics
Sep 3, 2008 | 04:46 AM
#8
Registered User
Joined: Apr 2008
Posts: 238
Likes: 0
From: Vermont
The ideal shackle lift is to get your lift out of both sids. Cut off the front shackle and fab a taller one and then put a taller one on the back. If you split the difference between the two you can achieve the same lift as you would by putting a rear shackle twice as long.(ie +4 inch rear shackle= +2inch front and +2in rear). The longer rear shackle is definitely more prone to twist. If you can't weld I would even take a block of hardwood and lag bolt it inbetween to give it some tortional strength
Sep 3, 2008 | 07:13 AM
#9


HI Allen-
For 16 bucks you can't beat that with a stick. But I see the overload leaf is still resting against the rest of the pack....that means your ride is rough but it's probably been that way since you've owned the truck and you never really ever noticed it.
If you get tired of that stiff ride and maybe the poor pinion angle that has caused a slight vibration at speed?....then think about this option in the future.
ZUK
http://gearinstalls.com/russell.htm
http://gearinstalls.com/stephen.htm
http://gearinstalls.com/miked.htm
http://gearinstalls.com/saggyrear.htm
Last edited by ZUK; Sep 3, 2008 at 07:14 AM.
Sep 3, 2008 | 09:41 AM
#10
Thread Starter
Registered User
Joined: Jan 2007
Posts: 2,801
Likes: 2
From: milwaukee, WI baby muddin in the streets!!
yeah coils not to bad would have been fun to and as for wheeling theres not much here in milwaukee and there just there as a untill i get my sas and rear leaf packs so i just wanted to get it back to stock for real cheap and i did so i dont do much wheeling but i will be watching out on them though and they are very beefy they weight about 3-5 pounds a peace and are really strong steel as for the one bending already thats the way the kit came the two on the inside have the slight bend to make it fit all in all i like the kit and i twised her really good in the pictures but like i said i will keep an eye on them thanks alot guys
 Sep 3, 2008 | 11:10 AM
#13
Registered User
Joined: Sep 2005
Posts: 8,656
Likes: 16
From: NW Ark on wooded ten acres...Ozarks at large!
Zuk's set up is really great, Allan. I have done it to my '86 with some Jeep coils he sold me. Even after tons of weight, the springs do not sag. Could use some retainers to keep the coils from shifting around during flex, but I don't really wheel and therefore droop the suspension much. So, a non-issue for the moment.
The springs he sold me are wider than what's shown in the links, so 31's on stock 6" steelies with stock backspacing rub. But, the 31's work on stock 7"rs.
Anyway, regardless of the little details, the coils work much better than longer shackles functionally and give a better ride. Definitely consider it for the future if the new shackles don't work out.
Ken........I have not forgotten the pics!
Sep 3, 2008 | 11:19 AM
#14
Registered User
Joined: Mar 2008
Posts: 4,371
Likes: 6
From: Texas
then think about this option in the future.
ZUK
http://gearinstalls.com/russell.htm
http://gearinstalls.com/stephen.htm
http://gearinstalls.com/miked.htm
http://gearinstalls.com/saggyrear.htm
ZUK
http://gearinstalls.com/russell.htm
http://gearinstalls.com/stephen.htm
http://gearinstalls.com/miked.htm
http://gearinstalls.com/saggyrear.htm
Man Zuk that looks killer! Could something like that be done on an 86 pickup or is there not enough weight in the back end to justify coils?
Sep 3, 2008 | 12:45 PM
#15
http://gearinstalls.com/dc.htm
Pick-ups generally don't seem to sag as much as the Runners....but it's still a cool way to add lift or payload to the rear of pick-ups.
By the way, what's the distance between the bottom of the frame and top of the leafpack in your case? 9"? 10"?
ZUK
Last edited by ZUK; Sep 3, 2008 at 12:47 PM.
Sep 3, 2008 | 01:42 PM
#18
Registered User
Joined: Mar 2008
Posts: 4,371
Likes: 6
From: Texas
Sep 3, 2008 | 05:10 PM
#20


ok .. I'll say it ...
YIKES ... wrong O .. minimum take them up 2 notches to the lowest setting .. then weld in a cross bar
something like this ..

that is dangerous , and just WRONG ..
.
YIKES ... wrong O .. minimum take them up 2 notches to the lowest setting .. then weld in a cross bar
something like this ..
that is dangerous , and just WRONG ..
.


