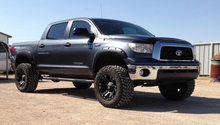
Toyota Tundra 2000-Present: How to Replace Ball Joints
The ball joints on the Toyota Tundra are a critical part of the suspension system. Read on to learn how to replace them when they wear out.
This article applies to the Toyota Tundra (2000-present).
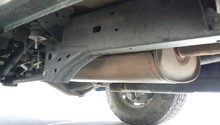
The ball joints attach the wheel hubs to the rest of the suspension system, so you can only imagine how it can affect your Toyota Tundra. If your ball joints are worn or have torn bushings, you can experience shaking in the steering wheel as well as grinding and clunking noises. Replacing them is not easy, but it can be done at home with some decent tools. If you've inspected your ball joints and you know you need new ones, read on to learn how to replace them on the Tundra.

Materials Needed
- Jack and jack stands
- Pliers
- Socket set (power tool optional)
- Flathead screwdriver
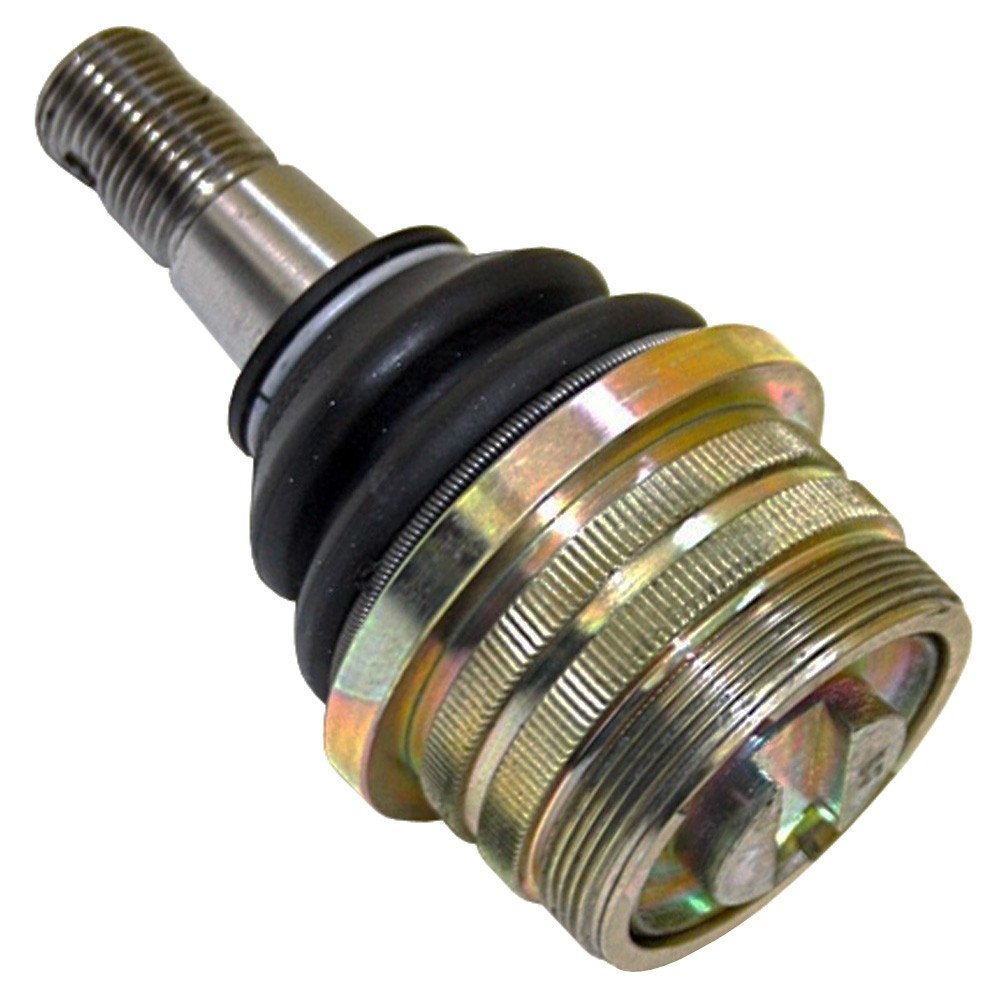
- Ball joint removal
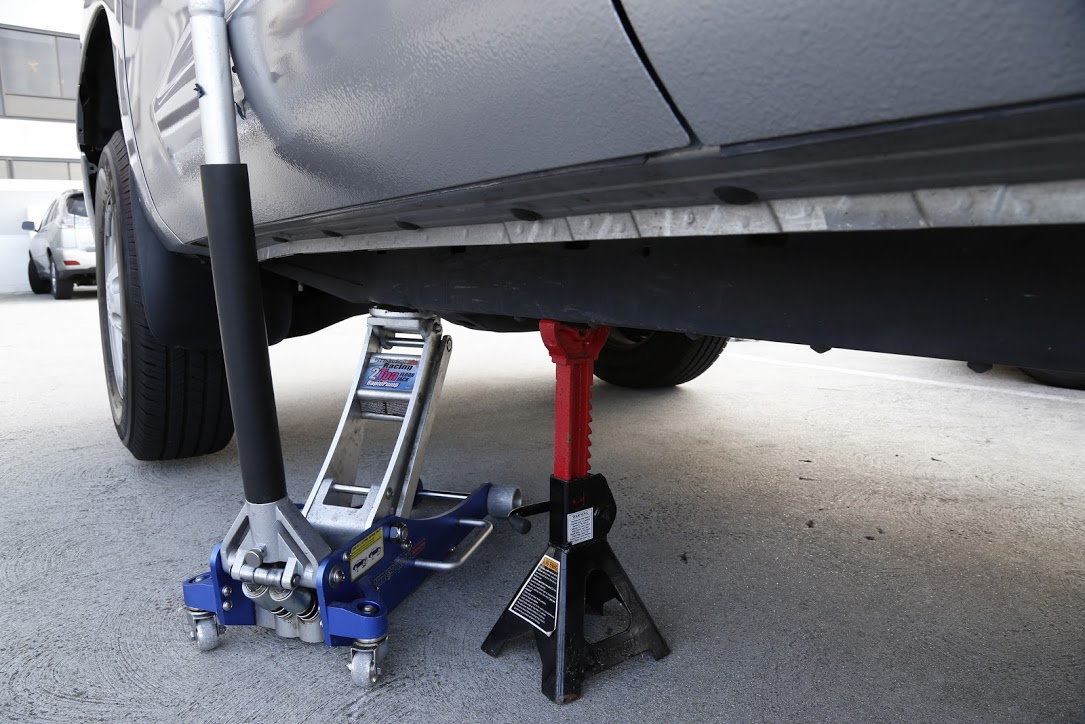
Step 1 – Raise the truck
Loosen the lug nuts on the wheel you will be replacing the ball joints on, then raise the truck. Secure the truck with jack stands, then remove the wheel.
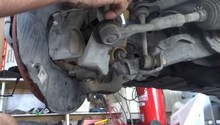
Step 2 – Remove parts attached to control arm
Remove the pin on the top nut of the upper control arm. You can use your pliers for that. Loosen the top nut, but don't remove it just yet. Remove the bolts attaching the ABS sensor to the control arm. There will be a series of bolts attaching the ABS line, and finally, the sensor will be at the bottom.
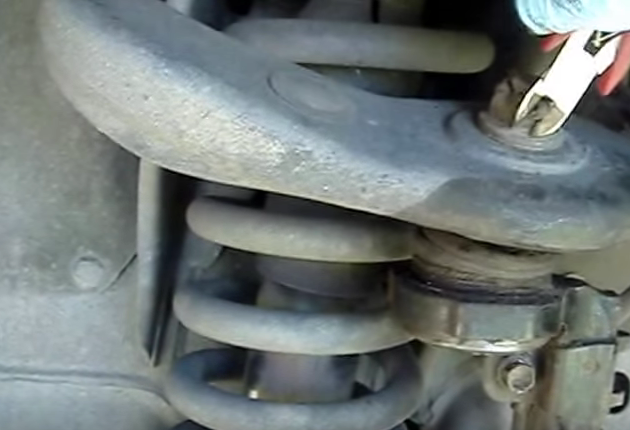
Figure 3. Remove top pin. 
Figure 4. Remove top bolt. 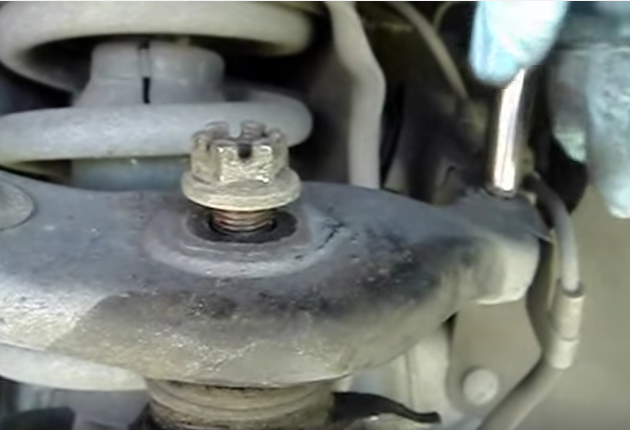
Figure 5. Remove attachments. 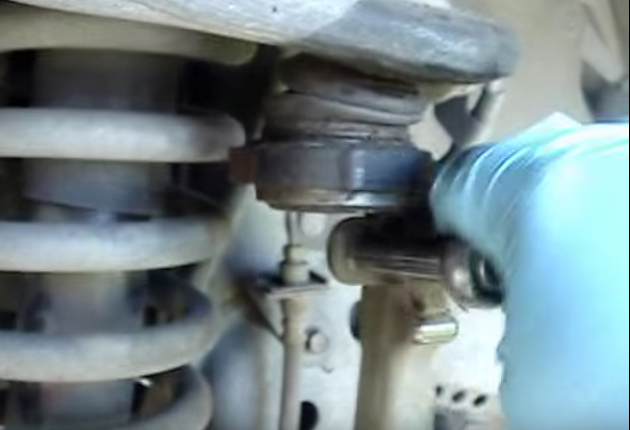
Figure 6. Remove attachments.
Step 3 – Remove brake caliper and rotor
To remove the brake caliper, you will have to remove the two bolts from the back of it, on the inside of the wheel well. When they're removed, pull the brake caliper straight out and place it somewhere safe. Don't let the caliper hang from the brake line. Once the caliper is off, you can remove the rotor by simply pulling it straight out. If it gives you a hard time, tap it with a rubber mallet until it gets loose.

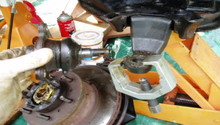
Step 4 – Remove ball joint
Pull down on the control arm; if it moves with you, then remove the nut with your hand. If the control arm is stuck, use a hammer to tap it from the side until it comes unstuck.
Once you remove the nut, you can lower the ball joint, then pry it off using your flathead screwdriver. Use your ball joint removal tool to remove the whole ball joint. Be sure to follow any specific guidance in your ball joint removal manual.
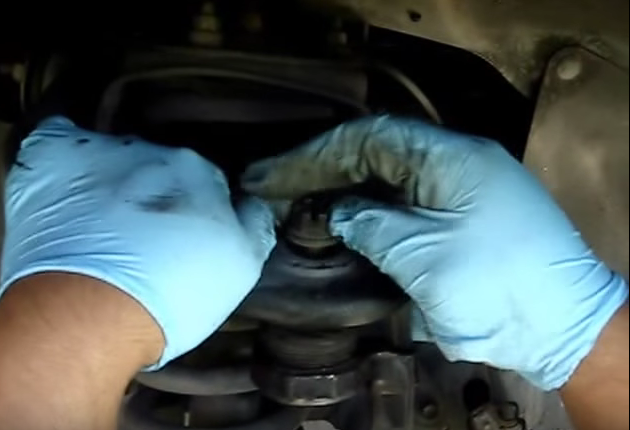
Figure 8. Remove upper nut. 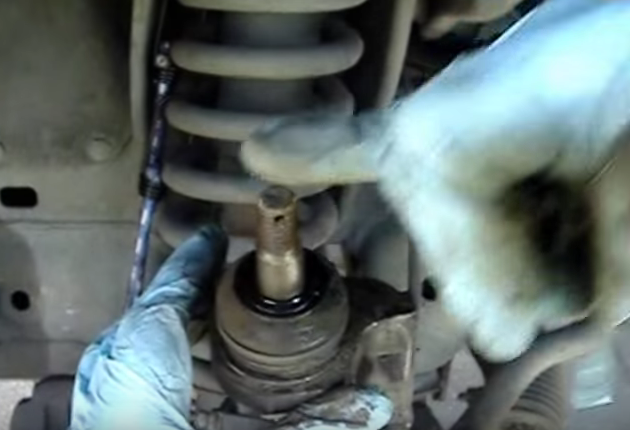
Figure 9. Pull ball joint away. 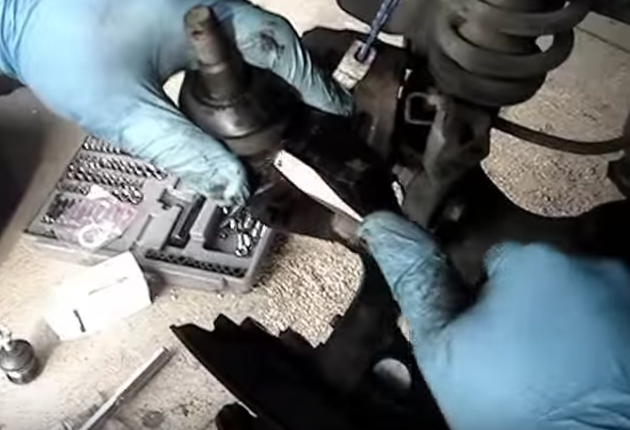
Figure 10. Pry off top part. 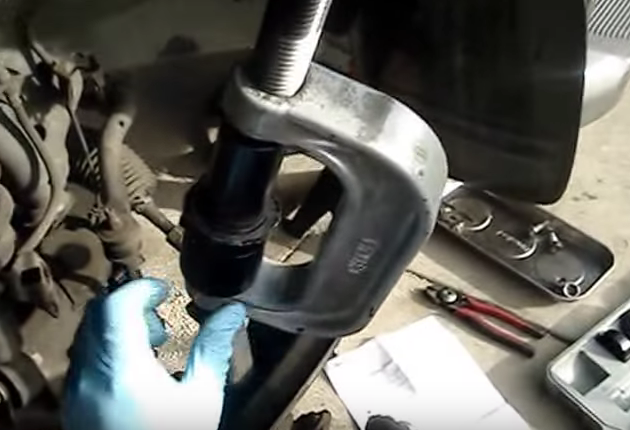
Figure 11. Remove ball joint.
Step 5 – Install ball joint
Installation is the reverse of removal:
- Press the new ball joint in place using the same tool. Righten the upper nut to 81 ft/lbs.
- Install the brake rotor, then install the brake caliper on top of it, and tighten its two bolts.
- Install all ABS attachments to control arm.
- Install the wheel and lower the truck.
Featured Video: Upper Ball Joints
Related Discussions
- Ball Joint Failure - YotaTech.com
- Changing Ball Joints - YotaTech.com
- Ball Joints Brands - YotaTech.com