Toyota Tacoma and Tundra: How to Replace Wheel Bearings
When the wheel bearings go out on your Toyota Tundra or Tacoma, your wheels will start squeaking constantly. Read on to learn how to replace the bearings yourself.
This article applies to the Toyota Tacoma and Tundra (1996-2016).
The Toyota Tundra and Tacoma are equipped with wheel bearings, which are small steel ball bearings in the wheel hubs that allow the wheels to spin freely. Over time, and depending on the weather conditions, you start losing lubrication, which ruins your wheel bearings. When the wheel bearings go bad, they start making noise (similar to a whistling or howling), which keeps getting louder and louder the more you wait. Replacing the wheel bearings is not a difficult task, it just requires you to remove some parts to get to it. If you feel like you're up to the task, read on to learn how you can replace the wheel bearings on your Tundra or Tacoma.

Materials Needed
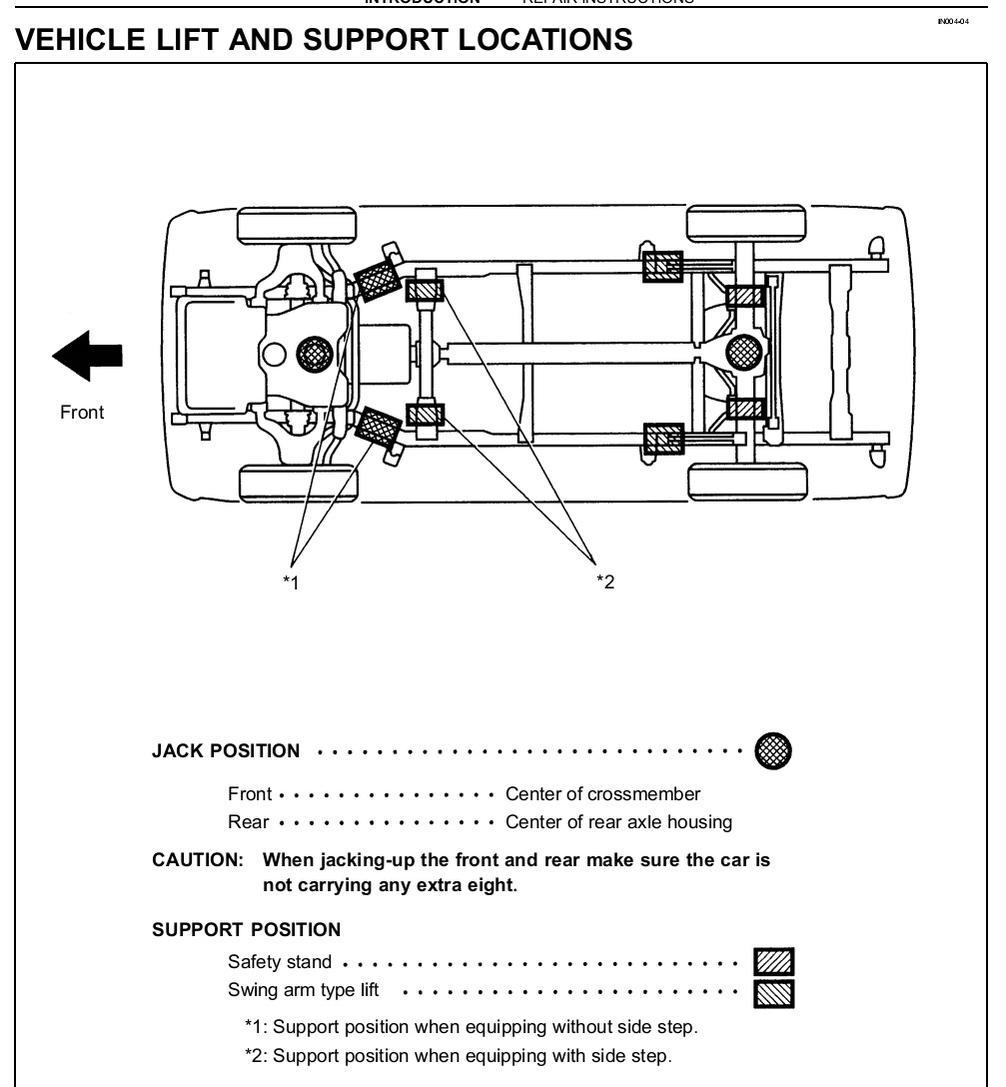
- Jack and jack stands
- Tire iron
- Socket set
- Rubber mallet
Step 1 – Remove wheel
Loosen the lug nuts on the wheel you will be replacing the bearings, then raise the truck. Secure the truck with jack stands, and then remove the wheel.
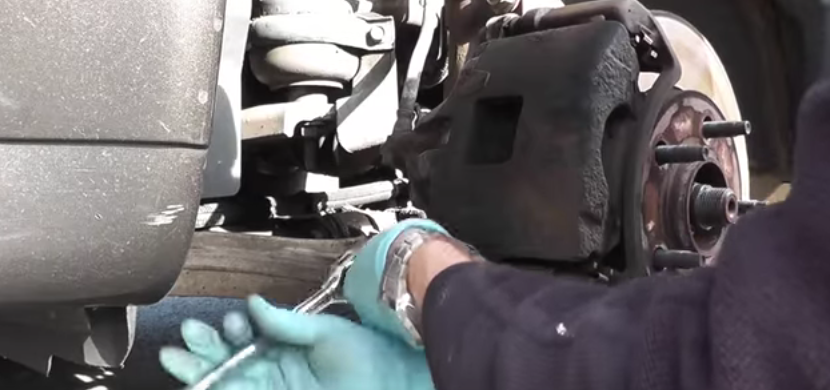
Step 2 – Remove brake caliper
The brake caliper is held in place by two bolts. Use your socket to remove them from the back of the caliper, then pull the caliper out. Be sure to rest it somewhere safe; do not let it hang from the brake line.
Step 3 – Remove caliper mounting bracket
The caliper mounting brackets can be removed from the back of the brake rotors. It is held in place by two bolts. Remove the top and bottom bolts holding the caliper's mounting bracket. The mounting bracket will easily come off when you remove the two bolts. Set it aside.
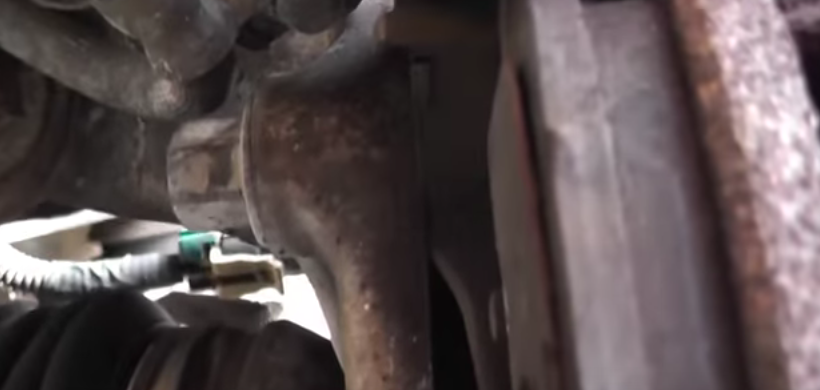
Figure 3. Caliper mounting bracket's bolt. 
Figure 4. Remove two bolts.
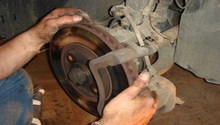
Step 4 – Remove brake rotor
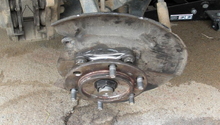
Remove the axle nut, then tap on the axle and the brake rotor to loosen it up. Be sure not to tap the part of the rotor where the brake pads come in contact. Instead, tap the center of it. Pull the brake rotor straight out and set it aside.
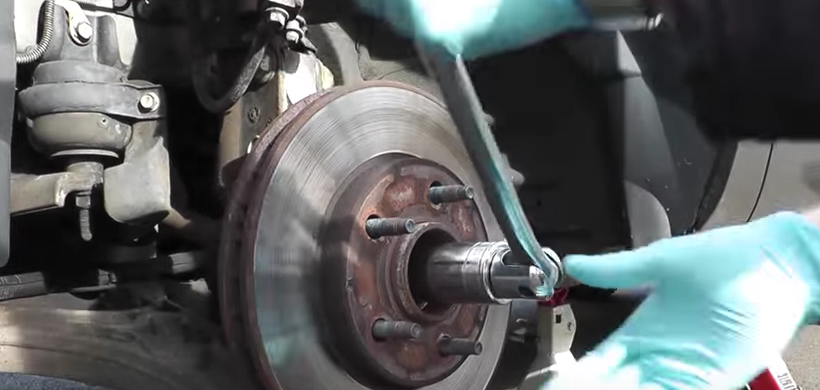
Figure 5. Remove axle nut. 
Figure 6. Remove rotor.
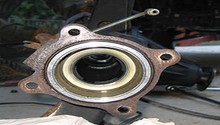
Step 5 – Remove bearings
The bearing is held in place by three bolts. However, this will be a tight squeeze for you, so if you have air tools, that could make this part o the process much easier. Once you've removed all three bolts, unplug the ABS sensor by simply squeezing it and pulling it apart. Then pull the bearing away from the vehicle.
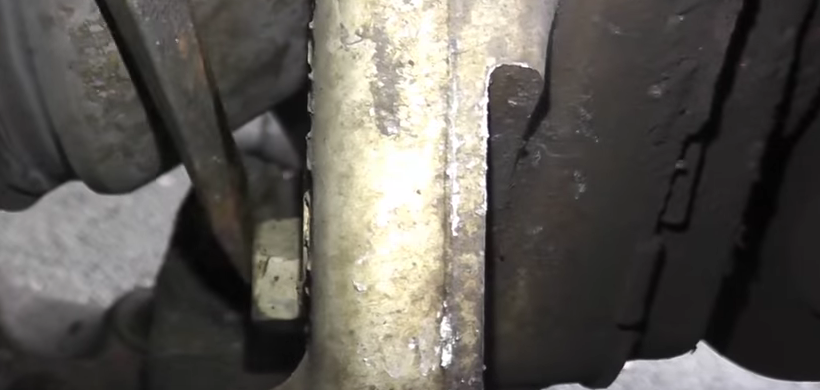
Figure 7. Bearing's bolt. 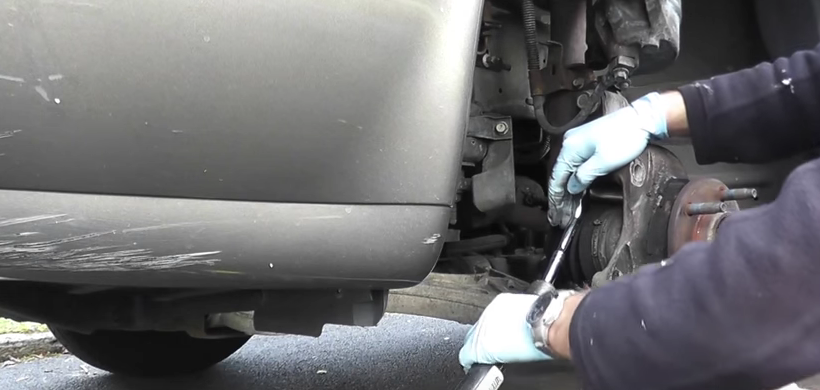
Figure 8. Remove three bolts. 
Figure 9. Bolt and ABS sensor.
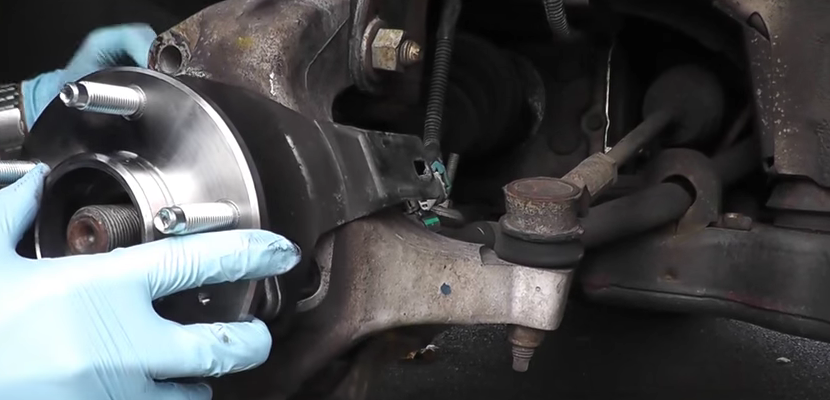
Step 6 – Install new bearing
- Align the new bearing in place, then connect the ABS sensor. Tighten up the three bolts that hold it in place.
- Align the brake rotor in place, then tighten the axle nut.
- Install the caliper's bracket along with the brake pads, and then tighten the two bolts holding it in place.
- Install the brake caliper in place, then tighten the two bolts holding it in place.
- Install the wheel, hand-tighten the lug nuts, and then lower the truck. Finally, tighten the lug nuts using your tire iron.
Related Discussions
- Front Wheel Bearing Replacement - YotaTech.com
- Rear Wheel Bearing Replacement - YotaTech.com
- Wheel Bearing Replacement Intervals - YotaTech.com