Toyota Tacoma 1996-2015: How to Fix the Starter and Solenoid Contacts
There's a cheap way to fix a failed starter without having to replace it. This article will show you how to do just that.
This article applies to the Toyota Tacoma (1996-2015).
If you've been hearing a click every time you start your truck, your starter could be warning you that it's about to fail. The clicking happens when the solenoid contacts in your starter wear down to the point where they no longer make contact. You can temporarily fix it with a quick tap of a hammer, but if you fix it early, you can save yourself a costly repair bill. Most dealerships will insist on replacing the starter entirely, but why do that when you can just replace the contacts for less than a tenth of the price?

Materials Needed
- Replacement starter or solenoid contacts
- Jack and jack stands
- Ratchet w/ 14 mm socket, u-joint socket, and extensions
- Breaker bar or pipe
- Needle nose pliers
- Lug nut wrench
- Anti-seize
- Contact cleaner
- Protective gloves and eye-wear
Step 1 – Remove the starter
Start by disconnecting the negative terminal on your battery. Use a jack to lift the truck then lower it onto jack stands.
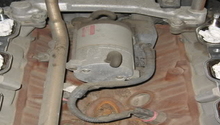
Remove the front passenger side tire for easier access to the starter. You'll see it tucked in next to the exhaust manifold. It's mounted by two 14 mm bolts on the back. These are typically the hardest bolts to remove because they can seize up with rust. Attach an extension to a breaker bar and see if it can crack those bolts loose. If that's proving difficult, an impact wrench will probably do the trick.
%20-%20YotaTech%20Forums&txt=)
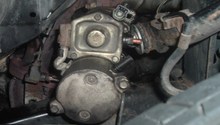
Figure 1. Starter viewed from the front. %20-%20YotaTech%20Forums&txt=)
Figure 2. Remove the two bolts on the back of the starter.
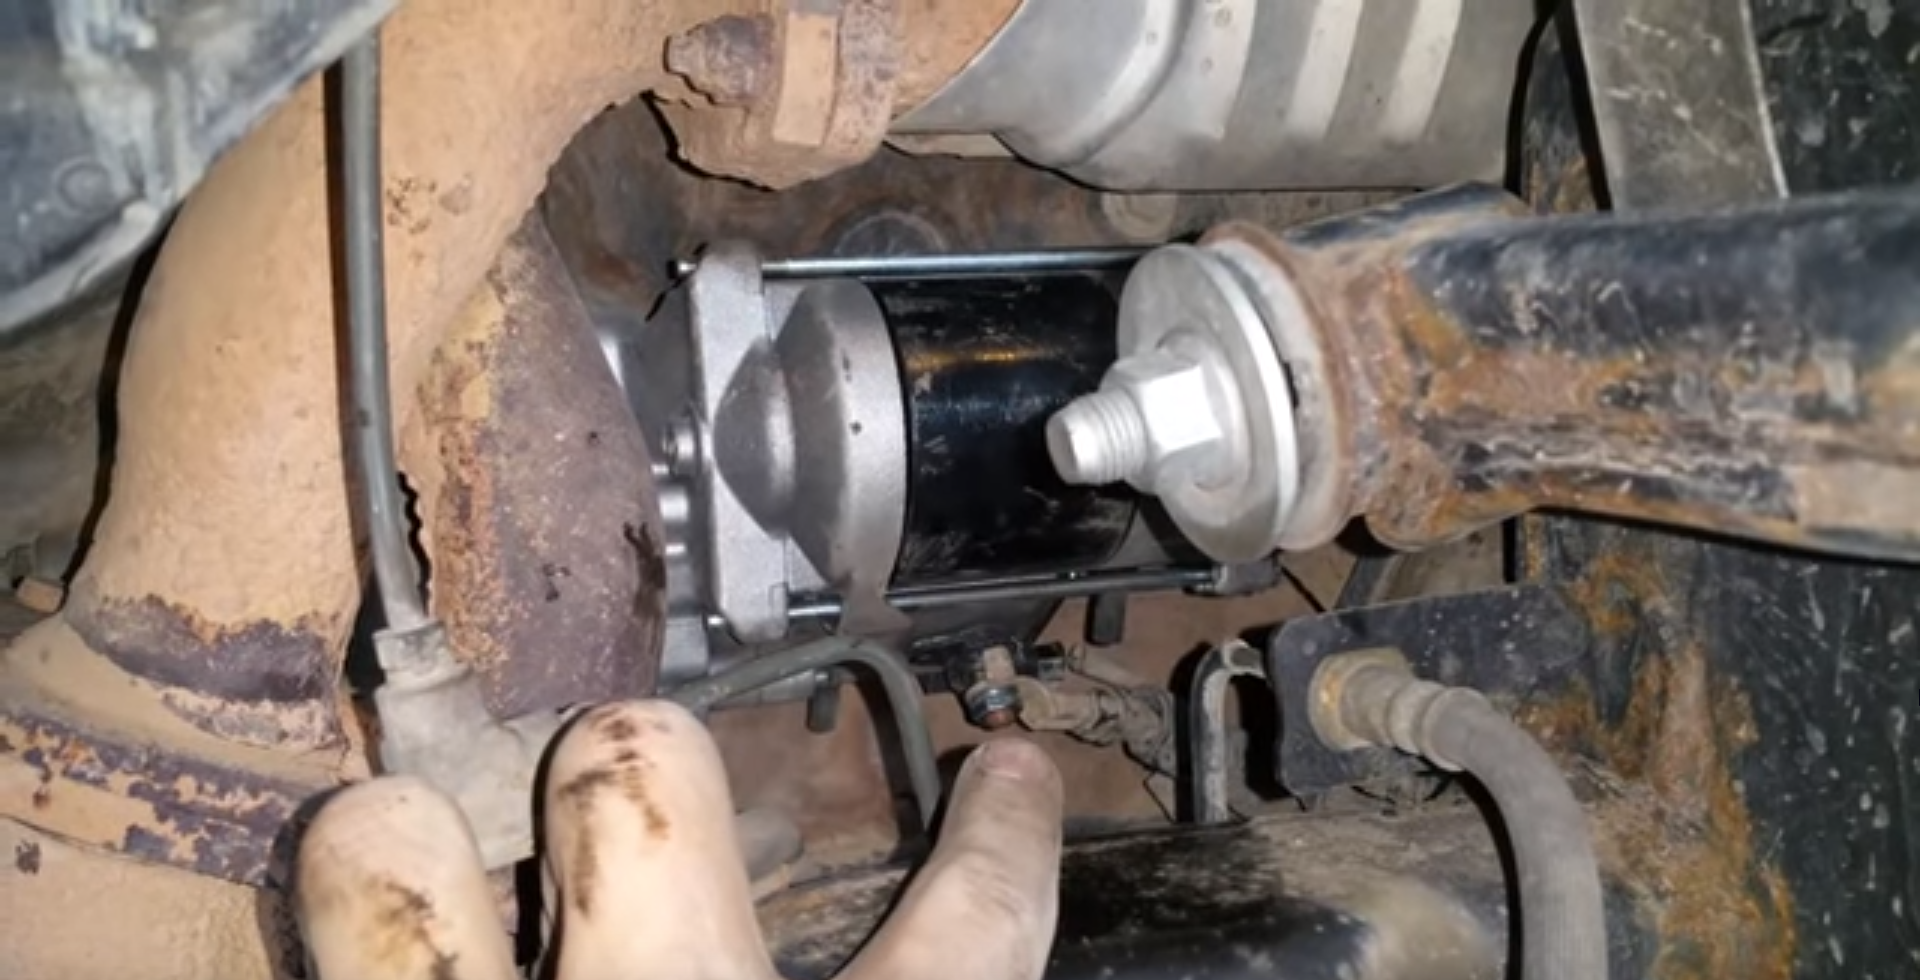
Once those bolts are loose, try approaching from the side or above the starter. There are two cables leading to the starter. One is a plug that can be unclipped with a pair of pliers. The other cable is bolted on with a 14 mm bolt. It's also got a plastic cover over it. Remove the two cables, then remove the two mounting bolts. It may seem difficult to pull out at first, but you'll have an easier time pulling the starter down and back past the axle instead of trying to go around the brake lines.
%20-%20YotaTech%20Forums&txt=)
Figure 3. Disconnect the starter cables. %20-%20Page%204%20-%20YotaTech%20Forums&txt=&loAsUuid=ikiqex4i-3b4b6aab-3e0f-49f2-b210-99905820bedd)
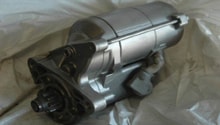
Figure 4. Pull out the starter.
Step 2 – Replacing the starter solenoid contacts
On the back of the starter you should see three bolts. Wrench off the bolts and remove the cover. There you'll see the plunger, and nested on either side of it are the contacts. Pull out the plunger, and you'll probably see how your contacts have worn down to the point where one of them is no longer connecting to the plunger.

Figure 5. Remove the three bolts on the back cover. 
Figure 6. Cover removed.
To replace the contacts, loosen the nut on the outside and pull off the small starter cable, insulator and o-ring. Then, push the bolt through to the inside. Pull off the inside insulator and then slide the contact off. Slide on the new contact and insulator. Thread the bolt through the hole. Then, reattach the o-ring and insulator and thread on the nut. Repeat this for the other contact.

Figure 7. Worn down solenoid contacts. 
Figure 8. New solenoid contacts.
Pro Tip
Sometimes the contacts can arc and melt the plunger in which case you should also replace the plunger along with the contacts.
Step 3 – Installing the starter
Once you've got your new contacts installed or you have a new starter, simply reverse the first step. Move it into place and start threading in the mounting bolts. You may want to apply some anti-seize to the mounting bolts to make them easier to remove in the future. Reconnect the two cables to the starter. Then, reconnect the battery to test your starter. It should run without any clicks. The nice thing about Toyota's starters is that you almost never have to replace them. All you need to do is replace the solenoid contacts and the plunger whenever they get worn down.
Featured Video: Toyota Tacoma Starter Motor Replacement
Related Discussions
- 3rd gen, 3.4 auto starter removal write-up - YotaTech.com
- Tacoma starter - YotaTech.com
- Is my starter going bad? - YotaTech.com
- Starter solenoid contact fix - YotaTech.com
- Question about starter issue on 98 Tacoma - YotaTech.com