Toyota 4Runner, Tacoma and Tundra: How to Replace Your Dome Light
A burnt dome light in your Toyota 4Runner, Tacoma, or Tundra can be rather annoying when you're looking for something at night. Read on to learn how to replace it.
This article applies to the Toyota 4Runner, Tacoma, and Tundra (1984-Present).
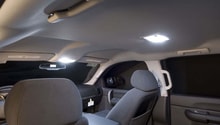
The dome light, also known as the map light, in the Toyota 4Runner, Tacoma, or Tundra is designed to light up your interior. Even though it might not be important in the daytime, it's very important at night, especially when you're looking for something. The dome light is lit by a light bulb, which is bound to burn at some point of your vehicle ownership. Replacing it is simple and can be done rather quickly. So unless you want to use your phone to light up your interior, read on to learn how you can replace the dome light yourself.

Materials Needed
- Small flat head screwdriver
- Dome light bulb
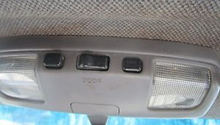
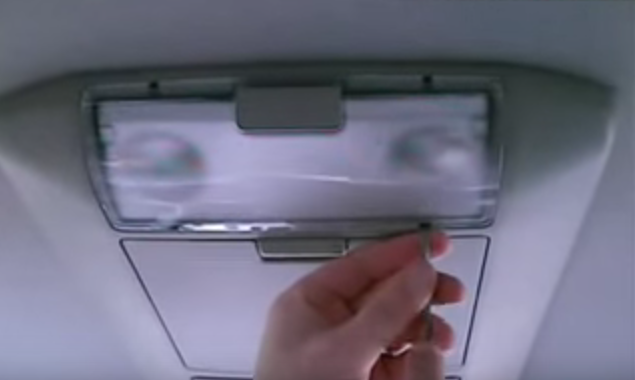
Step 1 – Remove dome light cover
Using your small flat head screwdriver, pry off the dome light cover very gently.
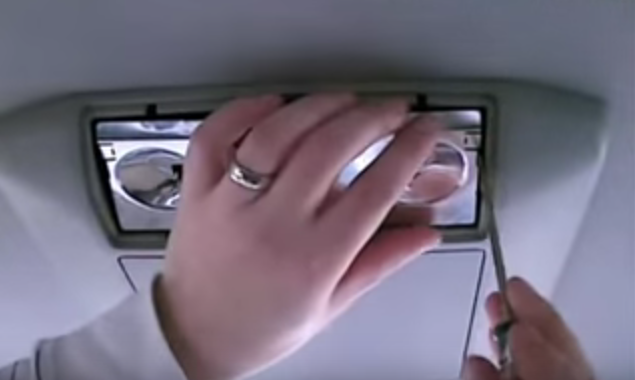
Step 2 – Remove inside cover
If you're removing the center console dome light, you will have to remove the second metallic cover to access the bulbs. Pry it off from the corner gently, then pry off the other side to remove it.
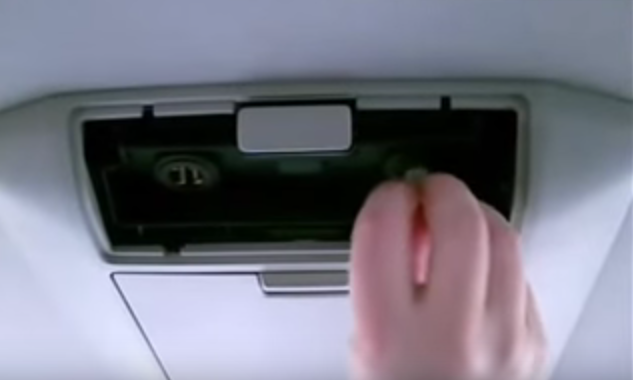
Step 3 – Replace bulb
Remove the bulb by simply pulling it straight out, then push the new one in place until it clicks. You can test the dome light before installing the covers to ensure it's working. Install the metallic cover and then the plastic, clear cover in place.
Featured Video: How to Install Dome Lights
Related Discussions
- Dome Light Removal - YotaTech.com
- Interior Light Replacement - YotaTech.com
- Dome Light Removal - YotaTech.com