Toyota 4Runner, Tacoma, and Tundra: How to Plasti-Dip Rims
Toyota trucks can benefit from extra coats of paint on the rims and other easy-to-paint areas. Here's how to accomplish this look.
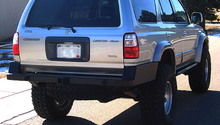
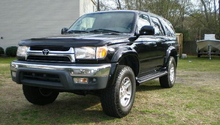
This article applies to the Toyota 4Runner, Tacoma, and Tundra (1984-present).
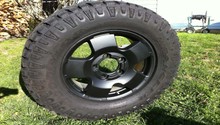
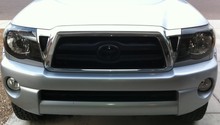
One of the easiest ways to dramatically upgrade the physical appearance of the wheels on your Toyota 4Runner, Tacoma, or Tundra is by painting the rims. Unlike other paint jobs, adding a few coats of paint to your rims doesn't have to cost an arm and a leg. In fact, you can do the job on your own for less than $75. You will need to allow the Plasti-Dip paint to cure, but, overall, this is a quick project. As well, the amount of physical effort that you'll need to exert to complete the job is relatively low. Just prep your rims, and then point and spray the Plasti-Dip of your choice, and you're well on your way to showing off an improved set of rims.

Materials Needed
- Cans of Plasti-Dip
- Plastic bags
- Masking tape
- Car soap and rim washing materials
Step 1 – Take cover
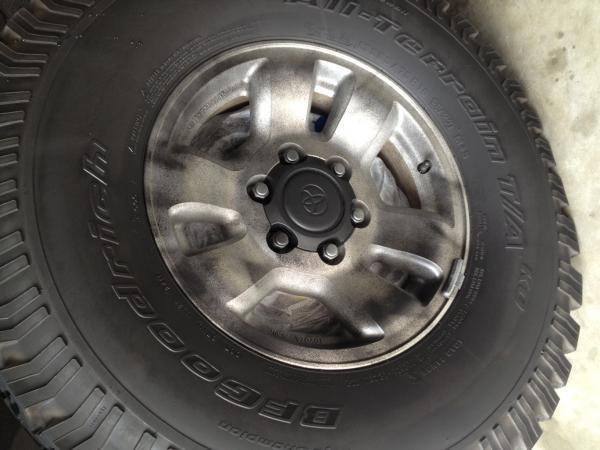
Wash your rims using a car soap. Next, use plastic bags to cover your brakes and calipers. You can keep your rims on; however, you will need to cut the plastic bags in half and then place them in the wheel. Adjust as necessary to ensure your brakes and calipers are properly protected.
Pro Tips
- You may also use strips of masking tape or pieces of old newspaper (secured to the wheel) to prevent paint from transferring to your brakes.
- As well, playing cards are yet another smart DIY alternative. Place the playing cards (one by one) between the lip of the tire and the rim. Repeat for each rim.
Step 2 – Add coats of Plasti-Dip
Apply four to five coats of fresh Plasti-Dip paint by spraying the rim evenly. Allow each coat of paint to dry entirely before proceeding to the next wheel. Apply each coat of paint using a steady, back-and-forth motion, allowing each coat of paint to overlap as you move upward or downward, depending on which direction you take. Move slow so "cakiness" and bubbling does not occur.

Pro Tip
- It's not necessary to sandblast or wet sand your rims prior to starting your first application of paint.
Step 3 – Allow the paint to cure
Allow the paint to cure for at least four hours; however, overnight is ideal. Continue to monitor your paint over the next few months, seeing how it holds up against the terrain and environment, particularly when off-roading or traveling across especially rough terrain. Additional 'touch up' coats can be added at any time. To remove, simply grab a corner and peel it back.

Related Discussions
- Protection Against Excess Spray - Yotatech.com
- DIY Alternatives - Yotatech.com