
EvLTwiN's CHOTA 1989 Build-Up Thread
 Nov 23, 2009 | 08:24 PM
#2
Thread Starter
Registered User
Joined: Apr 2007
Posts: 35
Likes: 0
From: Birmingham, AL
Chota T-5
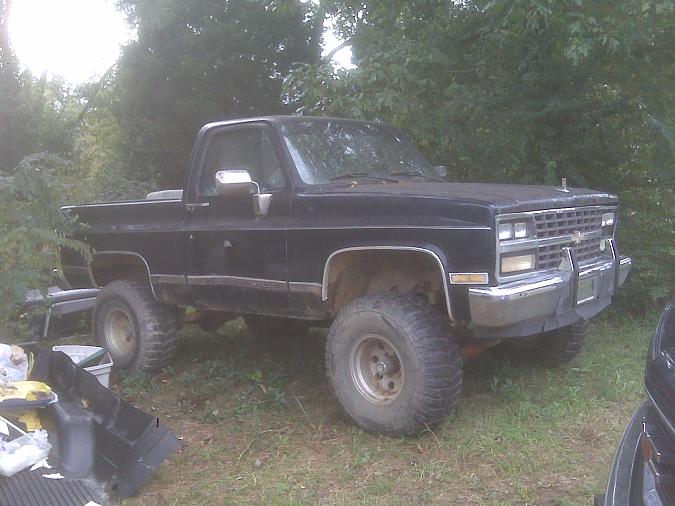
First we started by pulling off the front clip of the K-5 and moving all the wires to the top of the motor and away from the fire wall. Next we pulled the computer and the wiring harness from the cab and sat them aside. After we finished removing the rest of the interior we unbolted the body from the frame and cut it down so it was easier to handle amd removed it.


 Nov 23, 2009 | 08:37 PM
#3
Thread Starter
Registered User
Joined: Apr 2007
Posts: 35
Likes: 0
From: Birmingham, AL
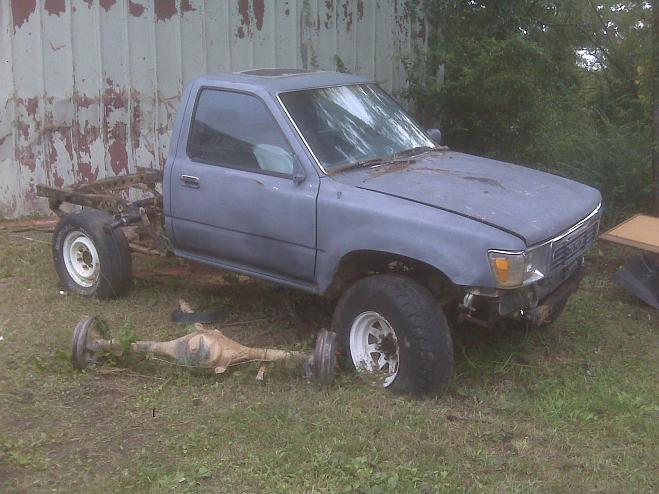
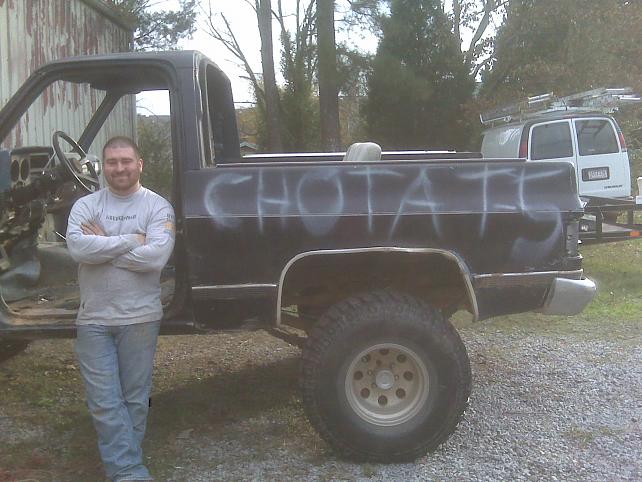
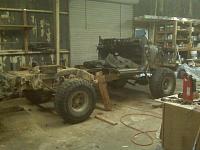
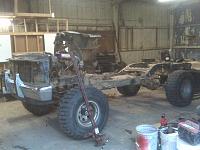
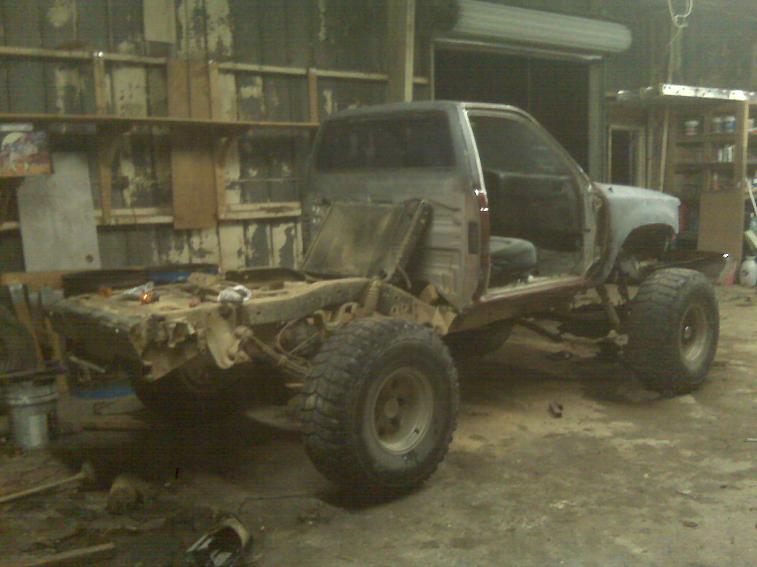
Next we removed the body from the Yota chassis and brought the body into the shop, we tore basically everything out of the engine well that wasnt important to function like the lights etc since we saved basically every wire out of the k-5. we went ahead and pulled out the yota bench seat and the flooring since it was convenient. We also removed the yota brake booster and clutch pedal assembly and reservoir since the new tranny is auto. With everything removed we went ahead and did a little trimming, removing about 6" of the enginewell/fenderwell just to make sure there was enought room for the V-8. after some quick measuring we realized the radiator had to be relocated, so we pulled it off and sat it aside. and at 8:30 last night we decided to test fit the body. Like a glove!

more to come later this week, and some better pics too hopefully
 we went ahead and pulled out the yota bench seat and the flooring since it was convenient. We also removed the yota brake booster and clutch pedal assembly and reservoir since the new tranny is auto. With everything removed we went ahead and did a little trimming, removing about 6" of the enginewell/fenderwell just to make sure there was enought room for the V-8. after some quick measuring we realized the radiator had to be relocated, so we pulled it off and sat it aside. and at 8:30 last night we decided to test fit the body. Like a glove!
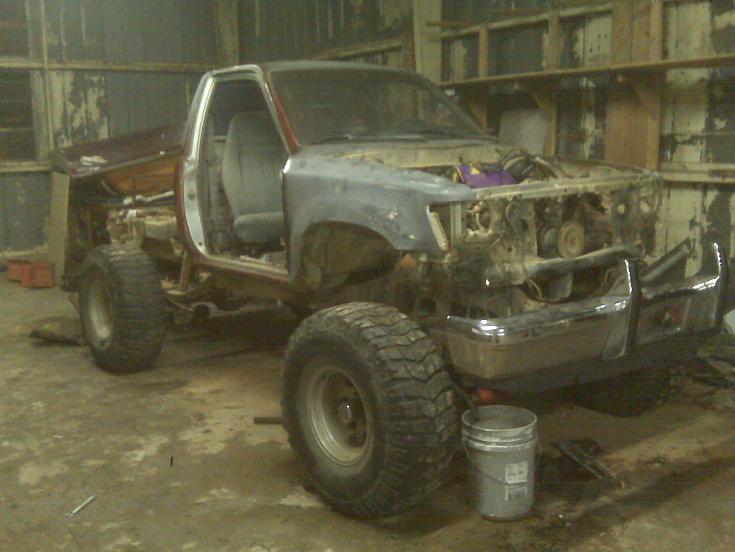
more to come later this week, and some better pics too hopefully
Dec 8, 2009 | 06:03 AM
#4
Thread Starter
Registered User
Joined: Apr 2007
Posts: 35
Likes: 0
From: Birmingham, AL
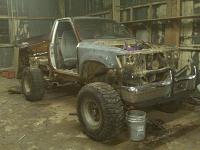
Sunday we welded up the new body mounts. I decided to re-use the K-5 mounting plates and just build off those. 

I used 3"x4" square tubing with a 3/16 wall for the vertical support and welded 1/2" plate to the top of that to connect to the Yota body.
With the mounts all welded up, my 6'3" and 250lb master welder, who we affectionately refer to as Pee Wee, welded the mounts to the K-5 frame.
We also added some gussets for a little extra support. here it is finished.

Just for stability for the moment we tac-welded the body to the mounts until i drill out the plates foir the bolt holes and secure it properly.
I used 3"x4" square tubing with a 3/16 wall for the vertical support and welded 1/2" plate to the top of that to connect to the Yota body.
With the mounts all welded up, my 6'3" and 250lb master welder, who we affectionately refer to as Pee Wee, welded the mounts to the K-5 frame.
We also added some gussets for a little extra support. here it is finished.
Just for stability for the moment we tac-welded the body to the mounts until i drill out the plates foir the bolt holes and secure it properly.
Dec 20, 2009 | 05:20 PM
#5
Thread Starter
Registered User
Joined: Apr 2007
Posts: 35
Likes: 0
From: Birmingham, AL
Today I drilled out the bolt holes in the body mount plates and bolted the body down. No pics. The mechanics of it are pretty simple. Drill hole, insert bolt with washer, add lock washer and nut on opposite end and tighten. Repeat. More to come. Stay tuned.

Thread
Thread Starter
Forum
Replies
Last Post


