When you click on links to various merchants on this site and make a purchase, this can result in this site earning a commission. Affiliate programs and affiliations include, but are not limited to, the eBay Partner Network.
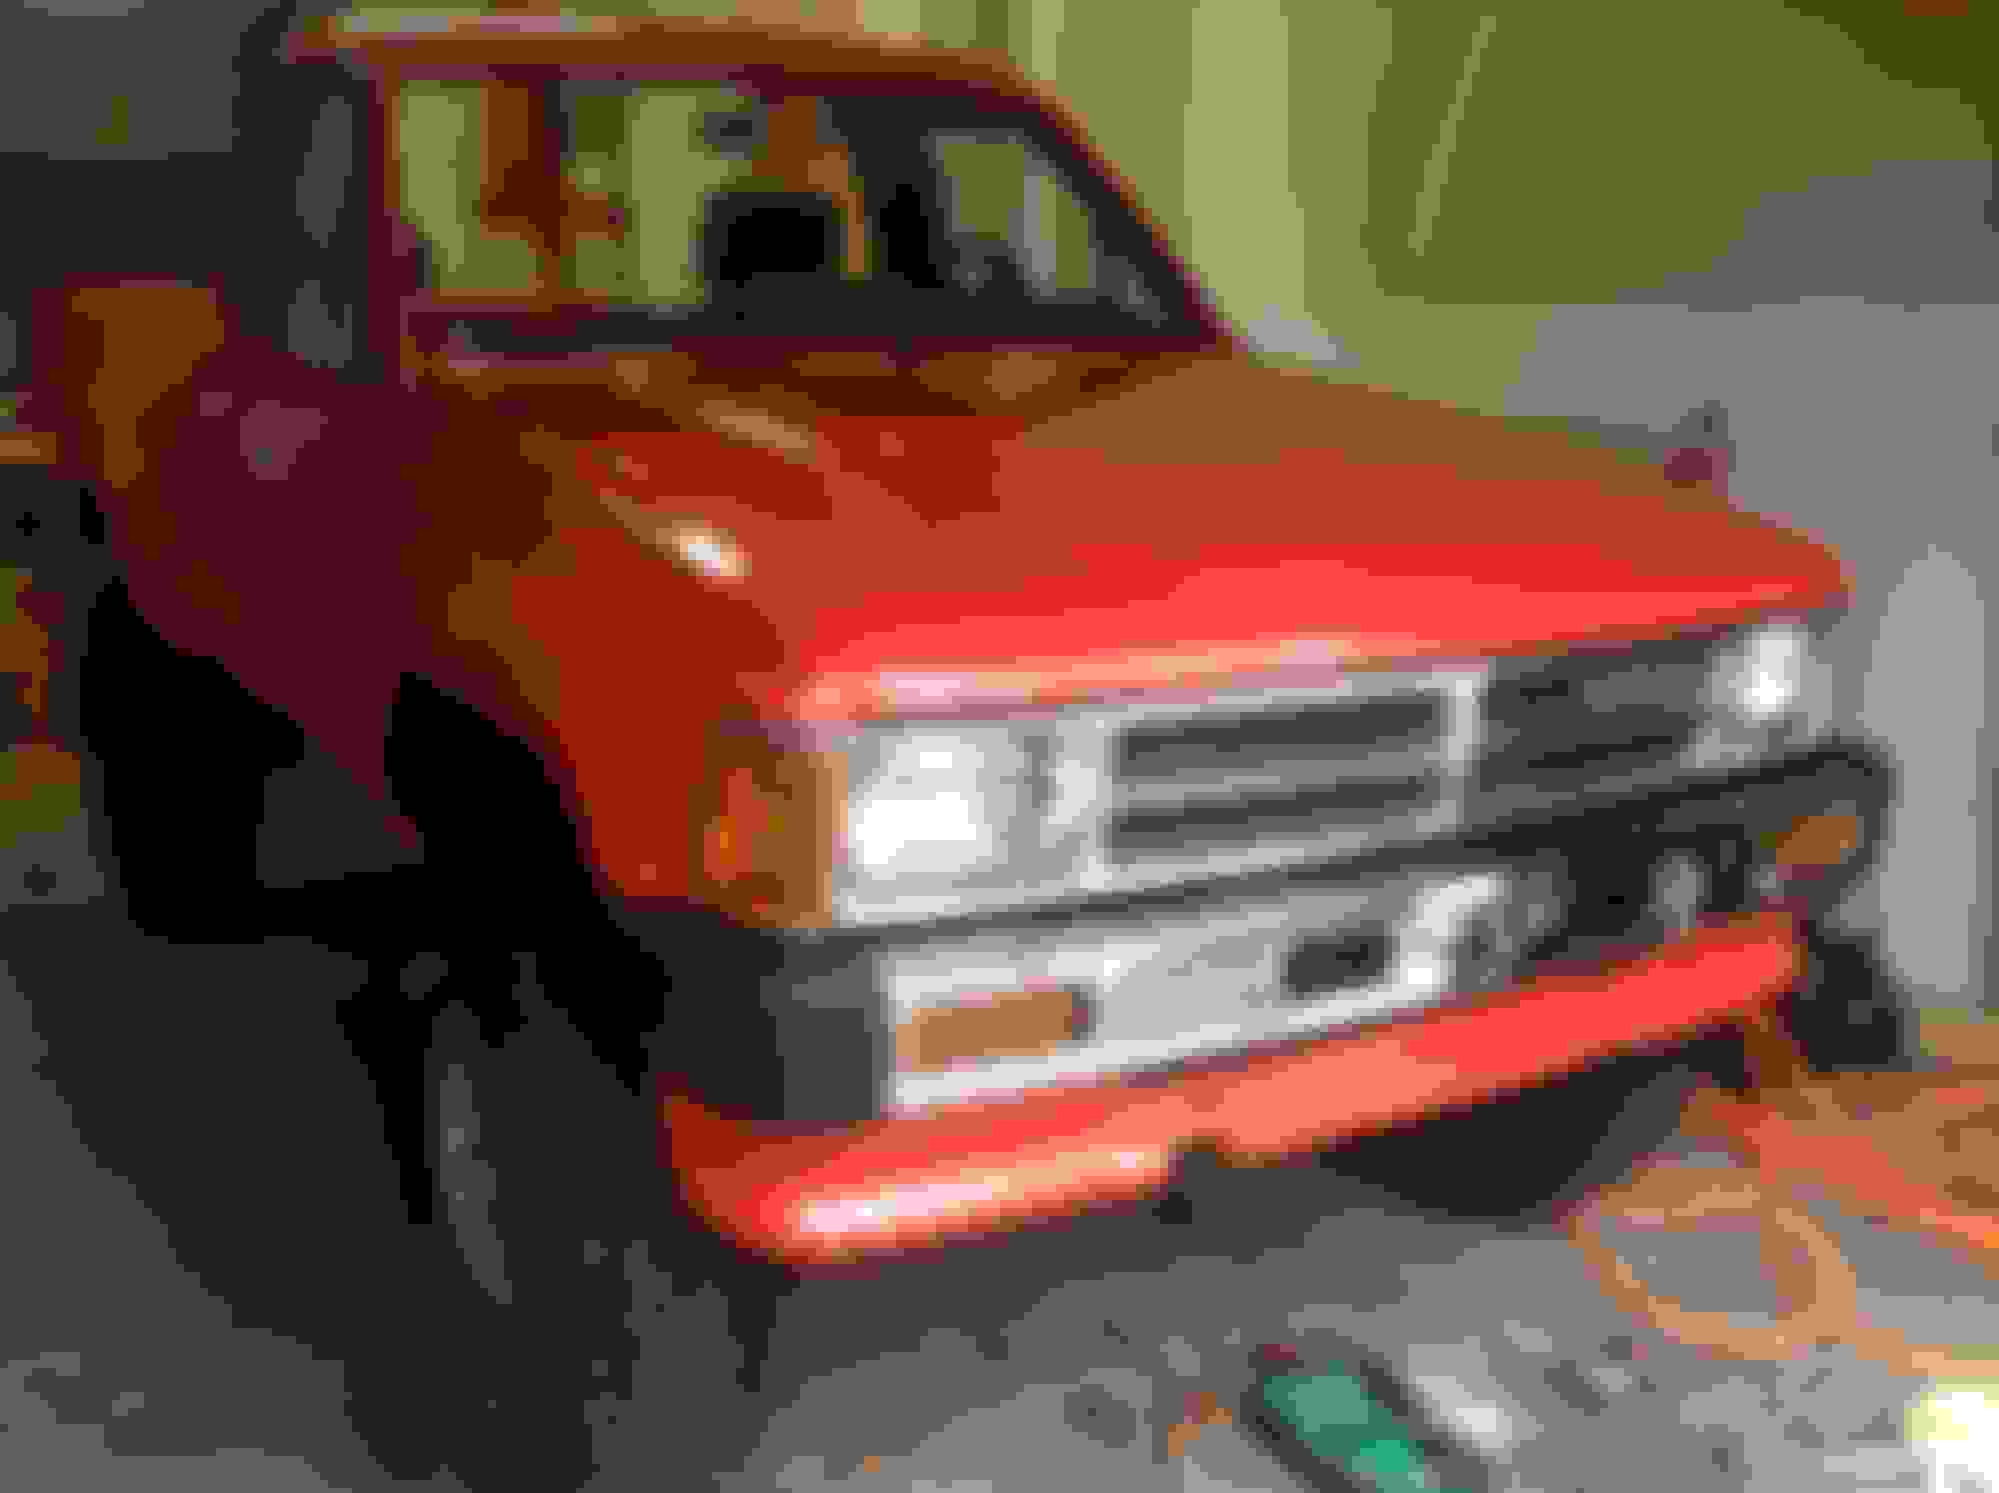
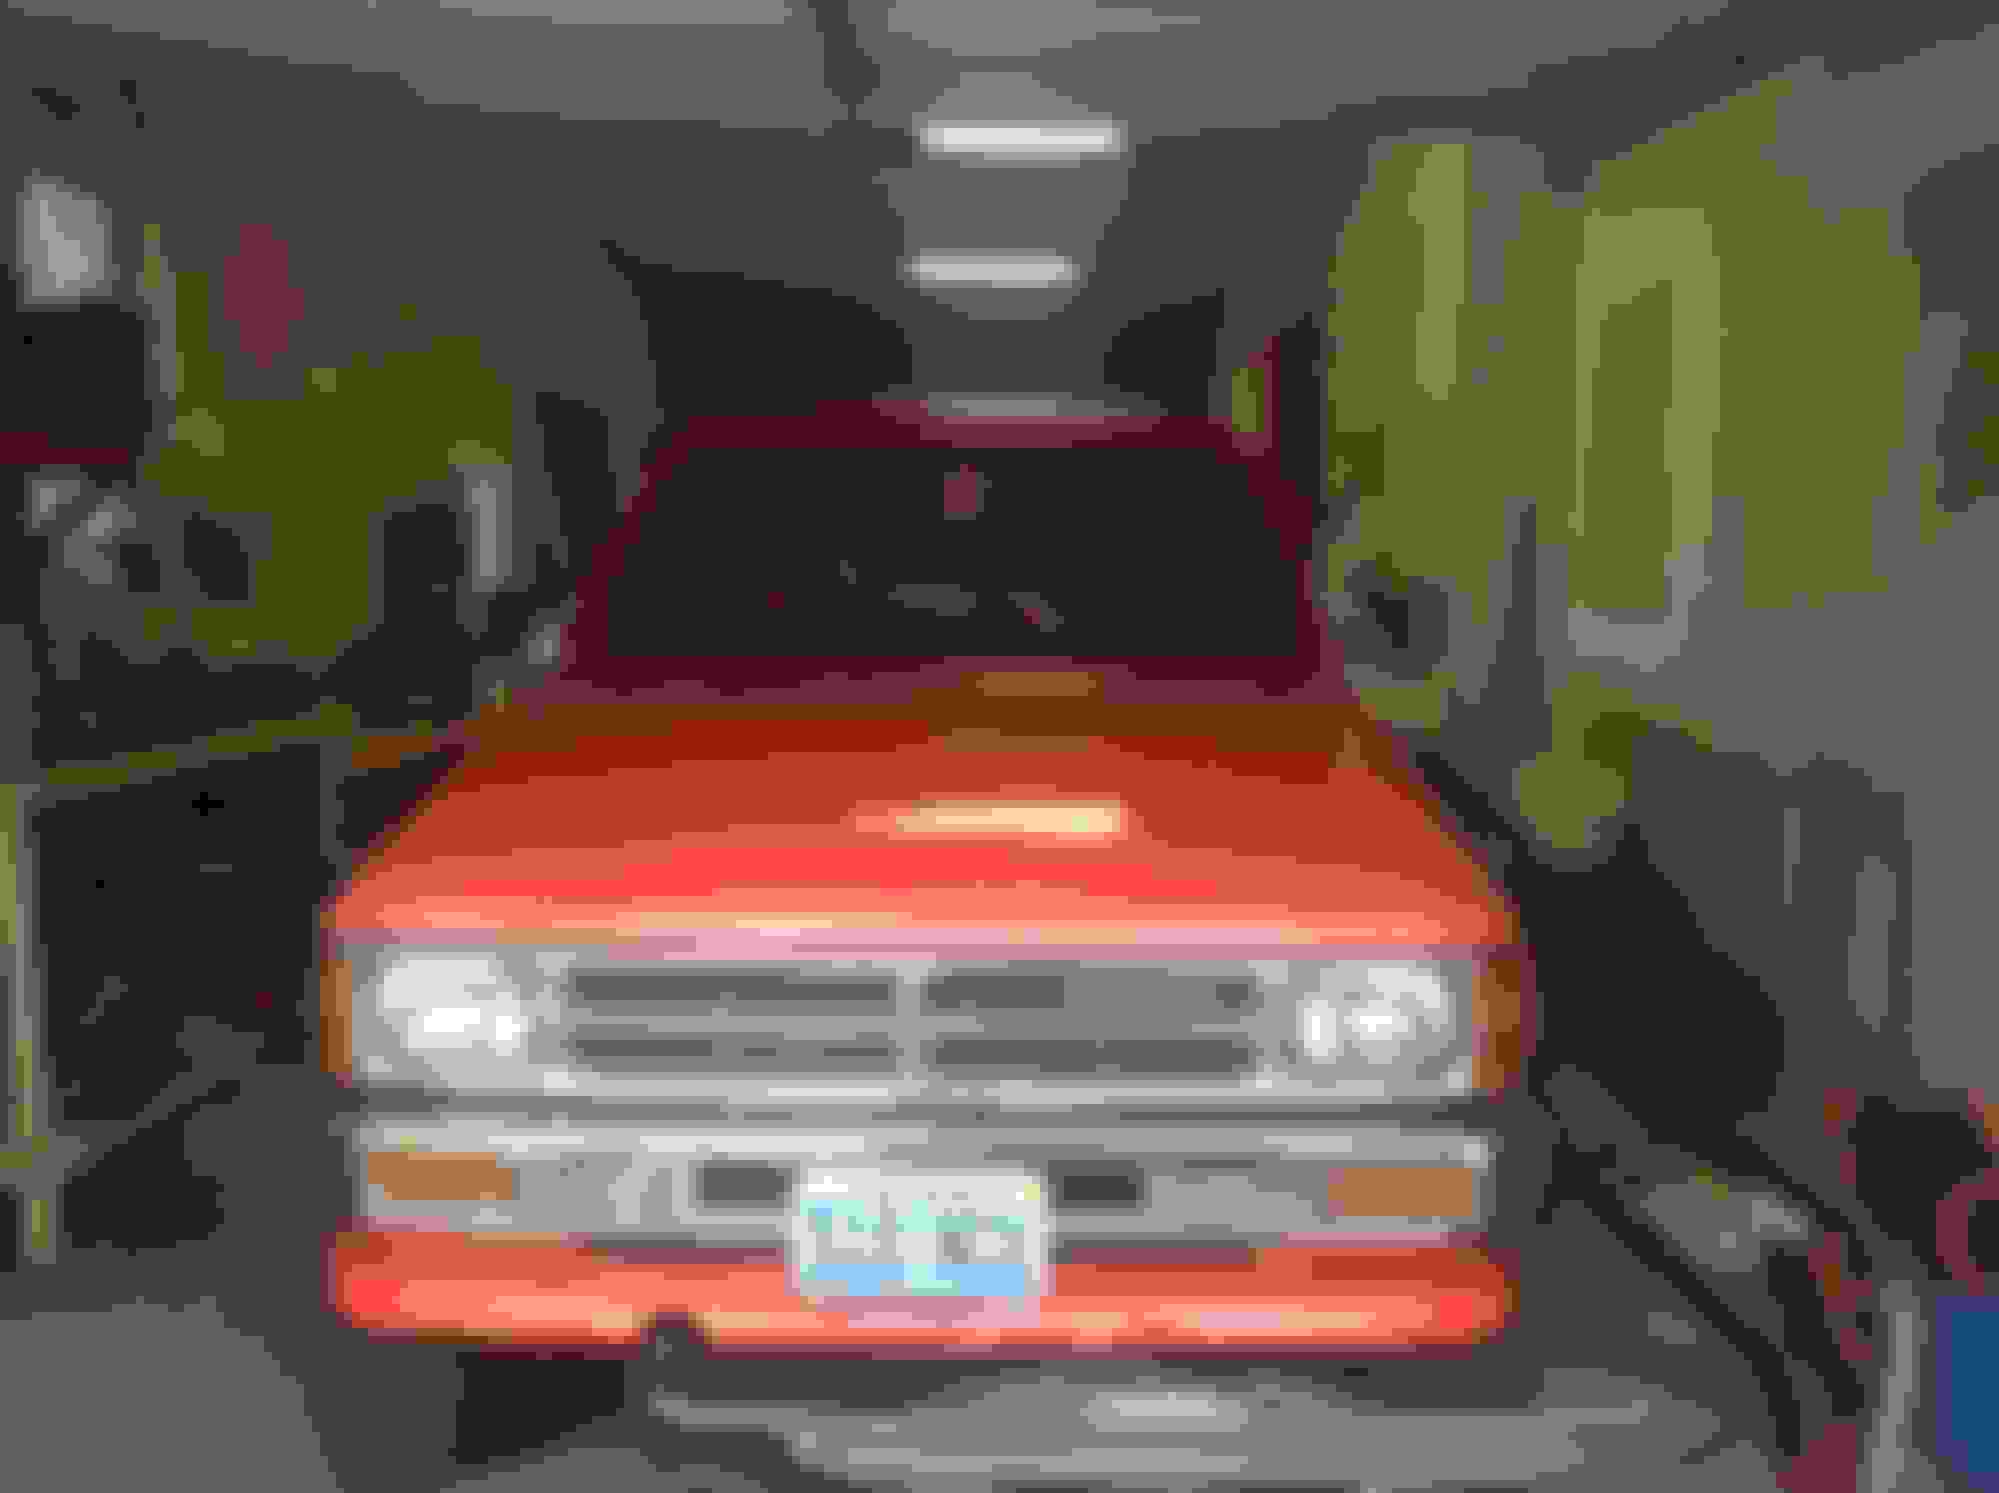
Put the front end back together today. New lenses on the lights, new bumper face, new bumper ends- oh, getting so close!
The paint color is tripping me out. It's really orange in the sun light and much more of the red comes out on an overcast day like today. I also got the door handles and locks back on. Last big project will be getting the interior reassembled.
Yes, elusive time...
The only advantage to projects like this taking a long time is the expenses being spread out; there is time to save between parts purchases.
I am looking forward to seeing your progress- whenever that may be.
Installed the side mirrors today. I bought them used locally- didn't realize the driver's side is bent. Nothing crazy, just a bit silly looking. I'm not going to worry about it now.
Passenger side looks good:
I stopped by the craft store and bought a little bottle of Testors model paint for the tailgate:
Very slowly getting the interior put together. So many parts to clean, so many screws to replace- just never seems to end!
I also bought new window reveals for the doors and back window- nice new rubber.
that gorgeous. hows the fit and finish of the quarters? can you take some close ups? been trying to convince the wife that this is a worthwhile upgrade and not too much if a pain in the behind.
Making some good progress! Where did you get the window rubber from?
Thanks. Here are the part numbers:
22" inch outer window reveal (for trucks with the wing windows) 69160-89116
tailgate outer window reveal 68160-89111
I purchased them from a seller on eBay for about $80 for all three. They seem like a good investment as they'll keep a good deal of water out of my doors.
Originally Posted by space-junk
that gorgeous. hows the fit and finish of the quarters? can you take some close ups? been trying to convince the wife that this is a worthwhile upgrade and not too much if a pain in the behind.
Thank you, overall I'm very happy with the fiberglass. It is thicker than the sheet metal so getting some of the seams smoothed out was tough:
They are a really tight fit. I actually cracked one of mine while installing it. I reached out to Corey at Toyotafiberglass and he explained it was common and an easy fix. Everything is bonded with the 3M 08115 panel bonder so I drilled a hole at the end of the crack and filled it with the epoxy. It sanded out and I painted right over it.
You can just see at the base of the tail light:
The quarters are also most certainly the straightest body parts on the whole truck.
Obviously I went this route so I believe in the worthiness of the investment- they're not cheap. But I really like that I was not only able to completely replace them, but I had all that access to the parts beneath- cleaning and painting that sub-body felt really good, I have to admit.
Originally Posted by RAD4Runner
Lovely!
Originally Posted by GeoRoss
This turned out great!
Thank you guys. I always appreciate the encouragement.
The interior is taking so much longer than I thought it would (big surprise) but I'm happy with the results so far:
Somewhere along the way here on Yotatech I read about swapping the driver and passenger side trim pieces behind the door handle. The top is typically faded and cracked, but if you switch sides the weathered side faces down and is not nearly as visible:
Really quick, easy fix!
And here is that crooked mirror I was talking about- I think I can live with it:
There is another area I'm not happy with- the fit of the tailgate after I put it back on. I have loosened all the bolts and wiggled this thing around every which way I could but I can not get the alignment quite right:
I'm guessing that while I had the quarters off I must have tweaked the sub-body (is that what it is called??) and didn't realize it until putting the tailgate back on. I just need to slide it just a little to the left... Any ideas? Washers/spacers make it too tight. A come-along to a tree and the inside of the quarter to just ease it back into alignment? Maybe there is something else?
Thanks in advance!
Next up will be replacing the headliner in the hard-top and putting it back on.
The truck is gorgeous. You should take the mirror apart and bend the arm back in shape. I have a pair new in the box and it says to bend it to meet the predrilled holes.
maybe a hi-lift jack to spread the panels apart a smidge?
I thought of that- but I think what I really need to do is pull the driver's side in a smidge... I'm going to see how things line up when I put the hard-top back on.
Originally Posted by Nervo19
The truck is gorgeous. You should take the mirror apart and bend the arm back in shape. I have a pair new in the box and it says to bend it to meet the predrilled holes.
Thanks as always, Nervo. I was looking back through your build for ideas on the interior. I'm considering getting some of those LED bulbs for the switches and instrument cluster now that they're all cleaned up so nice.
I've already done a lot of bending to that mirror- maybe I'll give it another shot. Right now it doesn't bother me much but over time it could end up being one of those things I just really wish I had taken the time to fix right the first time...
I also have an appointment with Steve on Monday to install a new windshield! I'm excited about that. Rad, I'm hoping I'll finally remember to get an answer about applying the urethane directly to POR-15.
The list is getting shorter. I ordered a pair of OME rear shocks- decided against the Bilstiens and sold them opting instead to follow the advice of many here on yotatech and go all OME.
Also ordered a pair of Infinity speakers to install in the rear before all the panels go back on. I went for the Infinity Reference 8622 cfx 6x8's. I'll wire them in and hide them behind the panels.
The panels got some paint yesterday, too. Good old Rustoleum Dark Gray Gloss- almost a perfect match for the factory gray (I'll get some pictures next time I'm over there). Also getting ready to install a new headliner in the hard-top. A bit of cleaning up to do on that as well.
I was just going back skimming your thread and it really is incredible how far you've come since the beginning. I hope you don't stop saving old yotas.
I can't seem to get my rear interior panels right. I sprayed them a while back, like a year ago and got some blistering in a couple of places. I lightly sanded them recently and used adhesion promoter and then Duplicolor interior plastic paint. I still got a bit of blistering. The panels are in my closet so no one accidentally breaks them. I'll deal with them after the holidays. It's getting too cold for spray paint in my garage. I've used the Duplicolor successfully on other parts so it's not the paint's fault. I wonder if wiping with denatured alcohol is the wrong cleaner? Sorry for the mini rant. Your truck looks great and you did move heaven and earth quickly. I've had this truck six years and I'm just about the place that you are. Except I didn't rebuild the engine or put on fiberglass sides.
Kiyobrown used SEM trim paint on all his panels IIRC. Same thing DeathCougar did too. I believe that they are still holding strong, But might wanna ask them.
I know everyone likes SEM. I got some SEM over a year ago and maybe it was old. It just spit hunks of paint and spattered. I tried another spray tip and it still spattered. I should have taken it back but I didn't keep the receipt. I like the Duplicolor match but there's probably something on the panels that messes up adhesion. I degreased but probably not well enough.
Well, I didn't think about it too much. I took a power washer to all the panels and bits I wanted to paint, let it dry really well then scrubbed it with blue shop towels and a little rubbing alcohol. Sprayed them in the sun on a 40 degree afternoon with Rustoleum Dark Gray. I checked them today and they seem great, seemed to take the paint just fine. I suppose I will just see how it holds up. I'm only painting parts that are relatively easy to remove if the the paint job goes bad on me. I will get some pictures up next time I'm over there.
Simply awesome build. Congrats on the beautiful 4Runner you have hand crafted!! Seriously it's great to see so much effort put into bringing back a truck like this. You are really making me wish I had a 4Runner instead of a pickup! Love the red paint too!
Keep up the work, looking forward to seeing you get the tailgate aligned, mine is not centered either, no matter how much I shift it around.
Thank you! I love that pickup of yours, too. Looks fantastic! I still don't know what I'm going to do about the tailgate. It doesn't bother me all that much- there are several places that the lines are a little wonky. The aftermarket parts just don't really fit like OEM. We shall see...
Here are the interior parts I painted:
So I noticed today in better light that it's really not that close of a match to original, but a nice gray all the same, I'm pleased with it.
 11-09-2016, 12:18 PM