When you click on links to various merchants on this site and make a purchase, this can result in this site earning a commission. Affiliate programs and affiliations include, but are not limited to, the eBay Partner Network.
Please ask Steve what he thinks of POR-directly on metal, then Urethane windshield adhesive directly on the POR-15, instead of layer after layer of primer, body filler and paint.
I see what you mean, now- I will ask about omitting the primer.
Originally Posted by Terrys87
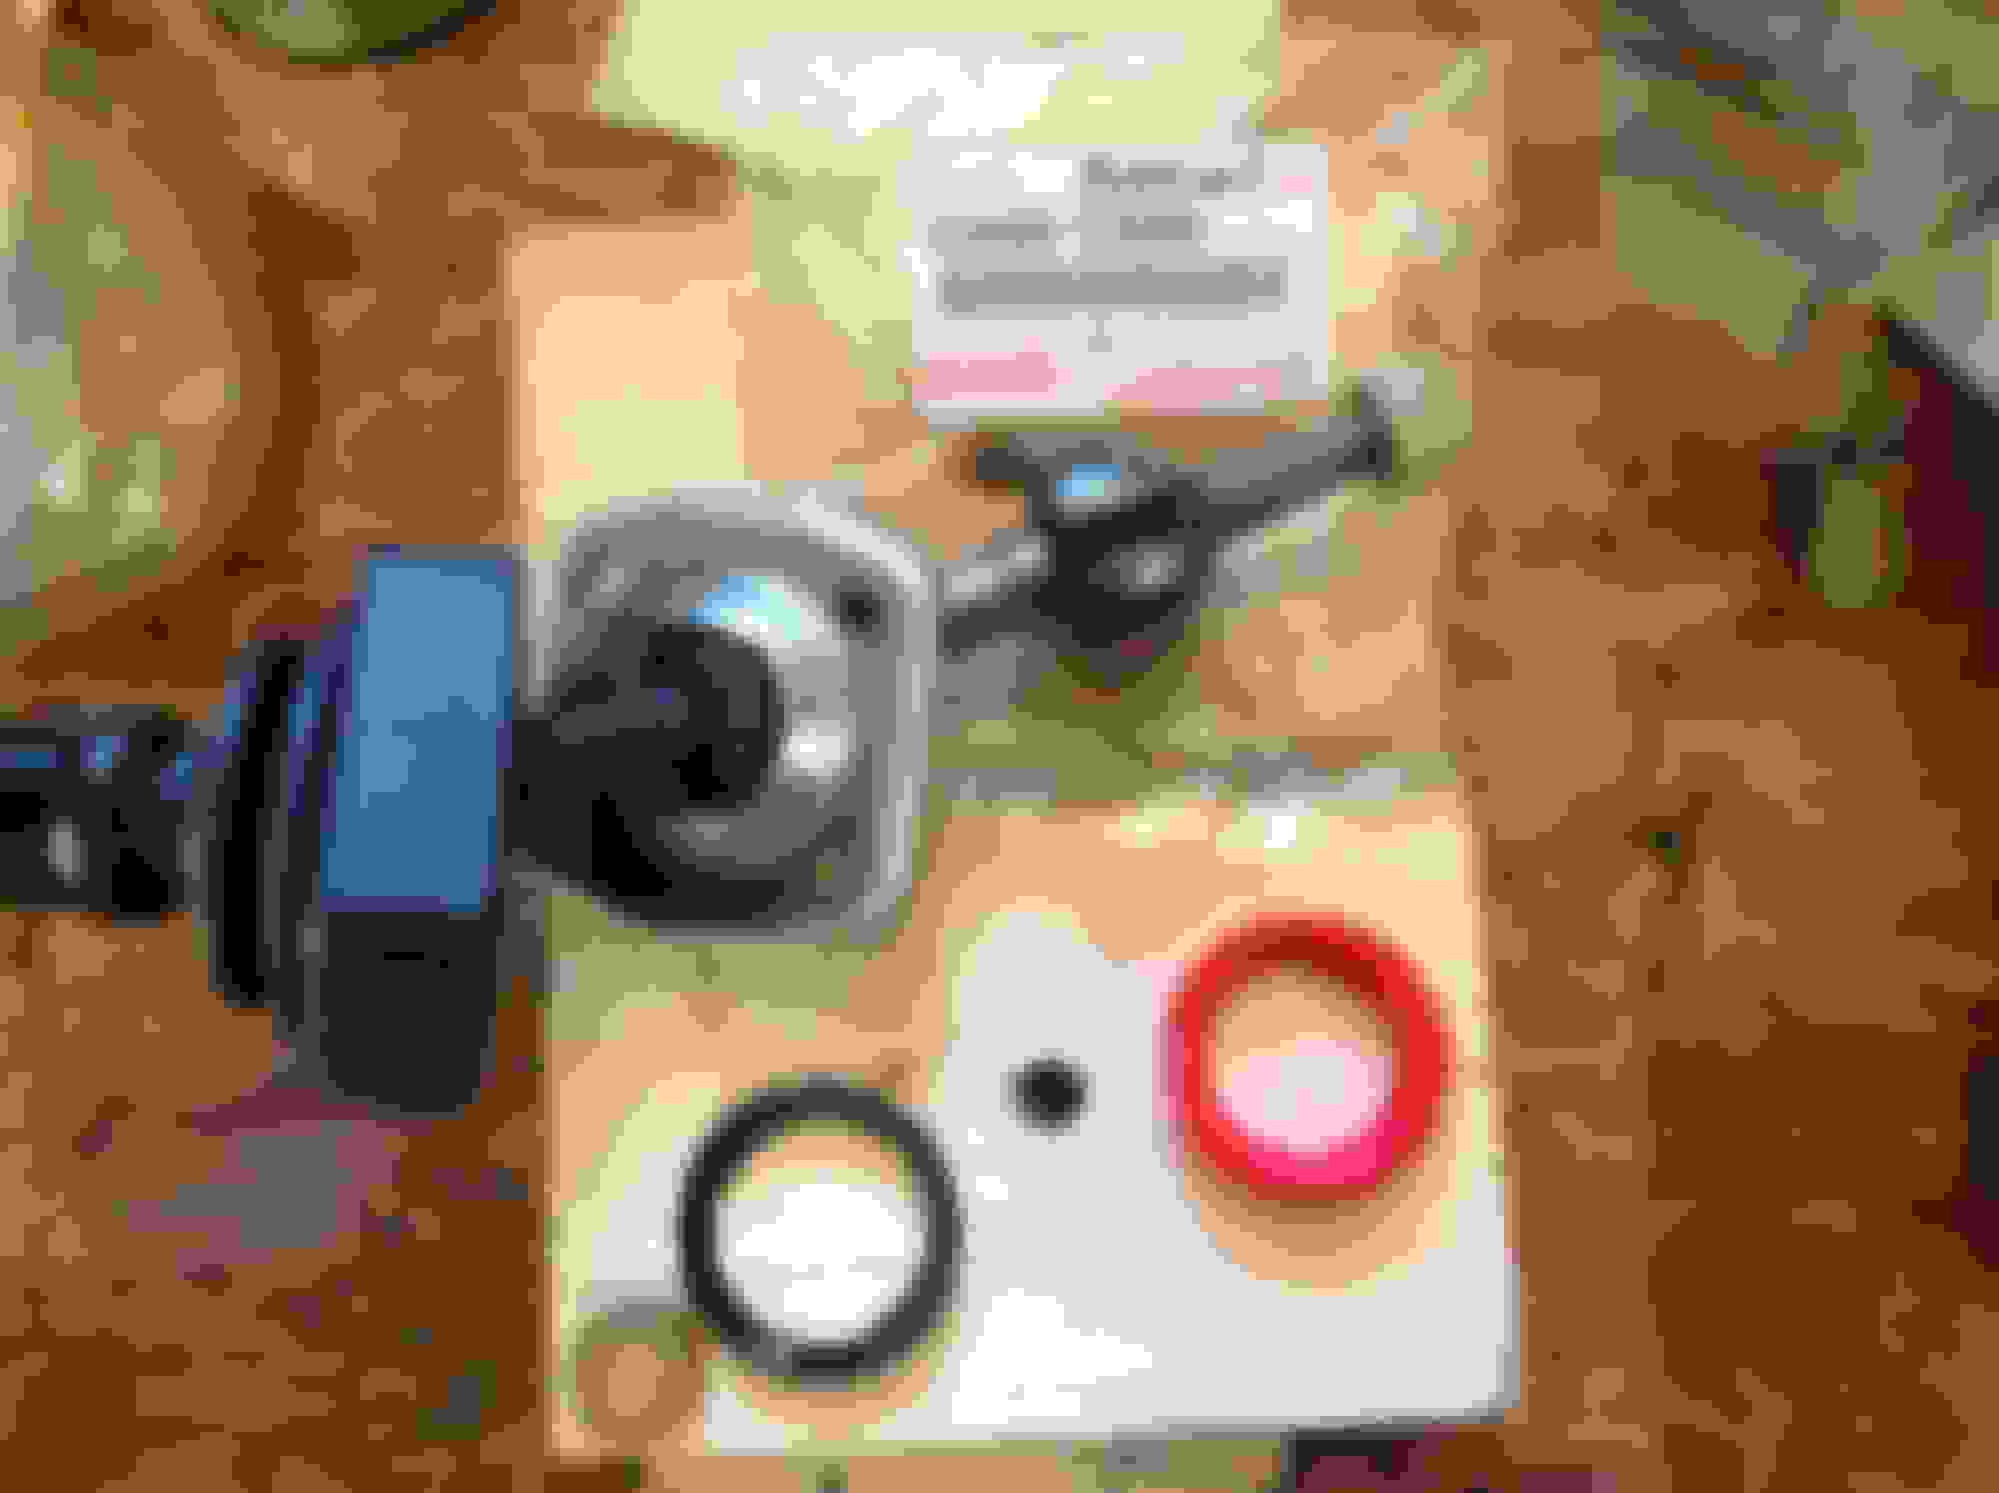
Just got done reading thru your thread. I seen you mention aluminum half moons. I have never heard of them. The rubber ones leak on me most of the time with and without sealant on them. Not much but enough to have a little on the motor. Curious as to how yours are holding up?
You have done some really great work on yours. Great job!!!
Thank you Terry.
I did go for the aluminum half-moons. On past motors I always seem to have a leak with the rubber ones. I installed the aluminum ones with some Toyota FIPG and I'm hoping for the best. As of right now I've only put 14 miles on the motor so I am yet to see how they hold up. I will certainly post it here if I have any issues down the road.
I purchased them from 22re Performance in California- I think they were only about $30.
Looks good! I need to work on my gas tank skid plate - the thing is all sorts of wonky. I've hooked it on a lift a few times, always when setting the truck down.
Great job I admire your organizational skills! I'm in the middle of restoring my 87 pickup and my son runs his 87 4runner hot! Can't get anything finished b4 something else comes up.. Life is wonderful enjoy those kids while they are young. It will seem like next week when they are grown. Don't get discouraged, with the pace of work, you are still in the long rows, but you have a natural ability for this.
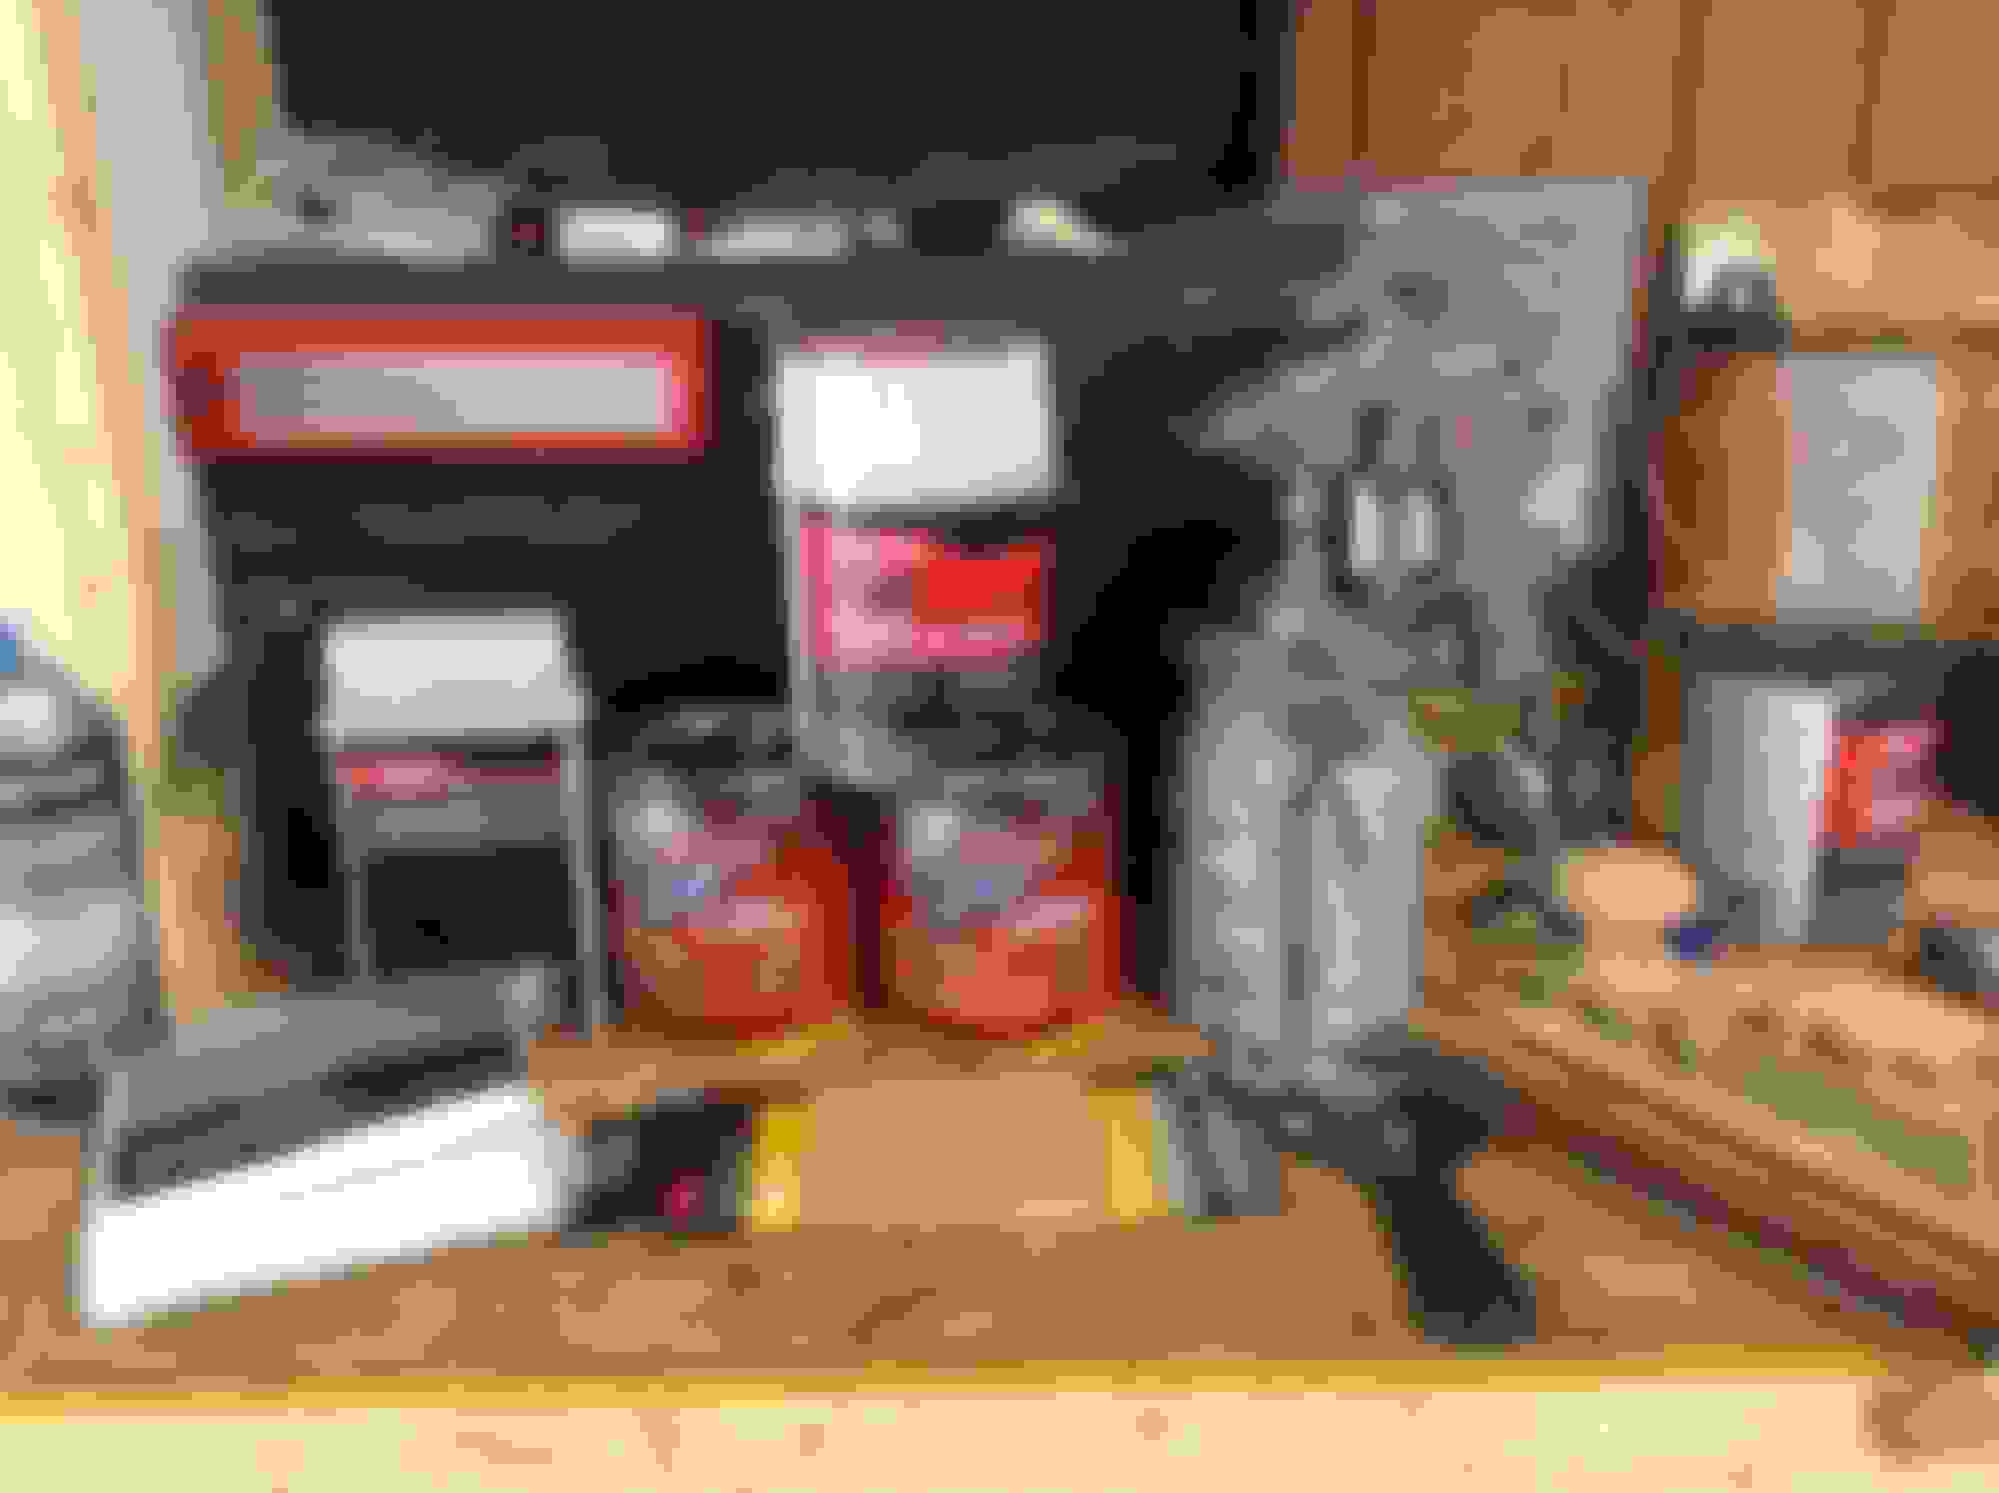
Thanks for the encouragement guys. It really helps. I have been going through a patch here where it has been difficult to avoid feeling discouraged. I know I comment a lot on the lack of time that I have to work on this project and it's true that the pace is the source of some of that frustration. I enjoy it when the kids come to the shop to work with me. Yesterday we packed them a big lunch and spread a blanket down on the floor. They ate and colored and we all were able to enjoy some time together and I got a little work done. It was great. The perfect remedy for some of that frustration. I have been busily assembling parts and tools for a push at the end of this month. I've requested six days of vacation time the last week of October and I'm dedicating that week to the 4Runner.
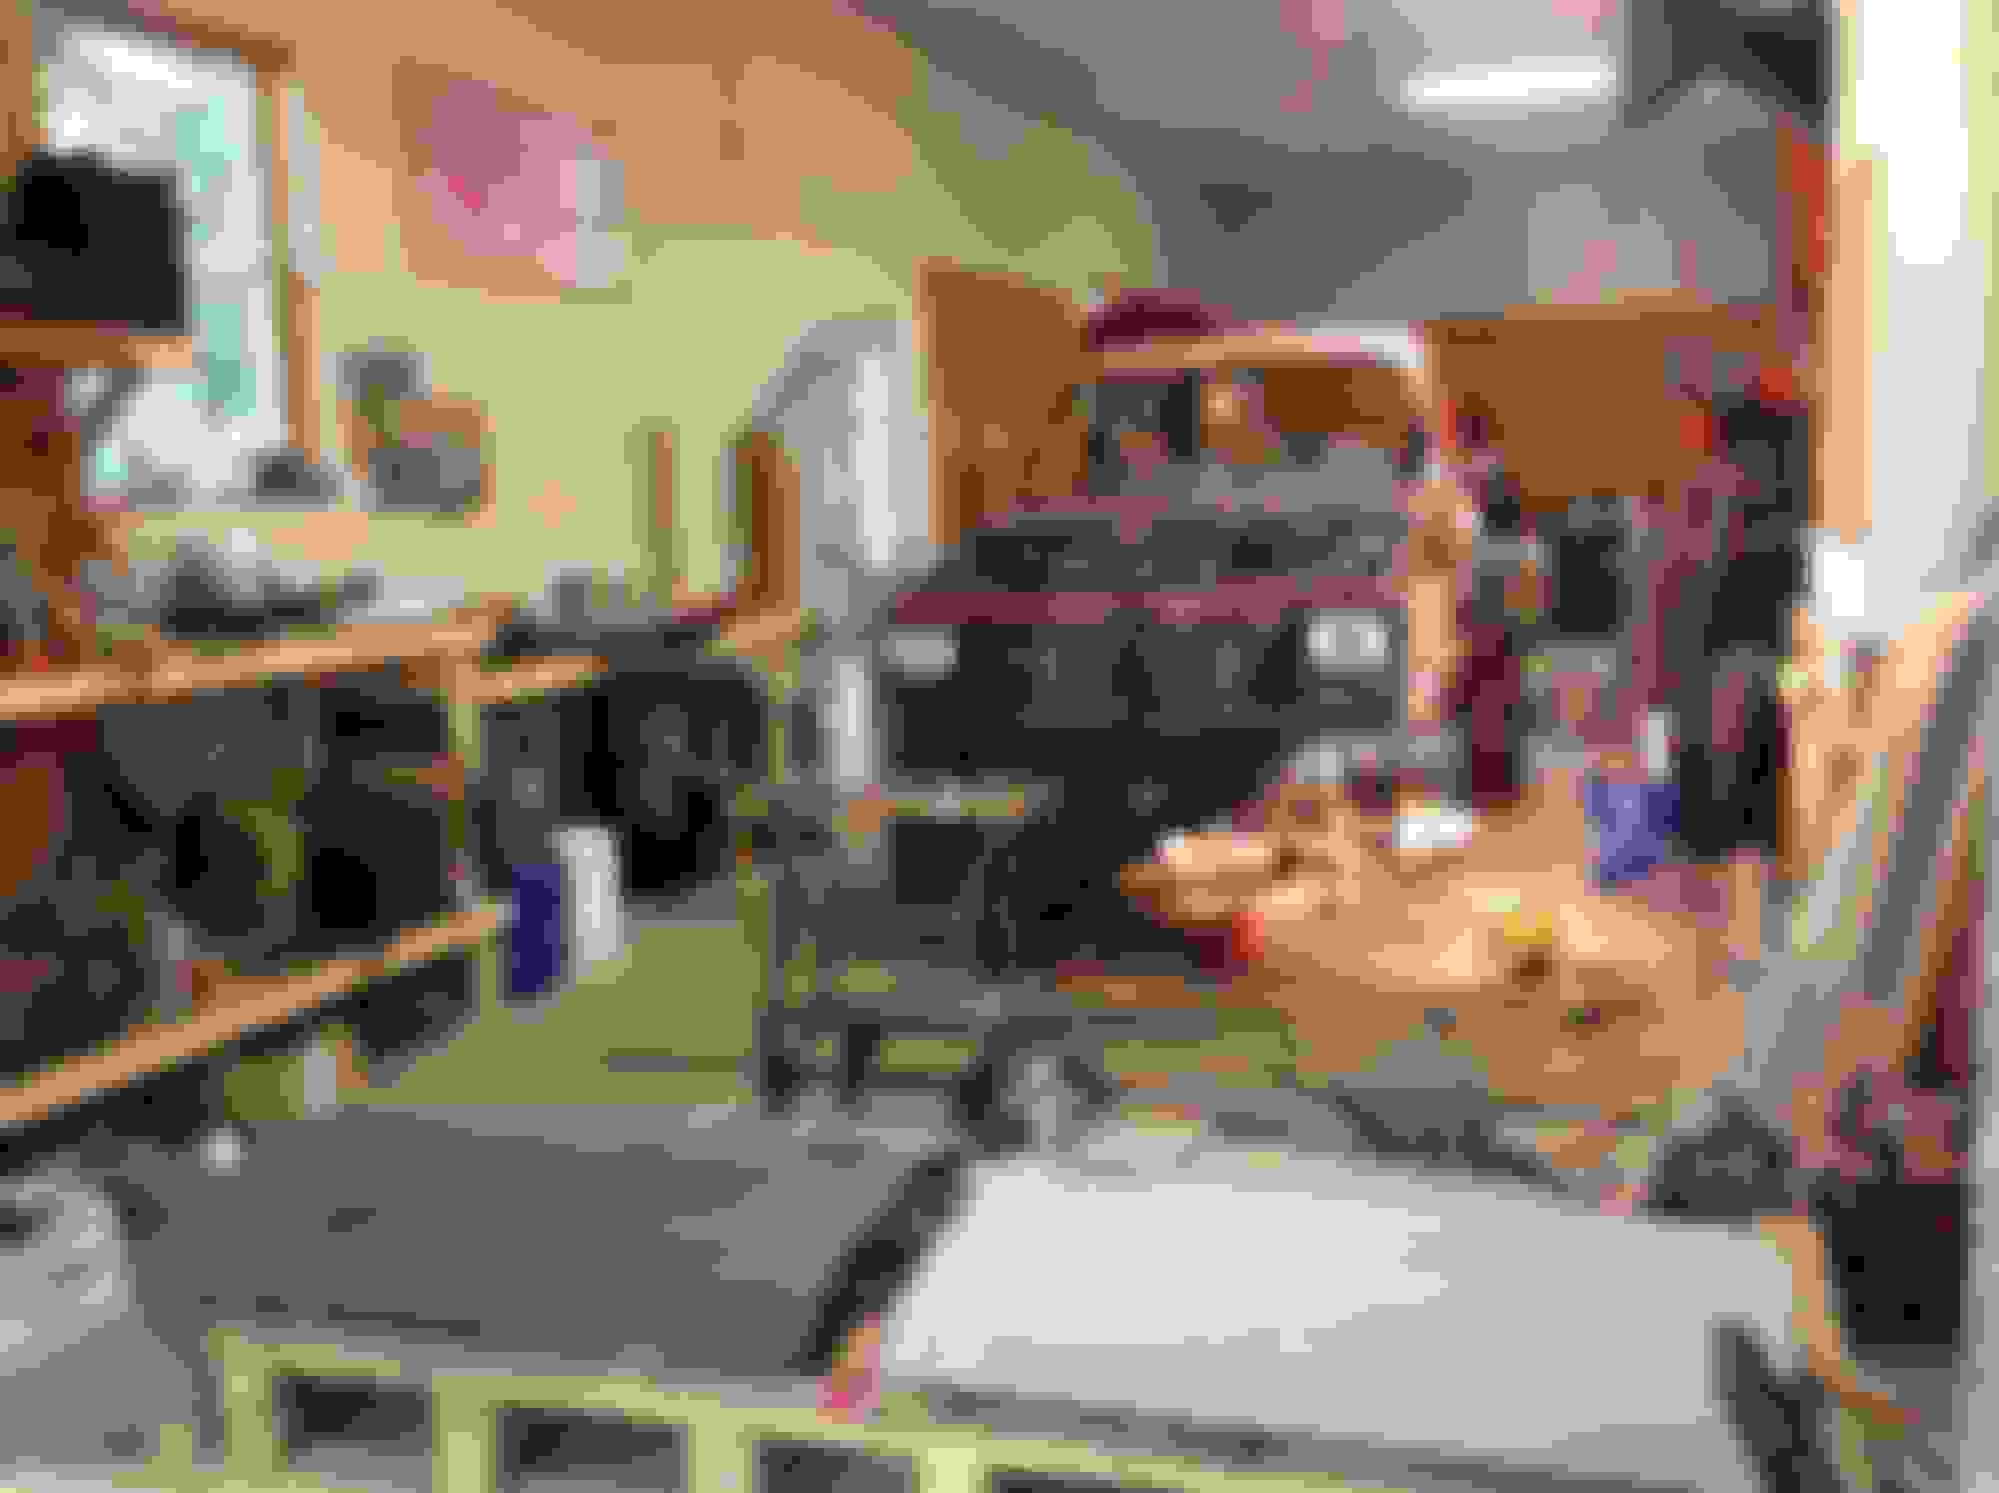
I was just telling the kids yesterday that it was time to do another big clean of the garage in preparation for the marathon truck week.
I recommend ditching the bondo and picking up some evercoat. I did and it's a night and day difference when sanding. Bondo clogs the paper and evercoat does not.
Time has run out for the 4Runner project. We have too much money tied up in two vehicles and the time has come to get this thing back on the road so we can sell the '03 4Runner and recoup some expenses. So, with my wife's blessing/ultimatum, I took a week of vacation time and put in over sixty hours of work on my Runner. Step one was getting the fiberglass quarters installed:
Overall I found installation to be fairly straightforward. I used the 3M #08115 panel bonder that Corey @ Toyotafiberglass recommends. In all I sued about a tube and a half, though I might add that this stuff makes for one hell of a seam sealer and I'm happy to have some left over. It did require a two part epoxy gun that ran me about $35 on Amazon.
I'll likely try to resell it after this project. We'll see.
The first day I installed the driver side as it required less work- the passenger side has the fuel fill that has to be cut and all the holes drilled for the fuel door and the associated parts.
I did several "test fits" to ensure everything was lined up properly then went to town with the glue and clamped up my quarter:
Prior to installation I put the Frost King peel and stick on the inside of the quarter- much easier off the truck!
All the glued edges were scuffed up with some 80 grit sandpaper and wiped down with degreaser solvent. These panels are not coming off easy.
The next day was the passenger side. After drilling holes for the filler door, etc. I lined everything up and set the second panel:
My goal for the end of the week was to get it painted so next I focused on preparing for that. I needed it back on all four wheels so I tackled the repair on the floor. There were three spots that I welded in new metal patches and then a larger area that I used the fiberglass matting and resin. I didn't get any pictures of that repair- I can post some later. I was happy with it, though, and I was really impressed with how strong the fiberglass is as well as its relative ease of use. I also inspected the firewall as far up as I could without removing the dash (which I am just not prepared to do at this time) and it all looks to be good. The rust seemed to be confined to the floor area.
With that repair complete I was able to get four tires on it again and temporarily reinstalled the driver seat so I could move around.
Then it was time to start the tailgate repair. Nothing major, but a good little hole rusted in the top. I cut out the bad stuff and started on the repair:
A little new metal welded in:
And some Bondo:
I looked in to some of the other body fillers out there, specifically Evercoat which was suggested by ehatch- I never knew there was such a dislike of the Bondo products. I stuck with it mostly because I had already purchased it and I've been getting used to working with it. I never had much of an issue with it gunking up my sandpaper and I feel pretty good about using it to fill in all the little low spots on the different parts of the body.
Such as on the hood:
Along with some nice flowable glazing putty, things were smoothing out well.
All this time I had been slowly building up the a-pillars as well. I did as Alex and removed the rain gutters just below the top of the windows and filled in the rest. I applied POR-15 to the backside as best I could from inside the pillars, then brought it back up:
I am happy with the final results and I suppose only time will tell how well it holds up.
Then I finally got to start putting things back together:
After the front fenders the doors and hood went back on:
Starting to look like a 4Runner again!!
Next I moved to the cowl and the valence that goes below the front bumper. The cowl was really straightforward but the valence needed some straightening and some POR-15:
Obviusly I could not paint the truck and not the hard top so I had to asses that as well. Nothing major, just a good sanding and taping and a new headliner is on the list:
This is beautiful fall weather we've been having inspired me to take a spin around the block:
I considered buying paint from Eastwood.com but ended up going with my local Sherwin-Williams guy. I'm glad I did. He set me up with everything I needed- paint and reducer, clear coat (ATX) with hardener as well as all the little stuff like tape, mixing cups, respirator and advice for a little over $400. Plus I am supporting a local business here in Boone.
I built a tent in the garage, gave the truck a good once-over with 400-grit before pulling it in and set to taping it off and applying primer:
And this will bring us up to date. A long week. My kids were complaining that they didn't see me all week. I'm sore and I sure as heck don't want to go back to work tomorrow being in the middle of this. But I figure that in one week I did what would have taken me two or three months- getting me that much closer to having this thing back on the road where it belongs!
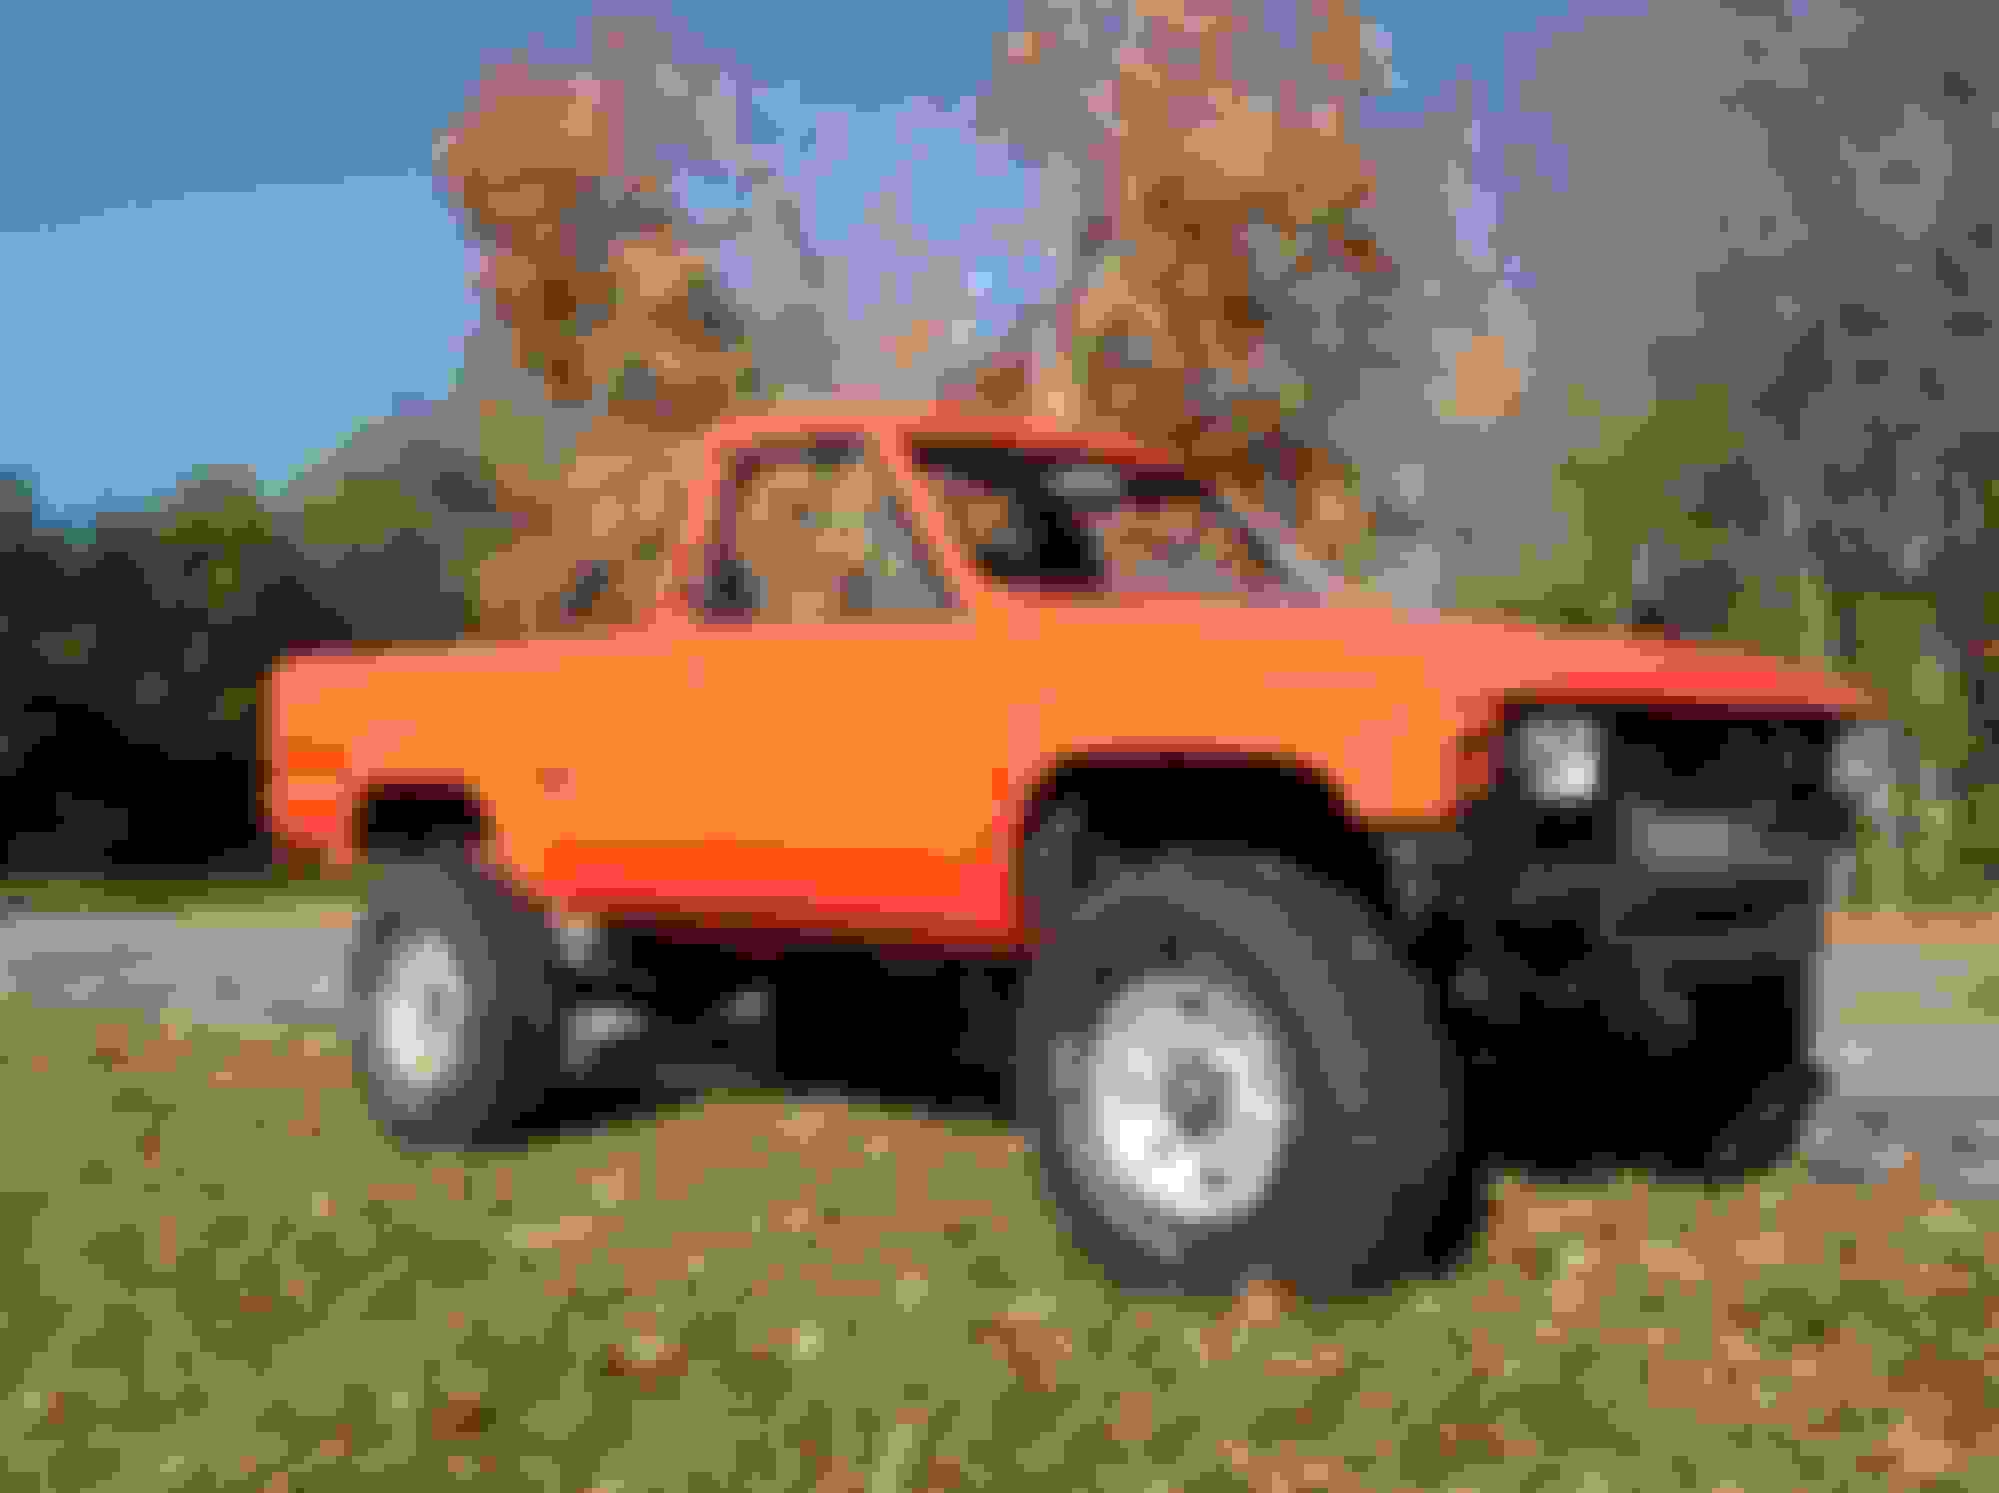
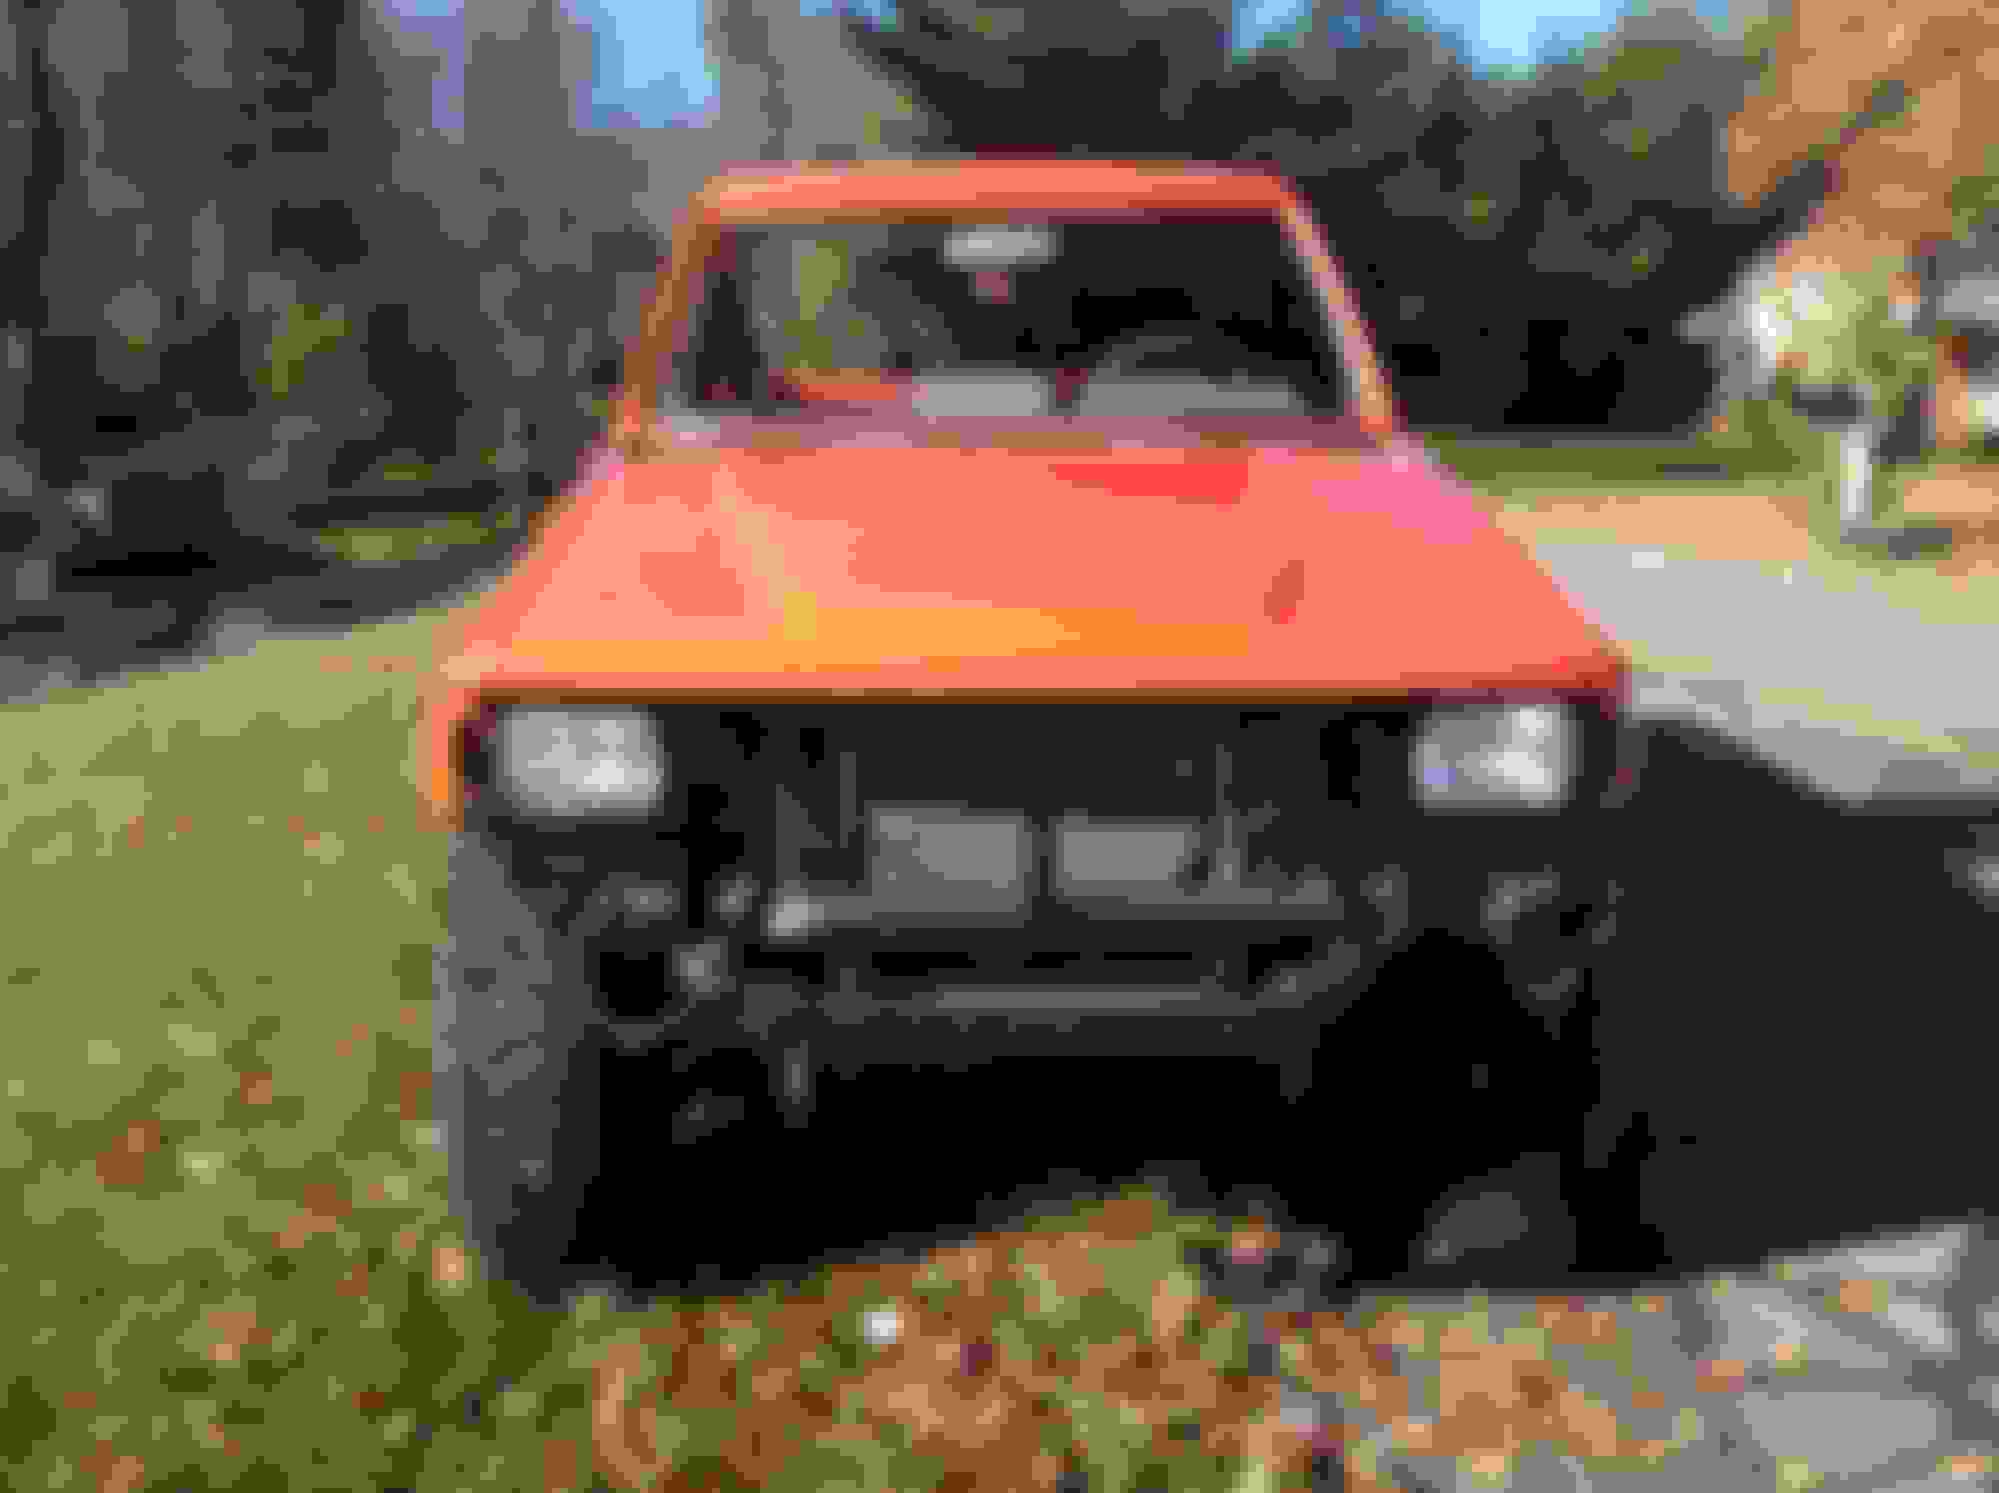
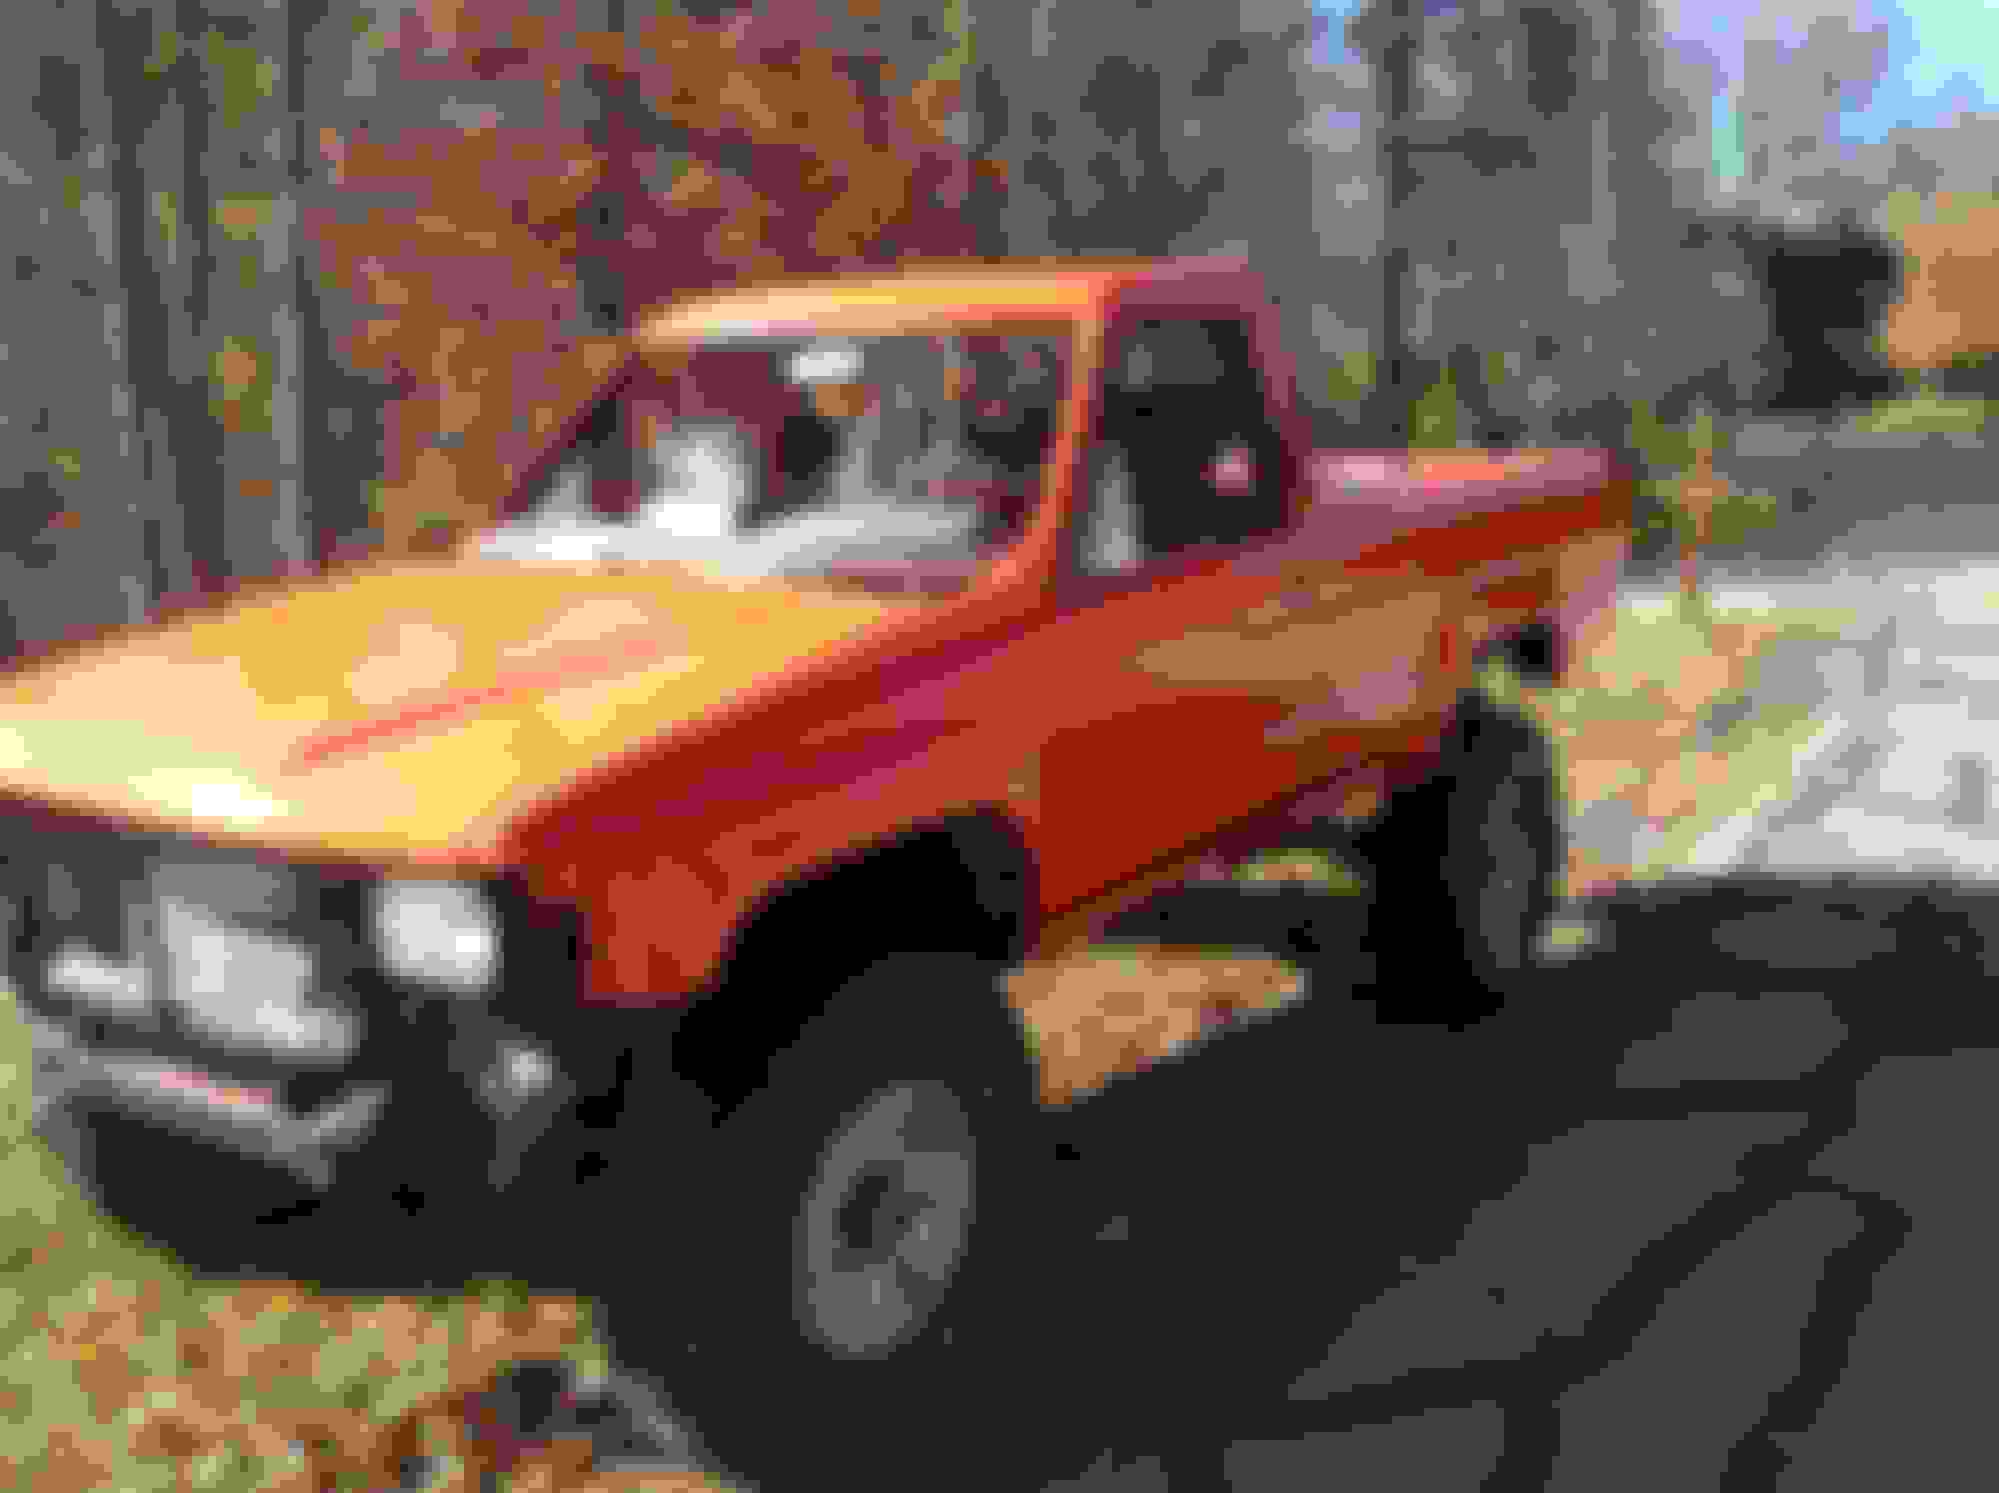
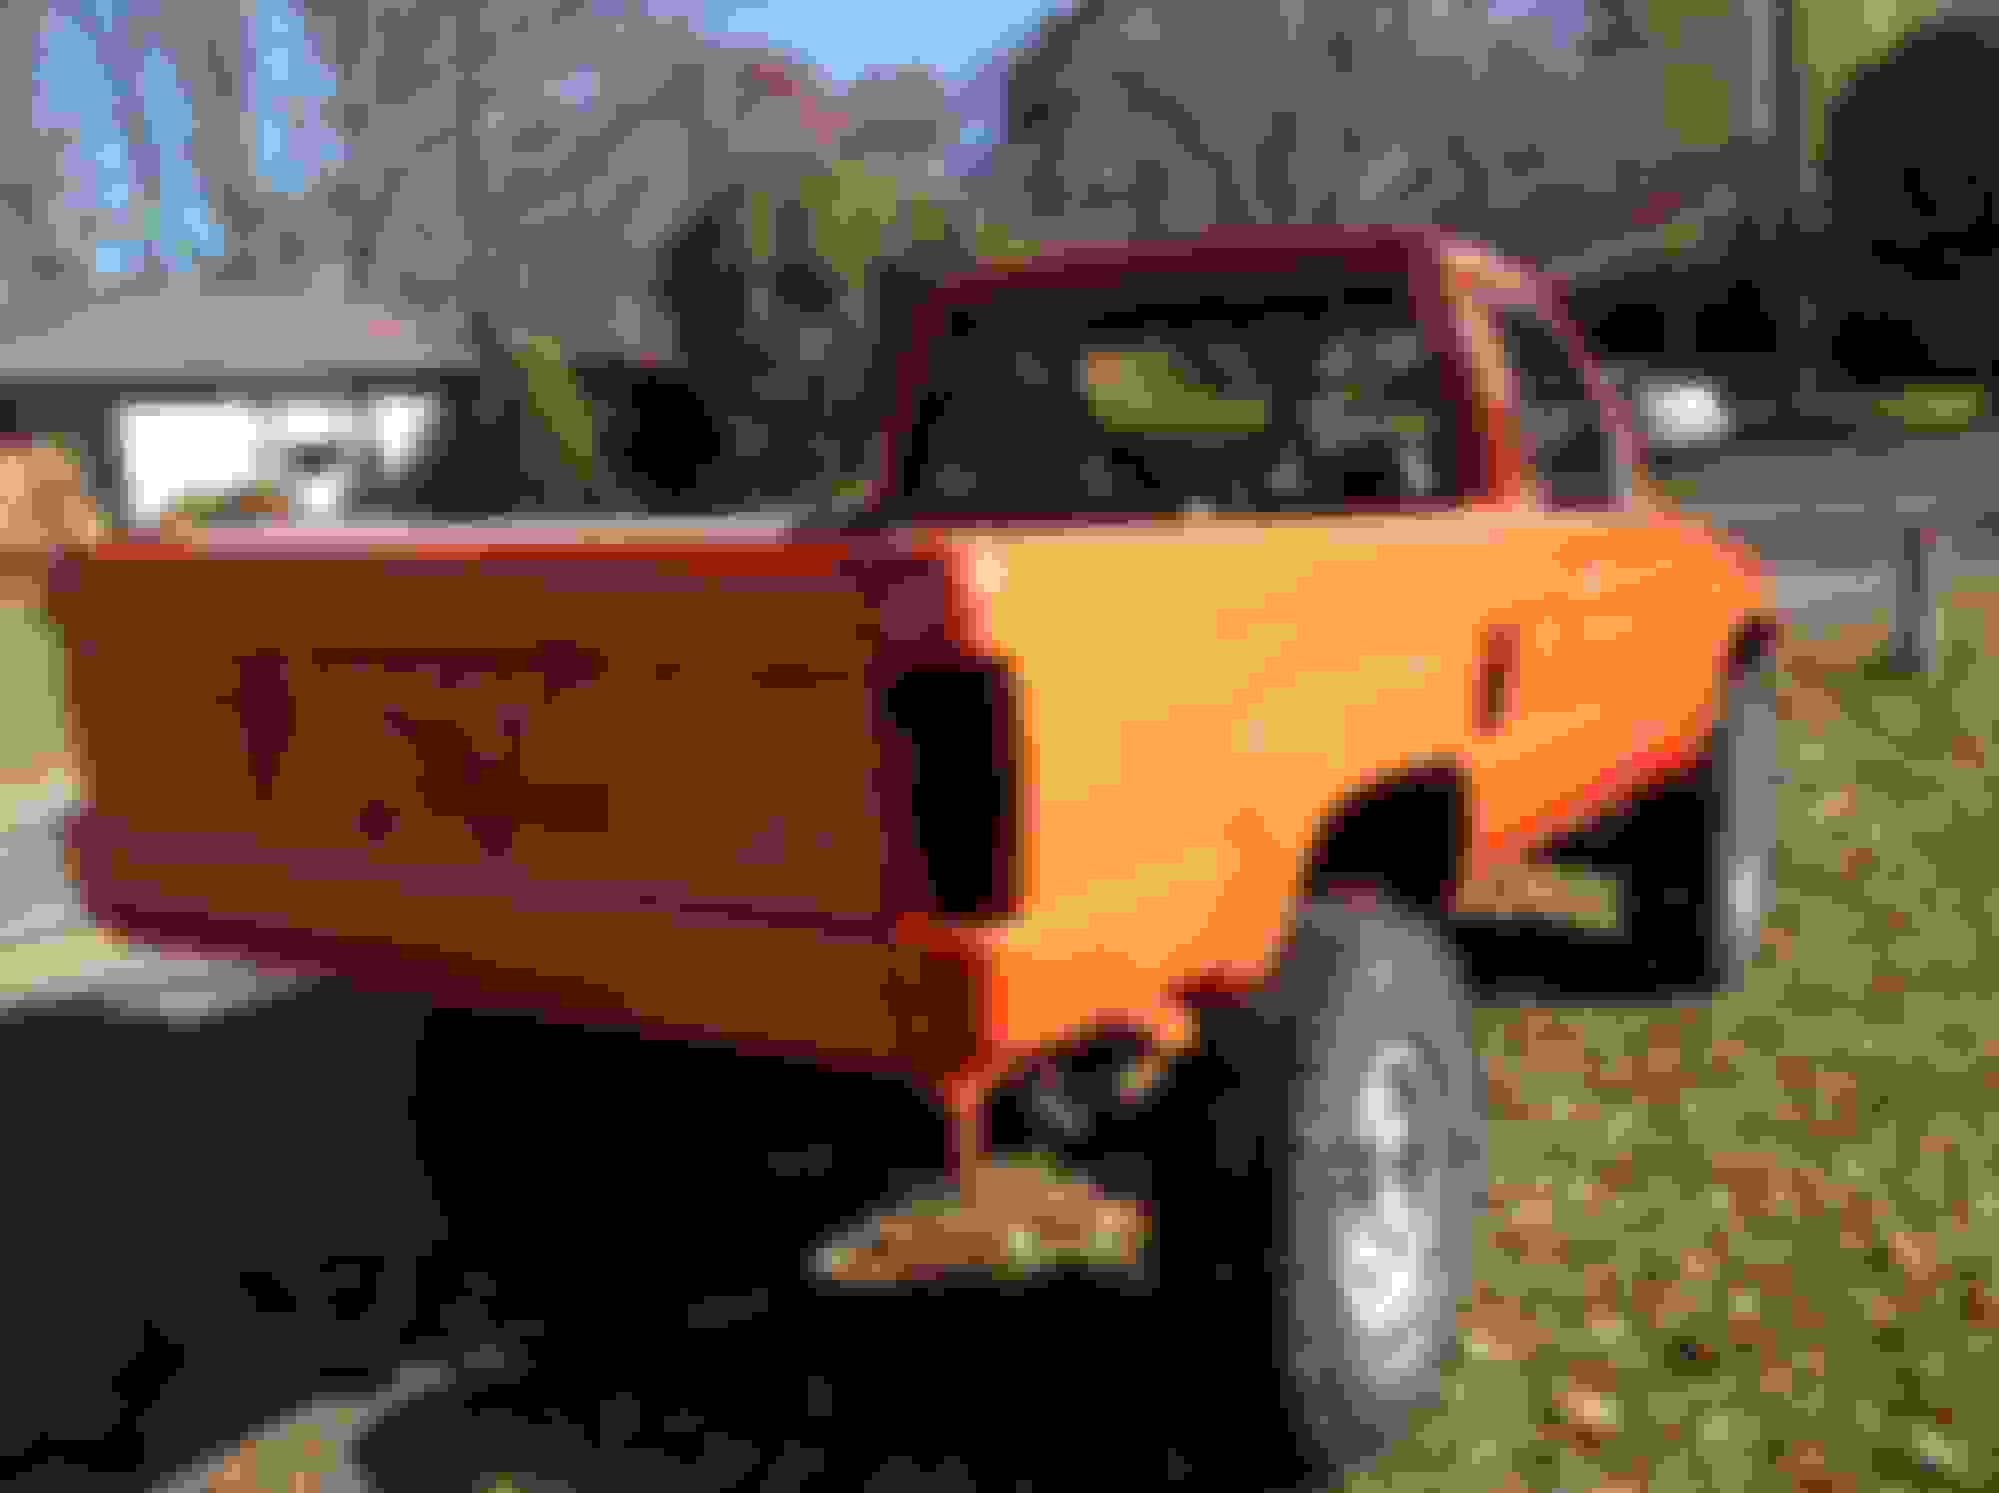
So the first coat of paint is on. I matched the color that it had previously been painted as I like the color. It's called Snap Orange and I guess it's technically a Volkswagen color but I love it all the same. So here is how she sits tonight; a little sneak peek of the final product:
More to come soon, I hope. There is a relatively short list of things left to do...
Thanks again to everyone who has encouraged me along the way and for all your suggestions!
Great work!!! That first coat of paint hides all of the hard work you have put into it but is so rewarding when it is painted. You have been busting your butt on this project and is looking great.
Looking great, man. I sometimes wish I had decided to paint mine myself. Partly to save money but also so I could have the pride in doing it myself. Glad to see lots of progress.
I have not been back to the shop since Sunday night- vacation is over- but I have the next couple days to get some work done.
Alex, I wonder if I was really in my right mind taking on the paint job. I have had some wonderful support from a friend who loaned me tools and gave me some great pointers, but it has been intimidating and I have really irritated my mother-in-law by making her entire house reek of paint fumes. Plus, I still have to do another coat and clear coat. I can now see why paint shops charge as much as they do- it's a lot of work! Like you say, though, it will be cool to be able to say I did it myself; imperfections and all.
I'm going to go back over there tomorrow and assess the first coat. I know there are a couple spots where the paint ran that will need to be sanded down.
I will get some pictures posted after getting the paint job finished up!
Well, you officially have more clamps than I do. I'm collecting them to replace the rub rail on a boat eventually.
Awesome work. You are within sight of finishing and having it to drive.
What black paint product did you use on the radiator and front parts? It kind of looks like Eastwood frame paint which has a beautiful finish. I used a little on the 2000. Must do the 1st gen soon.
Ha, I was thinking of you while getting those. They had them at Lowes for $2 each so I picked up a dozen.
The paint on the front is my go-to black spray paint: Rustoleum Satin Black- I like the way it looks, too.
 09-25-2016, 10:14 AM