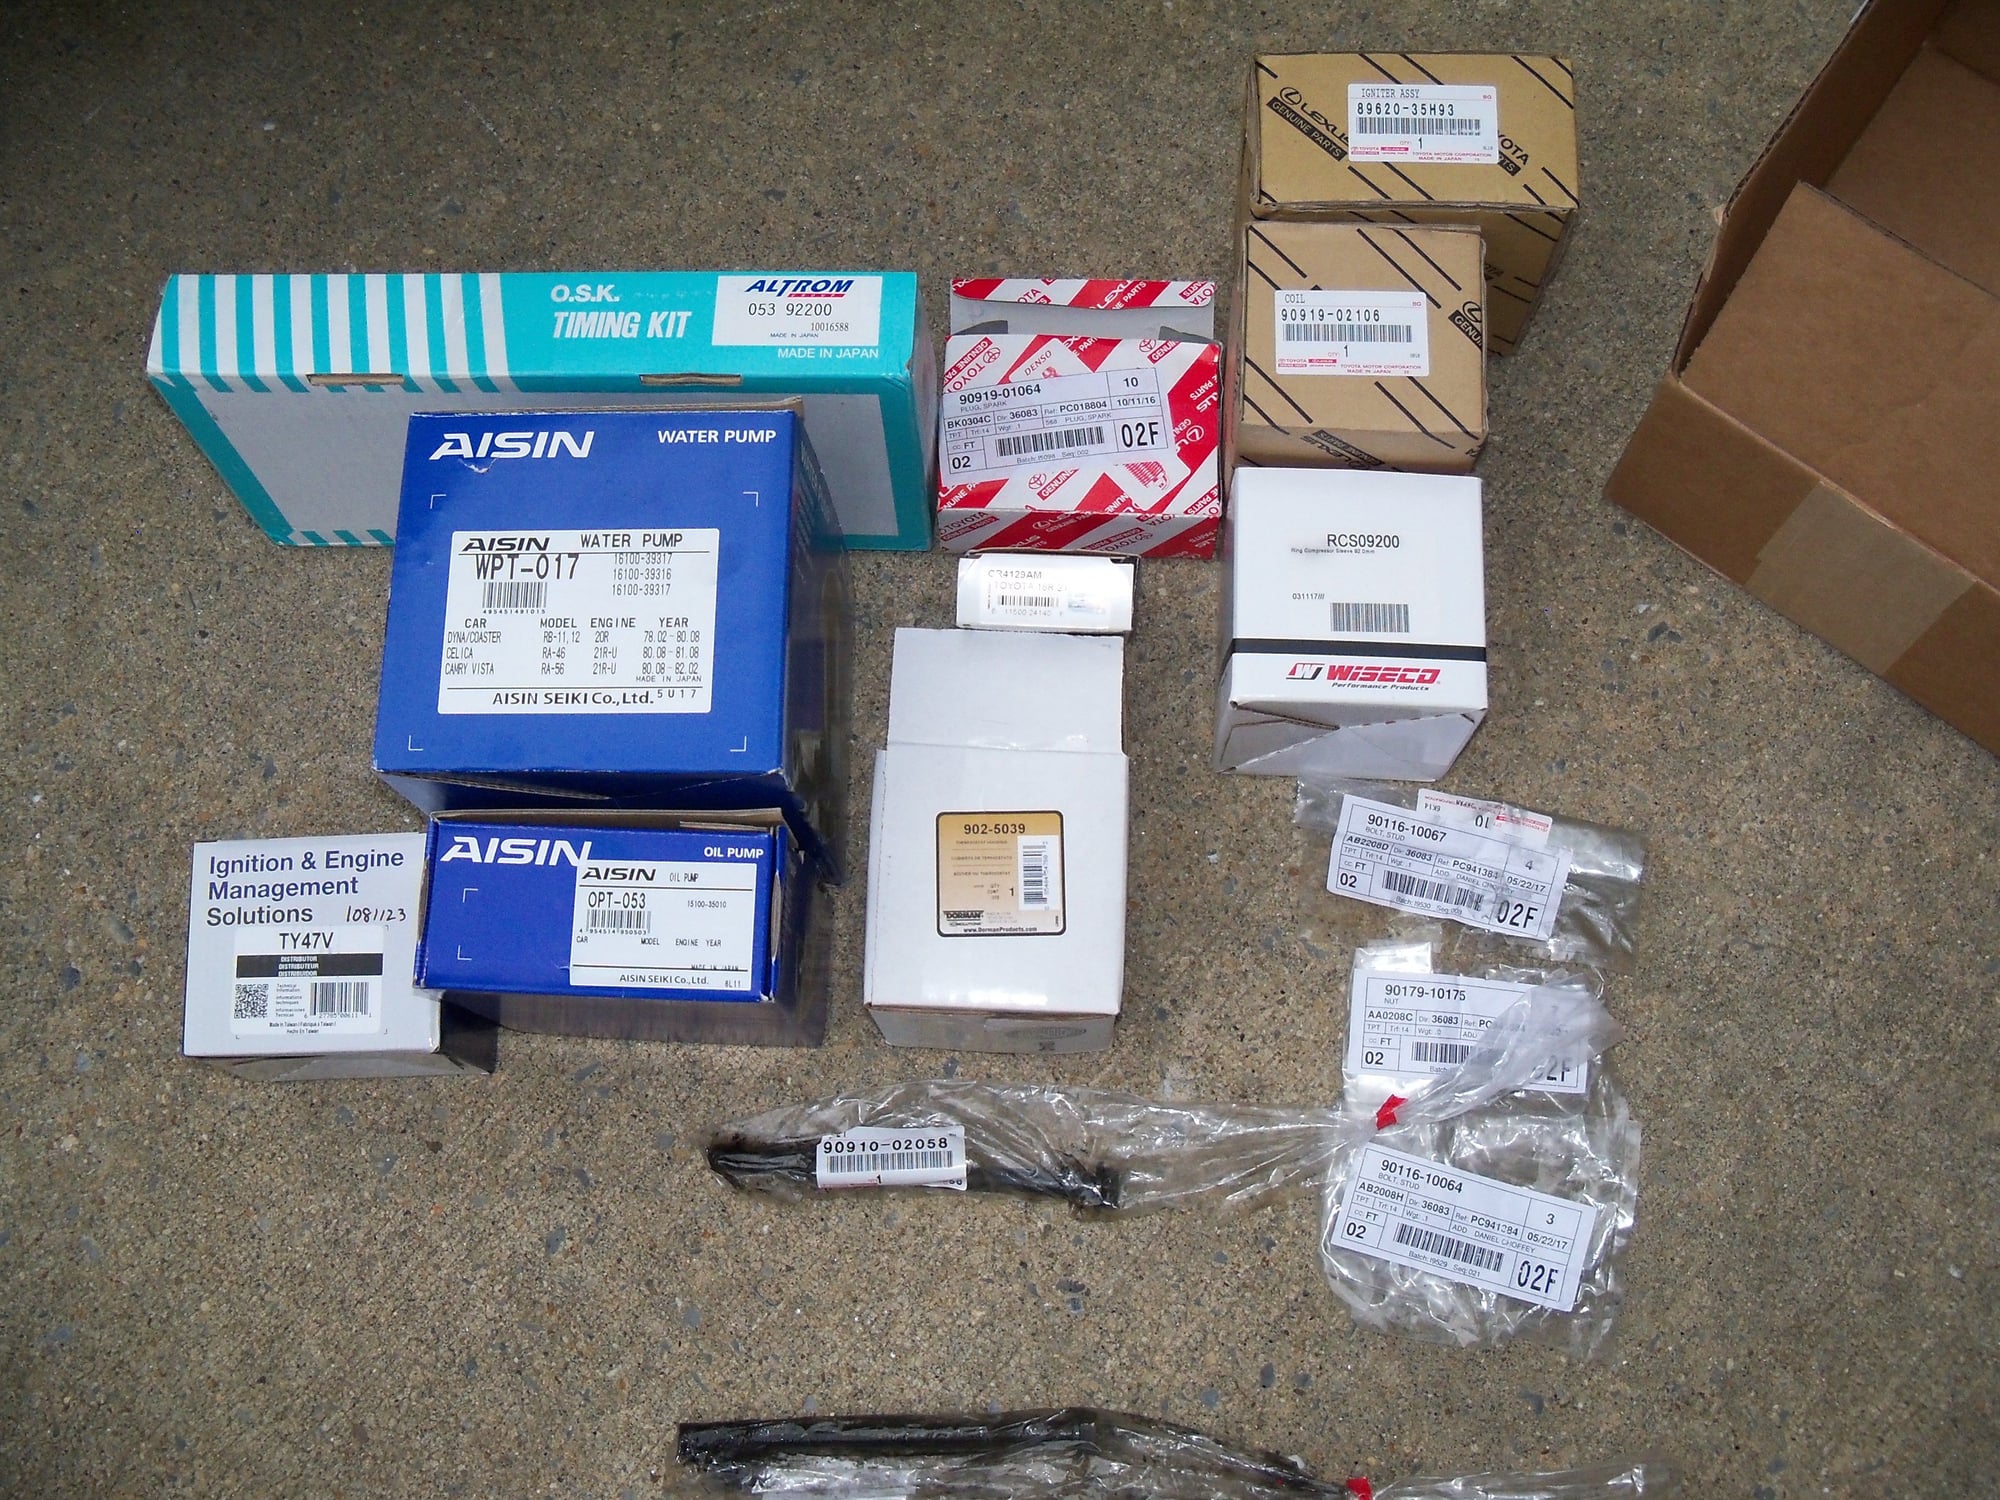
Big Little Bears 1983 Toy BRRT Build-Up Thread
#81
Registered User
Thread Starter
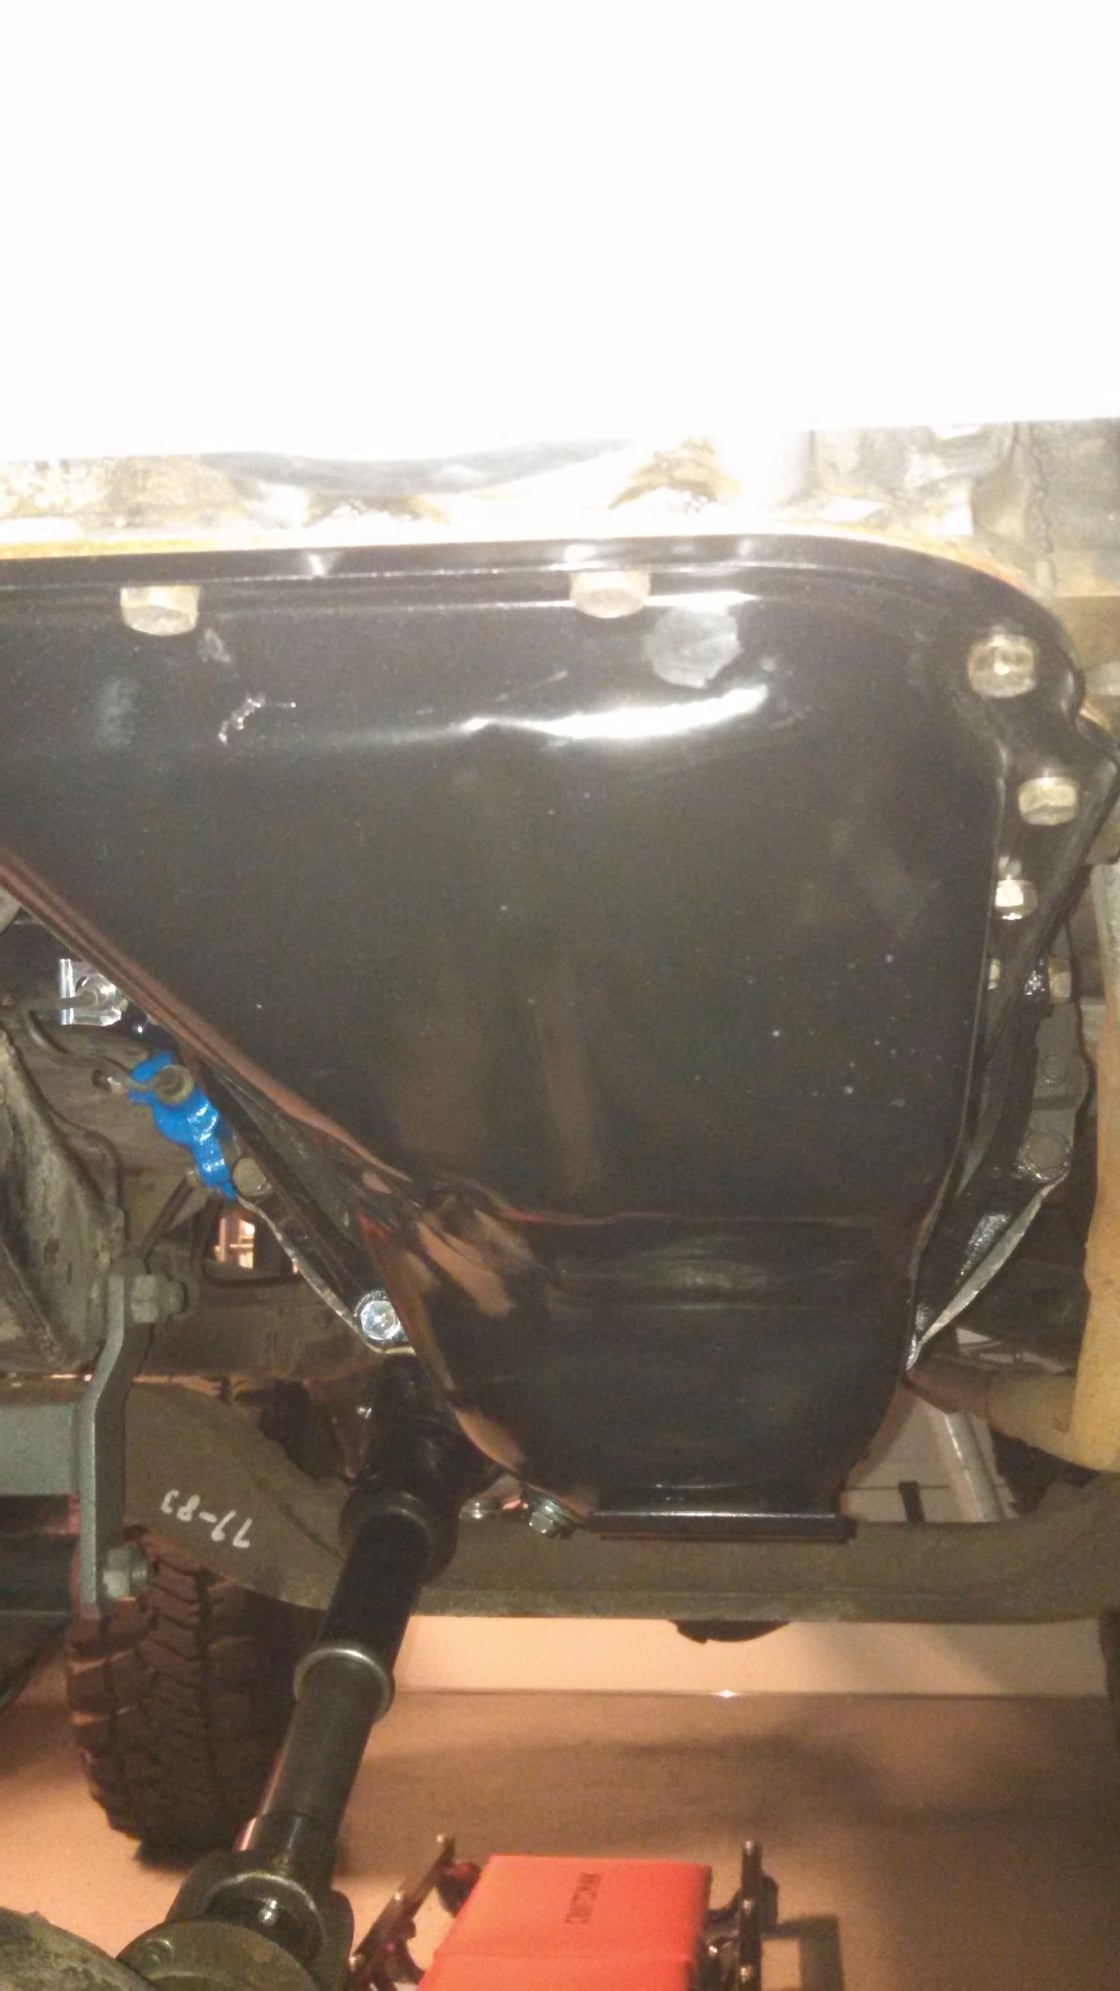
Oil Pan was Also pretty beat up so new Pan and Gasket....Which by the way is... NOT Leaking.....
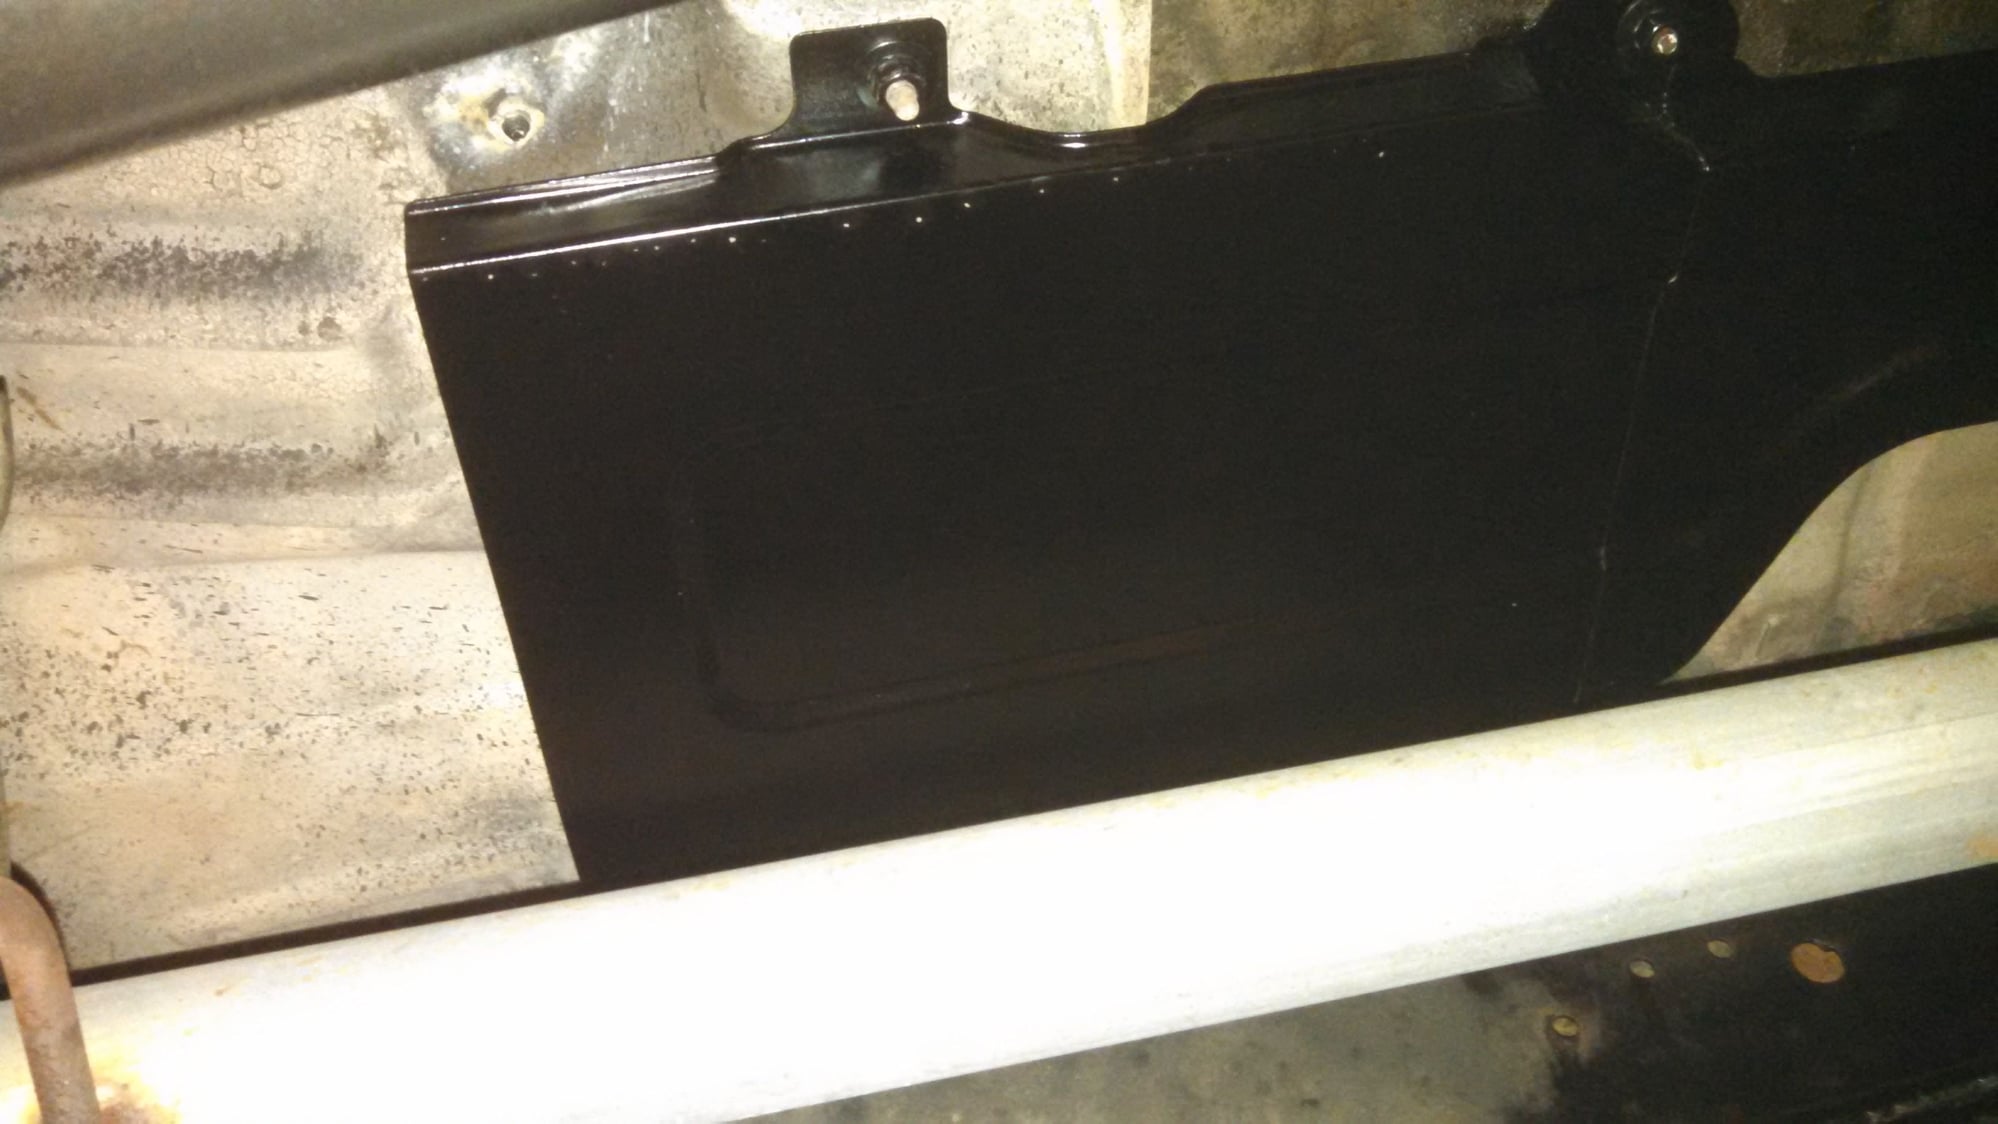
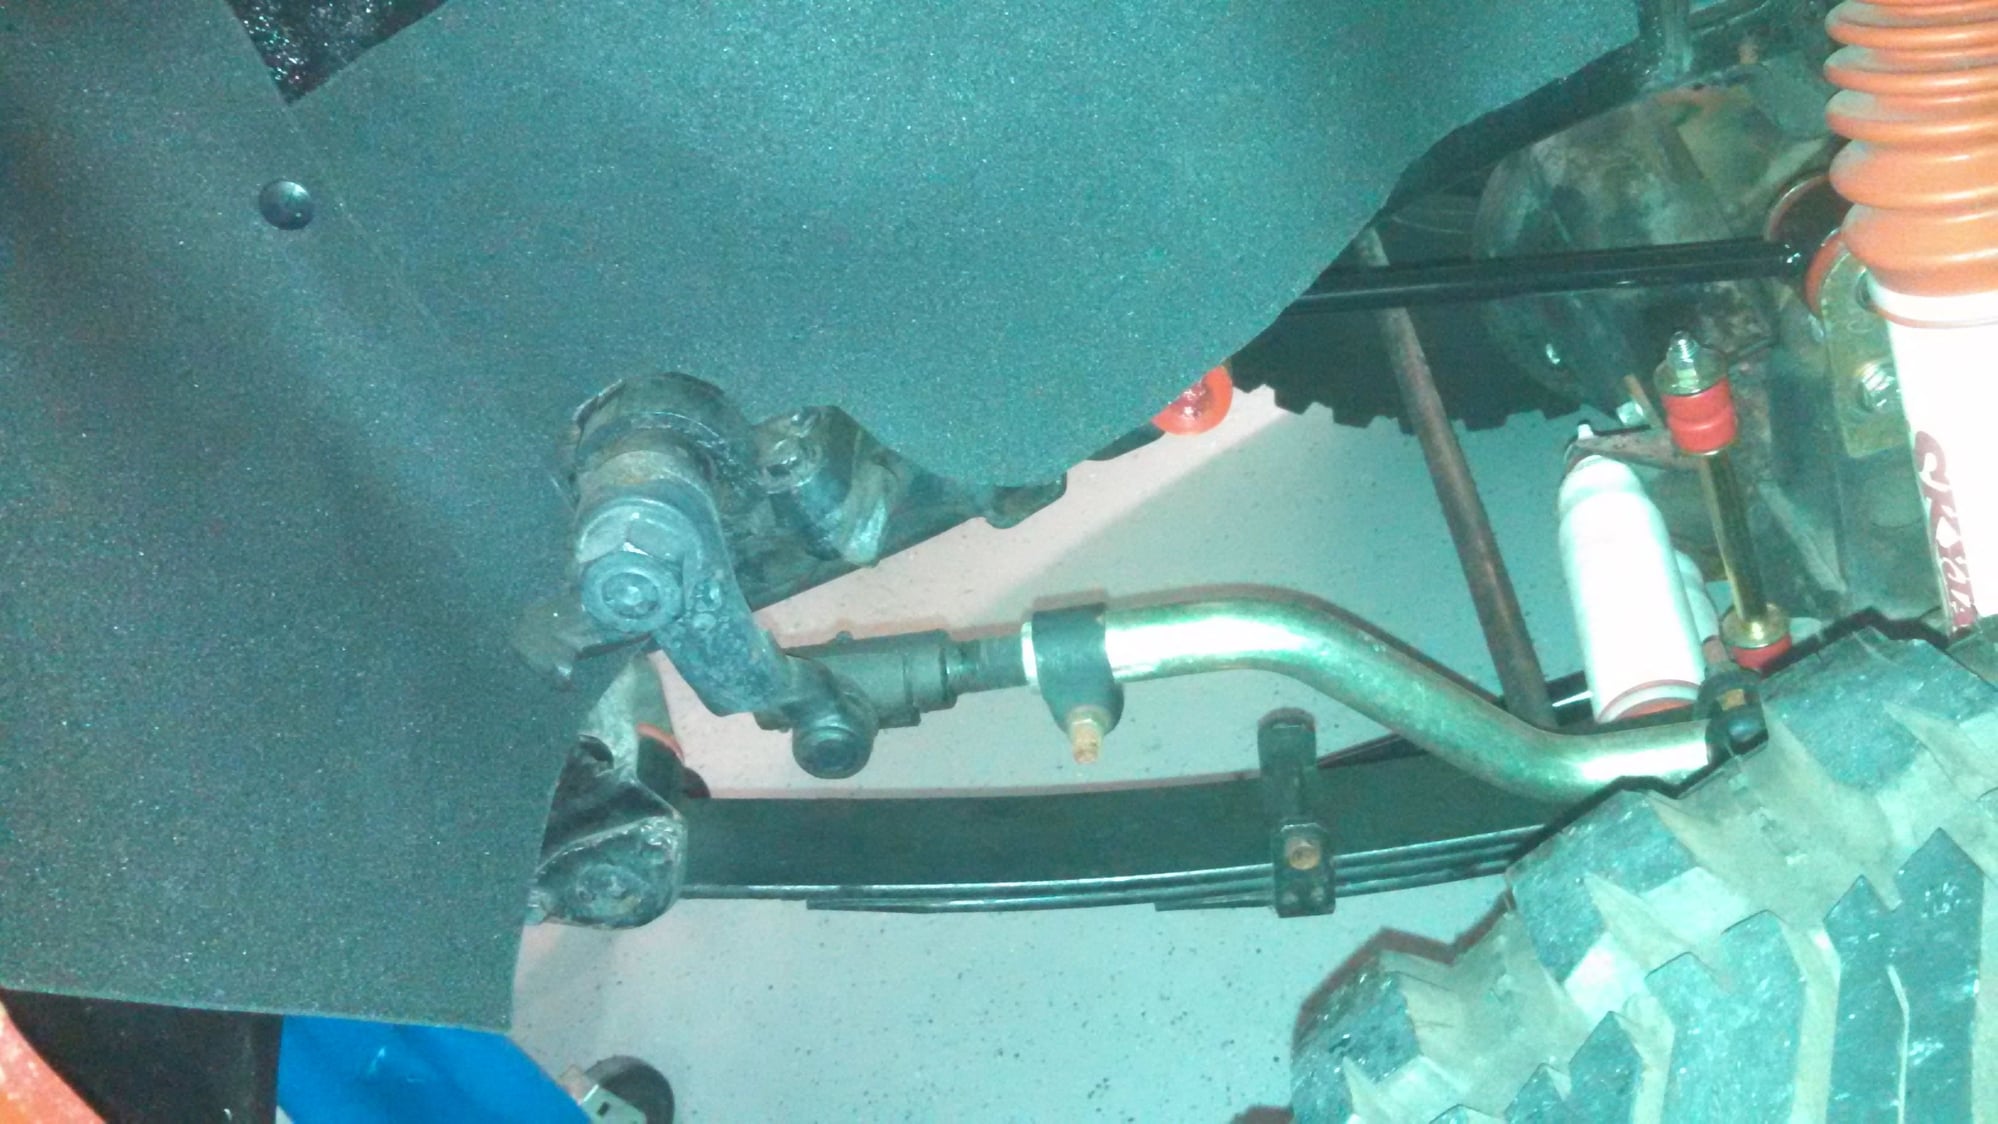
More Cosmetics under here. Heat Shield Sanded and Epoxy Painted....With Three inch Body Lift It actually works
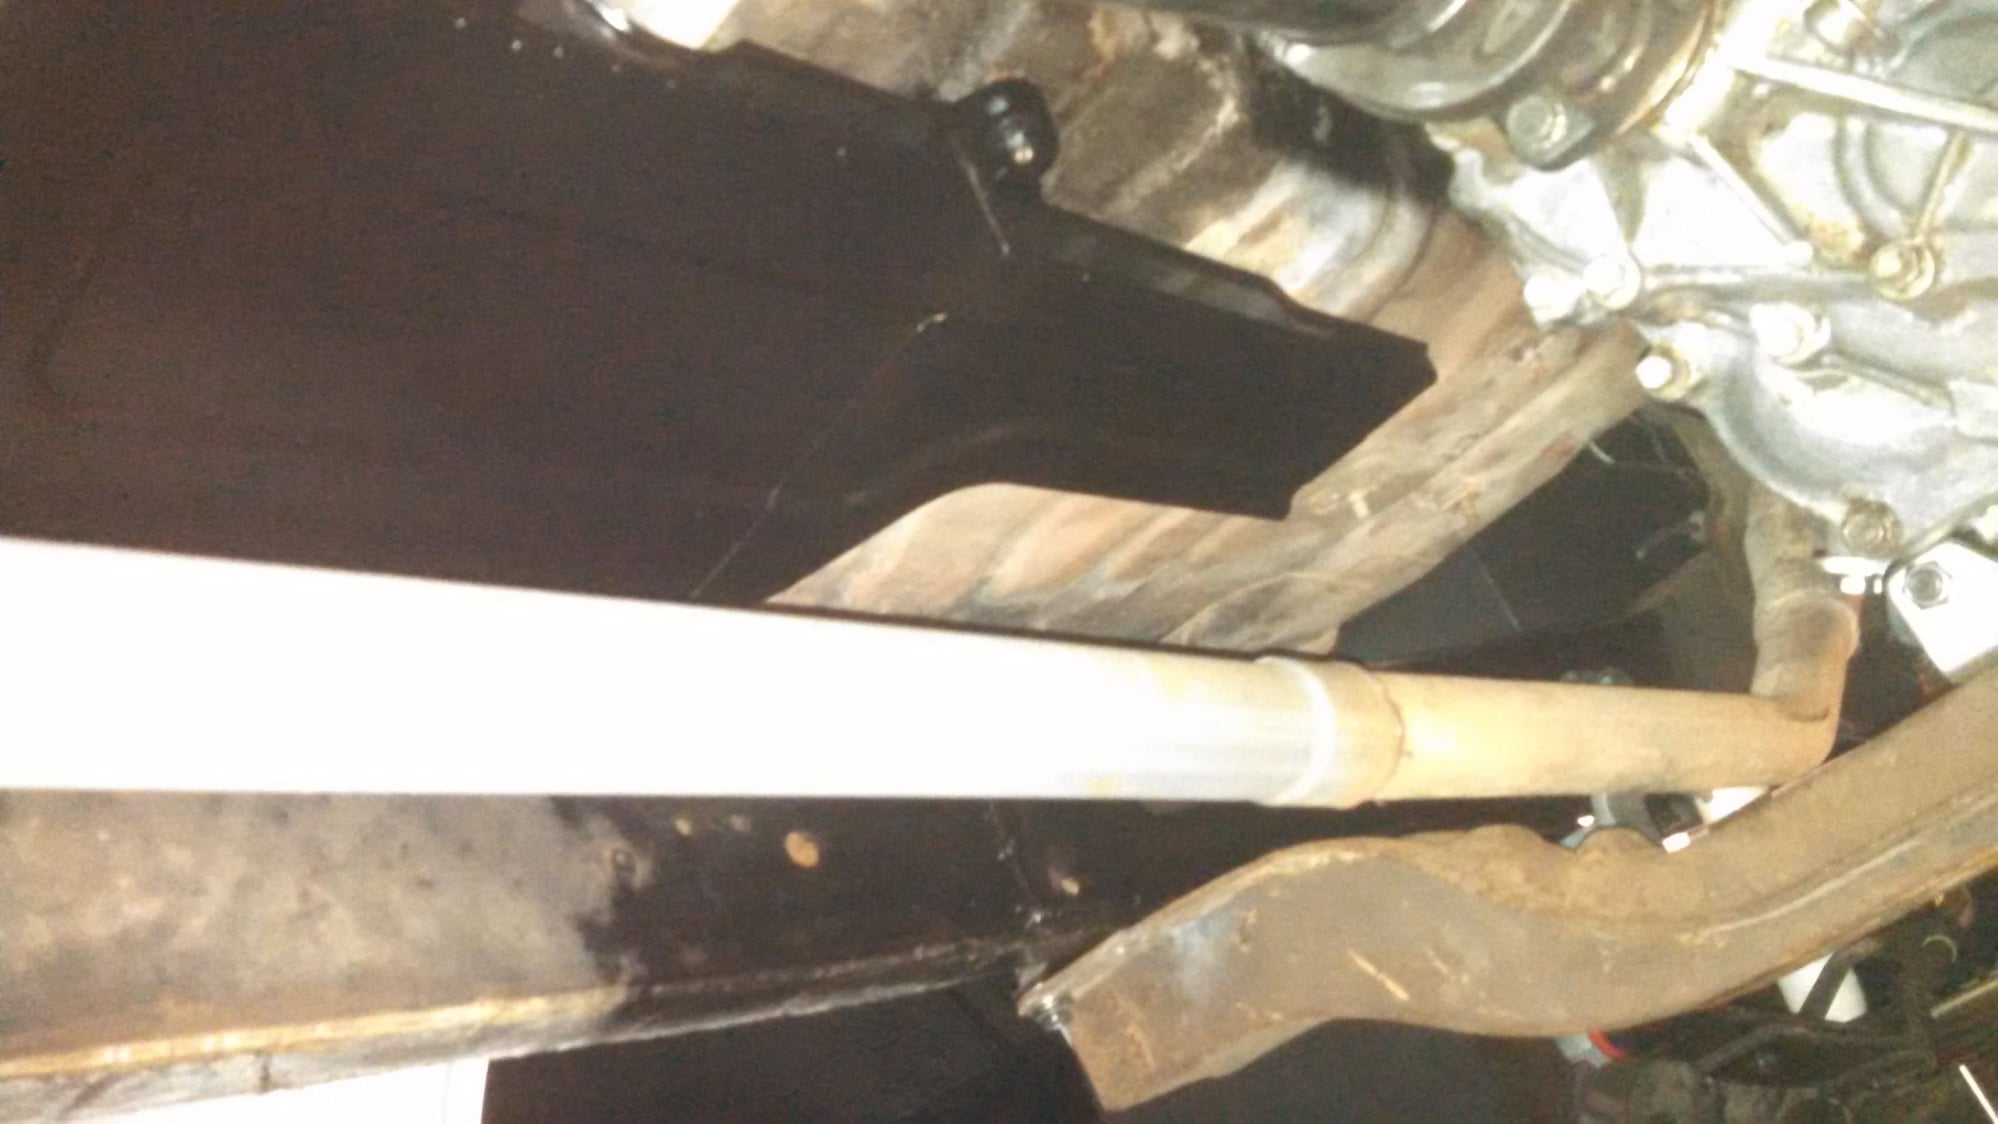
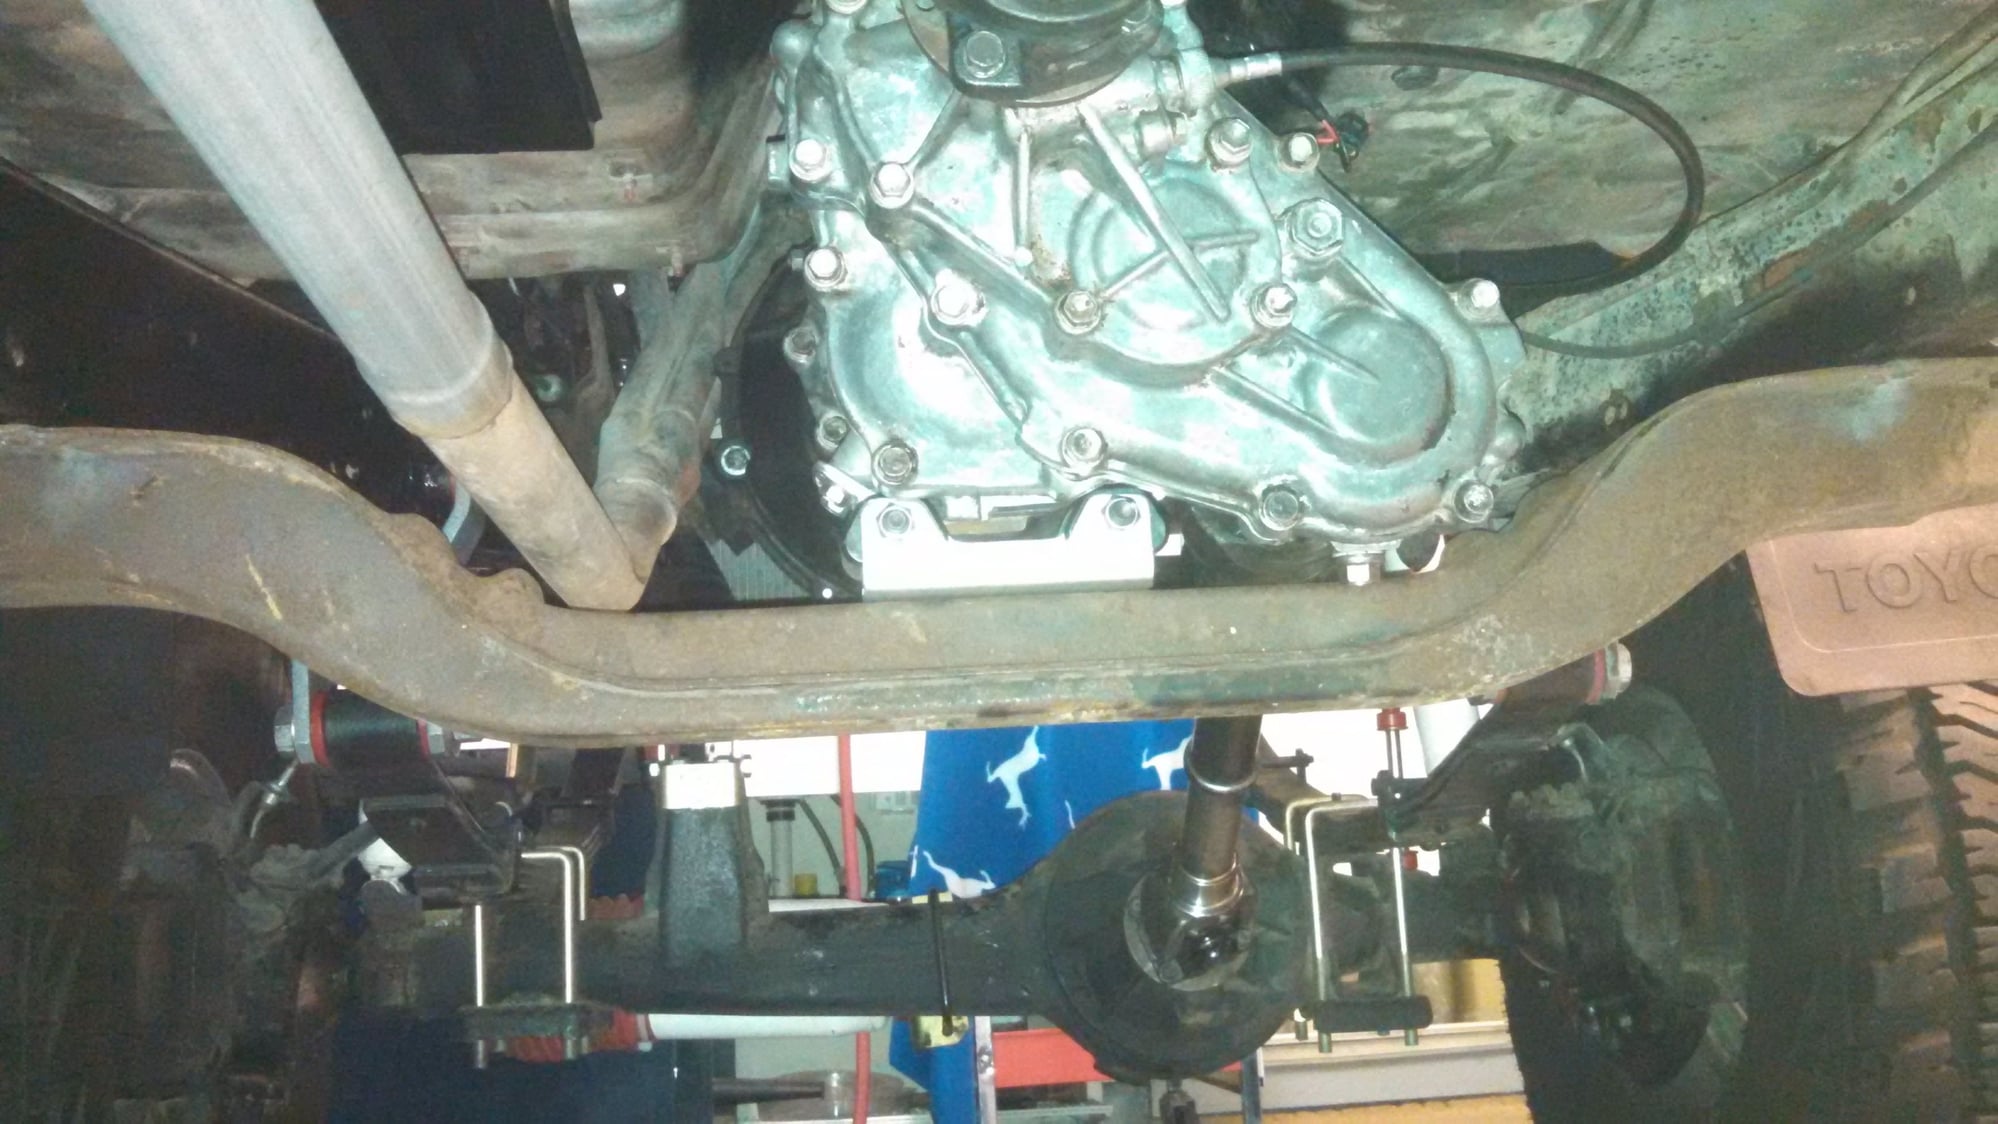
Cross member Found!! No More Big dent Just need sand and paint...Also new Xfer Case Mount
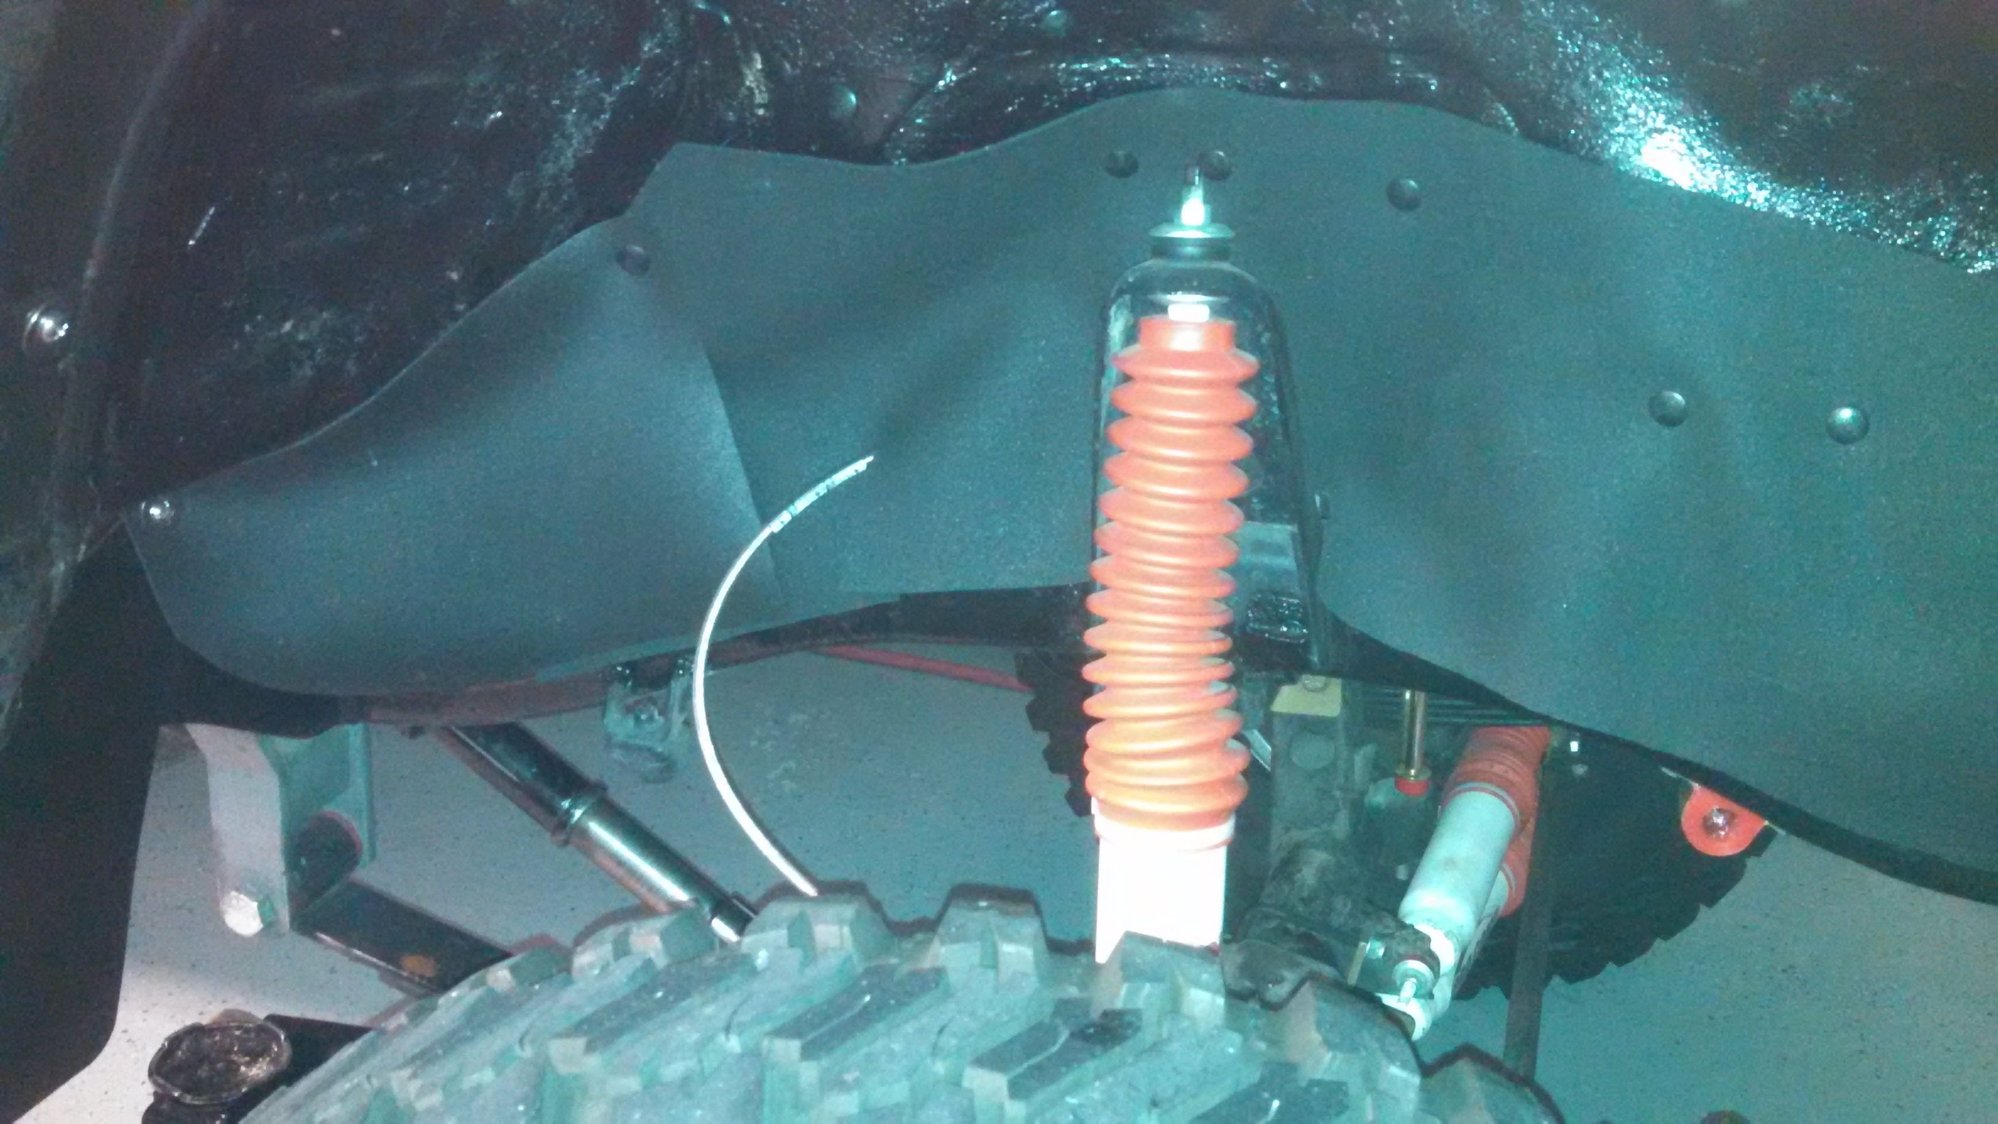
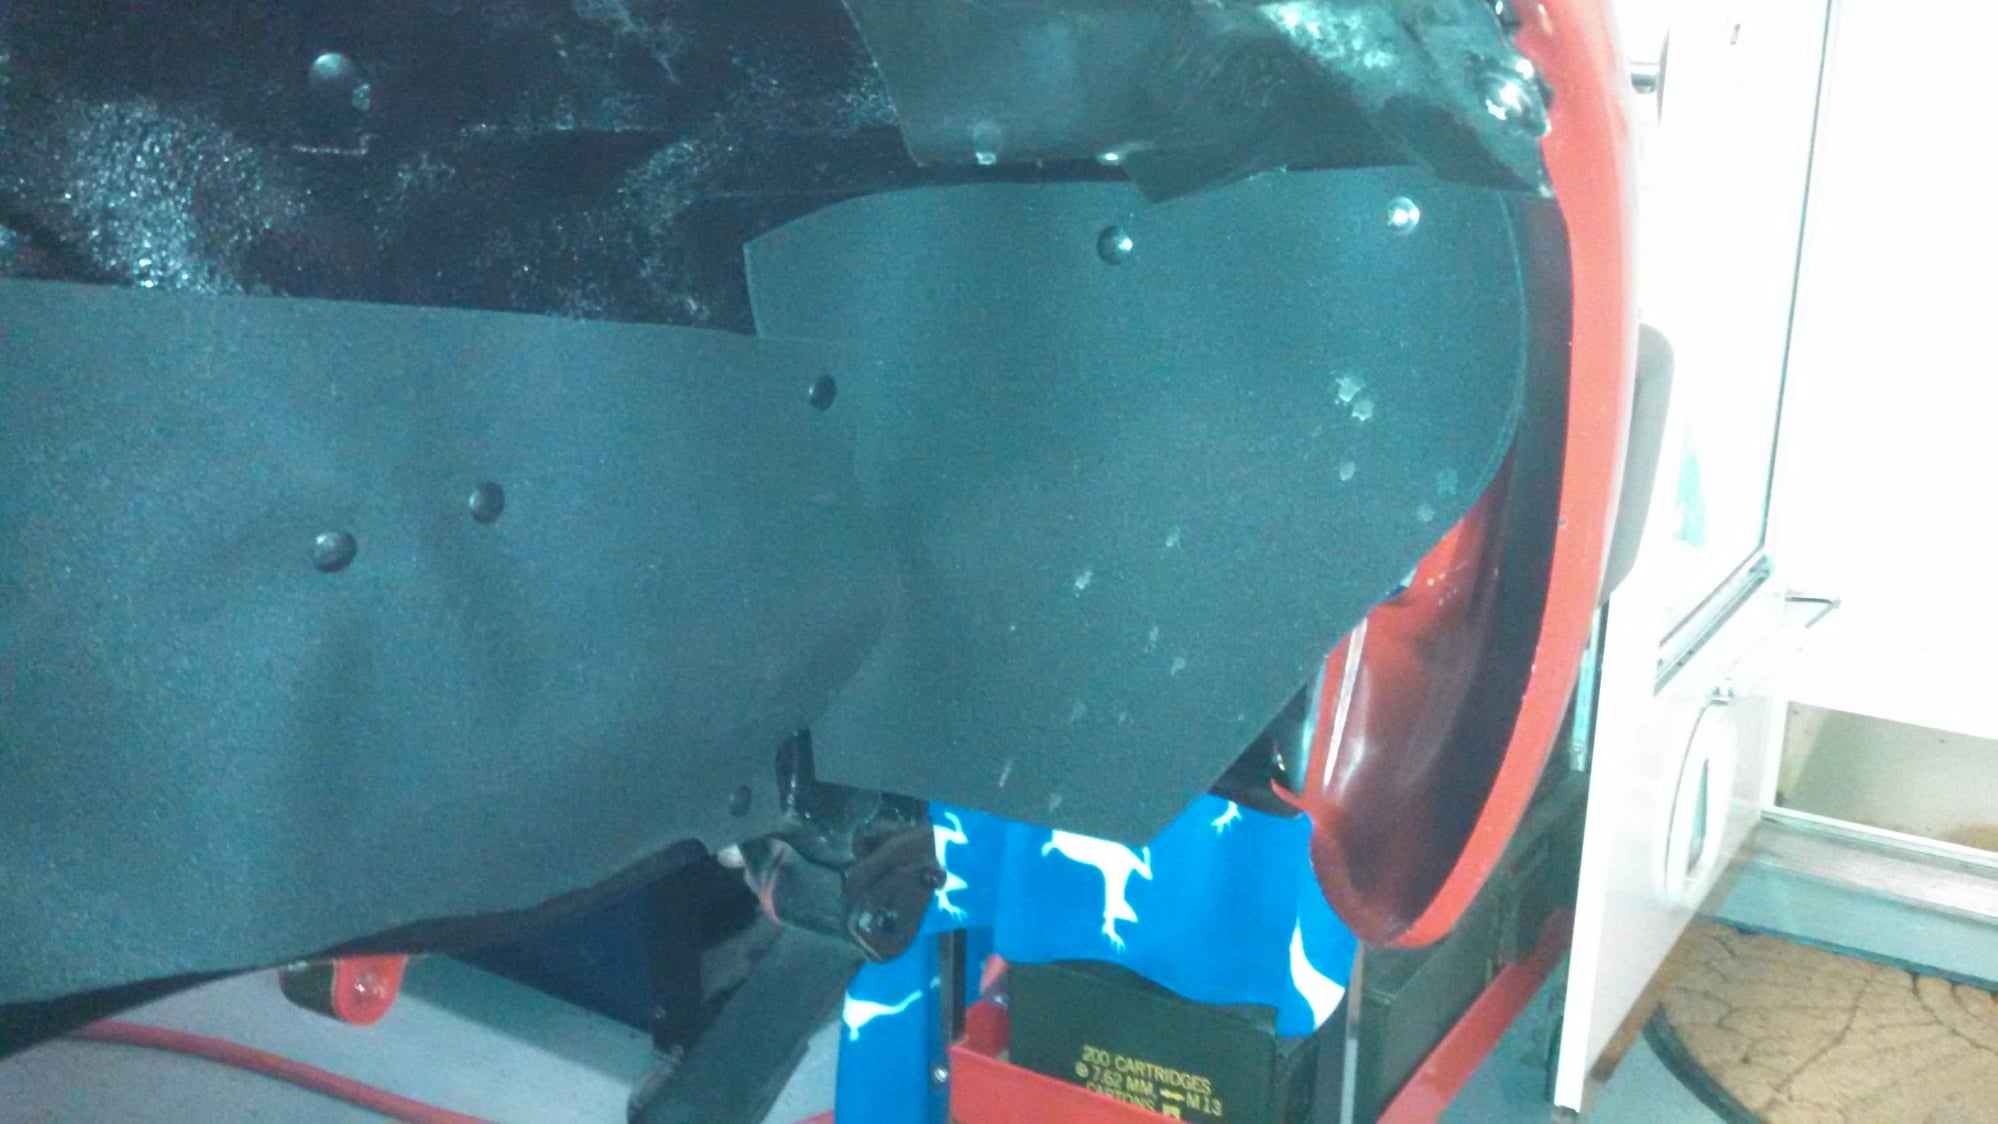
I did the Front Gap Guards In Three pieces...Also I used a Leather Punch on its max hole setting to make the Retainer plug holes....... My 45 cal shell casing punch worked on the back gap guards but could be deemed too big of a hole to make
Last edited by Big Little Bear; 07-06-2016 at 07:03 AM.
#82
Registered User
Thread Starter
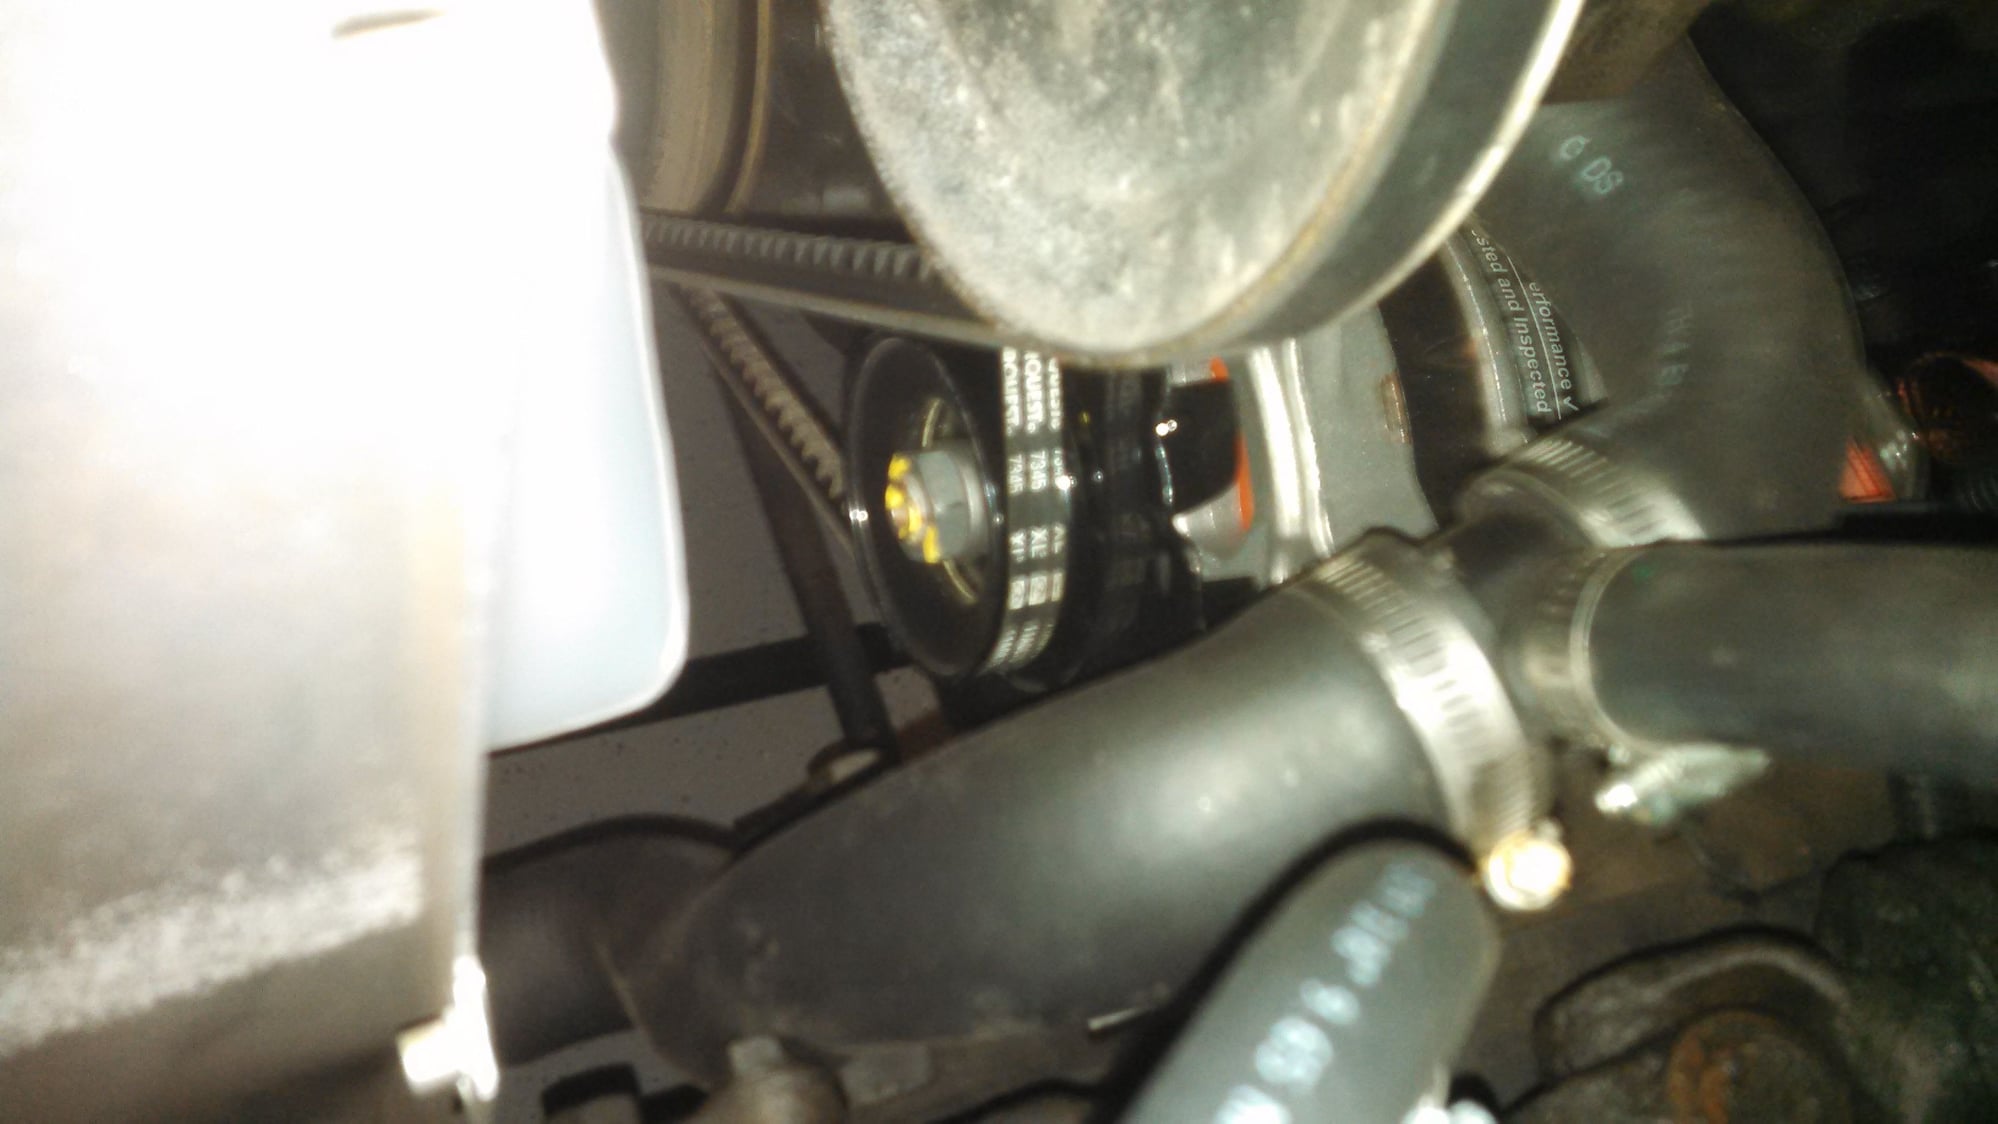
New Alternator
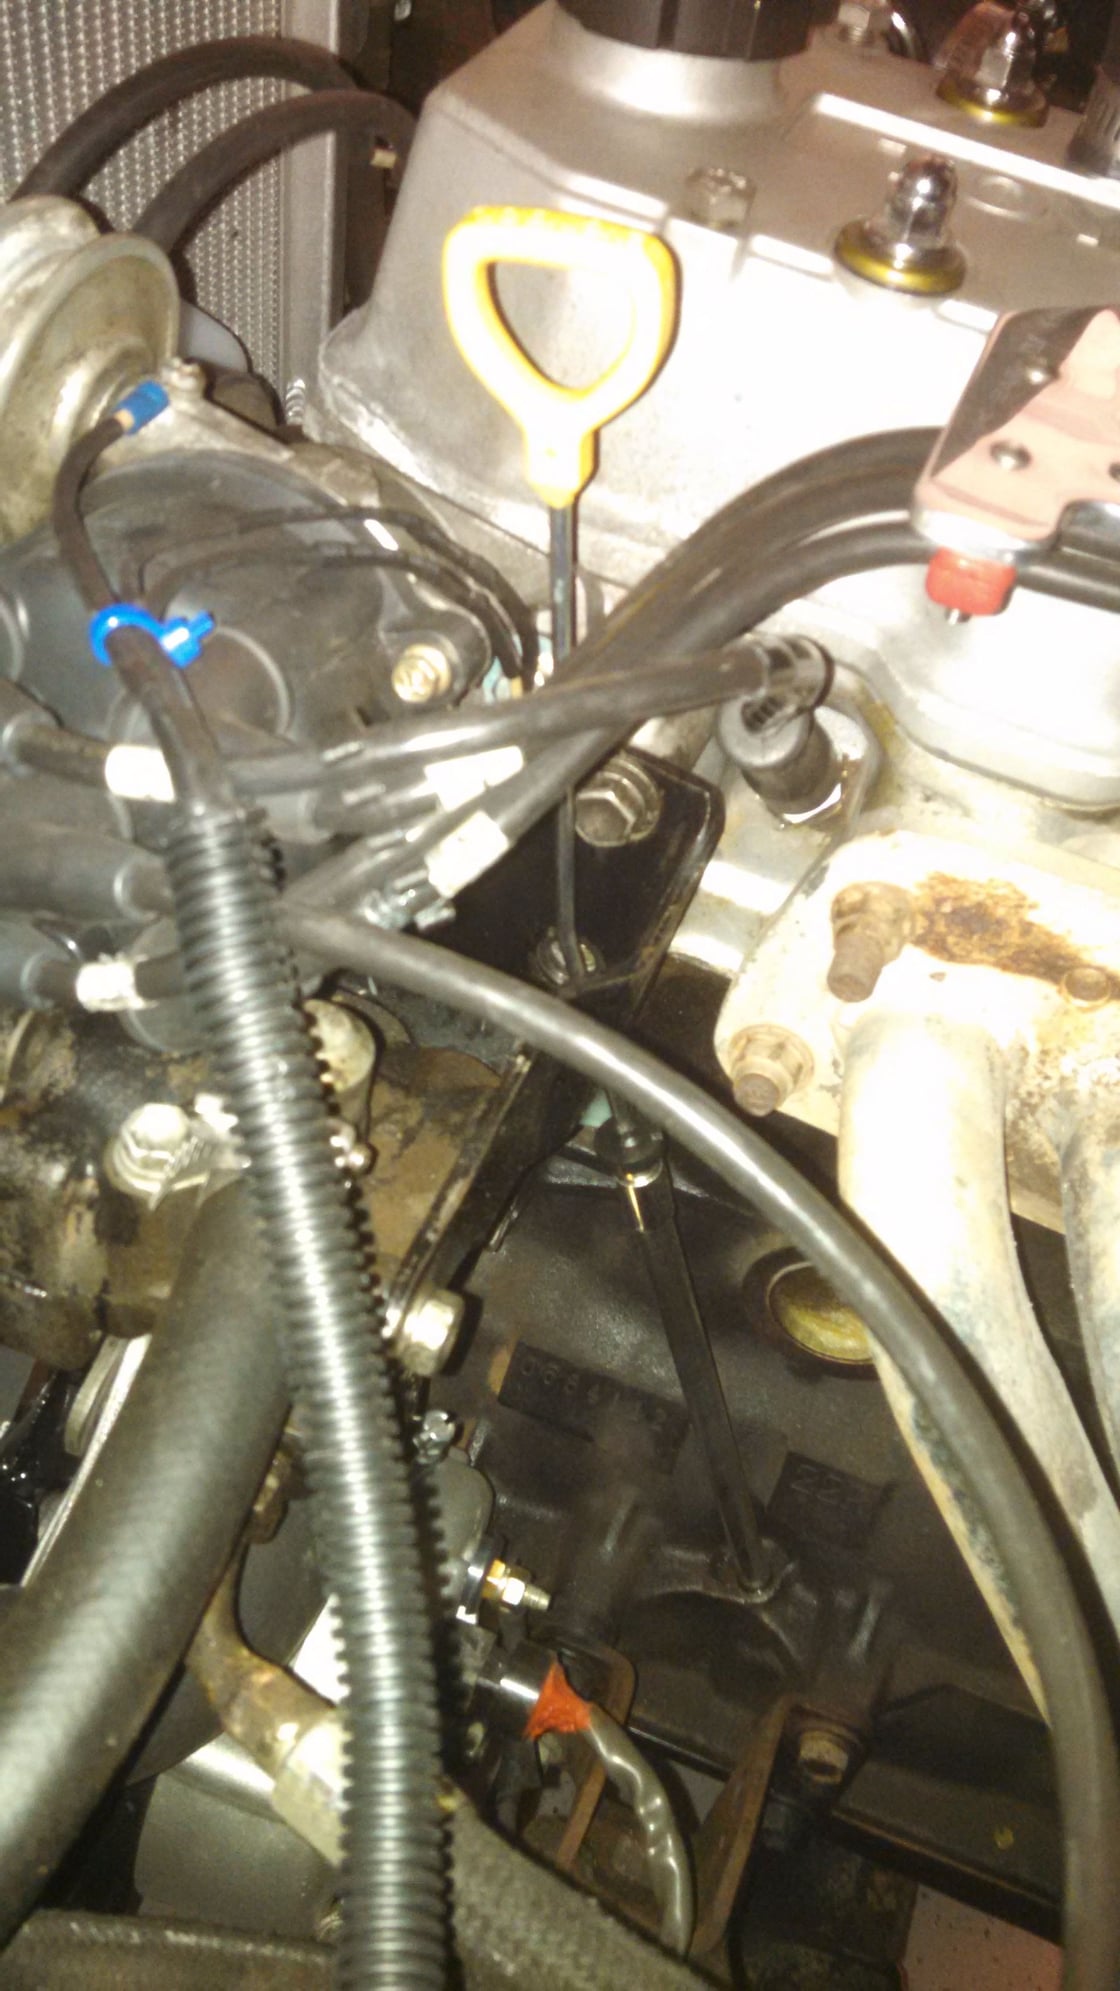
New Style Dip Stick and Tube From 22RE Performance
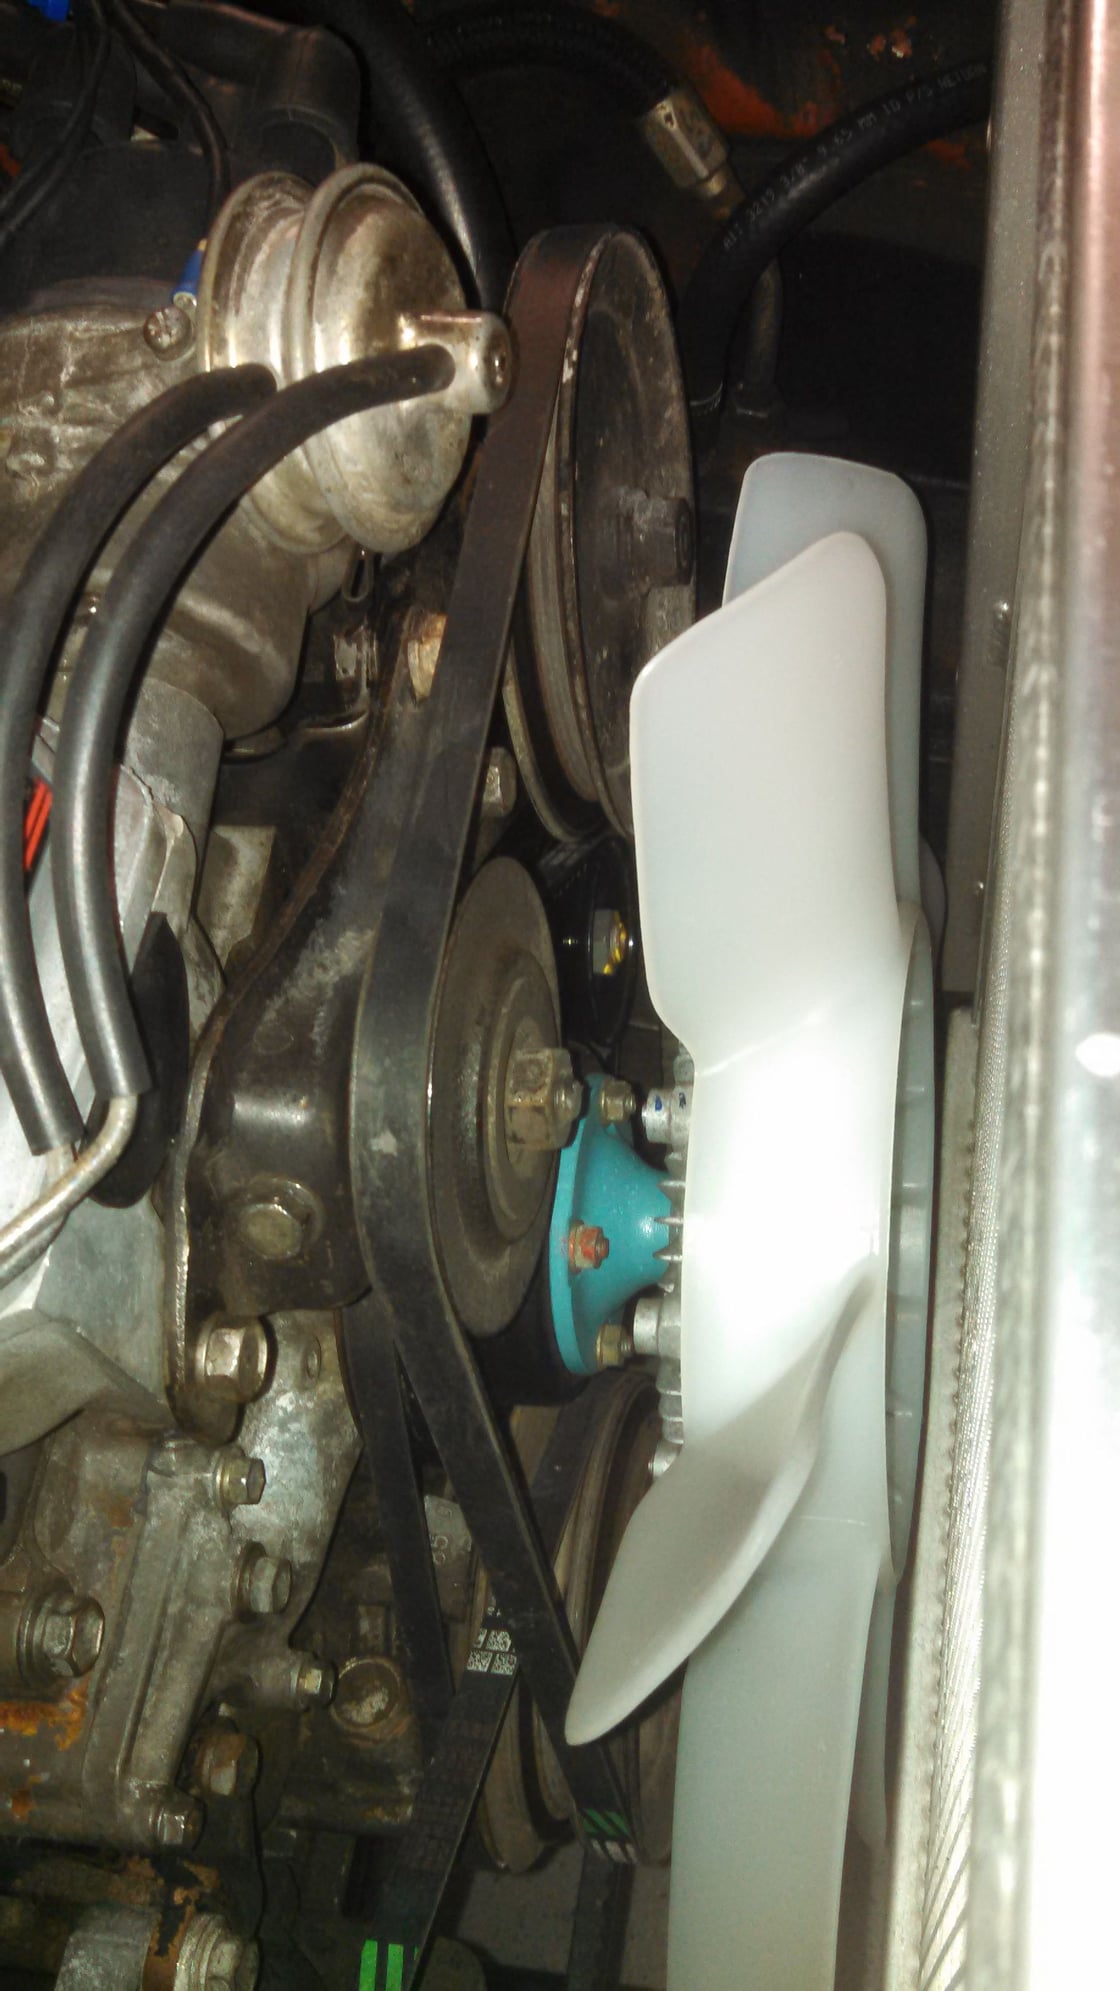
New Factory Toyota Fan And New Aisin Fan Clutch
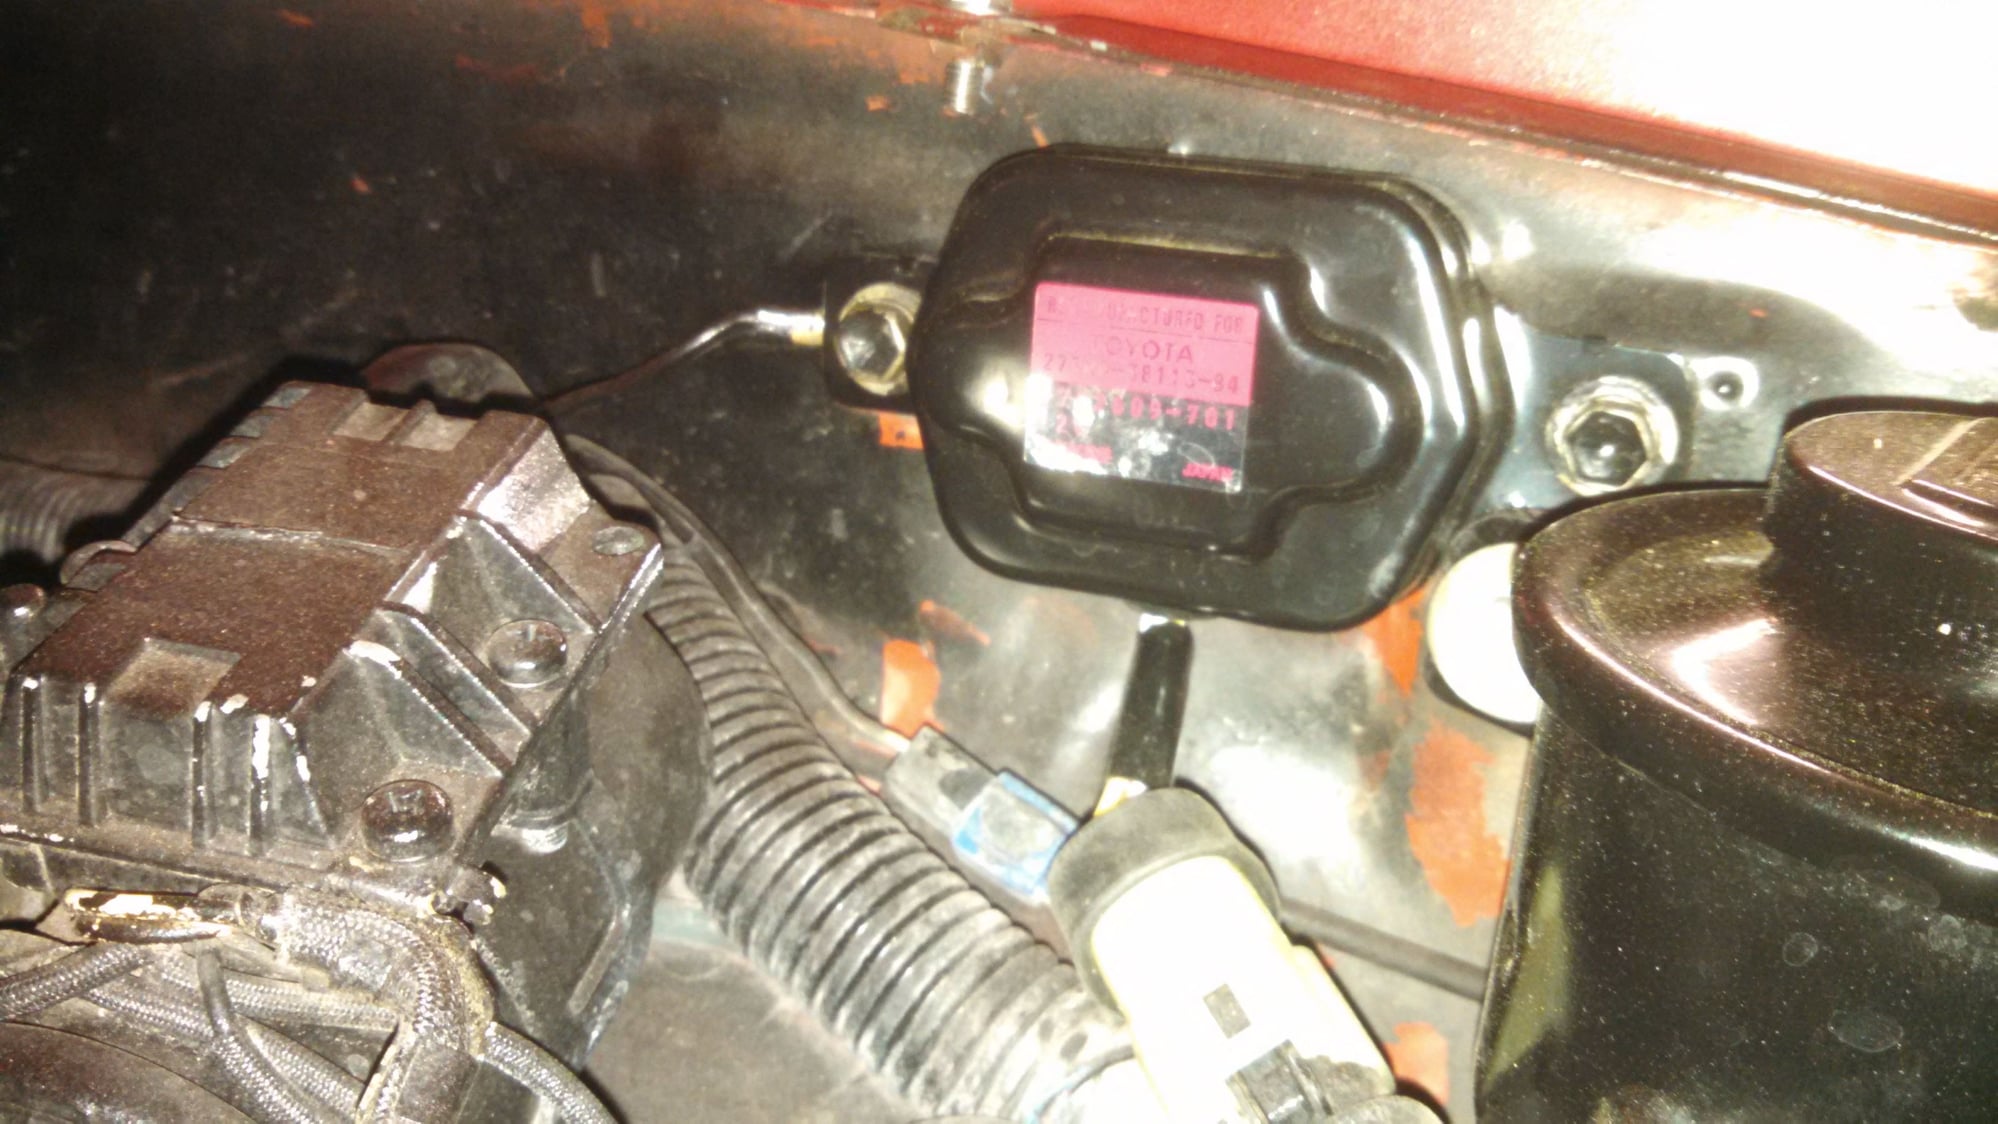
New Voltage Regulator
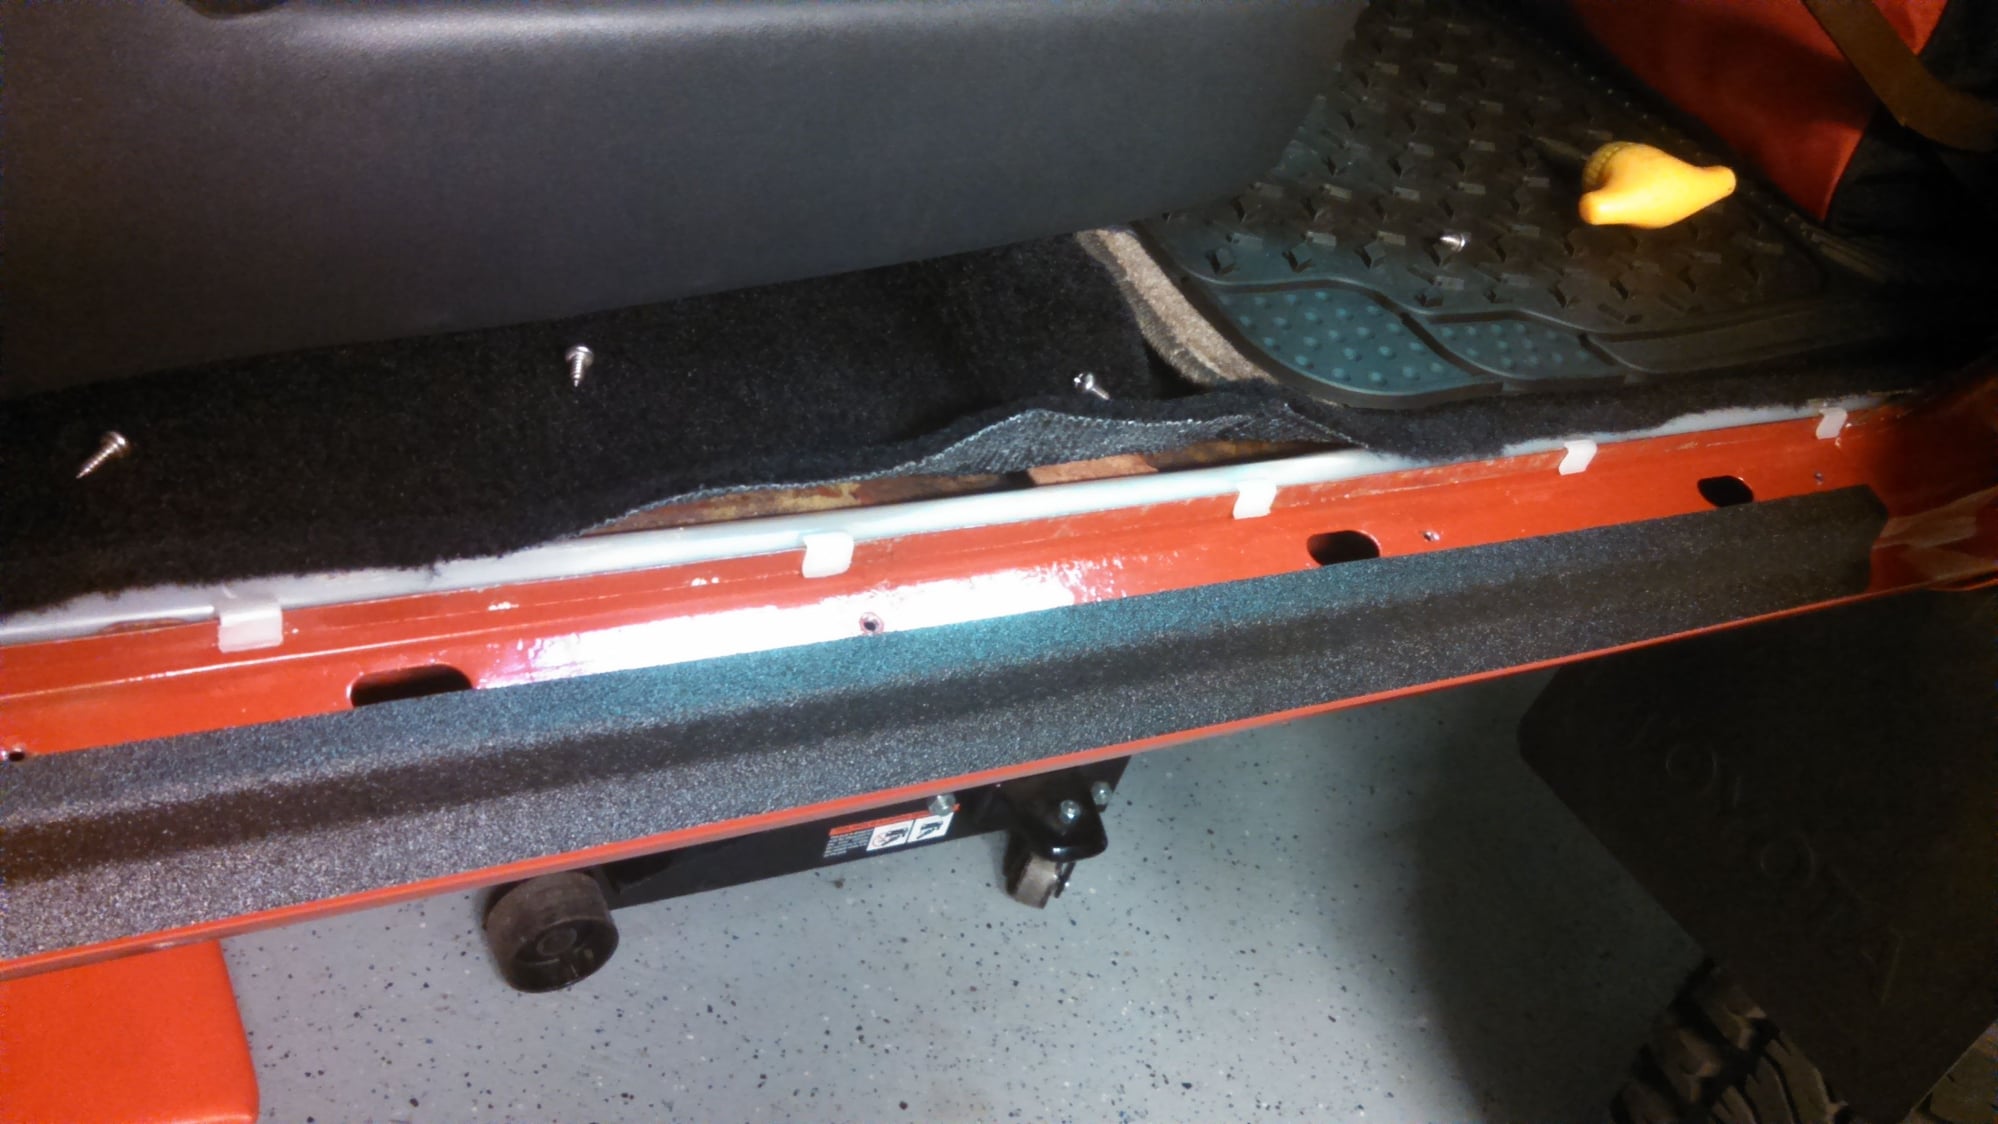
Scored some in very decent shape Wire guide protective covers for under the door sills
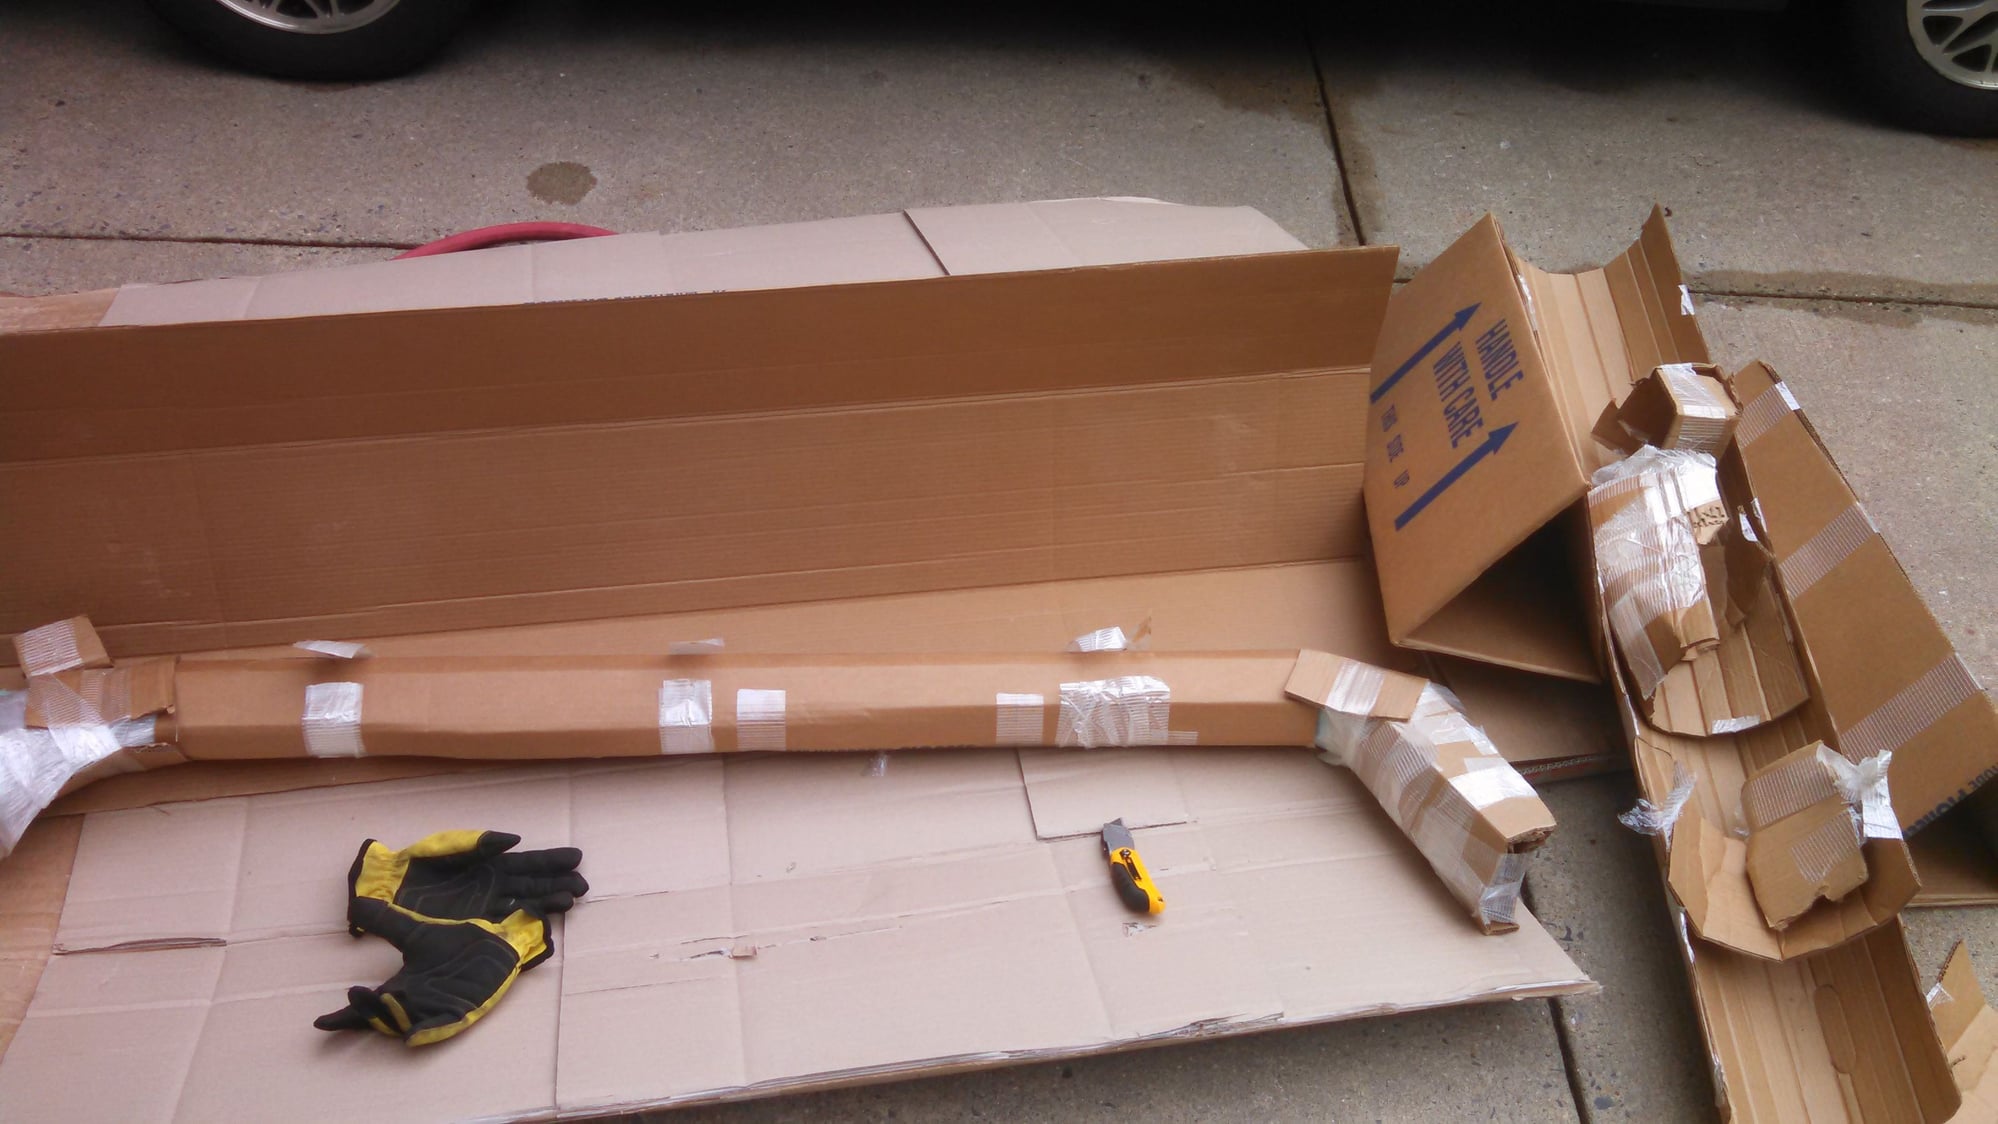
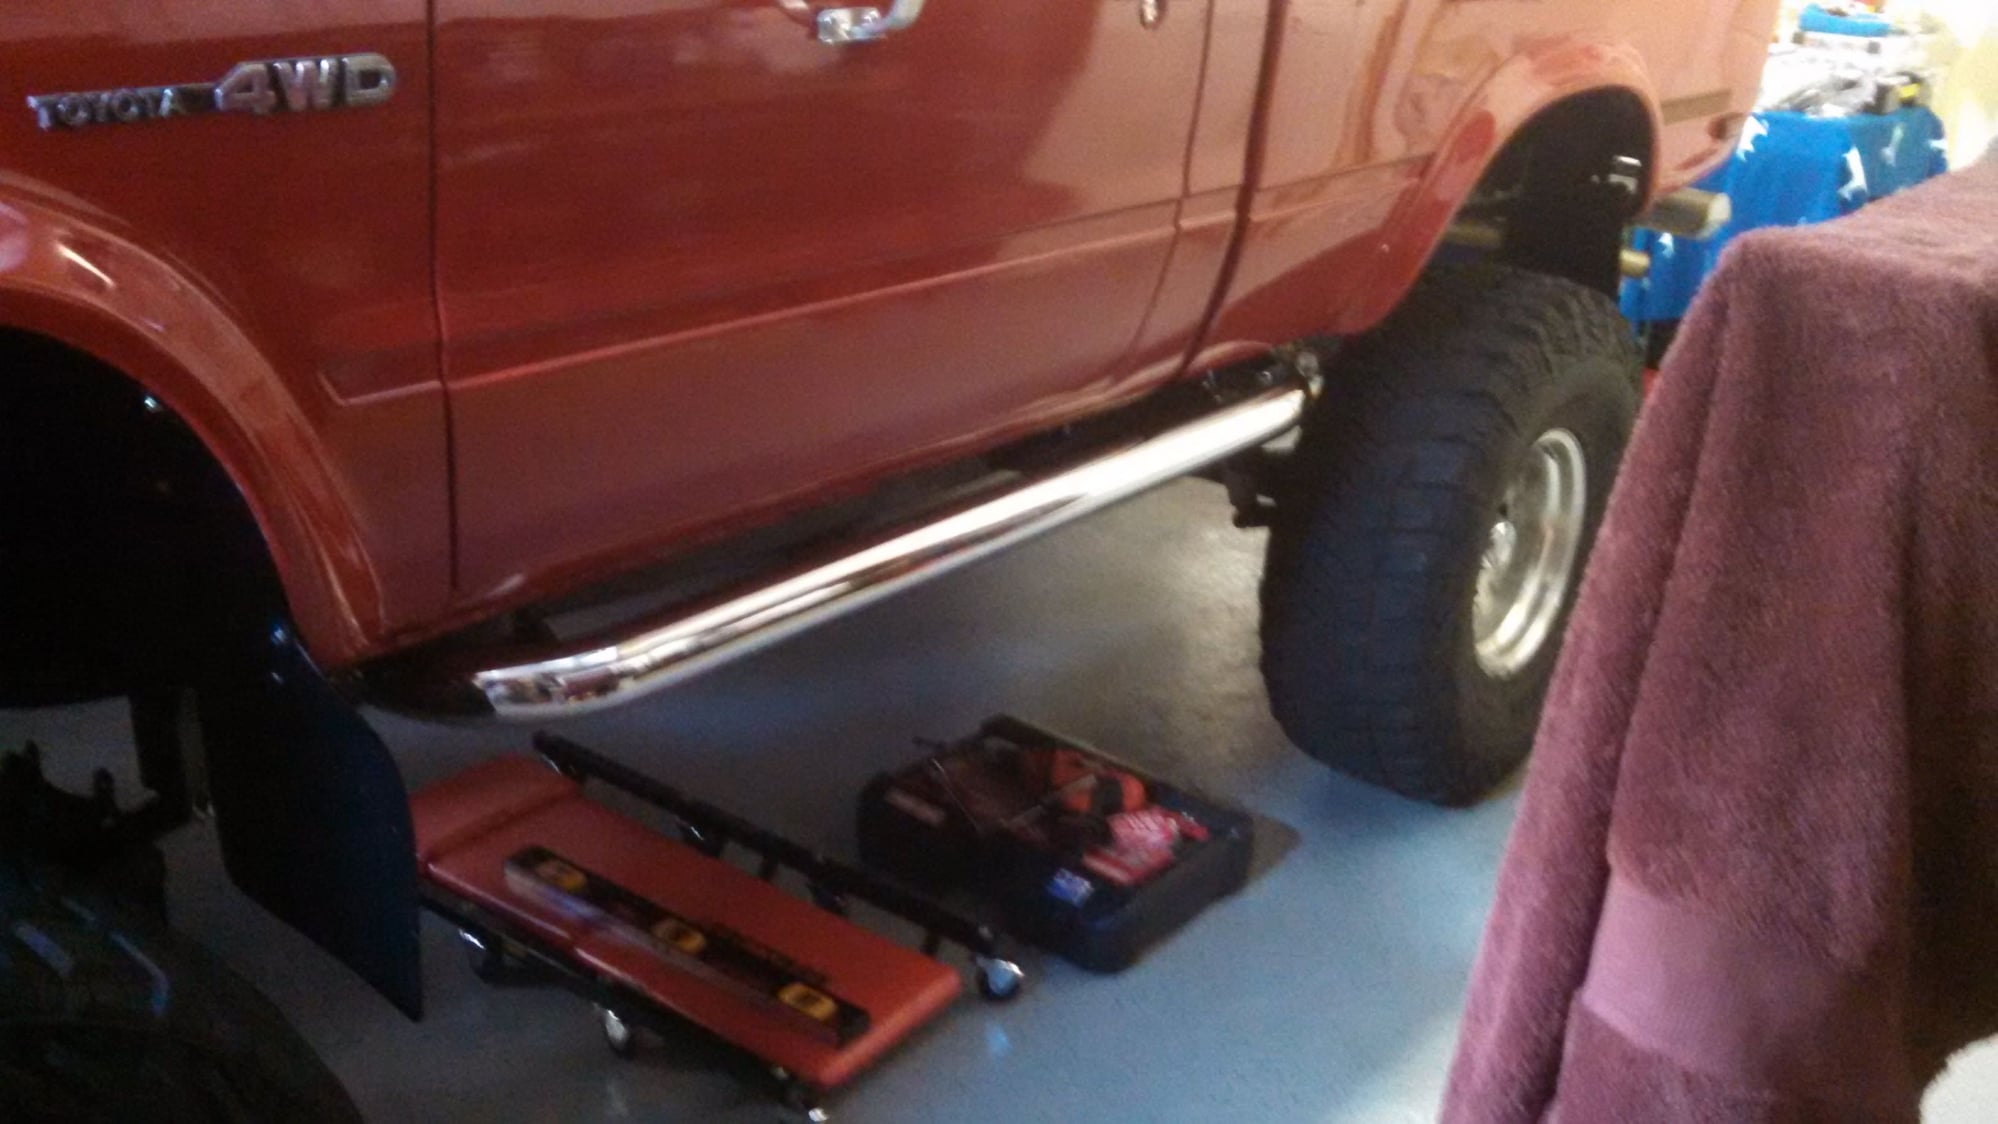
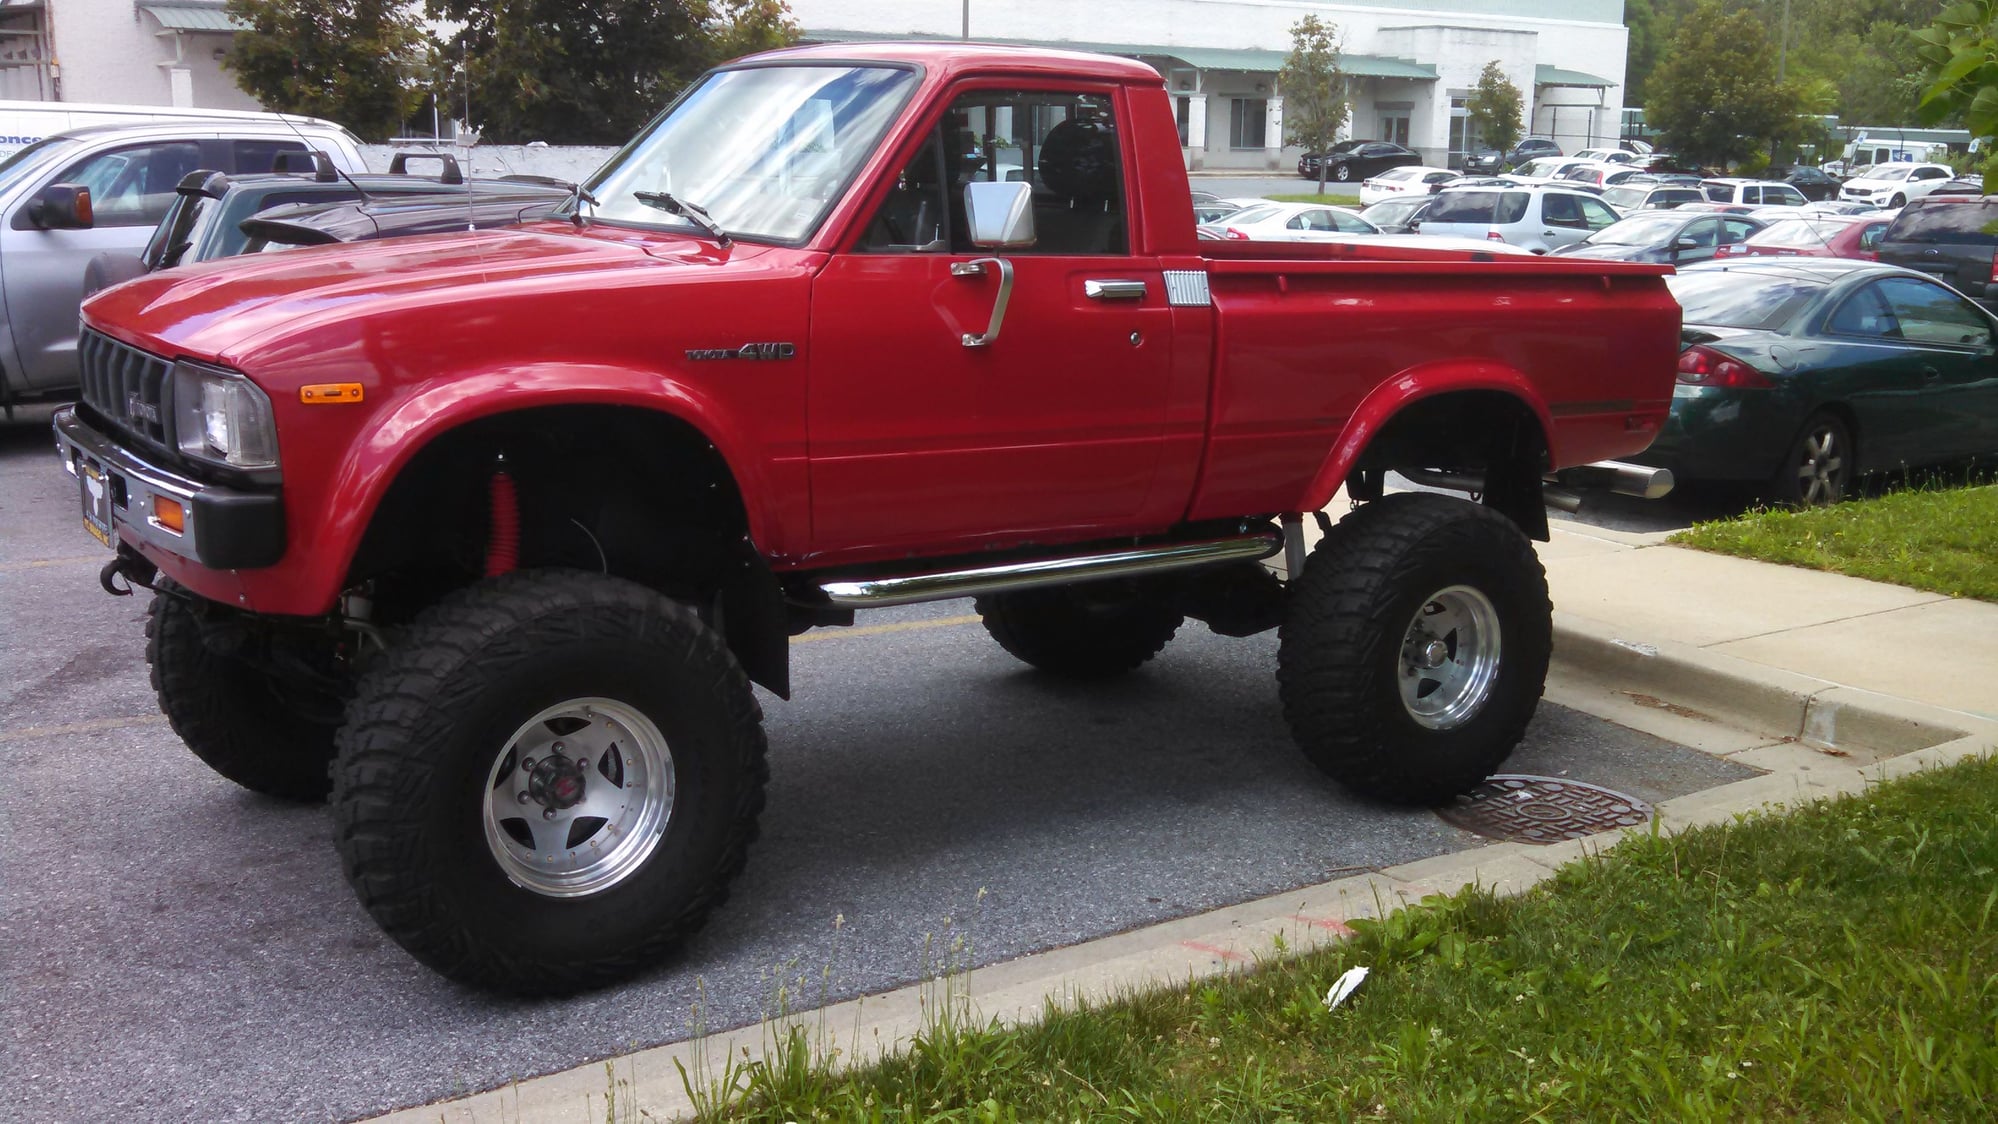
Found an 4x4 Off Road shop In Phoenix that went out of business after 30+ years for retirement reasons and he had ....Get a load of this.....Brand New Smittybilt Nerf Bars!! Now I know they are not practical for those in the Rock crawling camp but for me they're cool... especially because they were cheap. They were for second gen but I made them work with out modification since the difference in frame is minimal ?
Last edited by Big Little Bear; 07-03-2016 at 02:49 PM.
#83
Registered User
Thread Starter
So another unexpected... Took BRRT on a road trip to N.C. I came back late. Got up the next Morning and saw a small spot of oil on the ground center front and knew my front crank seal took a dump.
Last edited by Big Little Bear; 11-09-2017 at 07:56 PM.
#84
Registered User
Thread Starter
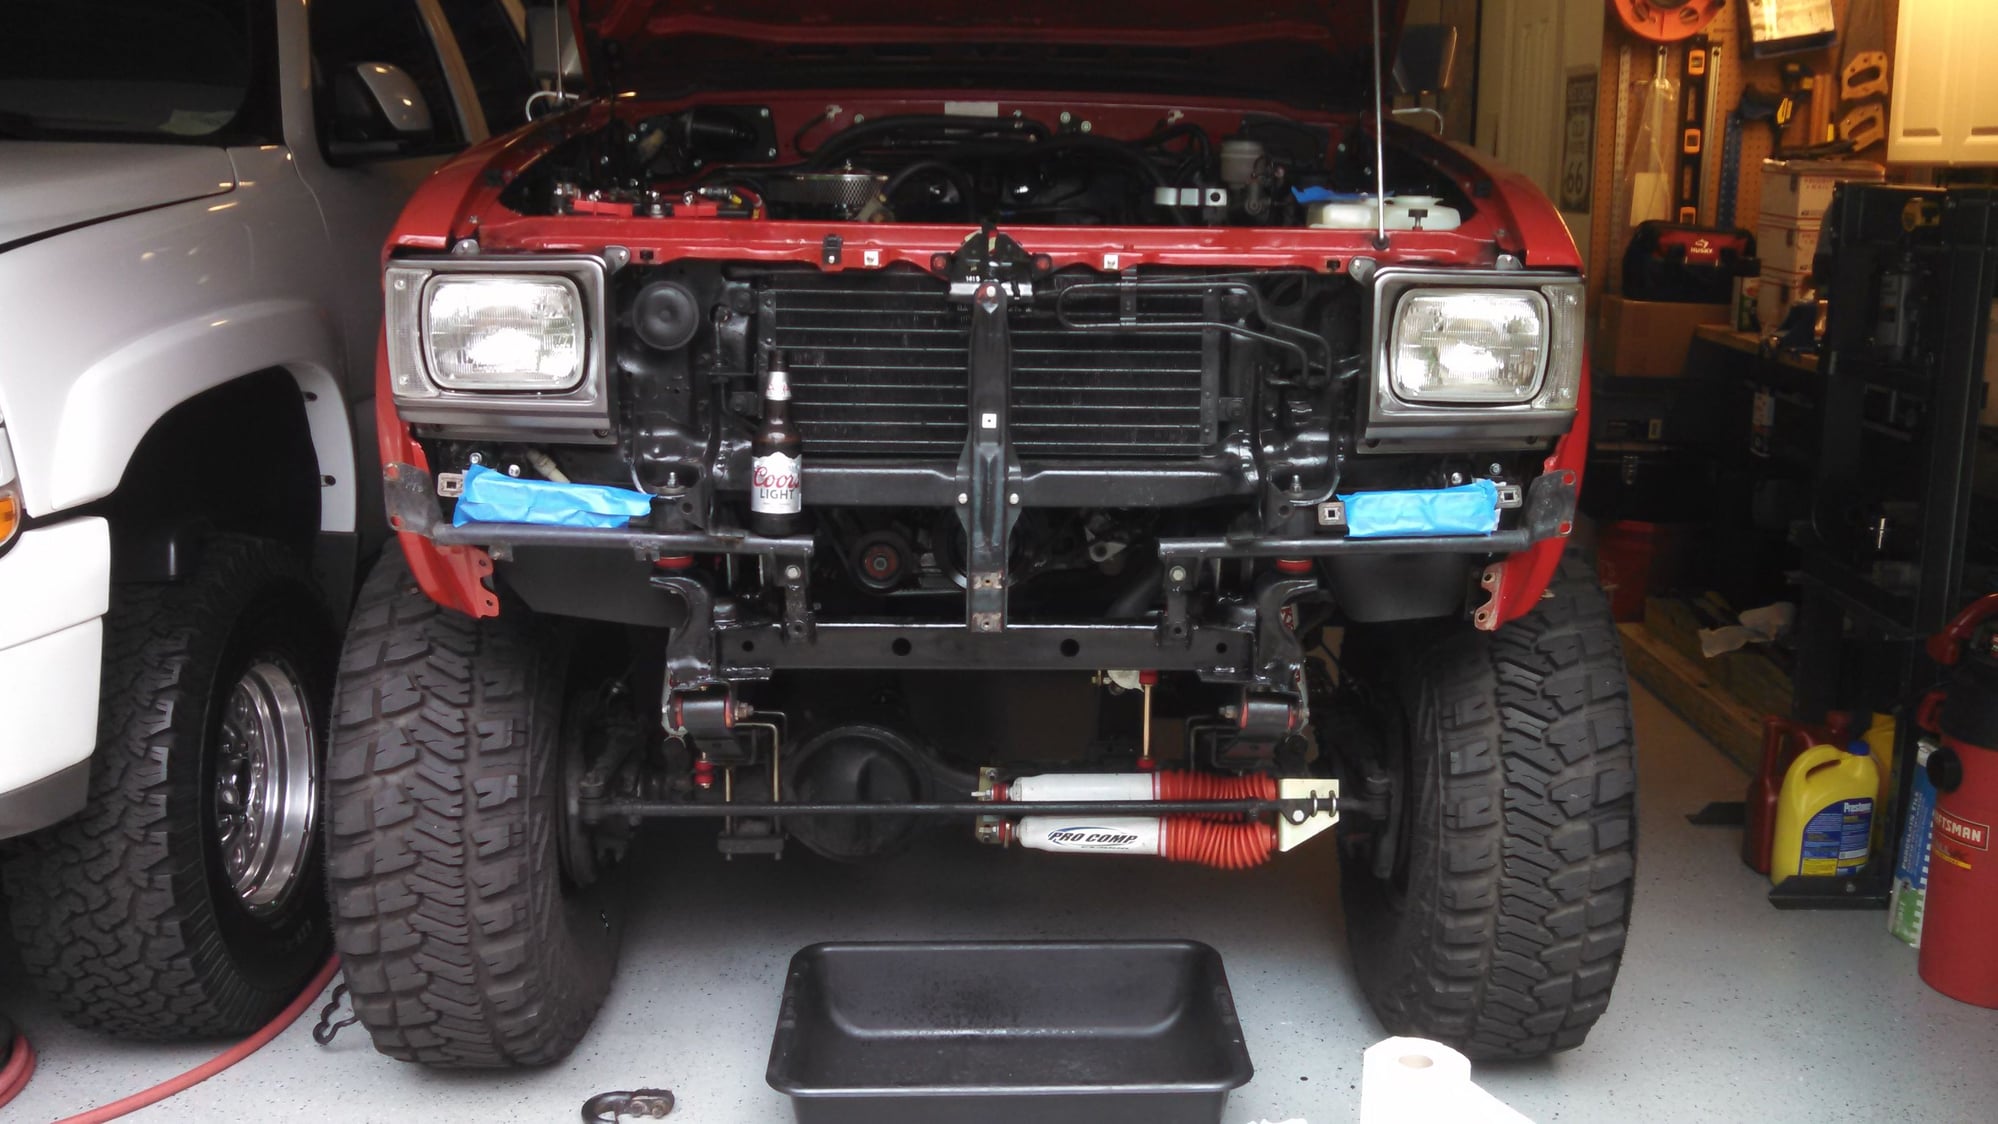
I didn't have an angled impact and I didn't want to spin the crank with a breaker bar attached so I pulled the grill, Bumper, and center bar off to access the crank Pulley with my Craftsman impact. The Three inch Body lift helps makes this possible....
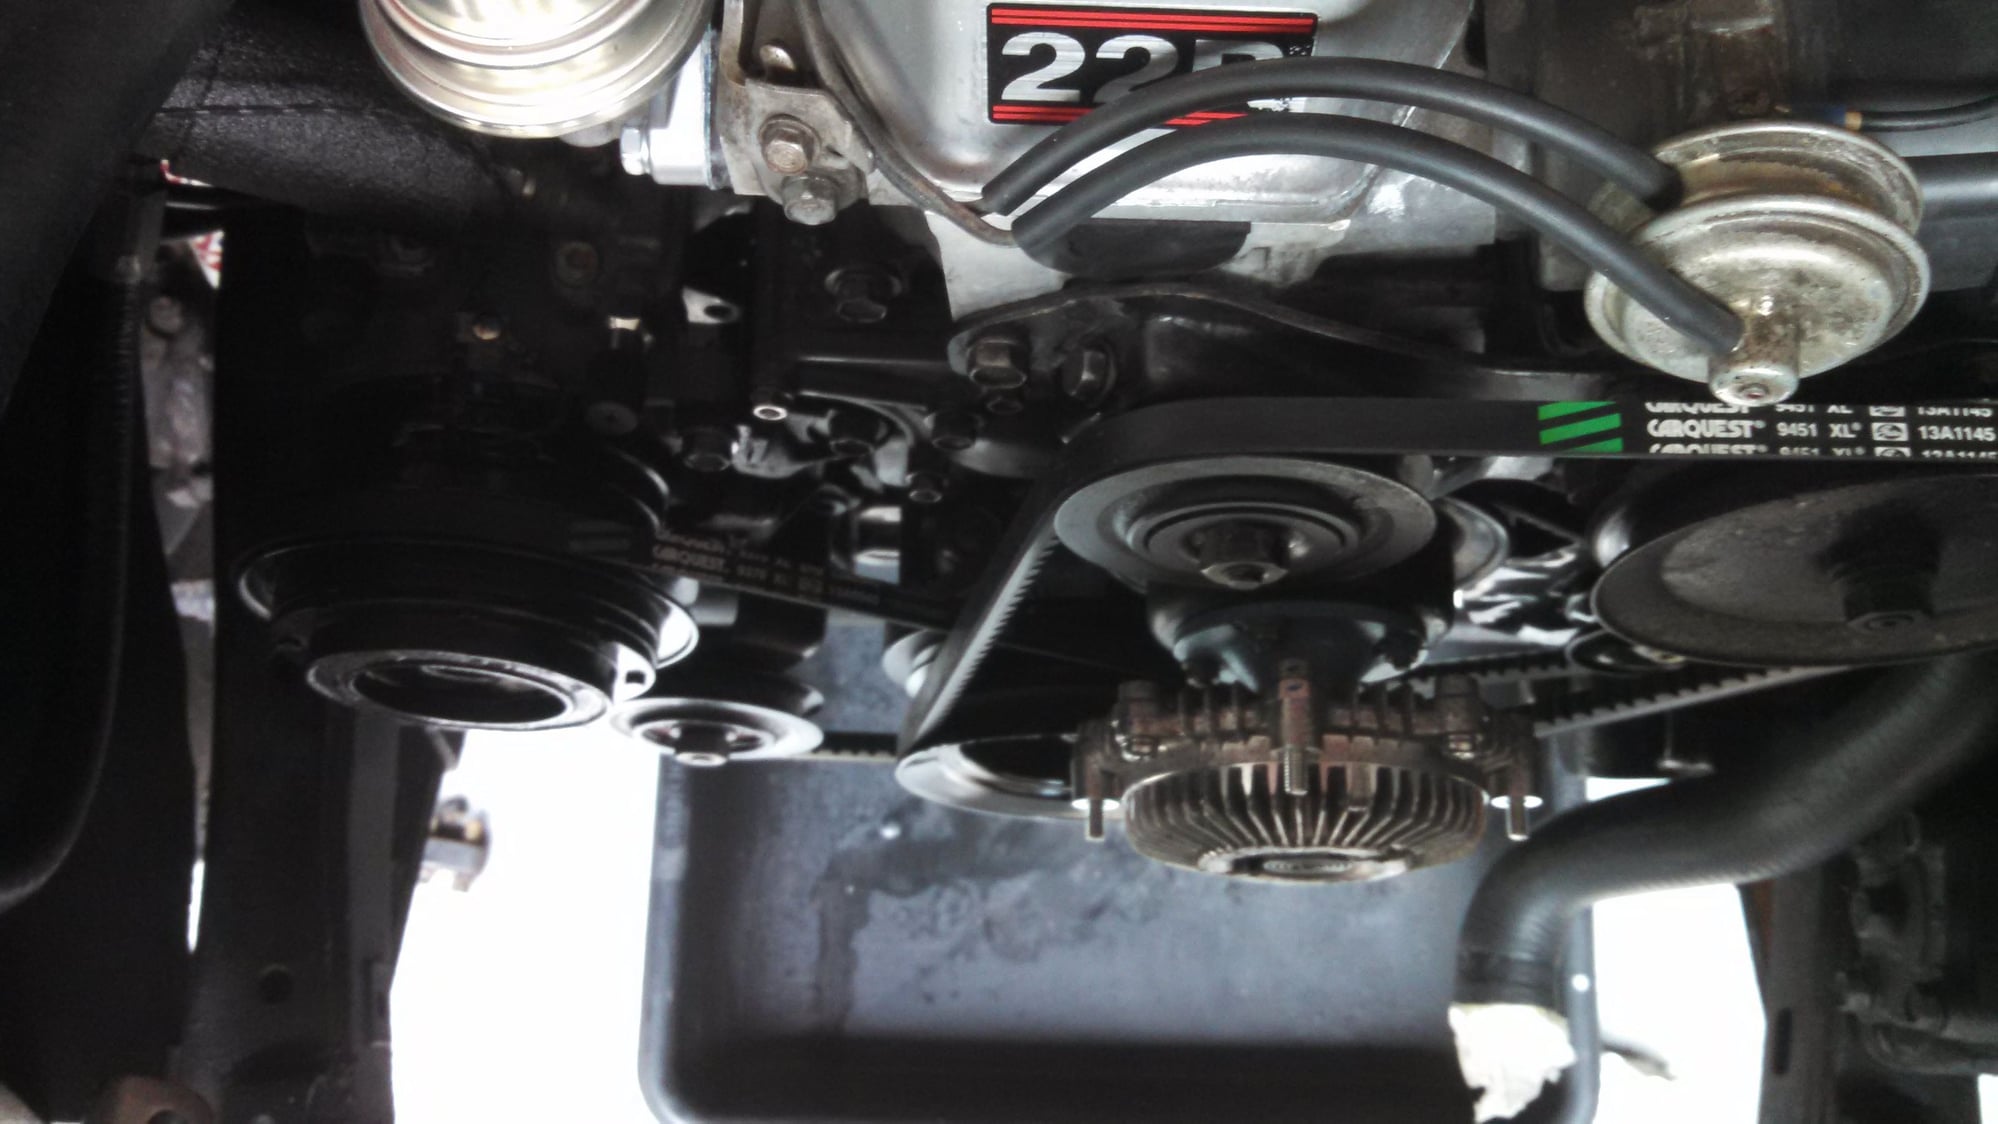
While I was in there I decided to clean up and Epoxy Paint some Pulleys ... Pulled the A/C compressor for cleanup and prepare to get A/C back up and running after a few years of non use

Evaporator and the rest of the system cleaned up and going back in
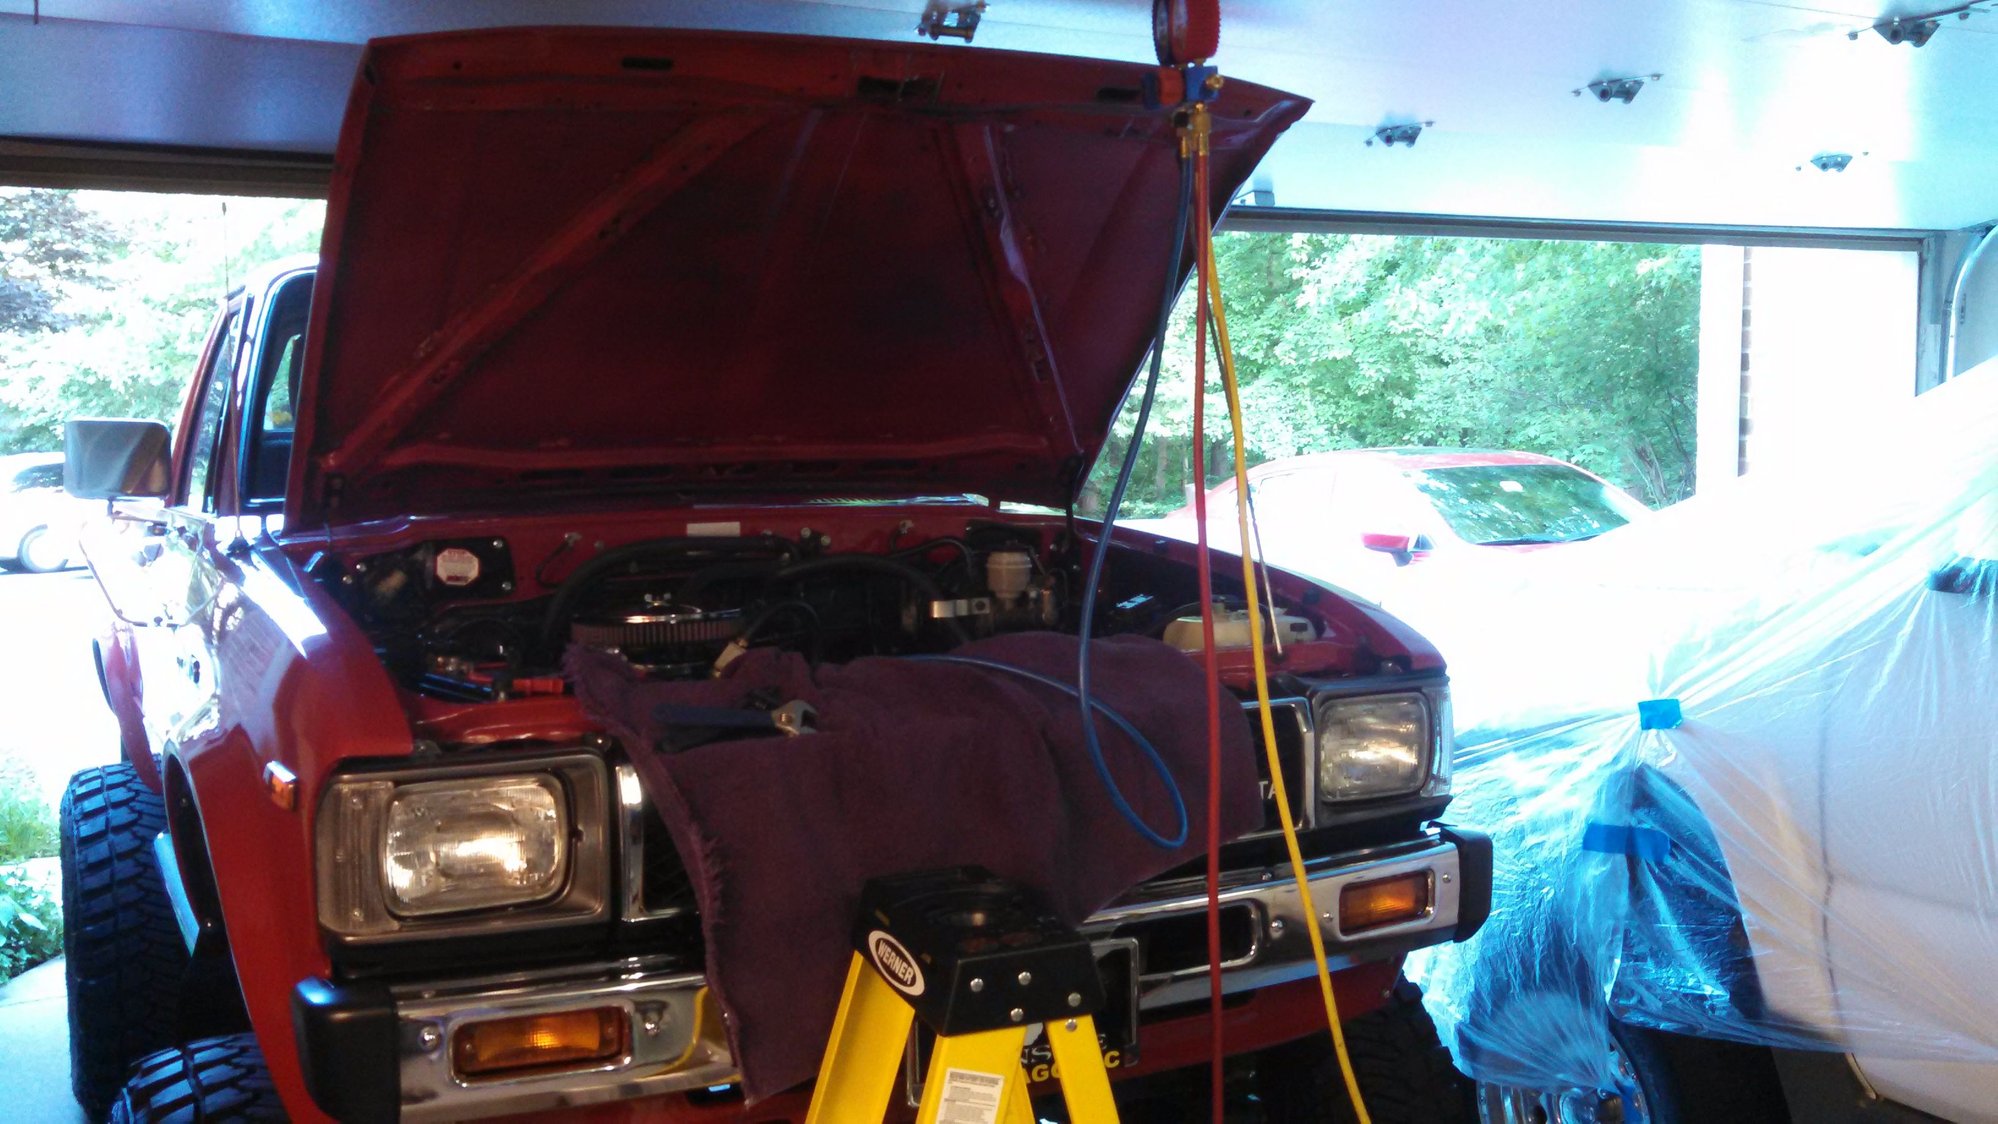
With the Front Crank seal Finished and the A/C System put back together with new O Rings, dryer, and retrofit 134 fittings on the compressor. It was time to see if the system could hold a vacuum which it didn't... so I tracked it down to a faulty new O Ring on the Low pressure hose to the Evaporator. I replaced it with a thicker O Ring. After it held Vacuum for 30 min I introduced new oil and refrigerant...Woohoo A/C again !! Now I can roll my windows up and stop sweating!! UPDATE: After a few days the system still holding and A/C nice and cold.... However I will have to find a VSV for the AC Idle up diaphragm on the carb. One of the POs must have thrown it away which is not surprising considering all the hack wiring and wrong hose connections everywhere that I've had to correct. Without the ac vsv the compressor is dragging normal idle down at stop lights and the ac amplifier inside the evaporator box becomes moot. Until I put the vsv back into the system I've upped my Idle at the adj screw....So the search for parts continues...
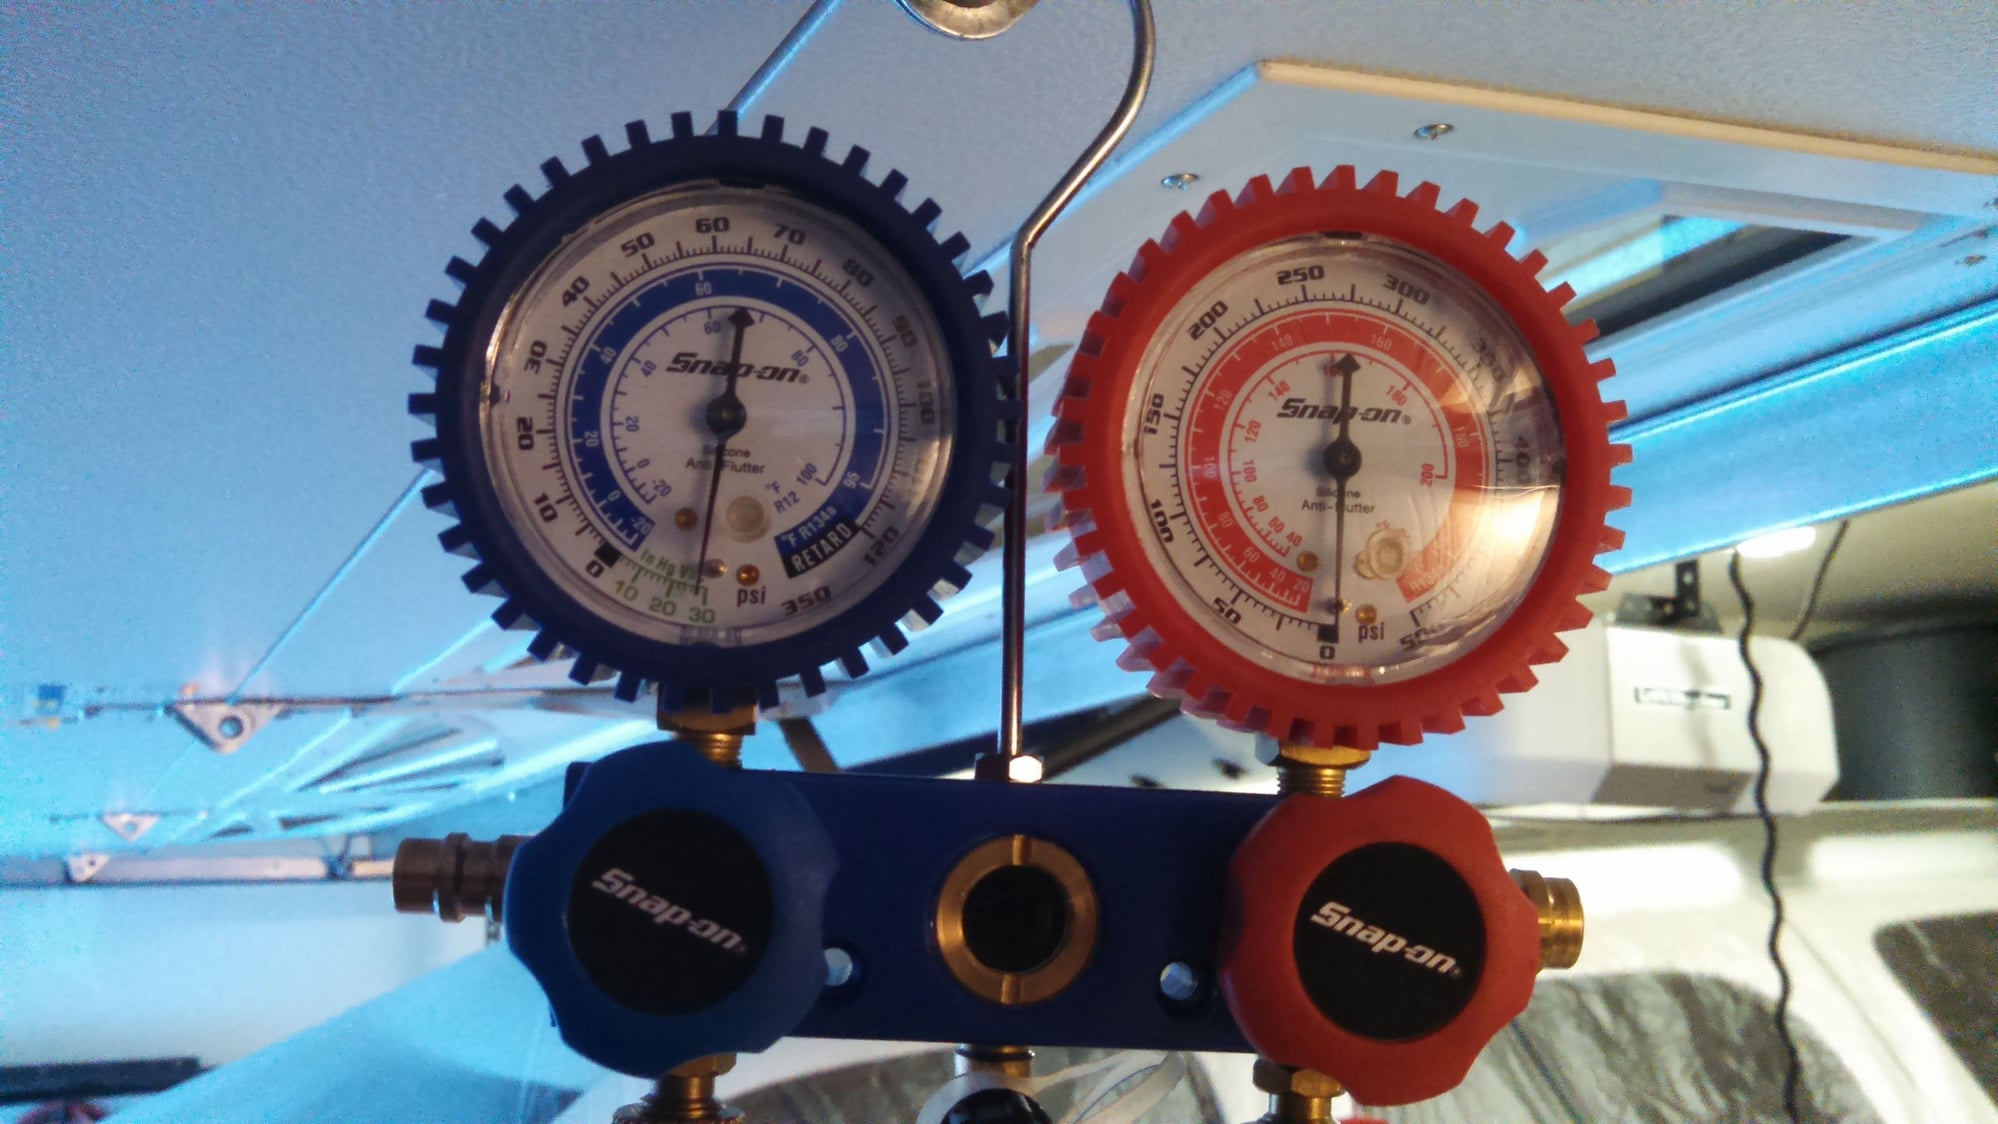
Vacuum
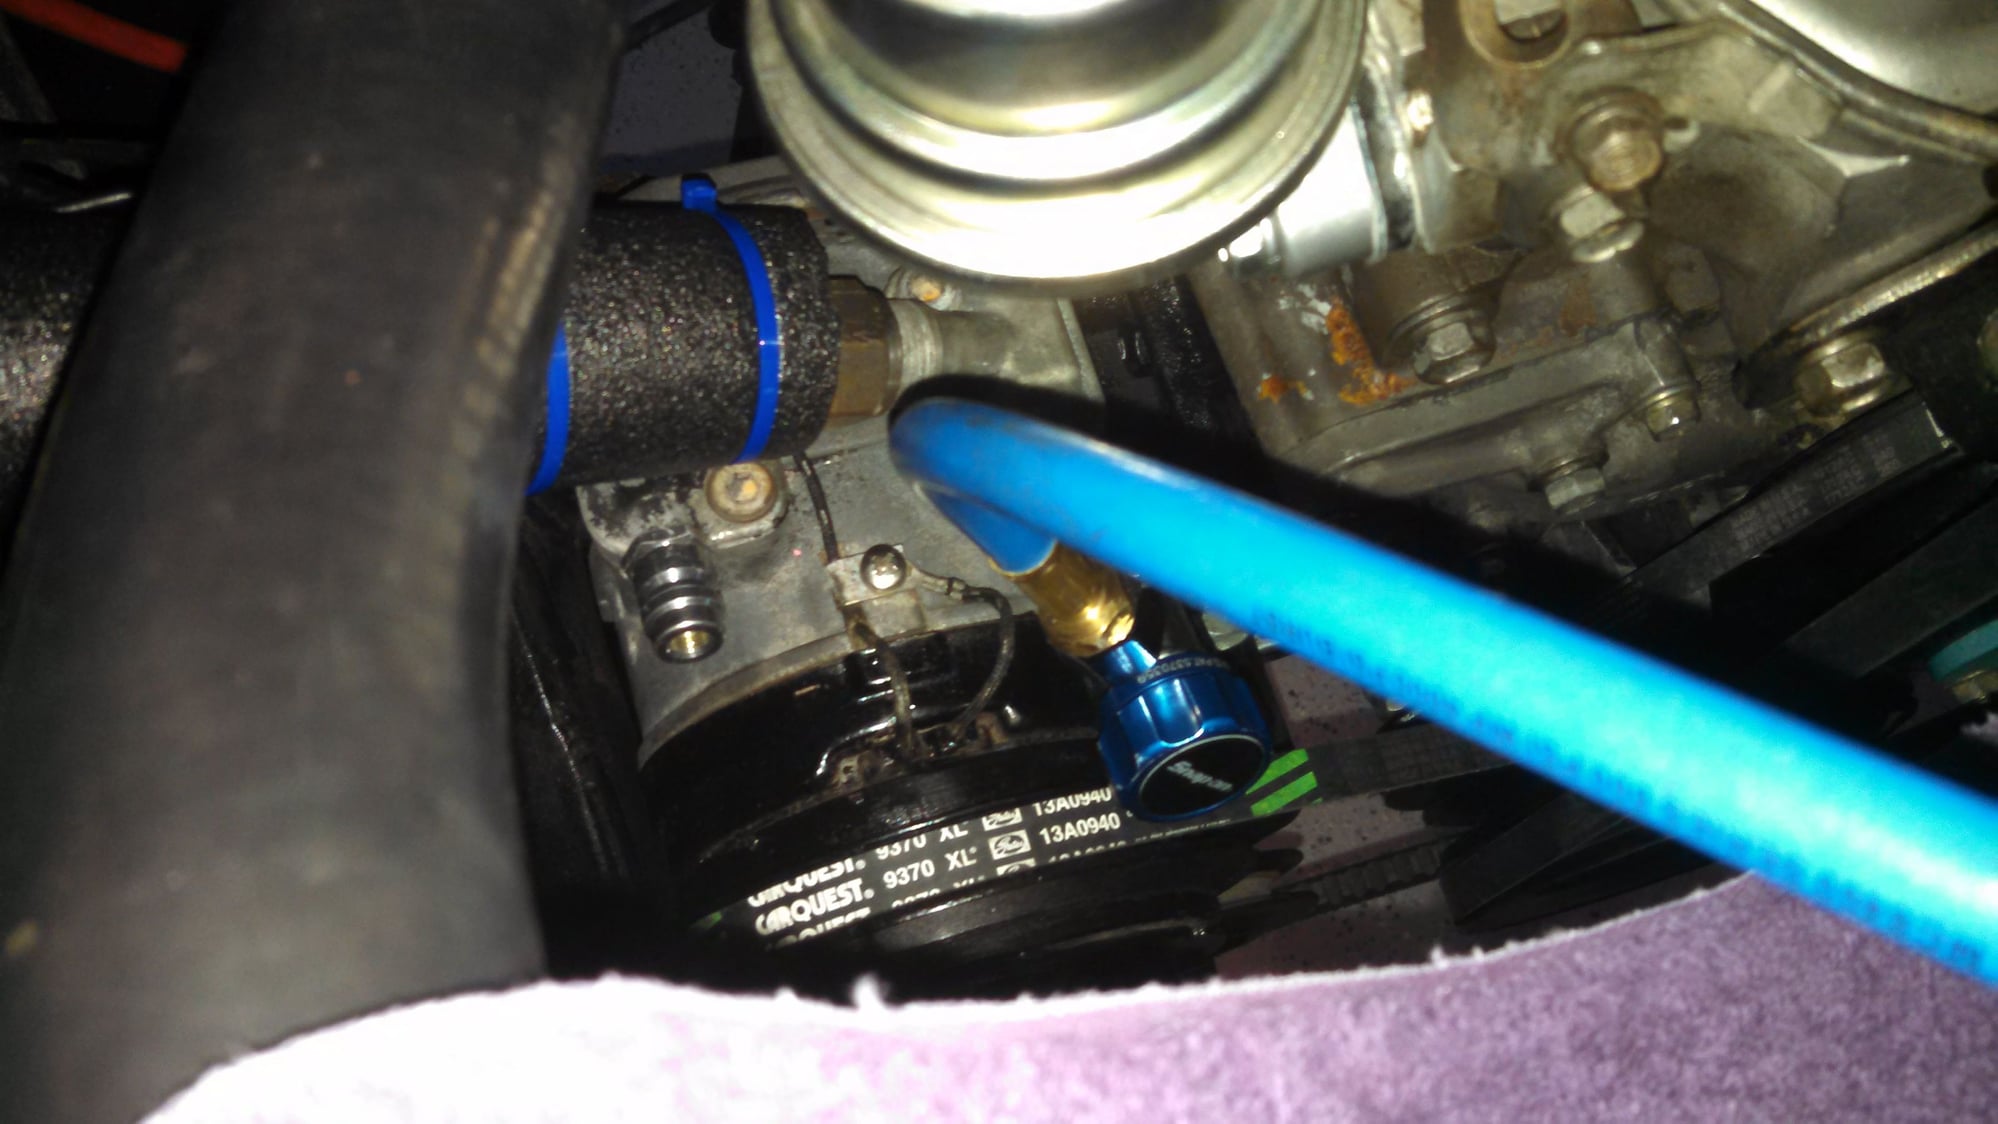
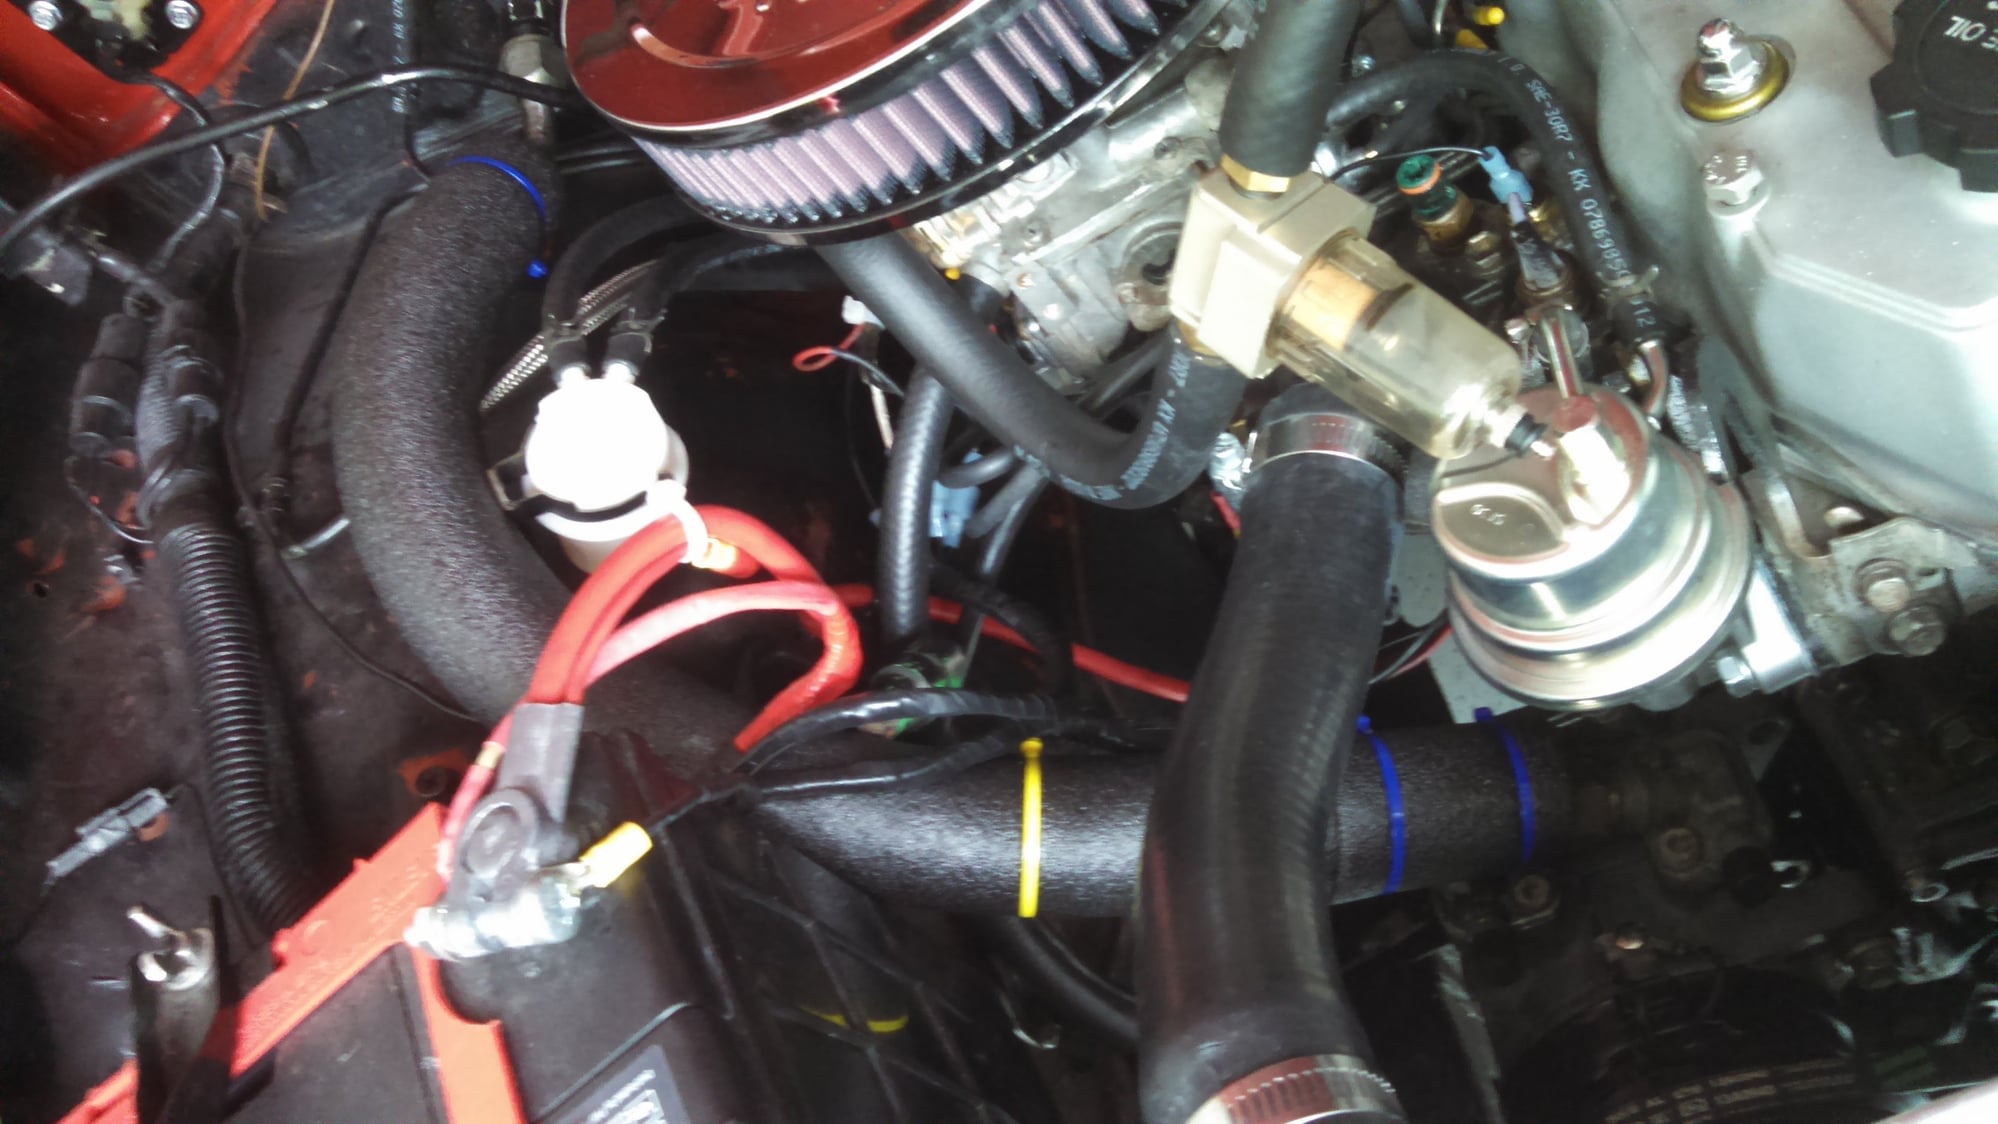
Insulated the Low pressure line...Also the new retrofit fittings for the compressor leaked a little after adding the refrigerant so I removed them and put the old dust caps back on....guess I need to find new 134 fittings that don't leak or only use them when servicing the system.
Last edited by Big Little Bear; 07-06-2016 at 06:50 AM.
#86
Man I love the updates! What did you use to make the new dust shields?
#87
Registered User
Thread Starter
Thanks Yota dude! I think you're asking about the Gap guards in the front fender wells ?,... I used a rubber mat made for under workout equipment or other home uses That I found at Lowes. There is a pic of it on the previous page where I also used it on the rear wheel wells....I have also seen a rubber mat material for workshop areas that has a diamond plate design....
Last edited by Big Little Bear; 07-06-2016 at 06:57 AM.
#88
Exactly..Thank you!
#89
Registered User
cool truck. i really wish i knew who all these previous owners were of all our vehicles, the work and fixes you see done sometimes just astound the mind. Someone painted just the hood and front fenders of my truck and literally ran a line of masking tape down the BODY where they stopped. also managed to get over-spray all over everything while they were at it.
nice work on your truck though, as bad as it looks sometimes you do have a good base to work with. nice to see you keeping steady progress on it.
nice work on your truck though, as bad as it looks sometimes you do have a good base to work with. nice to see you keeping steady progress on it.
#90
Registered User
Thread Starter
Thanks Reluctanse! .. Yeah I got Lucky when I found this Truck.... I was able to get a little history on this truck from The Guy I bought the truck from and know that he inherited all the same issues that you see getting addressed here by me,
He had the truck for such a short time and started the resto with the Lift and Tires then had to sell it to me due to a unexpected financial issue..
But I know what you mean when you see some of the stuff that you see....It's almost like you have to fix it, before you can actually fix it.... LOL
With that said.... I know I could do better too, If I could stop myself from enjoying driving it all the time and if I could throw more money at it.
#92
Good job bringing this truck back. Just started my 83 and it's nice to see that there is hope. I'm dealing with a bunch of the same hack-job wiring and vacuum issues you've gone through. Super frustrating without really knowing the thought process of the previous owner. Anyway, your ride looks awesome.
#94
Registered User
Thread Starter
Thanks... for the compliments. Lol on PO thought process...I'm sure this truck had a few...and I'm sure some could poke fun at some of the things I've done for lack of skill set or money.
#96
Registered User
Thread Starter
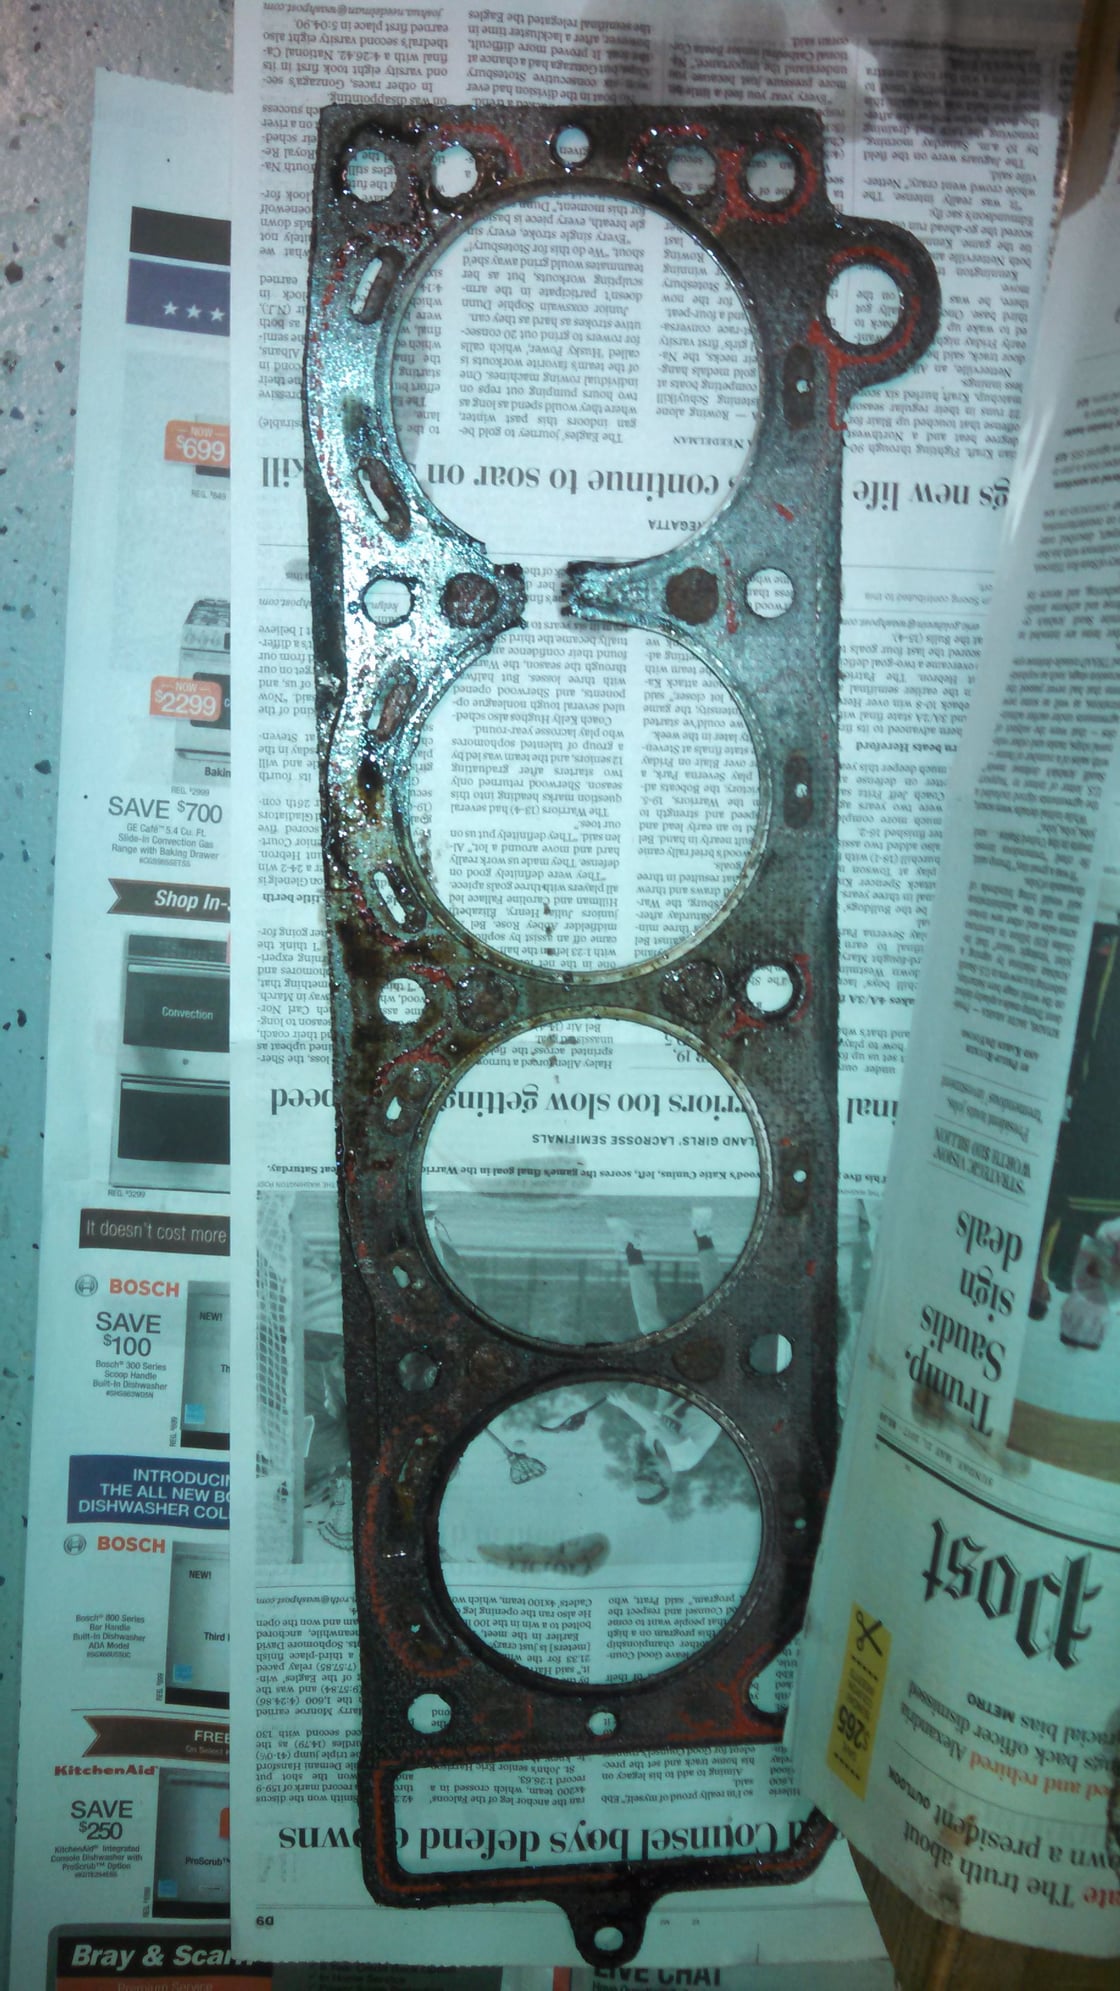
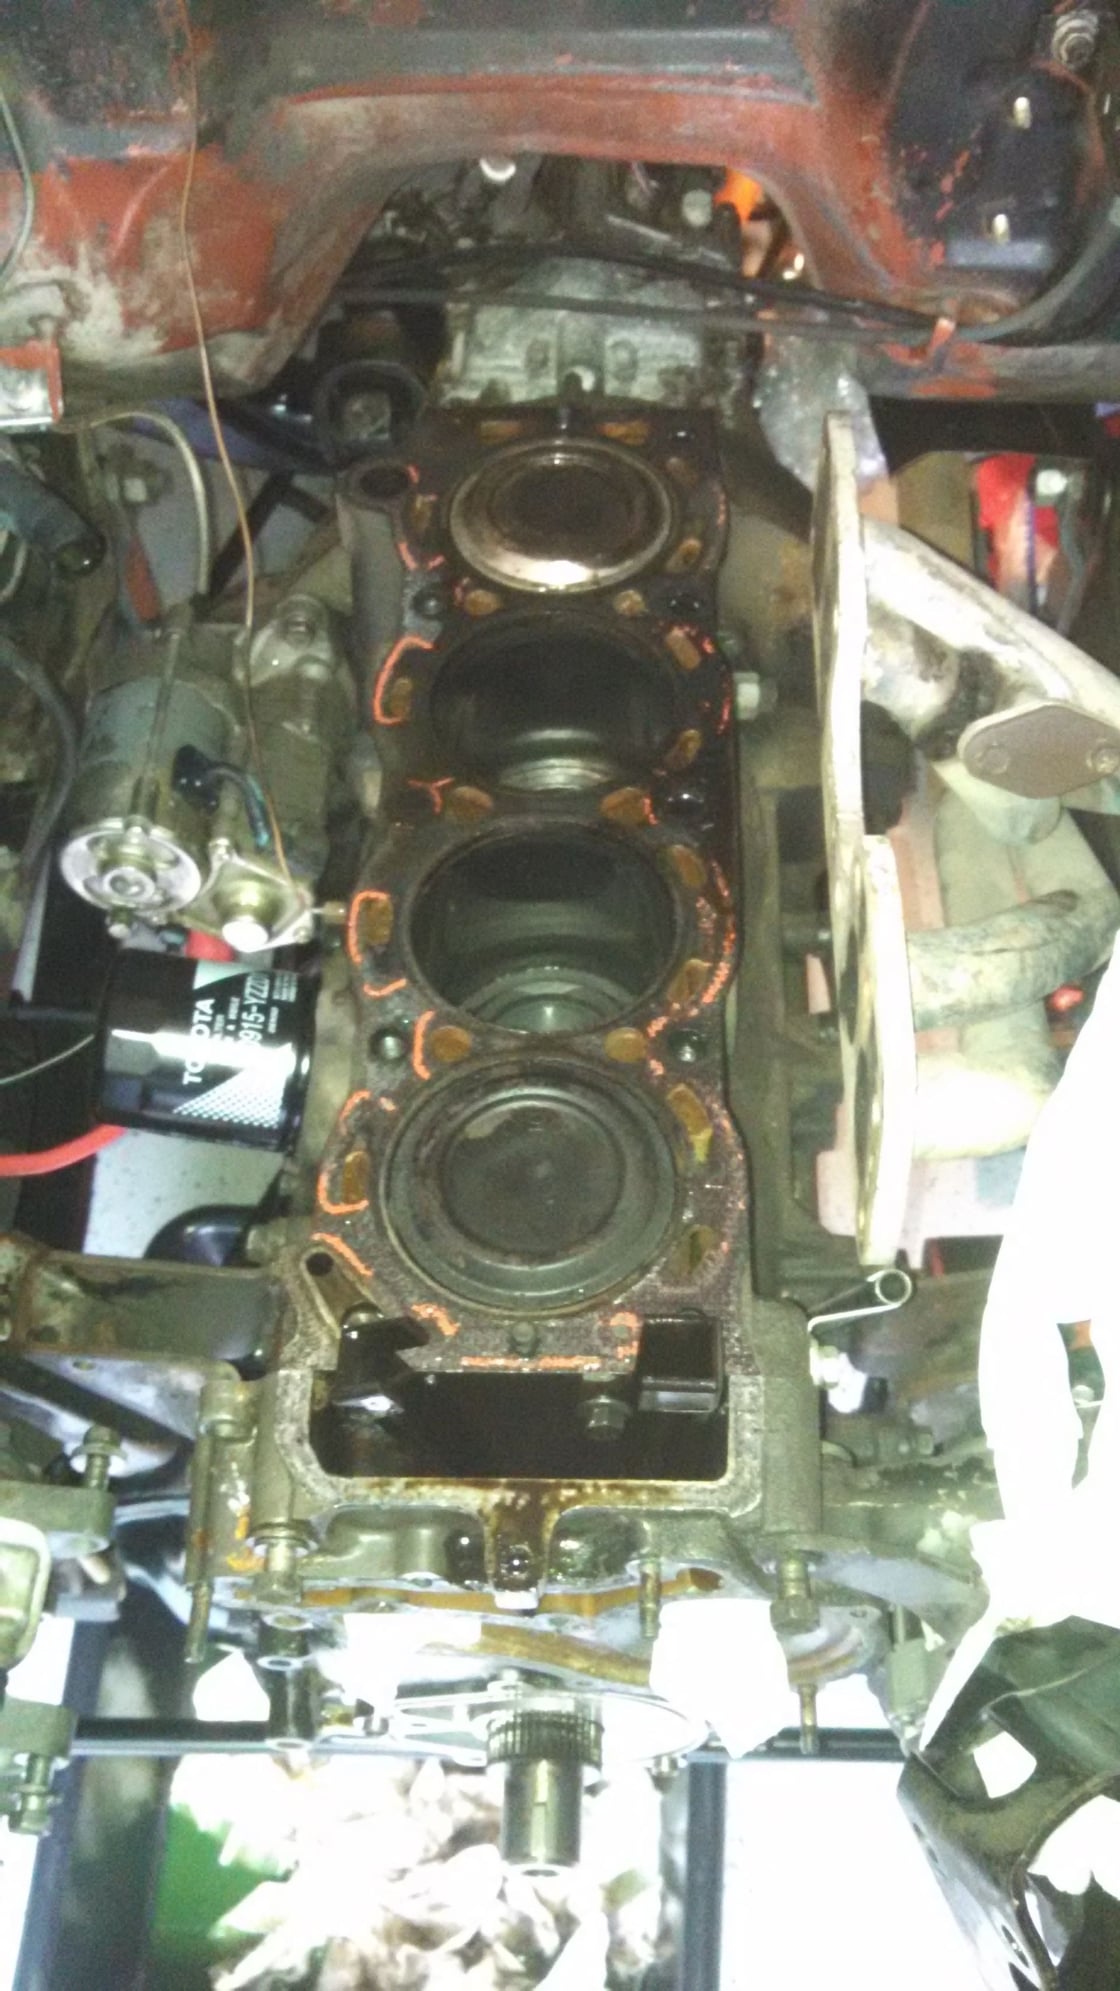
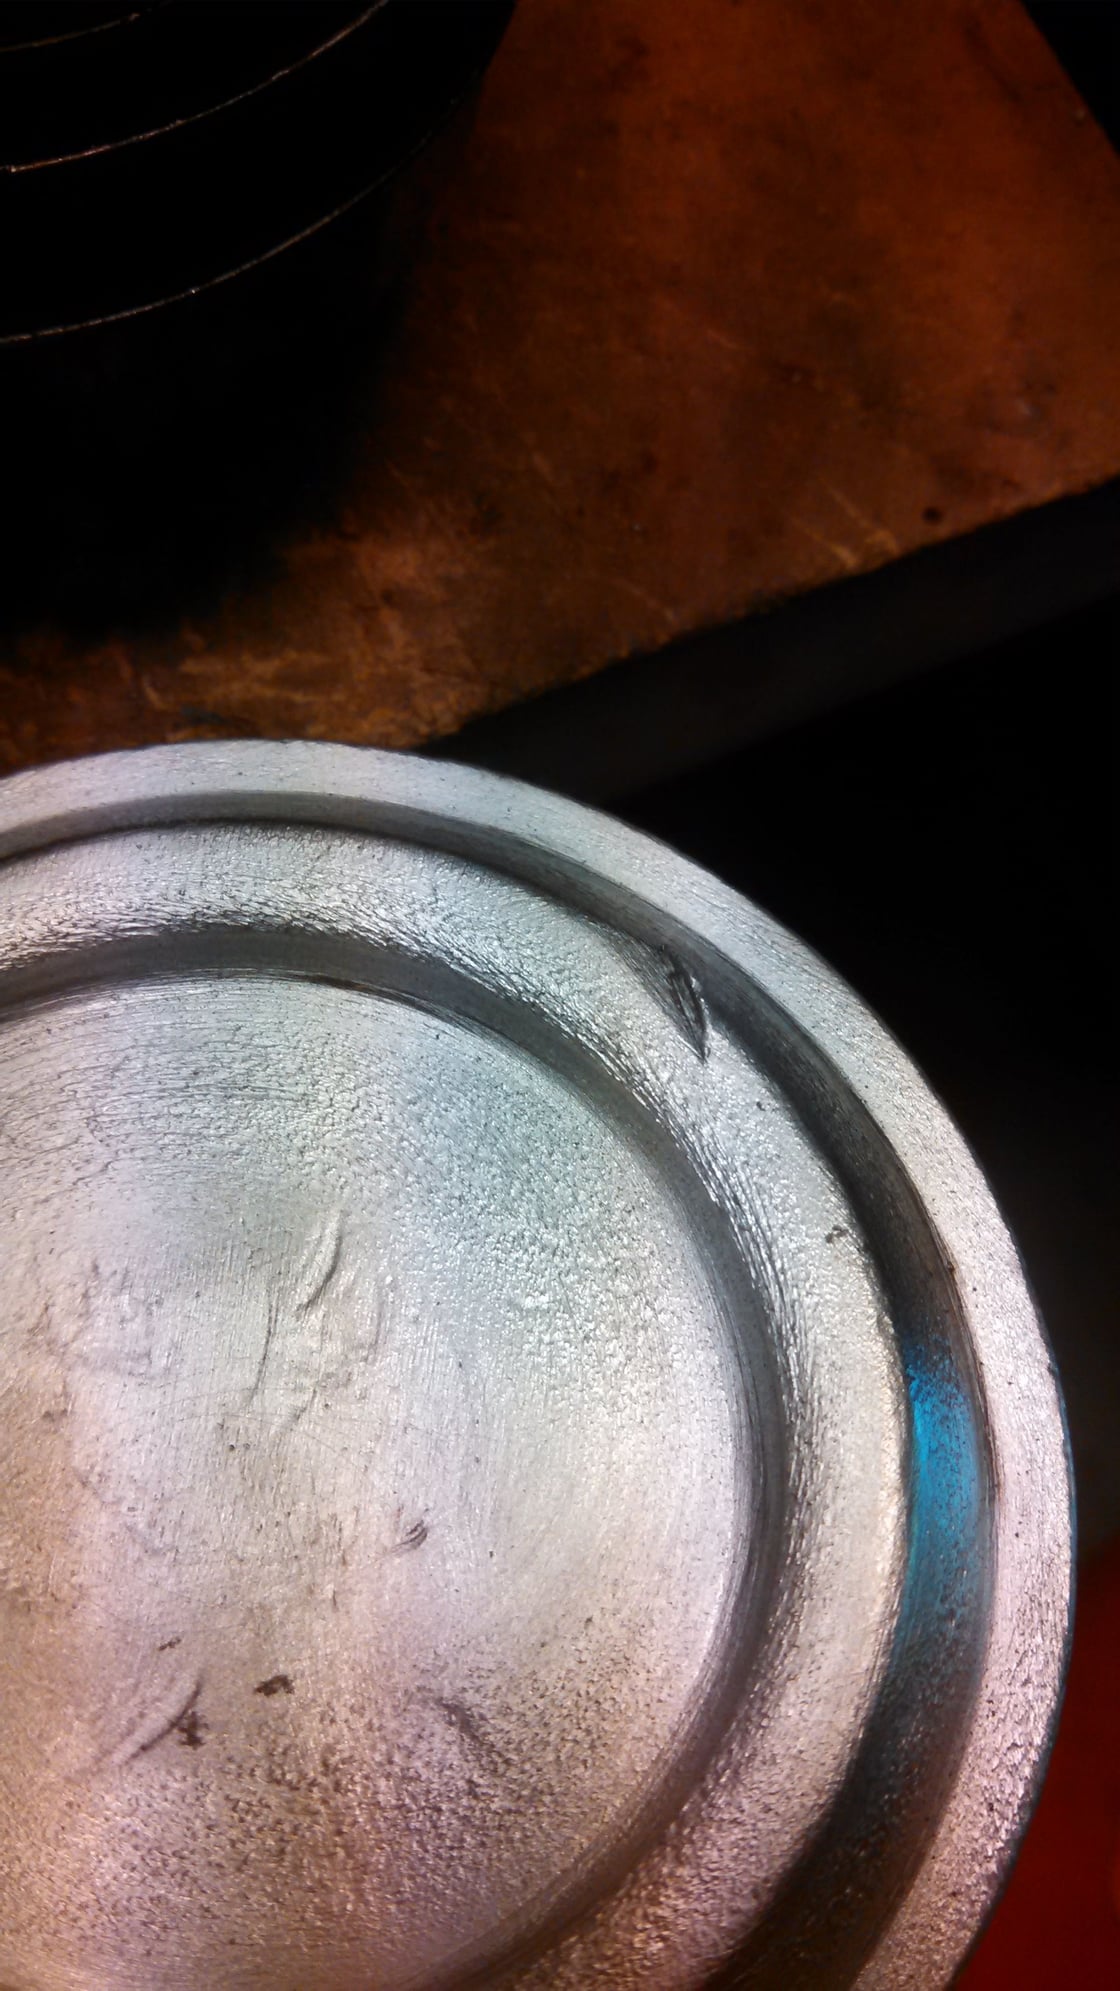
So 2017 Brings me this. A few weeks ago the BRRT lost power made a lot of racket and limped home but couldn't get above 35 or 40. No fluid xfer but obviously no compression.
#97
Registered User
Thread Starter
Last edited by Big Little Bear; 09-08-2017 at 11:35 AM.
#98
Registered User
Thread Starter
Last edited by Big Little Bear; 06-20-2017 at 12:15 PM.
#99
Registered User
Thread Starter
Now being poor and having an ol' Lady that doesn't like to see greenbacks flowing into what she calls a "hobby truck" doesn't bode well for me getting a much needed Long block.... So I'm going to have to do this redneck style and see how far It gets me....Lol
Last edited by Big Little Bear; 06-20-2017 at 12:17 PM.
#100
Registered User
Thread Starter
