Single Cab Bumper Build
 Jul 21, 2012 | 09:22 PM
#21
Thread Starter
Registered User
Joined: Feb 2010
Posts: 409
Likes: 1
From: Oakridge, Oregon
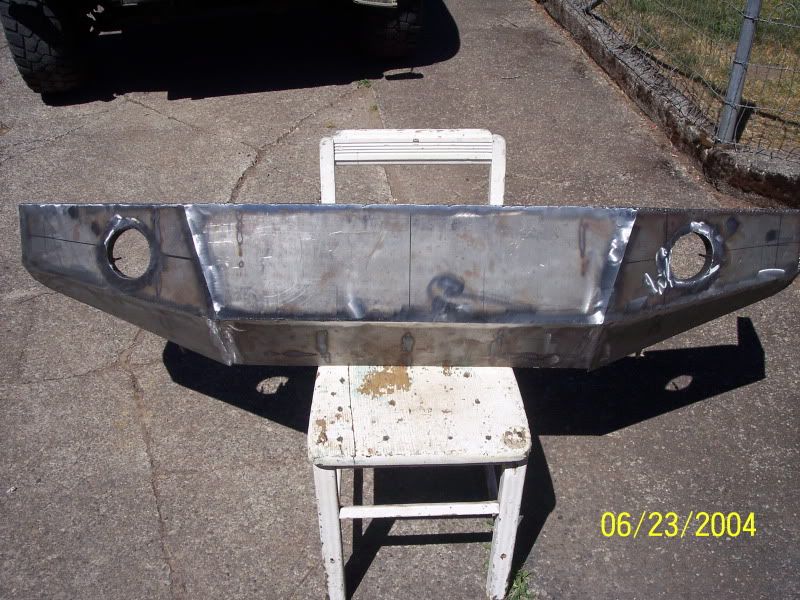
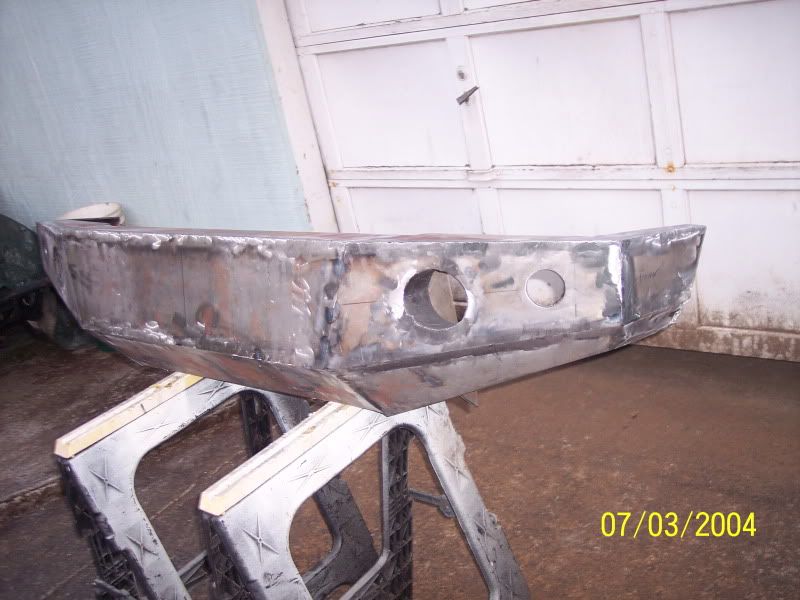
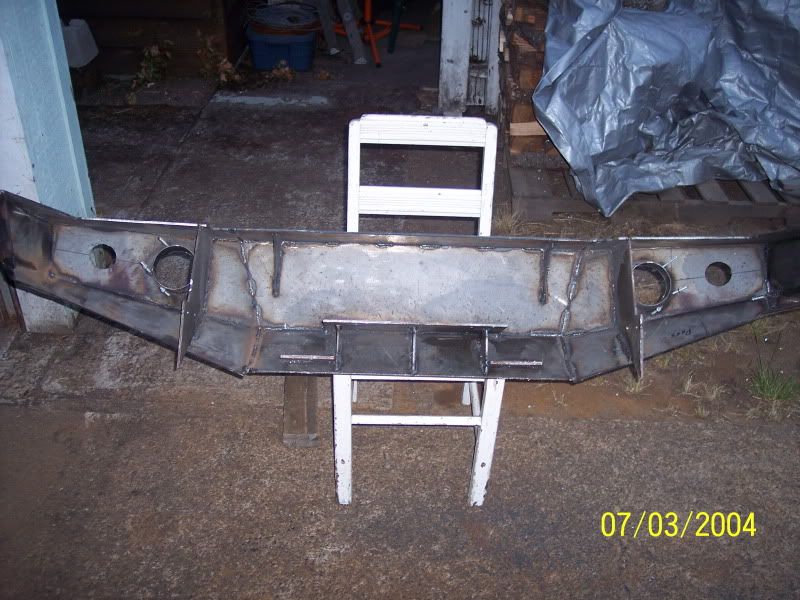
Progress has slowed, Been to hot to really do anything. I can really only work from 7:30-9.
But latly ive been trying to find and match the angles to make the recessed lights look correct. Plus finding the correct pipe. I really need 4 1/16''- 4 1/8'' inner diameter thin wall pipe. But 4'' outer will have to work. So i purchased about two feet of 4'' exhaust pipe and went to work finding the angles. All is good just needs to get cut out and welded/grinded in. That i may do tomorow or thursday.
It may not be 100% perfect but its works for me.
Jul 22, 2012 | 06:12 AM
#22
Registered User
Joined: Nov 2010
Posts: 167
Likes: 1
From: Central Oregon
So what would a guy have to do to get copies of your patterns? I live over here in Bend and my uncle is a long time local in Oakridge. Floyd Staley. You might have heard the name. Anyway, do you think that pattern would fit an 86?
Mat
Mat
Jul 22, 2012 | 09:26 PM
#23
Thread Starter
Registered User
Joined: Feb 2010
Posts: 409
Likes: 1
From: Oakridge, Oregon
Yea i know floyd. Ive know him ever since i was like 5. Im suprised he hasnt asked for my metal scraps yet, jk.
Anyways i wasnt planning on doing anything tonight but today was alot cooler then it has been like the whole month. So i figured i might as well.
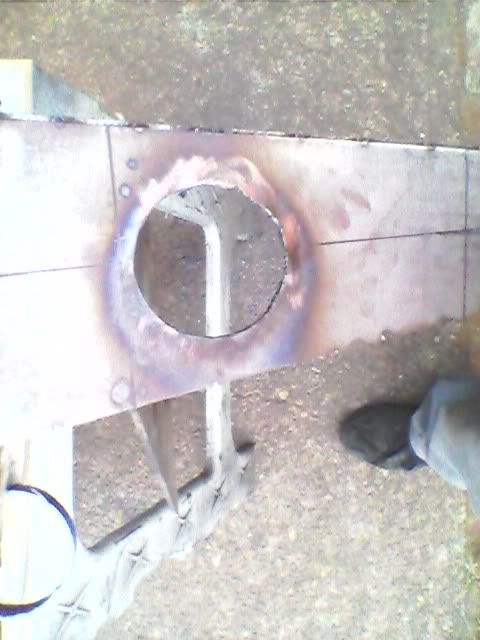
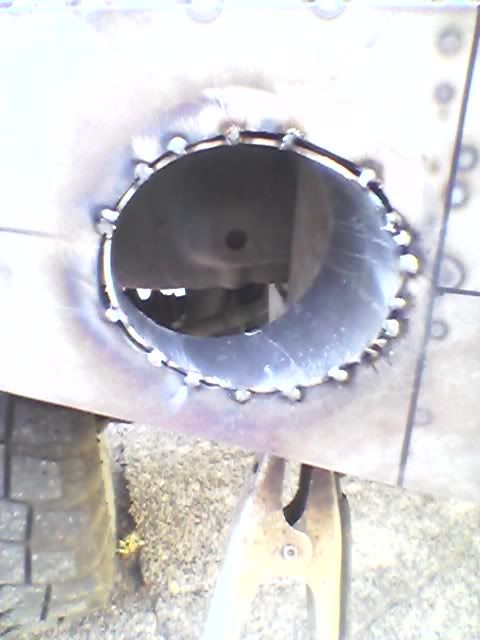
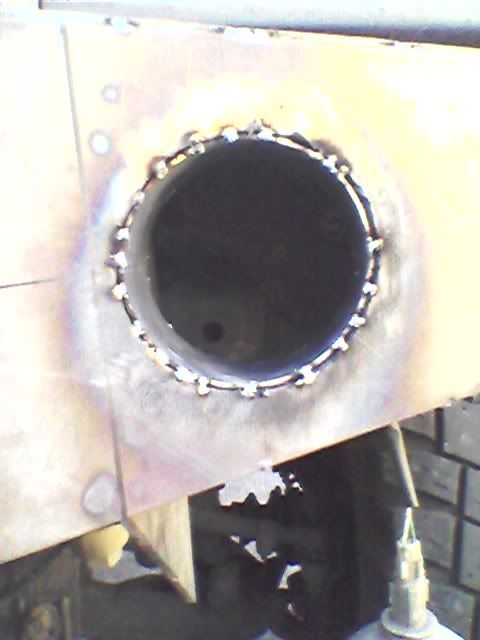
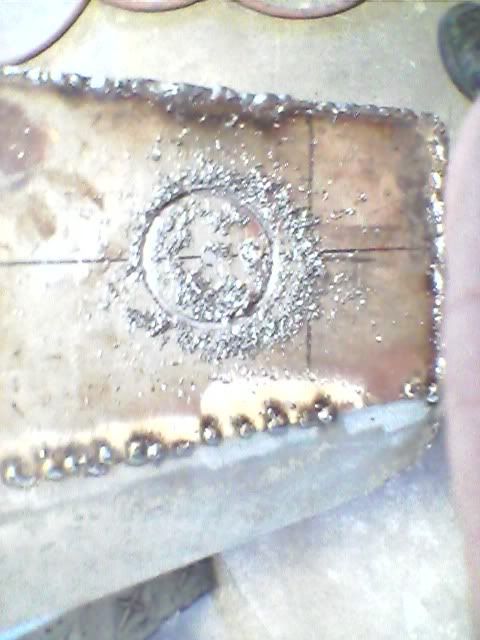
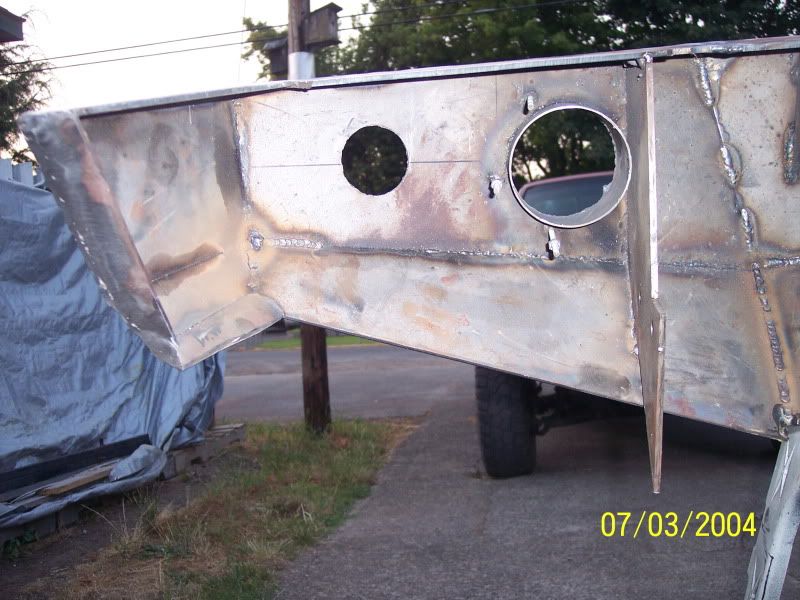
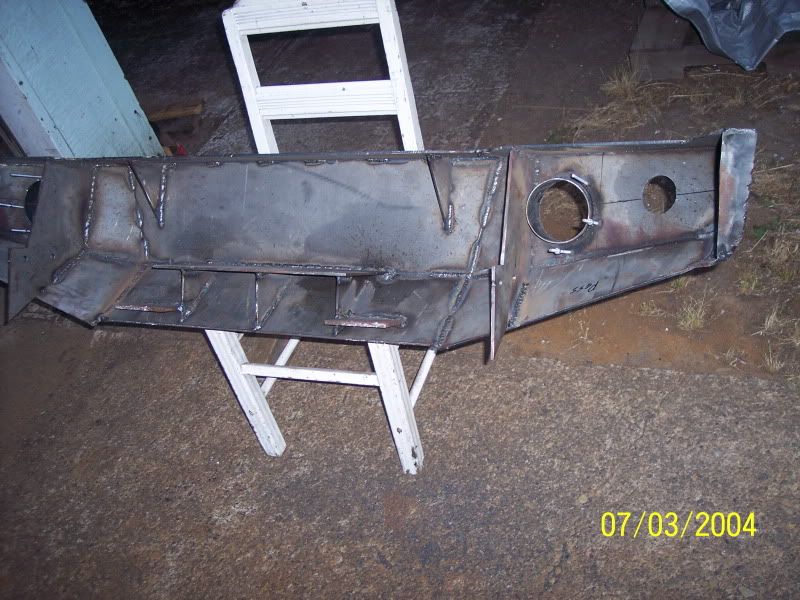
Got the torch out and decided it was the quickest way to blast some holes. I have not used a torch in years so bear with me.
Did some grinding. Figured out using the 4 1/2 angle grinder with worn out disks worked the best.

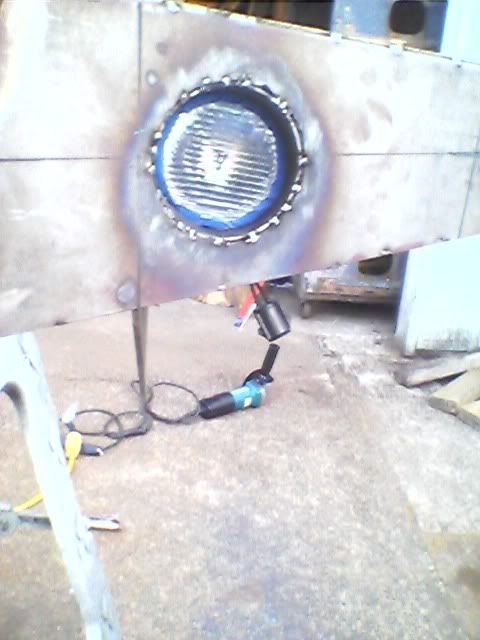
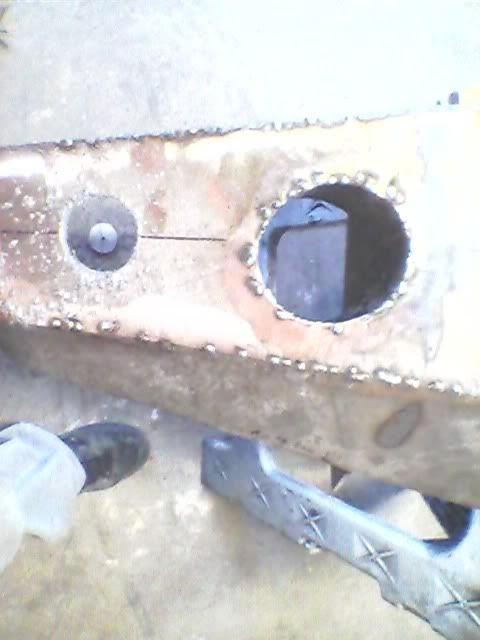
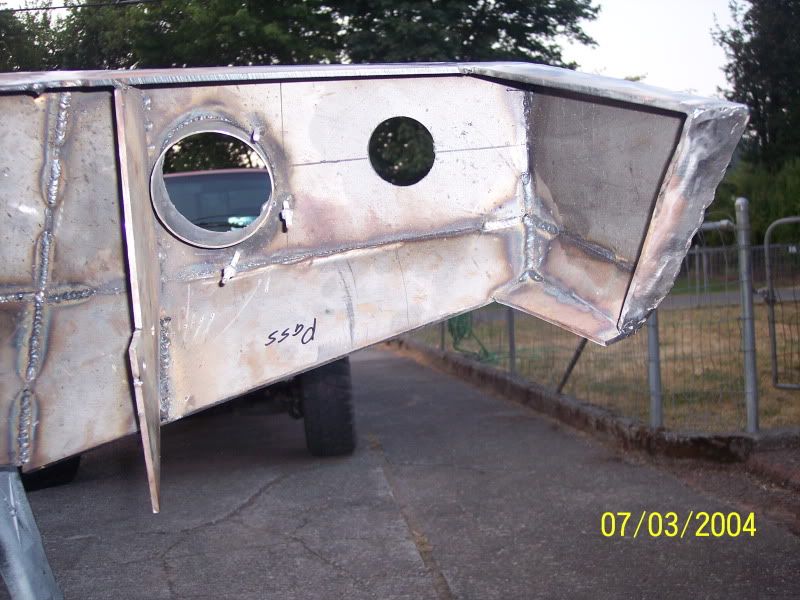
Put the bumper back on and slid the light "buckets" into place. They fit well for using a cutting torch and grinding. Next step is to tack them and then start building the mounts to hold the lights.
Here is how they look with the lights in place. I like it, i think its going to shine well with HID's. I think i will only be able to run 35 watt lights because the heat and also cause the lights are plastic.
Anyways i wasnt planning on doing anything tonight but today was alot cooler then it has been like the whole month. So i figured i might as well.
Got the torch out and decided it was the quickest way to blast some holes. I have not used a torch in years so bear with me.
Did some grinding. Figured out using the 4 1/2 angle grinder with worn out disks worked the best.
Put the bumper back on and slid the light "buckets" into place. They fit well for using a cutting torch and grinding. Next step is to tack them and then start building the mounts to hold the lights.
Here is how they look with the lights in place. I like it, i think its going to shine well with HID's.
I think i will only be able to run 35 watt lights because the heat and also cause the lights are plastic.
Jul 22, 2012 | 09:28 PM
#24
Thread Starter
Registered User
Joined: Feb 2010
Posts: 409
Likes: 1
From: Oakridge, Oregon
About the pattern, we can figure something out. Maybe ill make a cad diagram of it or draft it out on paper with the anlgles and measurements.
I dont think its would fit an 86. I think the parts by the fenders would look weird.
Jul 26, 2012 | 10:18 PM
#26
Thread Starter
Registered User
Joined: Feb 2010
Posts: 409
Likes: 1
From: Oakridge, Oregon
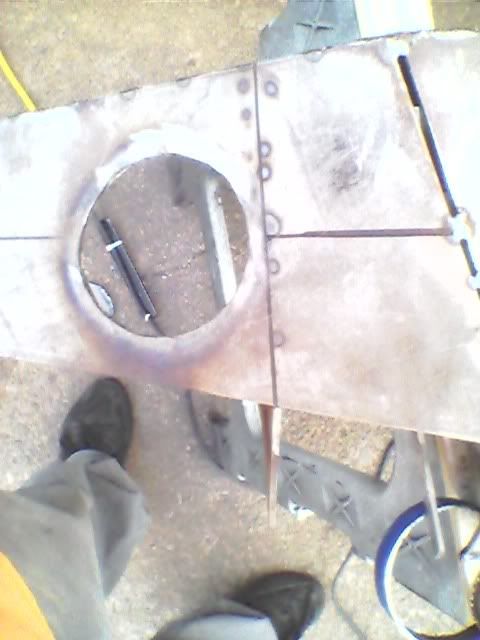
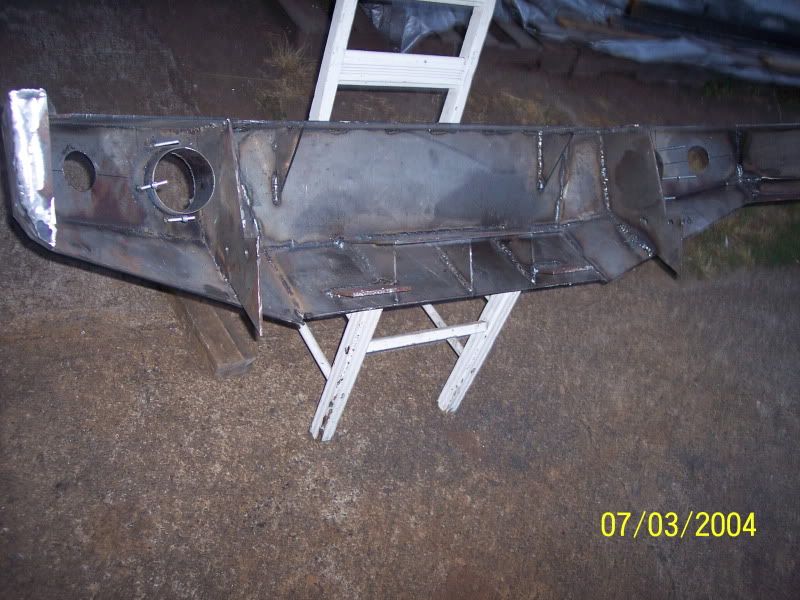
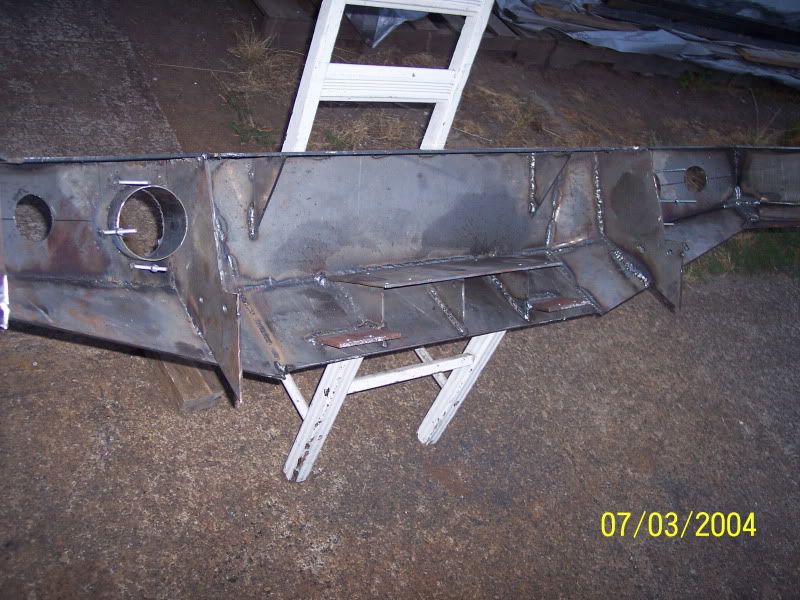
So i got a little bit done today. Got the buckets tacked into place and i think i got the angles correct. Started working on the brackets. The brackets on the lights have a really wierd mounting system. All i could think of is using all-thread. Im not a big fan of that stuff but i think its going to have to work. I will take some more pictures tomorow on the mounting system.
Anyways on with the pictures.
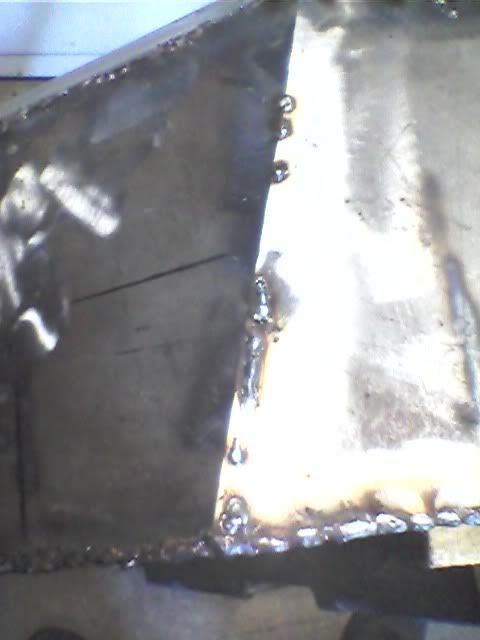
I know i tacked them a dozen times to many but i was having fun. And i didnt want them to break off when i lifted the bumper off.
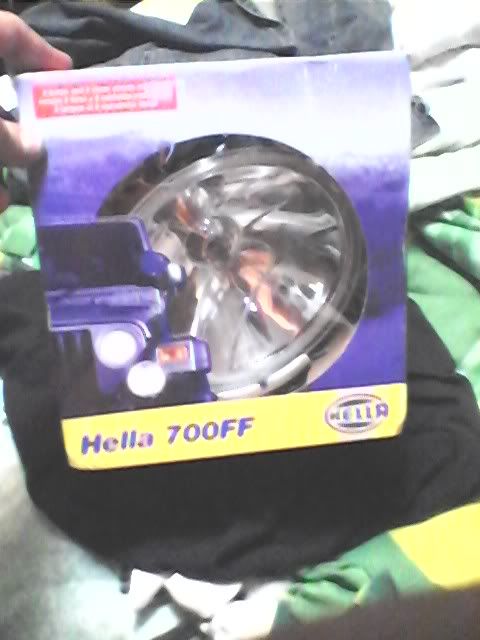
I saw these on ebay a few days ago. I used to have these on my truck before i hit a deer and i was really happy with the light output for the price. So i had to have them. Im thinking i will mount them ontop of the bumper. But i dont know yet. If the recessed lights are bright enough i may just sell these.
Anyways on with the pictures.
I know i tacked them a dozen times to many but i was having fun. And i didnt want them to break off when i lifted the bumper off.
I saw these on ebay a few days ago. I used to have these on my truck before i hit a deer and i was really happy with the light output for the price. So i had to have them. Im thinking i will mount them ontop of the bumper. But i dont know yet. If the recessed lights are bright enough i may just sell these.
Last edited by TylerH; Jul 26, 2012 at 10:20 PM.
 Aug 1, 2012 | 02:16 PM
#28
Thread Starter
Registered User
Joined: Feb 2010
Posts: 409
Likes: 1
From: Oakridge, Oregon
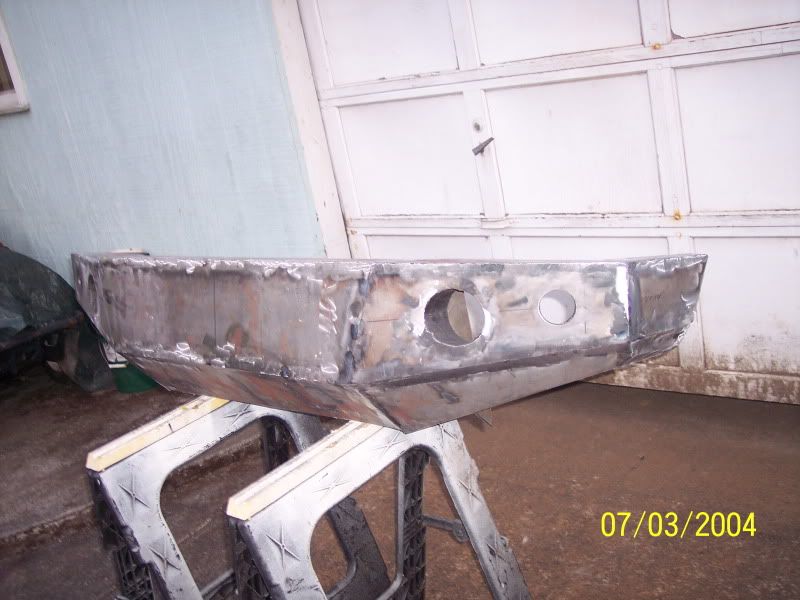
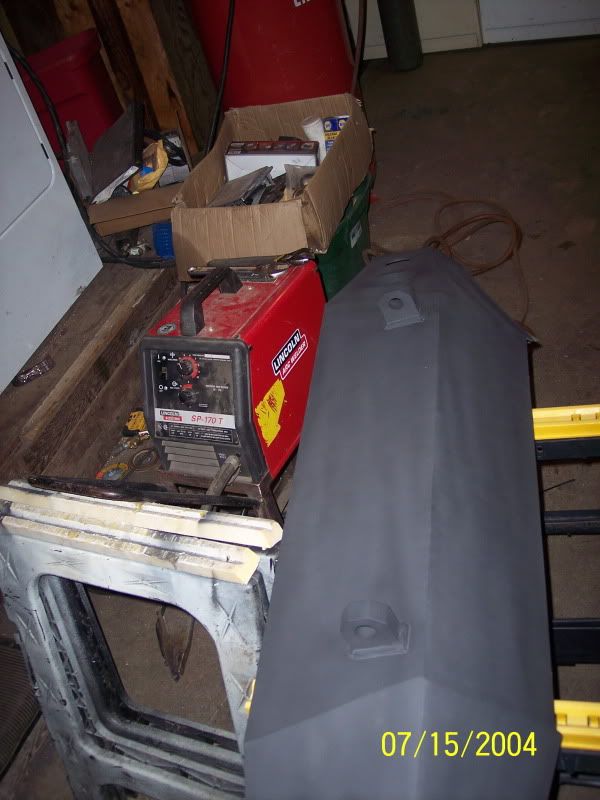
Had today off so what better way to spend a day off then throwing sparks!

Welder was not welding well. I dont know why. It looks bad but holds well
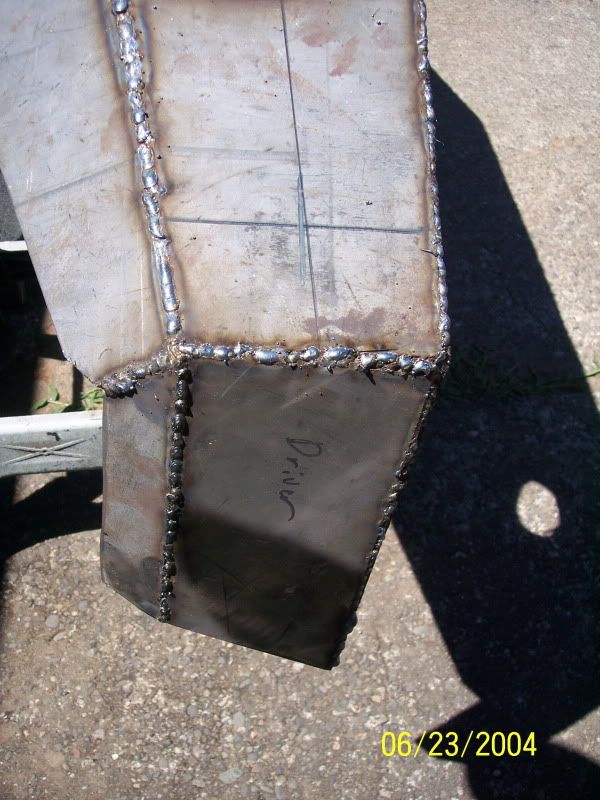
Not done grinding, still have to do the one side then fill in the pits then regrind.
But untill then its lunch time.
Welder was not welding well. I dont know why. It looks bad but holds well
Not done grinding, still have to do the one side then fill in the pits then regrind.
But untill then its lunch time.
Aug 2, 2012 | 07:58 PM
#31
Thread Starter
Registered User
Joined: Feb 2010
Posts: 409
Likes: 1
From: Oakridge, Oregon
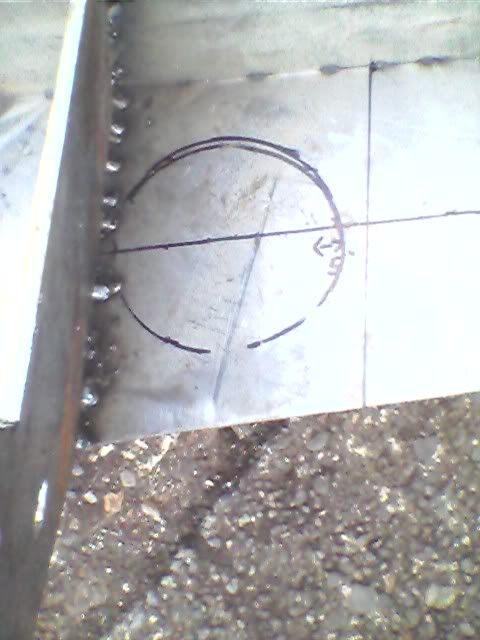
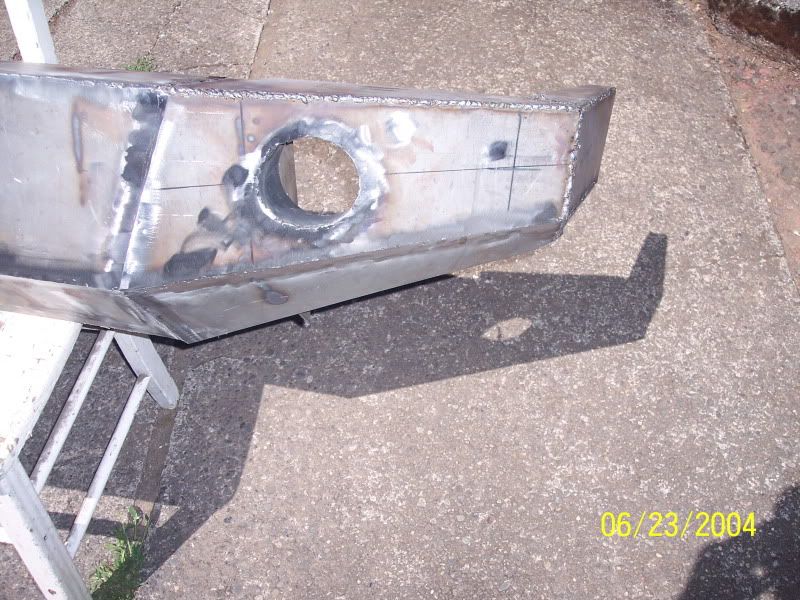
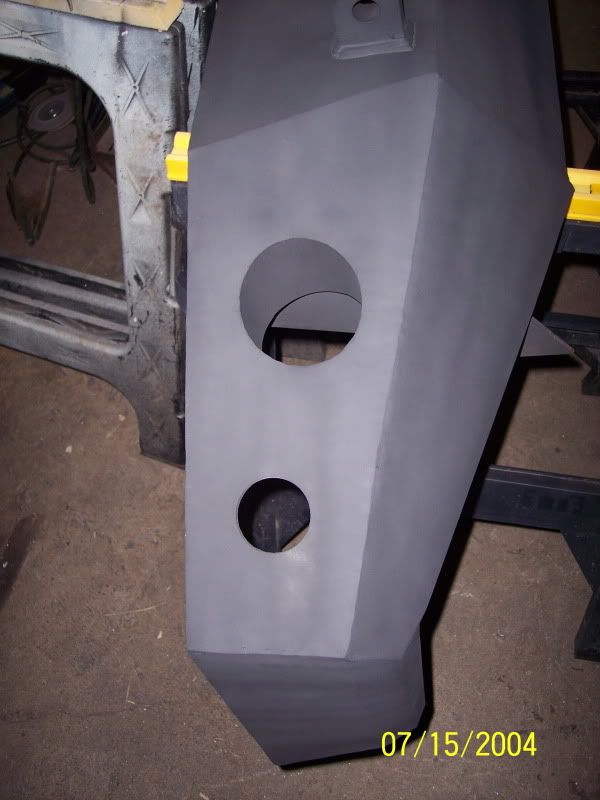
Figured out it was the little gas holes in the welding tip, They were full of slag.
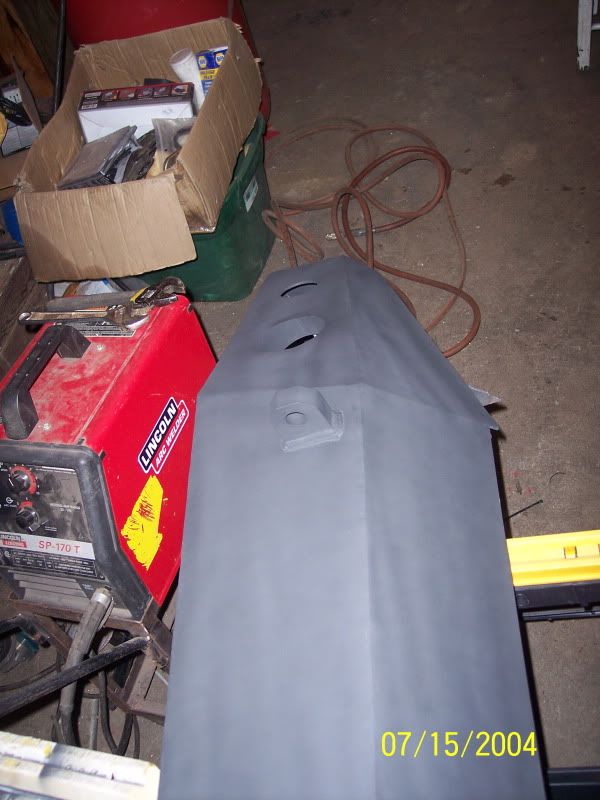
Didnt feel like throwing sparks today so i drilled the holes for the blinkers. Using a hole saw in steel is not as easy as i was hoping.
Ill post some picture in few minutes.
Didnt feel like throwing sparks today so i drilled the holes for the blinkers. Using a hole saw in steel is not as easy as i was hoping.
Ill post some picture in few minutes.
Last edited by TylerH; Aug 2, 2012 at 08:04 PM.
 Aug 9, 2012 | 09:21 PM
#33
Thread Starter
Registered User
Joined: Feb 2010
Posts: 409
Likes: 1
From: Oakridge, Oregon
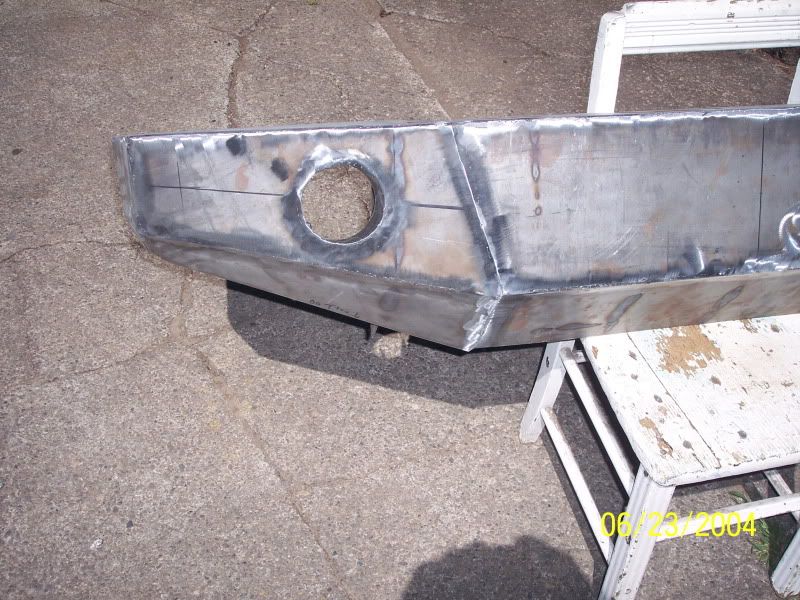
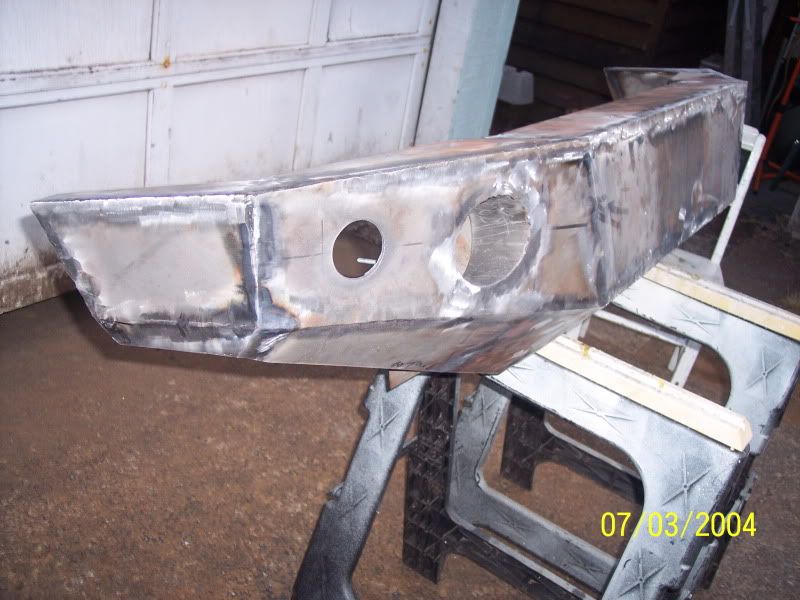
Have not had much time to do much till tonight. Got alot done tonight. Went over alot of my welds, filled pits. Grinded and did some more filling pits. I think tomorow i will grind more and weld on the shackle mounts. Havent decided if im going to powder coat or just paint. And also havent decided if im going to cut the hole for the winch fairlead.
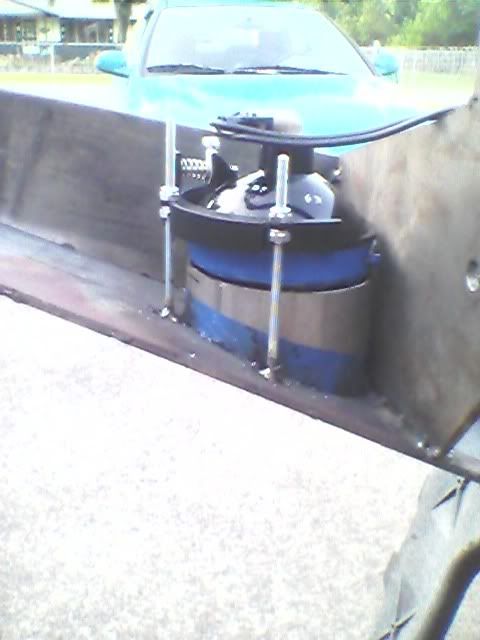
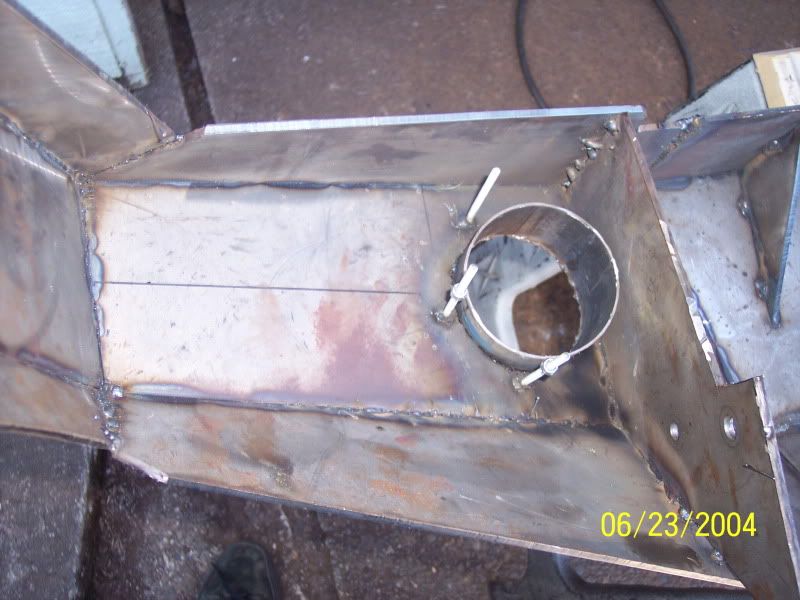
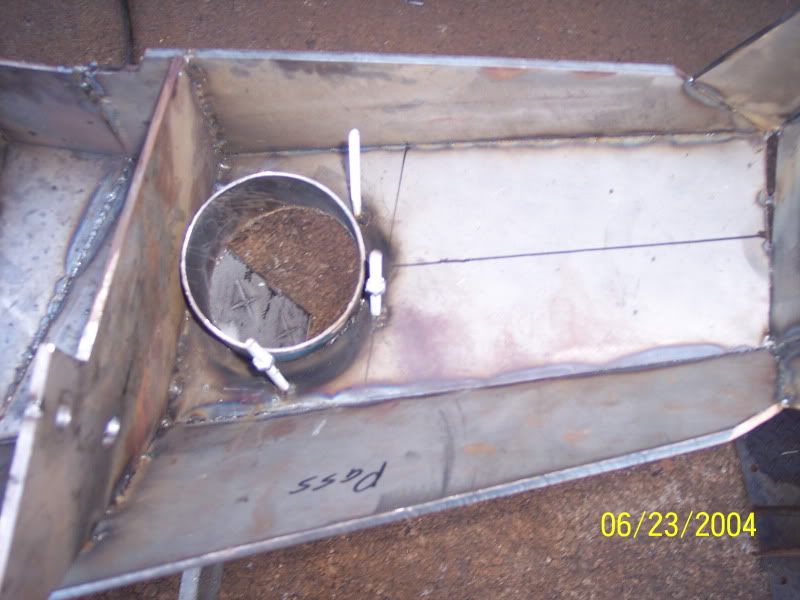
I dont have the winch yet, but the hole would really help air get throu.
Any idea on how to get all the oil off from cutting the blinker holes. I was going to use brake clean, but that sometimes leaves a residue.
I dont have the winch yet, but the hole would really help air get throu.
Any idea on how to get all the oil off from cutting the blinker holes. I was going to use brake clean, but that sometimes leaves a residue.
Aug 11, 2012 | 09:29 PM
#35
Thread Starter
Registered User
Joined: Feb 2010
Posts: 409
Likes: 1
From: Oakridge, Oregon
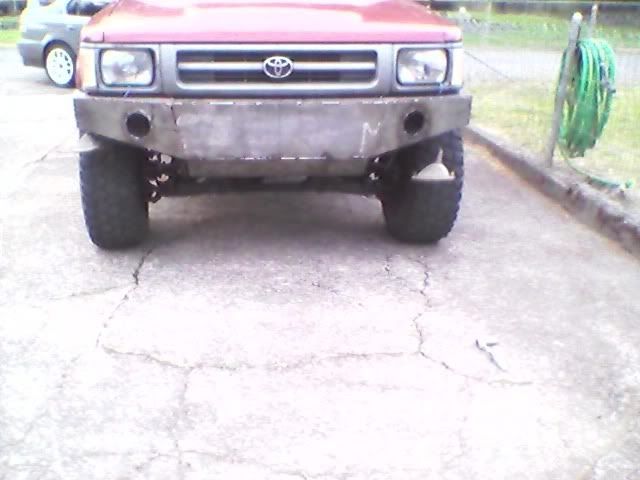
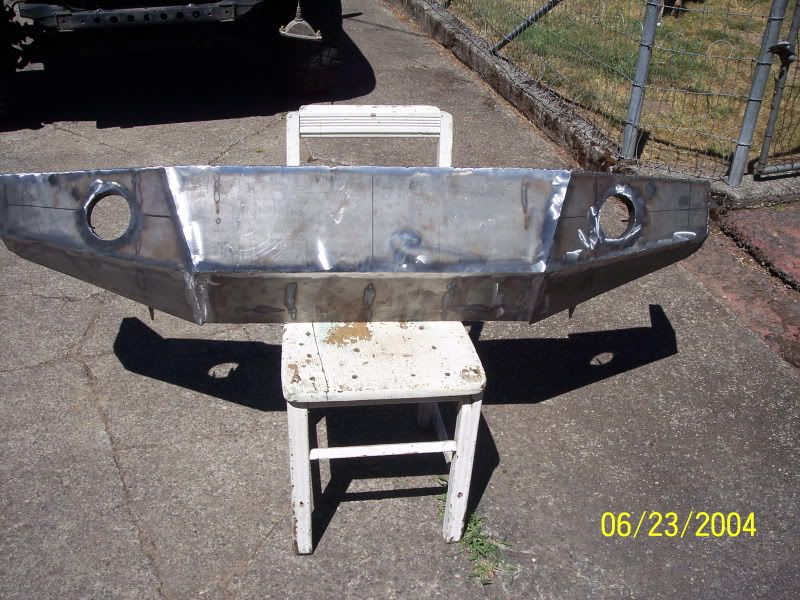
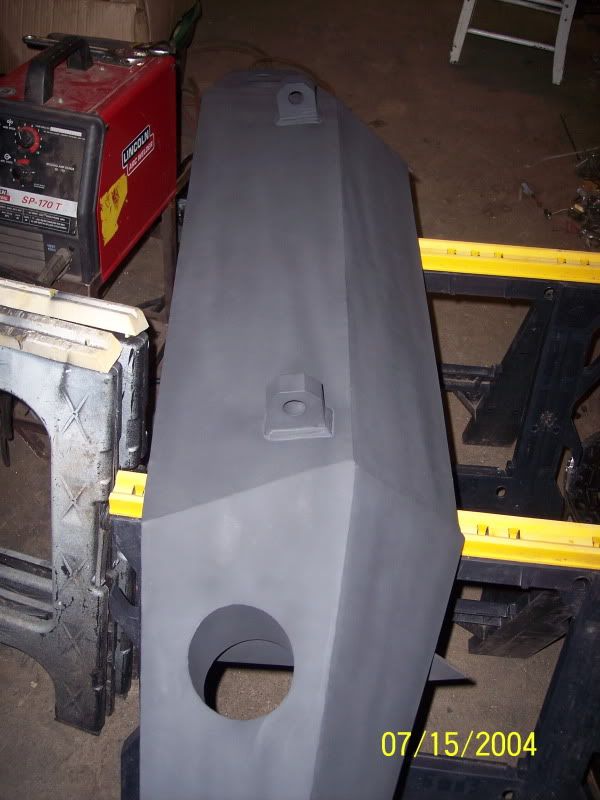
Here are some updated pictures. Just need to touch up some welding pit marks, and regrind. And smooth out some of the corners. Weld on shackle hangers and paint.
Was getting alot done and then i ran out of gas. O well, more likely i wont be able to fill the tank till friday.

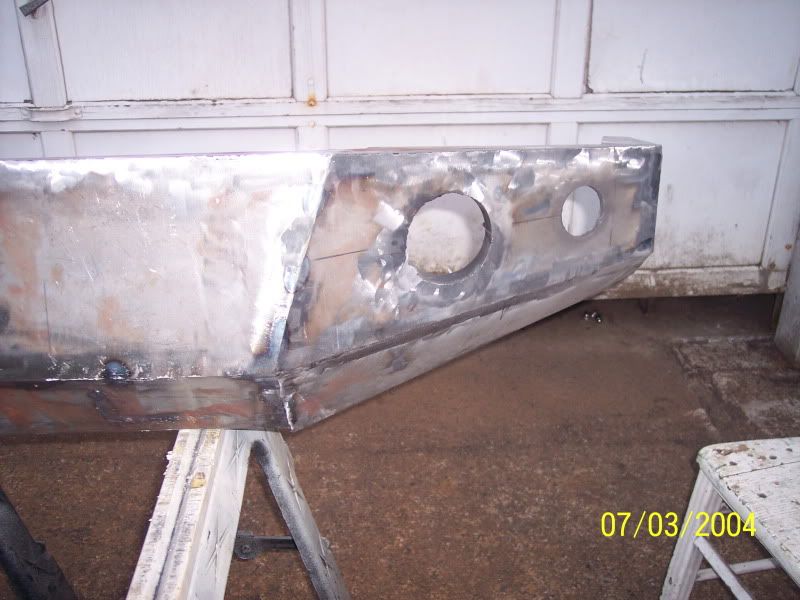
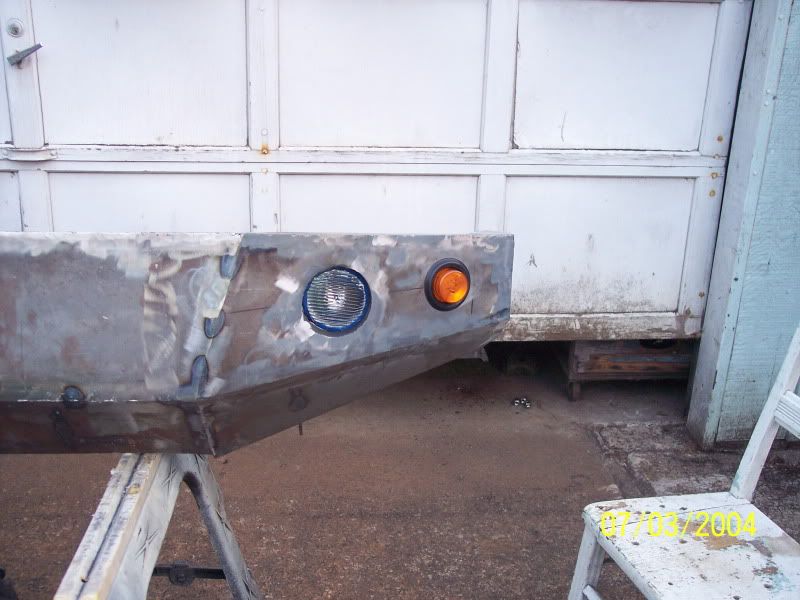
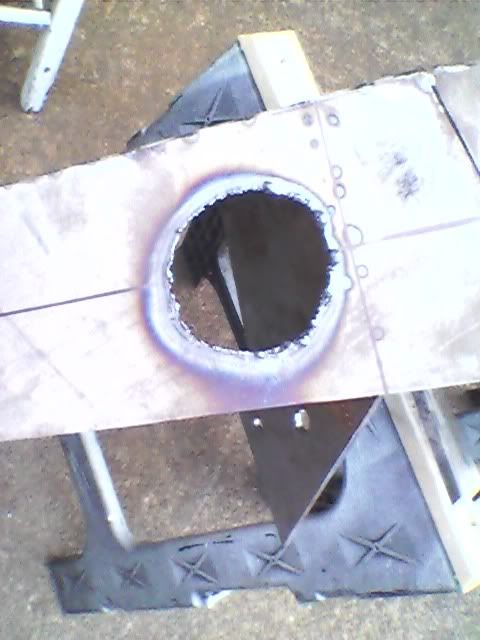
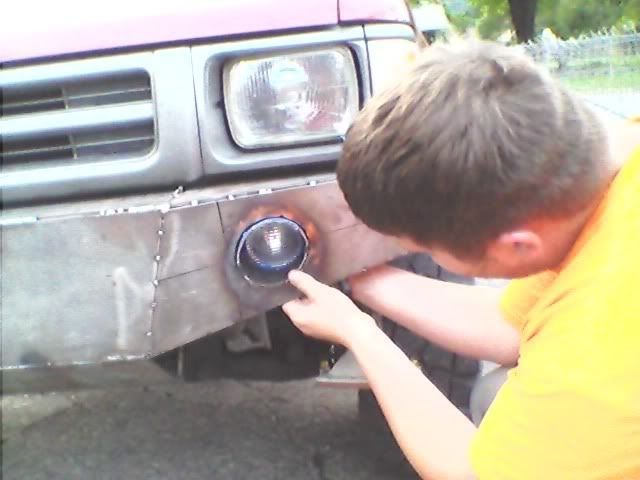
The blinker is not pushed in all the way. Its still really sharp and i didnt want to risk cutting the rubber. Fog light is also not mounted, just sat in there. It will be more centered when the time comes.
Was getting alot done and then i ran out of gas. O well, more likely i wont be able to fill the tank till friday.
The blinker is not pushed in all the way. Its still really sharp and i didnt want to risk cutting the rubber. Fog light is also not mounted, just sat in there. It will be more centered when the time comes.
Aug 22, 2012 | 08:09 PM
#37
Thread Starter
Registered User
Joined: Feb 2010
Posts: 409
Likes: 1
From: Oakridge, Oregon
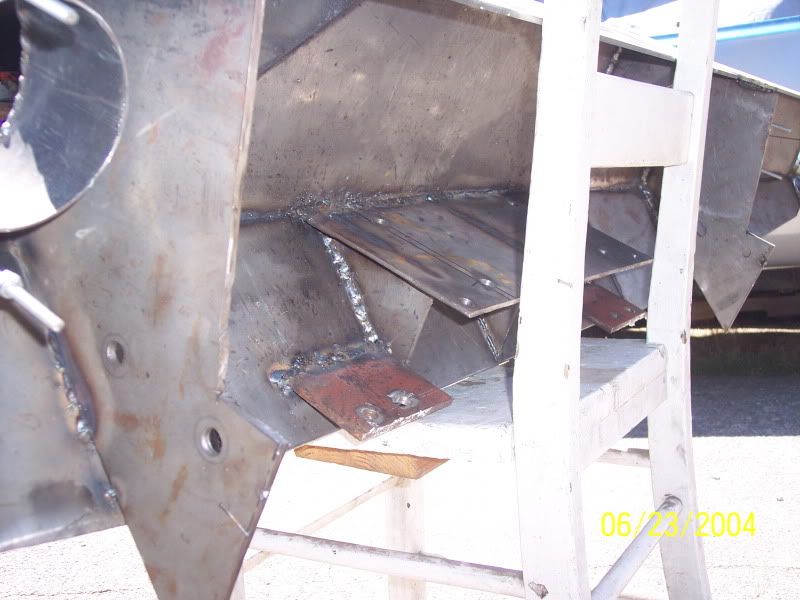
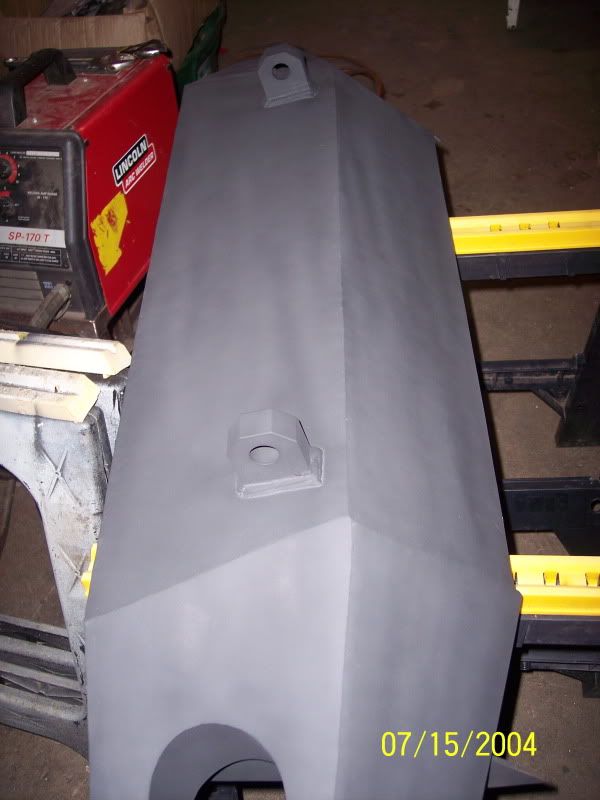
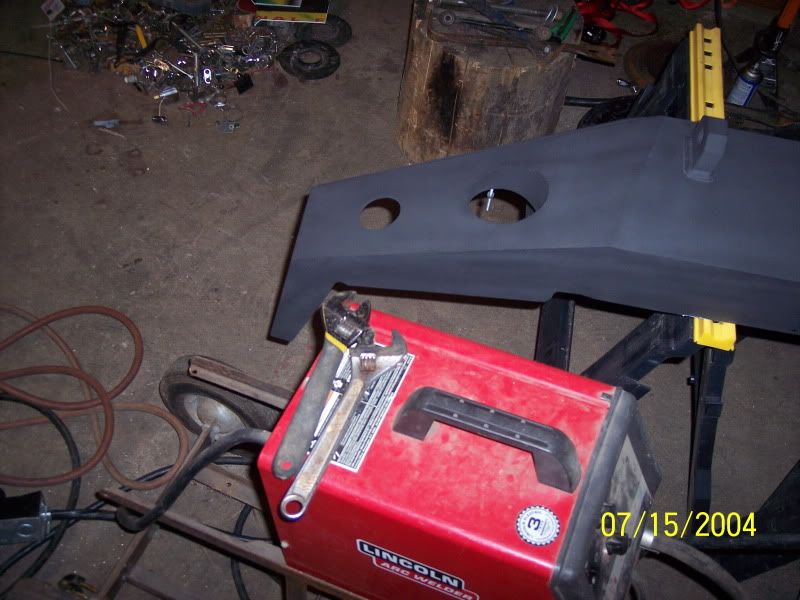
Got Some work done in the last few days. Got the shackle mounts welded on. Got all the corners welded and ground smooth.
All i have to do now is grind the welding splatters, touch up the edges and sand. Going to hit the thing with some 220 on the D.A. and see how it looks. I will snap some pictures tomorow.
All i have to do now is grind the welding splatters, touch up the edges and sand. Going to hit the thing with some 220 on the D.A. and see how it looks. I will snap some pictures tomorow.
Aug 23, 2012 | 08:08 PM
#38
Thread Starter
Registered User
Joined: Feb 2010
Posts: 409
Likes: 1
From: Oakridge, Oregon
I got everything packed up for the night and then i remembered to snap some pictures. So i took some really quick. Sorry for the quality.
It came out pretty well, all the angles are good. Could be better but will look fine once i add some texture and real paint. This is just primer btw.
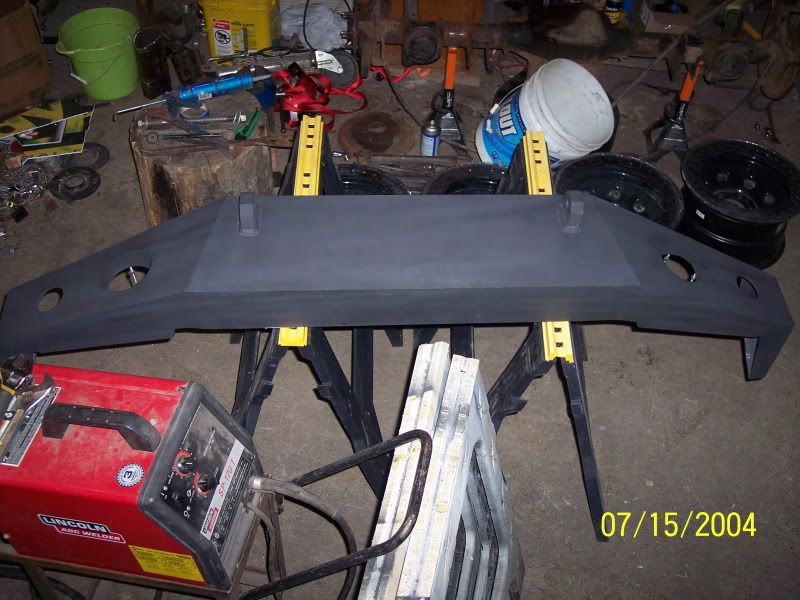
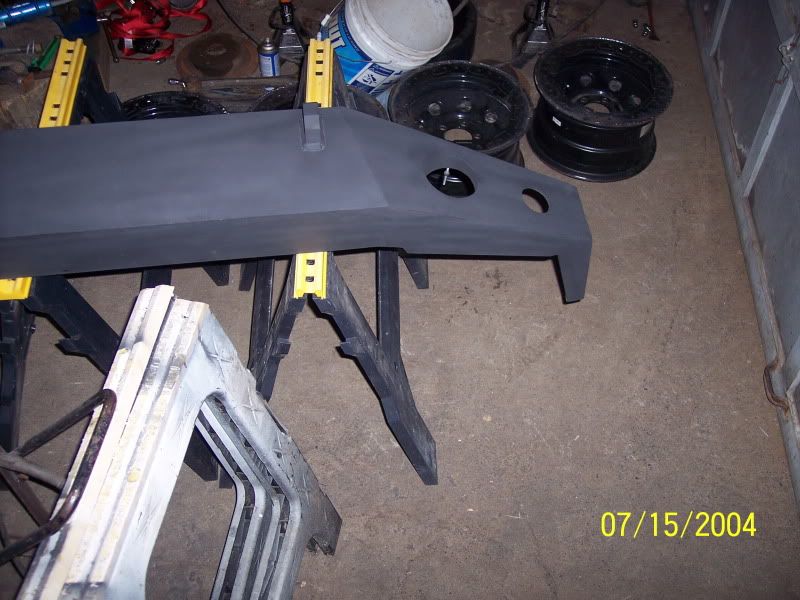
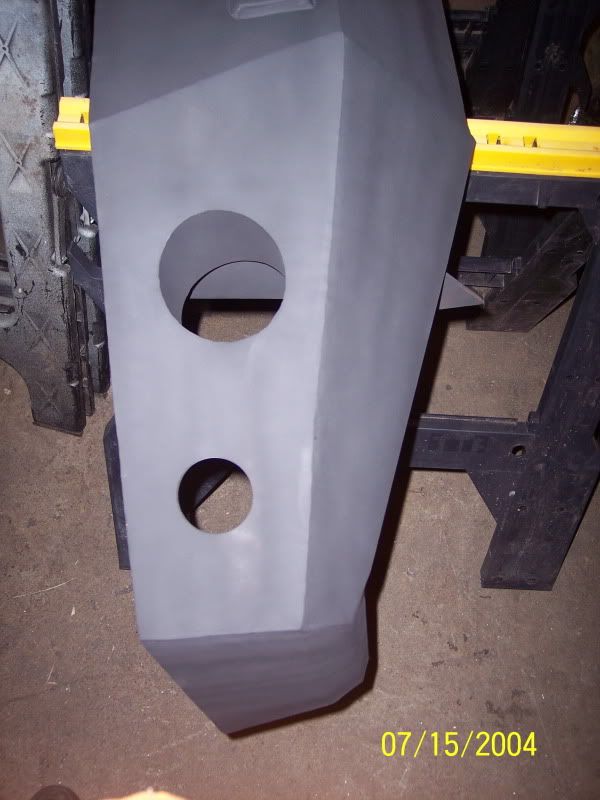
It came out pretty well, all the angles are good. Could be better but will look fine once i add some texture and real paint. This is just primer btw.
Aug 25, 2012 | 09:52 PM
#39
Thread Starter
Registered User
Joined: Feb 2010
Posts: 409
Likes: 1
From: Oakridge, Oregon
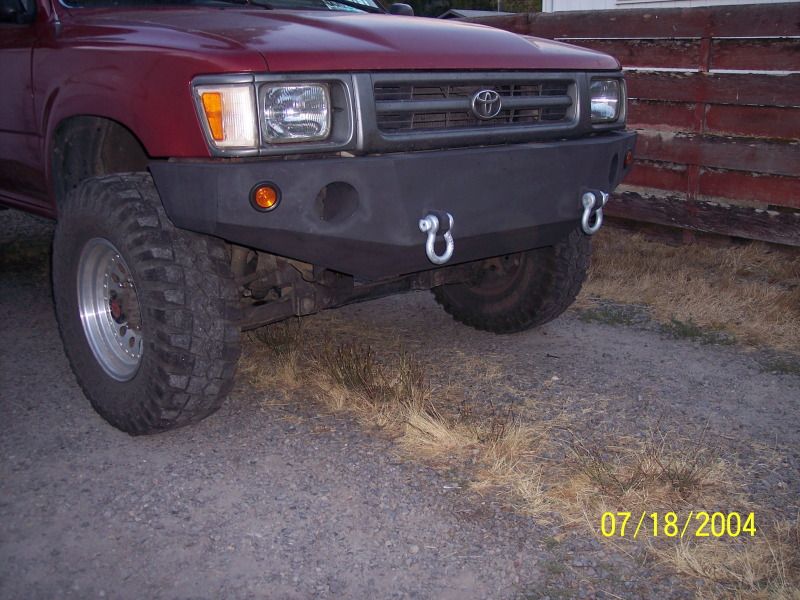
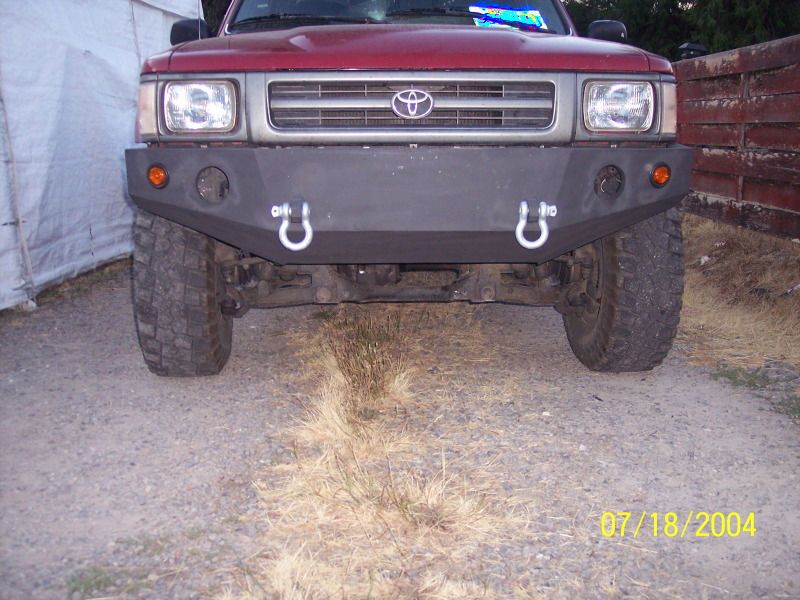
Its not done completly, wanted to put it on to see how it looked. See how the weight made a differnce. And the people at my work didnt believe i was doing anything cause its been a slow process.
I still need to alter some mounting holes, cut off a peice of the bottom mount, Drill hole for cb or dune antena, sand it, add texture, Paint and install the fog lights and wire everyhing. It will be done wednesday i hope.
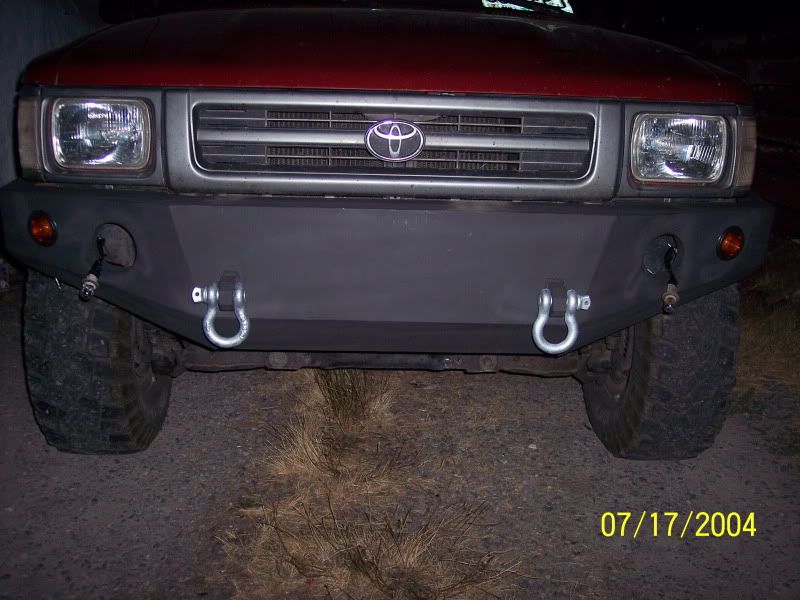
I still need to alter some mounting holes, cut off a peice of the bottom mount, Drill hole for cb or dune antena, sand it, add texture, Paint and install the fog lights and wire everyhing. It will be done wednesday i hope.