Terrys87 86 4Runner with a 2nd Chance
 05-10-2012, 04:21 PM
#481
Super Moderator
Staff
Thread Starter
iTrader: (1)
Join Date: Aug 2008
Location: Anderson Missouri
Posts: 11,788
Likes: 0
Received 22 Likes
on
20 Posts
^^^lol^^^
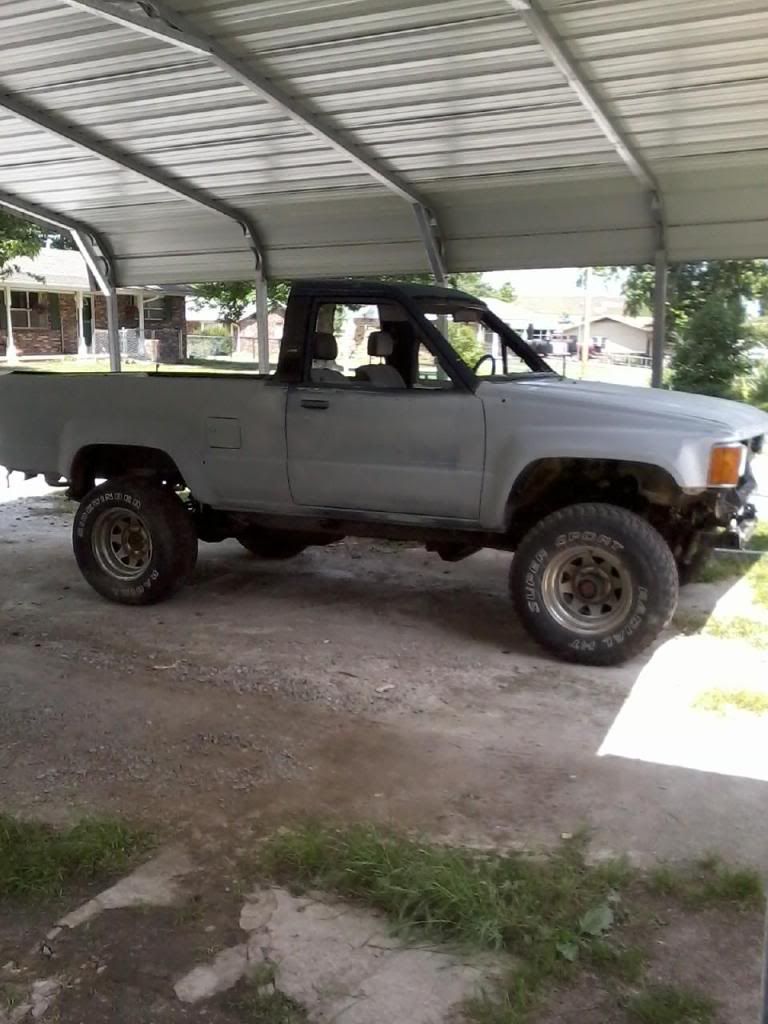
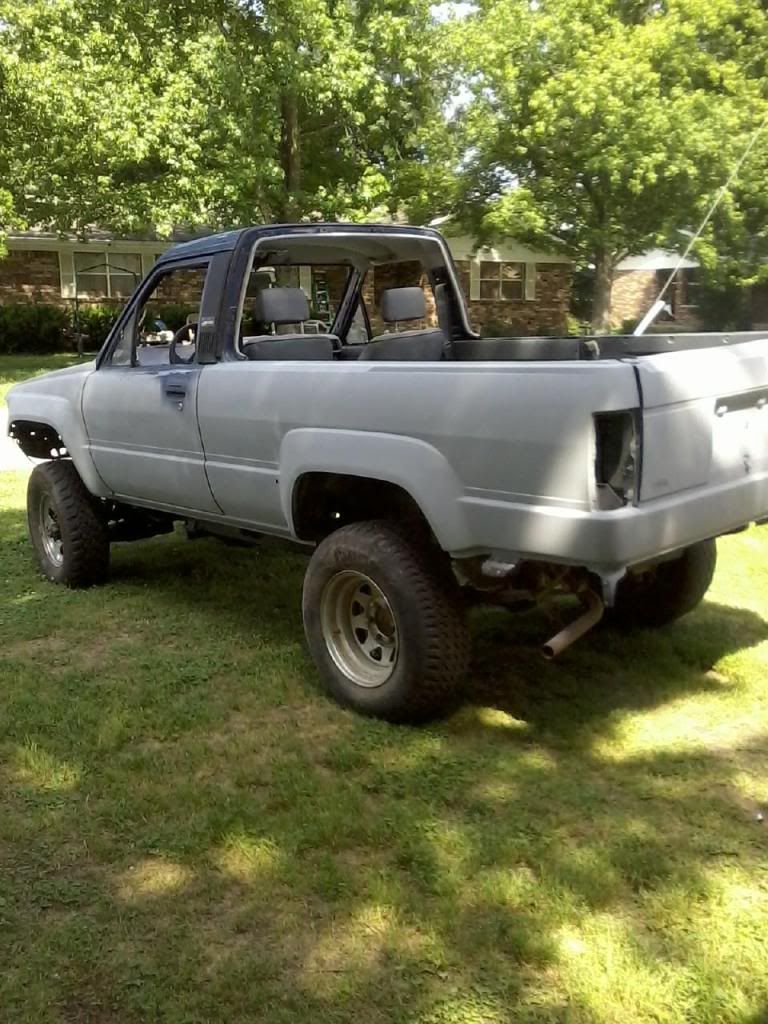
I decided to take the top off of mine so she decided she wanted the top off of hers. Doent sound right huh? Did get a pic of them side by side.
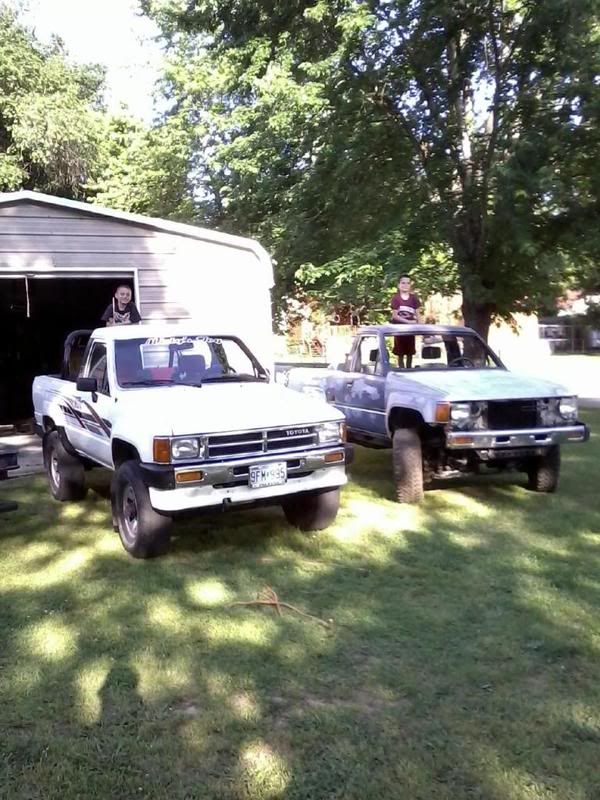
Guess whose got kicked out of the shop? Just for overnite. Might be leaving it off for awhile.
I decided to take the top off of mine so she decided she wanted the top off of hers. Doent sound right huh? Did get a pic of them side by side.
Guess whose got kicked out of the shop? Just for overnite. Might be leaving it off for awhile.
Last edited by Terrys87; 06-30-2012 at 05:13 PM.
 05-10-2012, 04:34 PM
#482
Super Moderator
Staff
Thread Starter
iTrader: (1)
Join Date: Aug 2008
Location: Anderson Missouri
Posts: 11,788
Likes: 0
Received 22 Likes
on
20 Posts
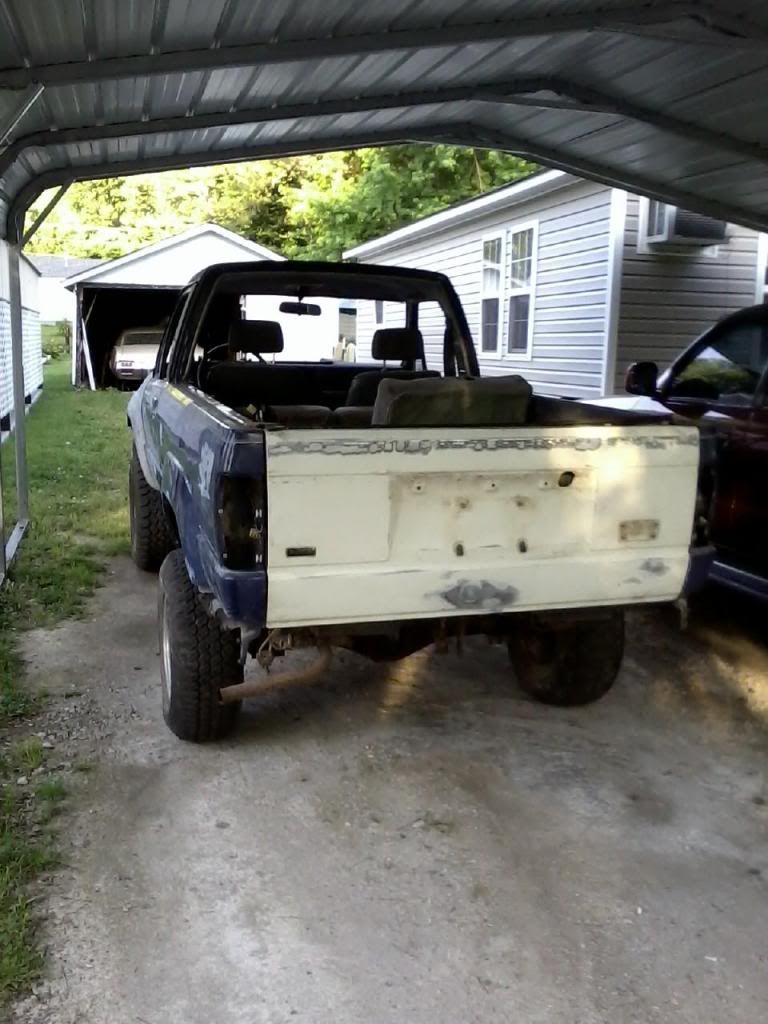
This is probably going to start looking like how to strip down a 4Runner again, but I want to have it as easy as possible to prime and get the body ready for paint. Dont know how long it will take to get the funds up to paint it but getting it this far down sure is putting the fire in me to get it done.
I didnt get to start priming like I would of liked and still want to get the front end stripped and alot of the rear interior removed to avoid overspray. My plan is for this one to be nicer then the 88. It has been nice just to drive around the yard which isnt helping me on getting it together quicker.
I didnt get to start priming like I would of liked and still want to get the front end stripped and alot of the rear interior removed to avoid overspray. My plan is for this one to be nicer then the 88. It has been nice just to drive around the yard which isnt helping me on getting it together quicker.
05-10-2012, 04:52 PM
#483
Registered User
Terry I had forgotten how good that '88 looked. You have set a high bar for this '86!
 05-10-2012, 06:10 PM
#484
Super Moderator
Staff
Thread Starter
iTrader: (1)
Join Date: Aug 2008
Location: Anderson Missouri
Posts: 11,788
Likes: 0
Received 22 Likes
on
20 Posts
Thanks Cory...The 88 was actually in worse shape then the 86 when I got them. I would of done the 86 first but didnt have a title for it at the time so the 88 got done first. It will take some time but I can actually see the light at the end of the tunnel. My wife has other intrest that puts hers further on the back burner on her priorities. Mine is higher on the list on my priorities.
05-11-2012, 09:49 AM
#487
Super Moderator
Staff
Thread Starter
iTrader: (1)
Join Date: Aug 2008
Location: Anderson Missouri
Posts: 11,788
Likes: 0
Received 22 Likes
on
20 Posts
Hello Bill...I wasnt a big fan of the bumper that was on it. Dont know if I will use it until I can get a rear bumper, may want to use it for some kind of protection, or might just take a chance, that one is still in the air.
05-11-2012, 10:01 AM
#488
Super Moderator
Staff
Thread Starter
iTrader: (1)
Join Date: Aug 2008
Location: Anderson Missouri
Posts: 11,788
Likes: 0
Received 22 Likes
on
20 Posts
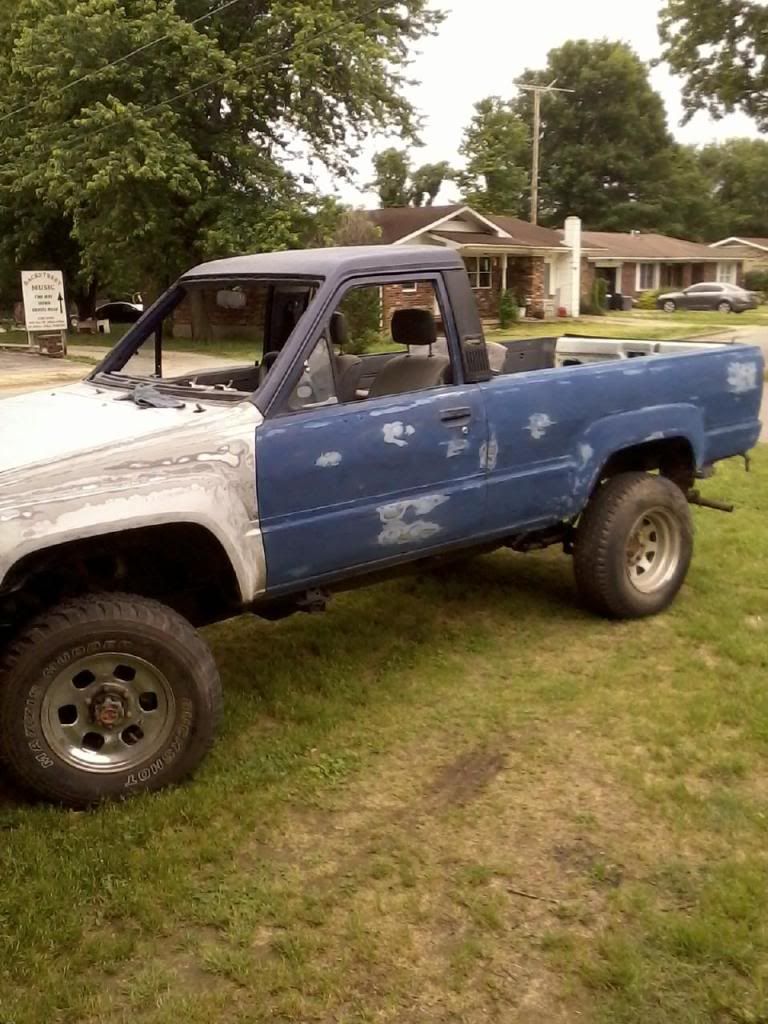
For some reason I got the Smufs on my mind. It looks more like their color then what is showing in the picture. Just have the top to do and getting the edges and not sure if it will get primer or not, it not looking good as I got to start getting ready for work today.
My exhaust manifold has been poorly rigged. I have 2 extras and one is no good. I found another and it looks like it is for a Fuel injected as it has the O2 sensor wire but the top has open ports for like the EGR or Air Injection. Just havent seen one like this. Who knows where it came from. I am not a fan of putting on headers if I dont have to, just always have a problem getting a good seal. Anybody know if this would work for a replacement on mine?
This picture is for 2 reasons. One for the manifold and the other is for the little electric sander I am using. This truck is being built on a real world budget. Got other things to tend to as well, but dont be like me and be a cheap skate. I did all of my sanding on my previous projects by hand. As much as I hate what pawn shops do to people and I will never pawn anything, I will go get cheap tools from them. I gave $7 for it I think. Life is so much easier and am getting better results. I have been using sandpaper that comes in strips, round and square. Just have to get creative.
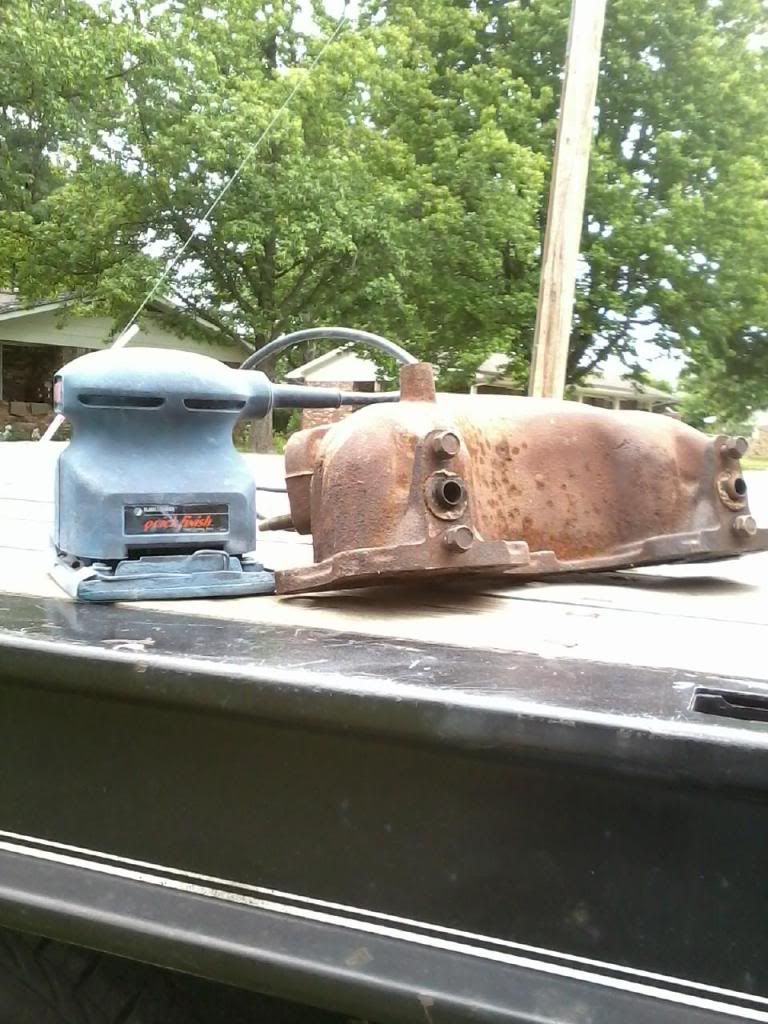
I have been wanting to mention when changing tail light bulbs, there is actually a drain hole at the bottom of the tail light pocket. Usually I see these plugged up with dirt. This is just rust looking for a place to happen.
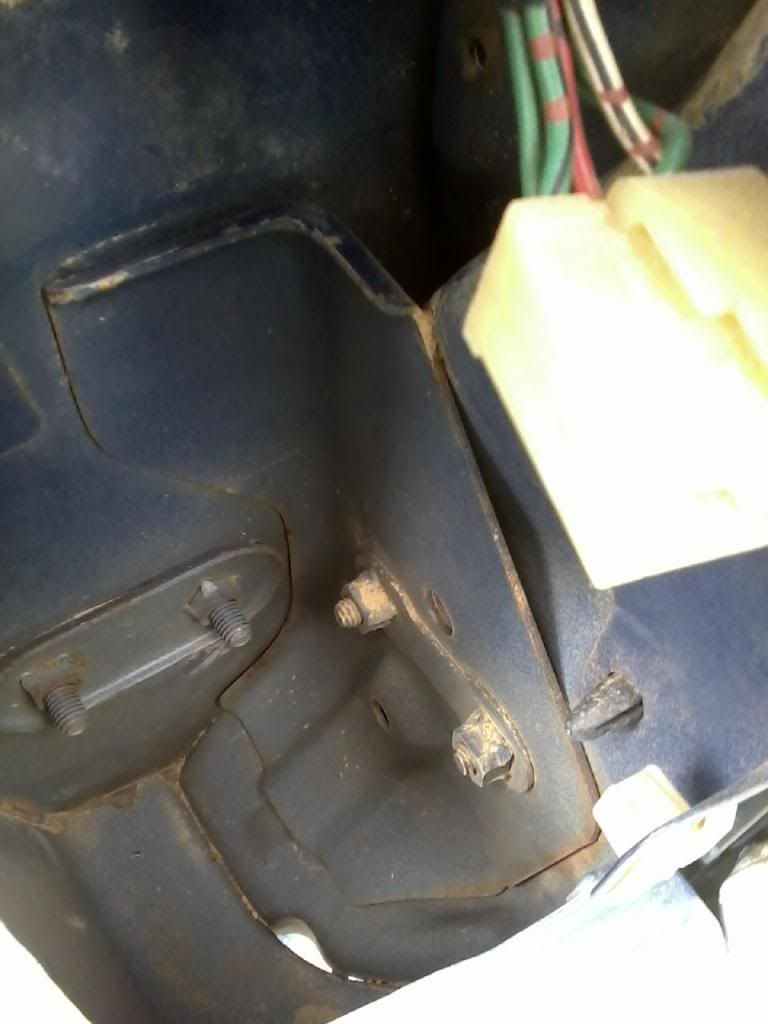
My exhaust manifold has been poorly rigged. I have 2 extras and one is no good. I found another and it looks like it is for a Fuel injected as it has the O2 sensor wire but the top has open ports for like the EGR or Air Injection. Just havent seen one like this. Who knows where it came from. I am not a fan of putting on headers if I dont have to, just always have a problem getting a good seal. Anybody know if this would work for a replacement on mine?
This picture is for 2 reasons. One for the manifold and the other is for the little electric sander I am using. This truck is being built on a real world budget. Got other things to tend to as well, but dont be like me and be a cheap skate. I did all of my sanding on my previous projects by hand. As much as I hate what pawn shops do to people and I will never pawn anything, I will go get cheap tools from them. I gave $7 for it I think. Life is so much easier and am getting better results. I have been using sandpaper that comes in strips, round and square. Just have to get creative.
I have been wanting to mention when changing tail light bulbs, there is actually a drain hole at the bottom of the tail light pocket. Usually I see these plugged up with dirt. This is just rust looking for a place to happen.
05-11-2012, 07:35 PM
#489
Looking good Terry! I like the idea of hitting up pawn shops to find inexpensive tools, for some reason I never think to check there, lol, I check CL and the local paper/want adds. I been wanting to find a good used metal chopsaw because I've been cutting metal with a grinder for the last 10yrs, lol.... Thanks also for the tip on the taillight drain holes, I better check mine!
Last edited by rustED; 05-11-2012 at 07:38 PM.
05-11-2012, 11:37 PM
#490
Contributing Member
05-12-2012, 12:53 PM
#492
Super Moderator
Staff
Thread Starter
iTrader: (1)
Join Date: Aug 2008
Location: Anderson Missouri
Posts: 11,788
Likes: 0
Received 22 Likes
on
20 Posts
Hello Ed..Sometimes the pawn shops have some really nice equipment. You would be surprised at gets abandoned. My grandpa got a 32 Winchester rifle and I think it is even the Special and gun collector really drool over it when they have seen it. Rule when hunting with it is your first deer using it has to be a nice sized buck when using it. Big bucks are always gone when I get in the woods with it. Maybe someday I can get one with it, it is a great shooting little gun.
Hello Kitty..There is a drain hole under all of the crud in there. I promise.lol..They way I find them is when prepping for paint or primer is I take an air hose to the whole truck to cut down on dust.
Hello Mark...You can tell I am a big spender, got to keep these builds reasonable.lol.. Somedays seem to go good for me. I actually got a little done on the 79 but nothing picture ready.
05-12-2012, 01:02 PM
#493
Super Moderator
Staff
Thread Starter
iTrader: (1)
Join Date: Aug 2008
Location: Anderson Missouri
Posts: 11,788
Likes: 0
Received 22 Likes
on
20 Posts
I only have one dent left. Will need to get the windshield in to get it. Keeping the dust out while working on this has been a pain. Would almost be brave enough to do black. Not going thru a color change though.
One dent left. Wahoo!!!
Out of the 5 other trucksI have done, this is the only cab that didnt need any work. There is a little peck and some chipped paint that will need some work. This wont take long at all and some nooks and crannies that I still need to get. Hopefully Monday it will be gray, at least it will be one color.
Best roof I have ever had. All others have had bad damage.
05-14-2012, 09:04 AM
#495
Super Moderator
Staff
Thread Starter
iTrader: (1)
Join Date: Aug 2008
Location: Anderson Missouri
Posts: 11,788
Likes: 0
Received 22 Likes
on
20 Posts
Hello Mark..It is getting closer to the finish line, just the line keeps moving on me. Compared to the bomber it was, I am really happy with how it is coming along, just wish it was faster.
05-14-2012, 09:13 AM
#496
Super Moderator
Staff
Thread Starter
iTrader: (1)
Join Date: Aug 2008
Location: Anderson Missouri
Posts: 11,788
Likes: 0
Received 22 Likes
on
20 Posts
Today I was hoping to have the 89 rollover in the previous page and I missed it. I talked to my friend at the parts store and he had checked on it too. The guy hauled it off for scrap. What a waste of alot of good parts. I had high hopes of getting it, just a day late and a dollar short.
I did get home and put some primer on. I have just enough to keep busy and with what I had saved for the rollover I should be getting the materials I need to get the body ready for paint. Just not sure about the paint.
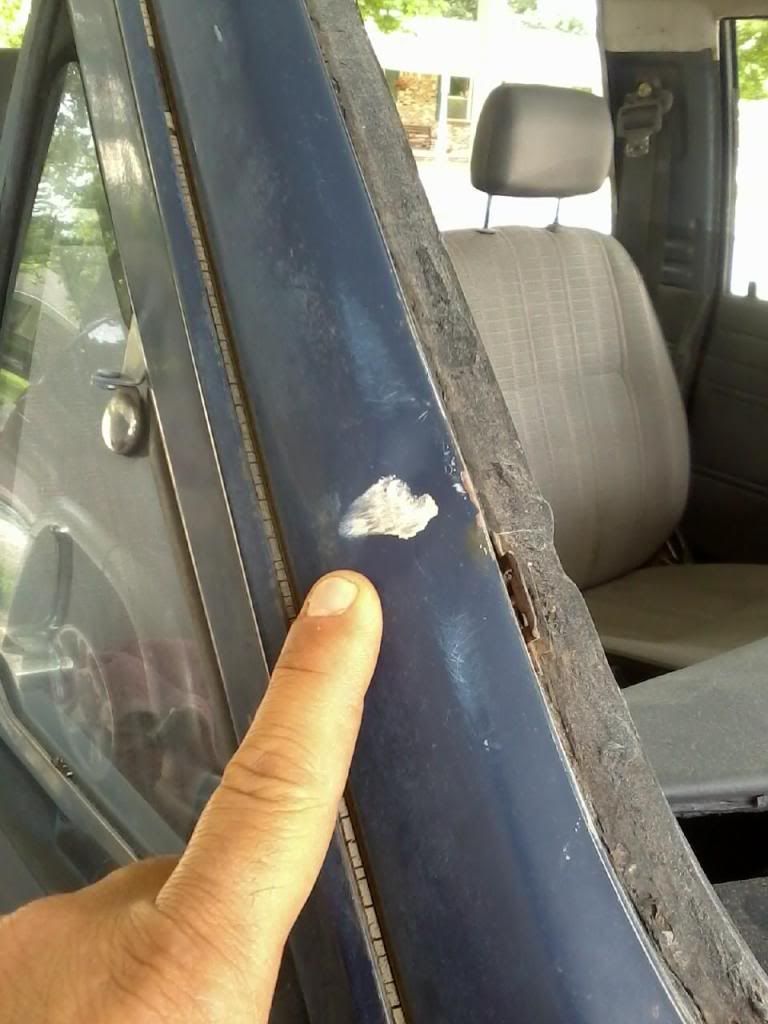
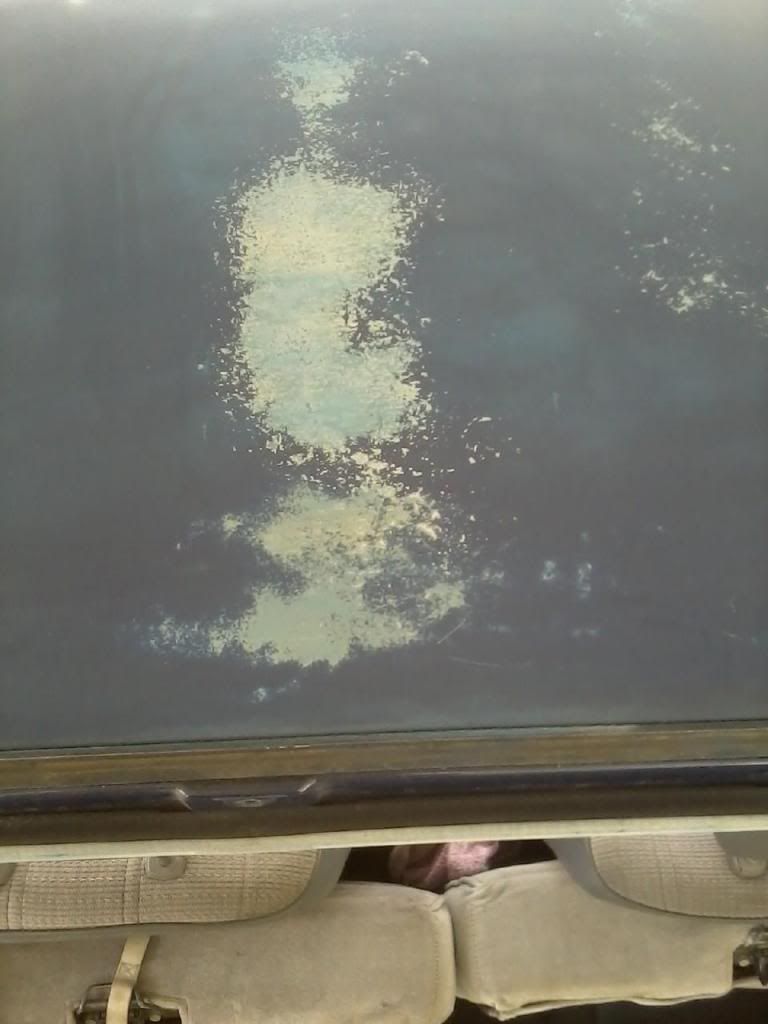
I got the tailgate and the drivers rear quarter panel primed and block sanded. I could not find any flaws on those two pieces. I do have a couple of paint chips in the hood and one in the drivers door that I need to go back and touch up. Need to start pulling the interior and get the glass in and finish getting the roof ready for primer. Wanted a change of pace and to start seeing this in one color, even if it is primer. Very happy with the results so far.
More is done just didnt take picture. I will replace the drivers fender.
I did get home and put some primer on. I have just enough to keep busy and with what I had saved for the rollover I should be getting the materials I need to get the body ready for paint. Just not sure about the paint.
I got the tailgate and the drivers rear quarter panel primed and block sanded. I could not find any flaws on those two pieces. I do have a couple of paint chips in the hood and one in the drivers door that I need to go back and touch up. Need to start pulling the interior and get the glass in and finish getting the roof ready for primer. Wanted a change of pace and to start seeing this in one color, even if it is primer. Very happy with the results so far.
More is done just didnt take picture. I will replace the drivers fender.
05-14-2012, 02:18 PM
#498
Registered User
Wow that's looking good. I get the impression that you love to block. Do you break out the spray gun to prime or is that rattle can primer?
Thanks for the close ups of the dog leg. My holes are closed up and I'm really close to the final sculpting of that point where the rocker ends. That's what had me stymied. I was away all weekend but hope to get it finished later this week. I have to get a new state inspection and I have an exhaust leak. Maybe they won't notice...
Thanks for the close ups of the dog leg. My holes are closed up and I'm really close to the final sculpting of that point where the rocker ends. That's what had me stymied. I was away all weekend but hope to get it finished later this week. I have to get a new state inspection and I have an exhaust leak. Maybe they won't notice...
05-14-2012, 02:24 PM
#499
Nervo, SUP? Head to Auto Parts store and get some PUTTY! lol...They make some pretty decent stuff now for sealing up leaks(at least it would work temporarily, right?).... And a shop wouldn't charge you much to just weld a bead or two, ya know?(they want you to use them when you do the whole thing/get a CAT, etc., right?)


