
Roark's '89 pickup build
 Mar 25, 2014 | 07:19 AM
#21
Thread Starter
Registered User
Joined: Jan 2011
Posts: 1,051
Likes: 0
From: Memphis, TN
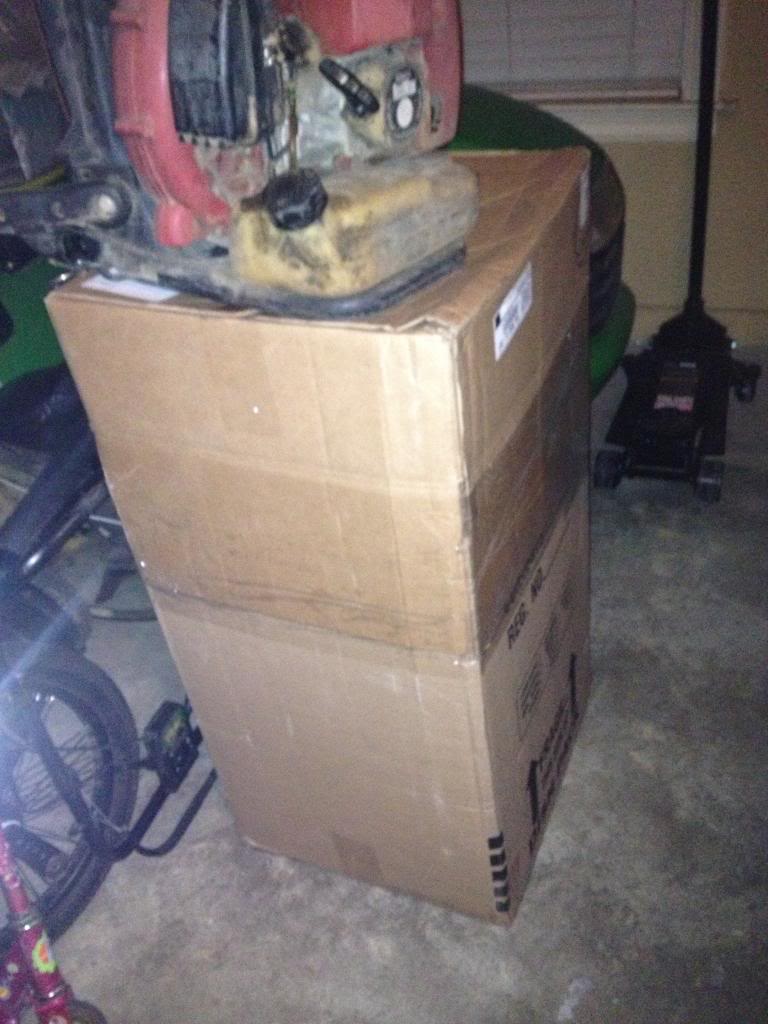
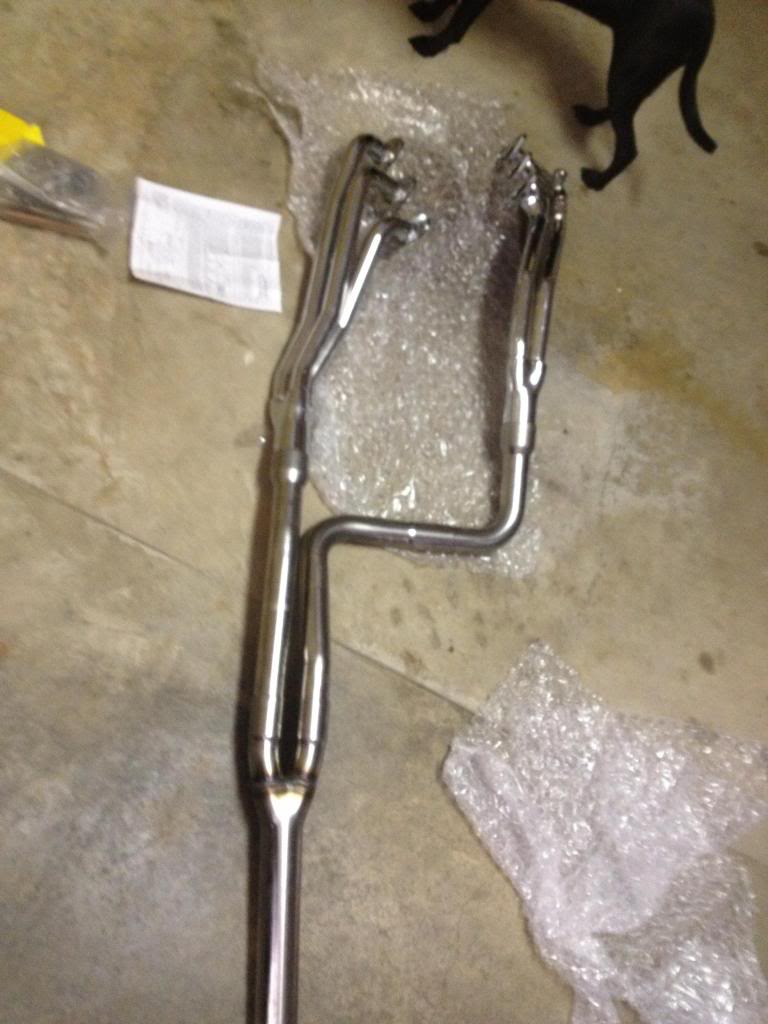
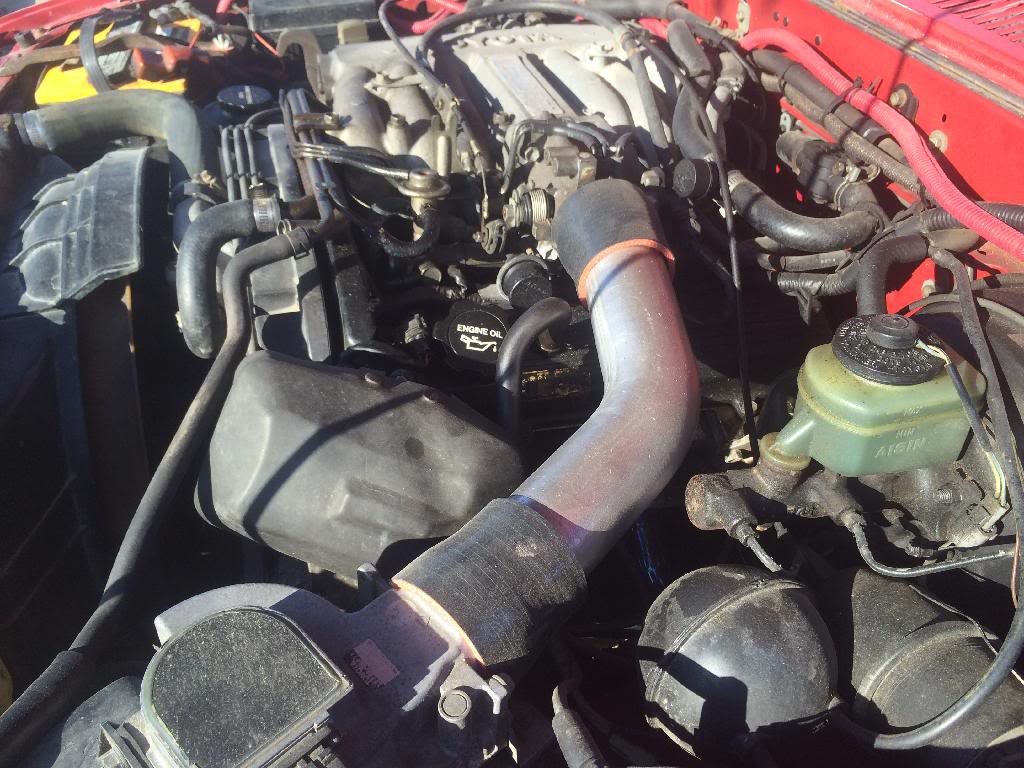
Then, to address the overheating issues cylinder 6 has on the V6, I invested in a set of headers. I got lucky finding a new "used" set of Downeys with all mounting hardware:
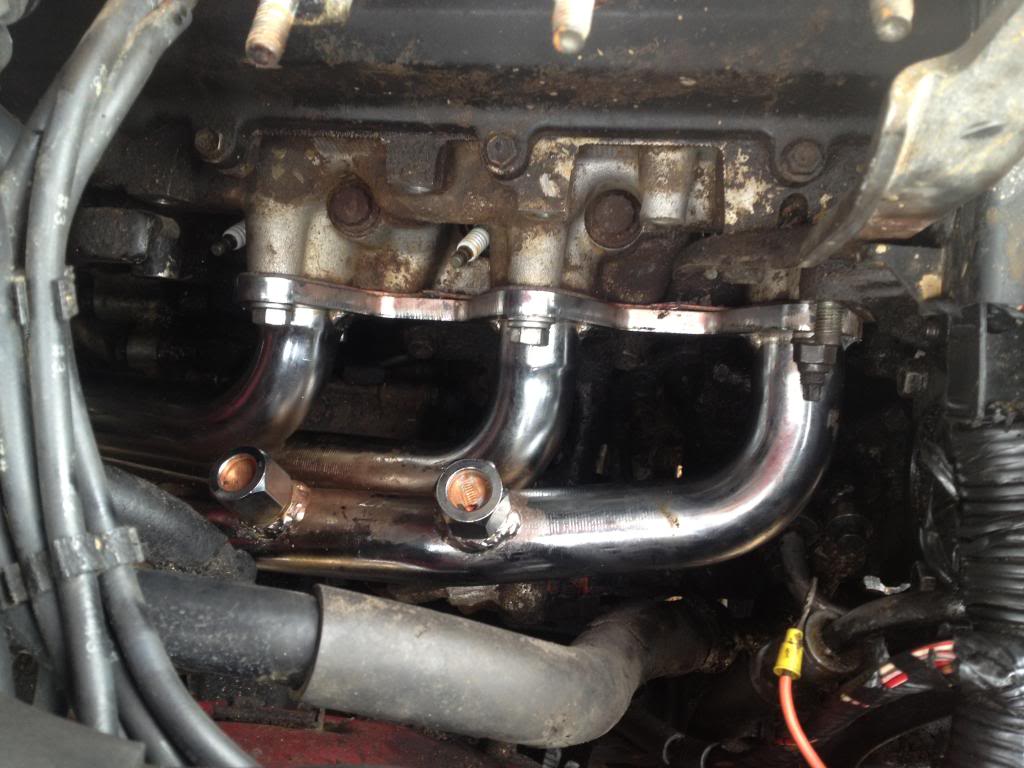
Mocked up real nice like:
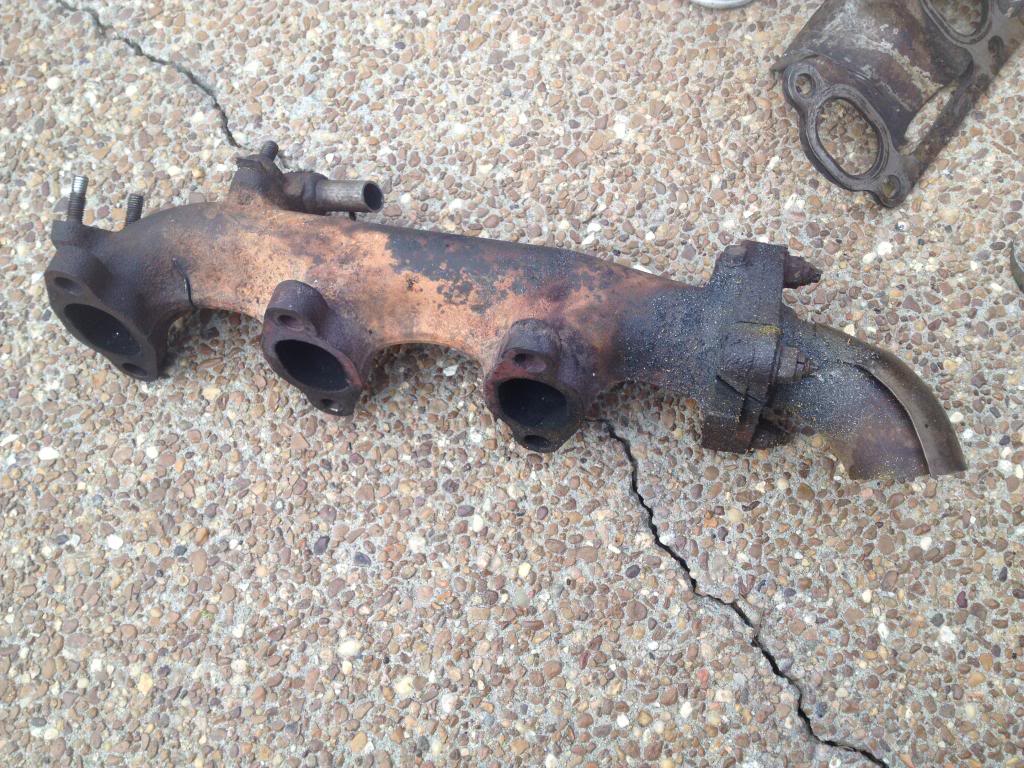
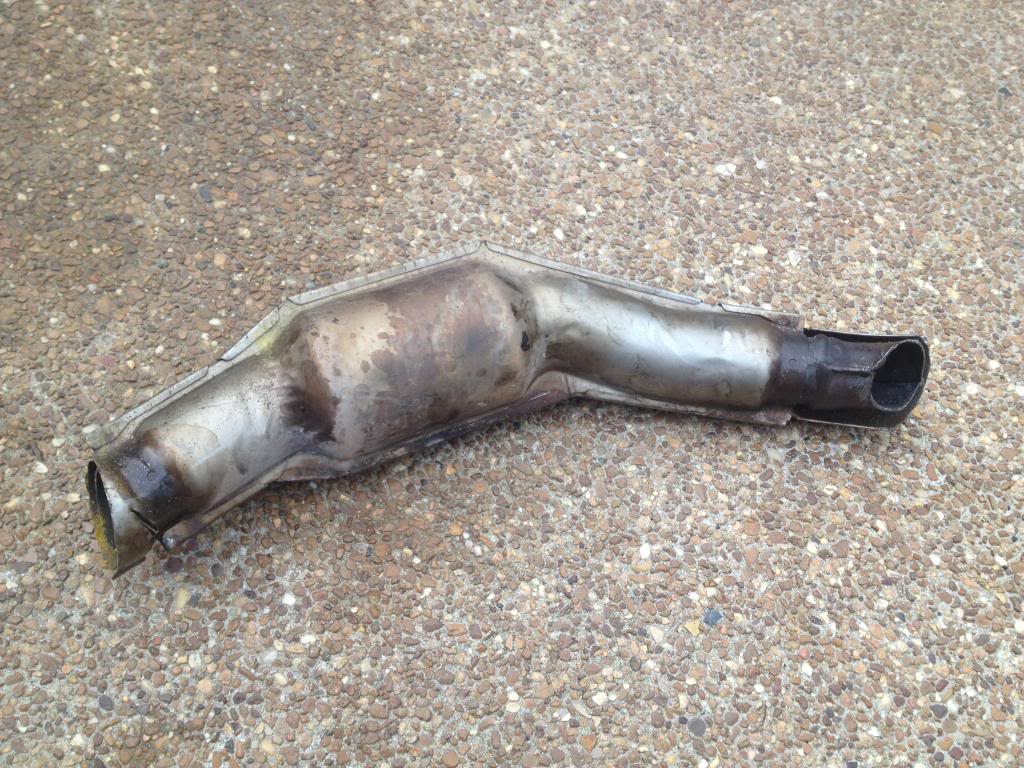
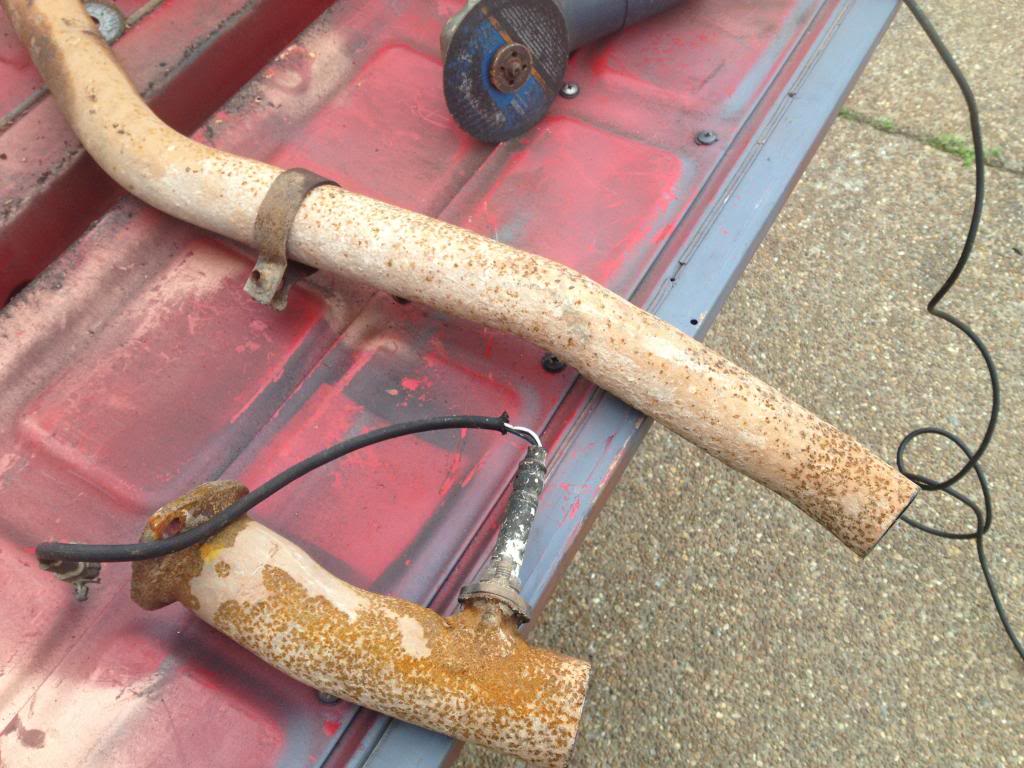
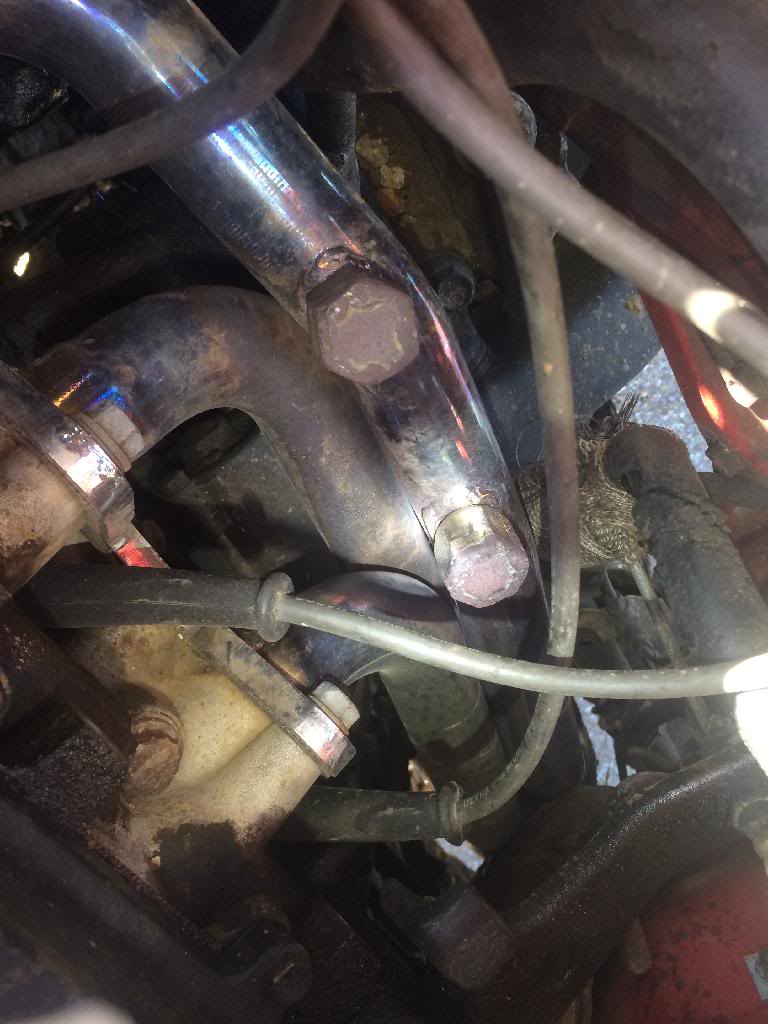
Had to cut these guys off.. I wouldn't have done it if they had just given in to my wrench
After some finagling (and help), I was able to mount them:
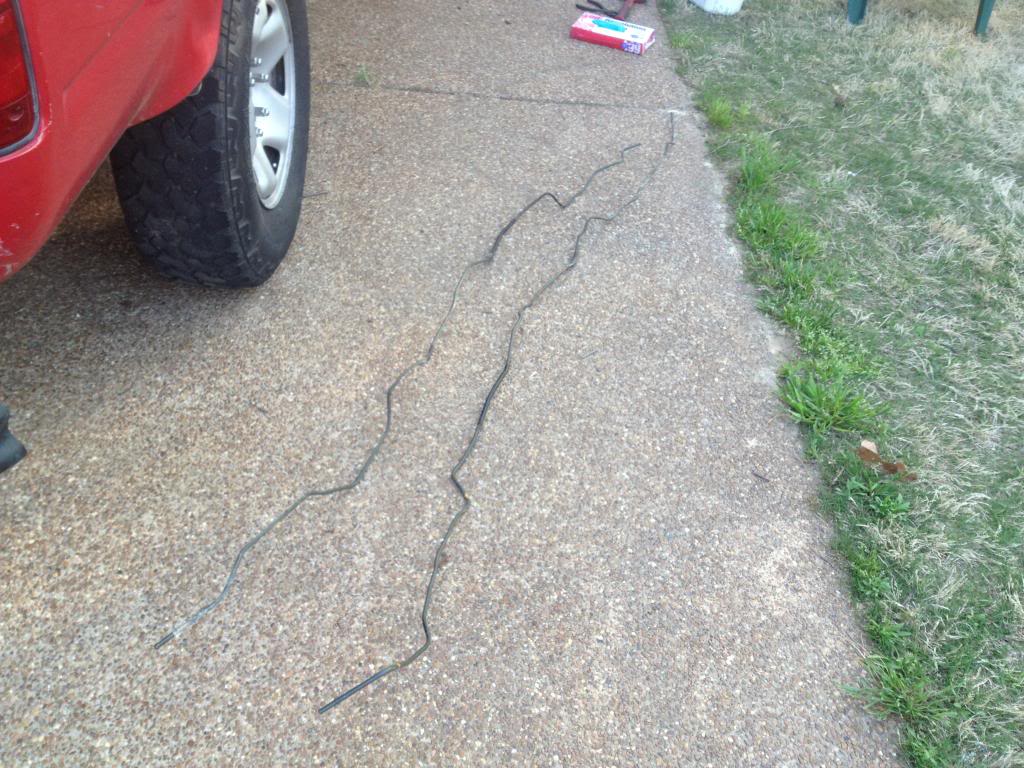
Had to relocate the gas lines to avoid the header's heat. (think 92 Toy's 4Runner)
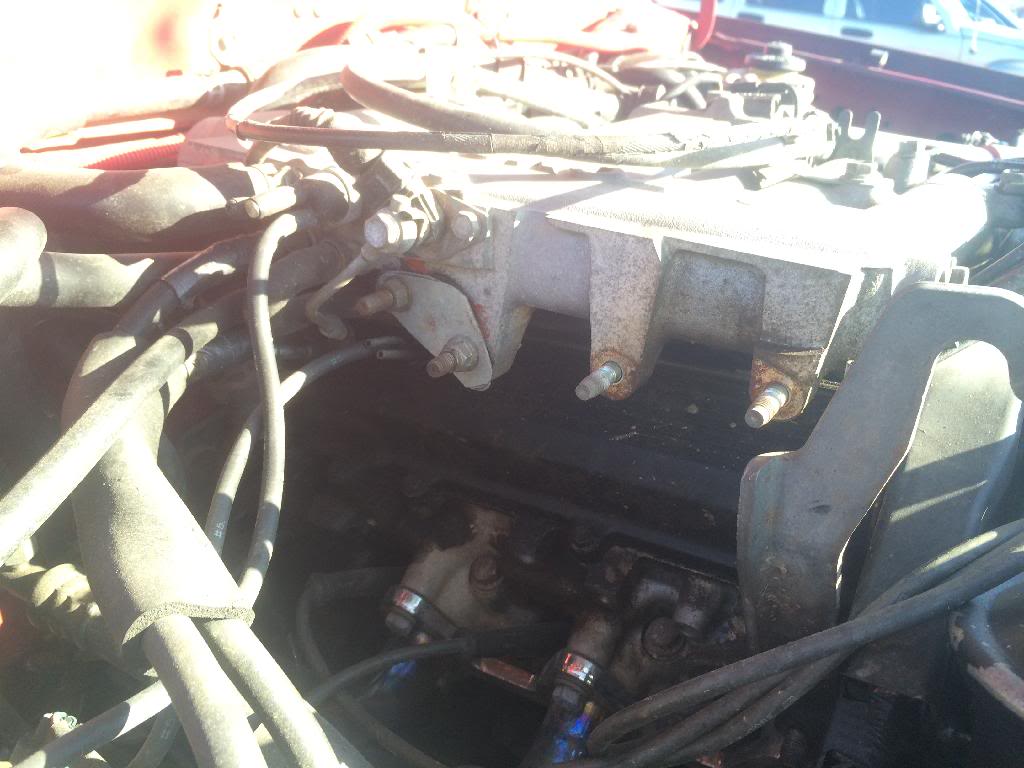
I decided against mounting the EGR and PAIR reed valve. One, they took up unnecessary space. Two, they likely didn't work well in the 80's, let alone the 2010s. So, I cranked the bolts down with pennies for a temporary fix before I could come across a welder.
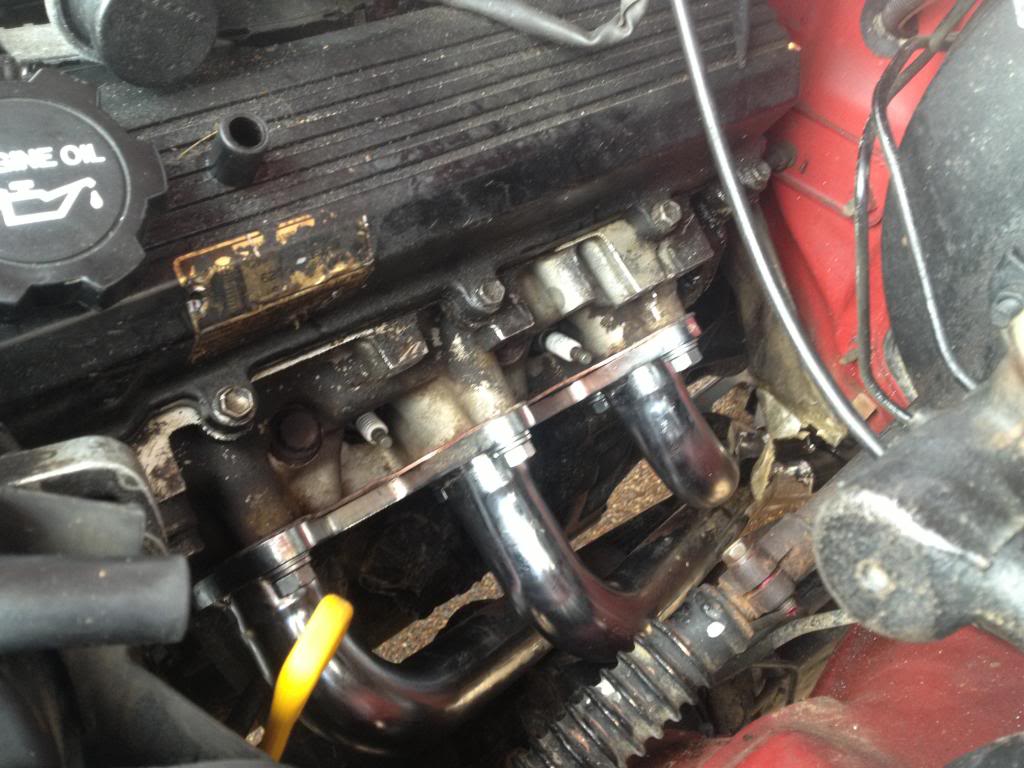
Hacked the exhaust(again, temporary), just to get the O2 sensor:
Cut up an EGR cut off plate:

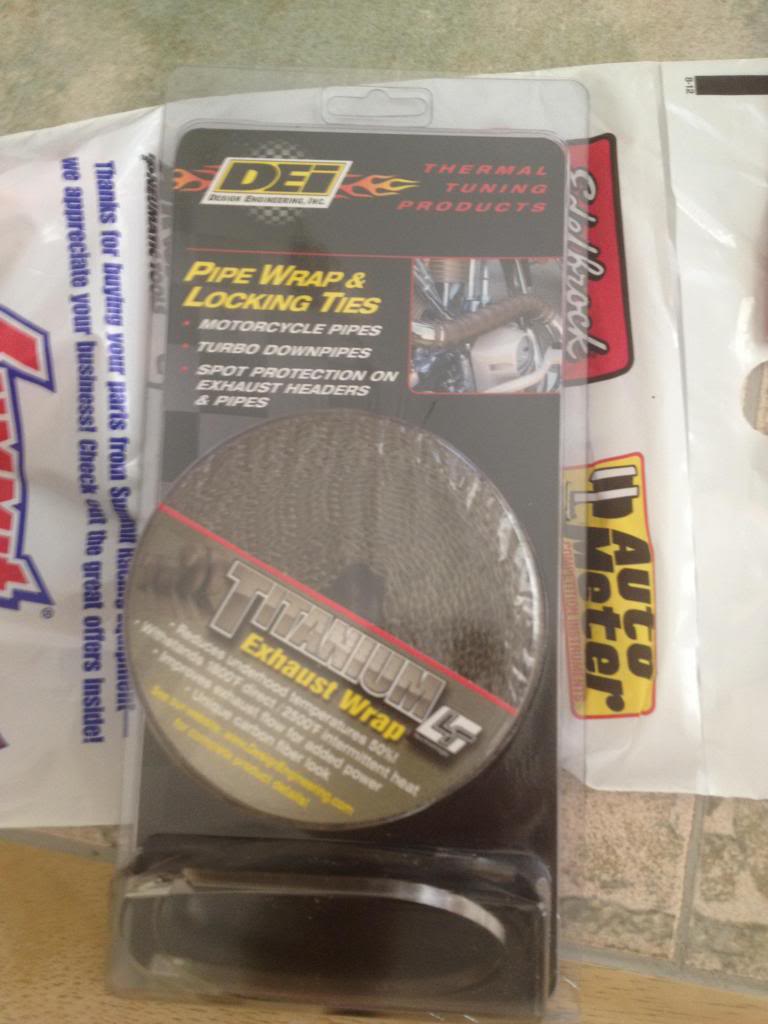
Lastly, picked this up from Summit to wrap the headers at the most congested spots. I had an inch or so even in the tightest spots between headers and gas or break lines, but I figured the added $20 would be well worth the peace of mind.

Mocked up real nice like:

Had to cut these guys off.. I wouldn't have done it if they had just given in to my wrench


After some finagling (and help), I was able to mount them:


Had to relocate the gas lines to avoid the header's heat. (think 92 Toy's 4Runner)

I decided against mounting the EGR and PAIR reed valve. One, they took up unnecessary space. Two, they likely didn't work well in the 80's, let alone the 2010s. So, I cranked the bolts down with pennies for a temporary fix before I could come across a welder.
Hacked the exhaust(again, temporary), just to get the O2 sensor:

Cut up an EGR cut off plate:

Lastly, picked this up from Summit to wrap the headers at the most congested spots. I had an inch or so even in the tightest spots between headers and gas or break lines, but I figured the added $20 would be well worth the peace of mind.

Last edited by Roark; Mar 25, 2014 at 07:21 AM.
Mar 25, 2014 | 09:16 AM
#22


Damn thats alot of work you got done!! Great score on the Headers. Those are going to bring the temps waaaay down back there behind the head. I bet you feel a big improvement in performance also.
Mar 25, 2014 | 09:30 AM
#23
Thread Starter
Registered User
Joined: Jan 2011
Posts: 1,051
Likes: 0
From: Memphis, TN
Prior to these jobs, I hadn't ever done any mechanic work. One time, I watched my dad change the oil.. That's about it. LOTS of reading later, I tried this stuff myself. The headers cooled it down a little on the temp gauge, and I notice a little more top end, but not enough to warrant their purchase as a power modification. Peace of mind, though? All day.
Mar 26, 2014 | 06:08 AM
#27
Thread Starter
Registered User
Joined: Jan 2011
Posts: 1,051
Likes: 0
From: Memphis, TN


 Apr 10, 2014 | 07:32 PM
#31
Thread Starter
Registered User
Joined: Jan 2011
Posts: 1,051
Likes: 0
From: Memphis, TN
Like all 3vze owners, I did an ISR:
Mandrel bent solutions pipe/silicon, plus a custom job rerouting the stock vacuum hoses.
When I installed my headers, I removed the emissions equipment and just plugged the holes with pennies. At some point, I welded some steel bar to the caps and torqued them down!
Which included removal of all the excess vacuum hoses! Much cleaner engine bay! Simpler, more room to work, and overall sharper!

Mandrel bent solutions pipe/silicon, plus a custom job rerouting the stock vacuum hoses.
When I installed my headers, I removed the emissions equipment and just plugged the holes with pennies. At some point, I welded some steel bar to the caps and torqued them down!

Which included removal of all the excess vacuum hoses! Much cleaner engine bay! Simpler, more room to work, and overall sharper!
 Apr 14, 2014 | 08:01 AM
#34
Thread Starter
Registered User
Joined: Jan 2011
Posts: 1,051
Likes: 0
From: Memphis, TN
https://www.yotatech.com/forums/show...923&styleid=51
https://www.yotatech.com/forums/f116/egr-removal-106914/
I used those two threads for reference.
Essentially, you remove the EGR/PAIR that are both on the passenger side of the engine, plus the EGR vacuum regulator that is on the far left of the fuel rail that runs across the top of the engine closest to the radiator. After that, remove all hoses that are to or from those 3 things. There's a few smaller ones, a few bigger ones, and one huge one that comes from the PAIR that wraps around the back of the engine near the PCV valve. After that, you've got to fab up a plate to cover the hole left from removing the EGR. A little aluminum or steel or even coke cans will work. Just cover it up, and you're good to go!

 Apr 30, 2014 | 01:13 PM
#36
Registered User
Joined: Apr 2014
Posts: 28
Likes: 0
It is nice to see another YoTa owner that takes care of their toys.  Anyways, all u need to do now is to mount your MB 4Runner to a "gyro" so that it will always ride level & true no matter how twisted up you may be in the woods.. hehehe.
Anyways, all u need to do now is to mount your MB 4Runner to a "gyro" so that it will always ride level & true no matter how twisted up you may be in the woods.. hehehe.
 Oct 19, 2014 | 03:17 PM
#40
Thread Starter
Registered User
Joined: Jan 2011
Posts: 1,051
Likes: 0
From: Memphis, TN


