Ricky's 1986 Toyota 4Runner Build!
 06-07-2014, 11:35 PM
#21

Yes, I'm in the bay area. Sorry, don't really have parts but what are you looking for?
 06-08-2014, 05:50 PM
#22
Registered User
Thread Starter
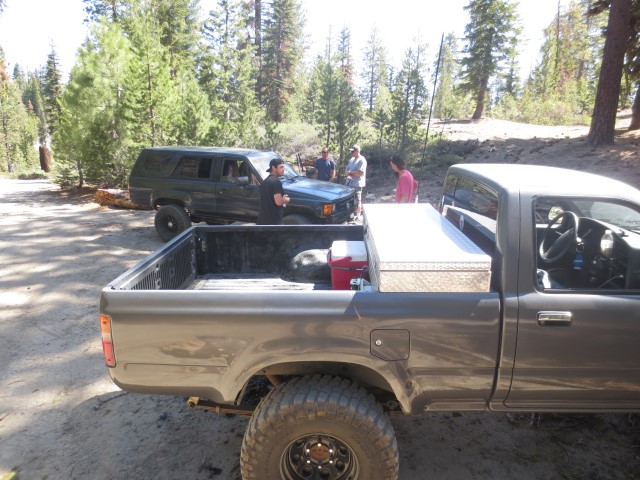
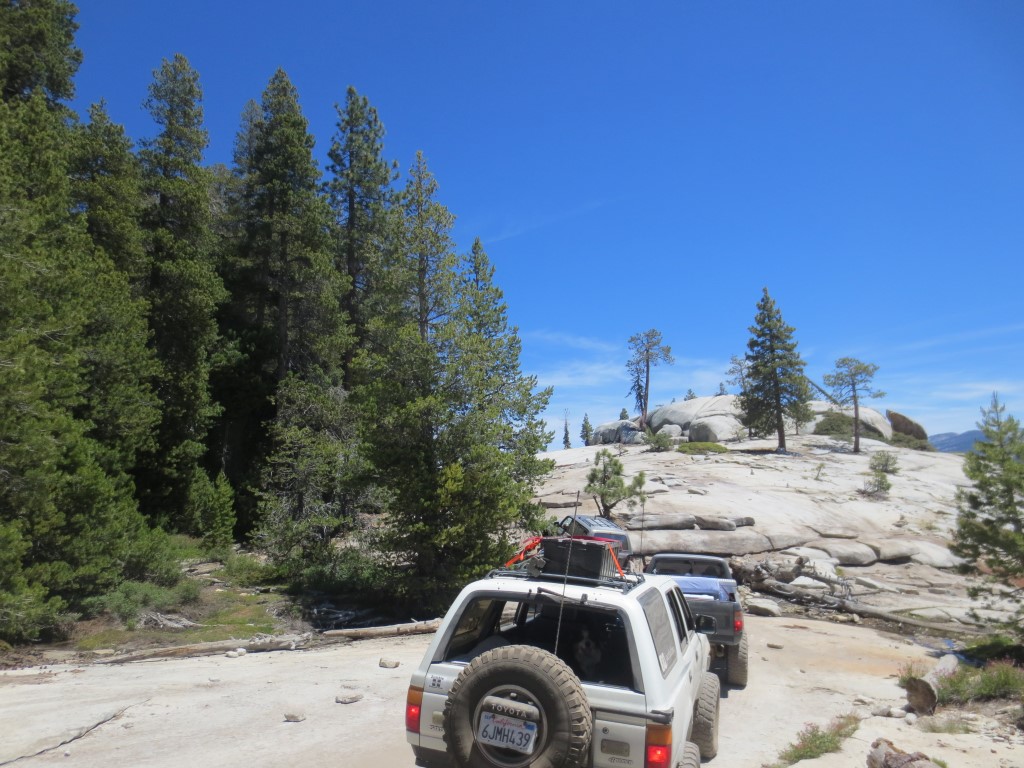
So I did my first wheeling trip today, a couple of friends and I went up to Bald Mountain, in California.
My truck did alright! Found out it does indeed have a locker, but I have leaks from my transfer case, rear diff, and front diff. Must be seals since it sat for a while.
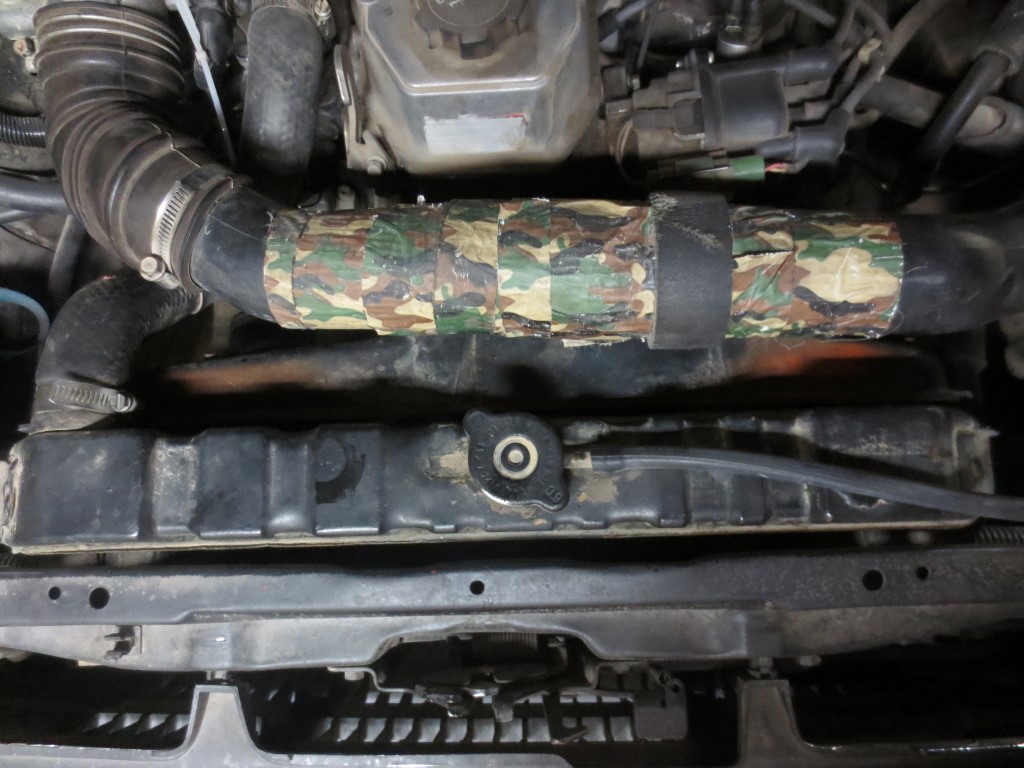
Here's when we first got there, my little 22re was having quite a hard time going up the freeway on the way up there...it was all uphill, was in 3rd gear pinned going 55mph.
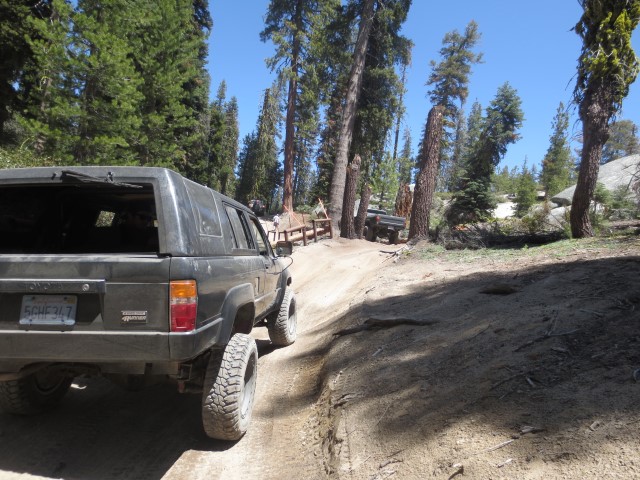
That's my friends 2nd gen truck. Has 33's and a 2 inch body lift, along with some shackles. His next mod is a locker after seeing what mine did with it!
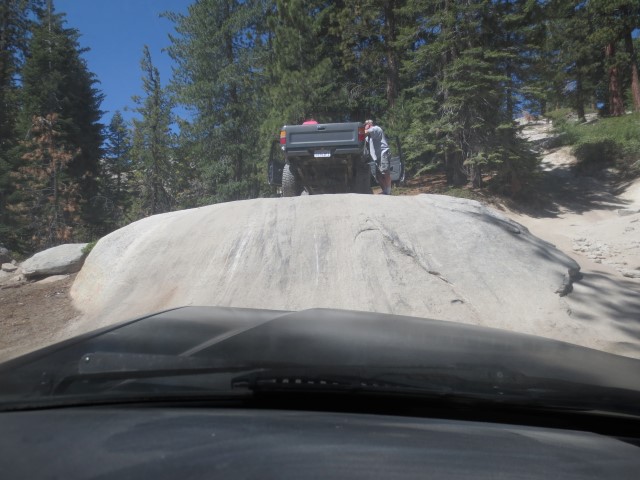
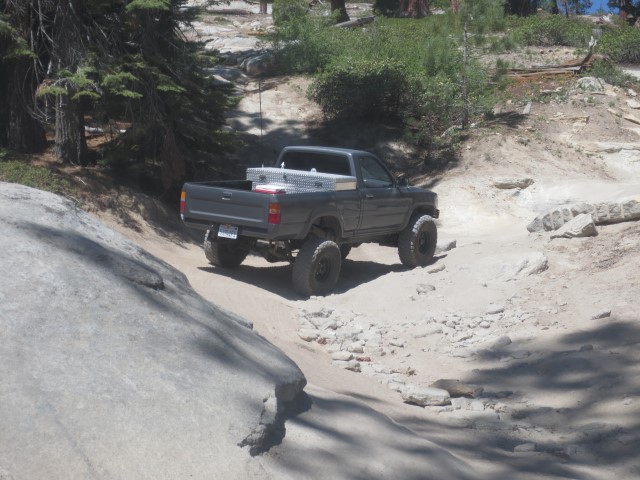
Here's a random shot of a rock we crawled up...didn't think my truck could do it but it surprised me and went right up it. And then right back down it too..
More shots of my friends truck. He was having battery issues.
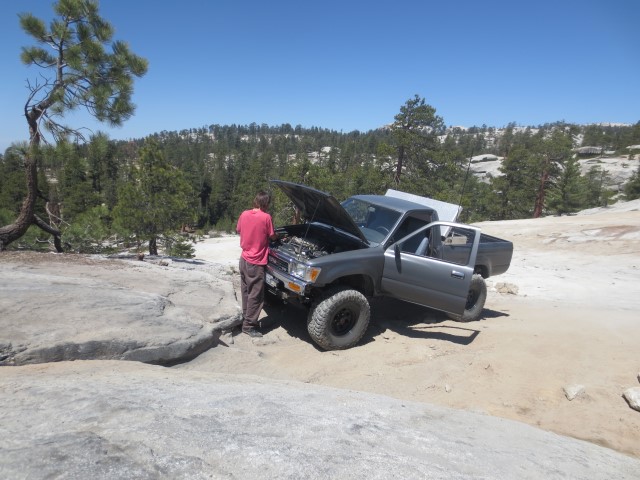
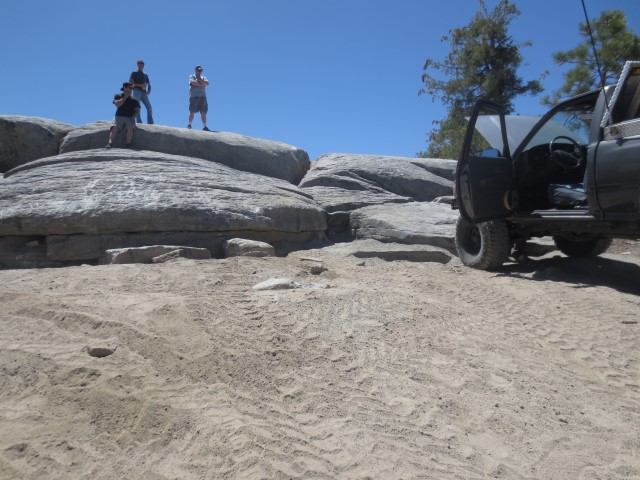
And some shots of my truck..a stock newer FJ cruiser got highsided on a rock up here. We helped him get down even though he spoke no english.
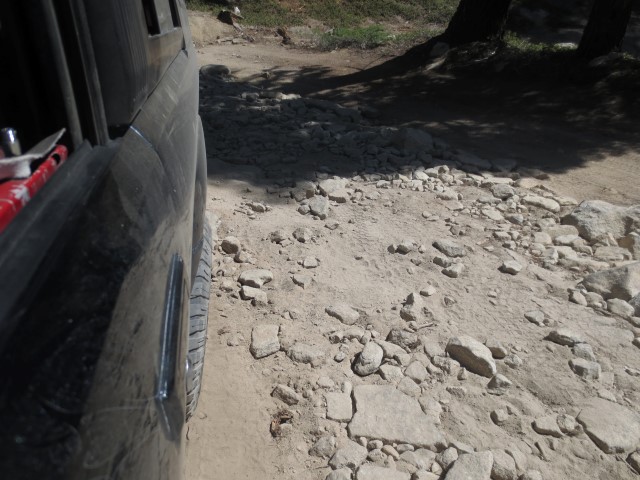
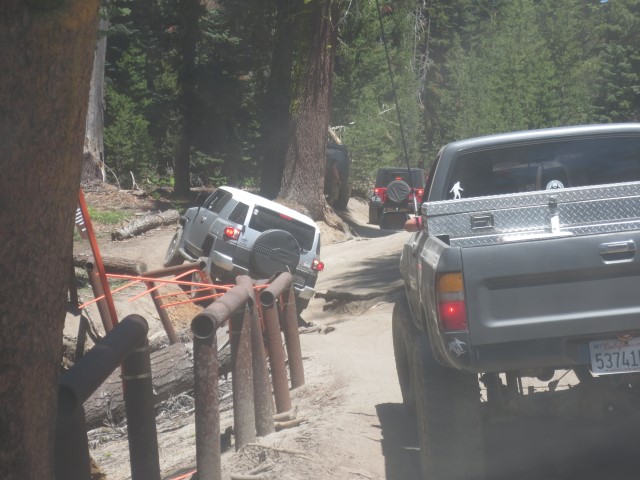
Here is us helping him out of his situation..there was an obnoxious drunk guy talking stuff to the guy with the FJ...it was kind of funny.
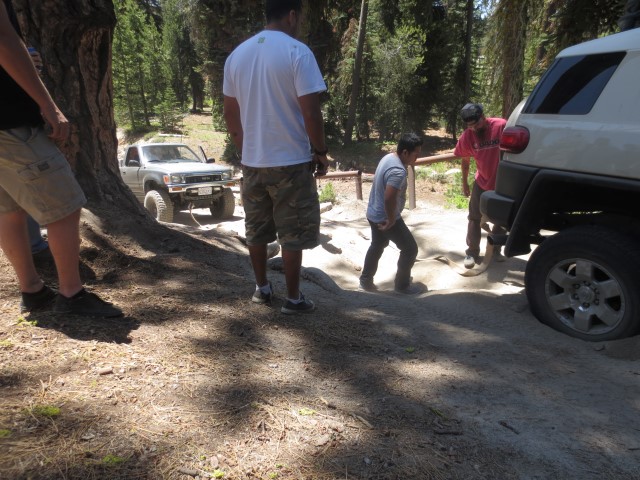
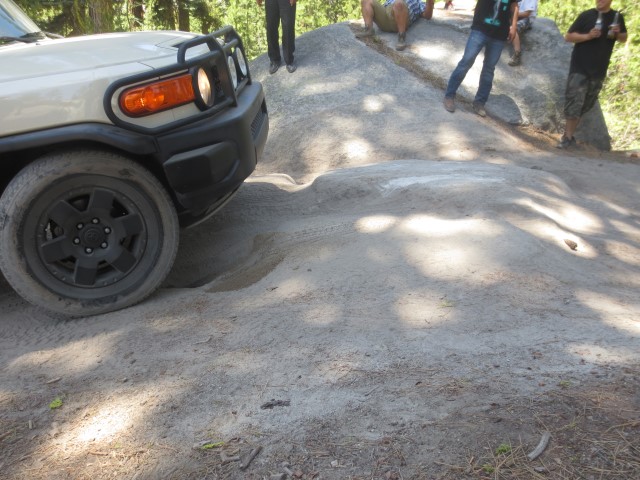
And here is what he got stuck on...just a little rock.
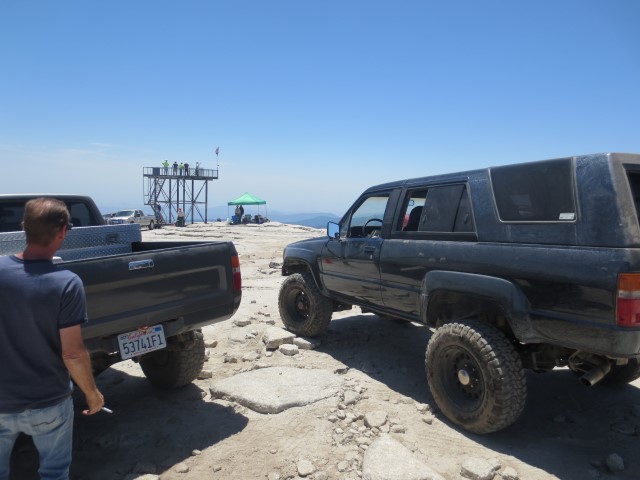
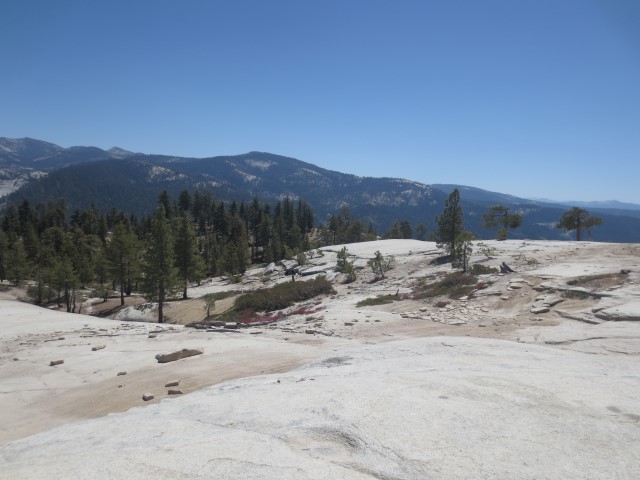
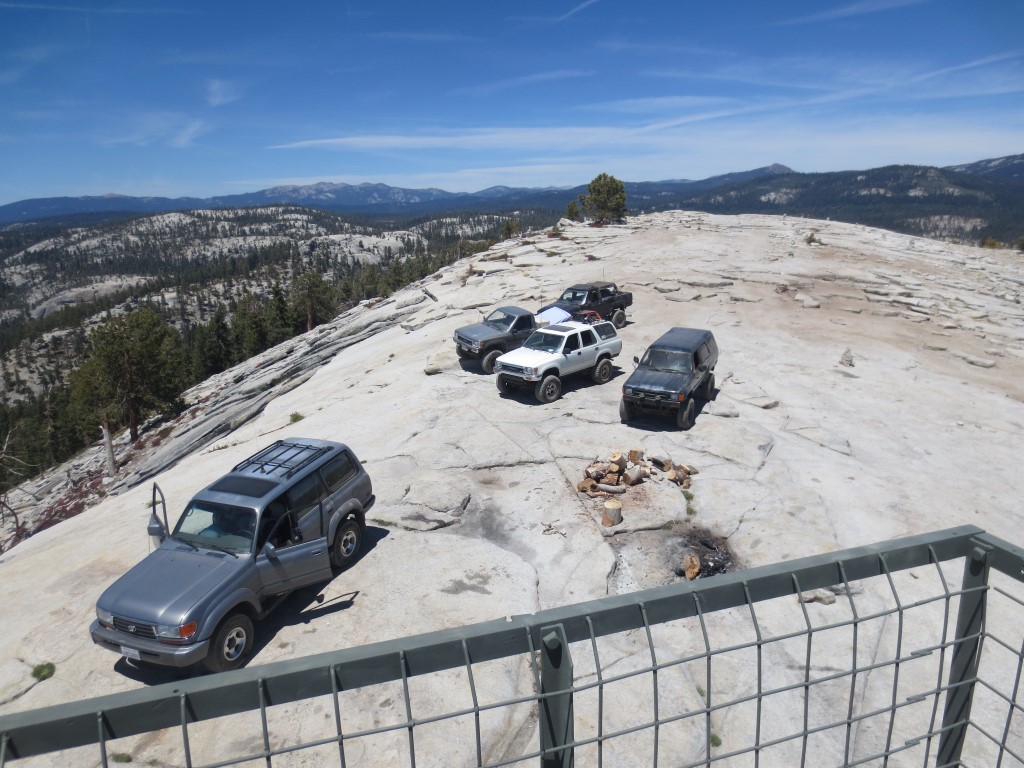
Here we are at the top of Bald Mountain. These guys are fixing that look out tower, it's their job to go wheeling up here every day and work..sounds like a blast.
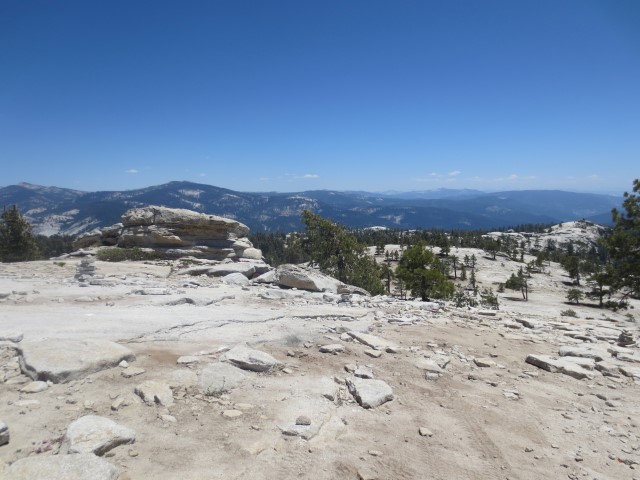
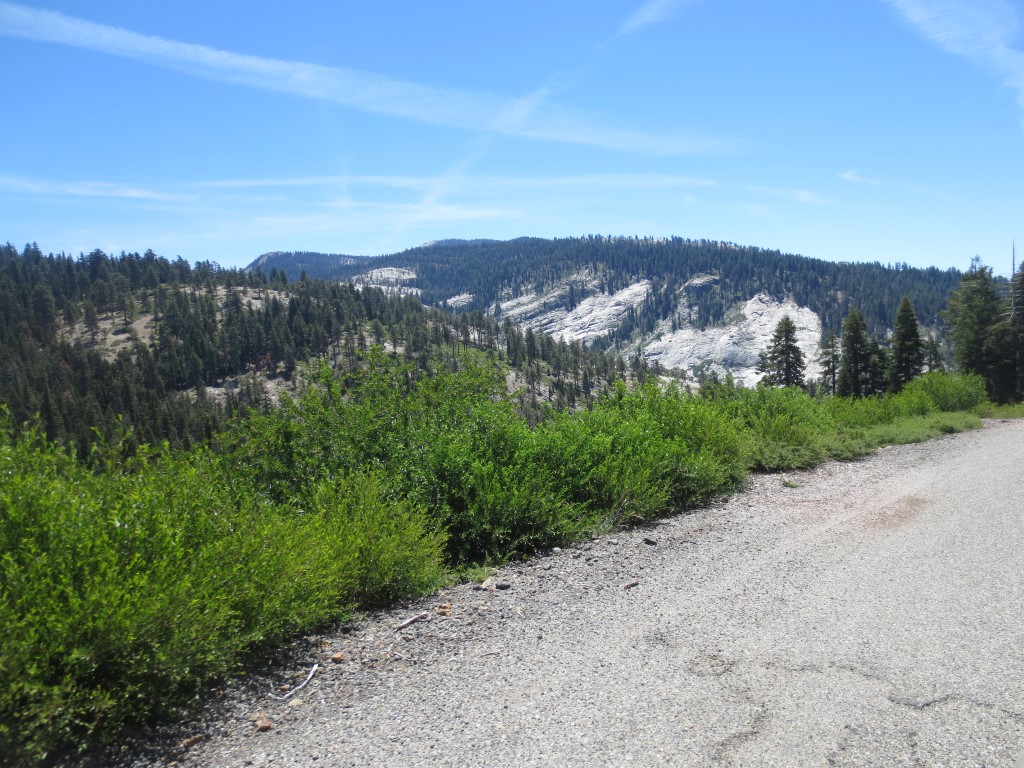
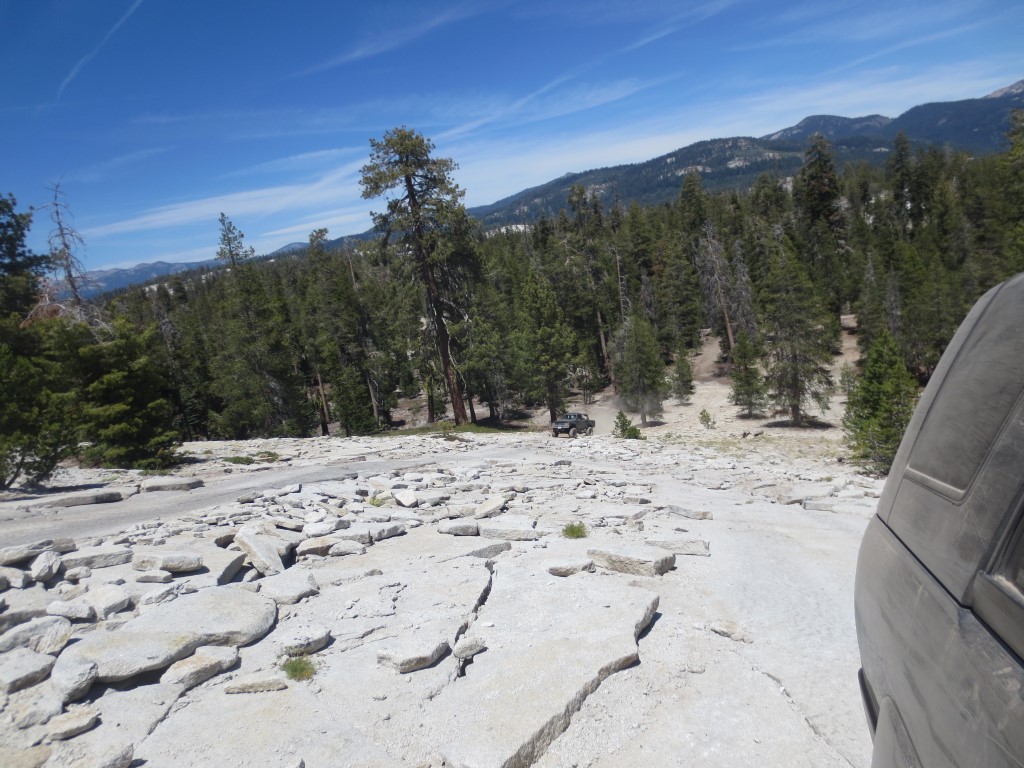
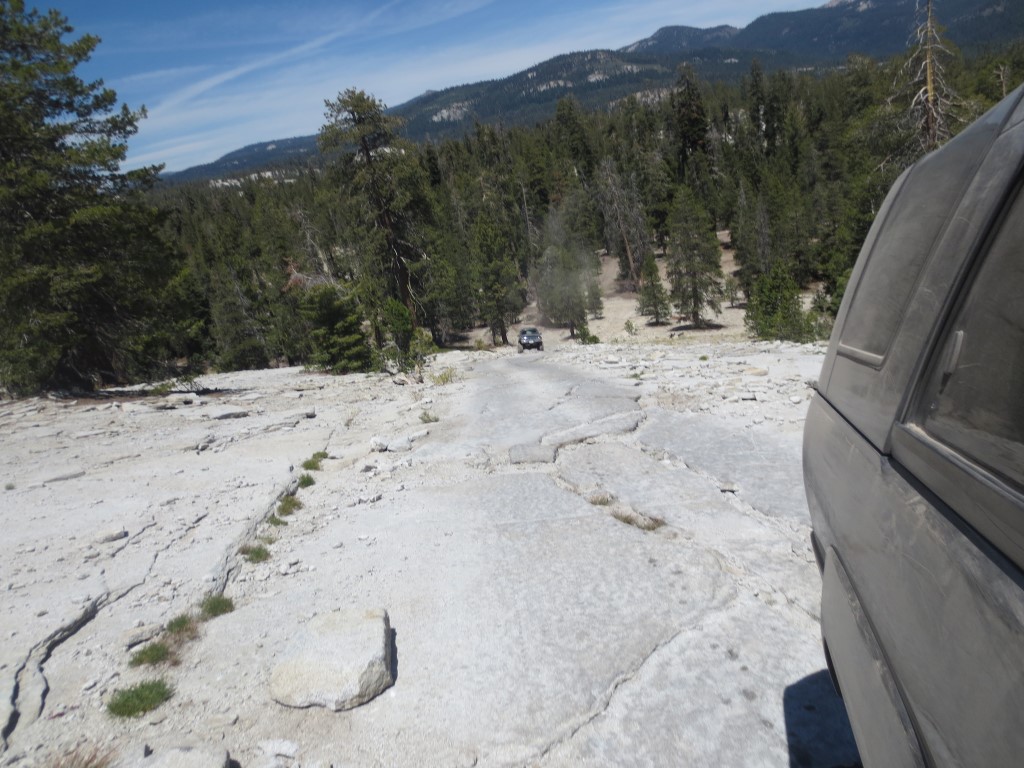
And lastly, some scenery shots...
Overall I'm satisfied with how my truck performed, it didn't let me down at all and I gave it a pretty good beating. At least now I know what I need to fix before next time (leaking seals)...
My truck did alright! Found out it does indeed have a locker, but I have leaks from my transfer case, rear diff, and front diff. Must be seals since it sat for a while.
Here's when we first got there, my little 22re was having quite a hard time going up the freeway on the way up there...it was all uphill, was in 3rd gear pinned going 55mph.
That's my friends 2nd gen truck. Has 33's and a 2 inch body lift, along with some shackles. His next mod is a locker after seeing what mine did with it!
Here's a random shot of a rock we crawled up...didn't think my truck could do it but it surprised me and went right up it. And then right back down it too..
More shots of my friends truck. He was having battery issues.
And some shots of my truck..a stock newer FJ cruiser got highsided on a rock up here. We helped him get down even though he spoke no english.
Here is us helping him out of his situation..there was an obnoxious drunk guy talking stuff to the guy with the FJ...it was kind of funny.
And here is what he got stuck on...just a little rock.
Here we are at the top of Bald Mountain. These guys are fixing that look out tower, it's their job to go wheeling up here every day and work..sounds like a blast.
And lastly, some scenery shots...
Overall I'm satisfied with how my truck performed, it didn't let me down at all and I gave it a pretty good beating. At least now I know what I need to fix before next time (leaking seals)...
Last edited by rworegon; 06-16-2014 at 06:54 PM. Reason: Edited word censor caught.
06-10-2014, 08:32 PM
#24
Registered User
Thread Starter
Okay guys so I got the seals to fix all my leaks...
I also removed my rear seats because the previous owner used house carpet under them and it was starting to smell...also I need to remove my rear panels to make custom speaker housings.

Disgusting....

I also got a fan shroud today from the local pick n pull for $19.99
And supporting my local offroad shop...
I ordered a 2" body lift, and I am looking to buy some 33's. I need to get this rig solid before our local event that happens on the 20th, 21st, and 22nd called Moonlight Madness.
I also removed my rear seats because the previous owner used house carpet under them and it was starting to smell...also I need to remove my rear panels to make custom speaker housings.
Disgusting....
I also got a fan shroud today from the local pick n pull for $19.99
And supporting my local offroad shop...
I ordered a 2" body lift, and I am looking to buy some 33's. I need to get this rig solid before our local event that happens on the 20th, 21st, and 22nd called Moonlight Madness.
06-11-2014, 08:34 PM
#27
Registered User
Thread Starter
Did some more work to my truck today. Keep in mind I just work on it after I get home from work, so I do little odds and ends during the week and big stuff on the weekends.
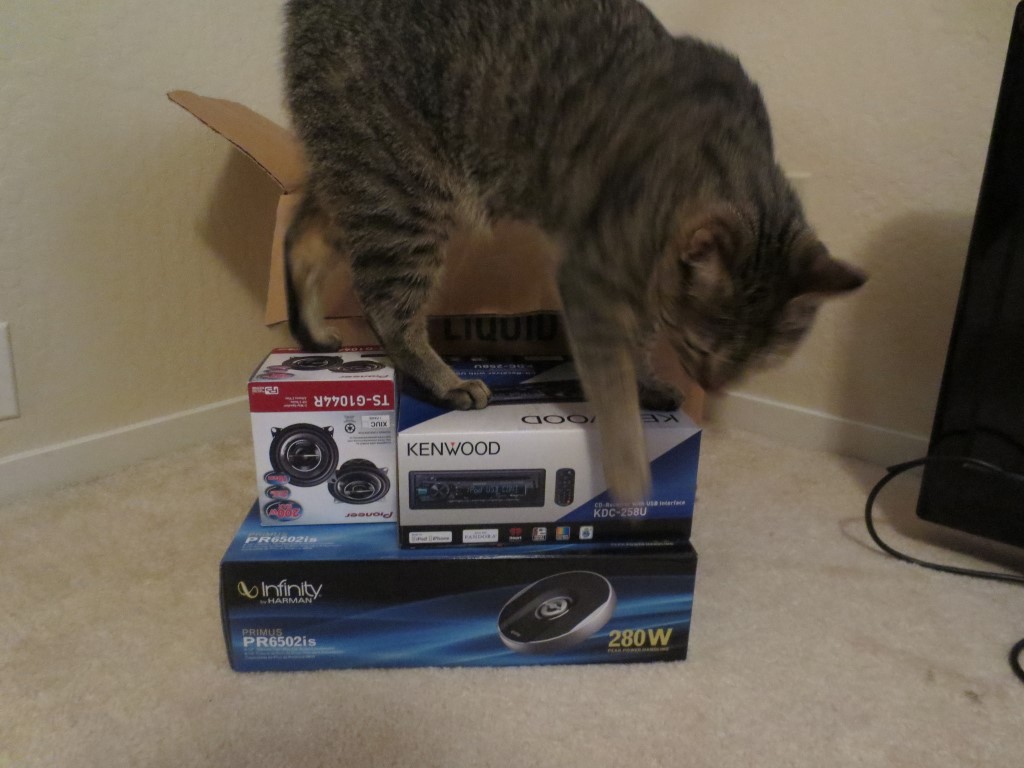
I went ahead and bought some stereo stuff and I plan on making custom door panels and rear panels this weekend.
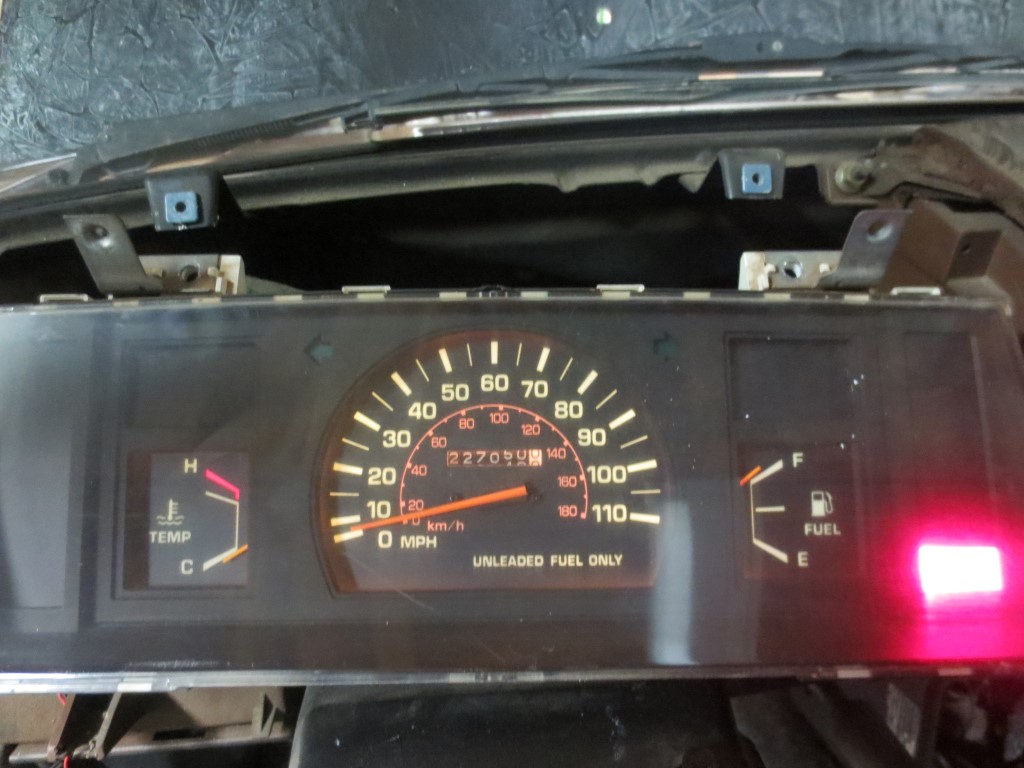
Also I installed my manual cluster into my truck and of course...nothing works lol. The "back door" light doesn't come on anymore, my fuel gauge doesn't work, etc..is there something I need to do, like move pins around in the plug or something? Keep in mind it's just a DLX 5-speed cluster into a DLX automatic truck(w/5speed swap). Not an SR5 cluster.
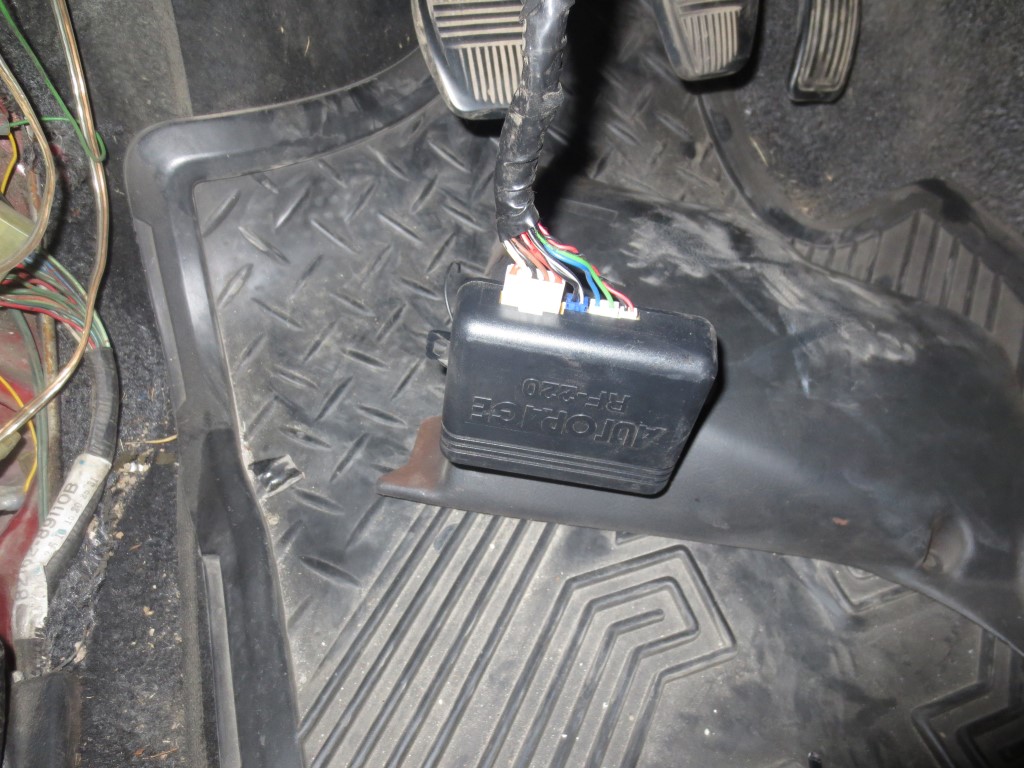
And lastly, I finally found this damn alarm system I've been looking for. Can't wait to rip this thing out.
So, to do list for the weekend:
- Find some 33's hopefully
- Make custom door panels
- Make custom rear panels
- Install deck and speakers
- Remove dash and clean out all hackjob wiring
- Remove carpet and remove all hackjob wiring
- Shopvac out truck, clean up make nice
- Put back together
- Install rear pinion seal
- Install output shaft tcase seal
- Flush and refill rear diff and tcase fluid
I went ahead and bought some stereo stuff and I plan on making custom door panels and rear panels this weekend.
Also I installed my manual cluster into my truck and of course...nothing works lol. The "back door" light doesn't come on anymore, my fuel gauge doesn't work, etc..is there something I need to do, like move pins around in the plug or something? Keep in mind it's just a DLX 5-speed cluster into a DLX automatic truck(w/5speed swap). Not an SR5 cluster.
And lastly, I finally found this damn alarm system I've been looking for. Can't wait to rip this thing out.
So, to do list for the weekend:
- Find some 33's hopefully
- Make custom door panels
- Make custom rear panels
- Install deck and speakers
- Remove dash and clean out all hackjob wiring
- Remove carpet and remove all hackjob wiring
- Shopvac out truck, clean up make nice
- Put back together
- Install rear pinion seal
- Install output shaft tcase seal
- Flush and refill rear diff and tcase fluid
06-12-2014, 02:18 AM
#28
Super Moderator
Staff
iTrader: (1)
Join Date: Aug 2008
Location: Anderson Missouri
Posts: 11,788
Likes: 0
Received 21 Likes
on
19 Posts
I tried to convert an automatic SR5 gauge to a manual SR5 guage and there was some big differences in them. The way the electrical overlay on the back side of the cluster is different and wouldnt let me move or swap the gauges.
I am not 100% sure that the manual gauge that you are using is causing the problems you are experiencing, but I feel it is. I would not have any idea about moving pins as that is way above my abilities.
I am not 100% sure that the manual gauge that you are using is causing the problems you are experiencing, but I feel it is. I would not have any idea about moving pins as that is way above my abilities.
06-12-2014, 09:45 PM
#29
Registered User
Thread Starter
I made some progress on the manual gauge. I got the "back door" light working but the fuel gauge still isn't working right. It is reading 1/4 tank when I have 1/2 a tank. I got tired of it and just threw my auto cluster back in and removed the "oil" bulb since it stuck on.
Anyway, here is some GOOD info for those wanting to swap gauges around.
Anyway, here is some GOOD info for those wanting to swap gauges around.
Connector A
Pin 1 AT Light
Pin 2 Oil sender
Pin 3 Back Door
Pin 4 Check motor light
Pin 5 Tach
Pin 6 norm led
Pin 7 temp
Pin 8 n/a
Pin 9 pwr led
Pin 10 n/a
Pin 11 n/a
Pin 12 n/a
on the 5spd (non tach on mine)
Pin 1 n/a
Pin 2 AT light
Pin 3 Oil sender
Pin 4 Back Door
Pin 5 Check motor light
Pin 6 na (tach on sr5)
Pin 7 temp
Pin 8 n/a
Pin 9 n/a
Pin 10 n/a
Pin 11 n/a
Pin 12 n/a
the connector b is the same across the board
Connector C auto
Pin 1 high beam
Pin 2 4wd
Pin 3 swb
Pin 4 swa
Pin 5 fuel-
Pin 6 fuel+
Pin 7 belts
Pin 8 resistor circut
Pin 9 chg
Pin 10 fuel light
Pin 11 ign +
Pin 12 Ground
Connector C 5spd
Pin 1 high beam
Pin 2 4wd
Pin 3 swb
Pin 4 Fuel-
Pin 5 fuel+
Pin 6 na
Pin 7 belts
Pin 8 resistor circut
Pin 9 chg
Pin 10 fuel light
Pin 11 ign +
Pin 12 Ground
06-12-2014, 09:53 PM
#30
Registered User
Thread Starter
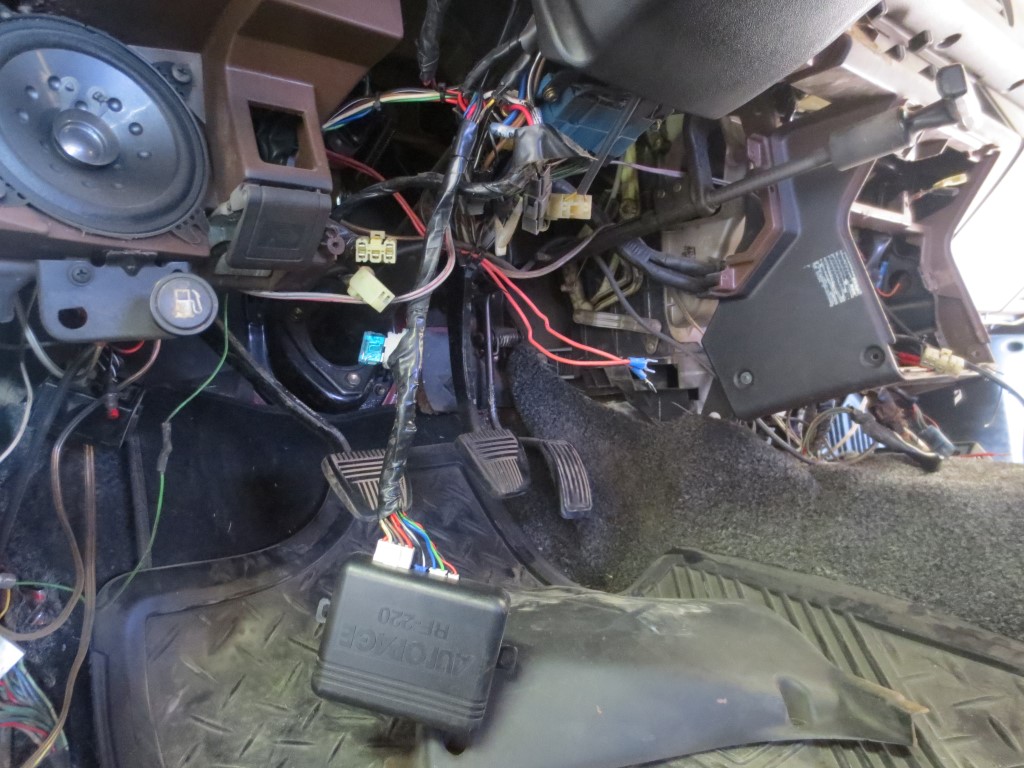
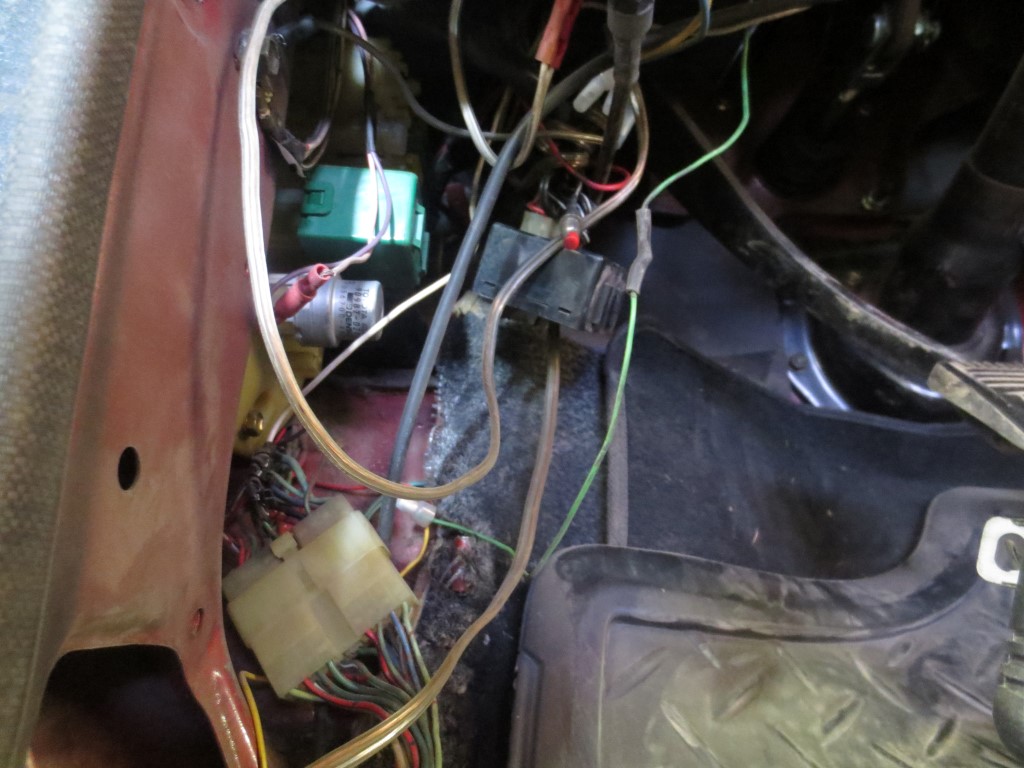
Today consisted of removing all the previous owners hack job wiring, and remove the alarm that it came with.
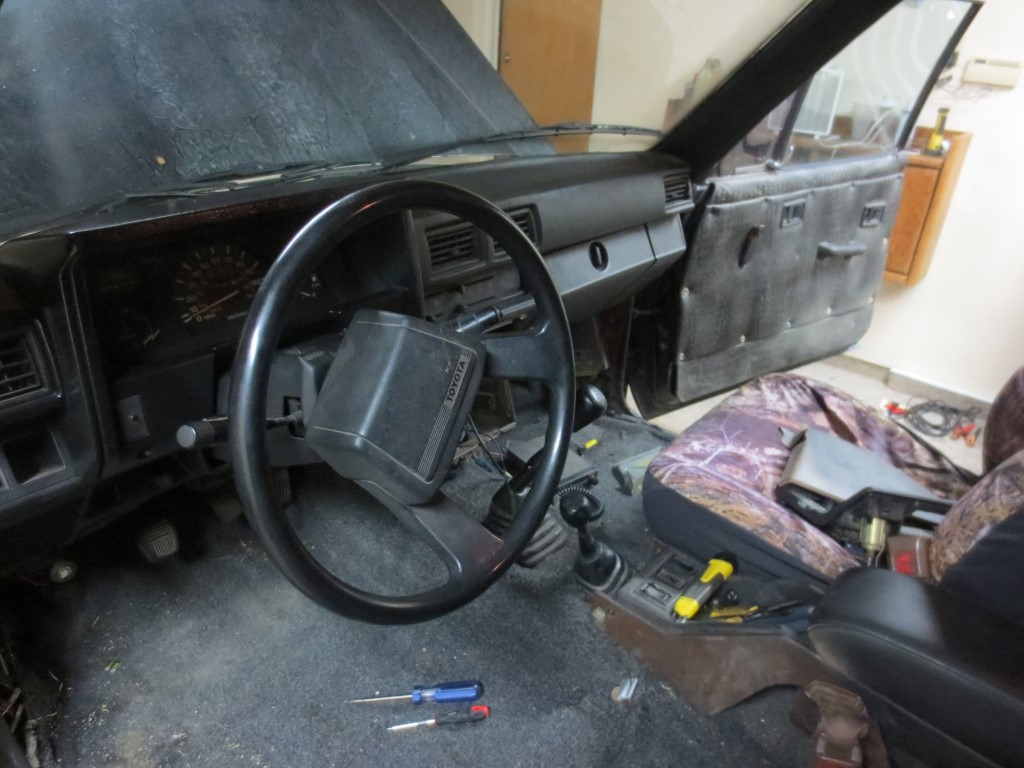
Here is before:
Here is after!!!
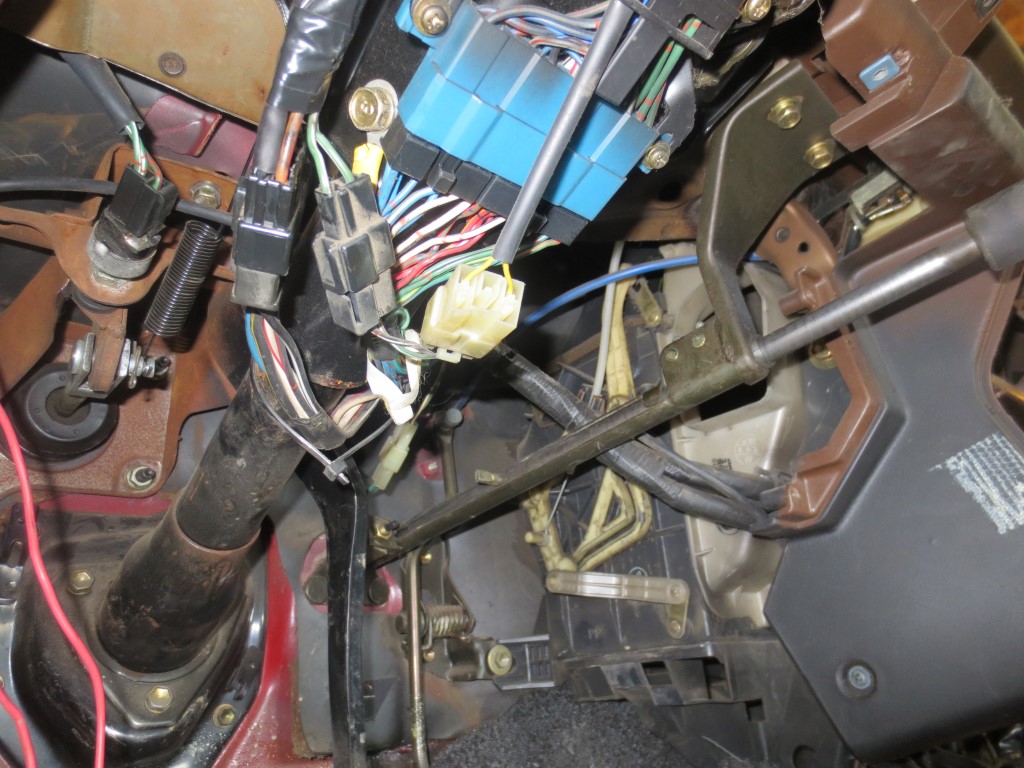
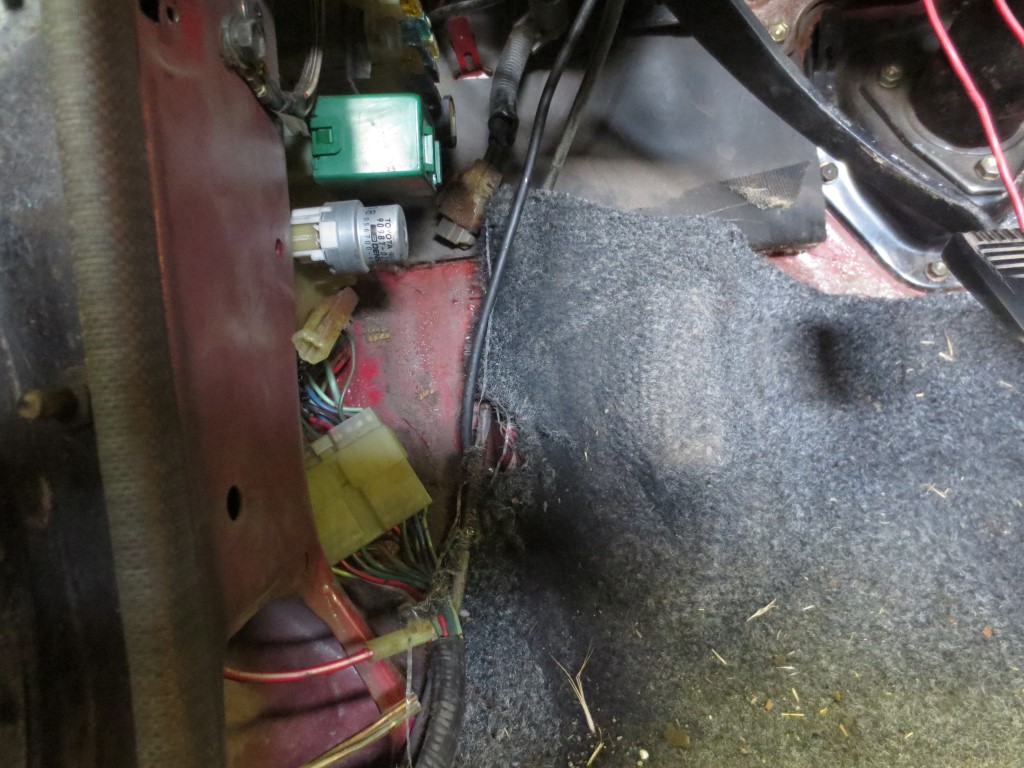
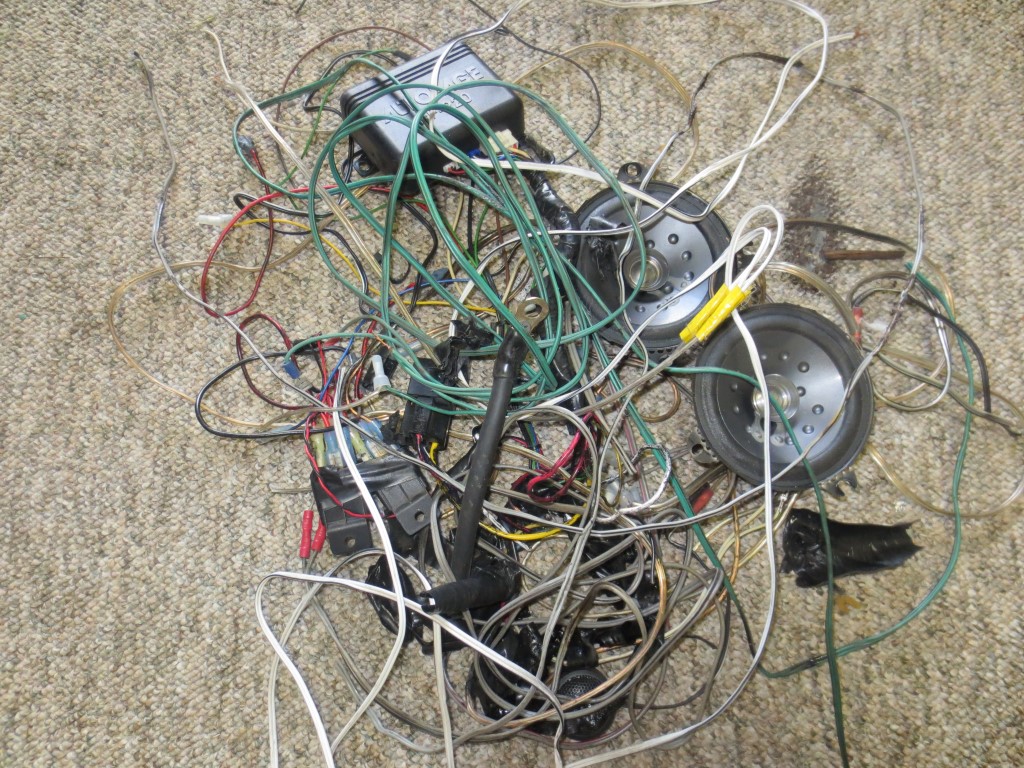
Here is all the wiring I removed...keep in mind this is nothing compared to the rest of the truck..I literally have a 20lb box of junk wiring I've removed so far.
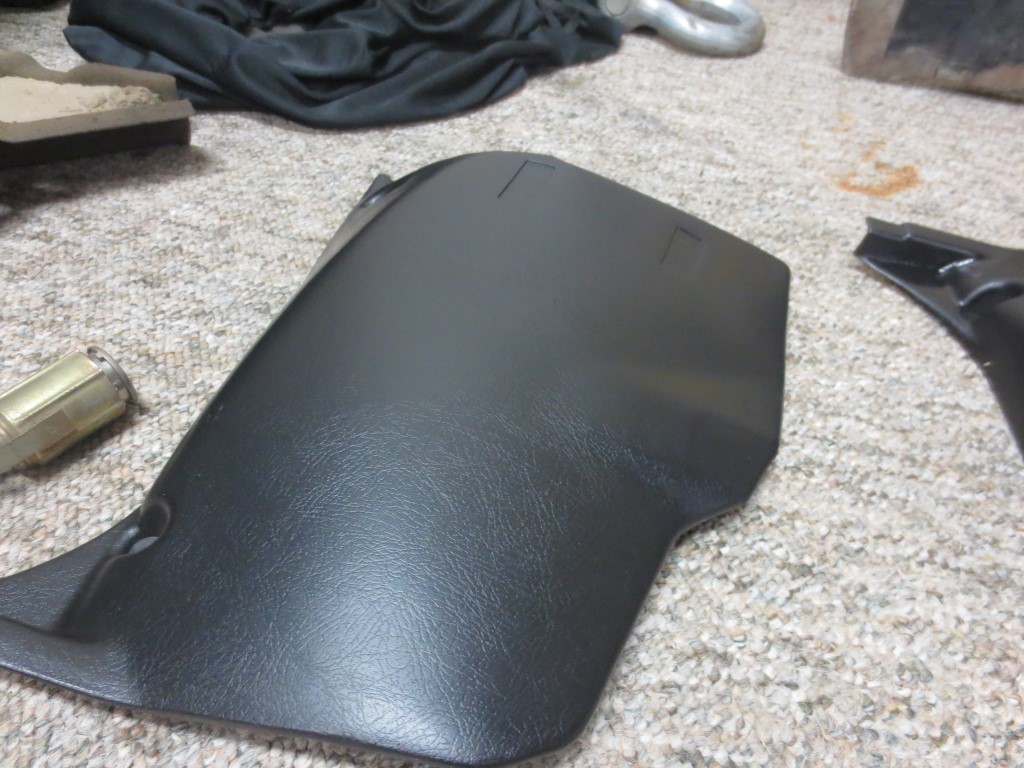
Interior is finally starting to show a little bit of progress. Been cleaning a bunch of crap out of it. Also started freshening up the panels...
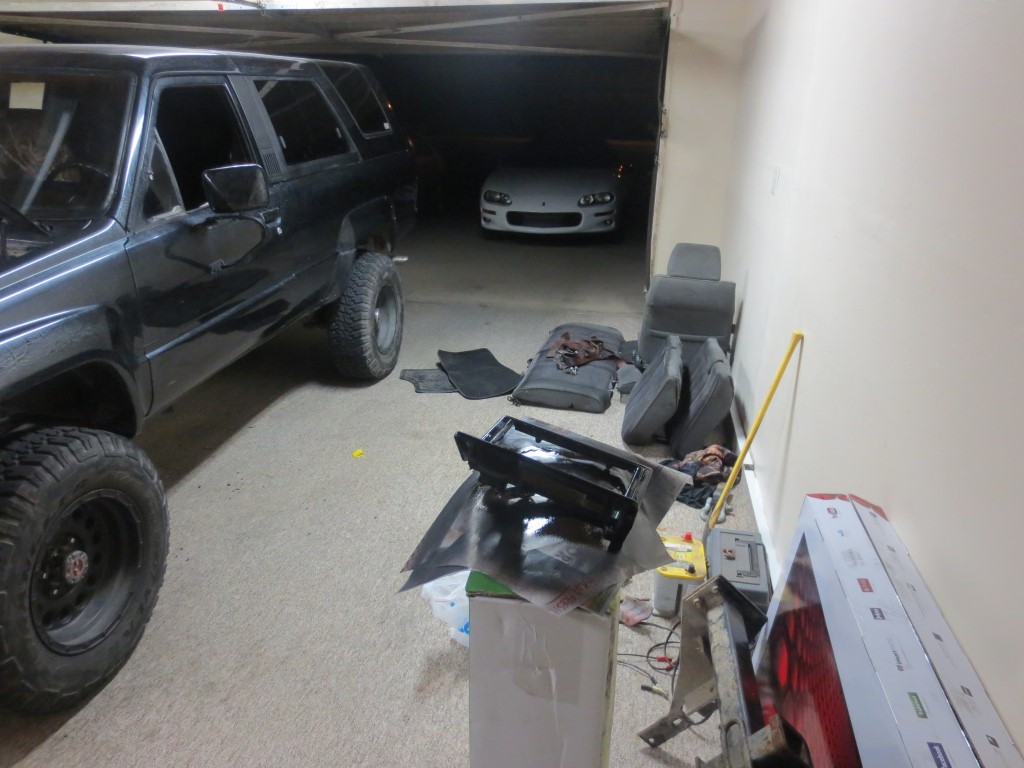
And here is how it sits..parts scattered around the garage and under construction... Has to be running and driving perfectly 8 days from now for Moonlight Madness.
Here is before:
Here is after!!!
Here is all the wiring I removed...keep in mind this is nothing compared to the rest of the truck..I literally have a 20lb box of junk wiring I've removed so far.
Interior is finally starting to show a little bit of progress. Been cleaning a bunch of crap out of it. Also started freshening up the panels...
And here is how it sits..parts scattered around the garage and under construction... Has to be running and driving perfectly 8 days from now for Moonlight Madness.
Last edited by yota_terror; 06-12-2014 at 09:55 PM.
06-13-2014, 01:50 AM
#31
Super Moderator
Staff
iTrader: (1)
Join Date: Aug 2008
Location: Anderson Missouri
Posts: 11,788
Likes: 0
Received 21 Likes
on
19 Posts
The guy that did all of the crap wiring on yours has worked on some of my projects in the past. Any electrical issues I have the first two things I check for is stereo and trailer light additions. I have seen household wire nuts and such on these trucks. If you want a Automatic SR5 guage, I know where one is at. He is charging me $40 for a manual SR5 gauge and dont know what he would charge to ship it if you want one. I can get the info if want it.
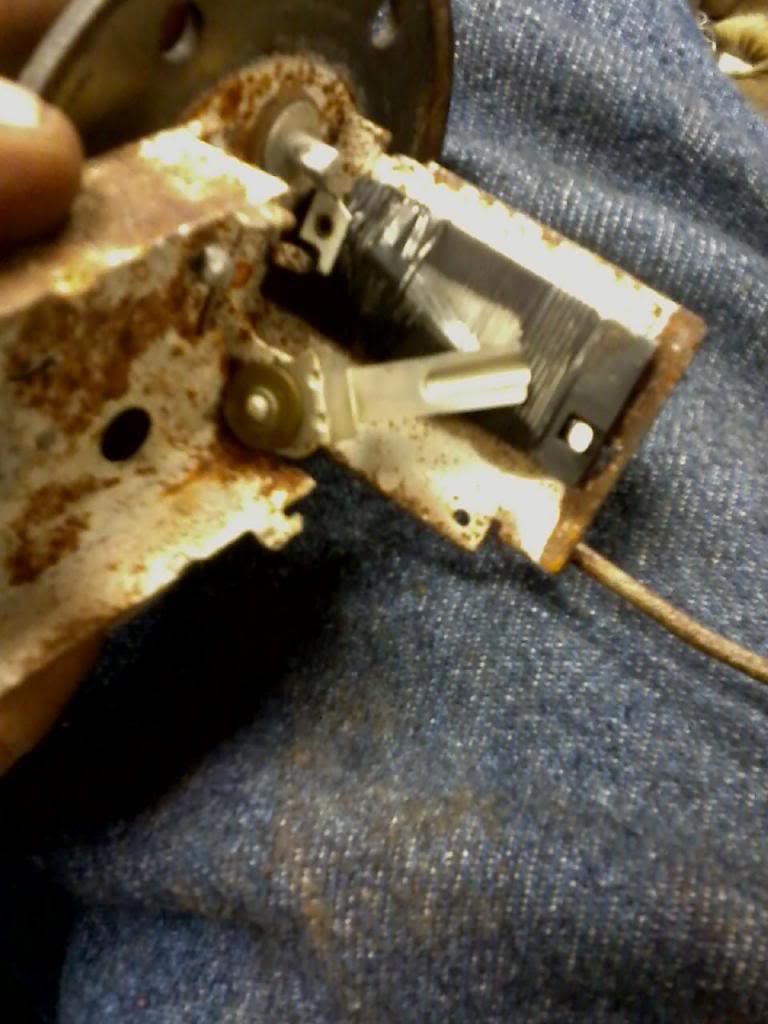
On some of the fuel guages, they just need to be removed from the tank and get the float assembly to move in the up and down direction. I have used PB Blaster and a wire brush at the pivot points and got them working. Then I set it on the rear tire and make the electrical connection and move the float to different positions and see if the gauge works. It will move slowly to the different positions on the guage.
If that doesnt fix it, most likely the wire strands are broken inside and you will need to replace the float assembly.
Pic from a build I did.
Here is a better view of the wiper that slides on the coil. It had some broken strands so is no good now. A spare that I had.
 06-13-2014, 08:41 AM
#32
Registered User
Thread Starter
Terry, my fuel level is working properly with my automatic cluster. It's when I move over to the manual cluster that it becomes finnicky(even with the proper pinout). So maybe it's something with the cluster I have, or I'm just wiring it wrong.
So I just stuck to my automatic cluster since everything works. Thanks for that bit of info though, I'll keep that in mind if my fuel gauge ever starts acting up!
So I just stuck to my automatic cluster since everything works. Thanks for that bit of info though, I'll keep that in mind if my fuel gauge ever starts acting up!
06-13-2014, 09:26 PM
#33
Registered User
Thread Starter
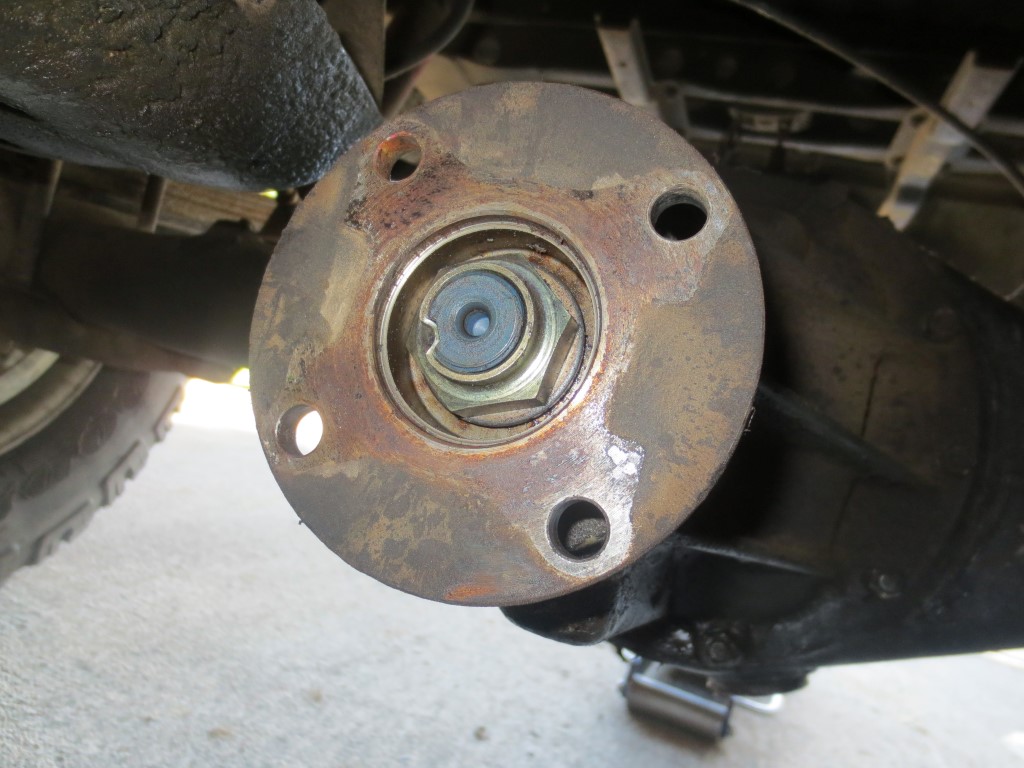
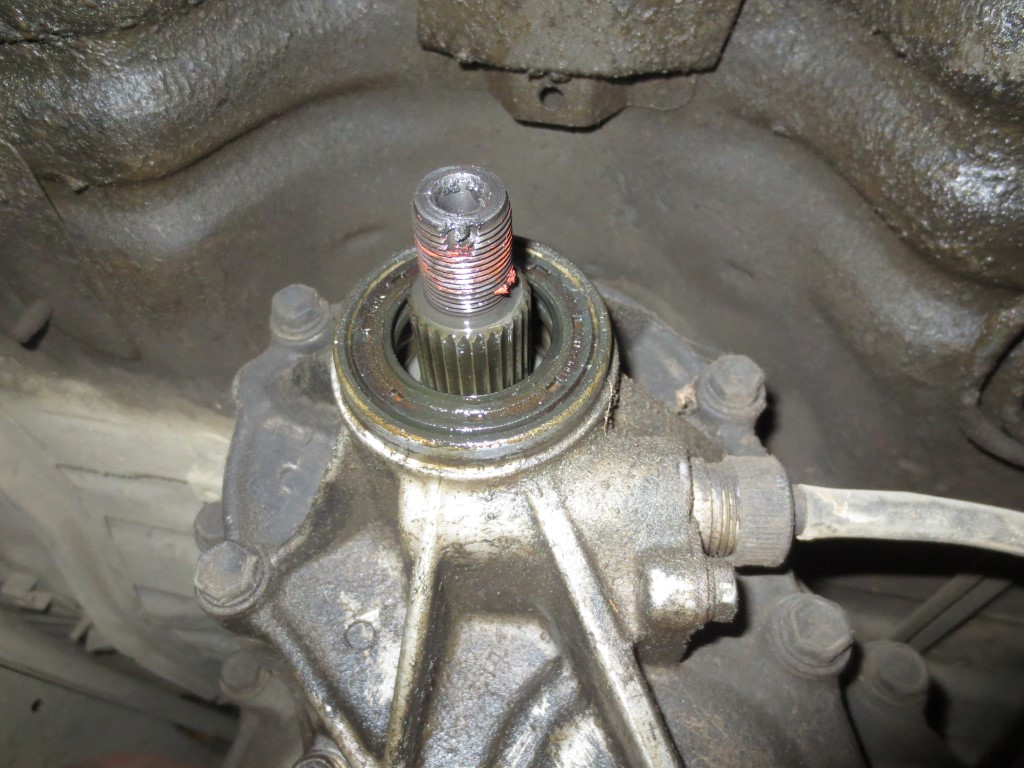
Today I replaced my rear pinion seal and my transfer case output shaft seal. When we went up to Bald Mountain they were both leaking pretty bad! Hopefully this takes care of the issues. I drove it around after changing them and it hasn't leaked yet.
These staked nuts are a pain to get out!! I found it easiest to loosen it a little so I could get a punch in there or whatever to knock out the stake.
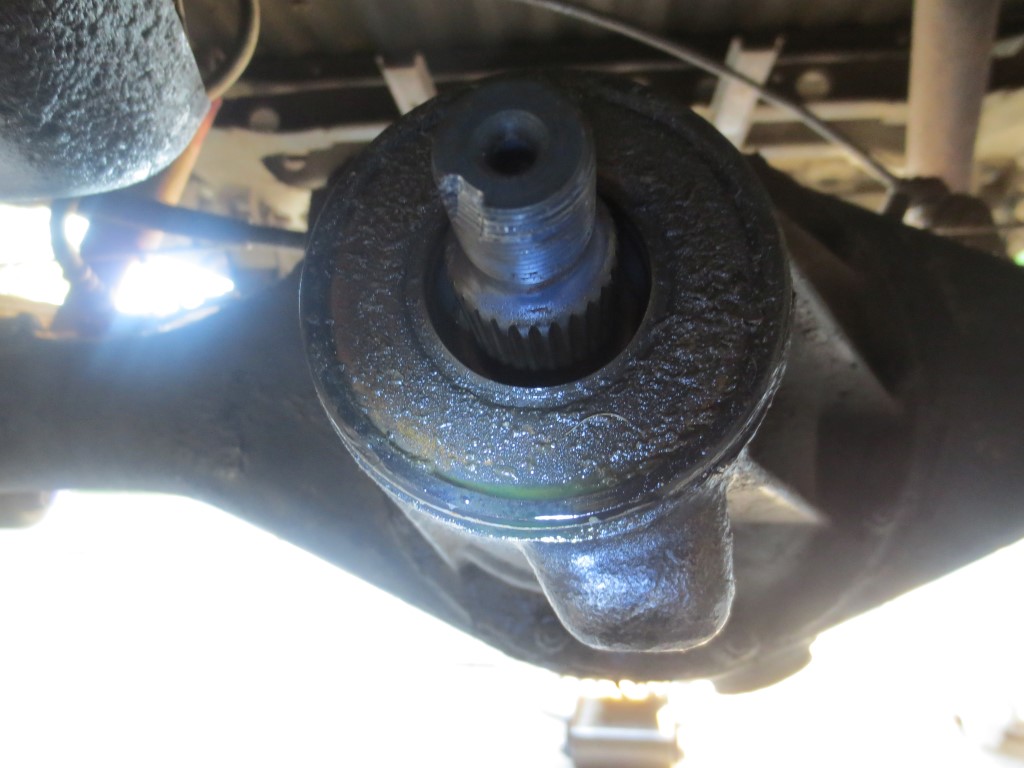
And here is our culprit...the seal was so dry it cracked as I was yanking it out.
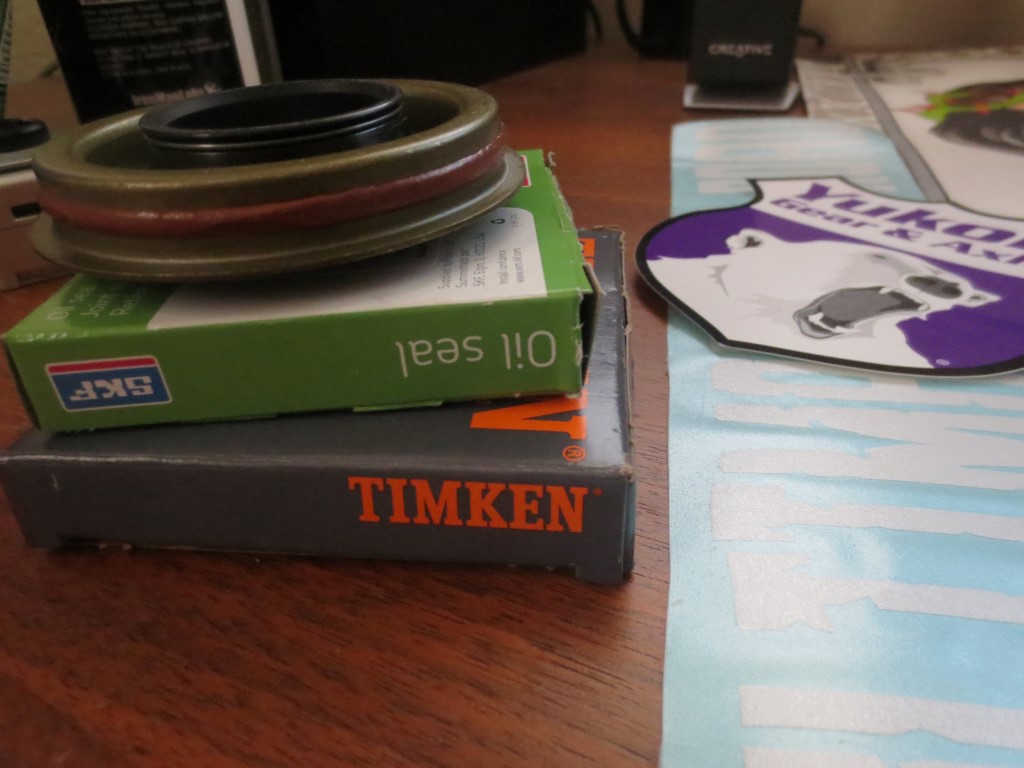
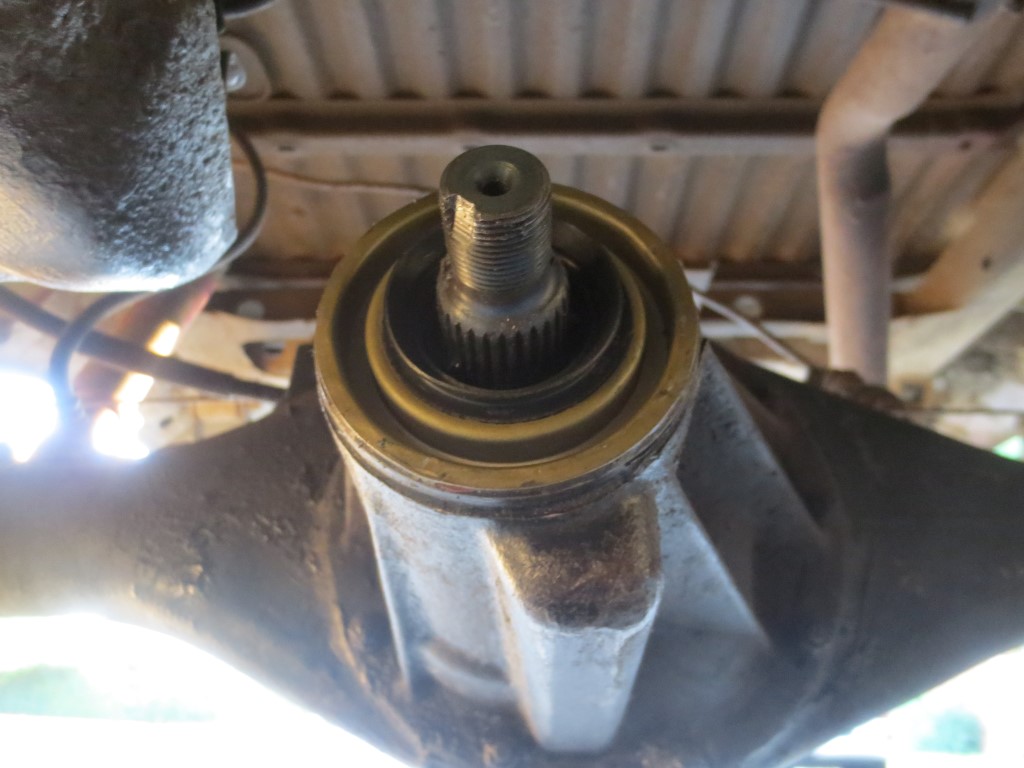
And my new seal..Marlin Crawler heavy duty seal, don't think this one will leak..
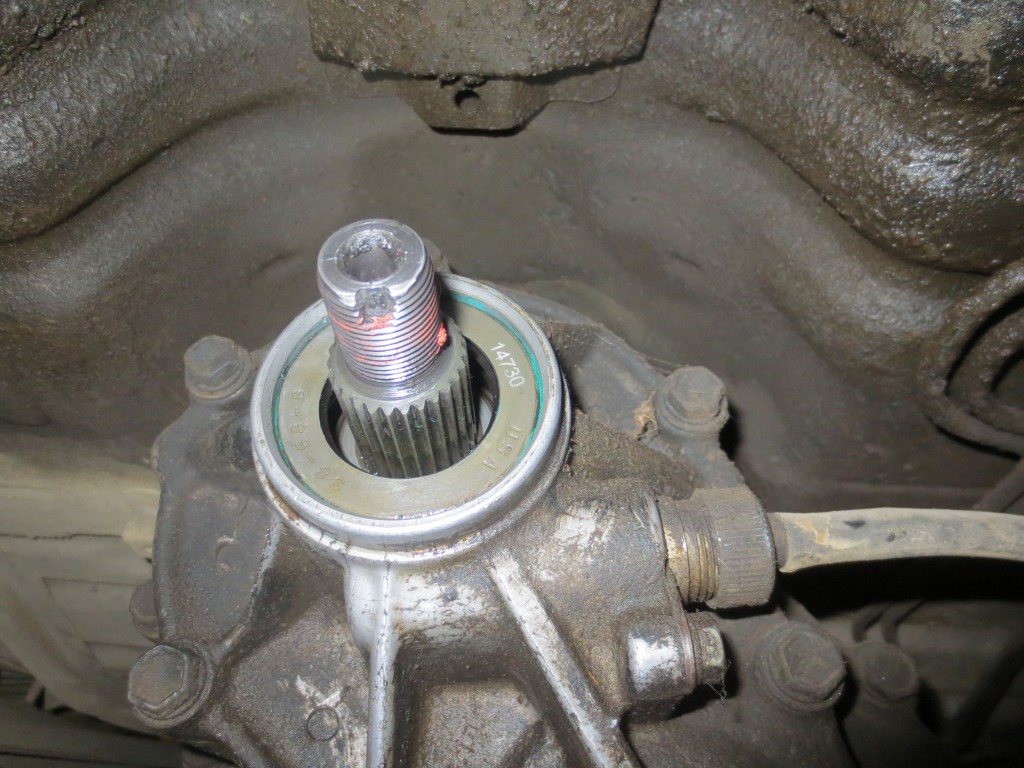
Onto the transfer case! This seal was dry and leaking as well, as you can see
My new SKF seal was a little bit shorter in height than the factory seal, so it sits a little recessed in the groove. Hope this won't be an issue. If so it's not too hard to change so that's a plus.
I also got some used 33x10.50x15 tires today.
These staked nuts are a pain to get out!! I found it easiest to loosen it a little so I could get a punch in there or whatever to knock out the stake.
And here is our culprit...the seal was so dry it cracked as I was yanking it out.
And my new seal..Marlin Crawler heavy duty seal, don't think this one will leak..
Onto the transfer case! This seal was dry and leaking as well, as you can see
My new SKF seal was a little bit shorter in height than the factory seal, so it sits a little recessed in the groove. Hope this won't be an issue. If so it's not too hard to change so that's a plus.
I also got some used 33x10.50x15 tires today.
06-15-2014, 09:00 PM
#34
Registered User
Thread Starter
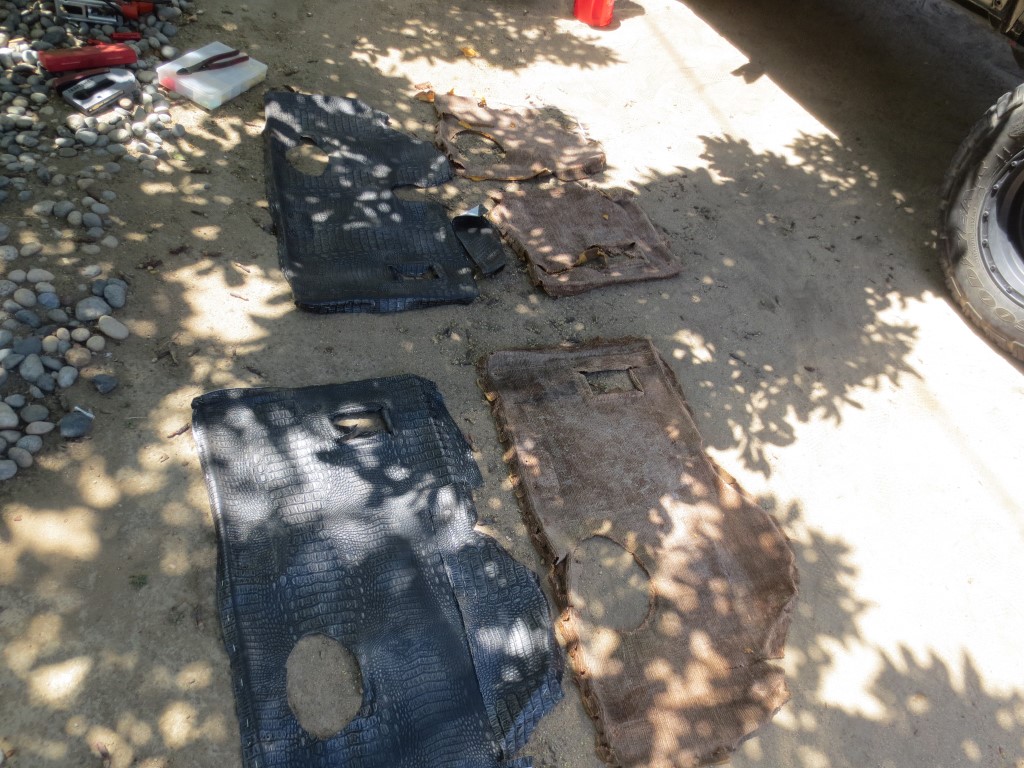
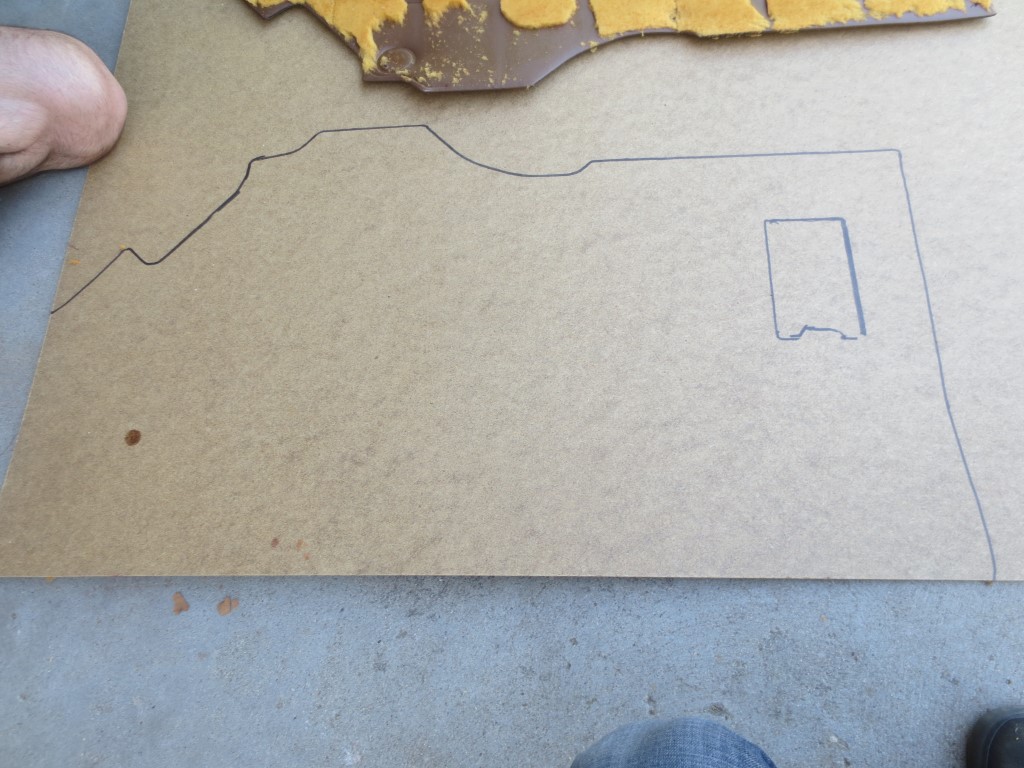
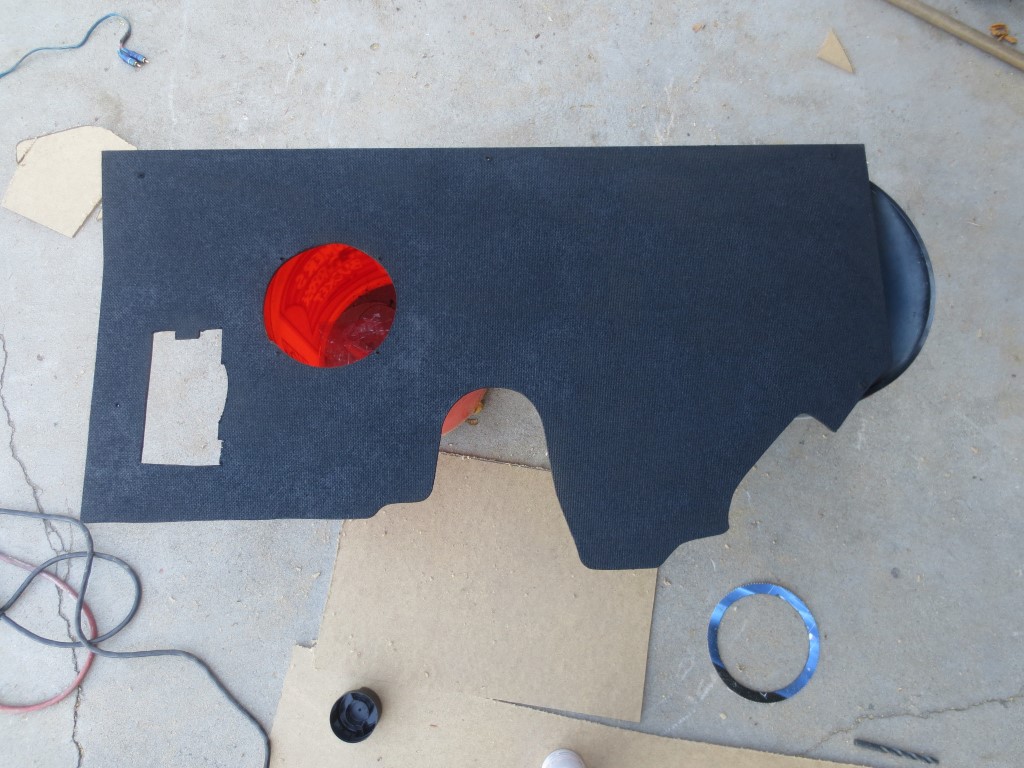
Cleaned out the interior of my runner today and made some AWESOME fitting rear panels out of 1/4" wood.
My neighbor helped me throughout the whole process.
First, we removed the rear panels. Which were snakeskin, glued onto CARPET.
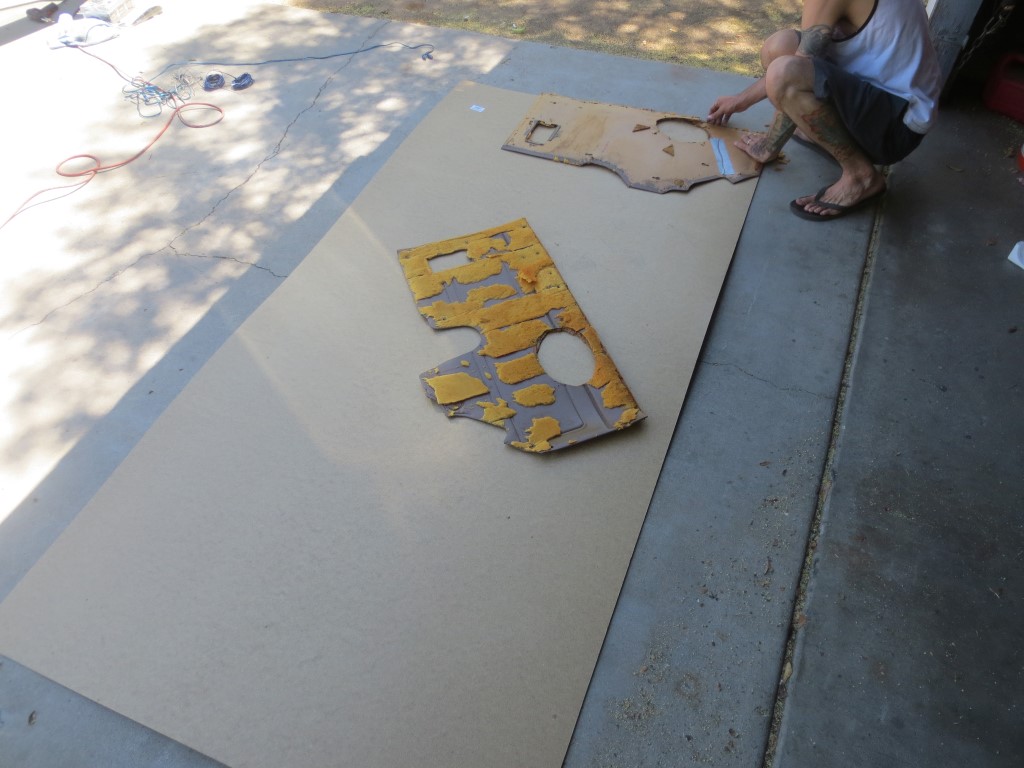
Next, we traced the door panels onto the wood.
Then we cut them out, and test fitted the speakers.
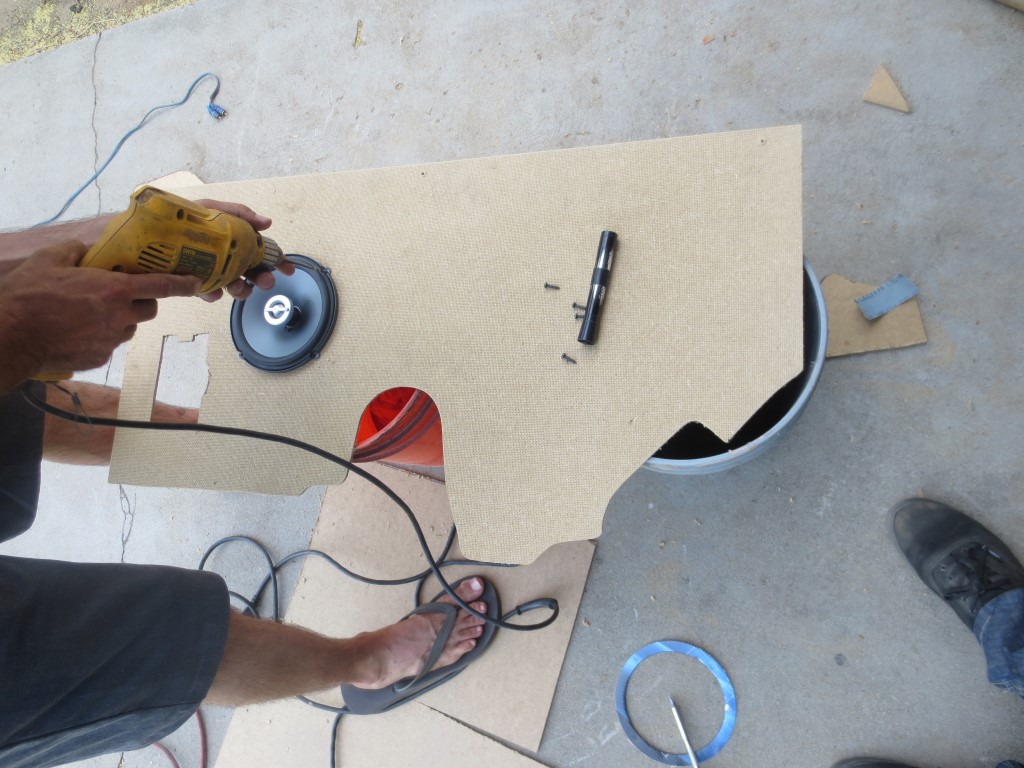
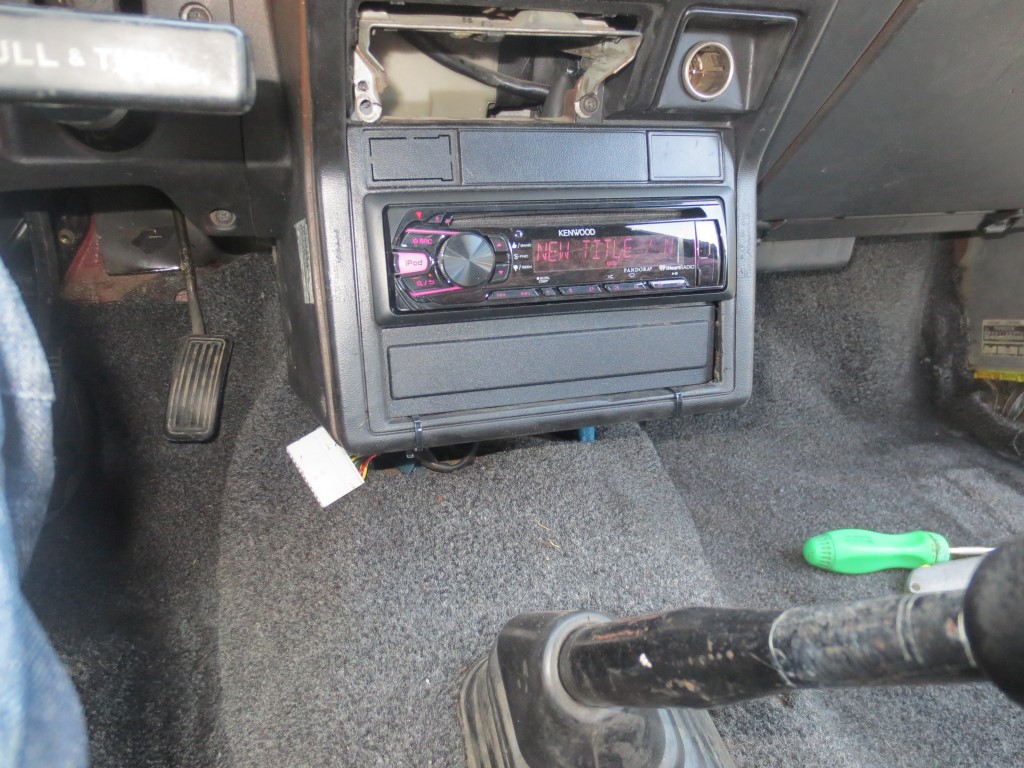
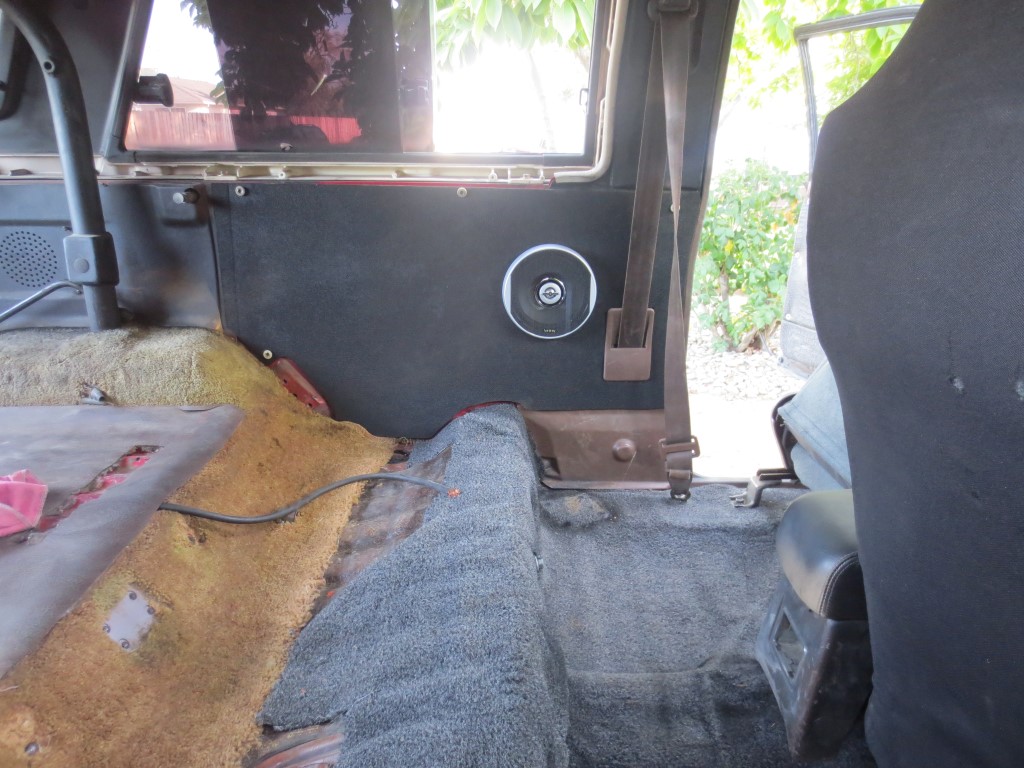
I installed the Kenwood deck and ran all the speaker wiring as my neighbor finished up cutting the panels.
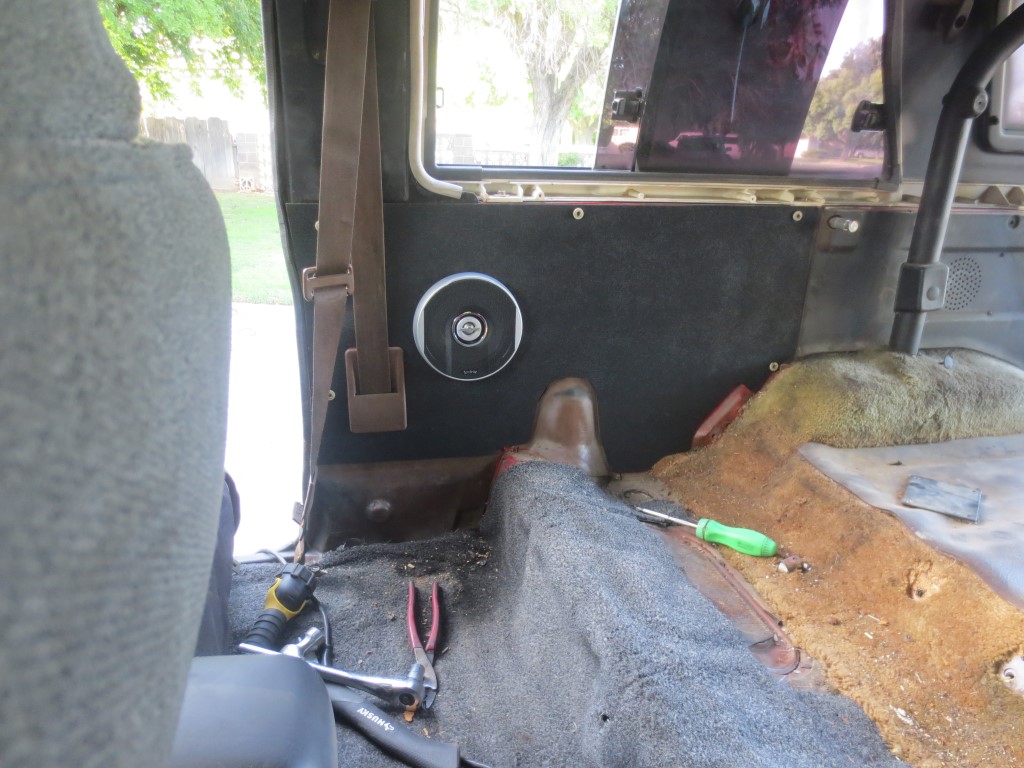
Test fitting the drivers panel
Painted the panels with textured rustoleum paint
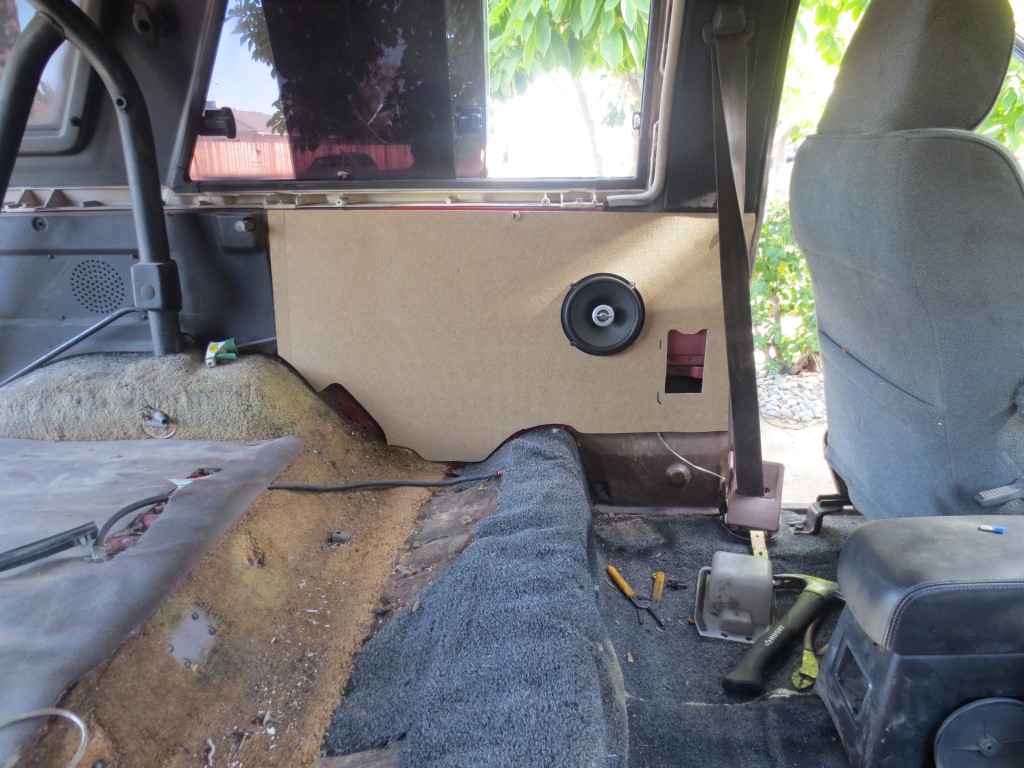
And now the final result, I think it looks great.
My neighbor helped me throughout the whole process.
First, we removed the rear panels. Which were snakeskin, glued onto CARPET.
Next, we traced the door panels onto the wood.
Then we cut them out, and test fitted the speakers.
I installed the Kenwood deck and ran all the speaker wiring as my neighbor finished up cutting the panels.
Test fitting the drivers panel
Painted the panels with textured rustoleum paint
And now the final result, I think it looks great.
06-16-2014, 06:20 PM
#38
Registered User
Thread Starter
Yeah ha, maybe after our trip this weekend we can knock em out or something.
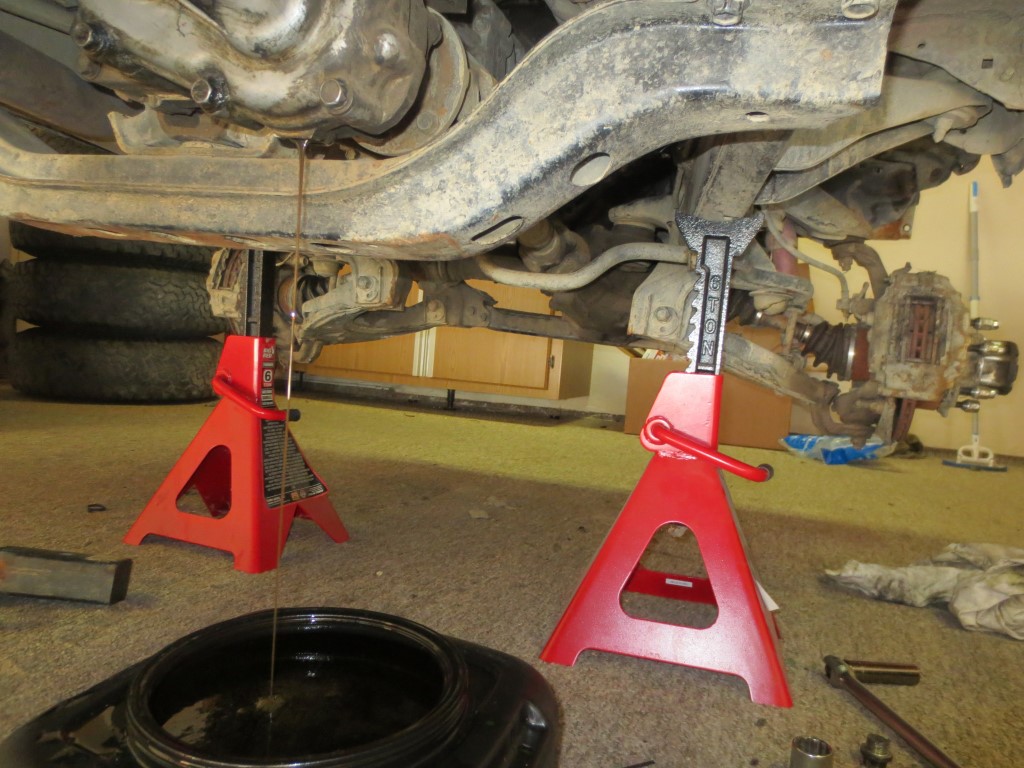
Today I drained my diff's and transfer case and put new fluid in.
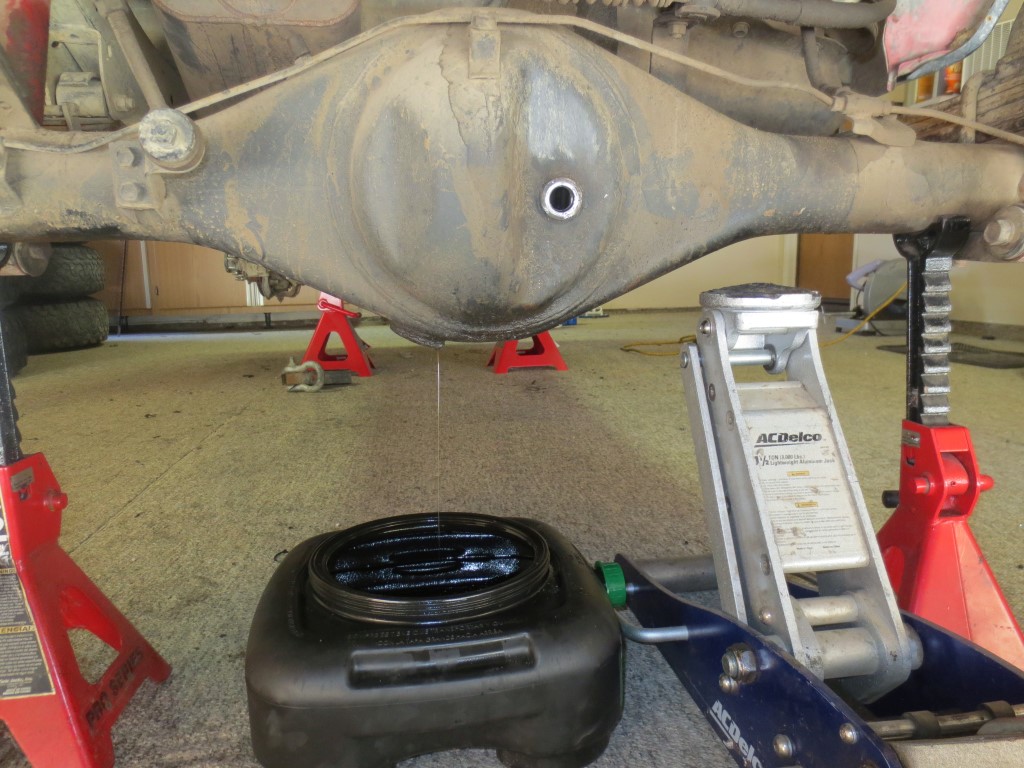
While I was laying on the floor while draining my transfer case fluid, I was looking around under my truck and noticed that my transmission only has TWO BOLTS HOLDING IT ON TO THE BLOCK. So I will be getting new bolts tomorrow at work to fasten it correctly. Scary.
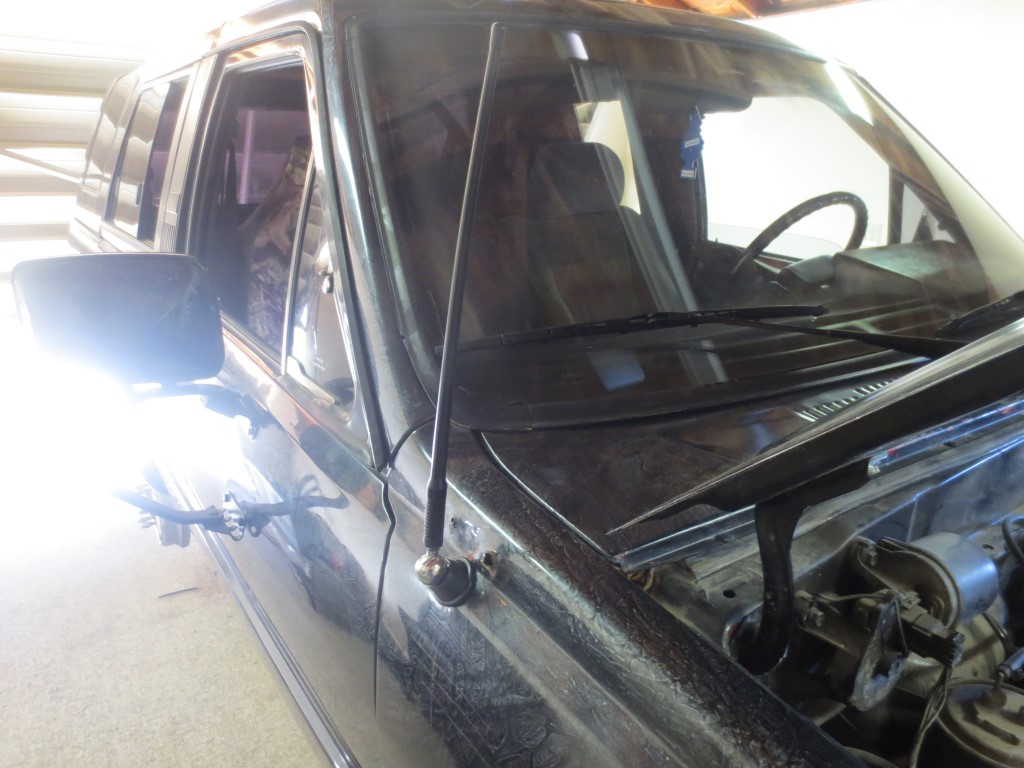
I also installed this 9 dollar antenna, which conveniently hid a hole in my fender as well.
Today I drained my diff's and transfer case and put new fluid in.
While I was laying on the floor while draining my transfer case fluid, I was looking around under my truck and noticed that my transmission only has TWO BOLTS HOLDING IT ON TO THE BLOCK. So I will be getting new bolts tomorrow at work to fasten it correctly. Scary.
I also installed this 9 dollar antenna, which conveniently hid a hole in my fender as well.
06-26-2014, 09:08 PM
#39
Registered User
Thread Starter
Here are some recent pics from our trip up to Bald Mountain for the Moonlight Madness event.
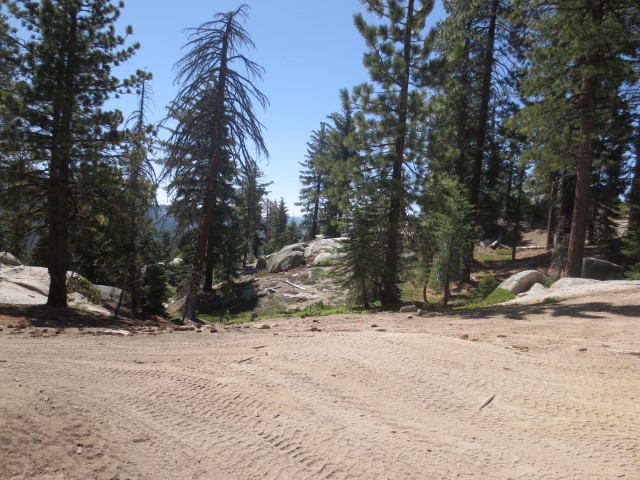
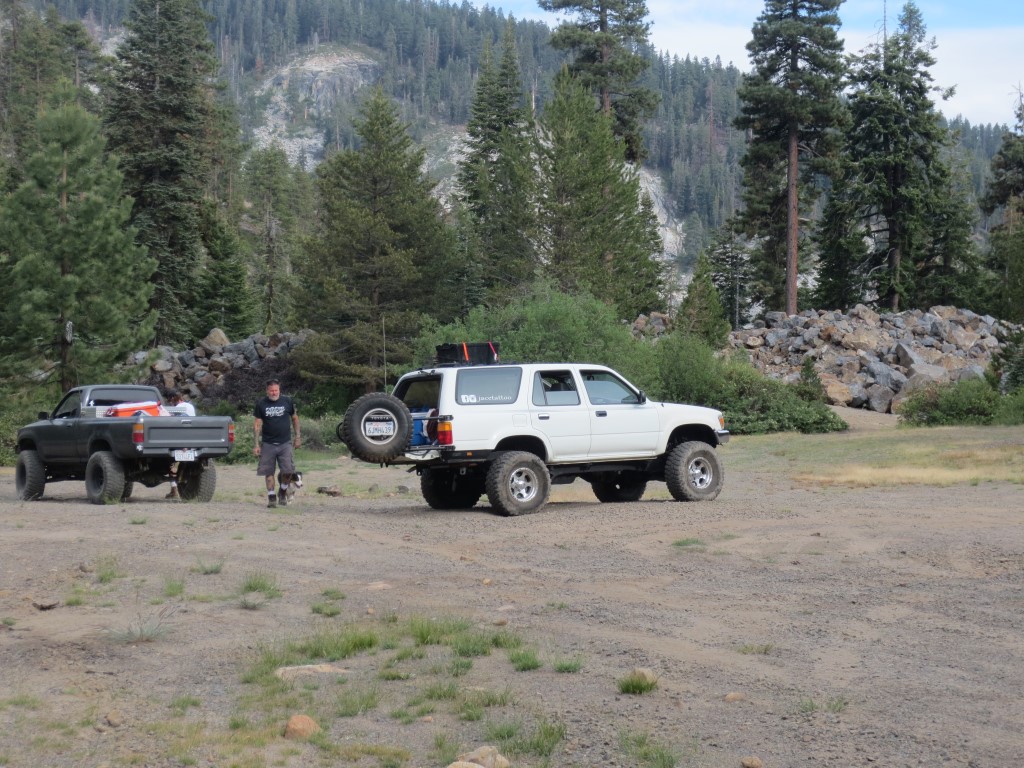
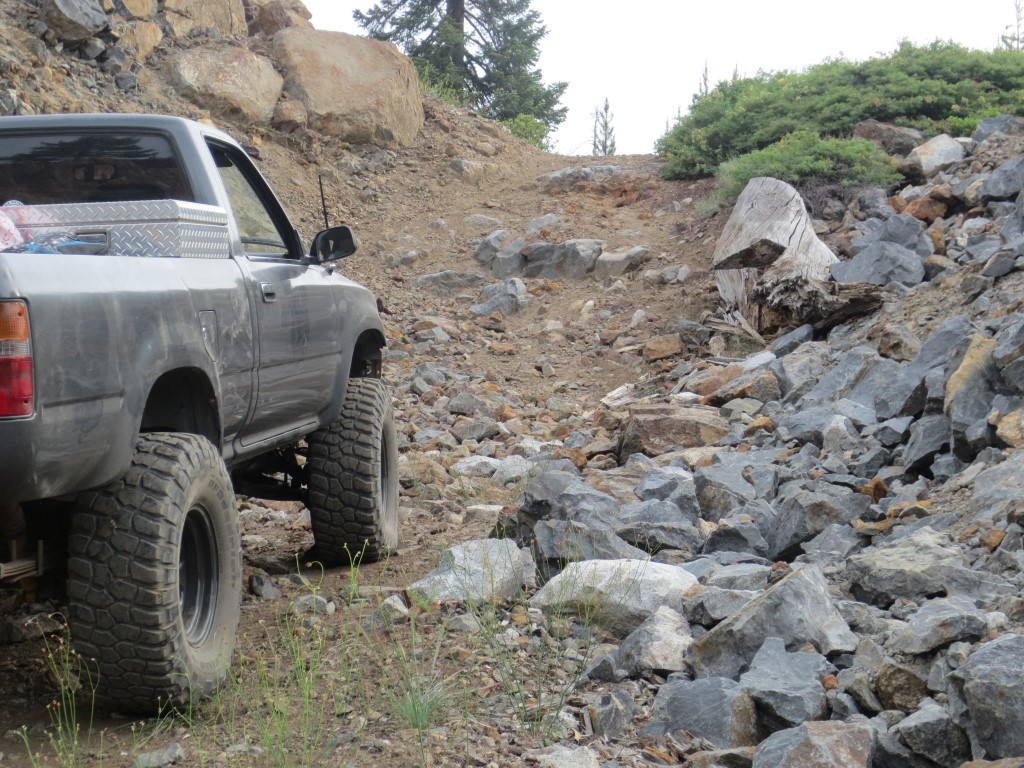
This was the camp site we chose. It was nice, a creek behind it(which I slipped and fell into), and lots of room, and a sweet loose rock hill right next to it to climb up!
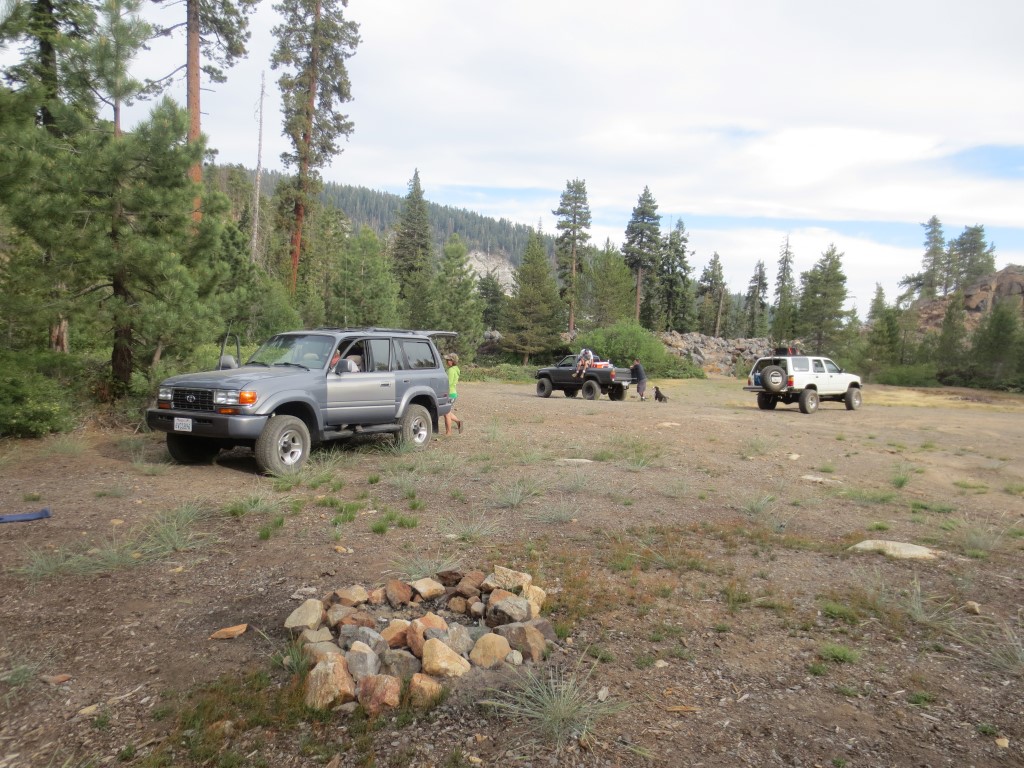
A shot of my truck at the campsite

Here's the hill I was talking about... Why do cameras make them look so little! (the hill was a good 30ft up)
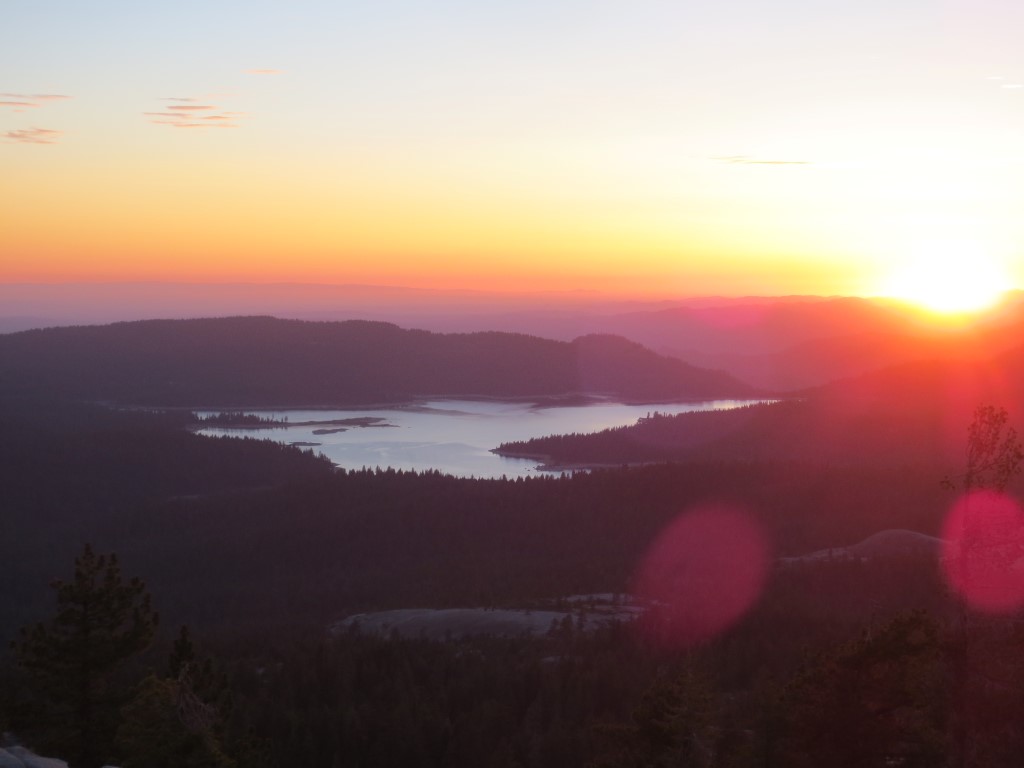
We got to the top of the mountain (7000ft), and the sun was setting.

This was the camp site we chose. It was nice, a creek behind it(which I slipped and fell into), and lots of room, and a sweet loose rock hill right next to it to climb up!
A shot of my truck at the campsite
Here's the hill I was talking about... Why do cameras make them look so little! (the hill was a good 30ft up)
We got to the top of the mountain (7000ft), and the sun was setting.
06-26-2014, 09:12 PM
#40
Registered User
Thread Starter
The next day we were right back it again!
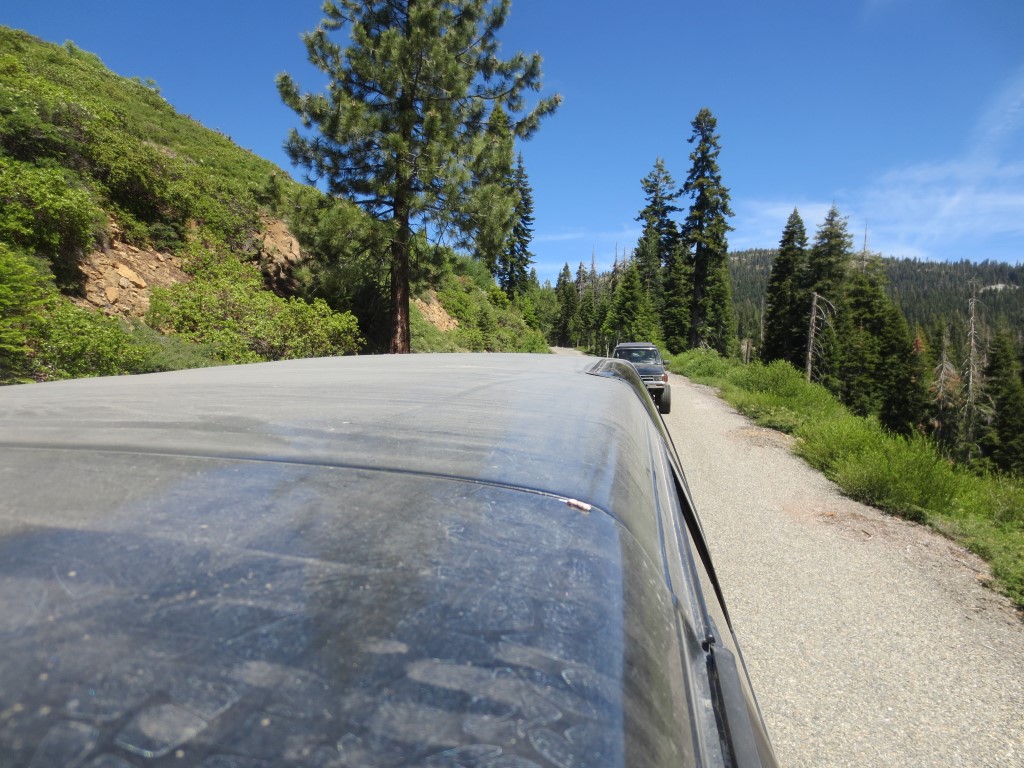
Then we got to the top once again..

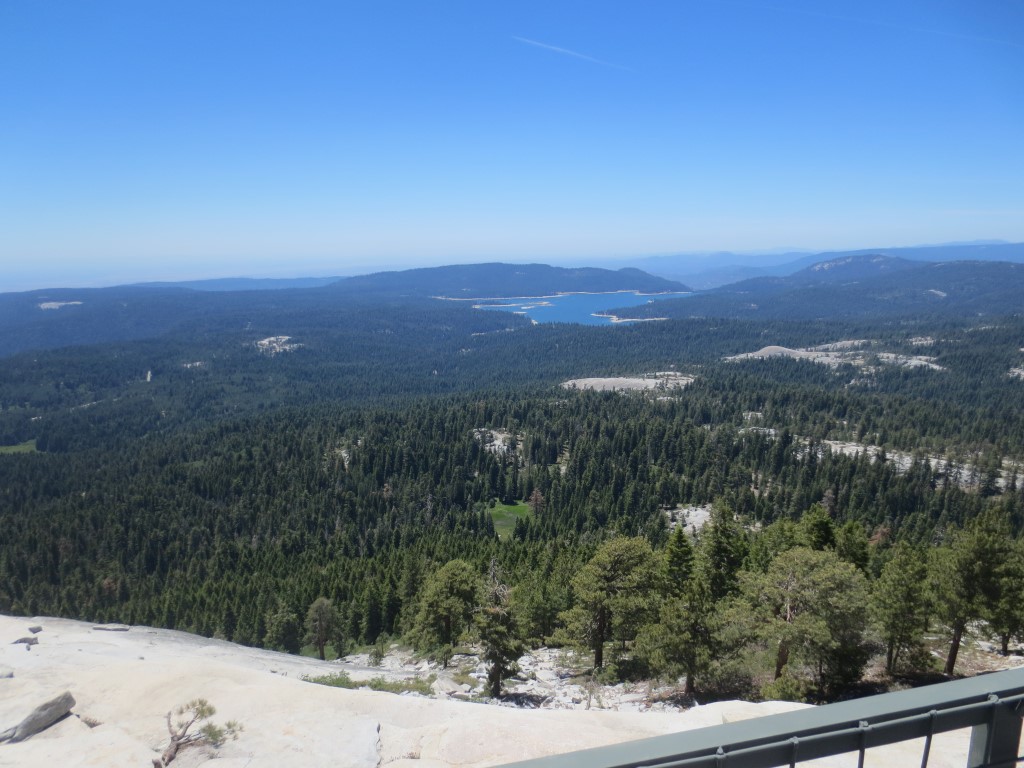
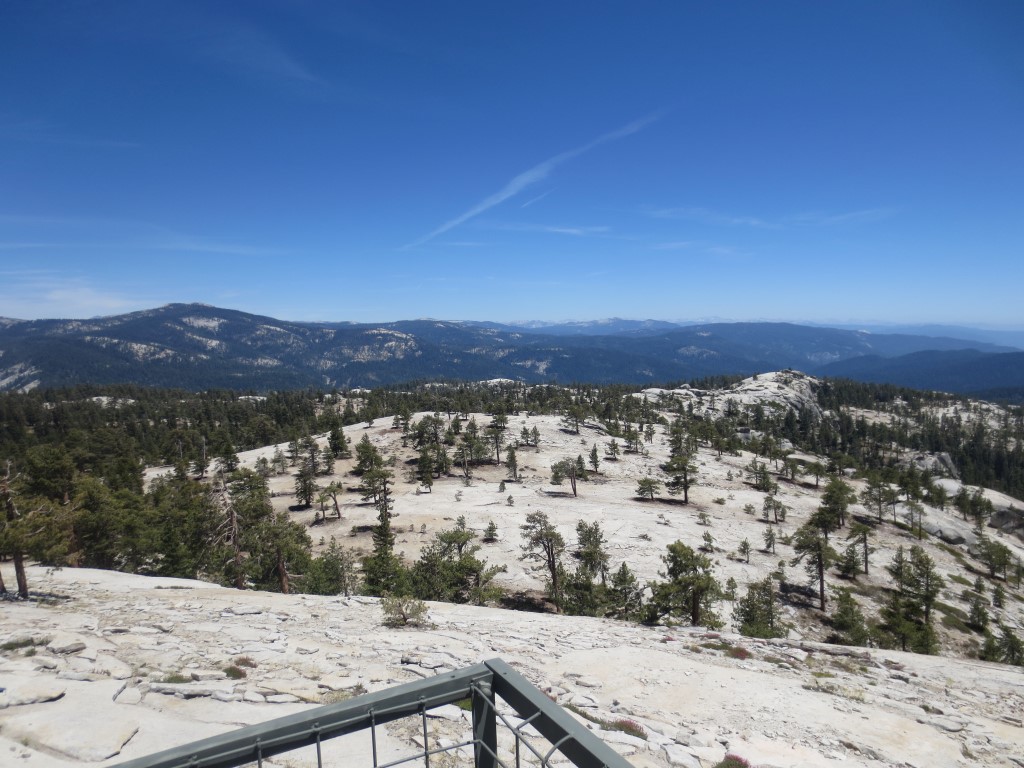
There is a lookout tower on top of the mountain and you can see Shaver Lake and pretty much everything around you, it's awesome
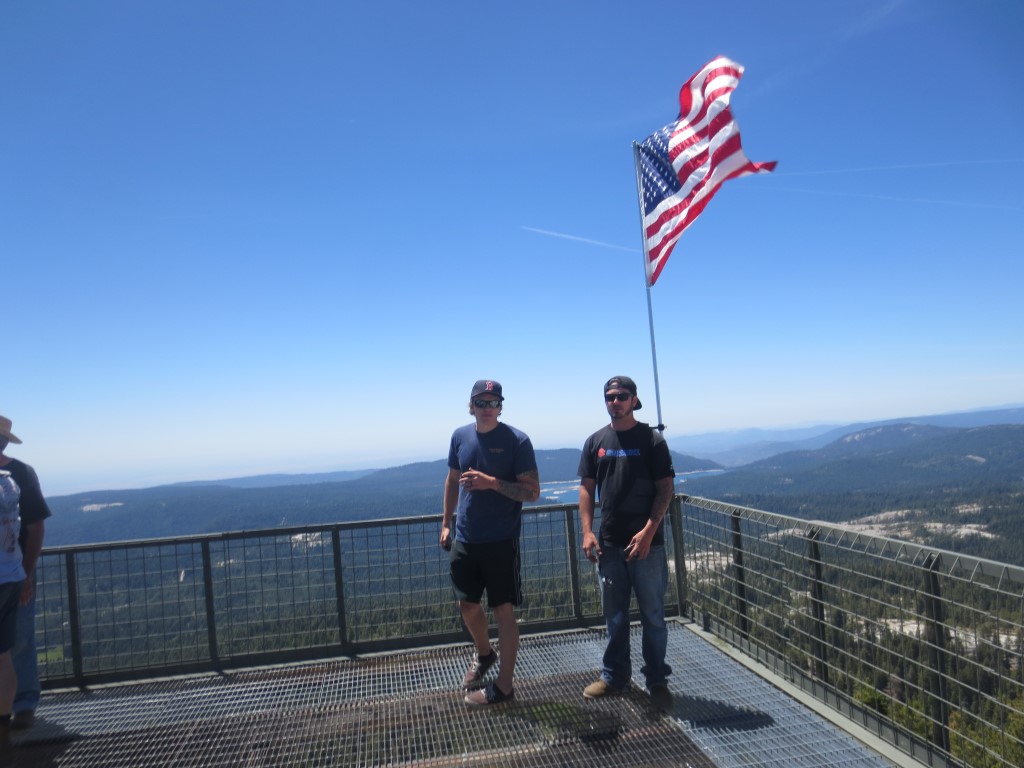
Some of my 2 best friends, Patrick and Chris
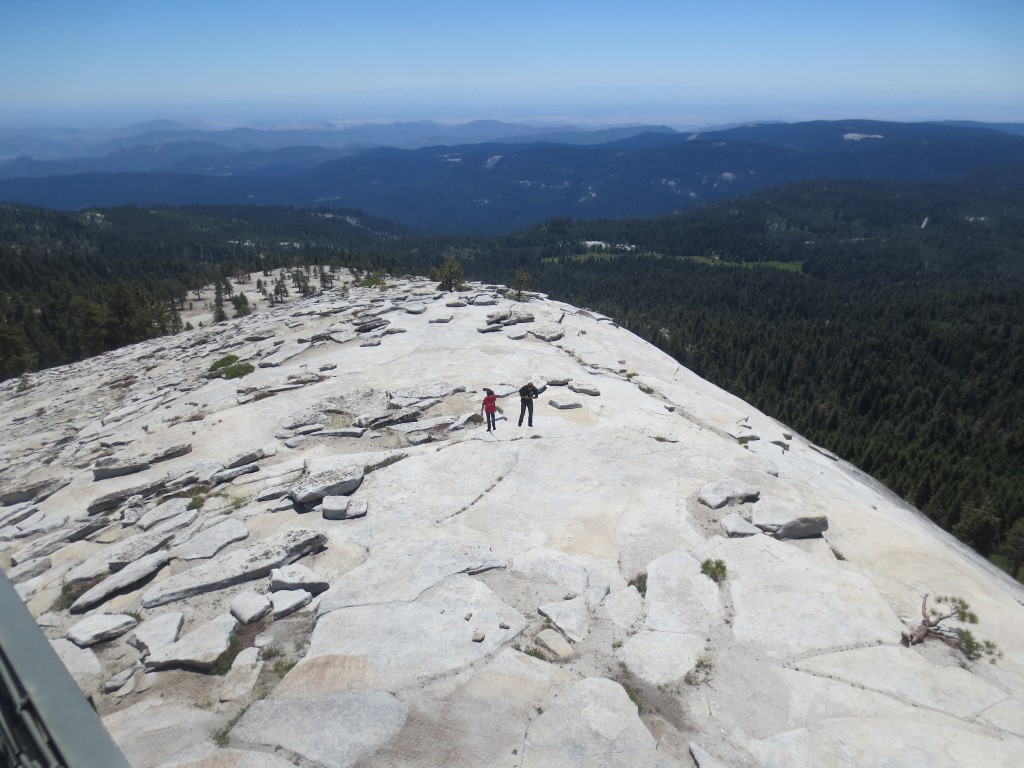
My little brother and I on top of the mountain, coming back from the edge (im obviously on the right)
Then we got to the top once again..
There is a lookout tower on top of the mountain and you can see Shaver Lake and pretty much everything around you, it's awesome
Some of my 2 best friends, Patrick and Chris
My little brother and I on top of the mountain, coming back from the edge (im obviously on the right)


