klbeans's 2nd Gen 4Runner Build up Thread
 Jan 30, 2011 | 07:06 PM
#41
Thread Starter
Registered User
Joined: Jun 2009
Posts: 93
Likes: 1
^^^ Thanks for the support. That's what keeps us motivated to keep working on our trucks despite the negative comments.
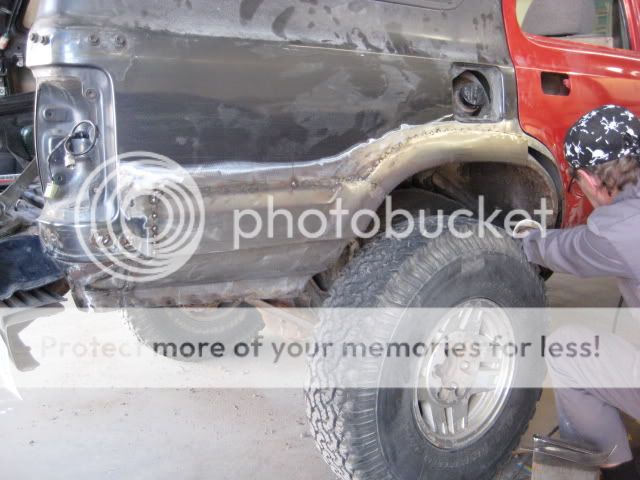
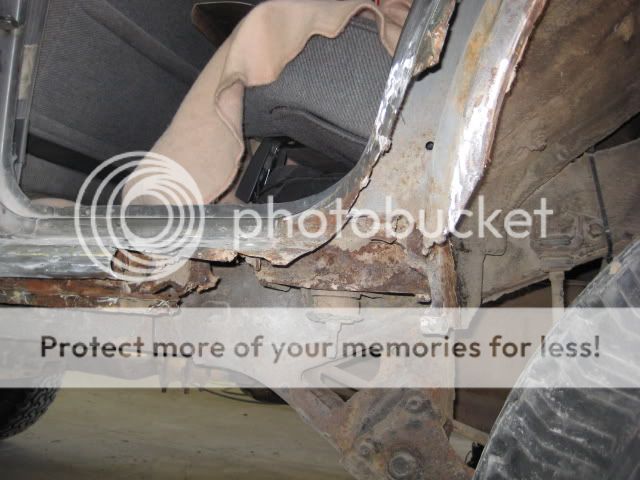
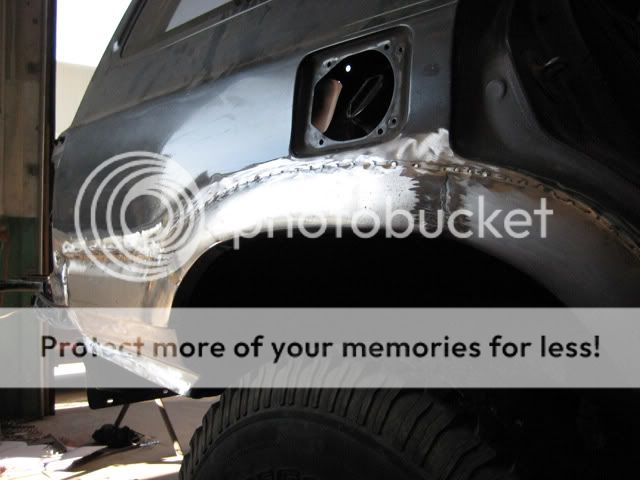
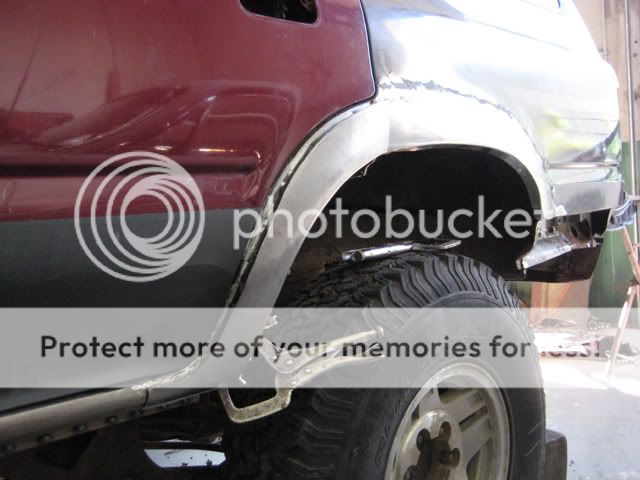
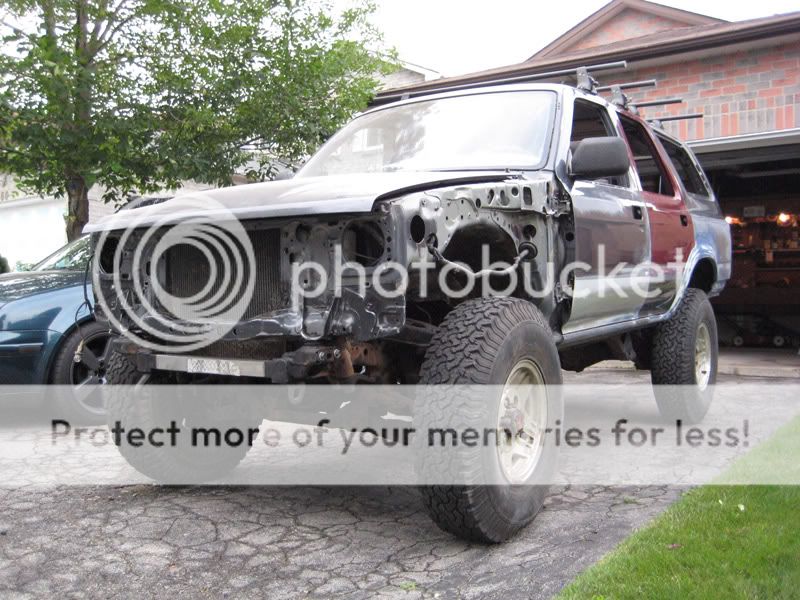
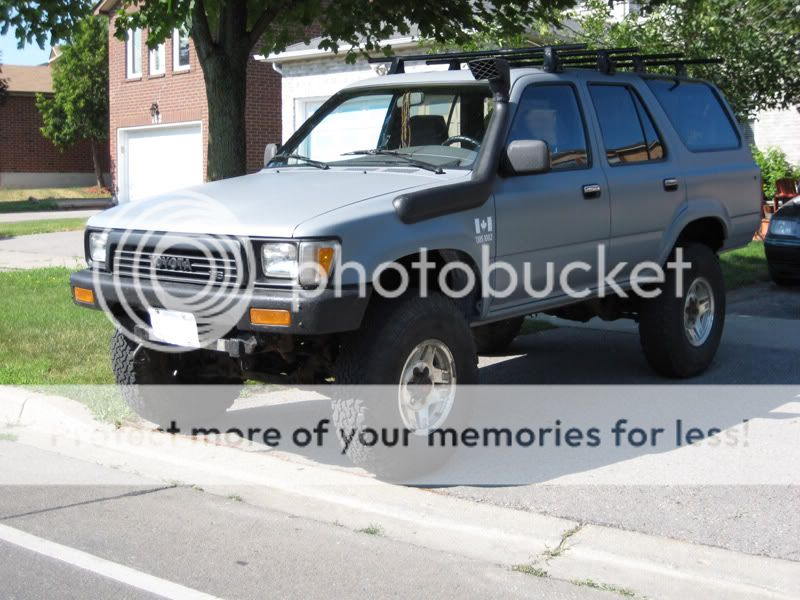
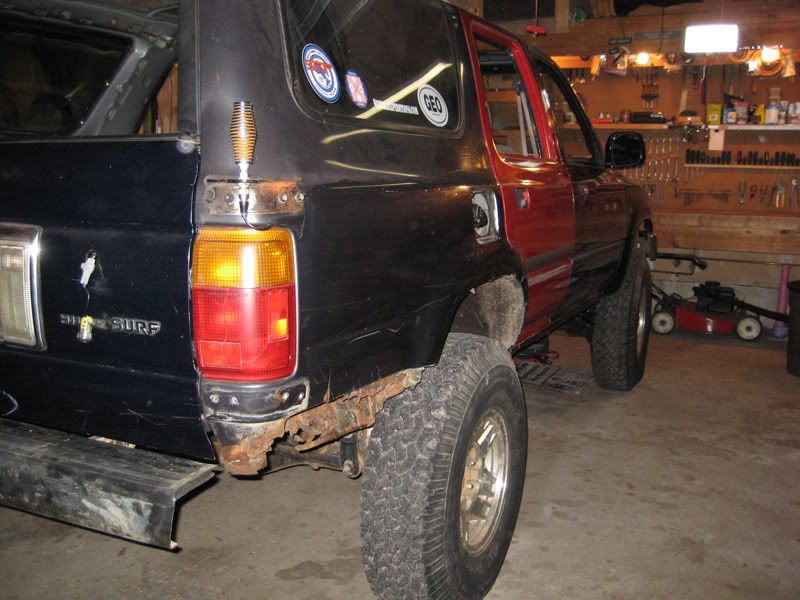
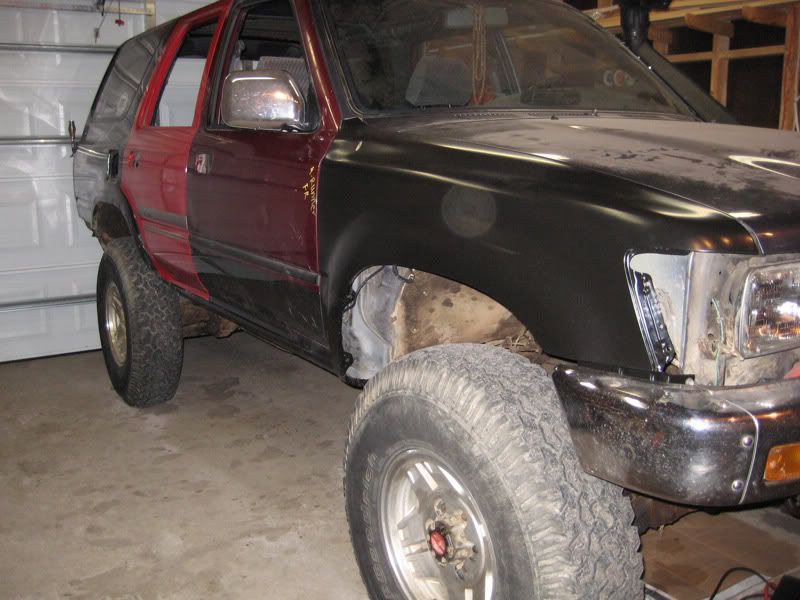
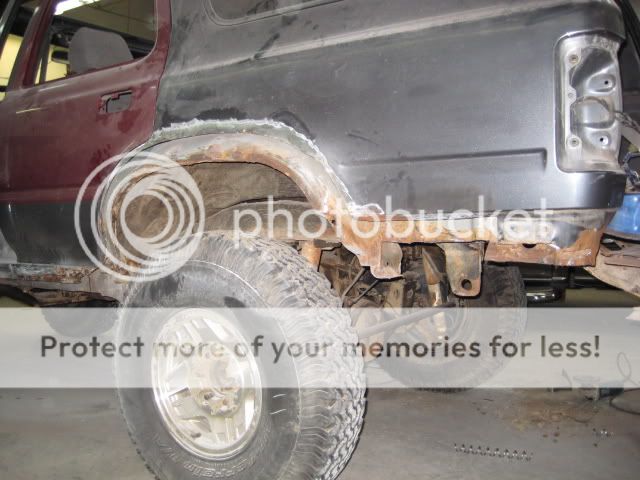
To be honest, the truck has been really good so far. Sure lots of rusty bolts underneath but the frame is pretty solid. Floors are rust free as you can see in the pics. Fenders/doors have been fairly cheap to replace as I've been willing to hold out for a deal. I've been replacing everything with used rust free parts imported from Japan. Only thing is the rear quarters which I'll have to have done for me as I'm no body guy. I've been cautious where and how much to spend. Overall, its been a good project and have learned tons. I don't regret it one bit.
To be honest, the truck has been really good so far. Sure lots of rusty bolts underneath but the frame is pretty solid. Floors are rust free as you can see in the pics. Fenders/doors have been fairly cheap to replace as I've been willing to hold out for a deal. I've been replacing everything with used rust free parts imported from Japan. Only thing is the rear quarters which I'll have to have done for me as I'm no body guy. I've been cautious where and how much to spend. Overall, its been a good project and have learned tons. I don't regret it one bit.
Last edited by klbeans; Jan 30, 2011 at 07:37 PM.
Feb 1, 2011 | 08:11 PM
#44
Thread Starter
Registered User
Joined: Jun 2009
Posts: 93
Likes: 1
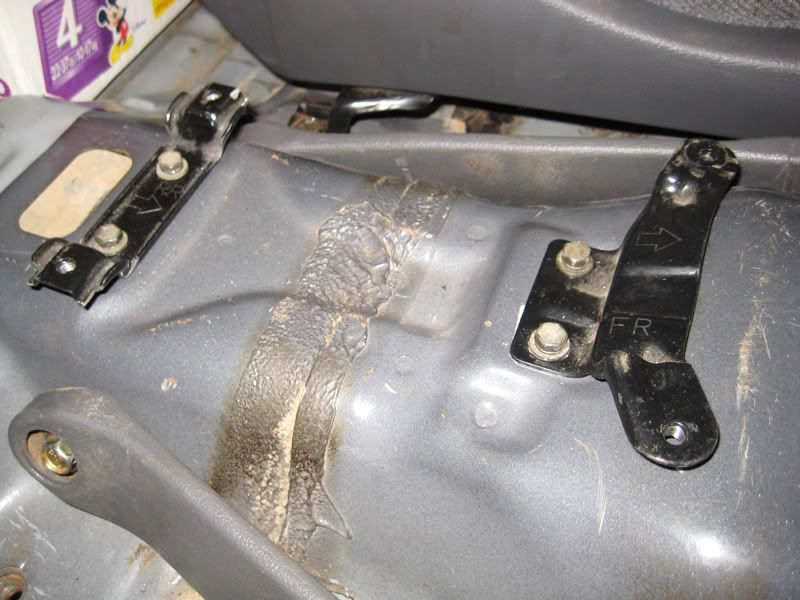
Since I'm no longer using my rear tire carrier, I figured I'd make good use of the threaded holes and old tire carrier bracket...
A wire wheel, some filing and a fresh coat of paint and she'll look as good as new.
A wire wheel, some filing and a fresh coat of paint and she'll look as good as new.
Feb 20, 2011 | 08:10 PM
#45
Thread Starter
Registered User
Joined: Jun 2009
Posts: 93
Likes: 1
Here's my status:
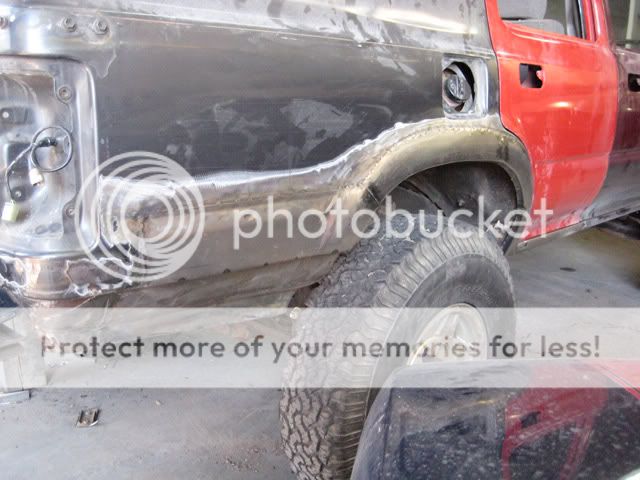
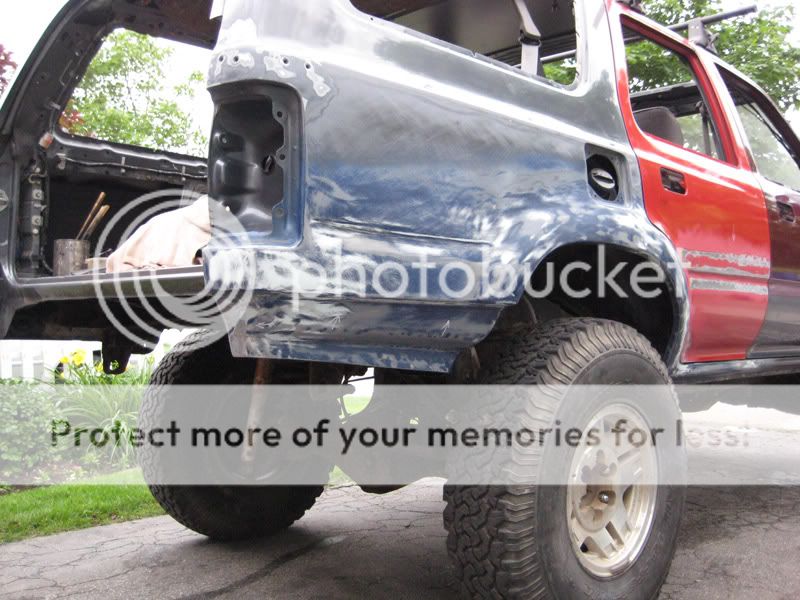
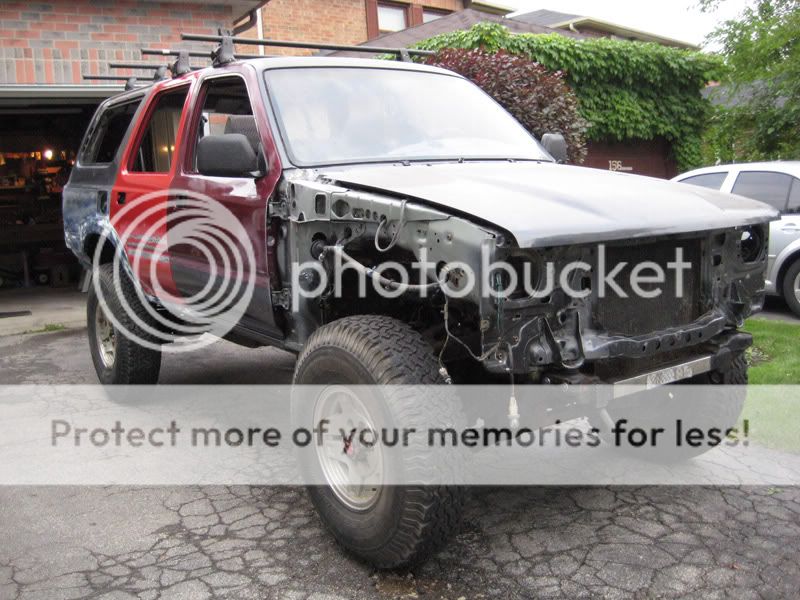
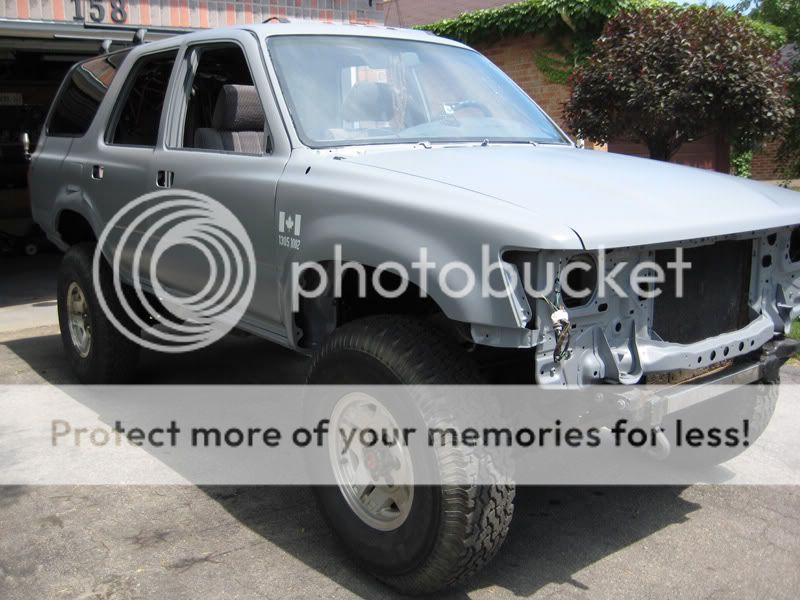
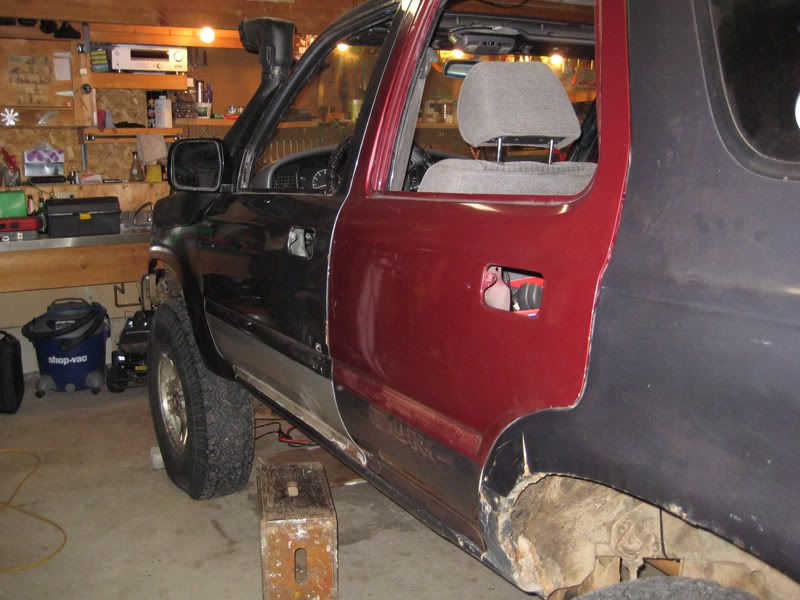
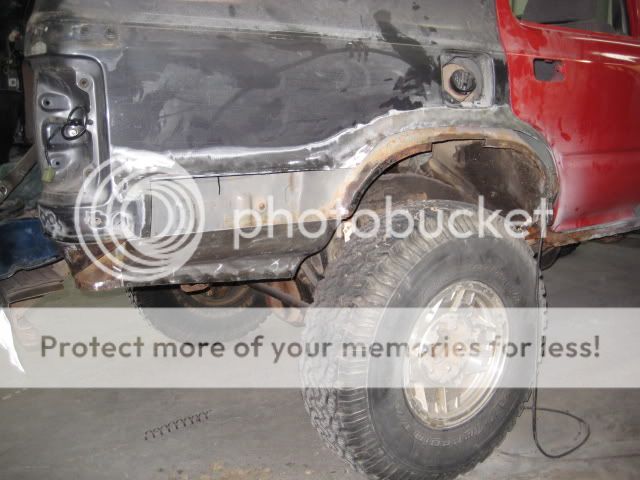
Doors and fenders have been installed and aligned...
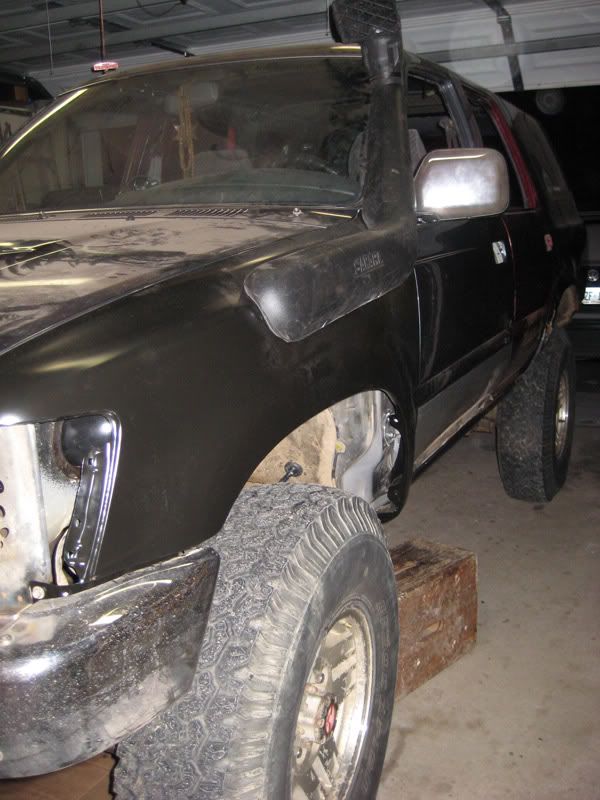
Cutting holes into new fender was a bit nerve wracking for the snorkel installation. Last time didn't matter so much cause I knew I was getting rid of the old fenders. Went really well this time around.
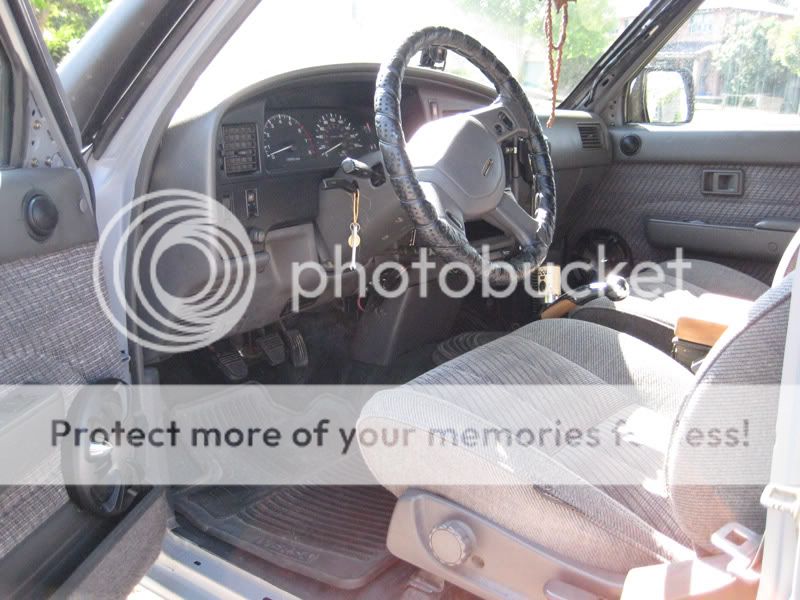
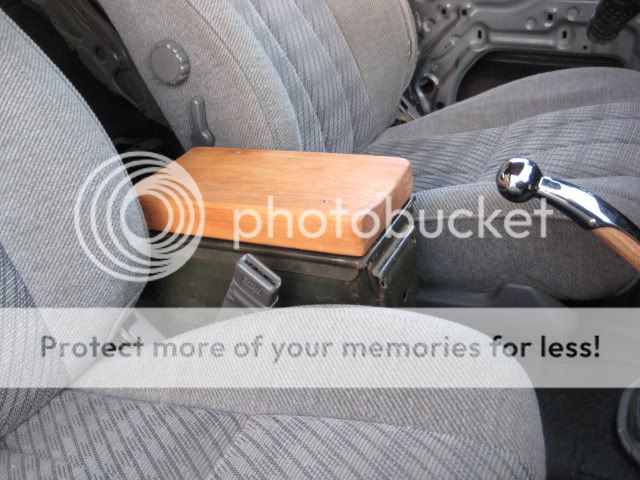
Installed an ammo box as storage between the seats.
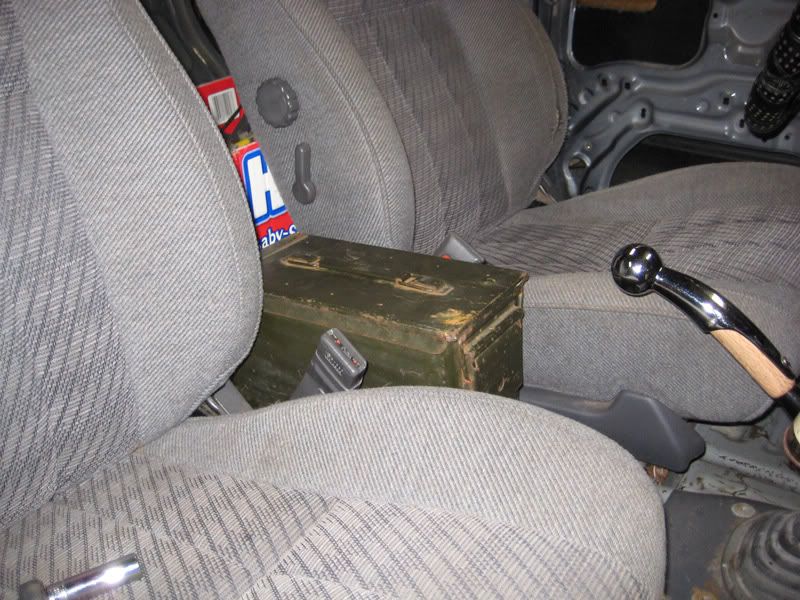
Used existed threaded holes in the floor from the old centre console/heater. Also modified the brackets slightly to secure the ammo box.
Next... waiting for the weather to warm up so that I can visit a few body shops to get quotes for rear quarter panel repairs. I'm soooo sick of winter. Getting tired of working out in the cold and coming in at midnight half frozen.
Doors and fenders have been installed and aligned...
Cutting holes into new fender was a bit nerve wracking for the snorkel installation. Last time didn't matter so much cause I knew I was getting rid of the old fenders. Went really well this time around.
Installed an ammo box as storage between the seats.
Used existed threaded holes in the floor from the old centre console/heater. Also modified the brackets slightly to secure the ammo box.
Next... waiting for the weather to warm up so that I can visit a few body shops to get quotes for rear quarter panel repairs. I'm soooo sick of winter. Getting tired of working out in the cold and coming in at midnight half frozen.
Apr 29, 2011 | 03:55 PM
#47
Thread Starter
Registered User
Joined: Jun 2009
Posts: 93
Likes: 1
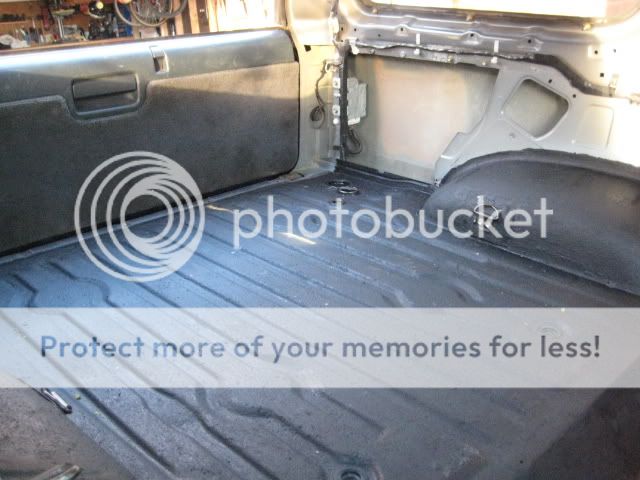
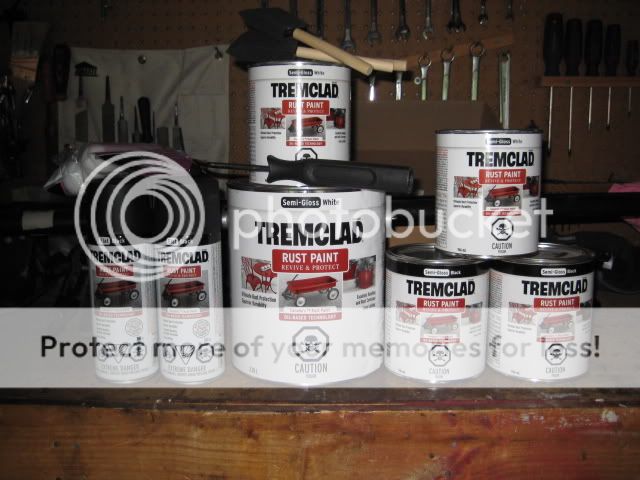
While I've been waiting to source out a body guy, local big box had a sale on Dupli-Color Bed Armor so...
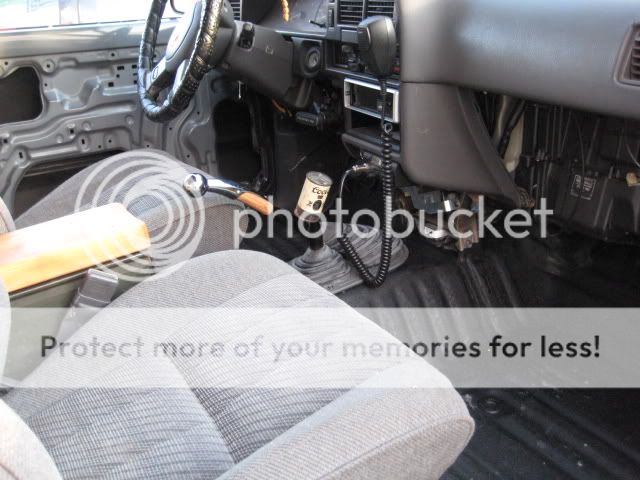
... and while I was at it, I created an arm rest for my ammo box. I had a piece of material taken from an old church pew. Sanded it down, distressed it a bit and wore down the middle to give it a worn look and feel. Looks too clean in this pic. Once it gets banged up a bit and a bit dirty, it'll look right at home. Compliments the oak dowel I used for the shift knob.
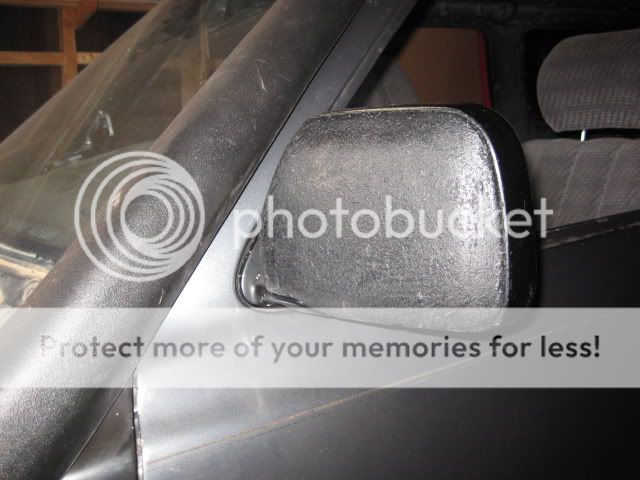
Also coated my mirrors with bed liner.
... and while I was at it, I created an arm rest for my ammo box. I had a piece of material taken from an old church pew. Sanded it down, distressed it a bit and wore down the middle to give it a worn look and feel. Looks too clean in this pic. Once it gets banged up a bit and a bit dirty, it'll look right at home. Compliments the oak dowel I used for the shift knob.
Also coated my mirrors with bed liner.
Last edited by klbeans; Apr 29, 2011 at 04:17 PM.
 May 28, 2011 | 03:26 PM
#50
Registered User
Joined: Sep 2009
Posts: 3,943
Likes: 102
From: Woodinville, WA
Nice job man! Lookn good!
What was involved with removing your rear heater? Ive been toying with the idea as mine has never really worked properly, and never really gets used to begin with. I think a locking center console would be much better!
Do you have any pictures of the removal?
What was involved with removing your rear heater? Ive been toying with the idea as mine has never really worked properly, and never really gets used to begin with. I think a locking center console would be much better!
Do you have any pictures of the removal?
May 28, 2011 | 06:13 PM
#51
Thread Starter
Registered User
Joined: Jun 2009
Posts: 93
Likes: 1
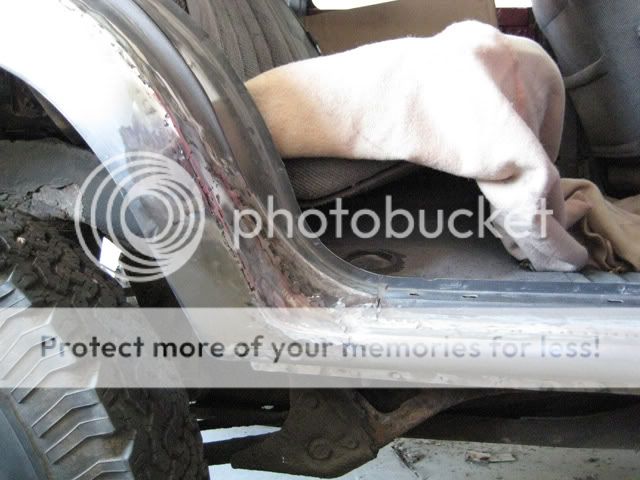
Rear heater lines are teed off the coolant lines under the hood. Follow them from under the truck to the engine bay.
My rear heater never worked so I decided to remove it to make room for the ammo box. When in the process of removing, I found out why it never worked. Previous owner had disconnected the lines... removing everything was a breeze. You'd have to cap your lines.
Sorry, no pics of the removal. What I have is what is posted here.
Other thing you'll need to worry about if you're removing your centre console is to relocate the switch for the rear window. I used the knock out located above the dash dimmer switch.
Last edited by klbeans; May 28, 2011 at 06:17 PM.