When you click on links to various merchants on this site and make a purchase, this can result in this site earning a commission. Affiliate programs and affiliations include, but are not limited to, the eBay Partner Network.
With the help of my Best friend nate, we patched up the bed rails, and got them in primer, and the worst of it... We managed to get the bed off, all the bolts we're rusted fast, and we ended up having to cut holes in the bed to access the nuts on top, then we had to slice the nuts, and chisel them off the bolts to get the bed bolts off. Followed by a bit of heavy lifting to flip the bed on the front, so I have access to the underside to do some patching and rust repair under the bed, followed by a coat of rust armor. Now I can post some pictures to show you where I'm at.
Well, haven't had a whole lot of time over the last two weeks, but I did manage to make some progress today.
Now to start, after I removed the filler foam from the front of the frame, I noticed something amazing....
There was no rust On the inside. And that part of the frame was the thickest metal I had left on the frame.
So basically, I came to the conclusion because filler foam is air tight and water proof, it didn't let the metal oxidize any further than what it had when installed.
So I decided to filler foam the whole frame. And any other holes I can find to prevent it from rusting any further than it already has.
Anyways, I cut the inside of the frame rail on the drivers side wherever I could put an awl through it with a hammer. Which ended up being just about The entire thing.
I then started patching the frame with 3/8 thick steel. And then filler foamed the work I did. (And the front half of the frame.
Well, heres the pics.
( fyi I'm using a harbor freight 90 amp stick welder and 3/32 6011 rod 60,000 lbs tensile strength)
Last edited by Gamble_STi; May 9, 2015 at 07:41 PM.
You have been doing some serious work and got it looking better, great job on that. Every summer I spend some time making usre no dirt has gotten in between the tank and rail. I have heard of but not tried it yet is to move the fuel tank one bolt toward the center of the truck so that gap is wider for dirt to get out. Might be worth looking into.
I probably spend more time under thruck at the car wash then I do on top side so dont have any build up on mine. The trucks have a bigger iddue of dirt building up between the frame rail and fuel tank then the runners do and is usually where most frame damage is at.
I can definitely see that. My issue would be, would The filler neck still reach?
What I noticed was the inside of the frame was full of dirt. It seems it rots from the inside
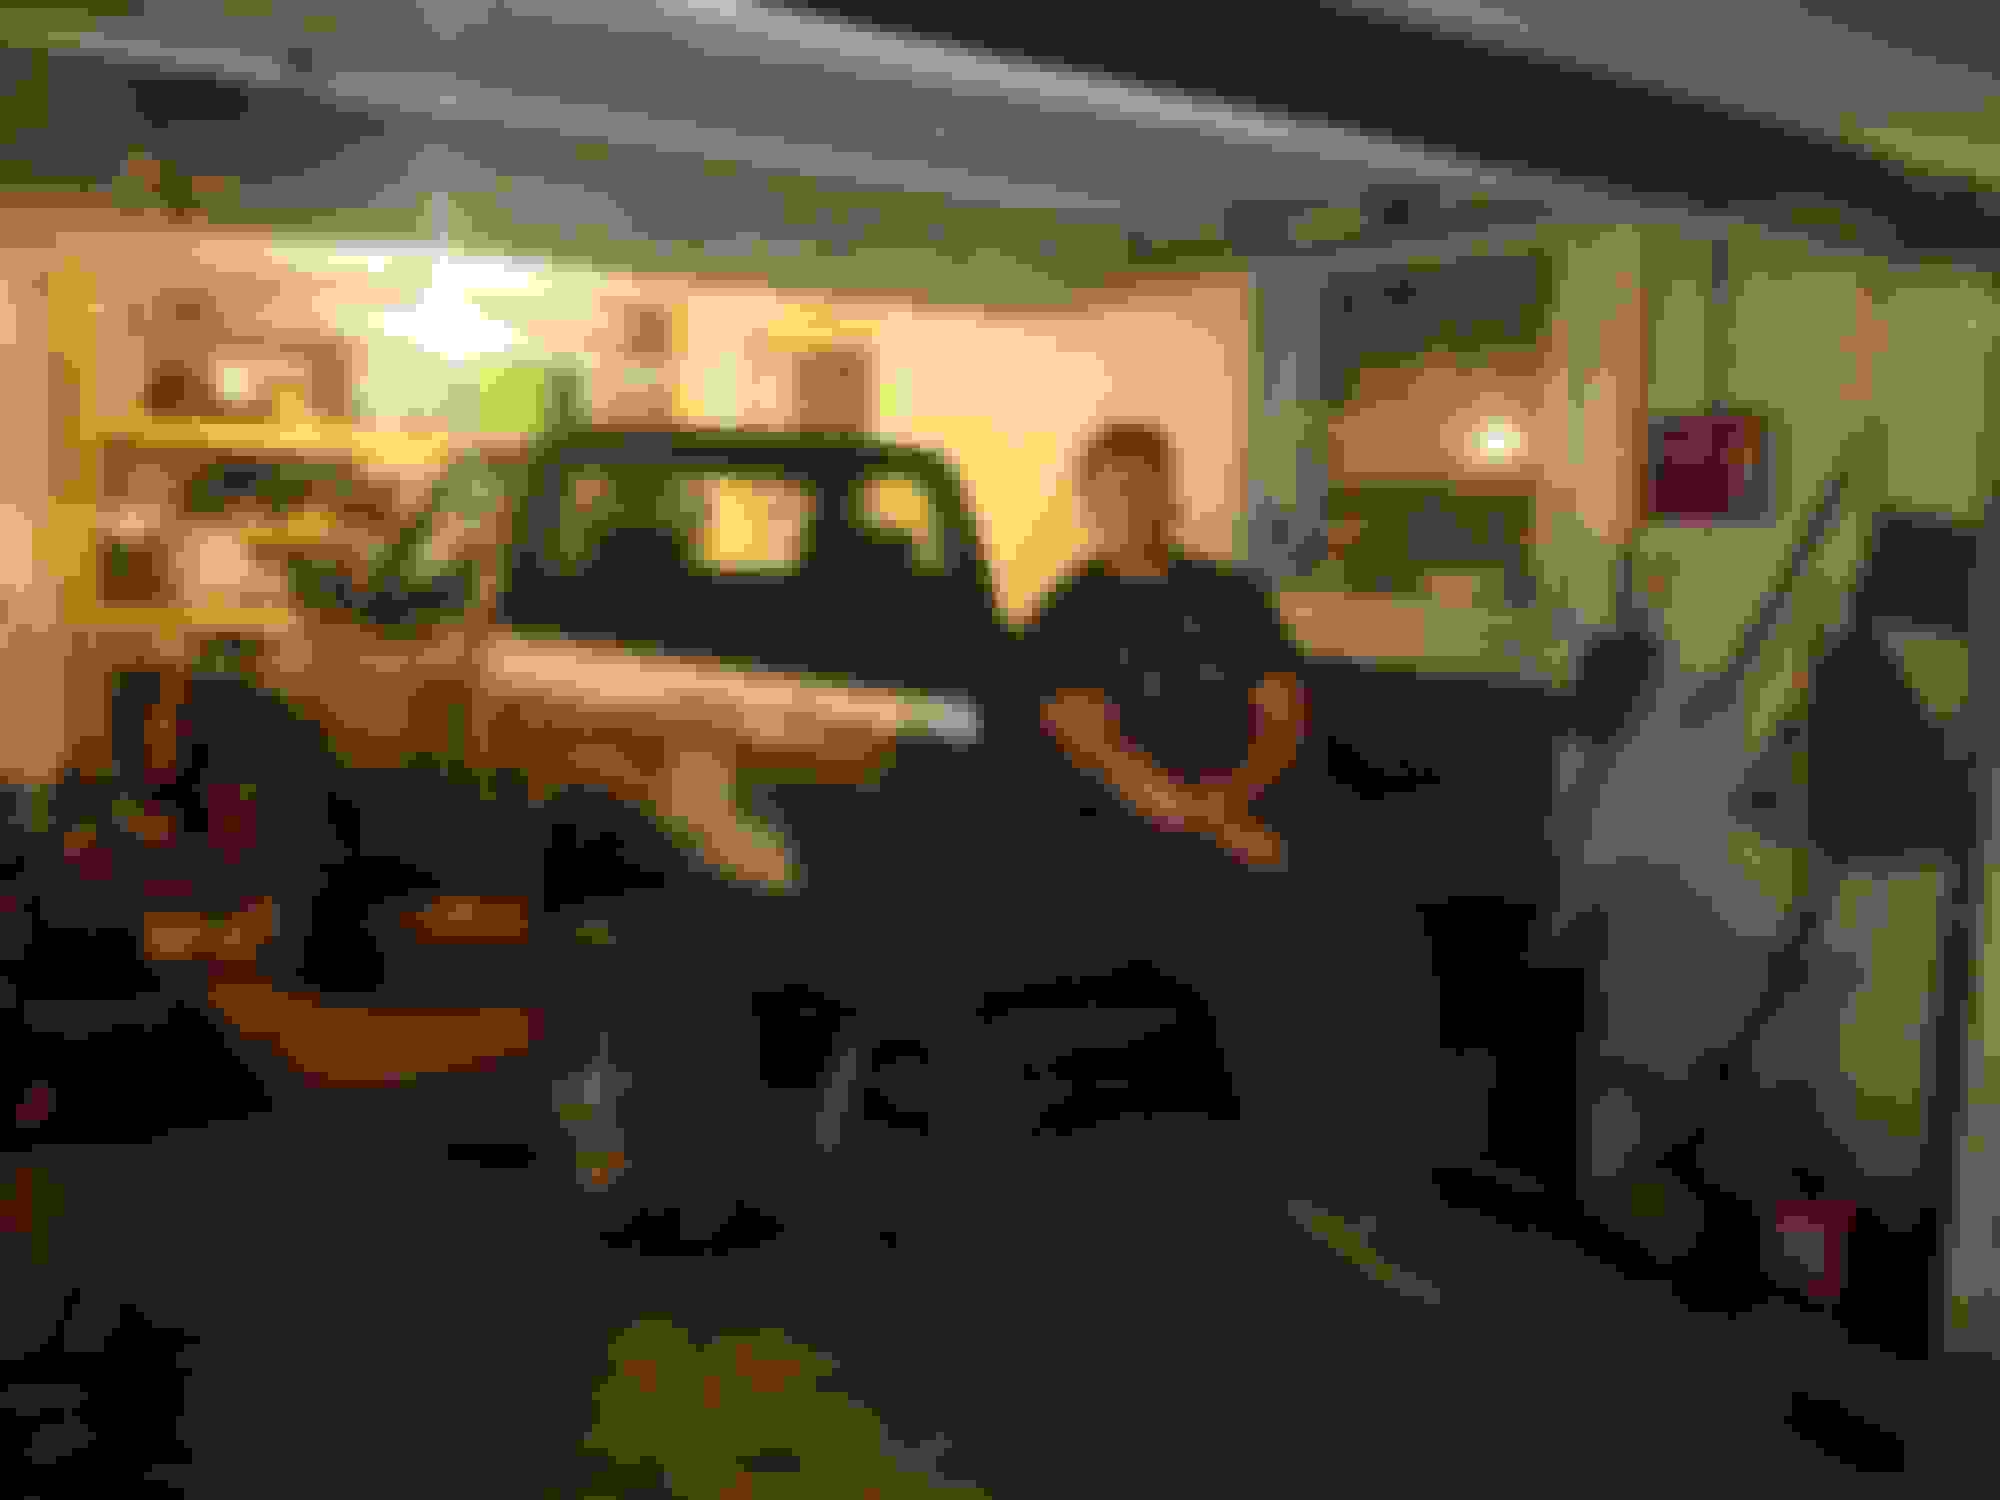
Another update, got the interior back together with the new radio and reupholstered steering wheel (courtesy of my wife)
What do you guys think?
Also got a bit more of the frame done. Was really hoping to finish the frame up this weekend but the woman keeps me busy and I didn't have as much time to put into it as I hoped.
Great job so far. There are enough of us out there beating these trucks to death so it is good there are people who will take the time to bring them back. The frame is night and day. I am interested to hear how the filler foam works in the future.
Thanks man! It's been a lot of time and I'm just happy to see it not rusting out anymore.
Today I managed to finish up the frame, and a friend painted up the fenders, and edged in the rocker panel. The paint was cheap and it lays out pretty bad so don't judge. Nothing some wetsanding won't clear up in the future.
Last edited by Gamble_STi; Jun 6, 2015 at 03:02 PM.
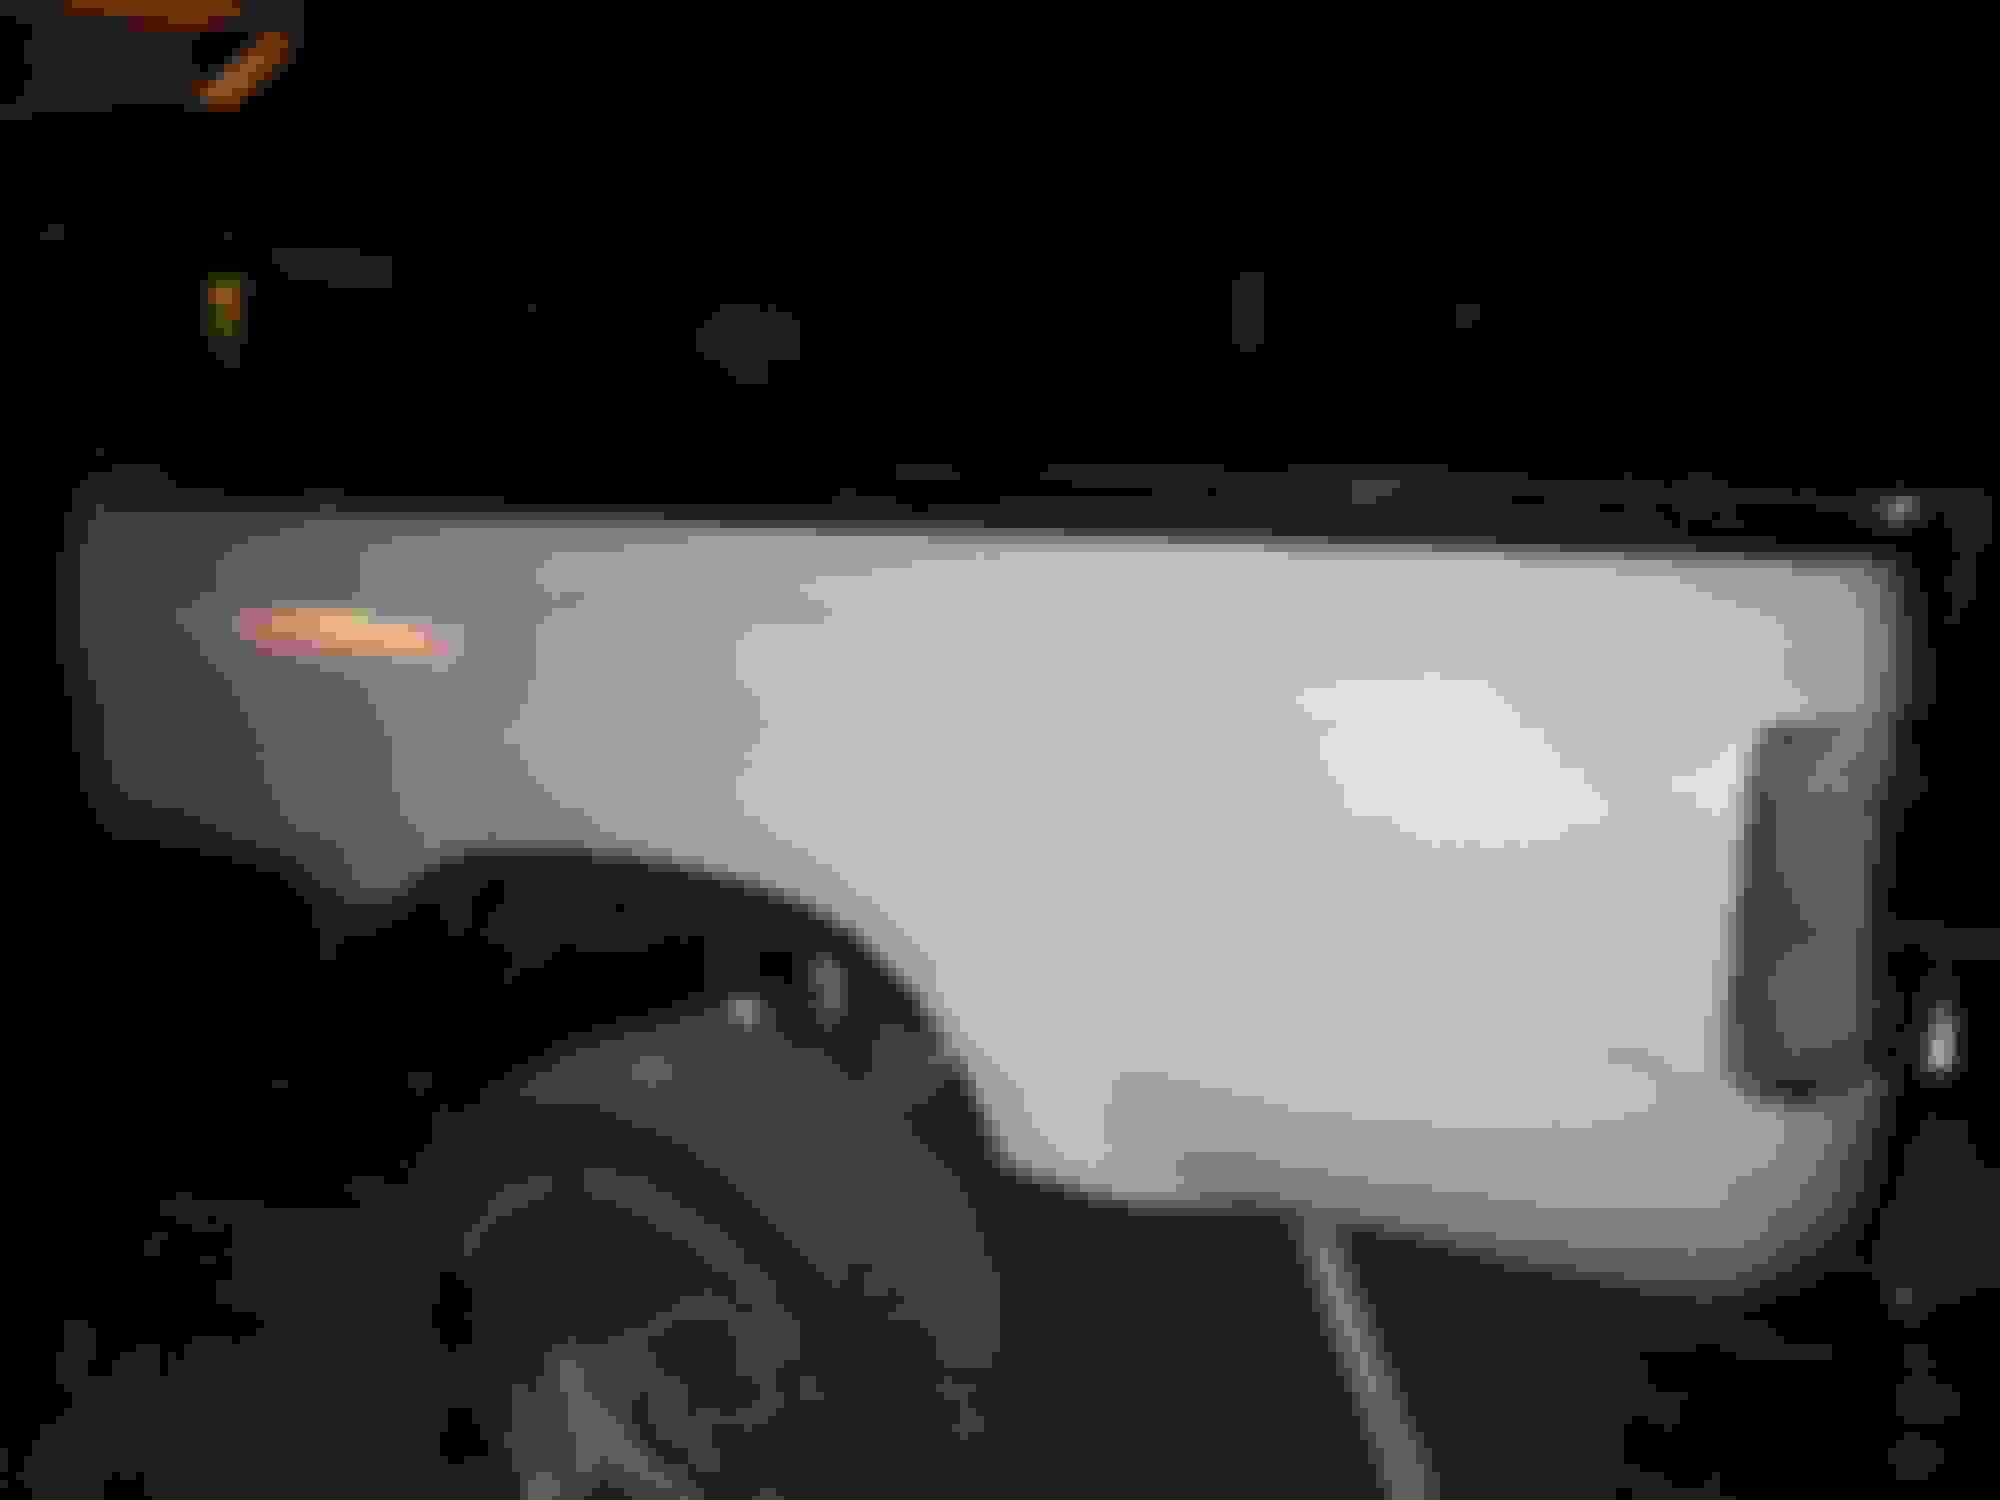
Well, finished blasting the frame and got it in rust armor (great stuff btw) and filled the rest of the frame and the rockers with foam.
Installed the rest of the interior, got the doors, fenders, grill, and hood back on. And put the fuel tank back in. Started her up to make sure she still runs, And then pushed it back in the garage until Tomorrow.
Plans for The week are... Finish bodywork on the bed and rust armor it, bleed the brakes so they work again. Get the bed on and weld the floor back together and prep the rest of the truck for paint.
This will probably not happen, But I'm hoping I'll be painting the rest of the truck on Saturday. Then it shall sit undisturbed in the garage a few days while it dries, and next week sometime I'll be taking it to work to get it on the lift and figure out if there's anything else that needs to be fixed.
Last edited by Gamble_STi; Jun 7, 2015 at 06:41 PM.
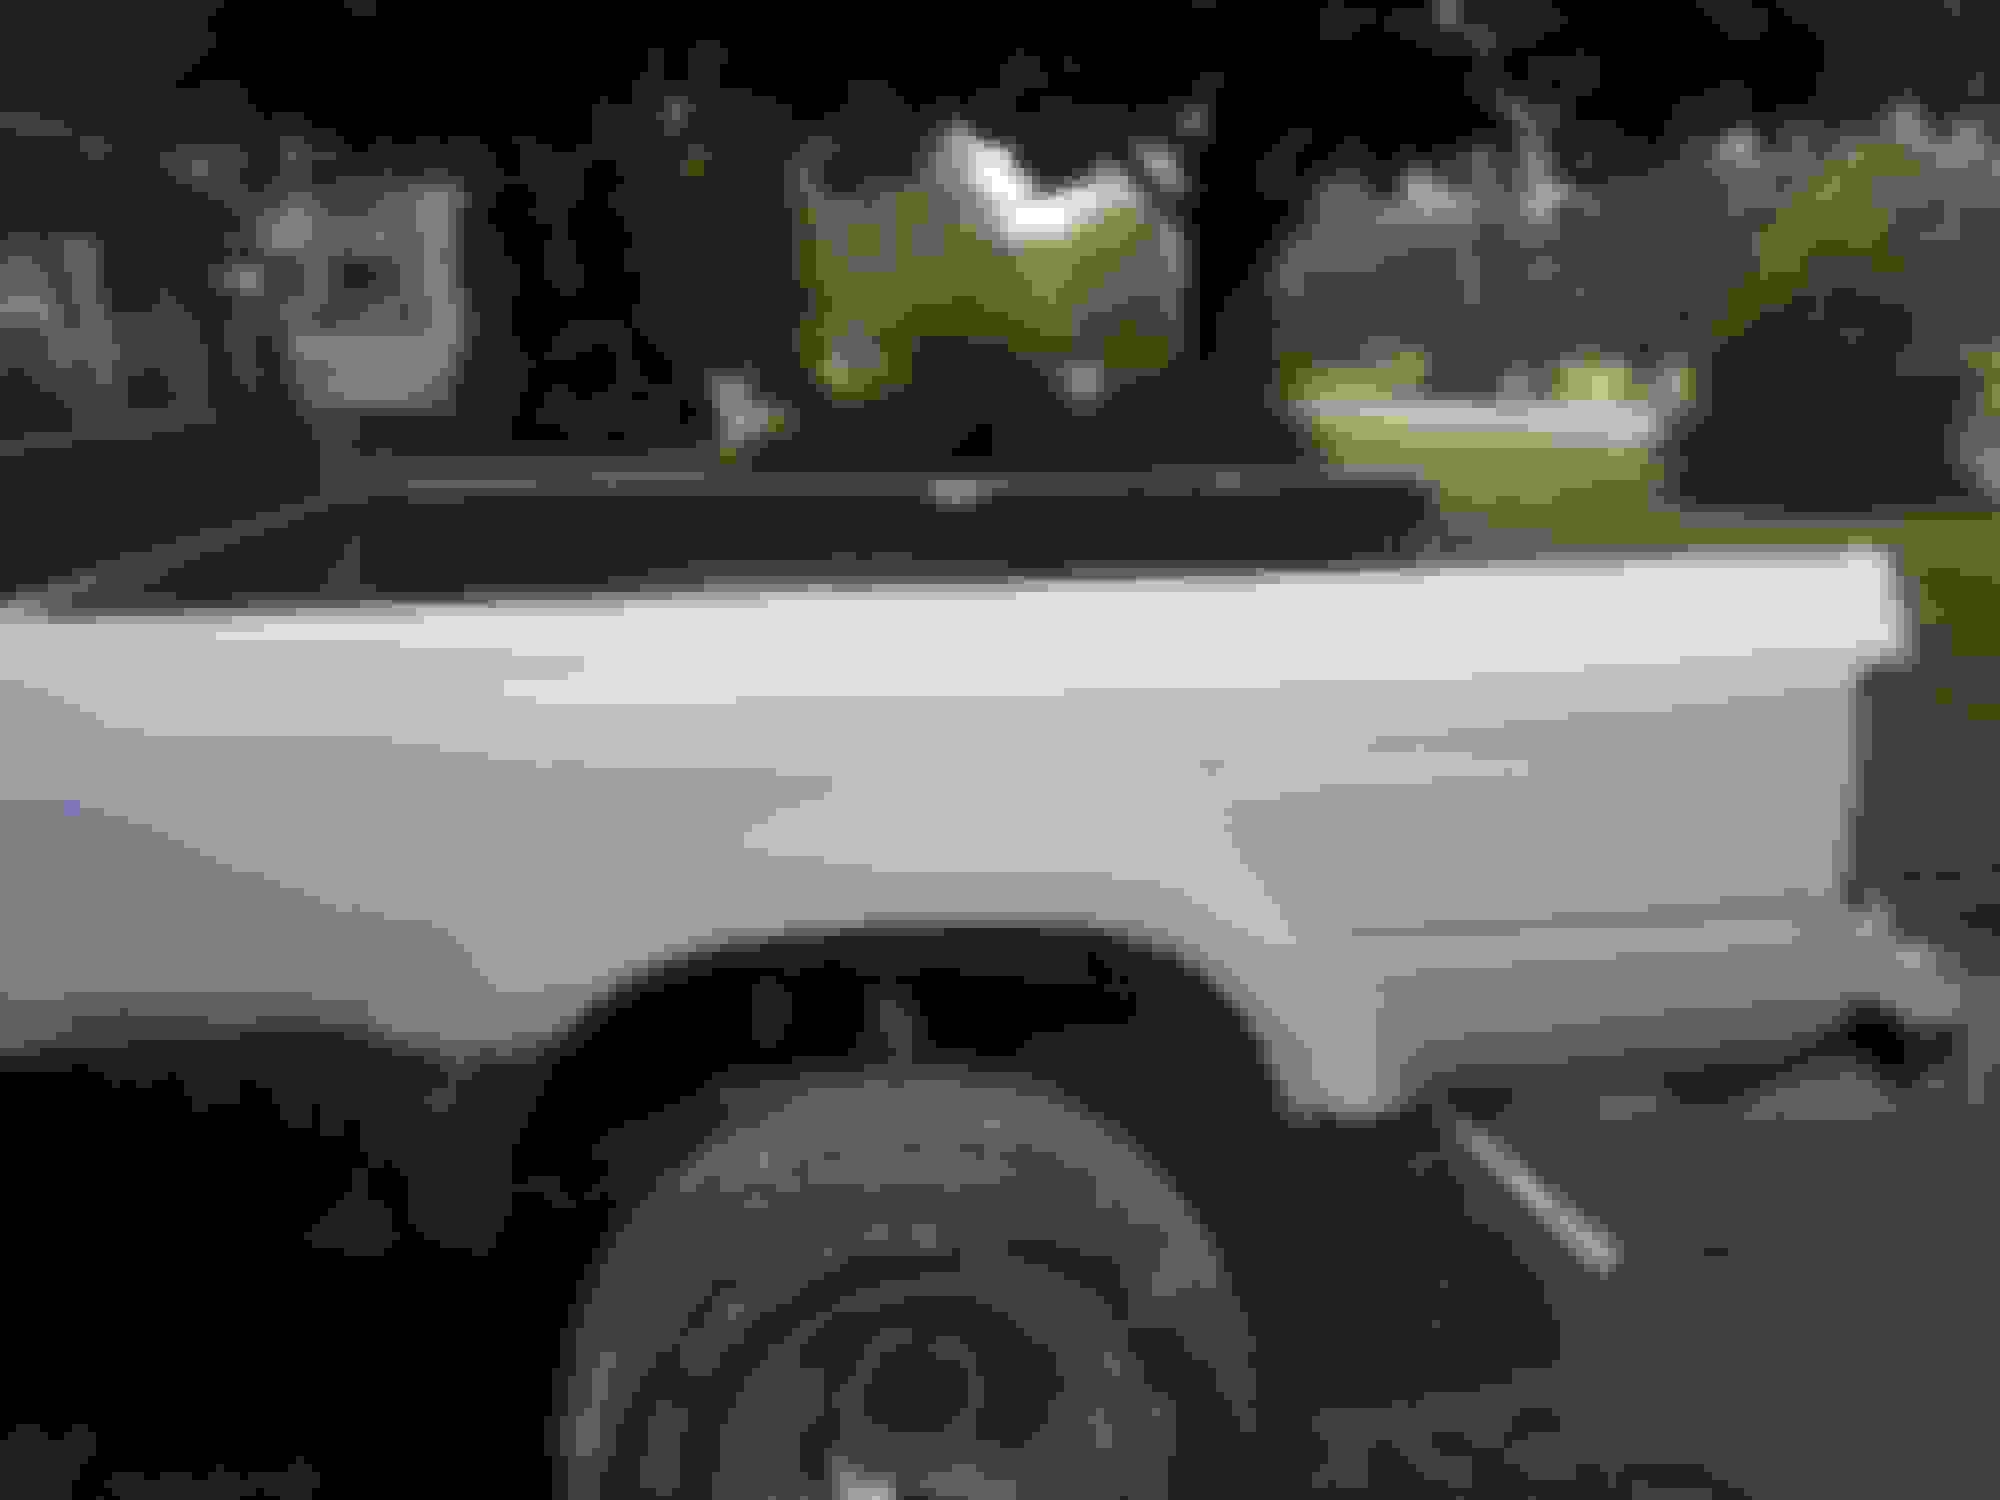
Well, got the bed back on, and started the rest of the bodywork. This week Will be finishing the body and getting the truck in paint, soon she will be back on the road and I'll be able to
actually enjoy owning a truck. Can't wait!
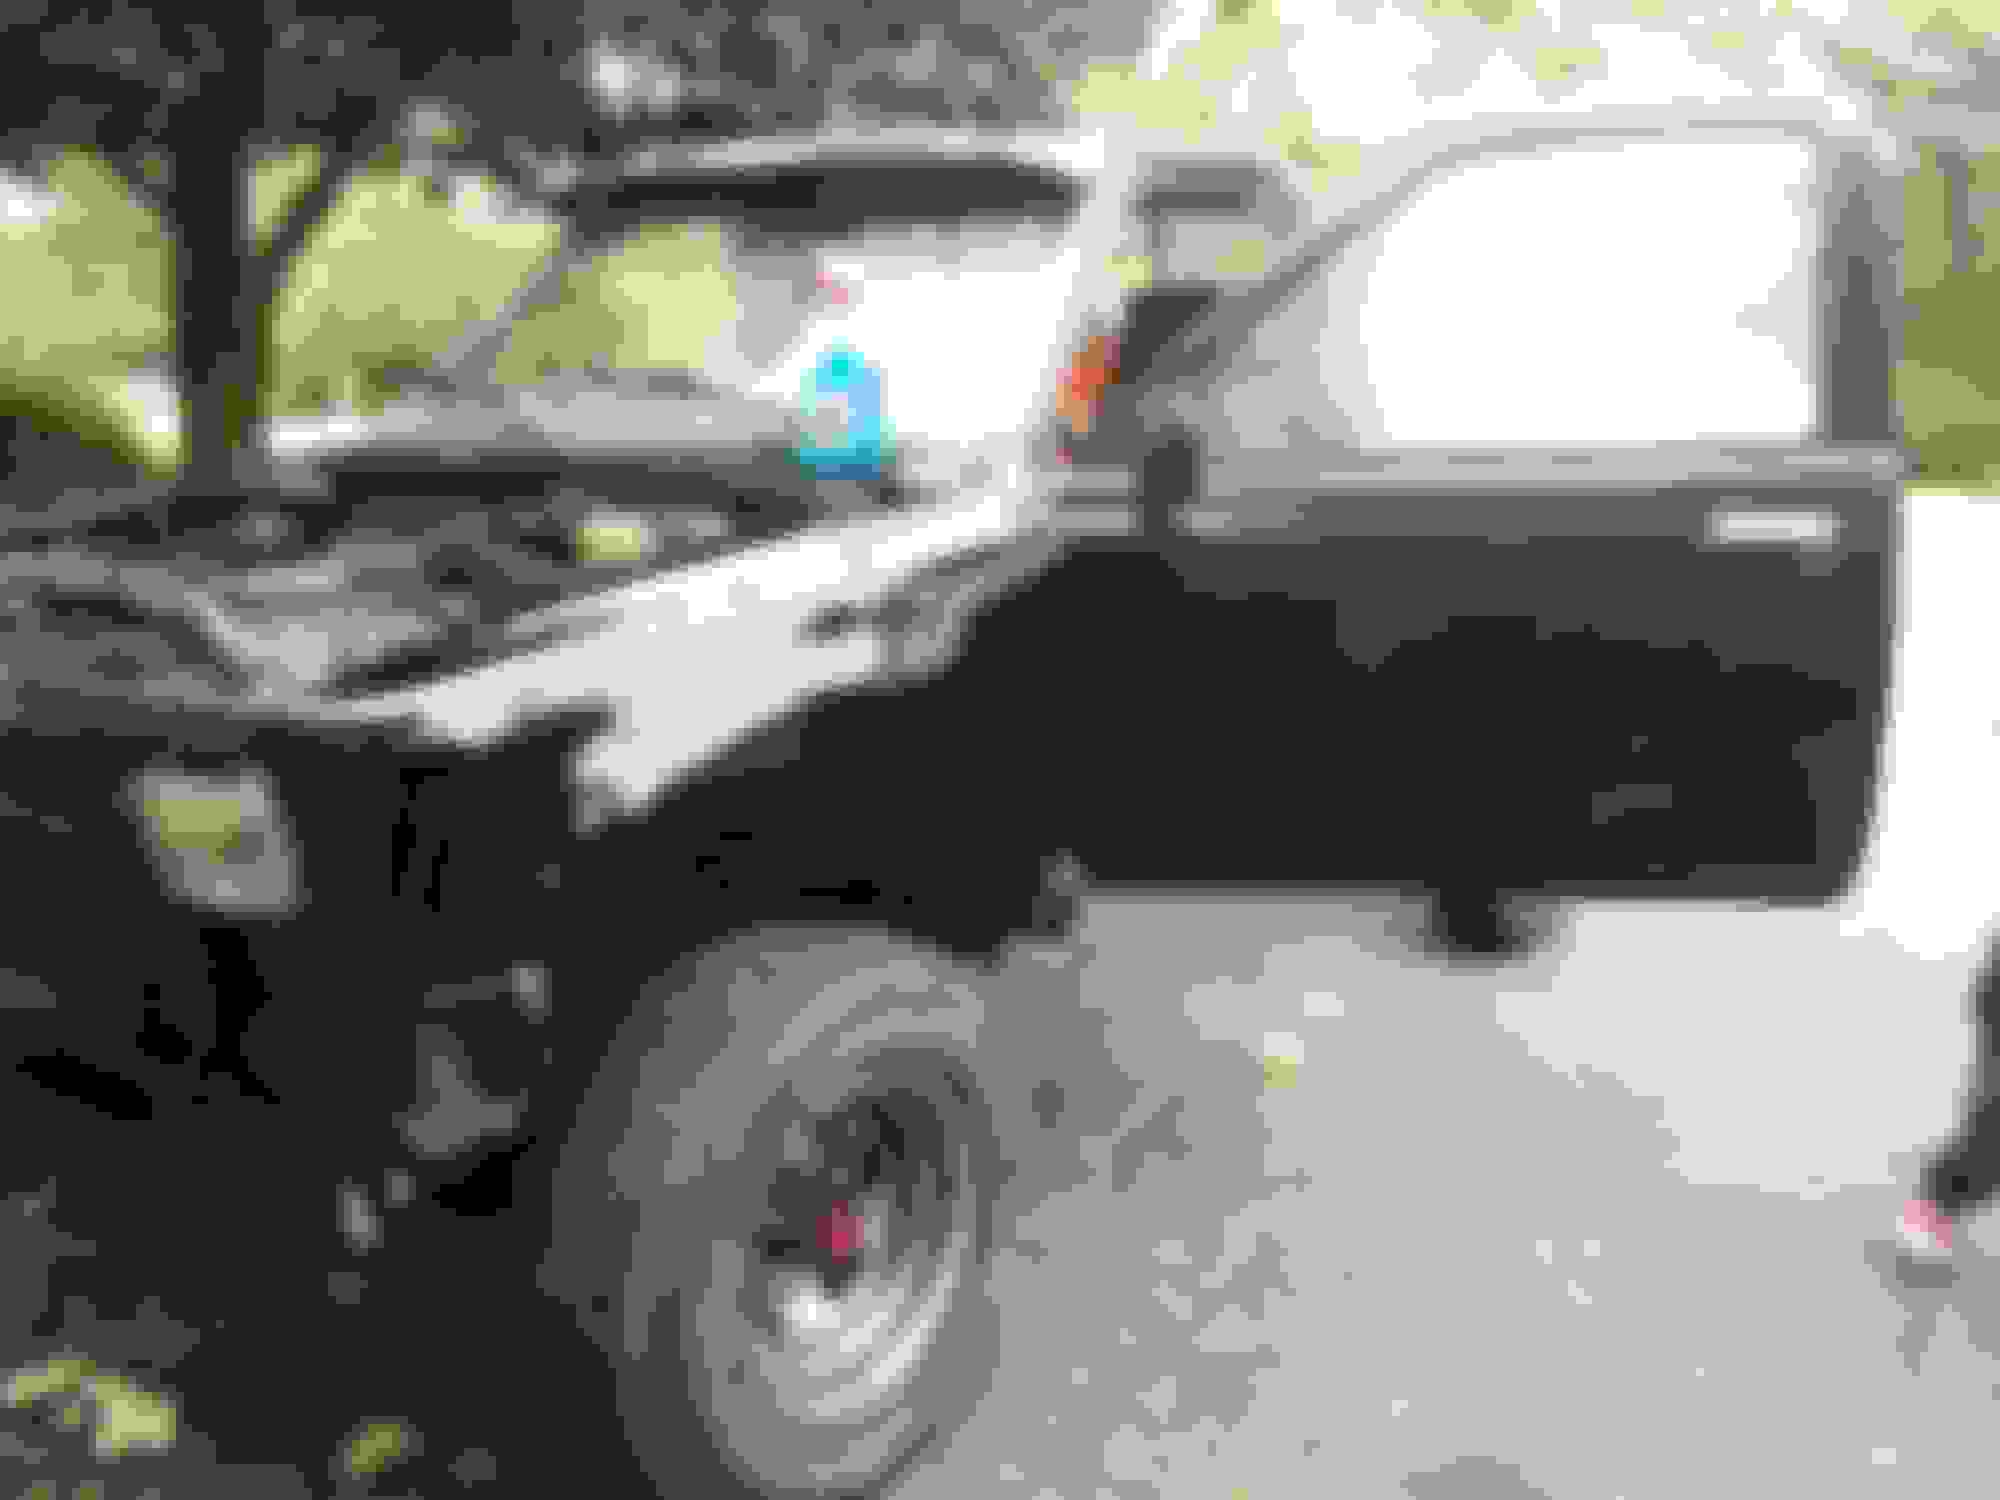
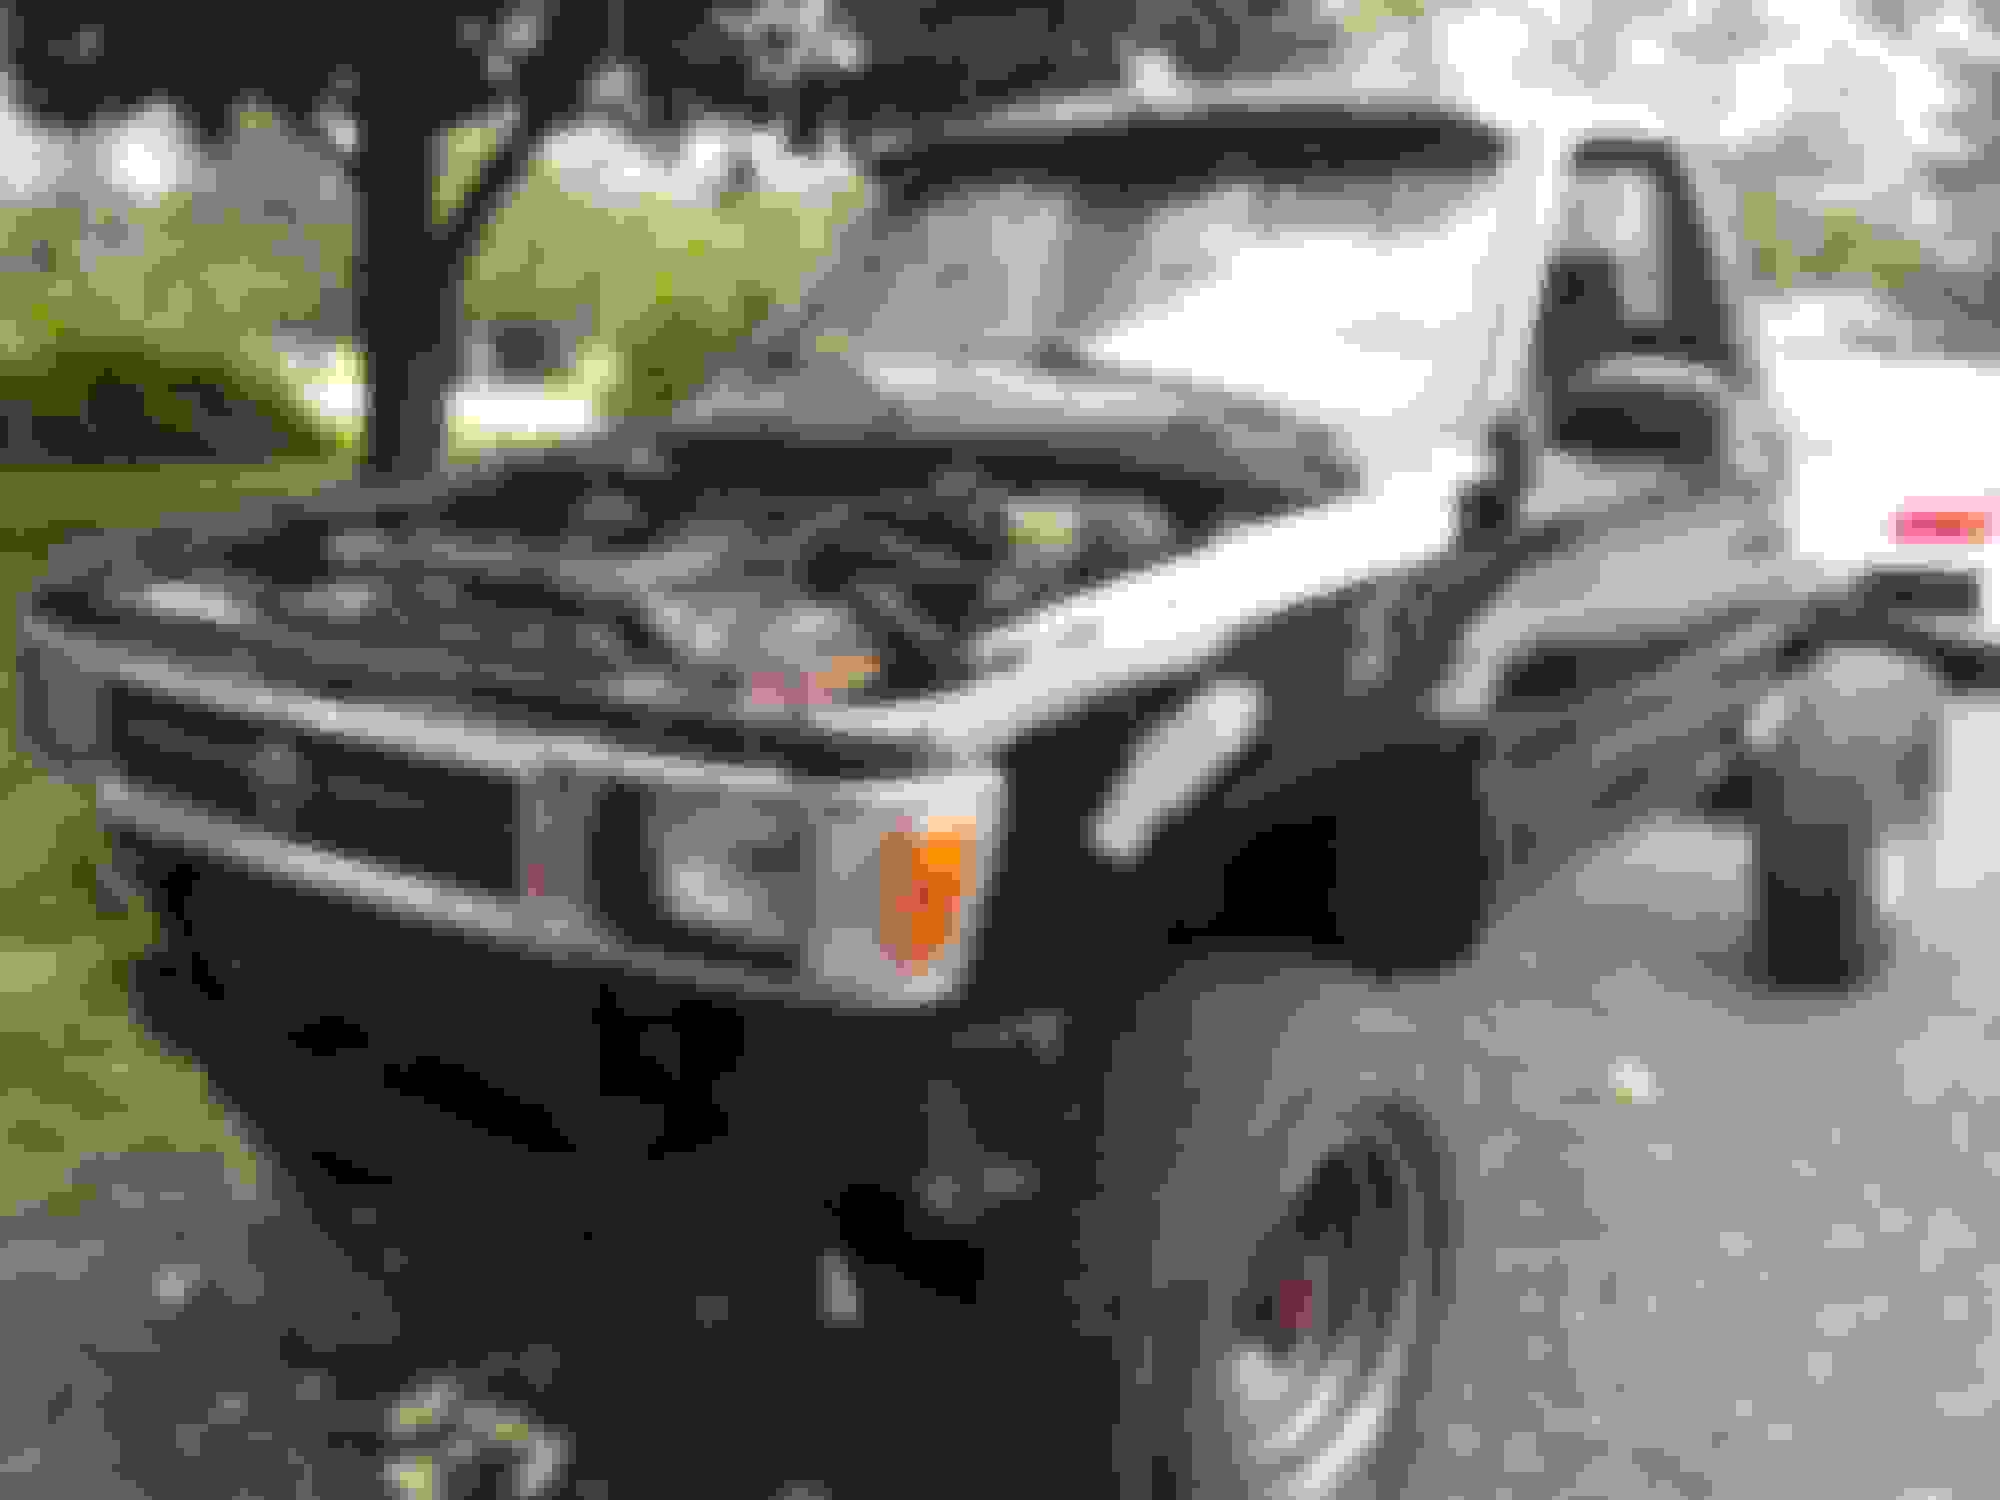
Well, I finished getting the engine in tonight for the most part, and she's running again and purrs like a kitten. Primed the oil pump and then it fired right up. Ran it For a minute or so and then noticed a fuel leak... Fuel leaks are kindve my curse. Every engine I've ever pulled, ended up having one. I'll get the bastard squared away Tommorrow, but I'm just happy its running. Here are some pictures.
Always index your plugs, doing this especially on the 22re, will increase hp output by about 2%. It also increases efficiency, which is good for something that takes 5 minutes.
All together (minus the harness that goes to the distributor and the coil)
Frontal shot.
Modified inner ring of the steering wheel. Basically, because my wheel is from an mr2, my ring that contacts for the horn was too far to the inside, so i had to expand it. First i removed any notches or pins with a dremel, i then filled all the holes and smoothed it with 2 part epoxy. After the epoxy cured, i used a conductive paint i had laying around meant to repair rear defrosters, to coat the entire surface and make a solid connection to the inner ring. because i knew the paint wouldn't hold up to the turning of the wheel, I used a layer of tin foil, and superglued it for security, then tested the setup for continuity, and lack there of between the ring and ground. All seems well, I'll post up again after I reupholster the wheel And get it reinstalled.
Originally Posted by Terrys87
You have been doing some serious work and got it looking better, great job on that. Every summer I spend some time making usre no dirt has gotten in between the tank and rail. I have heard of but not tried it yet is to move the fuel tank one bolt toward the center of the truck so that gap is wider for dirt to get out. Might be worth looking into.
I probably spend more time under thruck at the car wash then I do on top side so dont have any build up on mine. The trucks have a bigger iddue of dirt building up between the frame rail and fuel tank then the runners do and is usually where most frame damage is at.
Originally Posted by Terrys87
Great job!! You have it looking like a truck again.
You have an awesome truck there sir. I bet it will look/run factory new when your done with it. Props to you.
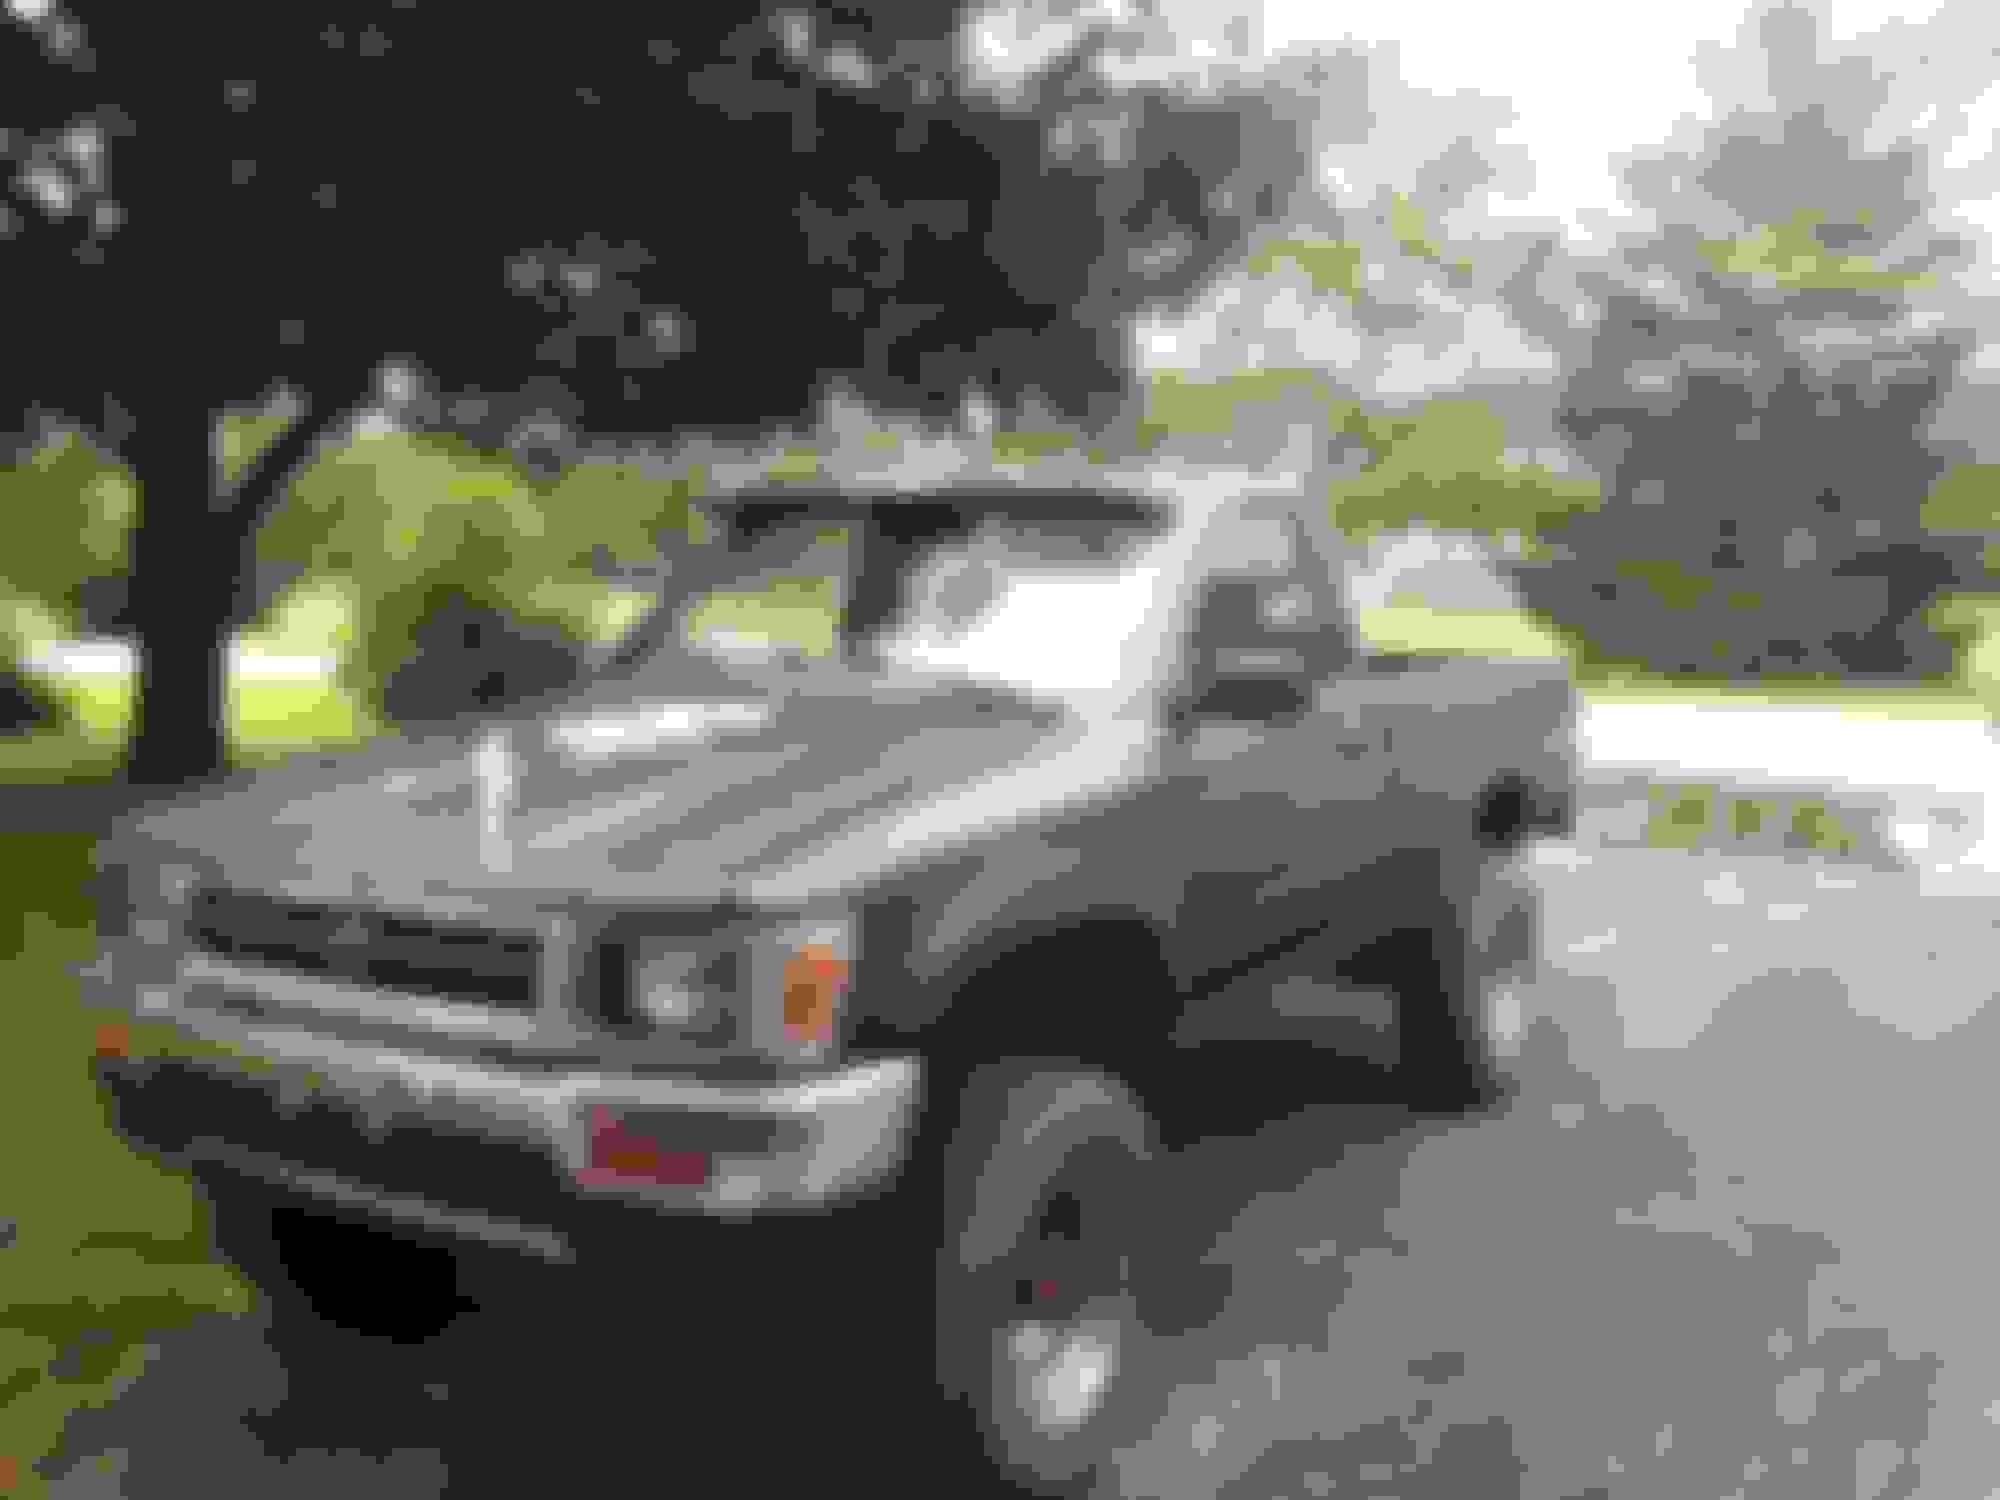
Well after much pain and suffering, she's 99% road ready.
I ran into some issues with the paint, it laid out so thick it was hard to get good coverage, and when I was done it looked perfect.
Came out the next morning to enough runs, nibs, fish eye, and sags, I spent 2 hours wetsanding just the back 2 feet of the drivers side bedside.
Now, I needed a truck, and the Urgency has only gotten worse while I was working on it. So I had to make a quick decision. I couldn't afford more real paint, So I could either roll it, or herculine it. We went down to lowes And picked out a nice color, came back and tried it on a small area And hated it. So, my wife talked me into herculiner.
I must say, it looks absolutely badass.
We also decided afterwards to paint the death proof skull on the hood, and that just made it even Better.
Edit: Added the pictures of the bodywork.
Thank you guys for all the support. Tommorrow it will see some regular maintenance, the brakes need to be cleaned and lubed so they will stop sticking And hopefully Monday I'll take it into work And get it on the lift.
And for the record, it does run like new, And imo, looks much cooler than showroom.
Thanks again for the support guys, as always, it's an ongoing project, and may not be 100% for a few months, but I'll keep updating as I get the nickel and dime stuff accomplished, And clean it up.
Last edited by Gamble_STi; Jun 27, 2015 at 08:21 PM.
Can you take some pics of it in the daytime? Definitely interested how the herculiner job turned out. My truck needs paint and I have been considering herculiner.
Can you take some pics of it in the daytime? Definitely interested how the herculiner job turned out. My truck needs paint and I have been considering herculiner.
I will take some as soon as I get home, I just always finish when It's dark out. Lol.
Well, got all the brakes taken apart, lubed and functioning, e brakes now adjusted and working as it should, cleaned the Windows, and checked out the front end. Seems I have some play in the left lower ball joint, so I'll be fixing that Tommorrow and with any luck I'll be inspecting it as well... Its a little out.
But I'm driving it to work Tommorrow, first outing since the start of the project!
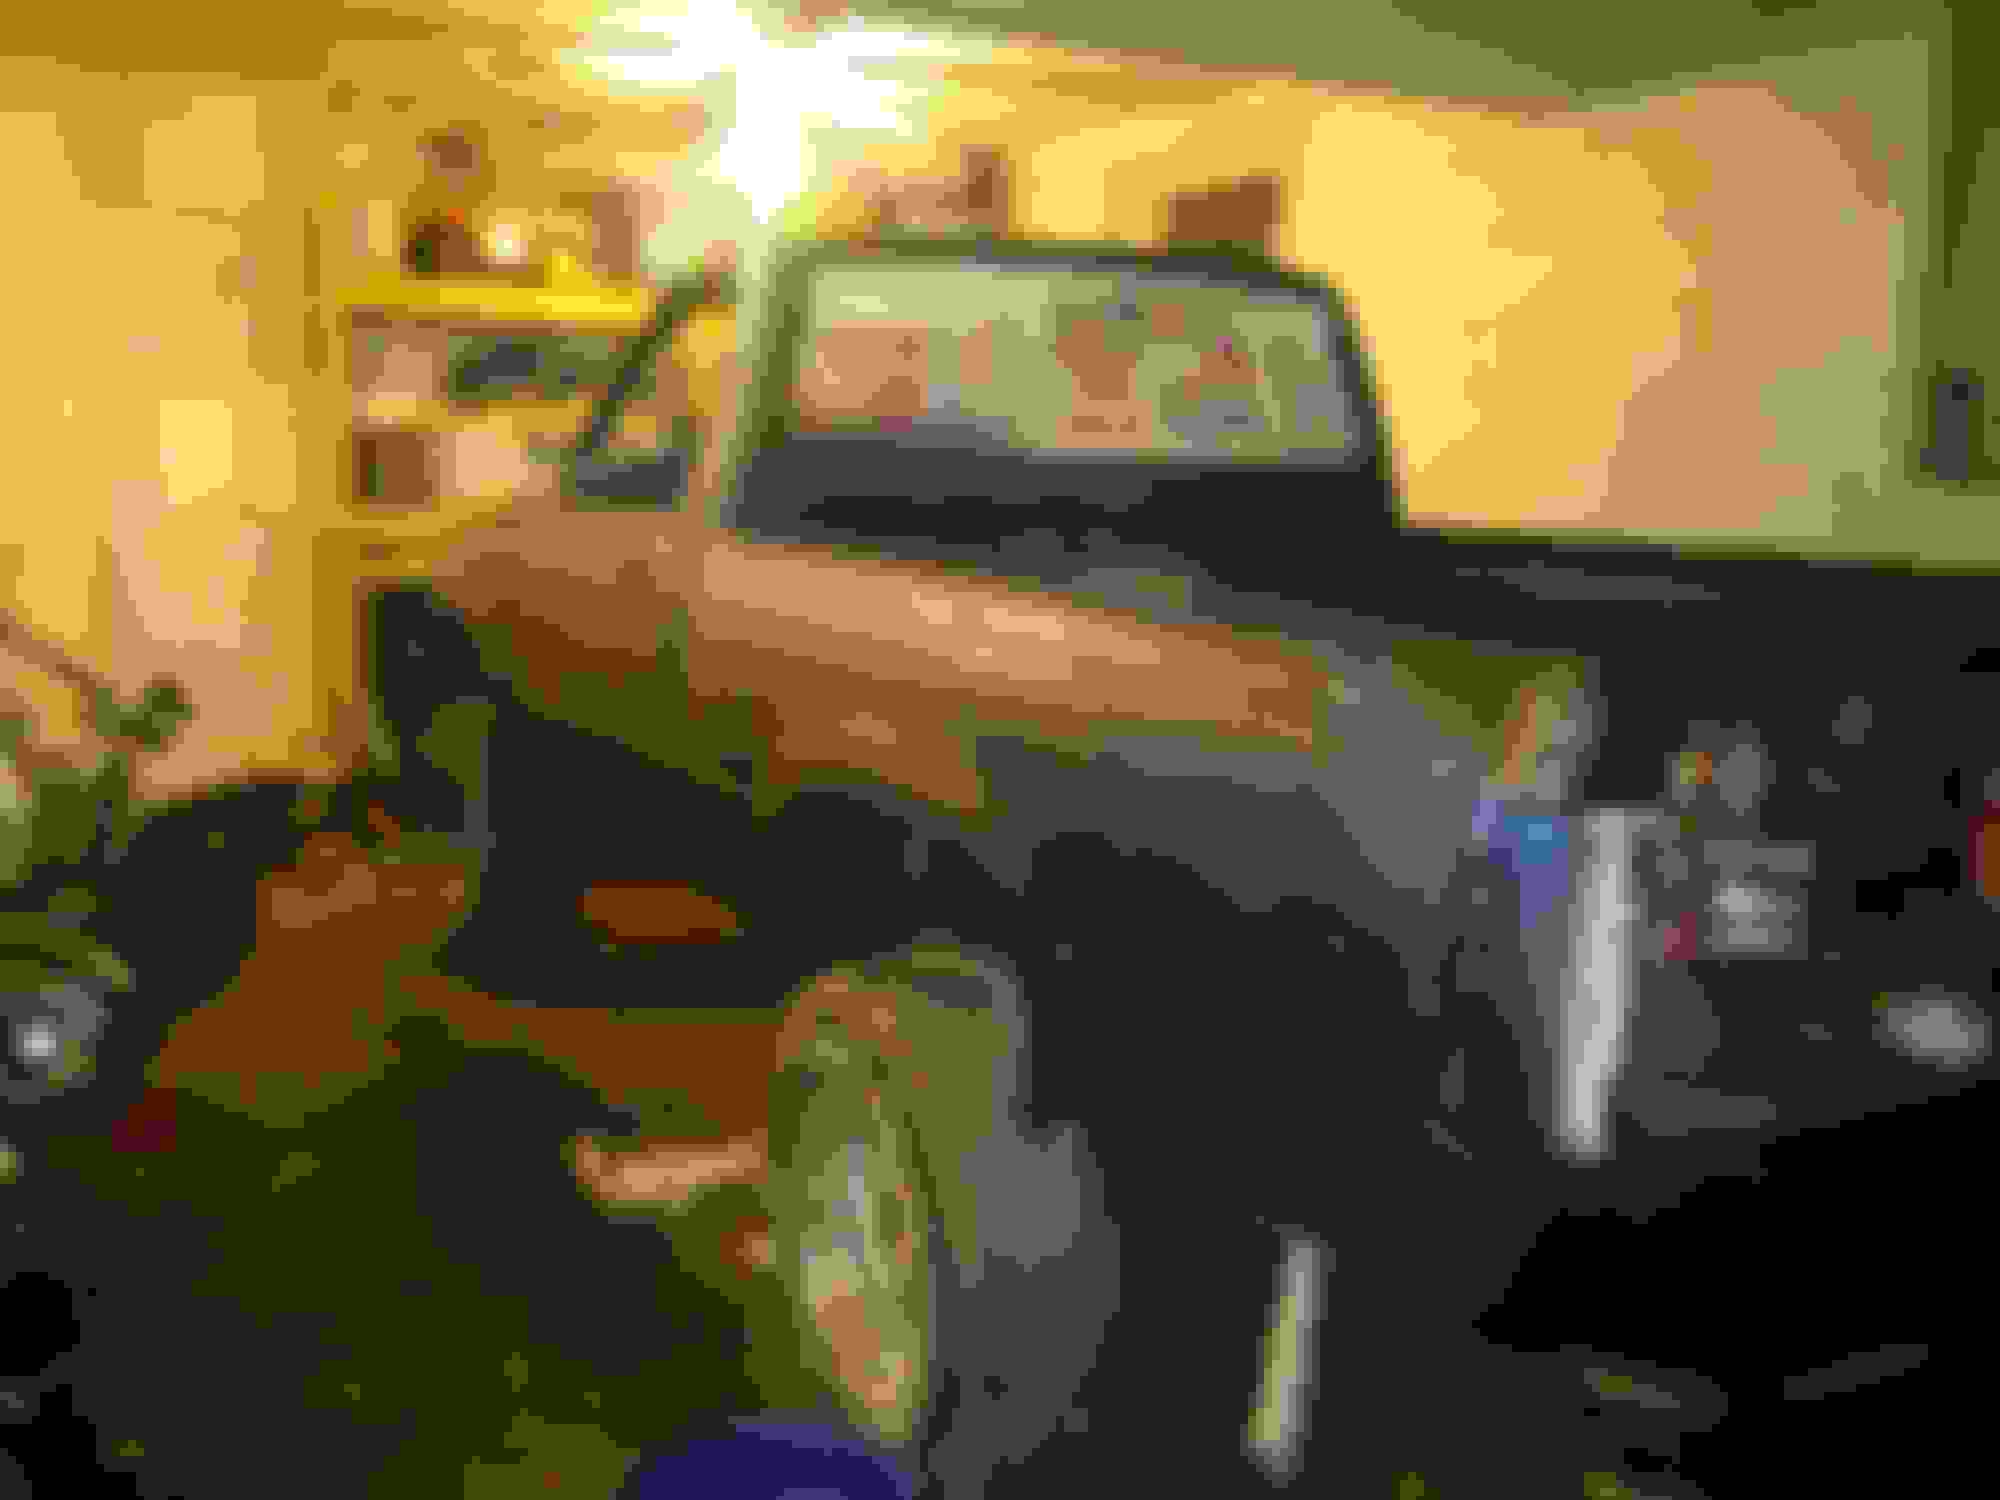
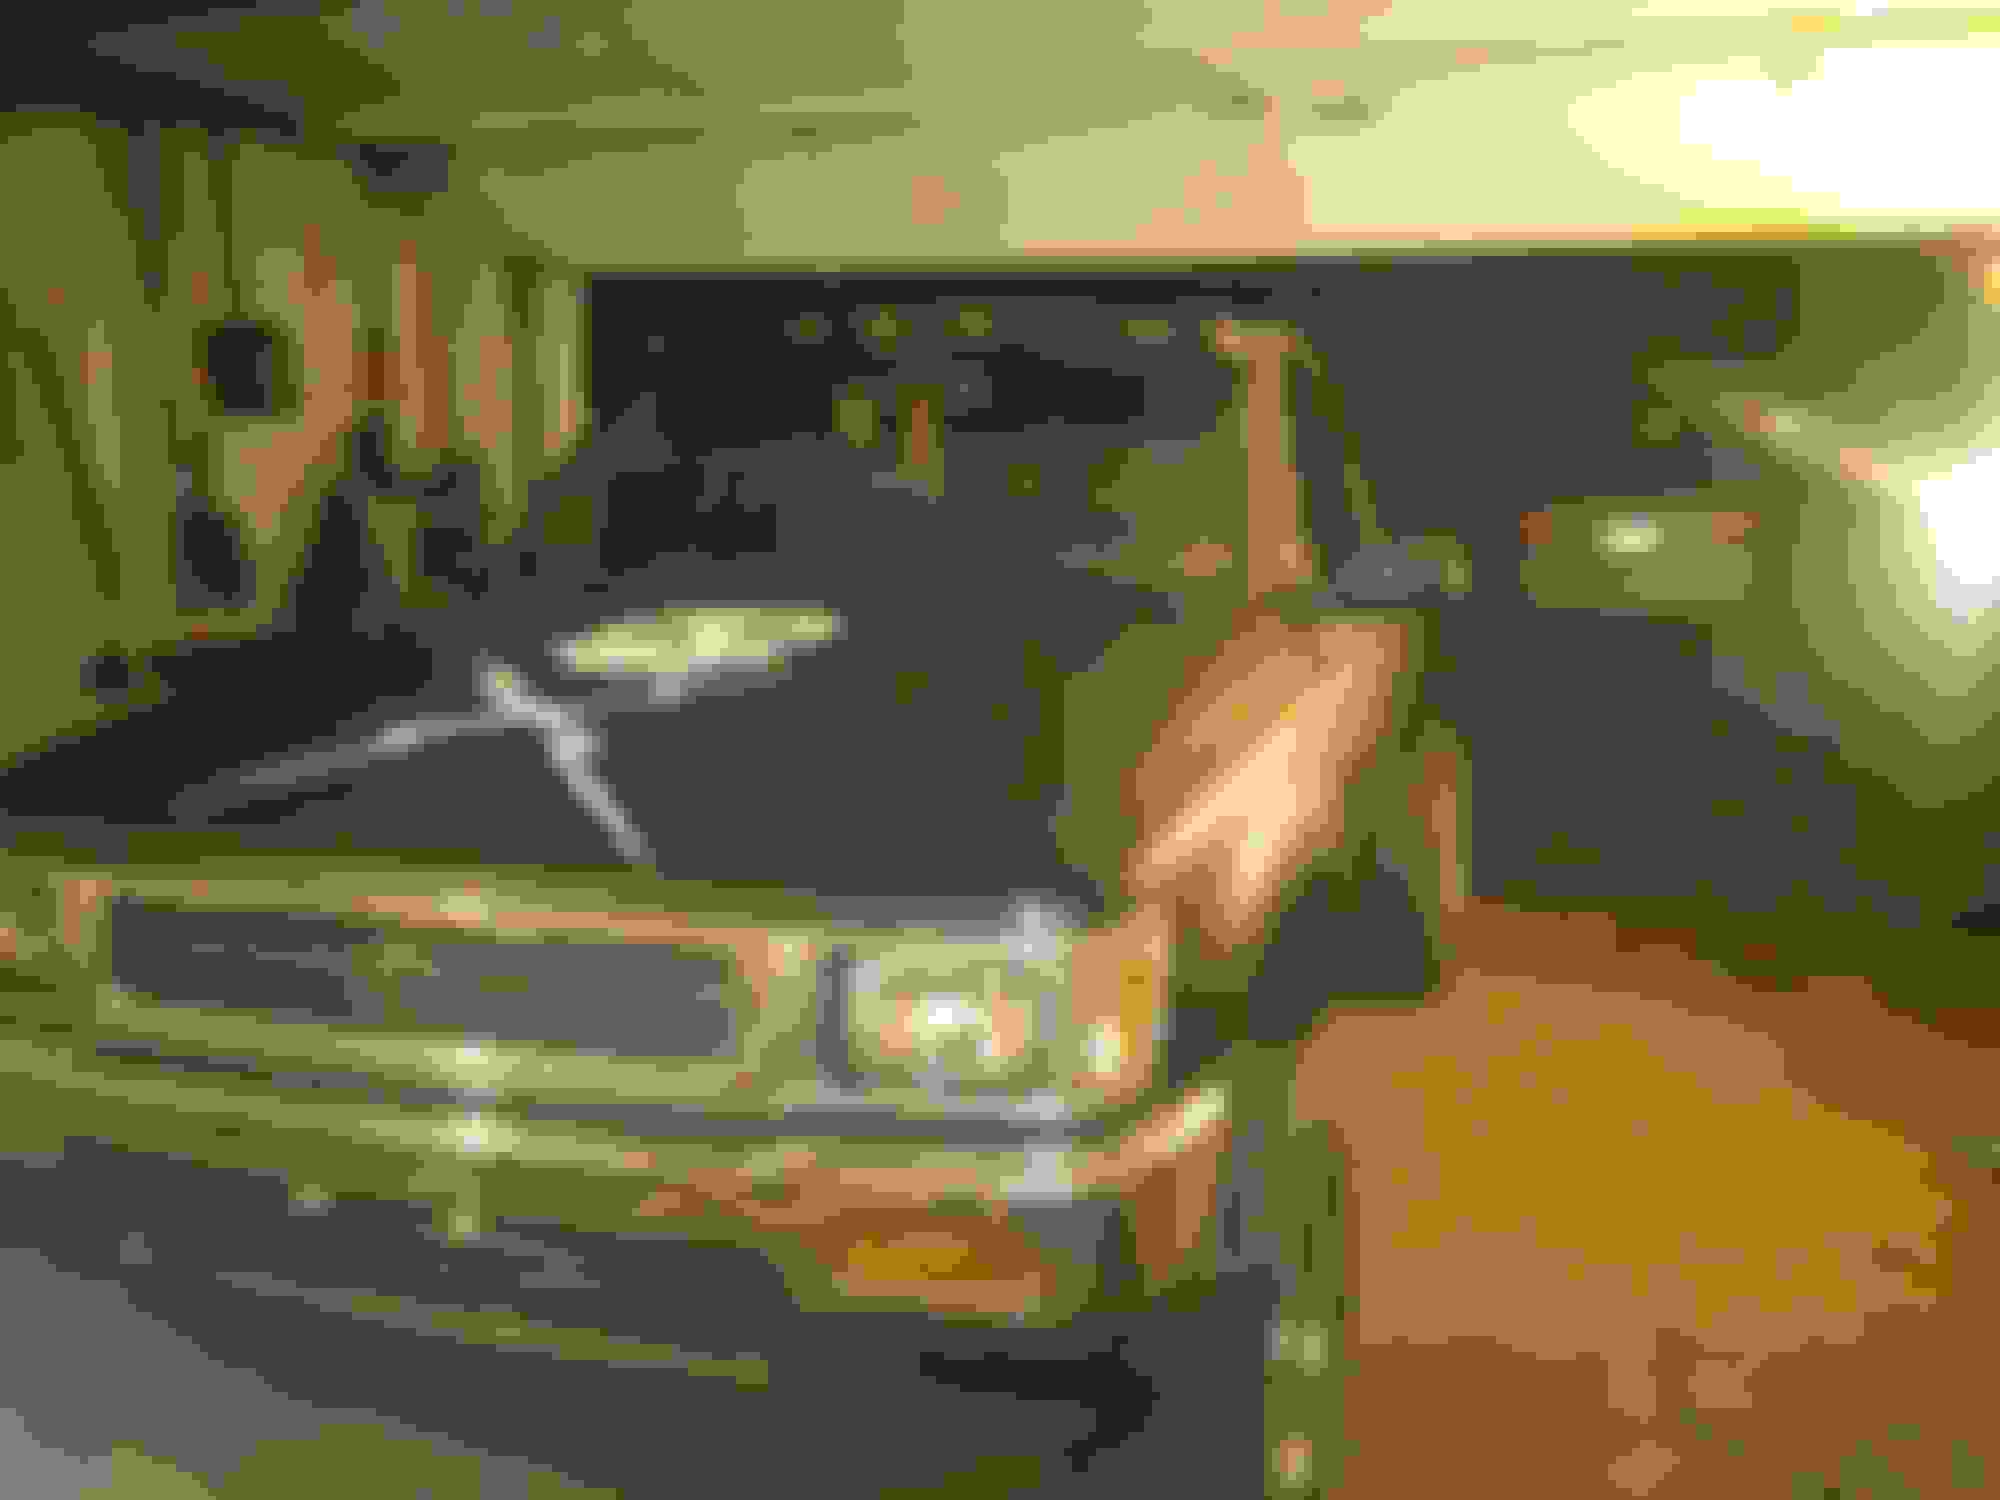
Some pics to keep you entertained because I know you guys like to look at the pictures.
These calipers were both frozen btw. Hopefully now that theyre free i wont have any issues, but im expecting to end up replacing both front calipers pads and rotors in the next year.

 Apr 19, 2015 | 04:38 PM