Crazytoyota4x4's 1988 4Runner Build-Up Thread
 11-07-2011, 04:33 PM
#61
Registered User
Thread Starter
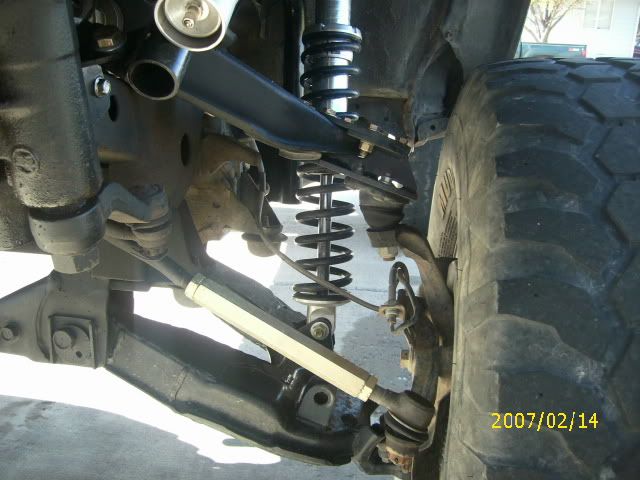
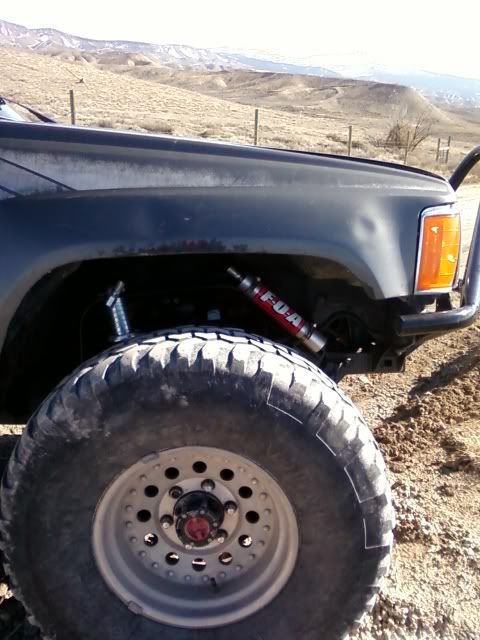
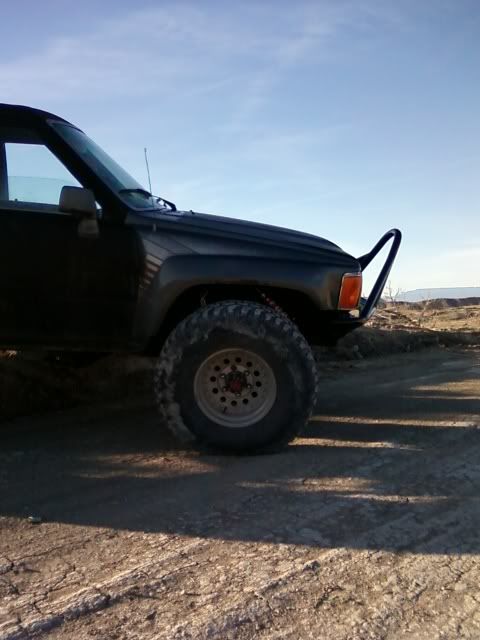
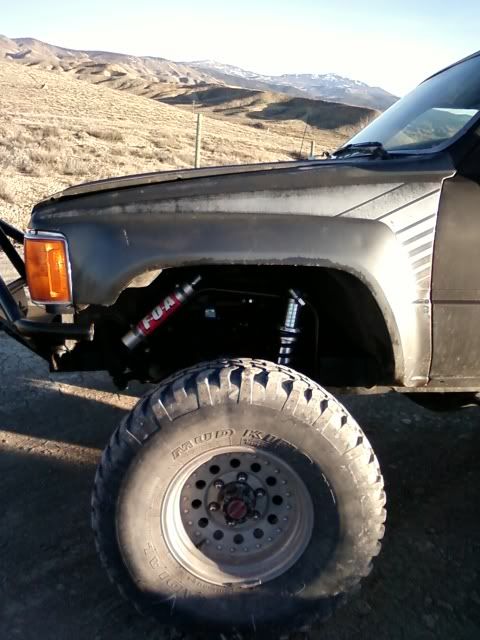
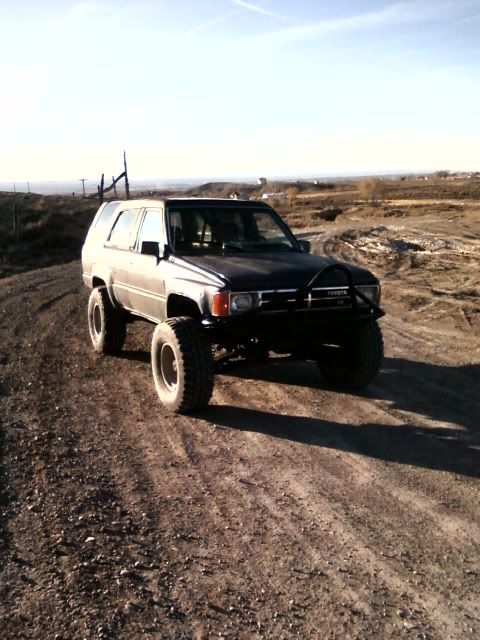
In this pic I was thinking of maybe adding a secondary shock in the stock location, something thats real light in valving. Any opinions on the second shock?
Last edited by crazytoyota4x4; 11-07-2011 at 04:34 PM.
 11-07-2011, 07:55 PM
#62
Registered User
I'd try relaxing the pre-load on the torsion bars. You'll only need about half of what you had when you were running straight T-bars. Begin this proceedure with the front wheels off the ground and the suspension drooped/un-loaded. You should be able to rotate the adjusting bolt with a 22mm socket fairly easily with no load on the suspension. That is if the adjusting bolt threads are in good shape and lubed with anti-seize. Note: there is an long adjusting nut with a short locking nut, so make sure you remove the locking nut first, and when your done and happy with your tunning re-install it. FYI- I have forgon the lock nut on both of my rigs for years and nothing has ever loosened up or shown movement.
My estimation: a 22mm stock T-bar at maximum pre-load (with blaze long arms) is equivilent to a 450lb coil spring. A 25mm aftermarket T-bar is similar to a 600lb coil spring. A coil over conversion (no t-bars at all) will need at least a 500lb coil spring to hold the weight of the truck but may be too soft for a V6, heavy bumper, big tires, etc. If you have a 250 coil now, you will only need about half of what a stock 22mm T-bar is capable of (225lb). That said, go a head and relax the pre-load on the t-bar to almost nothing. With minimal pre-load you can almost turn the adjusting bolt with your fingers. Have about 1/4" to 1/2" of thread protruding above the adjusting bolt. Now drop the truck back on its wheels to re-load the suspension. With only 250lb on the coil and 250lb on the T-bars, fine tunning either system is easily accomplished even with the suspension loaded. The T-bars have a more pronounced progressive rate so the more you pre-load them, the stiffer it will be when you bottom out on the bump stops. If you are NOT hard bottoming, relax the t-bars and add preload to the coil spring coller. Its going to take a bit of tunning to dial it in to your application and it may change with the terrain and what you are doing! If your on the trail you won't need as much progression in the spring rate as you would in the whoops. But, keep in mind as you adjust the pre-load you will also effect the ride height. If your ride height is too high you wont have much droop, if your ride height is too low you wont have much compression.
Adding a secondary shock is going to complicate things! Unless of course you are adding a bypass shock. With a bypass shock you can adjust the rebound and compression characteristics with the turn of a wrench; while the shocks are still on the truck in the field. Having two main shocks will just result in needing to re-valve (4) shocks instead of just (2).
As far as tuning the valving the FOA's you are currently working with thats another can of worms. The positive side is now you have the option to do it and the shock also now rebuildable. Basically, if you are bottoming out you need to increase the compression dampening (and/or adding a stiffer spring and/or more pre-load) If you are compressing the suspension and the truck springs back too fast you need to increase rebound dampening (and/or a softer spring and/or less pre-load)
Last edited by BlazeN8; 11-07-2011 at 08:08 PM.
11-09-2011, 09:13 AM
#63
Registered User
Thread Starter
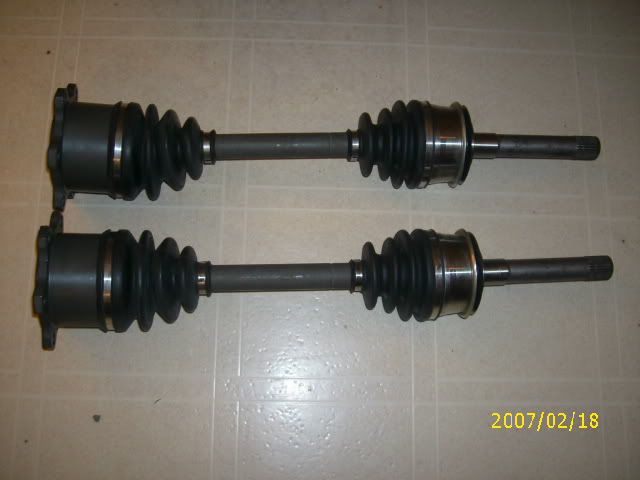
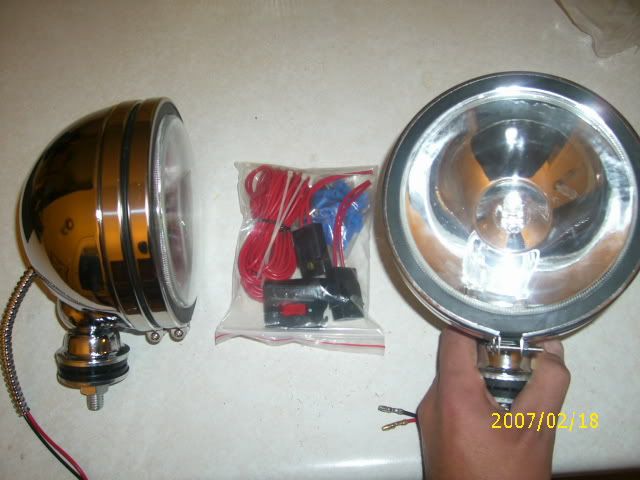
Just got my t-100 cv axles from Napa and am thinking of putting the stock geared rear diff back in so I can 4x4 a little before the snow flys. Also Ive now got 4 offroad lights from autozone that are 6" round and 100 watts each, should be good enough for my trips out in the mountains.
11-09-2011, 08:24 PM
#64
Registered User
Thread Starter
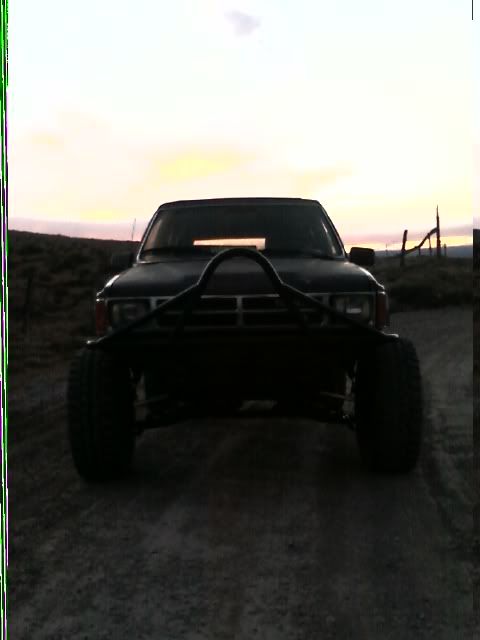
Lowered the torsion bars so there is almost no preload and now the front end is very soft. It soaks up the bumps as if they are not there. Will take some pics tomorrow
 11-12-2011, 09:12 AM
#66
Registered User
Thread Starter
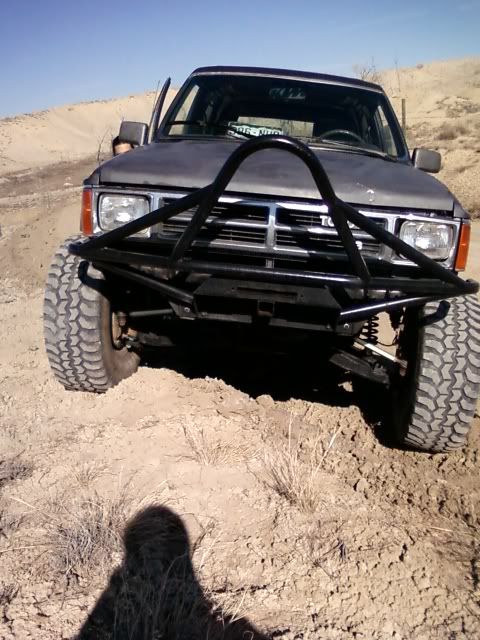
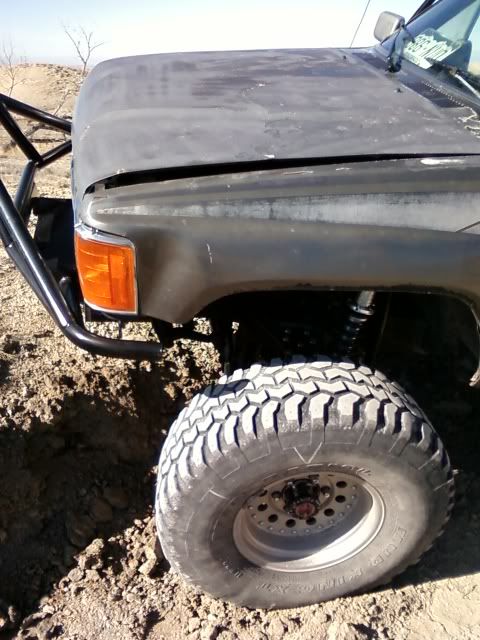
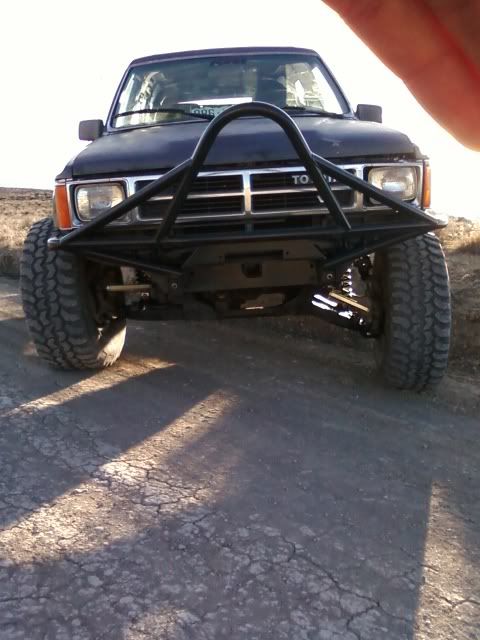
Heres a pic of a little bit of flex in the front end. This is after lowering the torsion bars almost all the way.
Last edited by crazytoyota4x4; 11-14-2011 at 08:05 AM.
 11-16-2011, 03:20 PM
#71
Registered User
Thread Starter
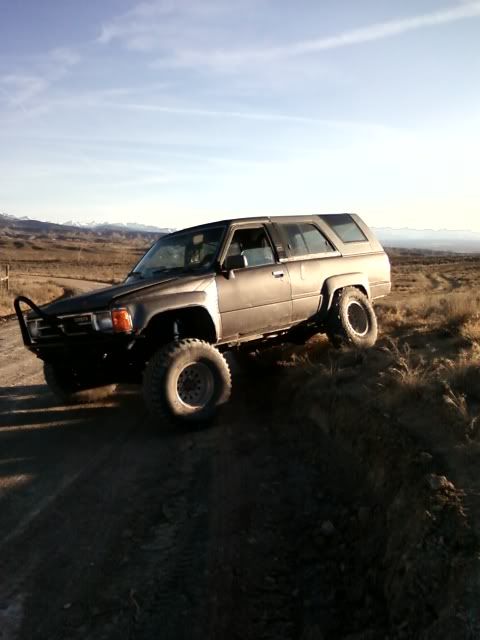
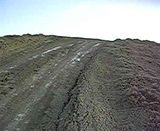
Got the front end to flex alot more with the back end up on the hill today.
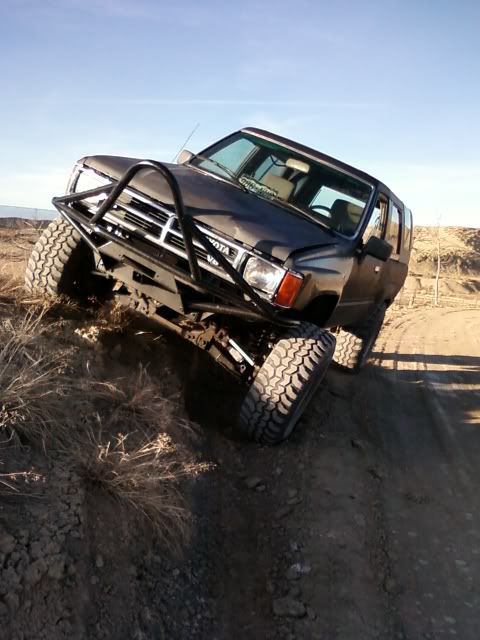
This side is fully stuffed.
This sides pretty drooped but it still had a few more inches.
This side is fully stuffed.
This sides pretty drooped but it still had a few more inches.

 11-22-2011, 06:54 PM
#75
Registered User
Thread Starter
Took a couple vids just testing out the preload setting on my 4runner just click on the pic
Last edited by crazytoyota4x4; 11-22-2011 at 06:59 PM.
02-11-2012, 12:45 PM
#76
Registered User
Thread Starter
Just ordered some new tires for the 4runner, they are 33 x 12.50 x 15 Nankang Mudstars n889's and also I am getting a 4.88 front diff with true trac so I will be able to 4x4 in less than a month now
02-17-2012, 08:02 AM
#77
Registered User
Thread Starter
Just got my 4.88 front diff with true-trac, got it all assembled and painted so now its ready to go on the 4runner. Will either be trying to do the swap tomorrow or next weekend. It also came with a tube and filter to hook up to the diff breather and its about 3 ft long , so it should be easy to position once the diff is in. I cant wait to be able to4x4 again, its been almost 2 years and thats just too long.
02-24-2012, 09:58 AM
#78
Registered User
Thread Starter
 4.88 ifs diff with truetrac is in along with the cv axles. Went for a test run and everything worked flawlessly. The front end feels very stable and has good traction at both tires. A little sketchy on a sideways hill in the mud, the front end seems to slide sideways easier than before, probably a quirk I'll just have to get used to. Overall there were no sounds of binding in the cv's and the front diff seemed to operate smoothly. Now I just need an alignment and tires put on.......for now anyways.
 02-06-2013, 03:07 PM
#80
Registered User
Their UCA is modified and rebuilt. You could modify and rebuild your own UCAs. But what you don't want to do is use a factory UCA with rubber bushings. The rubber is bonded to the outer shell and inner sleeve and does not rotate it twist the rubber. With the added articulation of LT the rubber binds and chunks apart. The poly bushing conversion allows a free floating non-binding rotation.
Their UCAs processed with a burn recovery that removes the rubber bushings, paint, grime etc. Then they are modified, media blasted and powder coated. All the steel hardware, including the cross shafts, are tumbled and zinc plated. The end result is to like new condition. Also, the poly bushings and UCA Extension Brackets come installed with the proper lubricants, thread lock compounds, and torque specs.
The physical modification to the UCA is minimal and consist of hogging out the (4) holes where the UCA Extension Bracket attaches. This is done to allow larger hardware for the bracket attachment. You could get a hogging bit and do this yourself.
Basically you end up with a brand new UCA with a poly bushing conversion. If you were to do the labor, purchase the poly bushings, and go through the rebuild process you will find these UCAs are a bargain!


