When you click on links to various merchants on this site and make a purchase, this can result in this site earning a commission. Affiliate programs and affiliations include, but are not limited to, the eBay Partner Network.
I've had a replacement fuel filter sitting around for almost four months. Been putting it off because I know how big of a PITA the job is. I've read about people going in from the top, but this seemed like the path of most resistance to me. I went in through the wheel well access. Word for the wise: Don't be like me and try to leave the wheel installed. Removing it will make your life much easier. After cursing up a storm and humping my wheel for 30 minutes trying to get the top bolt started, I removed the wheel and was able to do it in 10 seconds.
This is how I accessed the bottom bolt. Bonus: I replaced the oil pressure dummy light sensor a few weeks back. Sourced the pigtail from eBay, as for some reason Yotas are few and far between at the scrap yards around here. Nice peace of mind watching the little light go off now after starting.
Top bolt access. Both were done with a 6" extension and a u-joint. I had to use a breaker bar to get them free.
Leaf springs. I did these about 6 weeks ago. Also a bit of a PITA job. I can't explain exactly how I did it because there was a LOT of trial and error. I remember I disconnected the e-brake cable to both drums, put stands under the frame, and dropped the rear axle all the way to the ground to relieve pressure. One of the hardest parts of this job was getting those camber plates and rubber pads to line up upon installation. Be very patient with this part. If you don't get them perfectly lined up, you'll end up driving sideways down the road. In retrospect, I should have just replaced them. I was able to borrow air tools for this job, which made it worlds easier. I used a jack to help install the ends of the leafs. Oh, and new shocks. Those are easy.
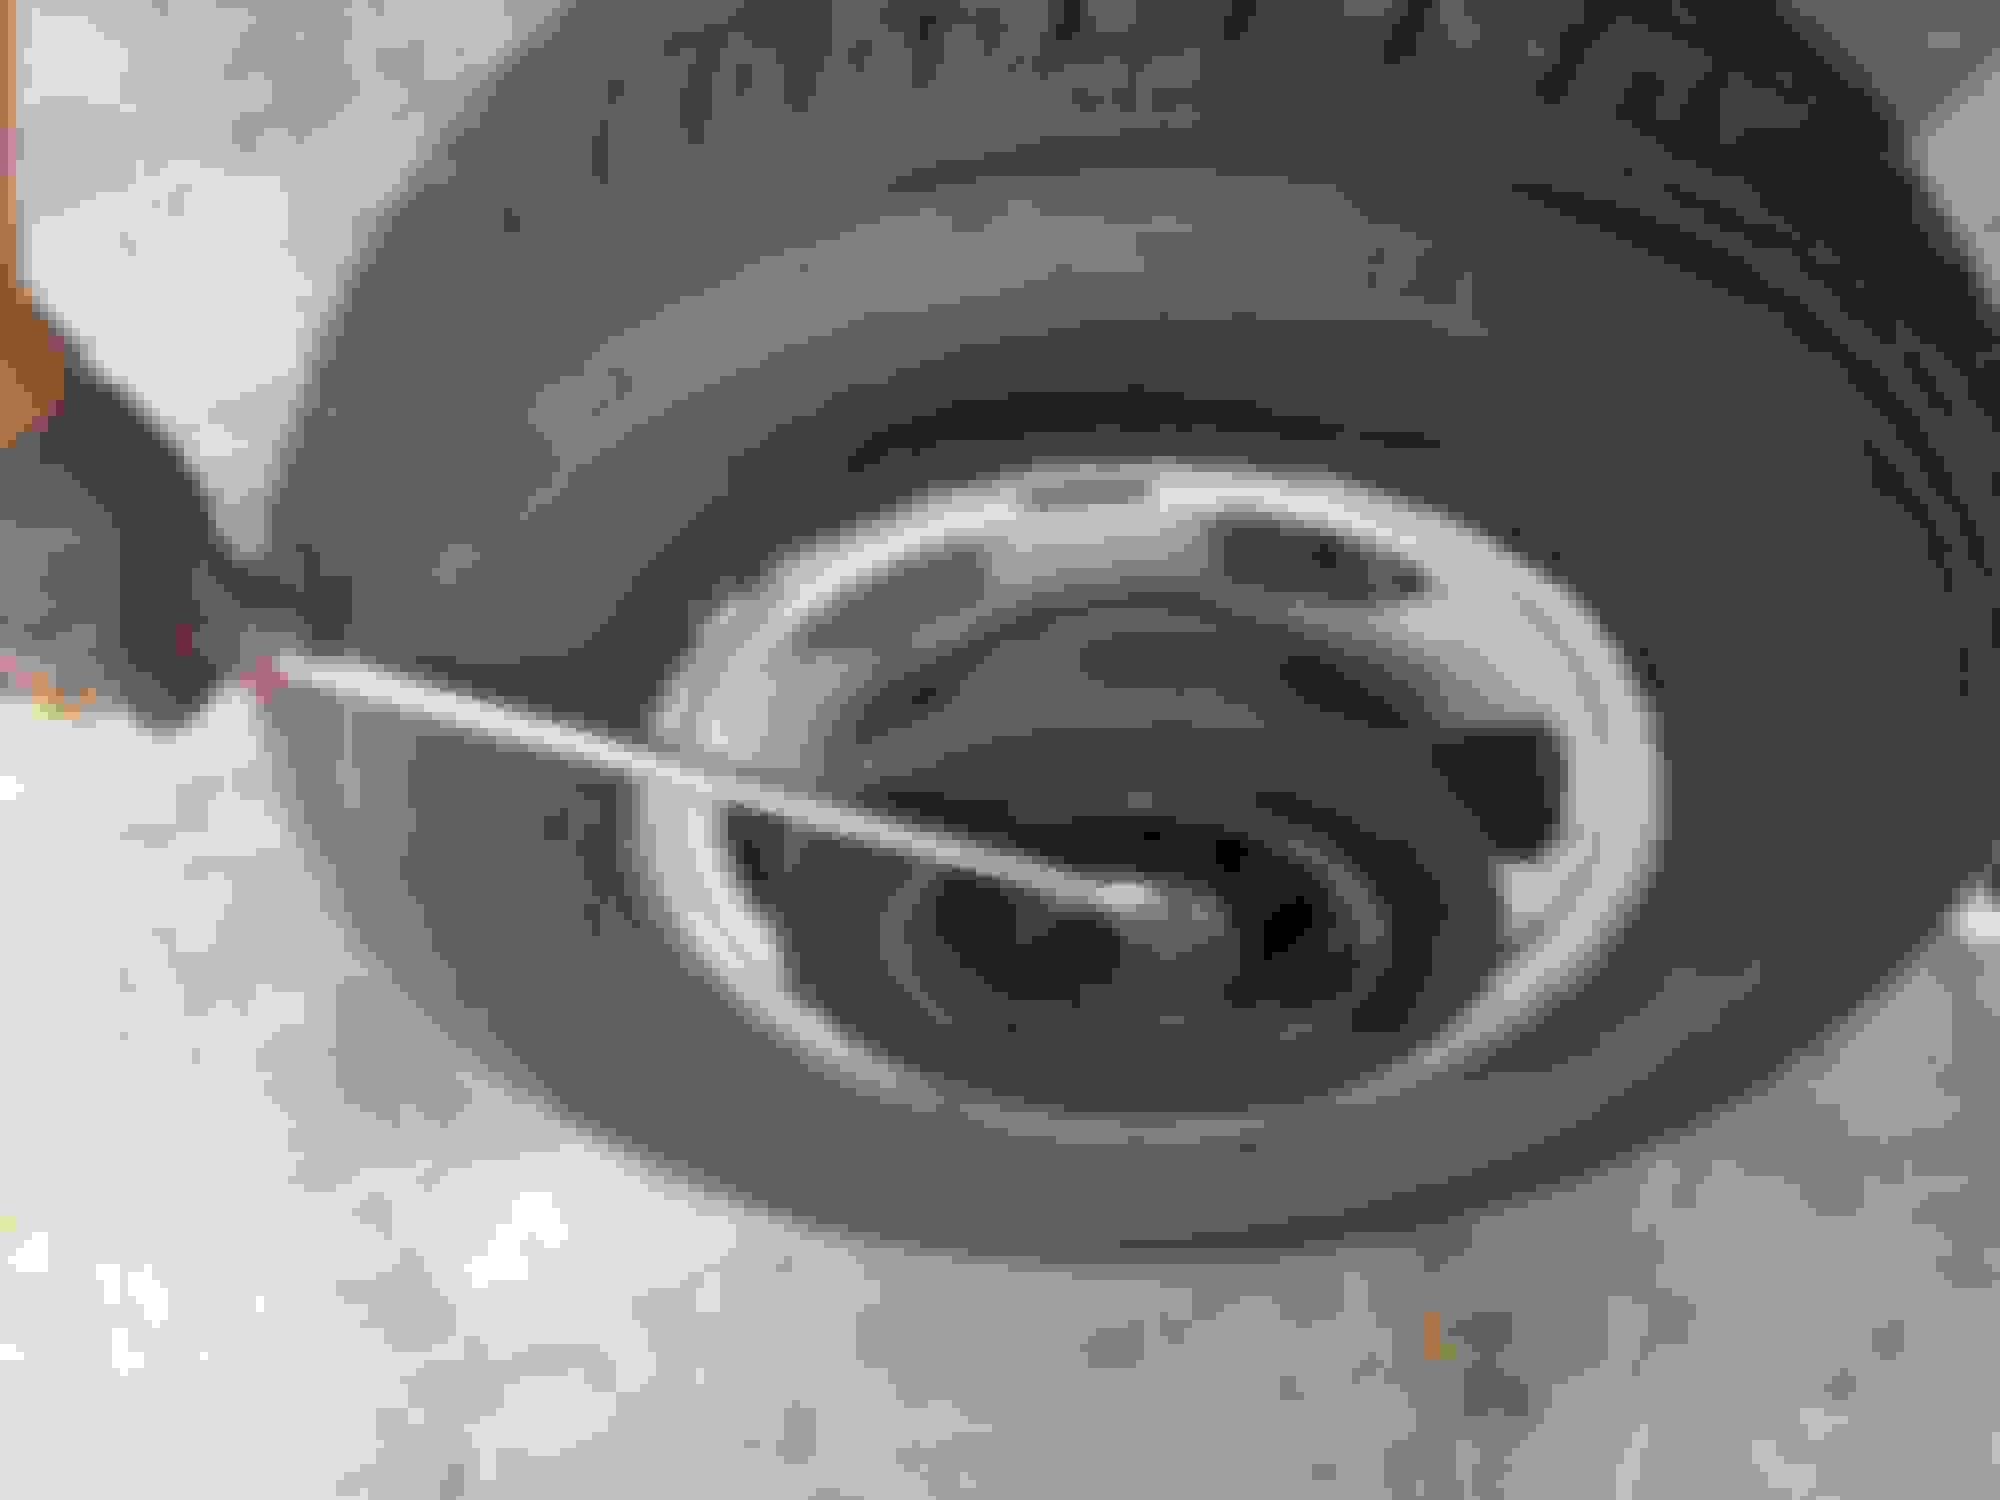
I also did the front brake rotors, pads, and repacked the bearings. I'm running out of cash so I had to go the cheap route. I was gonna salvage the bearings but both inners were damaged. I didn't replace the outers or any of the races because I'm a cheapskate and honestly they looked OK. Outer bearings were thoroughly sprayed out with brake cleaner and let to dry before being repacked. I forgot to take pictures of this job, but here is an easy way to crack the rotor bolts, for anyone like me without a proper work bench and vise.
Fuel filter is FRAM branded. Leaf springs and U-bolts were sourced from SDTrucksprings.com. Shocks are OEM from the local Yota dealer. Rotors, pads, National brand bearings and seals all sourced from O'Reilly.
I FINALLY diagnosed the popping sound during tight cornering. Lower control arm bushings. I'm gonna attempt the job myself... wish me luck. Sourced bushings and new ball joints from MOOG.
All cosmetic work is on hold indefinitely. I'm going cross country in two weeks, so this thing has to be in prime working order.
Last edited by Java Peddler; 05-22-2017 at 07:47 AM.
Been a while. Hoooo boy, lots to share, but I'm bad at taking pictures and just recently got a smart phone again.
As mentioned in my last post, I drove this puppy cross country. Made it with no hiccups except a destroyed radiator shroud.
This truck was noisy as HELL when I got it. Chirps, thumps, rasps, whistles, burps, and rumbles coming from every part of the truck. I chased most of it down as I made improvements, but I was always unable to figure out what the slapping/tapping noise was from my engine compartment. It was almost a reed-like sound at certain RPM's (1500-2500 or so). I finally took it to a shop to have it diagnosed, and they said it was definitely the timing chain, and it only had about a month left before it self destructed the timing cover. So I parked it and ordered parts.
I ended up with a dual row timing kit and head gasket master kit from 22reperformance.com. Although I had no apparent HG issues, I read that you should technically do it when doing the timing chain because you compromise the seal. Sounds good to me.
I took my head in to a reputable machine shop just to get it inspected. They just called today and said that they can't touch it because it's already been milled past the point of usability. I think they said it was .035" shorter than stock. THAT would explain the fact that whenever I set the timing, I was maxed out on my adjustment. I could get it right, but just barely. It also explains my severe timing chain looseness. I think that had I just reused my head assuming it was up to OEM spec (It's a stock Jasper reman, why wouldn't I?), then I would have timing chain issues in the near future if not immediately. Luckily said machine shop has reman heads in stock so I'll be picking one up tomorrow. Yeah I know, I know, higher compression, just get an adjustable cam gear, blah blah. No thanks, partner. I've got no desire to attempt to tune my 115HP motor when I can barely manage to fix it up to OEM spec.
Got a pic of it all tore down... doesn't look too different right now, just cleaned up and with the new timing stuff in place. I'll take a better pic tomorrow. My old chain guides were DESTROYED and my oil pan was absolutely chocked full of bits of plastic and aluminum. I'm surprised it ran at all.
Last edited by Java Peddler; 10-01-2018 at 08:33 PM.
As far as dropping the oil pan, for some reason a lot of the guides I found weren't all that helpful. I had to search around quite a bit to get all the answers. Most people just say you only have to undo this or that bolt, but the reality is you have to take out a lot of bolts. Diff fastening bolt, diff crossmember bolts, some of the bolts around the motor mounts, steering damper, idle arm, and sway bar... just off the top of my head. On the steering parts you can just undo one side to swing it out of the way, but it's still worth mentioning.
I also did a LOT of cleaning during this job and I'm super stoked to see how it all turns out. No more oil mess. Oh it also has a different canopy that fits a little better, and I'll be getting some bigger all terrain tires before winter.
Last edited by Java Peddler; 10-01-2018 at 09:05 PM.
You are doing things the right way. It is too bad you cannot reuse your existing head, but it is better to know now than when you bolt everything back up!
Feel free to post up more pictures as you make progress!
FINALLY got it going tonight. This thing runs like a top, I can't even describe how pleased I am with it. It had a pretty rough idle and a fuel smell under load before I started this recent round of work, and all of that has gone. Idles like a champ and seems to drive great. There's a slight ticking noise through all RPM's but I think that's just the signature 22R-series "Is-that-thing-a-diesel?!" sound.
List of things done was as follows:
- Head: reman from machine shop, which included a reman camshaft. I reused my rocker assembly because it looked OK... I hope it's ok. OE gasket and bolts.
- Intake and plenum gaskets including fuel line crush washers
- Exhaust gaskets including all EGR gaskets
- Fuel injectors and cold start injector serviced by WitchHunter Performance
- Dual row timing chain conversion from 22RE Performance
- Intake allen bolt (the one by the thermostat... if you're taking your intake off for any reason, go ahead and order one of these. It's a long-ass bolt right under the thermo so it's gonna be corroded and a hell of a time getting out. Previous owner took the privilege of rounding out the tool surface for me; luckily I was able to remove it with PB Blaster and vice grips)
- Oil pan removed, cleared of debris... there was a metric BUTT TON of crapola in my oil pan, it was unbelievable. If you're doing your timing chain because your guides are broken, you have to pull your oil pan. Seriously. There was so much stuff, probably a pint of plastic and metal (yeah, pieces of my timing cover. whoa). Pan seal was done with the Toyota brand RTV (or form-in-place gasket for you semanTechs), oil pickup tube gasket sourced from the dealer. Oh and I also tapped the drain plug to the next size up because previous owner stripped it out. I imagine if you're reading this you already know, but stock thread size is M12x1.25. I went up to M14x1.25. Drilled it out with a regular 1/2" bit, then used a tap I got from O'Reilly's with a socket wrench. Little by little.
- Starter from O'Reilly's. I went with the 1.4kw instead of the 1.0kw... because... more power? Trust me, I'm an electrician.
- Coolant bypass hose (small diameter coming from the passenger side of your timing cover, out the back of a small metal pipe), and new lower "engine to pipe" radiator hose (drivers side of your timing cover, from your water pump to a metal pipe which goes down to your lower rad hose). Good idea to do these when you have your manifolds removed because they're normally hard to get to. Mine looked like absolute garbage so I replaced them. I'll be replacing all of my throttle body hoses as well.
- Valves set cold upon first assembly. I did .15mm intake side, .28mm exhaust side. I wanted "just under" factory spec (engine HOT) since it was cold, and those are the closest feelers I have.
- Head threads in the block chased out with
and then blown out with compressed air. Seemed to do the trick.
- Clean, clean, clean. Wire wheel all (most) bolts, degrease the block, scrape every gasket surface with a flat bladed scraper. Wish I had something nicer, but it honestly did the trick. I got carried away and scratched the metal a couple times, but I really don't think it affects anything.
- Head bolts retorqued to 64 ft. lbs. (I think factory is 62 but I wanted a gold star for going above and beyond) after getting engine hot after assembly.
- What else? I guess that's it. It took me two months to do this because I value my free time on the weekends. This was mostly done in 1.5 - 3 hour segments after work each day.
So far no leaks. Lots of coolant burnt off the first 30 minutes it ran. Actually probably a mix of coolant, whatever the machine shop coated the valves with, simple green, sweat, tears...
uh, anyway, I have a few guesses on what cleared up my idle:
- My fuel injector seals were in ROUGH shape. All of them broke upon removal. WitchHunter did a badass job. I paid $132 (including shipping both ways) for all 5 injectors, which is about the price of ONE new injector. Sweet deal in my book. They even give you a data sheet displaying the test results pre- and post- servicing. Mine were actually in somewhat decent shape, but all were improved after cleaning and the seals were in super poor shape before. Peace of mind and fresh seals... worth every penny.
- I found a vacuum hose that was all torn up at its termination point (the ass end of it). This was one of the new silicone hoses that was replaced recently... wonder what dumbass messed that up! Cut the end off and still had enough length.
- I have a feeling the the hose coming out of the bottom of my EGR vacuum control flying saucer thingy thing on top of the rear valve cover was not connected. It's kind of hidden, and for some reason whoever cut that hose cut it super short so it's taut like a damn banjo string. That one actually wasn't me!
Anyway, super fricken stoked. I could post a couple pics but there's really nothing to see... run of the mill 22RE that's been somewhat cleaned up. Truck still looks like hell. Maybe one day I'll get the drivers' door replaced and get it painted. That'll be my retirement goal (turning 30 this year!).
Only immediate things looking forward are, as mentioned, throttle body coolant hoses, and the harmonic balancer a.k.a. crankshaft pulley. I noticed that the inner-most part of the pulley has quite a bit of wobble. Never noticed it before, but that doesn't mean it wasn't there. I've had some belt squealing issues so that would explain it. Got a new one on order from 22RE Performance.
Last edited by Java Peddler; 10-14-2018 at 06:56 PM.
Just a couple pics... drove it 25mi round trip to trade school today. Checked fluids after and everything was tip topped off. Feeling pretty elated honestly. Definitely feeling the love for this truck, hoping to keep it a long time and make it nice little by little.
I used tie wraps to hold the chain to the pulley, and used a head bolt to hold tension on the driver's side so the chain wouldn't skip a tooth on the crank pulley. As you can guess, the head doesn't go on with a bolt shoved in there, so I ended up using a few more tie wraps to hold it in place without having to use a bolt.
current state of things. Need to hit the back of the bay with a vacuum
the money shot! No more greasy mess, fingers crossed on no more leaks. This was after commuting today.
O.D.B.
old bypass hose... cracked
Last edited by Java Peddler; 10-15-2018 at 08:29 PM.
 05-22-2017, 07:20 AM


 Cut the end off and still had enough length.