
90runnerkid's 1990 4runner Build Thread
 Jun 27, 2013 | 08:33 AM
#21
Registered User
Joined: Aug 2011
Posts: 1,507
Likes: 2
From: Fraser Valley, British Columbia
The Aussie locker is good bang for buck Stew. Sure plenty of banging and weird noises but first day on the trail will convince you to never take it out.
I have to sink into the bogs pretty good to get stuck now with my Spartan Locker.
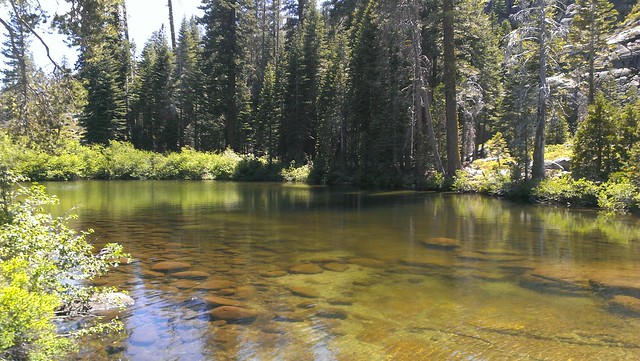
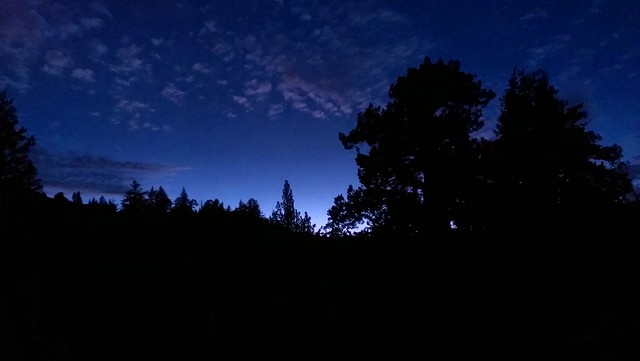
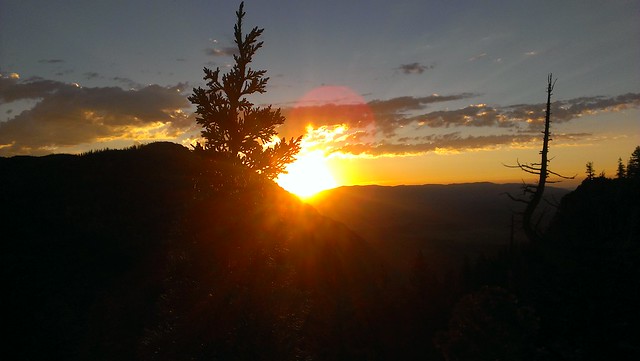
Keep going kiddo, I love the scenery on those trail shots. That is the Rubicon trail?
I have to sink into the bogs pretty good to get stuck now with my Spartan Locker.
Keep going kiddo, I love the scenery on those trail shots. That is the Rubicon trail?
Jul 1, 2013 | 09:18 PM
#23
Thread Starter
Registered User
Joined: Jul 2012
Posts: 56
Likes: 0
From: Markleeville, CA
Well I know I promised pics on Thursday... but I got a little distracted by a new project... and an impromptu camping trip with my family this weekend!
Here are the pics:
Rubicon Trip:
This is my dad's chevy k5 blazer with dual cases, detroit locked front / truetrac rear, 38.5" Super Swampers, fully armored, hydraulically adjusted ride height etc... so much fun! Made the Rubicon seem easy...
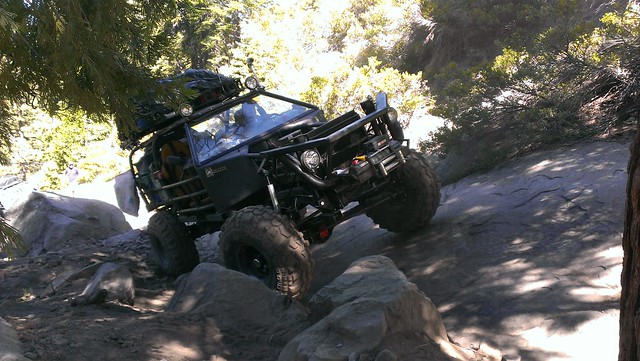
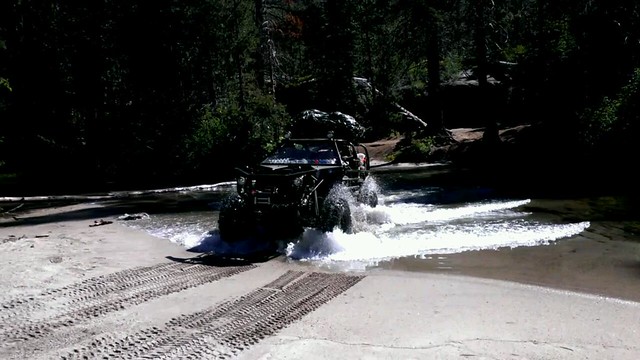
The Rubicon trail is beautiful

Here are the pics:
Rubicon Trip:
This is my dad's chevy k5 blazer with dual cases, detroit locked front / truetrac rear, 38.5" Super Swampers, fully armored, hydraulically adjusted ride height etc... so much fun! Made the Rubicon seem easy...
The Rubicon trail is beautiful
 haha jk, looks fun!
Jul 1, 2013 | 10:02 PM
haha jk, looks fun!
Jul 1, 2013 | 10:02 PM
#26
Thread Starter
Registered User
Joined: Jul 2012
Posts: 56
Likes: 0
From: Markleeville, CA
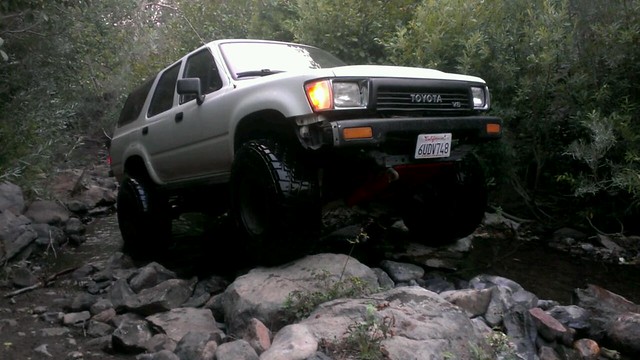
Testing out the aussie
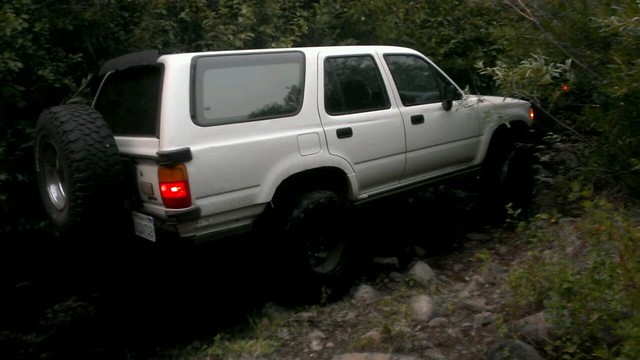
New tailgate / tire carrier!

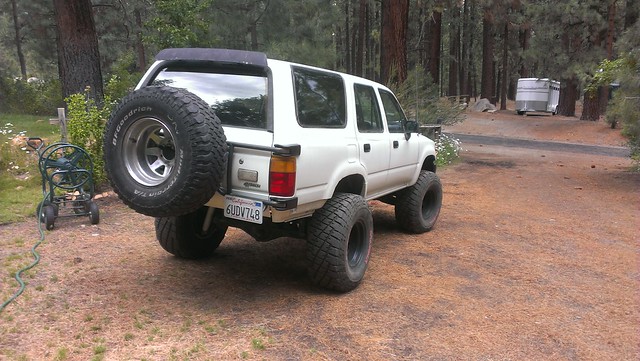
Stew - I've had about 120 miles (on pavement) with the aussie in so far and honestly, most of the time I don't even notice its there. Only during tight cornering at low speeds is the noise noticeable at all - and its pretty quiet. Before I put it in I was a little concerned about how it might affect road manners - I'd heard some rumors about unexpected lane changes during shifting - but honestly it really doesn't do anything except click and make some unusual noises while accelerating around corners.
As far as the tire carrier, I was initially thinking about making some sort of bracket for the bolts to mount to on the inside of the quarter panel - but in the end I just used some oversized washers I found and it turned out just fine - that thing is solid!
I'm really happy with how the whole thing turned out
New tailgate / tire carrier!
Stew - I've had about 120 miles (on pavement) with the aussie in so far and honestly, most of the time I don't even notice its there. Only during tight cornering at low speeds is the noise noticeable at all - and its pretty quiet. Before I put it in I was a little concerned about how it might affect road manners - I'd heard some rumors about unexpected lane changes during shifting - but honestly it really doesn't do anything except click and make some unusual noises while accelerating around corners.
As far as the tire carrier, I was initially thinking about making some sort of bracket for the bolts to mount to on the inside of the quarter panel - but in the end I just used some oversized washers I found and it turned out just fine - that thing is solid!
I'm really happy with how the whole thing turned out
Jul 1, 2013 | 10:32 PM
#27
I'm glad you're happy with it! I'm sitting here smiling, thinking that my 4runner is still alive some how haha.. I may end up at a yard one day to find a swing out carrier... I hate having the tire underneath! Would the tire not fit with the bumper?
Also: Where did the harness end up being in the tailgate? Was it easy to get to or a PITA like when we tried it?
Also: Where did the harness end up being in the tailgate? Was it easy to get to or a PITA like when we tried it?
Last edited by StewsRunner; Jul 1, 2013 at 10:39 PM.
Jul 1, 2013 | 10:41 PM
#28
Thread Starter
Registered User
Joined: Jul 2012
Posts: 56
Likes: 0
From: Markleeville, CA
Haha no those are just the ones I've uploaded from my phone... we had five cameras (two gopros) and took HOURS of video... I'm just too lazy to upload very much over our relatively slow internet connection 
There's a couple of cool videos from the trip on my dad's youtube channel:
There's a couple of cool videos from the trip on my dad's youtube channel:
Last edited by 90runnerkid; Jul 2, 2013 at 12:19 AM.
Jul 1, 2013 | 10:47 PM
#29
Thread Starter
Registered User
Joined: Jul 2012
Posts: 56
Likes: 0
From: Markleeville, CA
Actually I had to pull it off to get the old spare and associated junk out from under the thing... I actually really like how it looks without it! I do have plans to weld a bumper at some point though.
With the wiring I actually just cut all the wires on the 4runner and then spliced them together with the ones on the new tailgate. As expected, there was an extra one but fortunately all the colors matched, and with the bumper removed it wasn't very hard to solder all the splices. I did it over a couple of days but the wiring actually turned out to be pretty easy - the whole swap went really smooth actually.
With the wiring I actually just cut all the wires on the 4runner and then spliced them together with the ones on the new tailgate. As expected, there was an extra one but fortunately all the colors matched, and with the bumper removed it wasn't very hard to solder all the splices. I did it over a couple of days but the wiring actually turned out to be pretty easy - the whole swap went really smooth actually.
Jul 1, 2013 | 11:11 PM
#30
Thread Starter
Registered User
Joined: Jul 2012
Posts: 56
Likes: 0
From: Markleeville, CA
So, the project I mentioned as an excuse for slacking on the photos... 
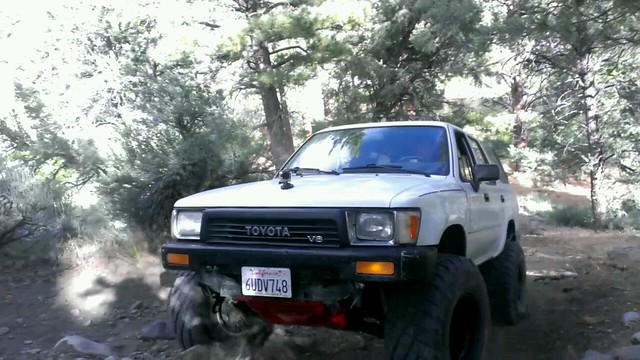
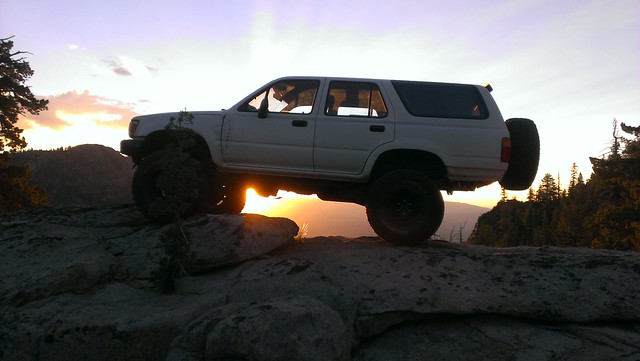
I did something which I've never seen done before... ever since lifting it my rig has had a bit of a raked stance - and I have never liked it. So I decided to make a custom body lift that would lift the front and not the rear, as the rear is already plenty tall with the fj80 coils. I made spacers which are angled and progressively sized so that at the front I have 1.5 inches of body lift - all the way back to the rear where I have 0in. I cut them out of steel tubing and used large washers on the ends, they sit between the body and the stock rubber body mounts. Longer bolts where necessary, and it now sits about level:
(kinda hard to tell in this photo)
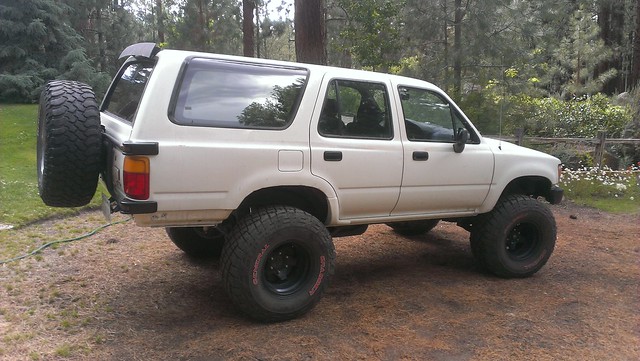
If you look closely, you can see the gap between the bumper and the body in the front - I haven't yet made lift brackets for the bumper. To get everything to work, I had to drop the radiator about 1.5in as well as move the entire shifter boot / assembly back about half an inch to keep it from popping out of 2nd and 4th.
Overall, after some good offroad testing, I am thoroughly happy with this mod - I can now turn lock to lock without rubbing! (although there is still some at full articulation)
The mounts / spacers have held up good after a fair bit of abuse this weekend, and I love the new level look
I did something which I've never seen done before... ever since lifting it my rig has had a bit of a raked stance - and I have never liked it. So I decided to make a custom body lift that would lift the front and not the rear, as the rear is already plenty tall with the fj80 coils. I made spacers which are angled and progressively sized so that at the front I have 1.5 inches of body lift - all the way back to the rear where I have 0in. I cut them out of steel tubing and used large washers on the ends, they sit between the body and the stock rubber body mounts. Longer bolts where necessary, and it now sits about level:
(kinda hard to tell in this photo)
If you look closely, you can see the gap between the bumper and the body in the front - I haven't yet made lift brackets for the bumper. To get everything to work, I had to drop the radiator about 1.5in as well as move the entire shifter boot / assembly back about half an inch to keep it from popping out of 2nd and 4th.
Overall, after some good offroad testing, I am thoroughly happy with this mod - I can now turn lock to lock without rubbing! (although there is still some at full articulation)
The mounts / spacers have held up good after a fair bit of abuse this weekend, and I love the new level look

 Jul 2, 2013 | 12:22 PM
#34
Thread Starter
Registered User
Joined: Jul 2012
Posts: 56
Likes: 0
From: Markleeville, CA
Or you come down hard on a rock and mess up your quarter panel / tailgate... Haha
Jul 2, 2013 | 12:26 PM
#35
Registered User
Joined: Aug 2011
Posts: 1,507
Likes: 2
From: Fraser Valley, British Columbia
Yeah, I have a trail gear bumper that is bent up. Either from coming down on it or getting pulled out of a bog. Either way I would have been really stuck or smashed my rear end up.
I'd like a lower profile bumper in the future though. Tight to the body of the truck while still being able to tow a trailer.
Maybe I'll try and make one like Redeth is doing.
I'd like a lower profile bumper in the future though. Tight to the body of the truck while still being able to tow a trailer.
Maybe I'll try and make one like Redeth is doing.
Aug 30, 2013 | 04:41 PM
#36
Thread Starter
Registered User
Joined: Jul 2012
Posts: 56
Likes: 0
From: Markleeville, CA
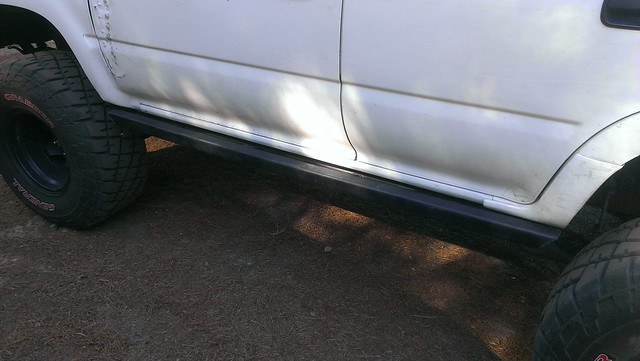
Sliders + Bumper project
About a month ago I had my dad help me weld on some sliders I had made about a year ago and never installed... I'm not all that good at welding upside down yet
Then at the beginning of this month I was invited to go along with my Dad and a bunch of guys he works with for a run of the open section of one of my favorite trails, deer valley - which gave me a good reason to think about making a rear bumper. The trail has some pretty big rocks and I had quite a bit of vulnerable body out back...
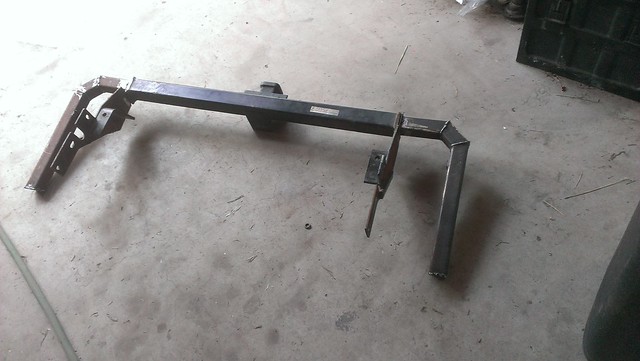
So I cut up my old hitch and raised it up about 3 inches, and then added some square tubing for basic rock protection.
Poor man's bumper:
Painted and ready to go on:
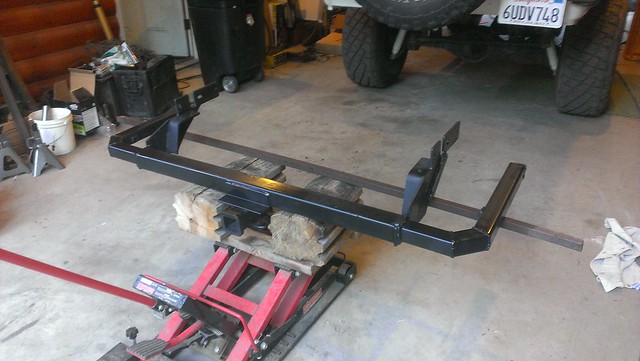
Installed:
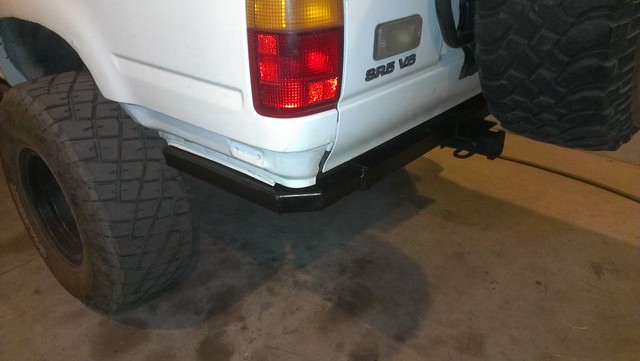
I am quite happy with how it turned out, it is very low profile and close to the body - and because it bolts to the frame I can easily remove it if I decide to change / add to it later.
Then at the beginning of this month I was invited to go along with my Dad and a bunch of guys he works with for a run of the open section of one of my favorite trails, deer valley - which gave me a good reason to think about making a rear bumper. The trail has some pretty big rocks and I had quite a bit of vulnerable body out back...
So I cut up my old hitch and raised it up about 3 inches, and then added some square tubing for basic rock protection.
Poor man's bumper:
Painted and ready to go on:
Installed:
I am quite happy with how it turned out, it is very low profile and close to the body - and because it bolts to the frame I can easily remove it if I decide to change / add to it later.
Aug 30, 2013 | 04:53 PM
#37
Thread Starter
Registered User
Joined: Jul 2012
Posts: 56
Likes: 0
From: Markleeville, CA
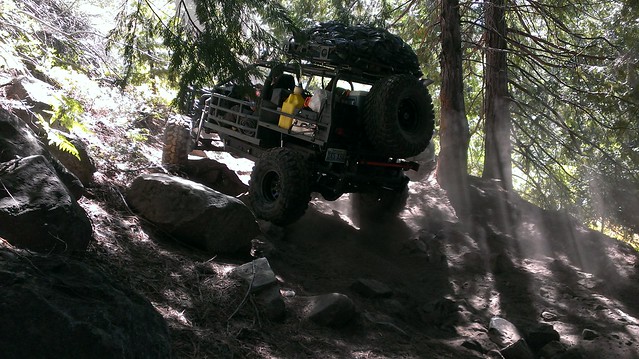
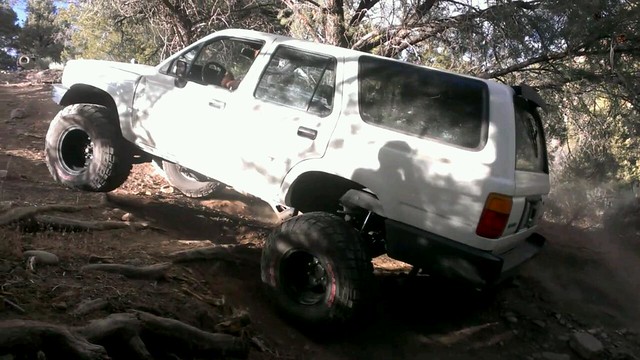
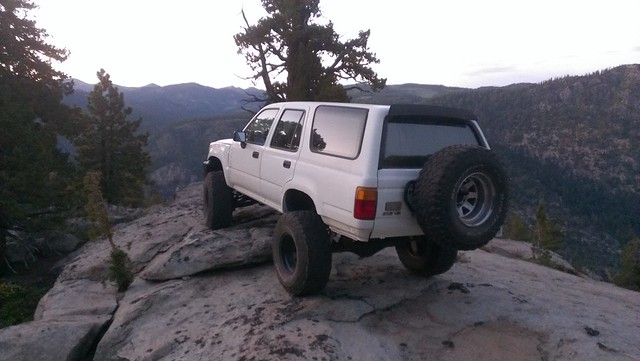
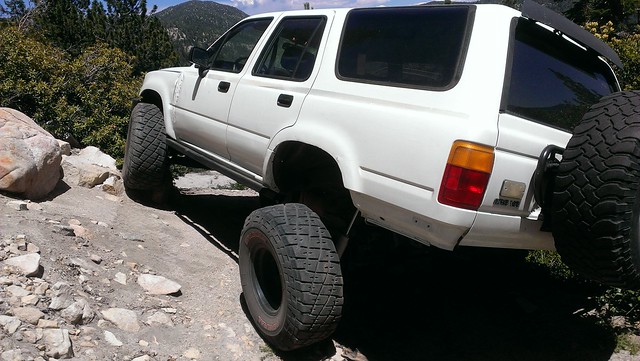
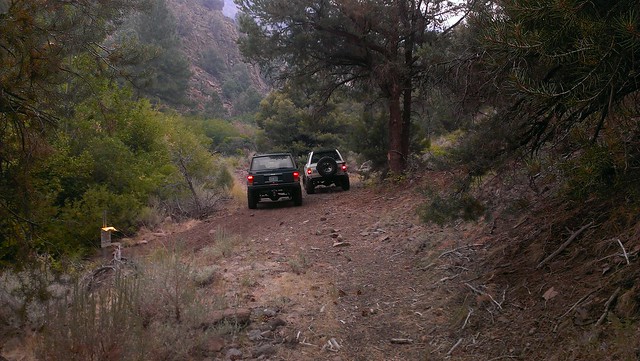
A couple of pics from the trail run with my dad:
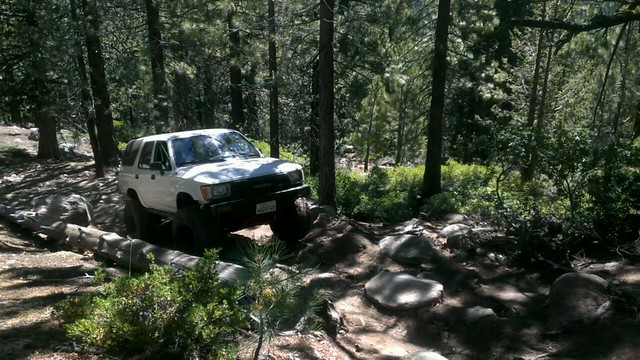
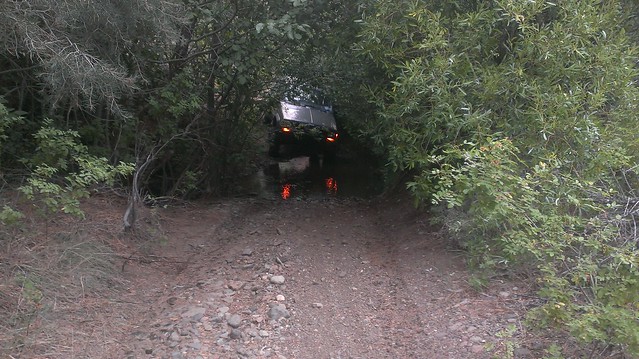
This obstacle was fun - reminded me of the majority of the Rubicon:
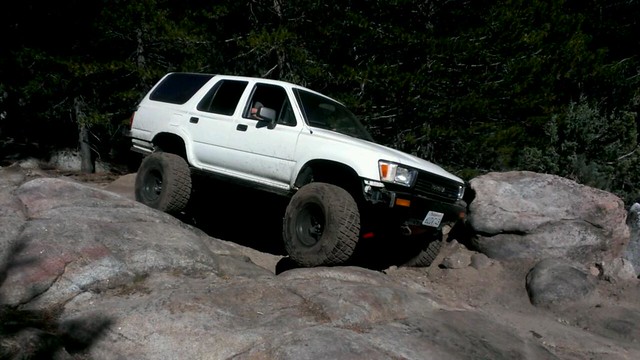
Coming up that was much harder than going back down - its those times I wish I had an auto. I snapped my parking brake cable pretty early into the run lol... no other damage though besides right hand corner of my front bumper getting bent (we took it off).
It was a really fun trip - I'll have to post more pics after I finally raid my dads camera
This obstacle was fun - reminded me of the majority of the Rubicon:
Coming up that was much harder than going back down - its those times I wish I had an auto.
I snapped my parking brake cable pretty early into the run lol... no other damage though besides right hand corner of my front bumper getting bent (we took it off). It was a really fun trip - I'll have to post more pics after I finally raid my dads camera
Sep 7, 2013 | 10:34 PM
#40
Thread Starter
Registered User
Joined: Jul 2012
Posts: 56
Likes: 0
From: Markleeville, CA
Thanks for the comments guys...
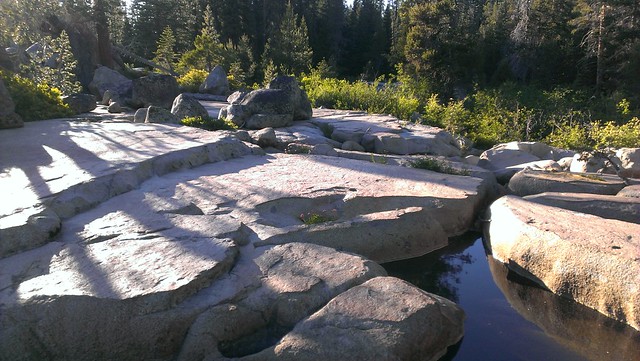
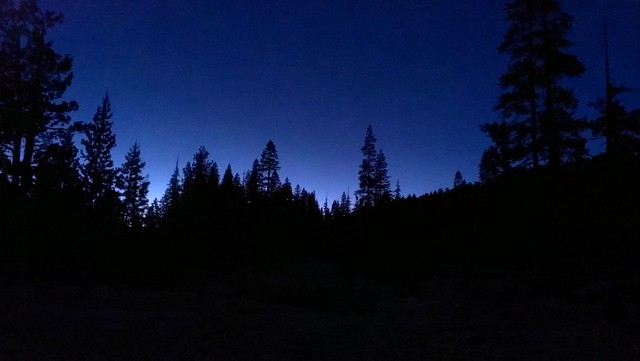
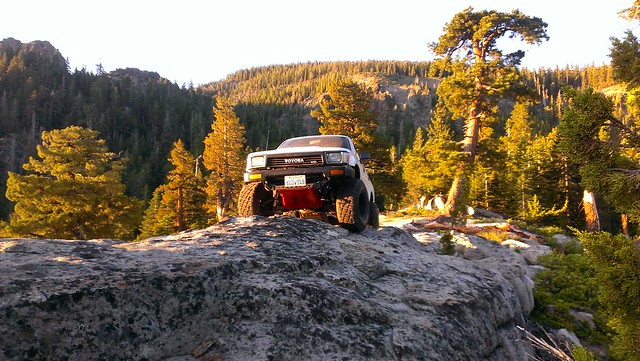
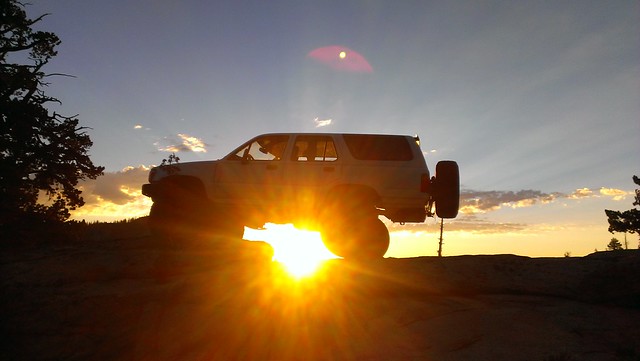
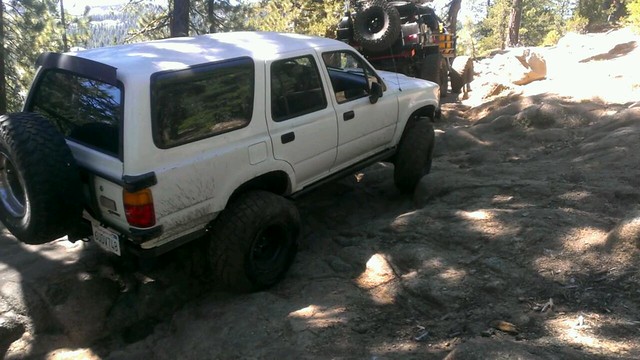
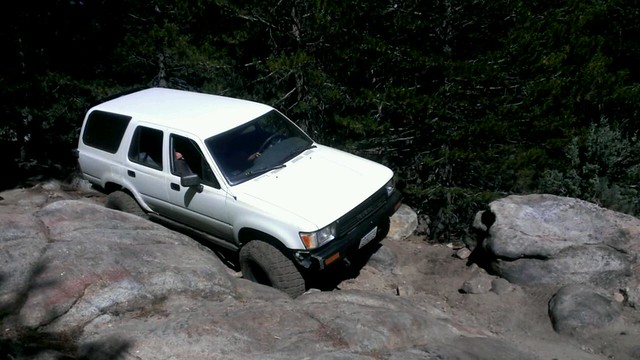
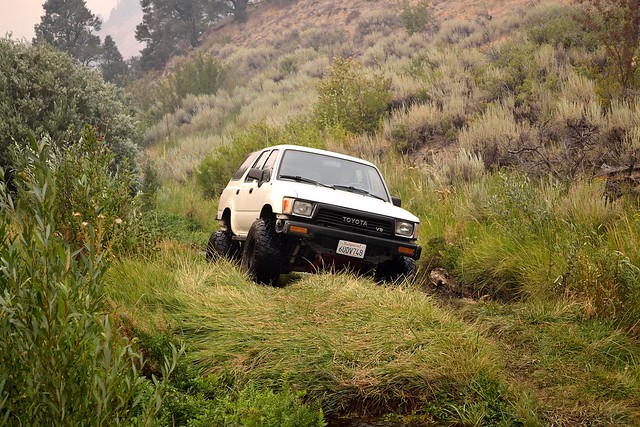
A couple more pics from another wheeling trip with my buddy - man his dSLR takes some nice shots! Pretty easy to tell which were taken with the camera vs my phone:
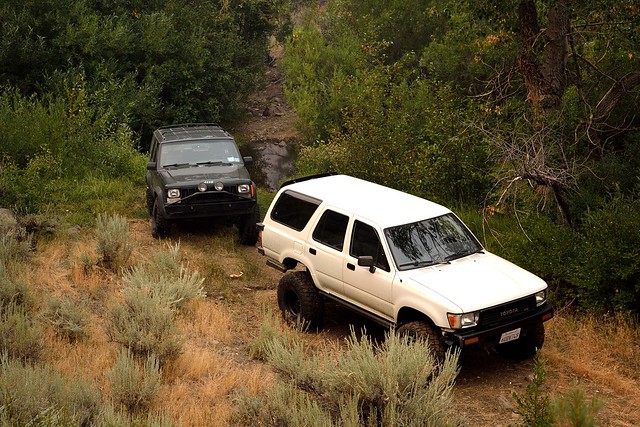

Redneck turnaround lol:
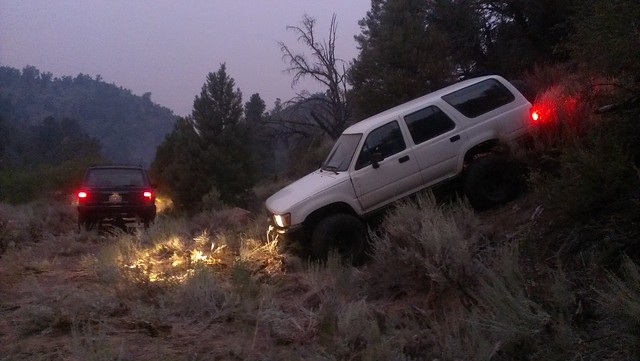
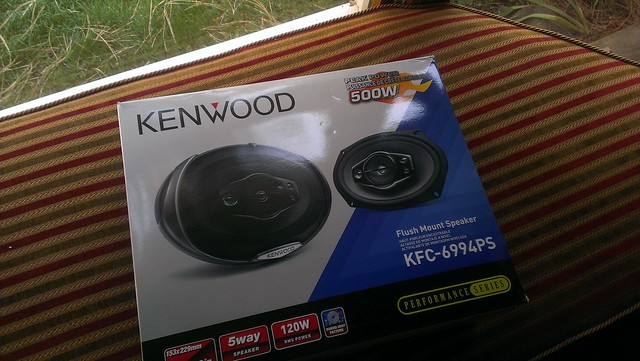
So my next project:
getting these
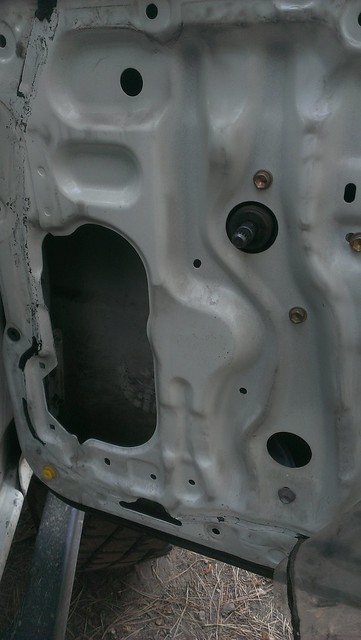
to go in here

A couple more pics from another wheeling trip with my buddy - man his dSLR takes some nice shots! Pretty easy to tell which were taken with the camera vs my phone:
Redneck turnaround lol:
So my next project:
getting these
to go in here


