
864runnertank's 86 4runner buildup
 May 25, 2013 | 09:19 PM
#22
Thread Starter
Registered User
Joined: Feb 2013
Posts: 23
Likes: 0
From: Berthoud, CO
Yay! finally some progress.
Hey All, Made lots of progress today. Thanks to Terry's build and advice. Check this progress:
Intake part one is off:


The Gasket needed to come off, badly:
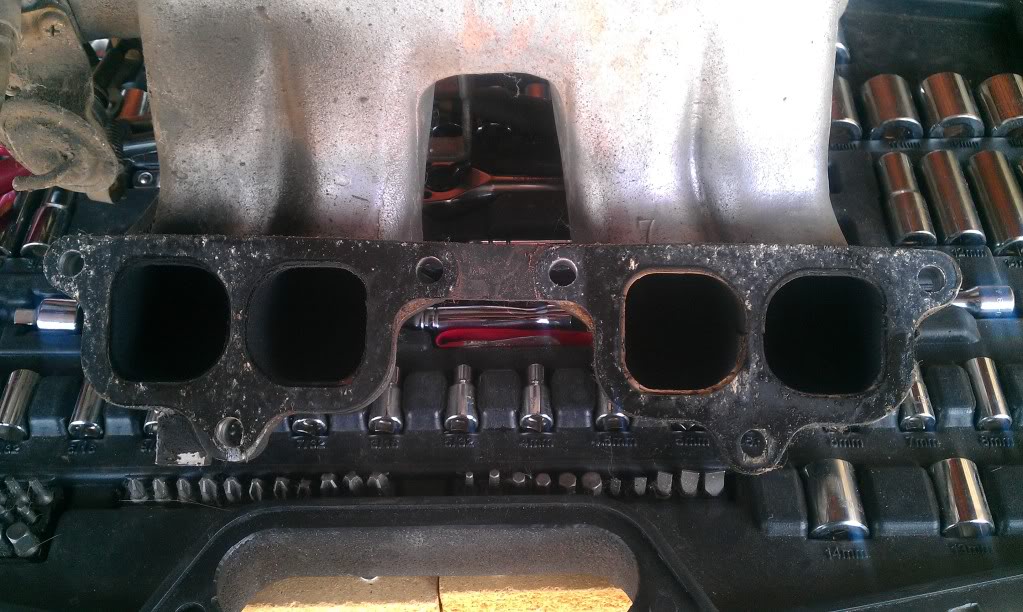
Luck be mine it came right off, mostly
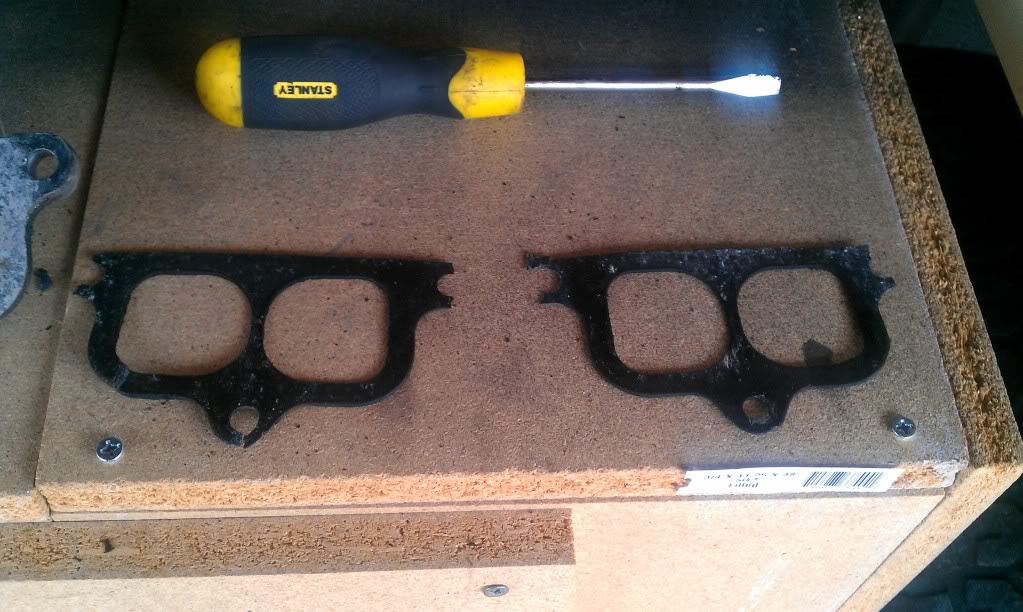
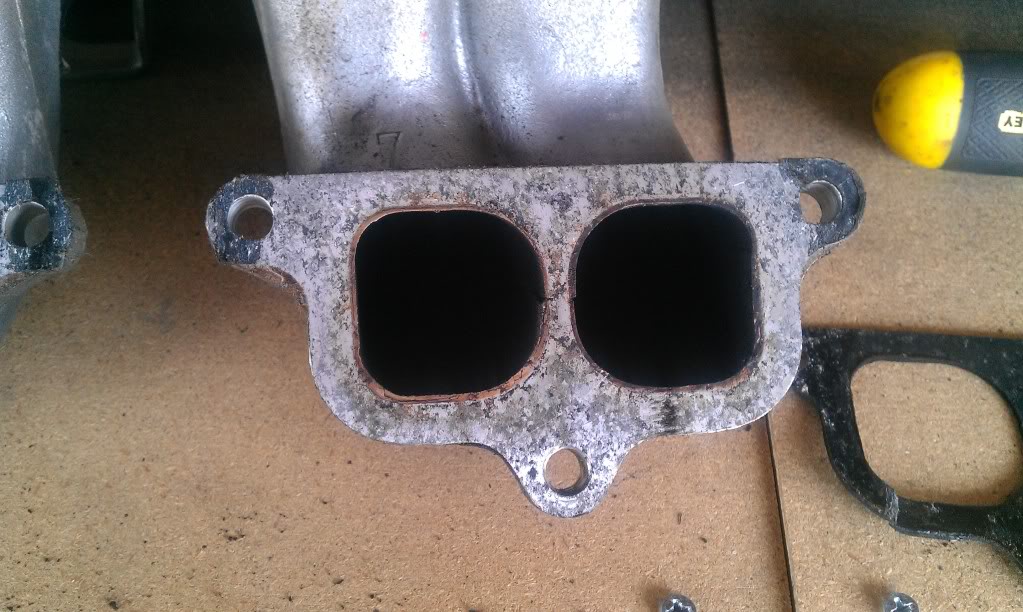

Cleaned up pretty nicely too

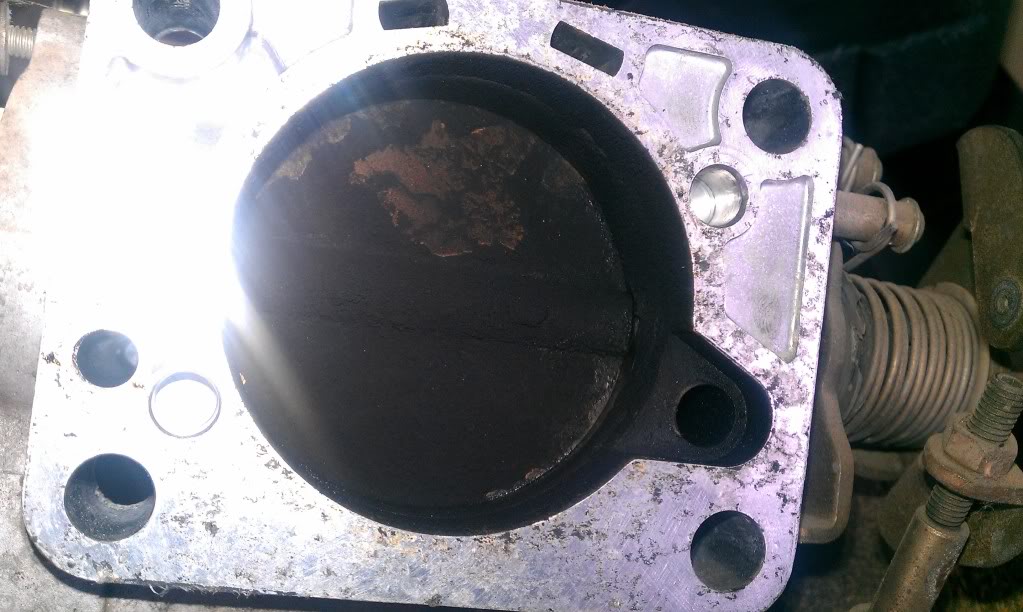
Got the throttle sensor off and took the throttle body off

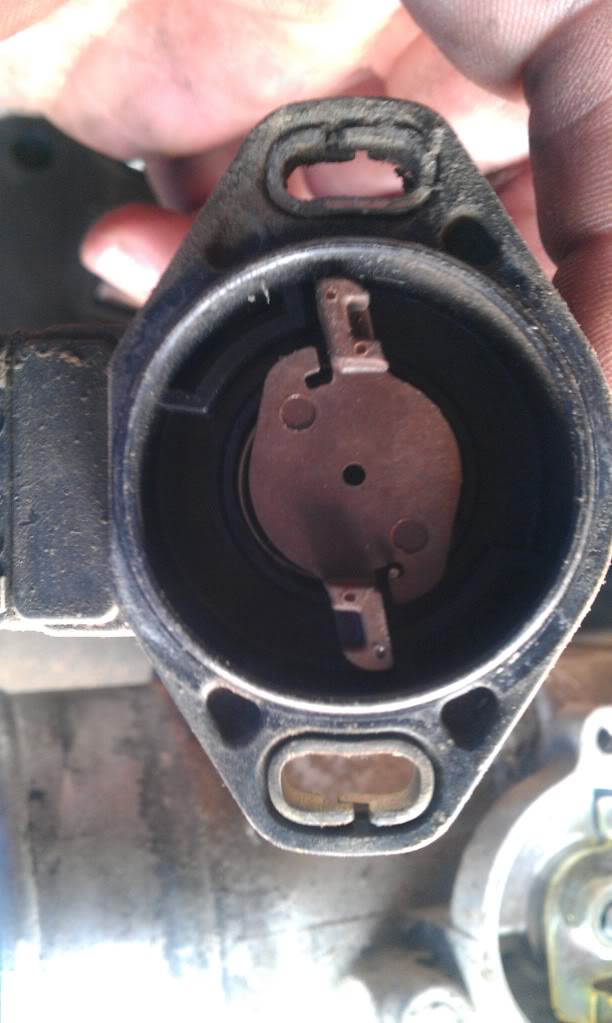
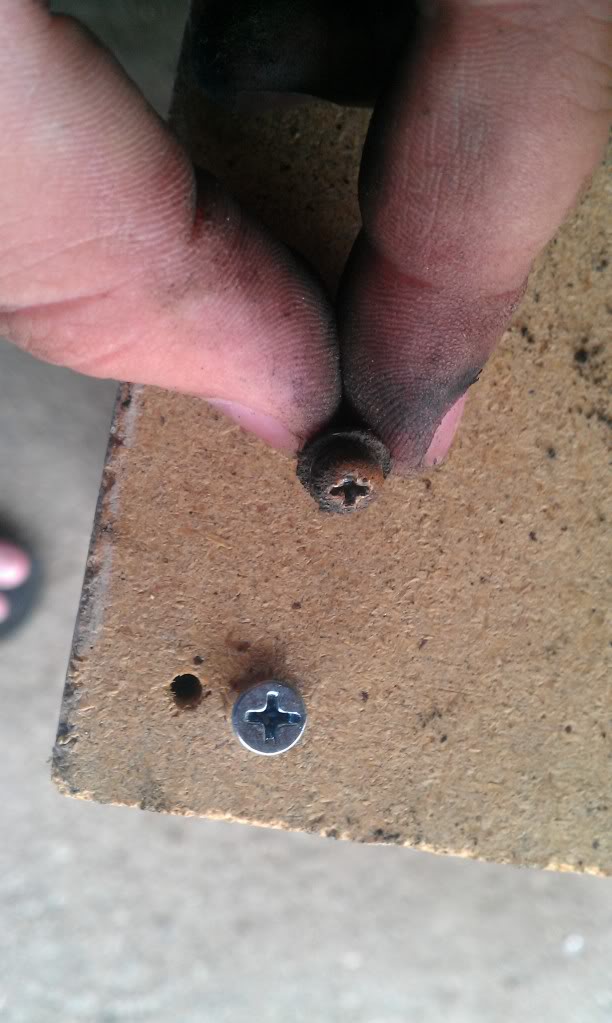
The screws were totally covered in gunk
The throttle body gasket is totally stuck though
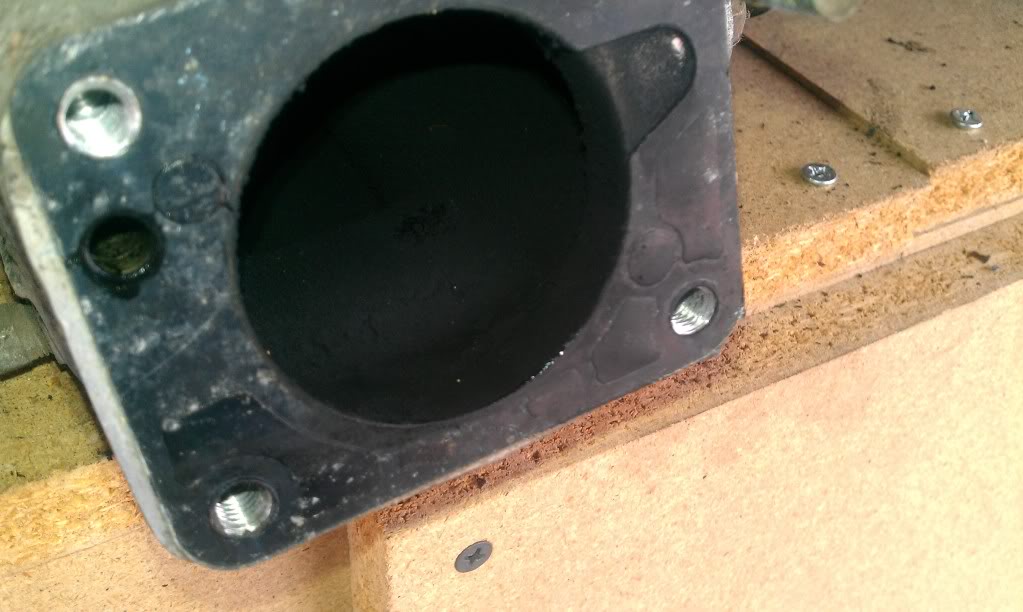
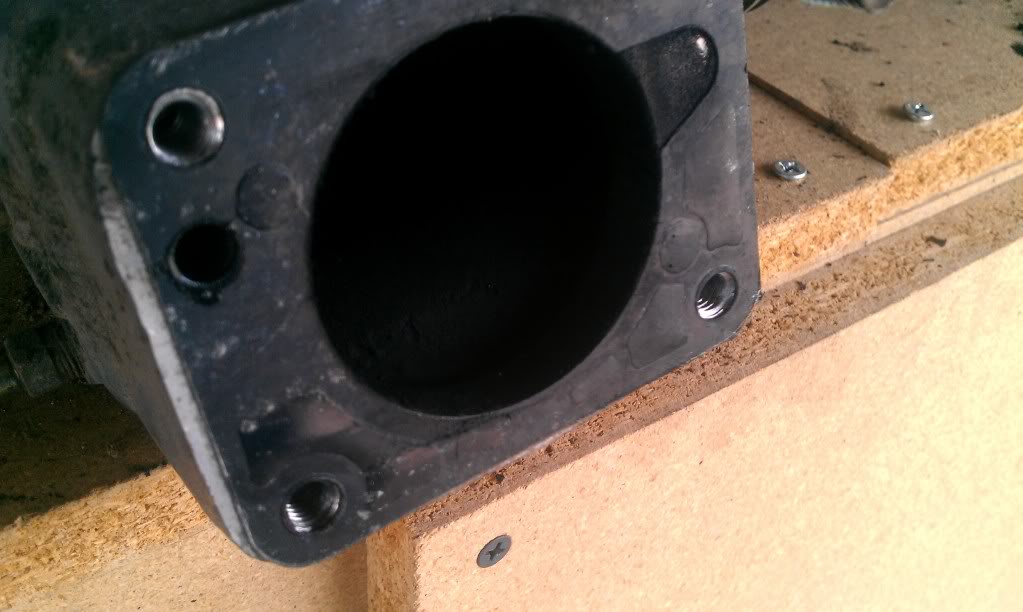
Of course it stuck on the intake and not the throttle body, its totally clean
Then I got to work on the sensors that terry mentioned:
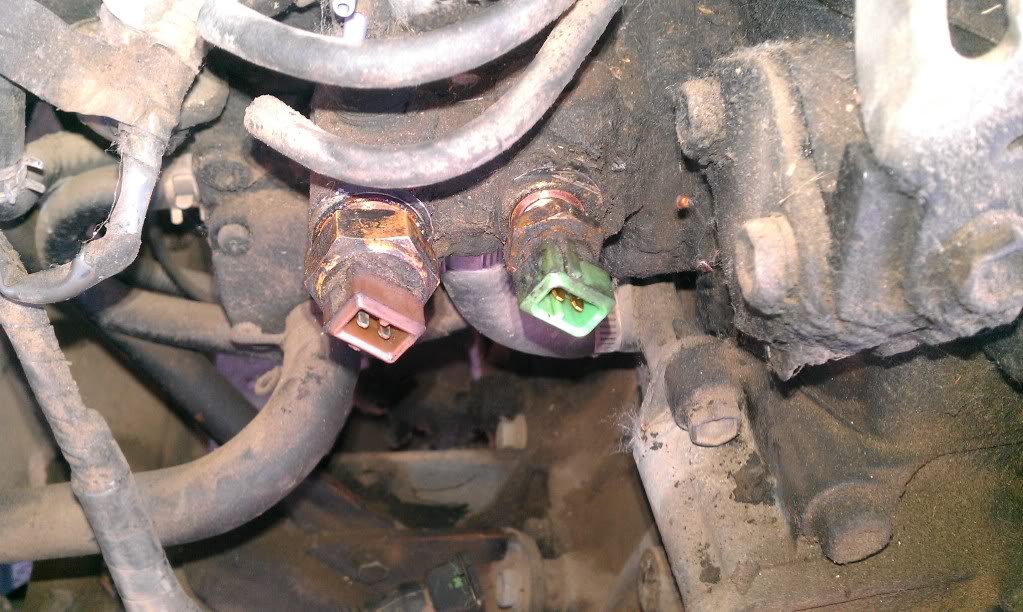


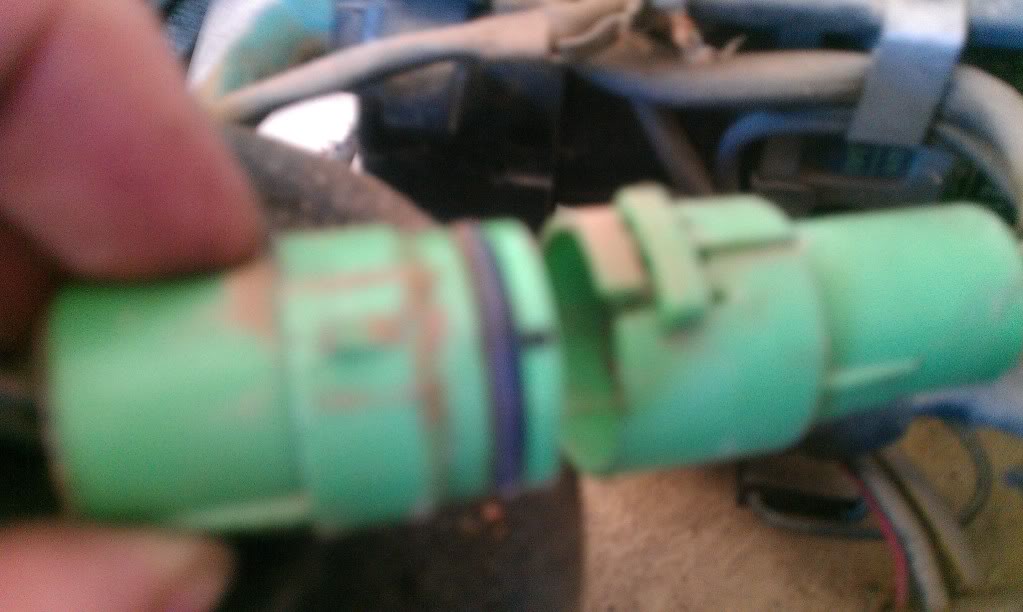
Just for reference later these are color coded
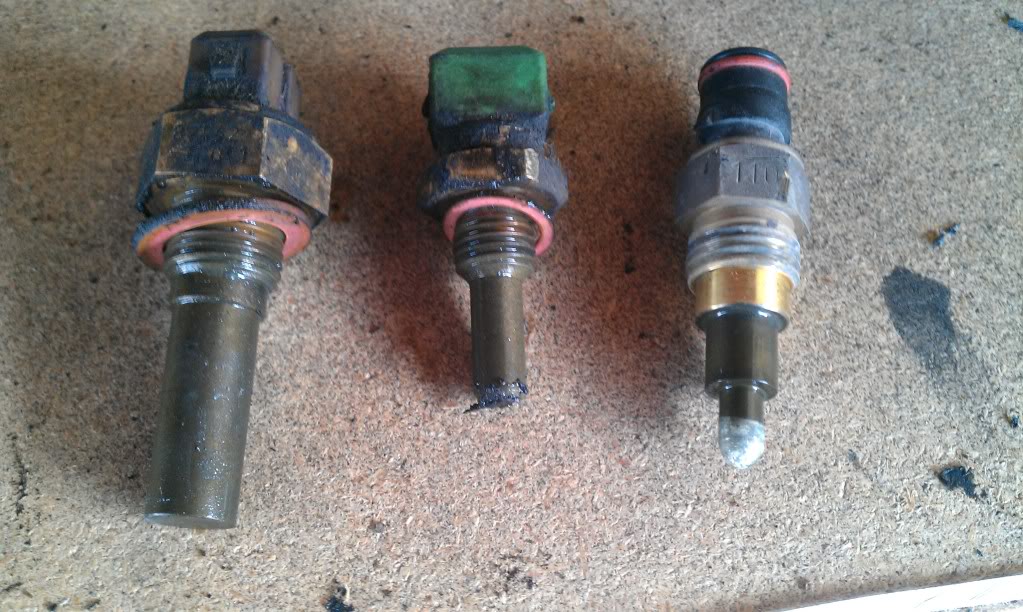
But of course they are different sizes

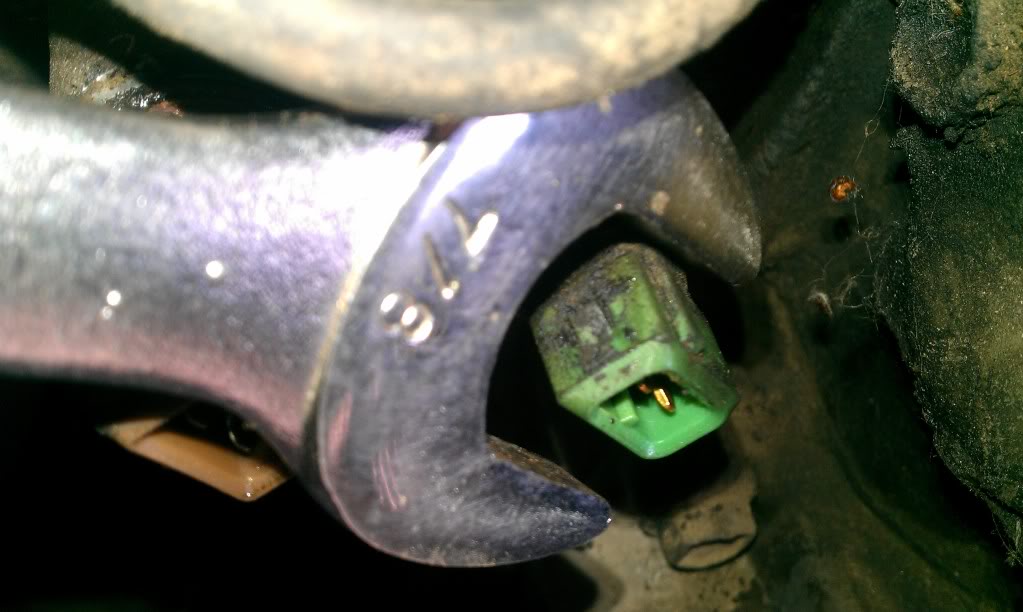
Note the green one is not 7/8 its 3/4 i just took the photo with the wrong end of the wrench
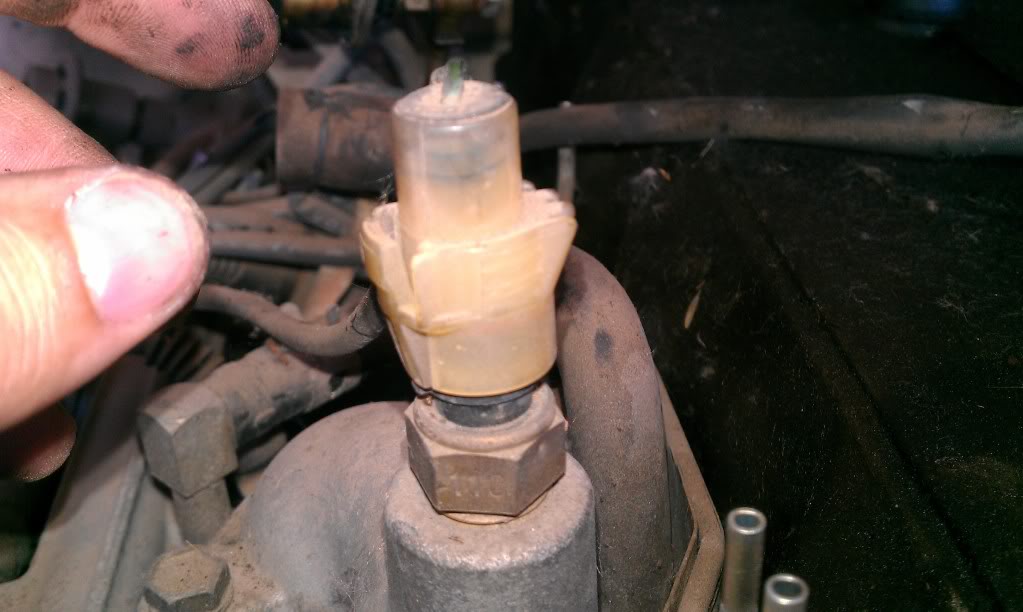
Thats the one on top of the top radiator inlet/outlet

17mm on it.
Here's all three not too dirty which is good
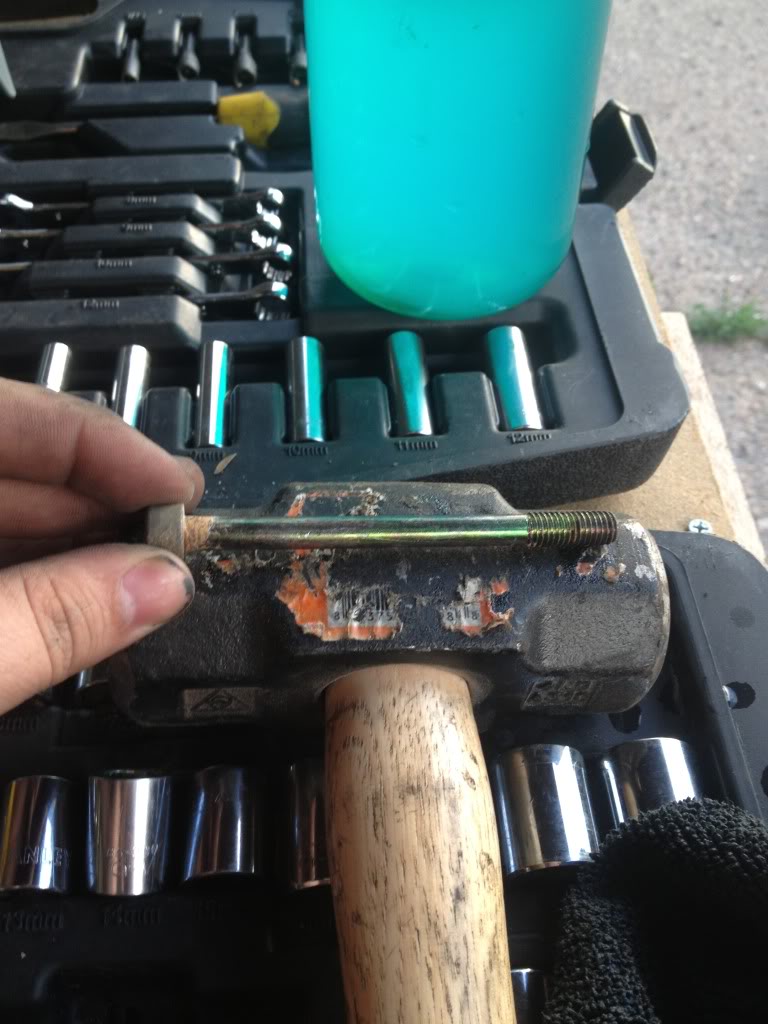
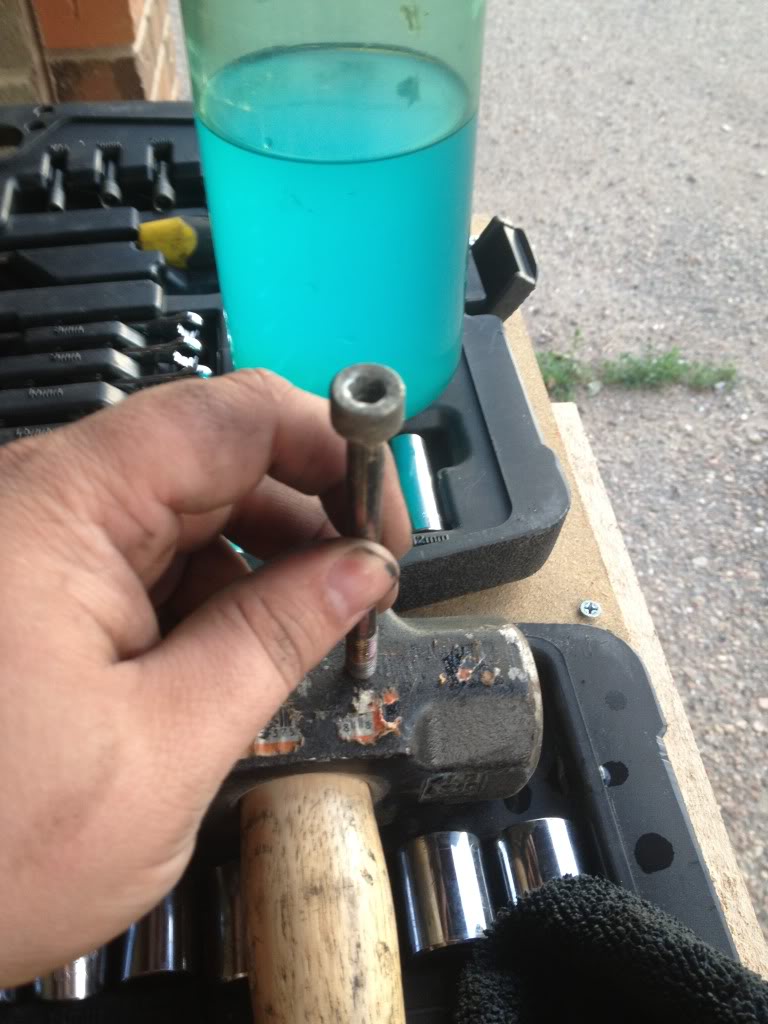
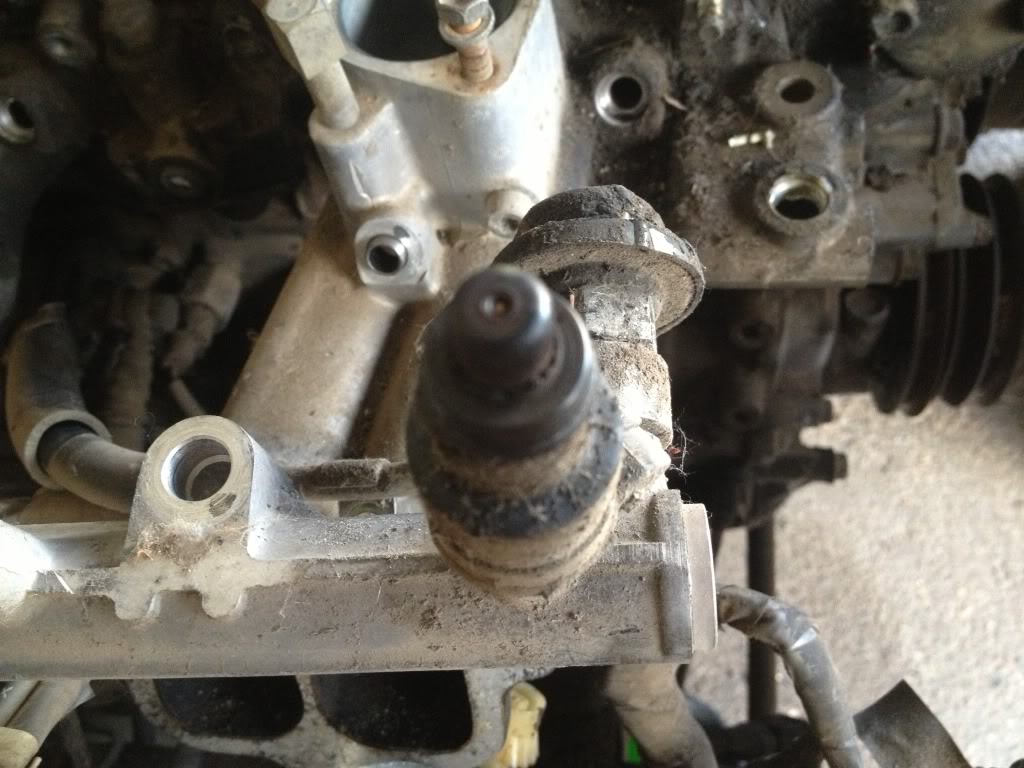
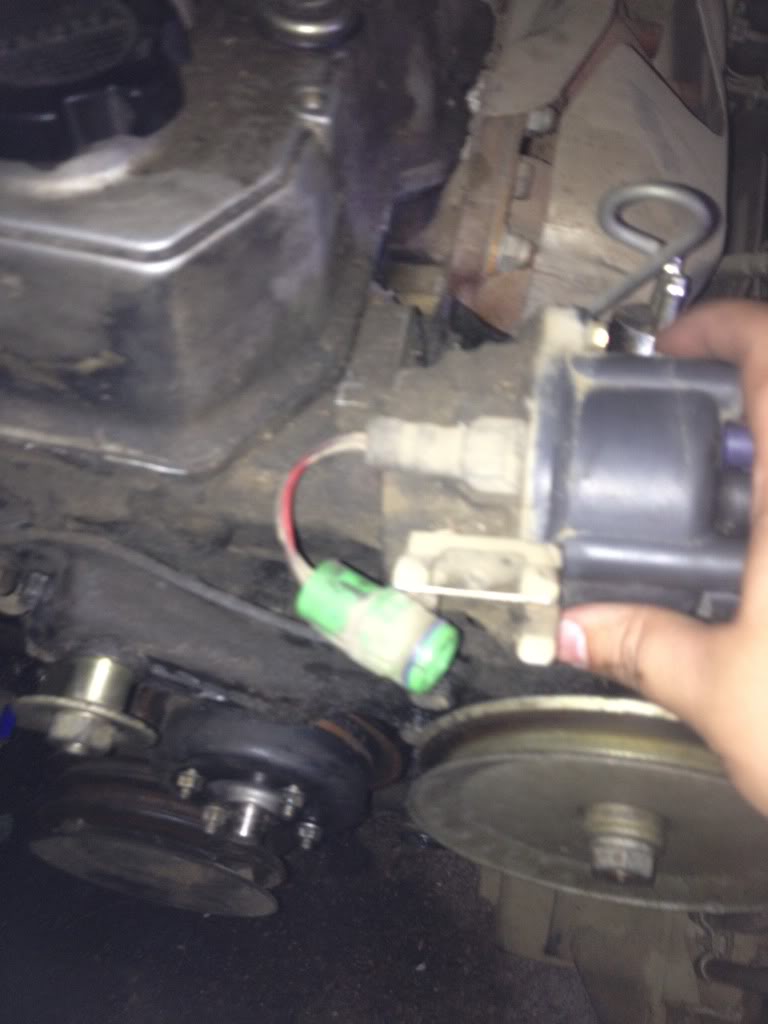
Here's the cold start injector, really dirty dirty.
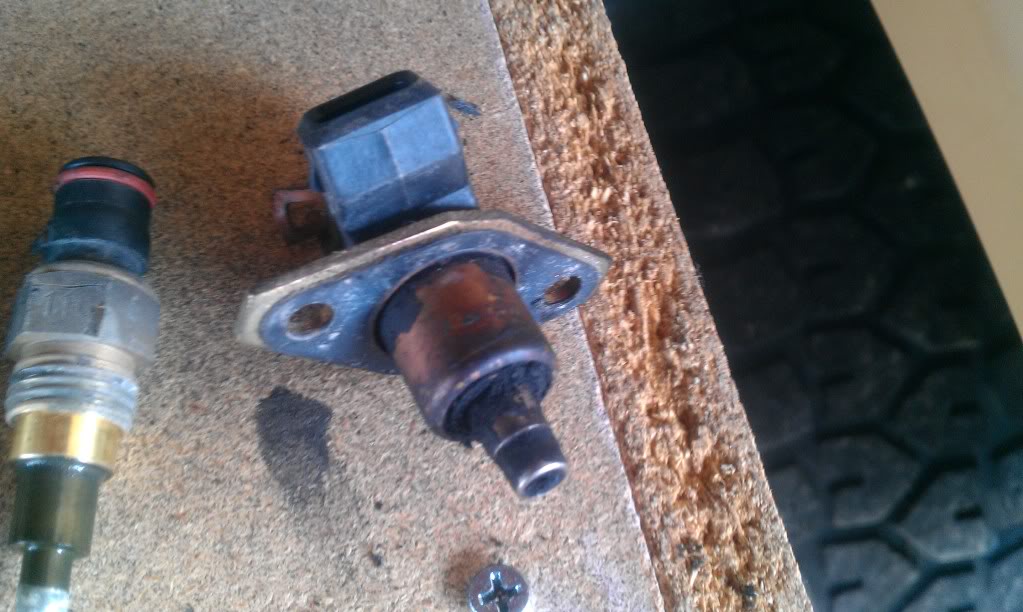
So I guess the fuel comes up this brass rod into the bolt for the cold start injector then into the intake manifold to start the engine on cold days?
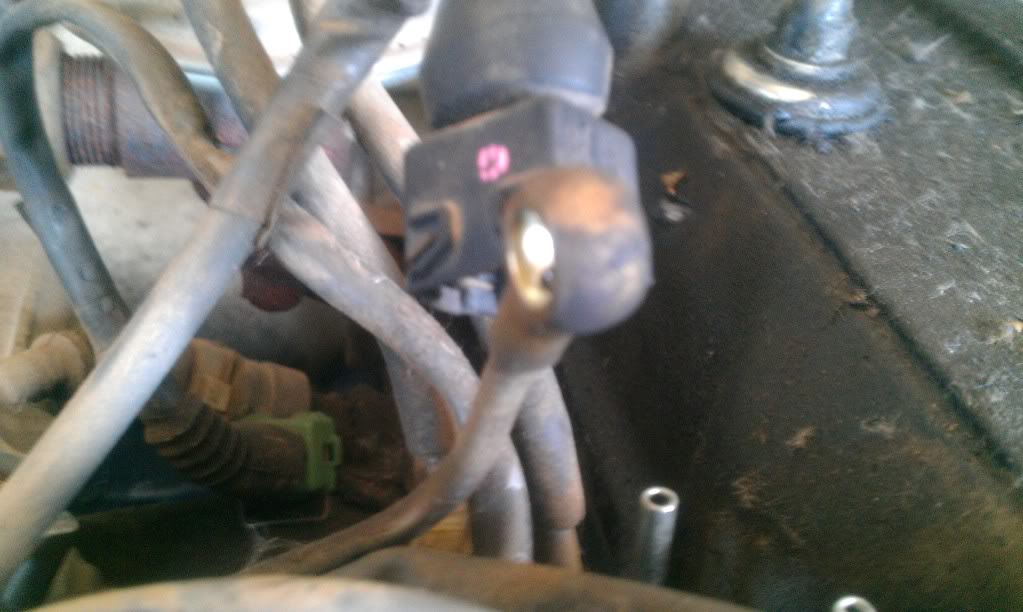
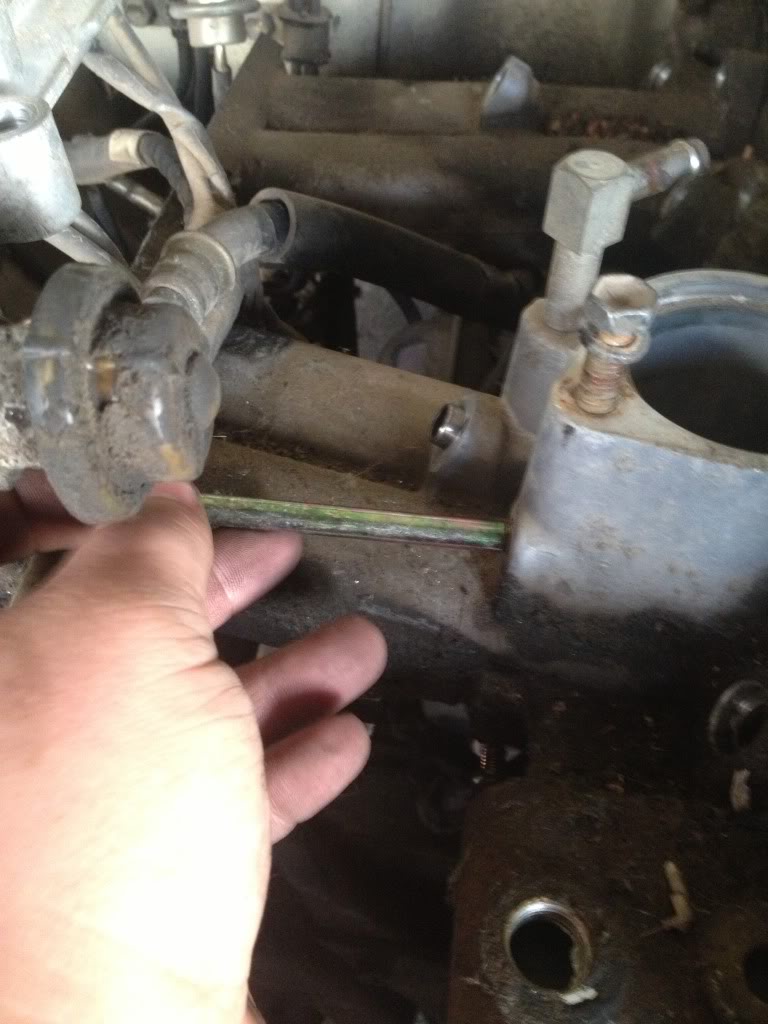
The I took off this connector that runs from under the intake to the other side of the engine compartment. This is more for my reference later than anything
Also I got the fan off and according to the repair manual the fan clutch is still good


Huge huge thanks to Terry, I put weight on the belt for the water pump to get the bolts loose and it worked like a charm.
Intake part one is off:


The Gasket needed to come off, badly:

Luck be mine it came right off, mostly


Cleaned up pretty nicely too

Got the throttle sensor off and took the throttle body off


The screws were totally covered in gunk
The throttle body gasket is totally stuck though


Of course it stuck on the intake and not the throttle body, its totally clean

Then I got to work on the sensors that terry mentioned:


Just for reference later these are color coded
But of course they are different sizes


Note the green one is not 7/8 its 3/4 i just took the photo with the wrong end of the wrench

Thats the one on top of the top radiator inlet/outlet

17mm on it.
Here's all three not too dirty which is good

Here's the cold start injector, really dirty dirty.

So I guess the fuel comes up this brass rod into the bolt for the cold start injector then into the intake manifold to start the engine on cold days?

The I took off this connector that runs from under the intake to the other side of the engine compartment. This is more for my reference later than anything


Also I got the fan off and according to the repair manual the fan clutch is still good


Huge huge thanks to Terry, I put weight on the belt for the water pump to get the bolts loose and it worked like a charm.
Jul 11, 2013 | 11:47 AM
#23
Thread Starter
Registered User
Joined: Feb 2013
Posts: 23
Likes: 0
From: Berthoud, CO
Work done a few days ago
Sorry guys haven't been able to update lately.
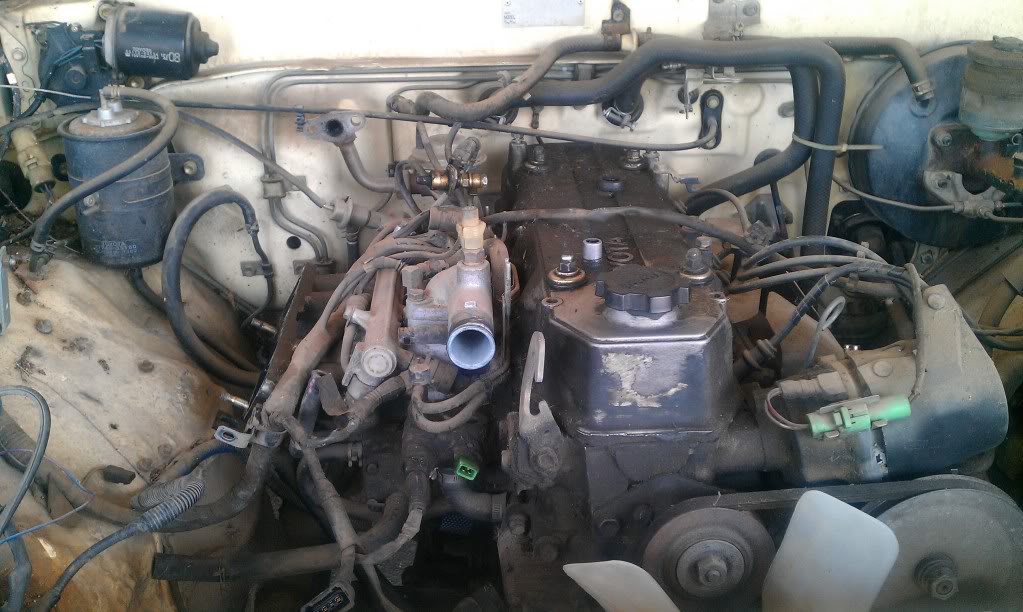
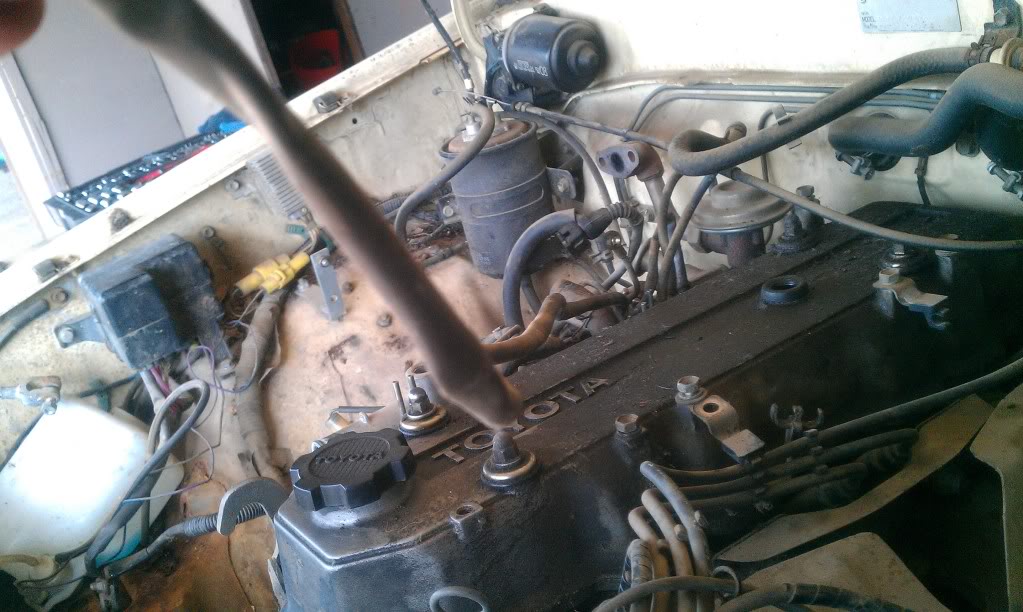
This is what I started with

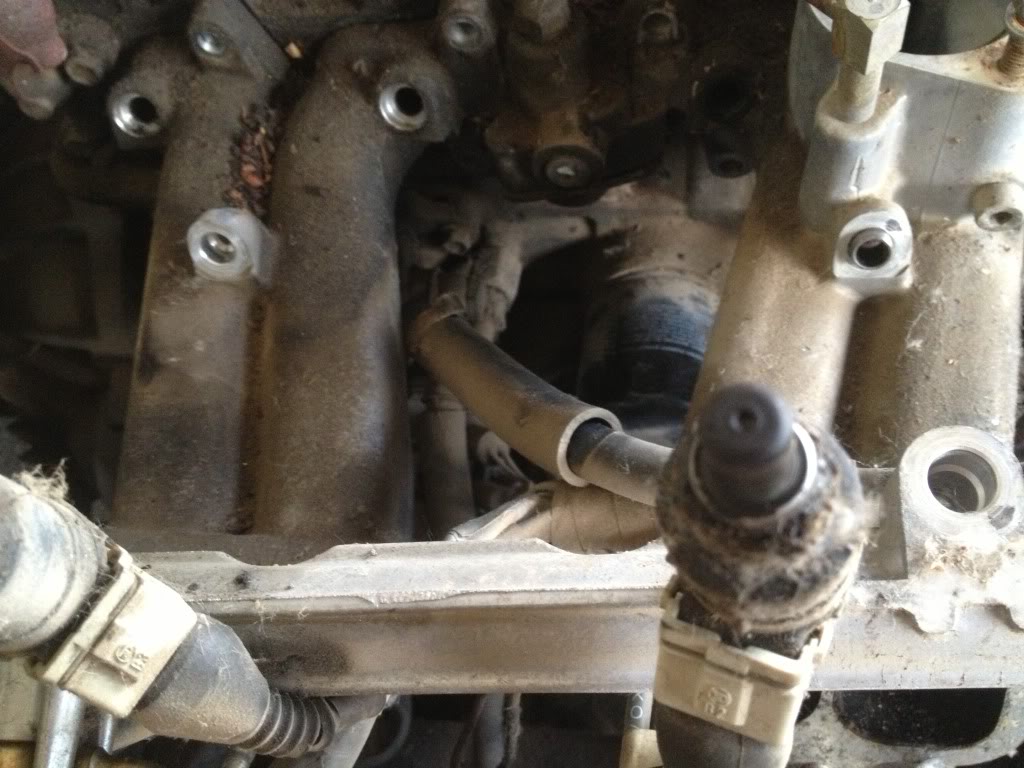
I couldn't figure out how to get the intake off/ I got all the all bolts I could find and in an earlier post someone mentioned the allen head bolt under the thermostat and I couldn't find it. I found it under the fuel rail going through the thermostat. And I got it out without stripping the bolt.
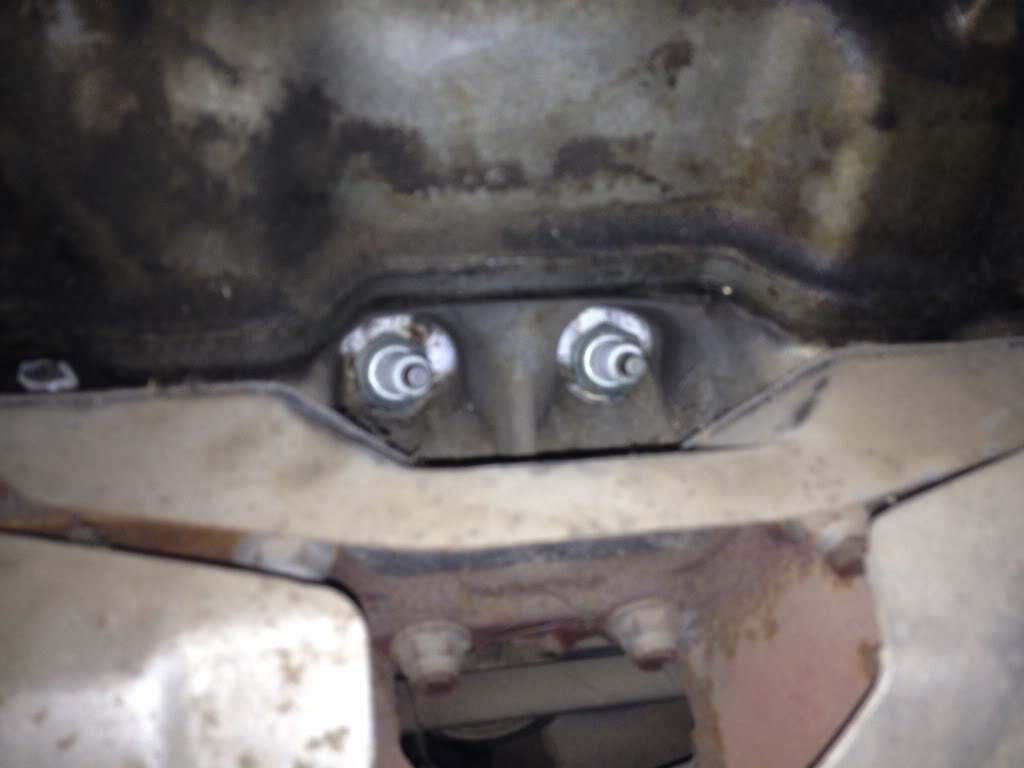
The trick is to smack it loose with a sledge hammer. Like the one under the bolt there. I was surprised at how big the bolt was.


The fuel injectors also looked pretty clean, this system has some pretty good seals.

Although the intake side of the head looks pretty dirty.

So the intake was loose, but I couldn't get the wiring all apart, but that is for another day. Oh and I took the pulley off for the tensioner.
This is what I started with


I couldn't figure out how to get the intake off/ I got all the all bolts I could find and in an earlier post someone mentioned the allen head bolt under the thermostat and I couldn't find it. I found it under the fuel rail going through the thermostat. And I got it out without stripping the bolt.

The trick is to smack it loose with a sledge hammer. Like the one under the bolt there. I was surprised at how big the bolt was.


The fuel injectors also looked pretty clean, this system has some pretty good seals.


Although the intake side of the head looks pretty dirty.

So the intake was loose, but I couldn't get the wiring all apart, but that is for another day. Oh and I took the pulley off for the tensioner.
Jul 11, 2013 | 06:27 PM
#24
Thread Starter
Registered User
Joined: Feb 2013
Posts: 23
Likes: 0
From: Berthoud, CO
Along came a gearhead
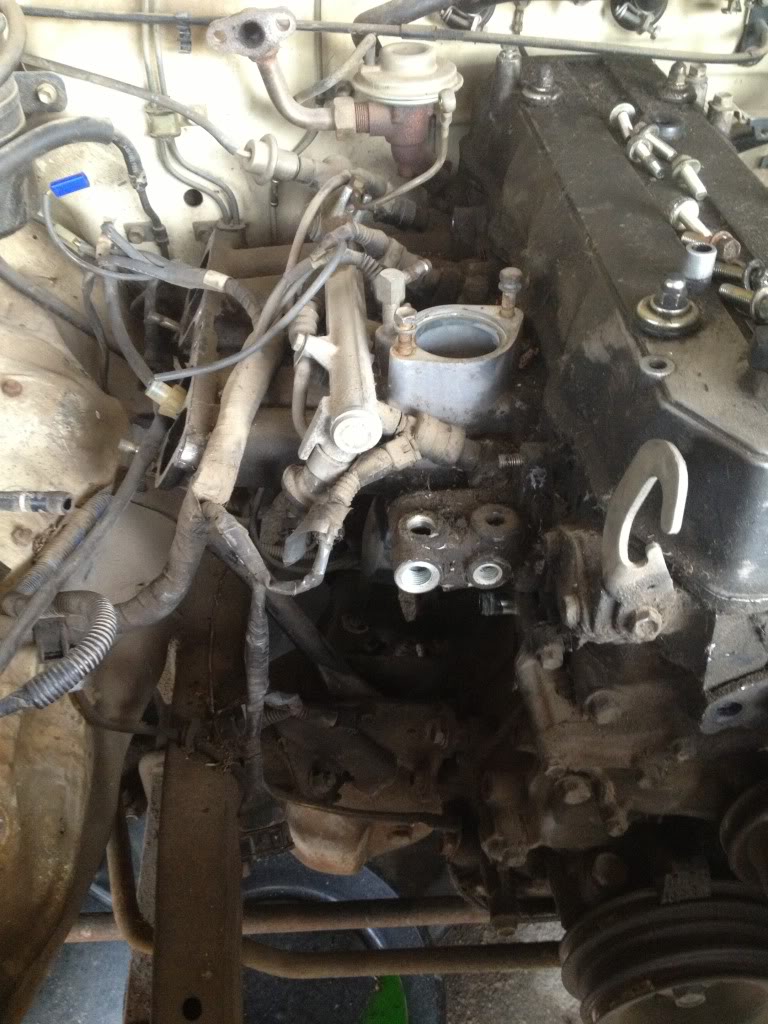
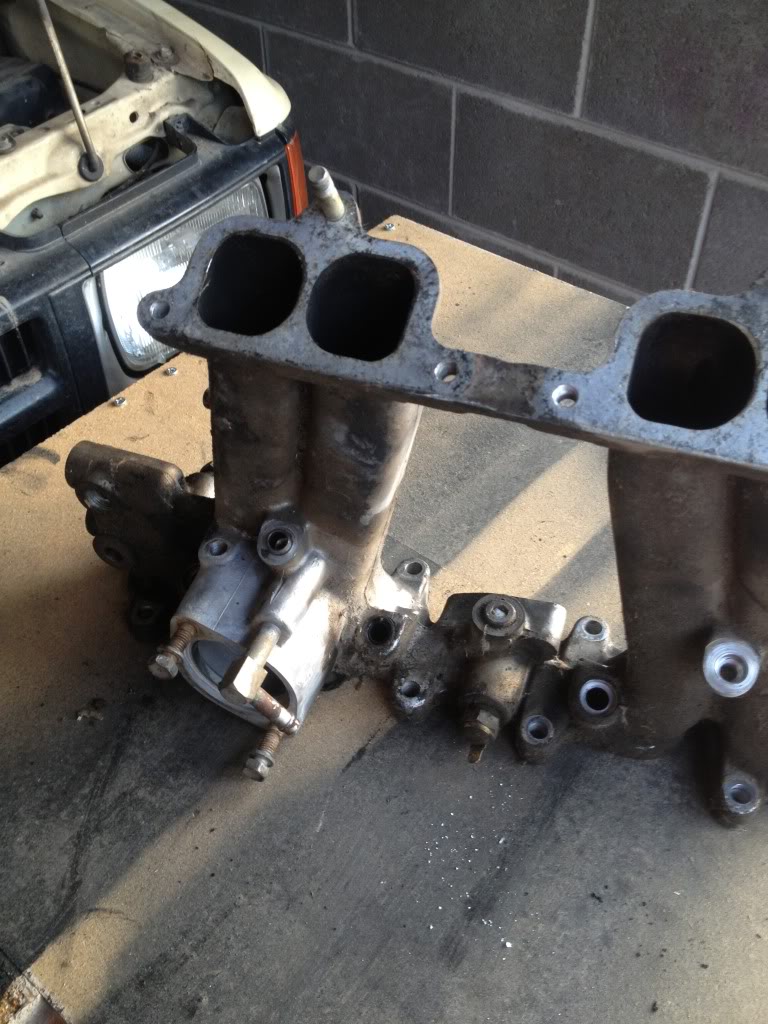
So I did some more work yesterday, got all the wiring out and got the intake manifold all the way out. The one I had real problems with was the starter wire. I couldn't see it. Anywho here's the pics.
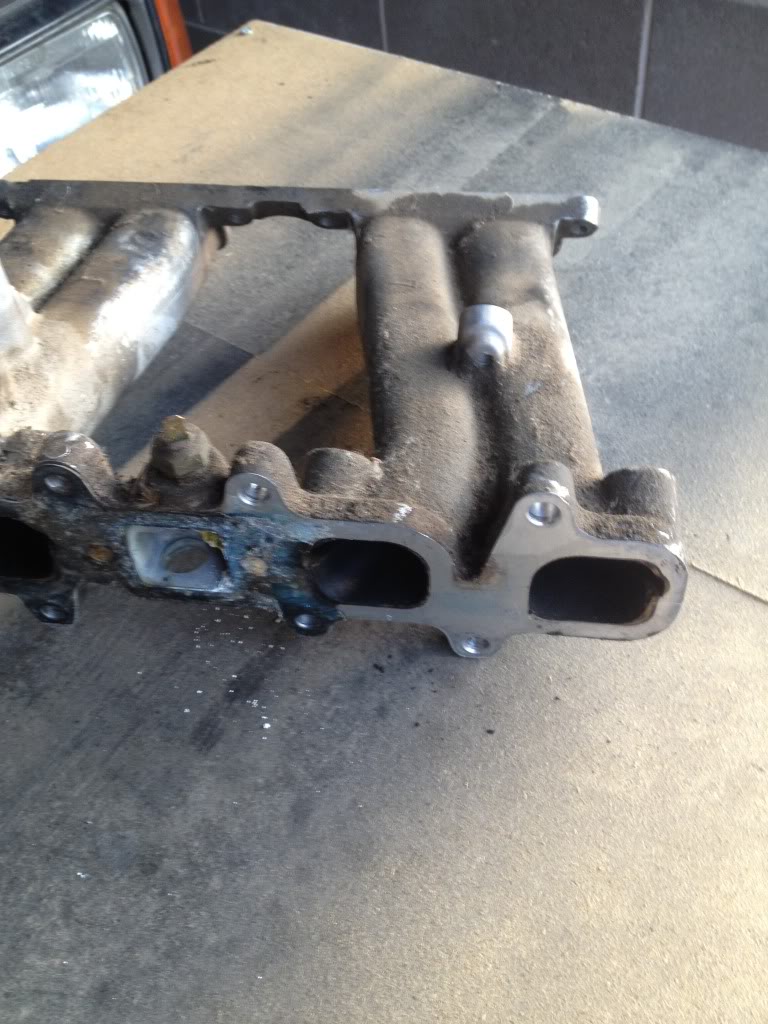
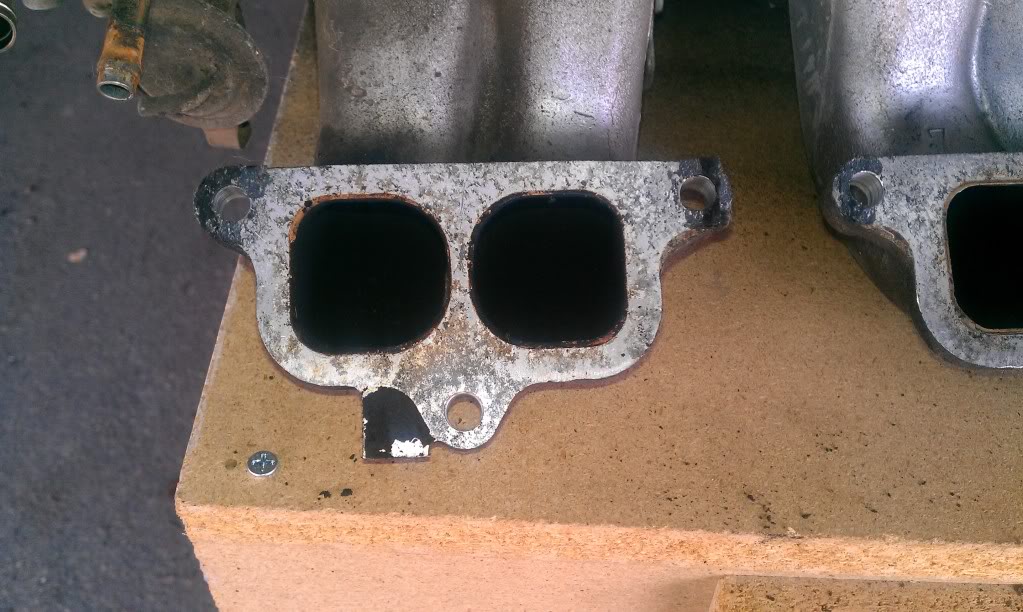
So its dirty like the other half of the intake.

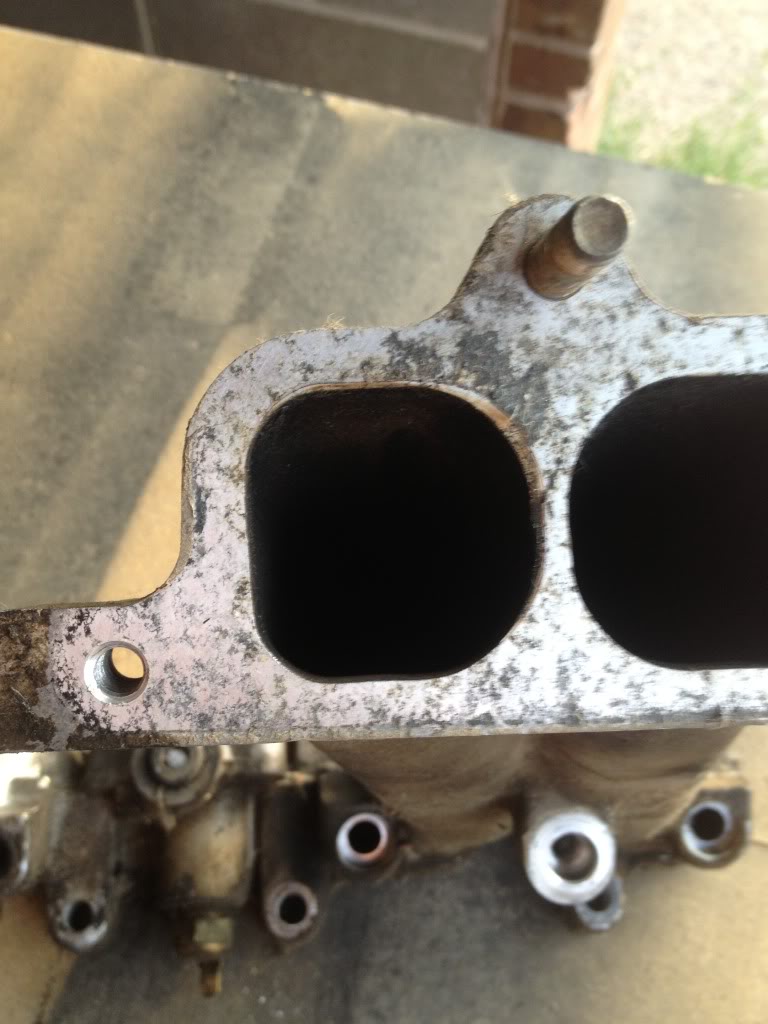
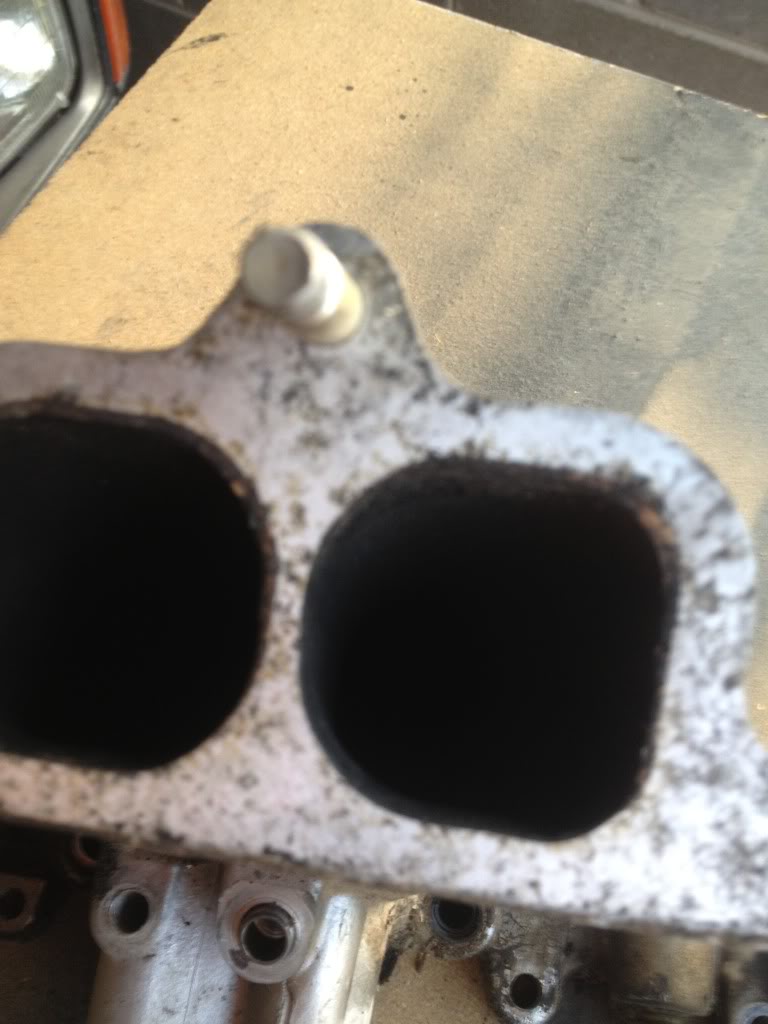
Now I have broken off some of the bolts. They were under the edge of the Intake and look to be connected to a coolant pipe. Anybody know?
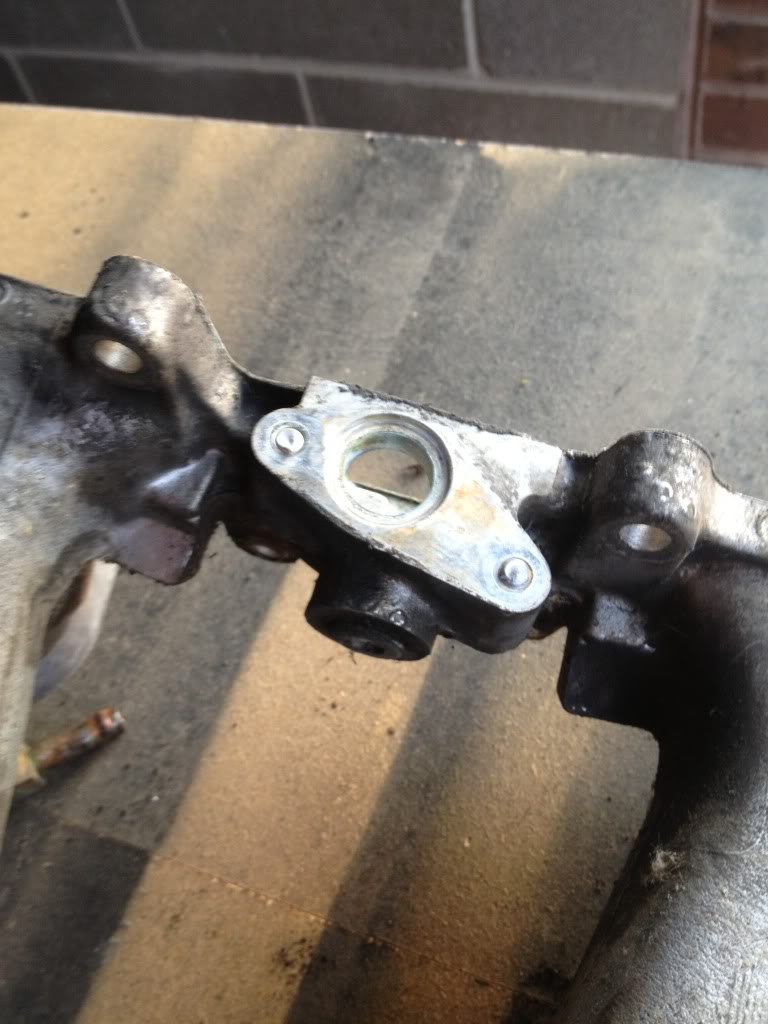

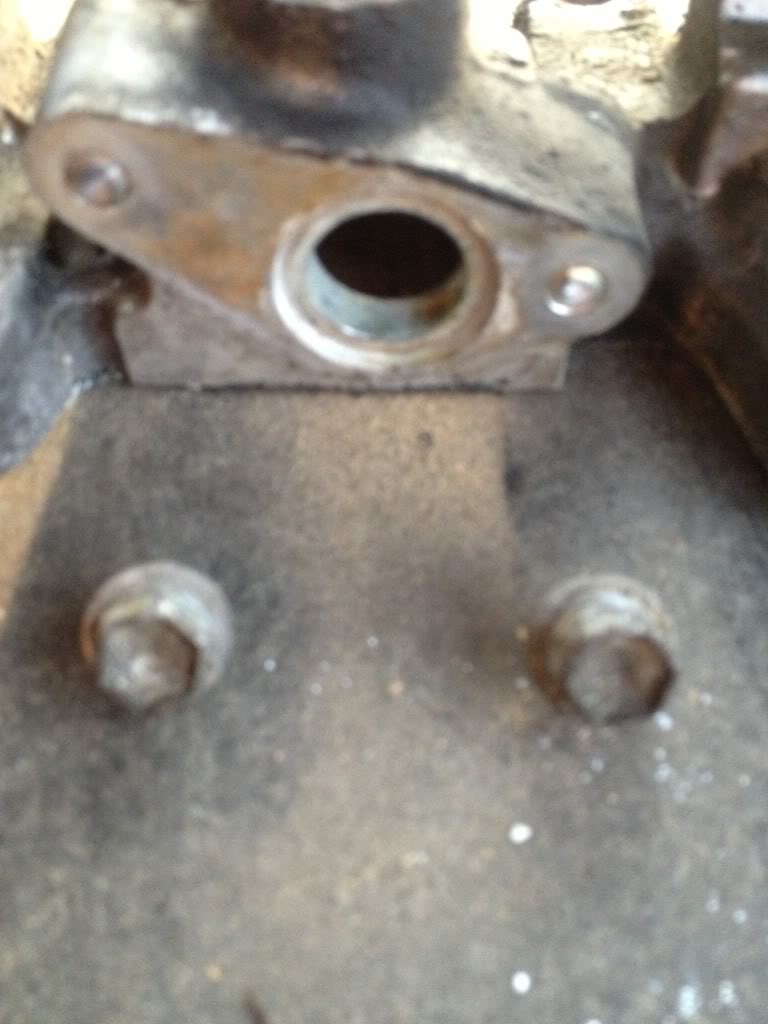

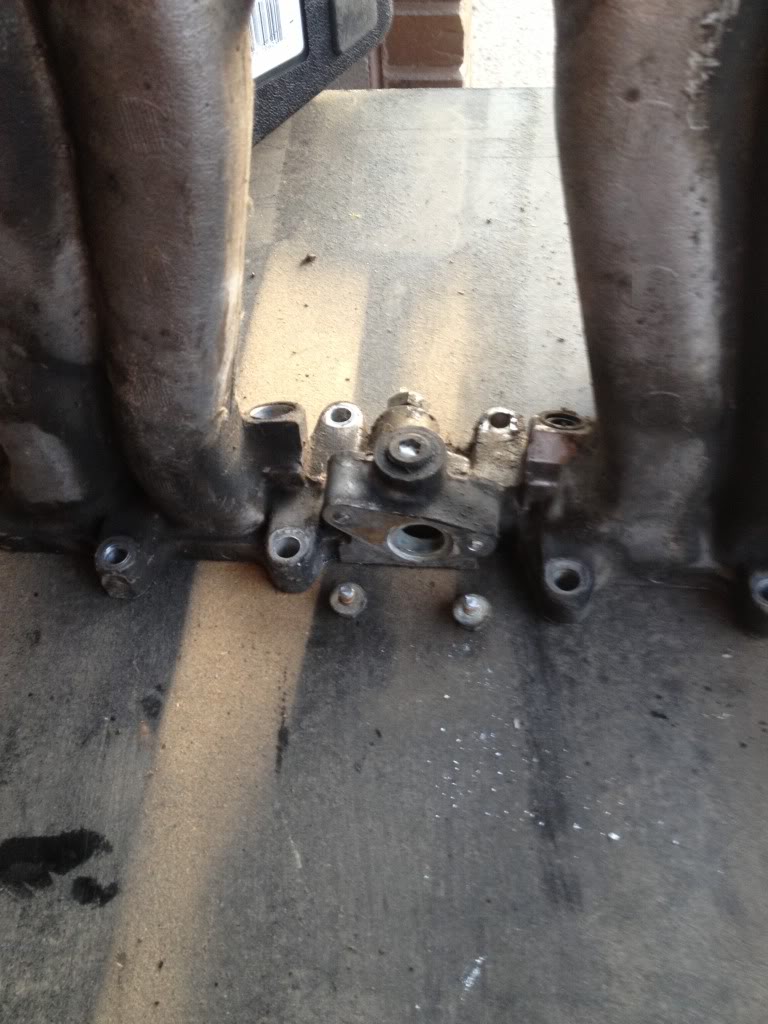
This piece

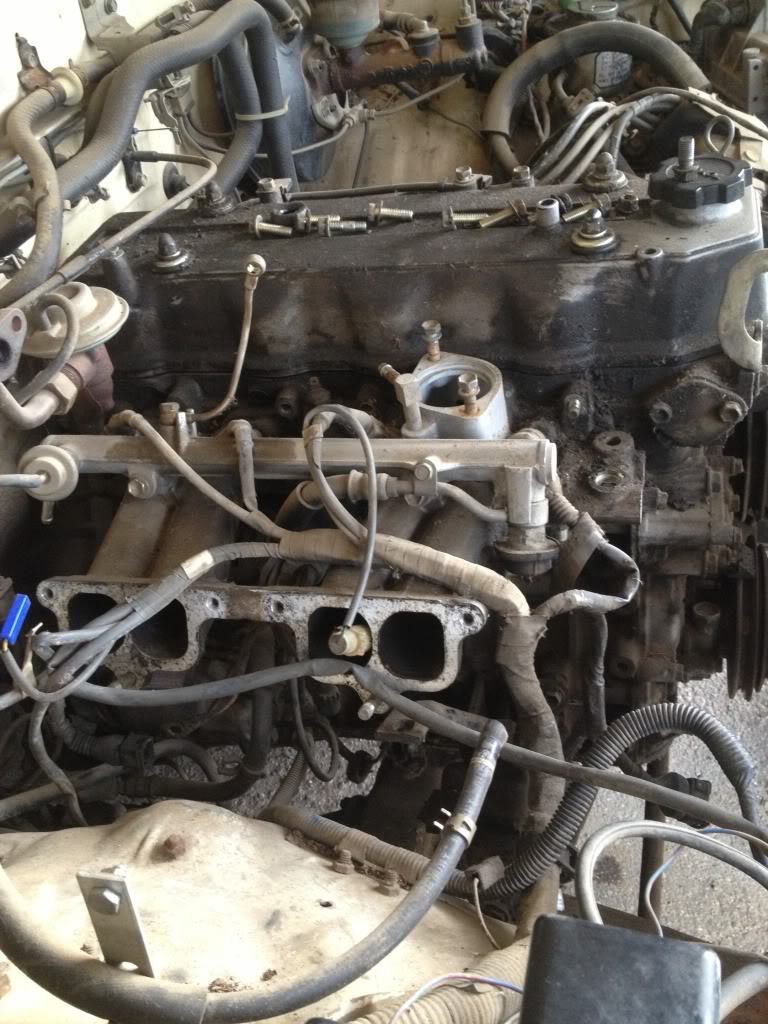
And I've started pulling apart the exhaust side pieces
I took off all the spark plug wires,
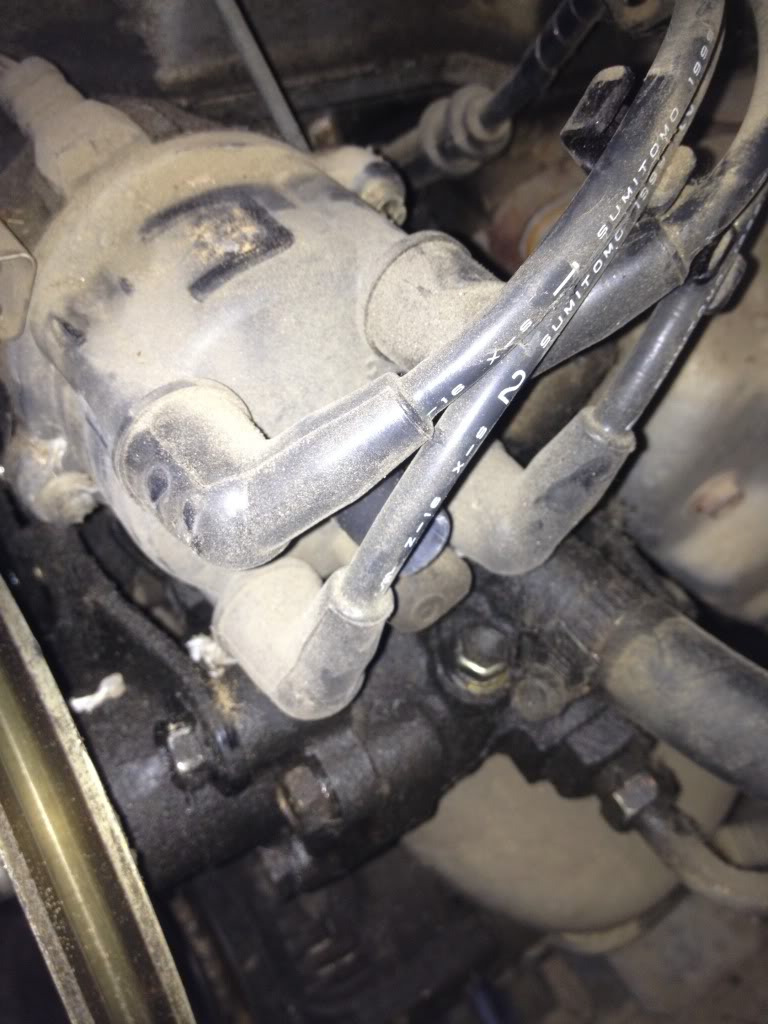
Its amazing what a quick wipe down can do.

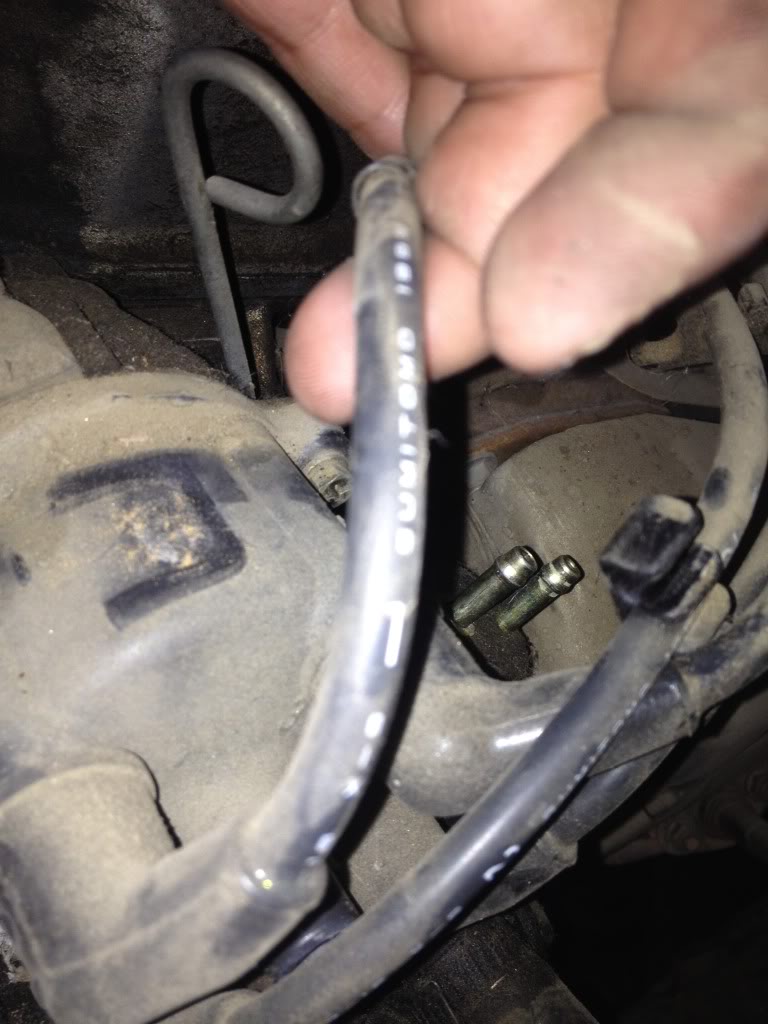
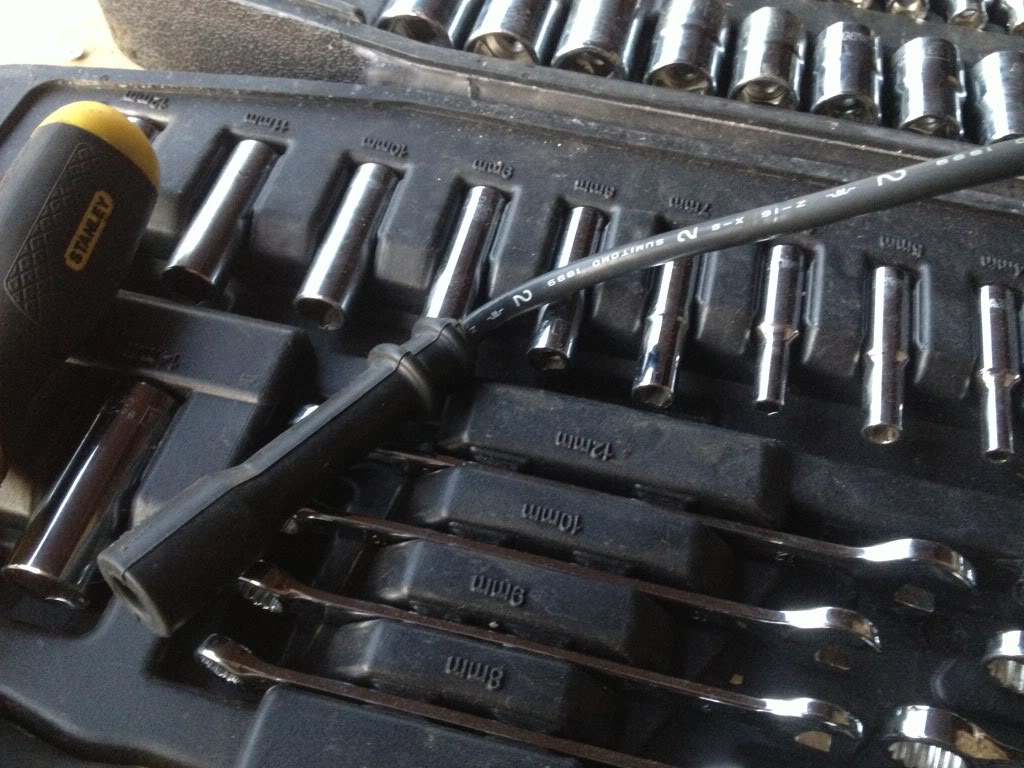
And I didn't notice before, that the plug wires are actually labeled.
I was pulling the dizzy and noticed rubber cap on a piece on part of the dizzy. Anybody know what this piece is?
Also looks like the spiders made nests all over the place

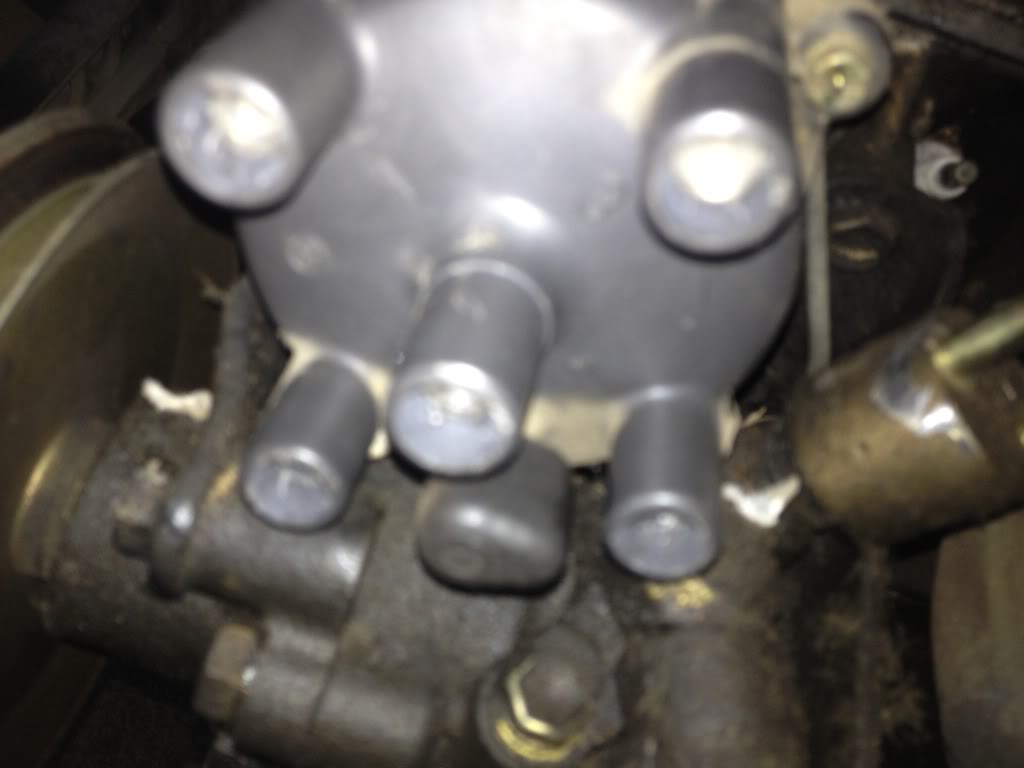
So I pulled the dizzy, with the one bolt? holding it. Way too simple I thought. But hey maybe the Toyota Engineers were pretty smart eh?


I've never taken a Dizzy off so I didn't know what to expect.

This was huge, in my mind I guess.


So I guess it connects to the Timing Assembly...and that would make sense so the timing of the spark aligns with the engine rotation...Go figure.

So its dirty like the other half of the intake.


Now I have broken off some of the bolts. They were under the edge of the Intake and look to be connected to a coolant pipe. Anybody know?


This piece

And I've started pulling apart the exhaust side pieces
I took off all the spark plug wires,


Its amazing what a quick wipe down can do.

And I didn't notice before, that the plug wires are actually labeled.

I was pulling the dizzy and noticed rubber cap on a piece on part of the dizzy. Anybody know what this piece is?

Also looks like the spiders made nests all over the place


So I pulled the dizzy, with the one bolt? holding it. Way too simple I thought. But hey maybe the Toyota Engineers were pretty smart eh?


I've never taken a Dizzy off so I didn't know what to expect.

This was huge, in my mind I guess.


So I guess it connects to the Timing Assembly...and that would make sense so the timing of the spark aligns with the engine rotation...Go figure.
Last edited by 864runnertank; Jul 11, 2013 at 06:35 PM.
Aug 6, 2013 | 04:28 AM
#25
Thread Starter
Registered User
Joined: Feb 2013
Posts: 23
Likes: 0
From: Berthoud, CO
Sorry guys been doing too much stuff all at once
I have been working a lot lately but I have made a lot of progress this last couple weeks. I have the exhaust off and the valve cover and the water pump off. And I put the front bumper back on. Unfortunately I haven't had time for many photos. But this one is the bumper after I plastidip coated it
Sep 16, 2013 | 04:09 AM
#26
Thread Starter
Registered User
Joined: Feb 2013
Posts: 23
Likes: 0
From: Berthoud, CO
Help!!!
Alright guys so I'm not sure anybody has any other ideas, but the main crank bolt wont come off!! I've been messing with it every few days to try and get it off. I've sprayed with wd-40 and pb blaster a million times. Ive tried locking it in 4wd and in reverse. hell even in fifth gear to lock up my wheels, with the ebrake on. The only thing that ever does is cause the 4runner to crawl up my wheel chocks. Seriously on there, Ive tried hammering, ive tried with an air compressor and 1/2 in hammerdrill, the sucker is too loose like that. I cant get the flywheel to lock up either. I've pulled the front pulley, jammed different things in the dust shield up against my oil pump. Just bent the ˟˟˟˟ out of everything. Screwdrivers, galvanized steel simpson ties. like a 1/4 tie plate and it just bent at an angle. wouldnt jam up enough to get loose. any other ideas other than pulling the motor and locking the flywheel to a motor stand? anything at all would be most helpful.
Oct 15, 2014 | 04:24 PM
#27
Thread Starter
Registered User
Joined: Feb 2013
Posts: 23
Likes: 0
From: Berthoud, CO
So totally forgot about getting pics...
I took the last couple weekends to put the tank back together. It almost works...It is in one piece, for now, muhaha. I will be attempting to get more done on Friday when I can buy parts. But as soon as I tried the battery died. So I tried jumping it. It cranks, pumps fuel, then leaks from the fuel injectors as soon as I stop cranking. Like pees it all out with back pressure. I don't think Im getting spark. Either the dizzy or the coil...hmph. Well any body know how to test to see if either works? It had good compression when I got it. Just doesn't start. But I will fix the fuel leaks then try again.
Nov 2, 2014 | 03:51 PM
#29
Thread Starter
Registered User
Joined: Feb 2013
Posts: 23
Likes: 0
From: Berthoud, CO
Actually it starts now. I had the dizzy out of time. I took it out and checked all the timing marks. My top dead center mark was off a few clicks for the diz. I got Oring kits from Napa for 2$ and injector. bottom ring, top o ring and top center ring. I had a leak from the pipe under the intake manifold. The ring was trash on it and I just used gasket maker to fix. Started to leak from the egr panel on the back, but I couldnt get to that. I ran the truck for a while and that seal fixed itself. I think the gasket needed to expand to create a proper seal. Truck got all the way warm and it blew the pipe under the thermostat area that I re used. It wasnt bad it just was old. no cracks. I will get another one tomorrow.
Nov 2, 2014 | 03:55 PM
#30
Thread Starter
Registered User
Joined: Feb 2013
Posts: 23
Likes: 0
From: Berthoud, CO
I tried driving the truck around a bit and could not accelerate. As soon as I hit the throttle, the engine would over rev and stutter. No go. So I tried new spark plug wires. Helped some, I think the old sumitomo wires werent all working. But still very little throttle response. I tried messing with the idle air valve on the throttle body. I could change the idle but not the throttle response. I then tried disconnecting the throttle sensor. Now the truck revs. I will take it for a spin with the new hose. I think the sensor may not be on correctly. I think my buddy may not have put it on correctly. I think he said he put it on so that it was almost spring loaded then turned it to line it up with the screws. Im not sure this was the correct installation. I am going to do more research. Any help on this guys? do I need to pull the sensor and realign it, or do I need a new throttle sensor?
Nov 5, 2014 | 05:56 PM
#31
Thread Starter
Registered User
Joined: Feb 2013
Posts: 23
Likes: 0
From: Berthoud, CO
Closer. Found some more coolant leaks. But fixed. I got to drive it today! Yay. So the truck surges at idle with the throttle sensor attached. But with it disconnected the idle runs really rough. Not sure but I think I may just need to fine tune the position of the sensor. I'm so glad it runs with no leaks now. But now the brakes need cleaned.
Nov 9, 2014 | 03:57 PM
#32
Thread Starter
Registered User
Joined: Feb 2013
Posts: 23
Likes: 0
From: Berthoud, CO
Runs and drives
It's running. So that's good. It drives. It stops. Got new tires and spacers so different rims fit. But this is strange. So I had to jump it the first couple of times I started it. Then the battery worked last weekend and held a charge. But I still had coolant leaks to fix. I fixed them on Wednesday. Battery was dead again. Jumped it drove it and found that the brakes weren't functioning well. So I started the truck right up yesterday. Then the battery today didn't have enough to start. So jumped it, drove 15 miles and then got back in ten min later and it went dead. Got jumped and drove home and the battery was dead again.The starter is new. And the battery is like new. I bought it a year ago. I might need to get a new alternator...but I can't spend money til Friday. Any other ideas?

Thread
Thread Starter
Forum
Replies
Last Post
Flying91
86-95 Trucks & 4Runners (Build-Up Section)
45
Apr 11, 2024 04:39 PM
BeMiceElf
Misc Stuff (Vehicle Related)
7
Oct 10, 2015 09:40 PM


