When you click on links to various merchants on this site and make a purchase, this can result in this site earning a commission. Affiliate programs and affiliations include, but are not limited to, the eBay Partner Network.
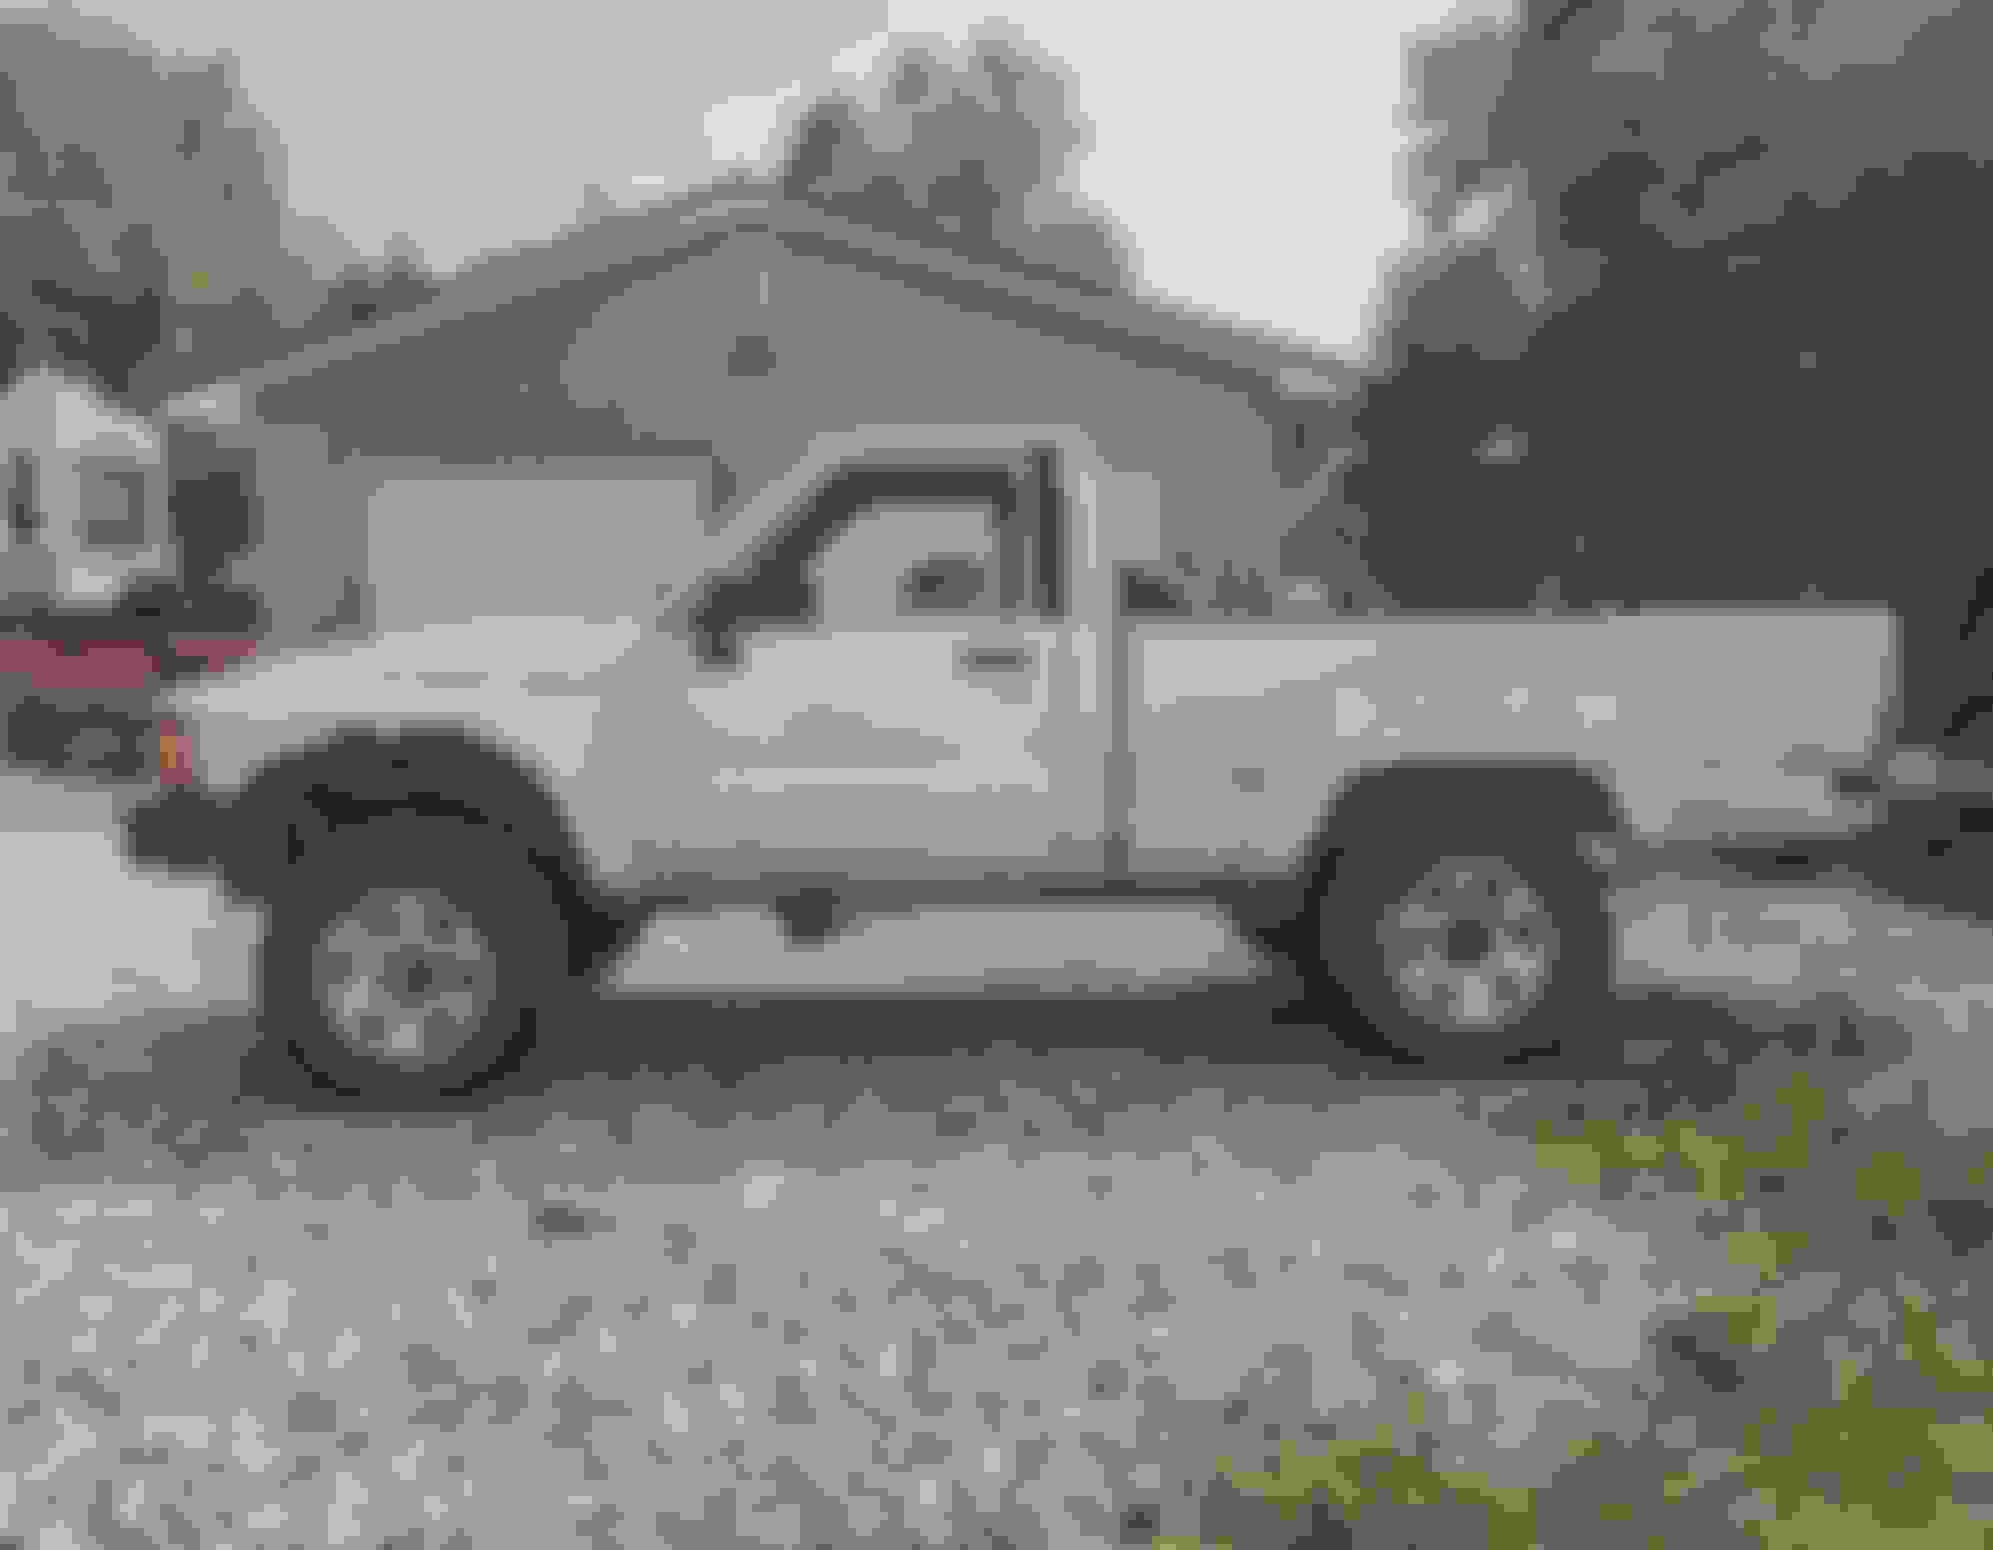
I recently pickup up a 1986 single cab Toyota pickup. 22r (carb'd) 5 speed of course. I purchased it from my girlfriends grandfather. It looks like a rust bucket, but when he offered to sell it to me, upon further inspection I realized that the frame, floorboards, and the majority of the cab is rust free. By the looks of the motor it looks like it has been well taken care of. The valve cover isn't even leaking. The best part is that it is a factory a/c truck! It's not working at the moment but at least it is there. I've tried in the past to create a build thread for my previous Toyota builds but I always lose interest and run out of time and sell the trucks before I get them done. But, with this one, I'm going to stick with it and make it a totally reliable daily driver with a few off-road modifications.
My first hurrdle is to address the bed. I know that I don't even want to attempt to fix this one. I have a spare black 1990's pickup bed that I'm going to throw on it for the time being just so I can load stuff in the bed because the current one has holes all in it. But, I hate the look of the round wheel wells with the 80s square fenders. It doesn't match the body lines at all, so I'm going to use the 90s one until I can source an 80s bed that is good enough to fix. (Maybe a 2wd bed?) anyways, that's all I'm going to say today. Hopefully will have a lot of updates coming in the next few weeks while I work on the interior, and various parts to make it a good day driver. Lol You guys gotta help keep me motivated to get through this project this time!! here it is the day I brought it home:
Truck does not look like it has been hacked up like most you find. The beds do rust out on these easy but looks like you got a solid truck to work with. Welcome to Yotatech.
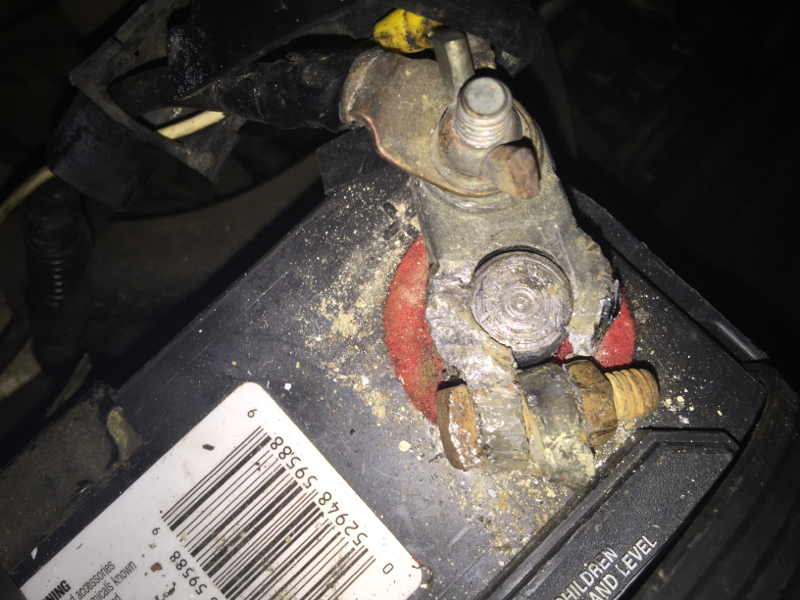
Well with work and raining this evening here in East TN I didn't get much time to work on the old truck today. I did get time to replace the old battery (that was dated 09). But in the process of it I realized that my cable connectors were so corroded that the metal snapped when I tried tightening them up. Oh well, I guess I'm gonna have to learn that there is always gonna be something unexpected happen while working on these old trucks. But that's part of the fun of it. That's all I've got for today. Here's some pictures of the battery connectors:
Is there a better way to add to your own thread than what I'm doing? Right now I'm just adding posts by clicking reply to thread on the yotatech app but it's making it hard to upload more than one picture in one post for some reason. Any help is appreciated, I'm new to this and I'd like to keep my thread looking clean. Thanks guys
Get you a Photobucket account and post the picture to PhotoBucket, the 4th link which is [IMG.....IMG] will be the picture. Copy and Paste the IMG picture in your reply and it will show up as a picture when you post your reply. I use the Post Quick Reply at the bottom of the screen. You can use the Go Advanced to see what your post and picture is going to look like.
Get you a Photobucket account and post the picture to PhotoBucket, the 4th link which is [IMG.....IMG] will be the picture. Copy and Paste the IMG picture in your reply and it will show up as a picture when you post your reply. I use the Post Quick Reply at the bottom of the screen. You can use the Go Advanced to see what your post and picture is going to look like.

 Jul 25, 2016 | 03:56 PM