85gijunk4x4's 1988 pickup buildup thread (Angus)

 07-14-2011, 08:45 PM
#62
i got my knuckle bearings so i might be putting it together this weekend if i can make time around getting ready for the car show im in.
other then tht. im trying to set a day with a guy on pirate to get a partial high steer setup and some leafs. then i got to get some spring bolts and bushings. hopefully it will be done soon. i wanna drive it so bad.
so hows the twin stick?
other then tht. im trying to set a day with a guy on pirate to get a partial high steer setup and some leafs. then i got to get some spring bolts and bushings. hopefully it will be done soon. i wanna drive it so bad.
so hows the twin stick?
07-15-2011, 06:16 AM
#63
Super Moderator
Staff
iTrader: (1)
Join Date: Aug 2008
Location: Anderson Missouri
Posts: 11,788
Likes: 0
Received 21 Likes
on
19 Posts
I like your write up on Tcase removal and install. I have never pulled just the Tcase and is a job that I will be getting into soon. Always nice to look at someone elses before I get into it. Thanks.
07-16-2011, 12:55 PM
#64
Registered User
Thread Starter
i got my knuckle bearings so i might be putting it together this weekend if i can make time around getting ready for the car show im in.
other then tht. im trying to set a day with a guy on pirate to get a partial high steer setup and some leafs. then i got to get some spring bolts and bushings. hopefully it will be done soon. i wanna drive it so bad.
so hows the twin stick?
other then tht. im trying to set a day with a guy on pirate to get a partial high steer setup and some leafs. then i got to get some spring bolts and bushings. hopefully it will be done soon. i wanna drive it so bad.
so hows the twin stick?

and as for the twin stick, im very happy with it so far, i like having the option of just popping it into low, regardless of what position 4wd is in, and i like poppin it outta 4x4 regardless of what gear its in

i pretty much did all this on my own, LOL so i figured i'll post up the way I did IT so other can take a look at it to get the right idea!!
If i missed anything, or if you have any questions LET ME KNOW!!
 07-16-2011, 01:13 PM
#65
Registered User
Thread Starter
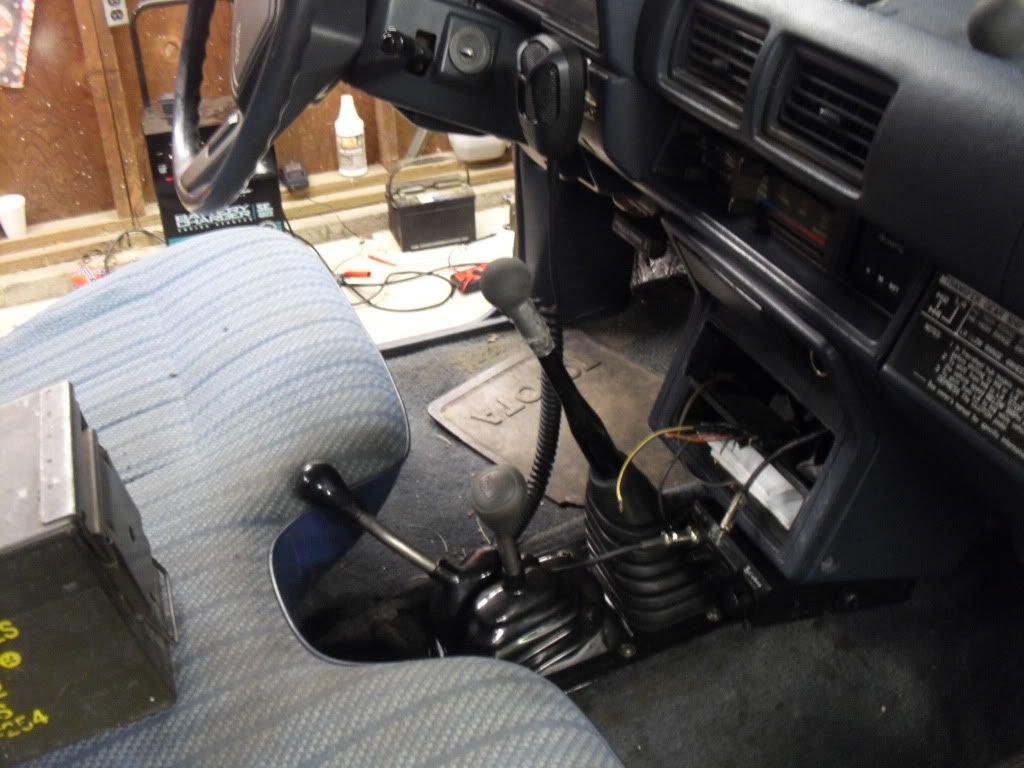
Twin stick Final installation
Once your transfercase is back in, take a minitue to organize all your tools, and put everything back where it belongs, vaccum the floors etc (well thats what i did)
take your twin stick out of the box, toss it up on your workbench, and remove the big bolt etc. (since i dont have pictures, i wont explain. again, any questions ASK!! i will, however, tell you what to do)
what i did, was got the twin stick all tore apart. next i paid attention to the breather, took it off, and appliead teflon tape to all the threads to get an airtight seal.
next i put the sticks right about where they would sit in my transfer case, took a mental image, and ran to my vise. claming the stick in there real good, and sliding a long pipe or it as leverage, i made the bends so the stick didnt interfere with the gear changer.
If your NOT using the twin stick on the rear case of a dual transfer setup IT WILL INTEFERE.
i Bent mine like this, it doesnt interfere nearly as much, but 2nd gear, 2low does just barely touch SOMETIMES.
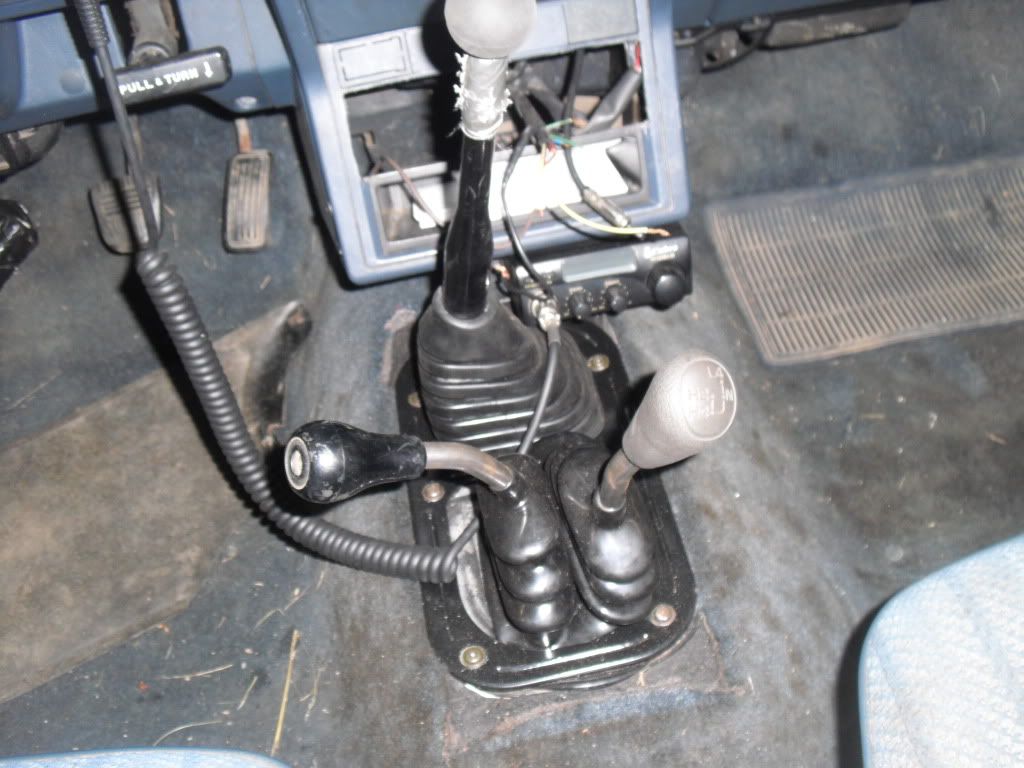
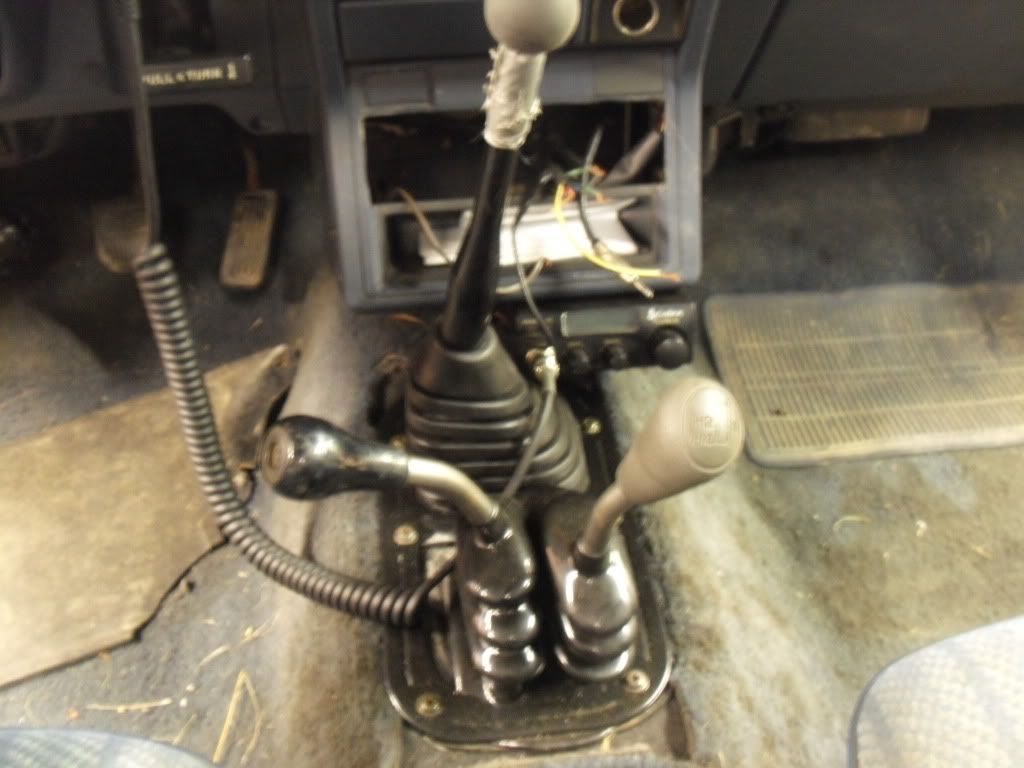
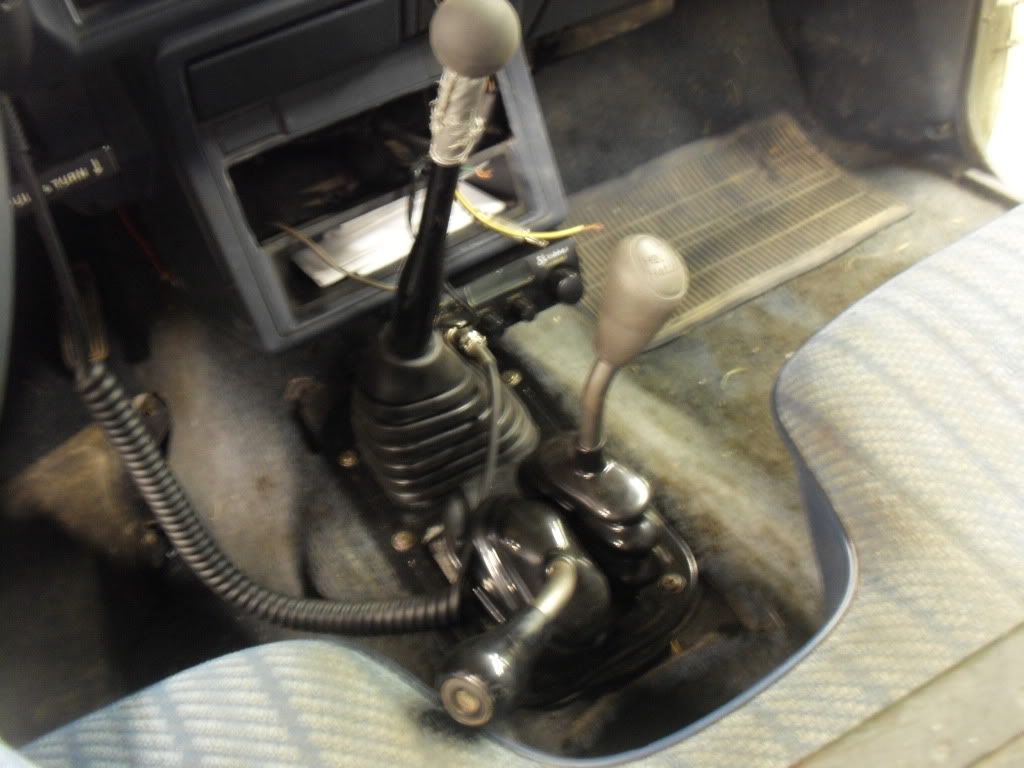
for now my sticks are silver, just bare metal. soon enough i am going to powdercoat them black, just to match the truck!!
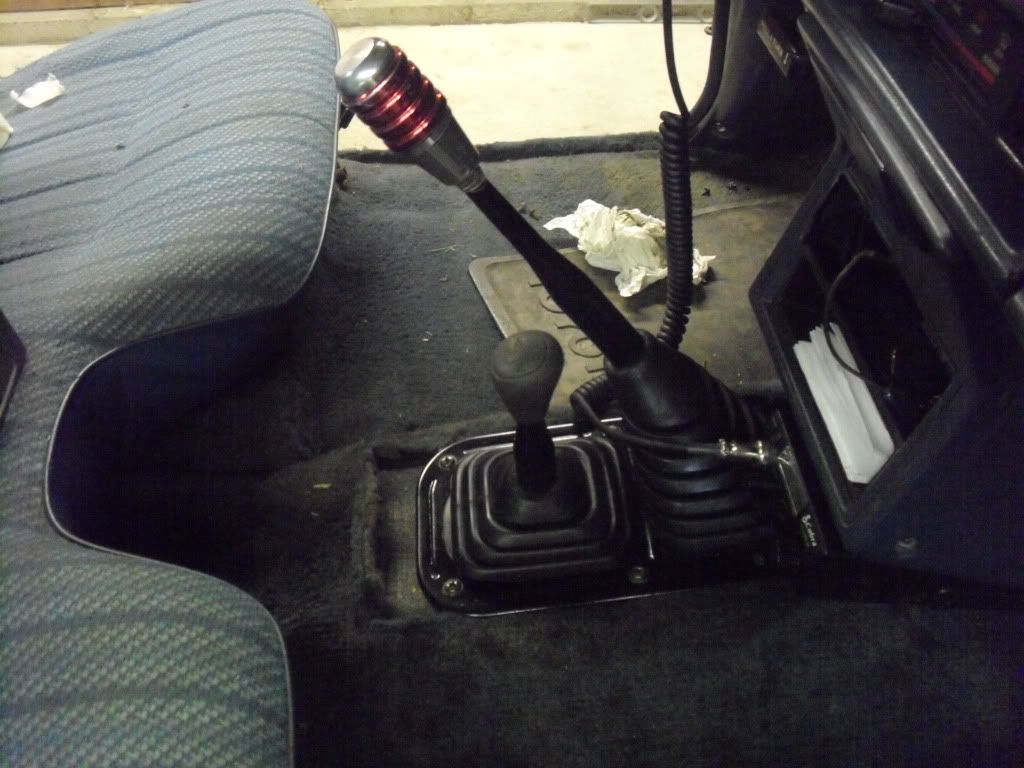
once your all bent up, and your breathers are taped, re-assamble the stick, and drop it in there.
Once its in ONCE OVER YOUR WORK!!!
climb back under AND CHECK FOR TORQUE!!!
check for anything that looks out of the ordinary.
re-check fluid levels
take your twin stick out of the box, toss it up on your workbench, and remove the big bolt etc. (since i dont have pictures, i wont explain. again, any questions ASK!! i will, however, tell you what to do)
what i did, was got the twin stick all tore apart. next i paid attention to the breather, took it off, and appliead teflon tape to all the threads to get an airtight seal.
next i put the sticks right about where they would sit in my transfer case, took a mental image, and ran to my vise. claming the stick in there real good, and sliding a long pipe or it as leverage, i made the bends so the stick didnt interfere with the gear changer.
If your NOT using the twin stick on the rear case of a dual transfer setup IT WILL INTEFERE.
i Bent mine like this, it doesnt interfere nearly as much, but 2nd gear, 2low does just barely touch SOMETIMES.
for now my sticks are silver, just bare metal. soon enough i am going to powdercoat them black, just to match the truck!!
once your all bent up, and your breathers are taped, re-assamble the stick, and drop it in there.
Once its in ONCE OVER YOUR WORK!!!
climb back under AND CHECK FOR TORQUE!!!
check for anything that looks out of the ordinary.
re-check fluid levels
07-16-2011, 01:25 PM
#66
Registered User
Thread Starter
Now I'm sure your all asking "what was your reason for getting a twin stick?" well heres my answer.
i was facing a difficult decision, i liked the shift knob that came with the truck, but it didnt have any letters/numbers on it, so i got one from the junkyard that had the whole 9 yards on it, but everytime i put either shift knob on, i wanted the other one back. so my solution to that problem was instead of using just one knob, i'll get a twin stick to use both of them!!
NO, just kidding
the real reason was, theres alot of tight trails around here, you do have to creep around slowly, yet 4x4 isnt always necassary. To creep inbetween 2 trees UPHILL, i would use 4x4low, yet when it came time to make the sharp turns, it would be a PITA because the front end would bind up, and without using 4x4, im stuck in high gear, wich not only makes it easier for the wheels to spin, it burns my clutch out!!
i'll be sitting there, clutch partially engaged, going uphill, keeping the clutch half in-half out, while i use the throttle to control my speed.
so bassicly what i was doing was BURNING the clutch up. it got annoying after awhile, either i'm killing my u-joints, or im burning my clutch.
so after i got the twin stick in, now i'm able to NOT bind up in turns, PLUS use low gear and NOT burn my clutch.
More pro's to the twin stick are you can use 4x2low on road to get thet extra umphh when quickly accelerating. And "use 4x4low with the hubs unlocked" you say? trust me! once you can use 4x2low without getting out of the truck to unlock hubs you'll never go back!!
not to mention it will help out BIG TIME when i get my lockers in, just a flick of the wrist and i'll be out of 4x4, to make a turn without binding!!
Last edited by 85gijunk4x4; 07-16-2011 at 01:26 PM.
 07-16-2011, 01:35 PM
#68
Registered User
Thread Starter
so anyway, took a break from all the major work, and did this little project.
my current cb setup is a cobra 19ultraIII (very rare radio), i wanted to mount a fullsize radio, but theres NOWHERE to mount one in a toyota cab LOL
anyway, i got a midland 5001z for free, courtesy of midland, and i wanted to use the microphone, its alot nicer then the cobra one!!
so heres the cb.
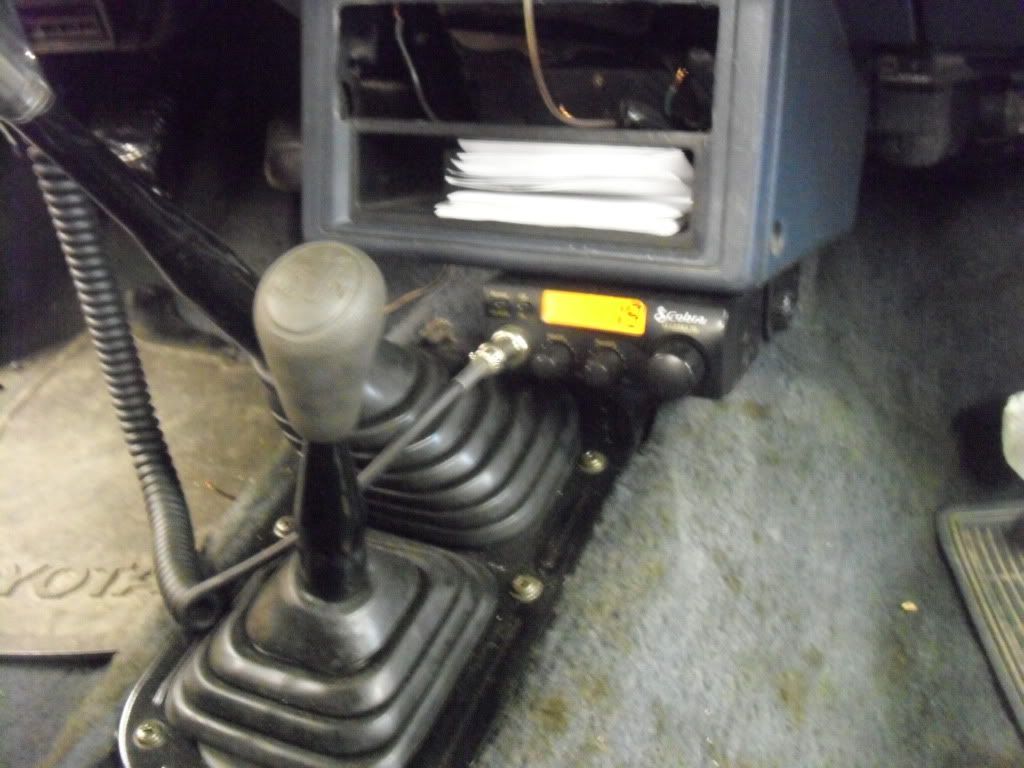
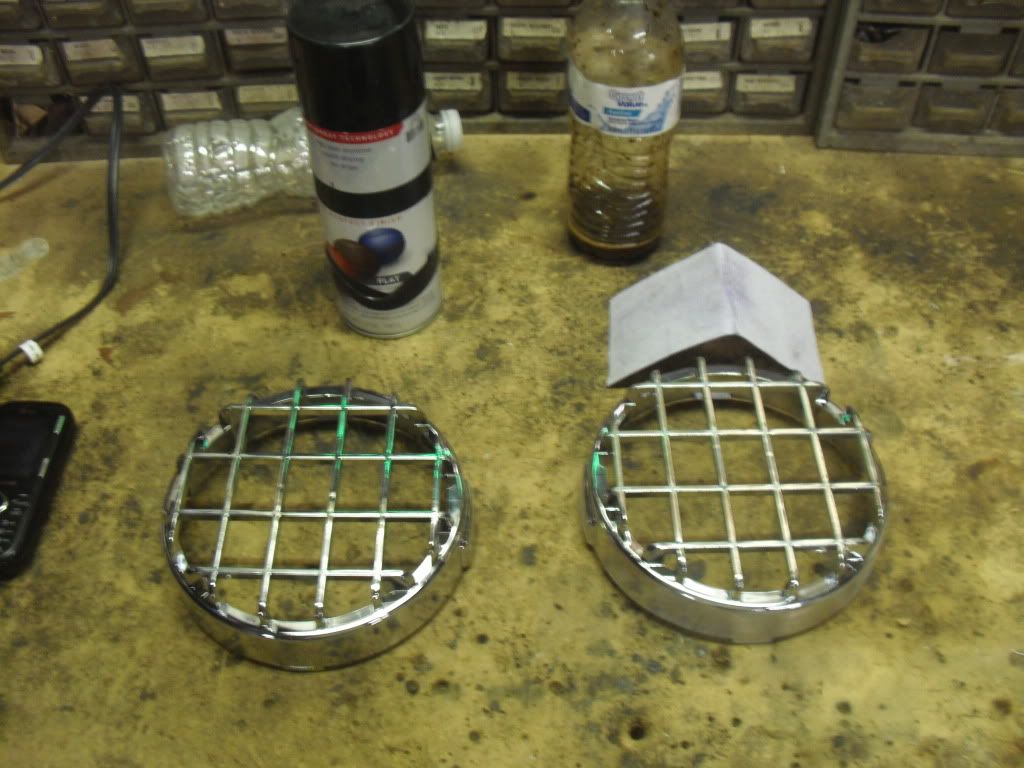
heres what the mic used to look like.

i know, chrome, doesnt match the whole theme LOL
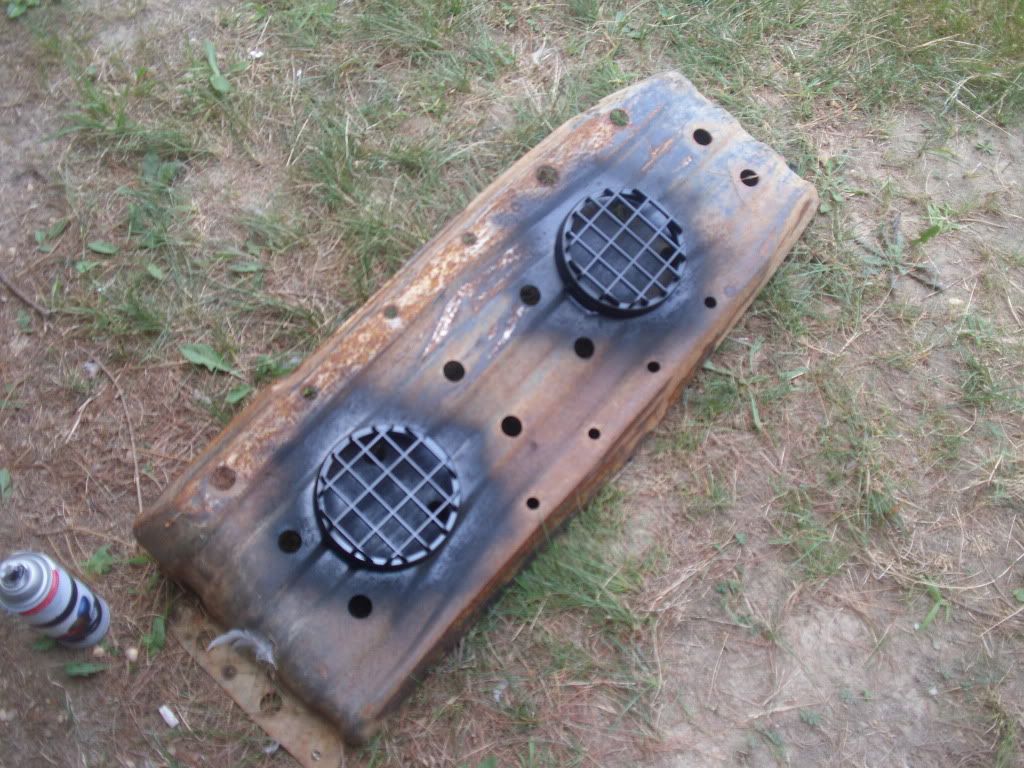
i used the leftover paint from my paintjob, took the mic apart and painted the mesh. First i tried o.d. green, didnt show up right, so i just tried black.
here it is!
my current cb setup is a cobra 19ultraIII (very rare radio), i wanted to mount a fullsize radio, but theres NOWHERE to mount one in a toyota cab LOL
anyway, i got a midland 5001z for free, courtesy of midland, and i wanted to use the microphone, its alot nicer then the cobra one!!
so heres the cb.
heres what the mic used to look like.
i know, chrome, doesnt match the whole theme LOL
i used the leftover paint from my paintjob, took the mic apart and painted the mesh. First i tried o.d. green, didnt show up right, so i just tried black.
here it is!
07-16-2011, 02:03 PM
#70
Registered User
Thread Starter
thanks chef!!! tonight im finishing up these lights, i'll do another write up for that once i get them done....well not really a write-up, More of just showin em off haha.
 07-22-2011, 02:43 PM
#74
Registered User
Thread Starter
Thankss. Im diggin your first gen btw!
$10 was a helluva deal, no complaints here. I know they will come in handy one day!!
Thanks man, And heres a picutre for ya!!
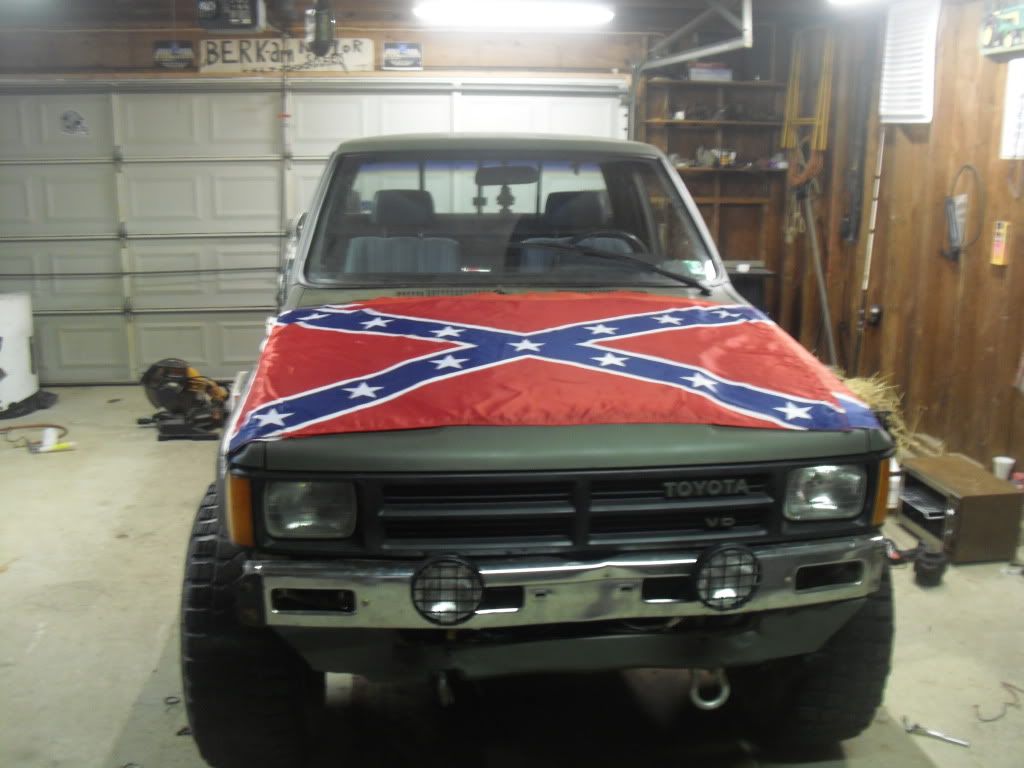
Hows she look? hehehe JK
Thanks man, And heres a picutre for ya!!
Hows she look? hehehe JK
07-22-2011, 04:02 PM
#75
Registered User
Thread Starter
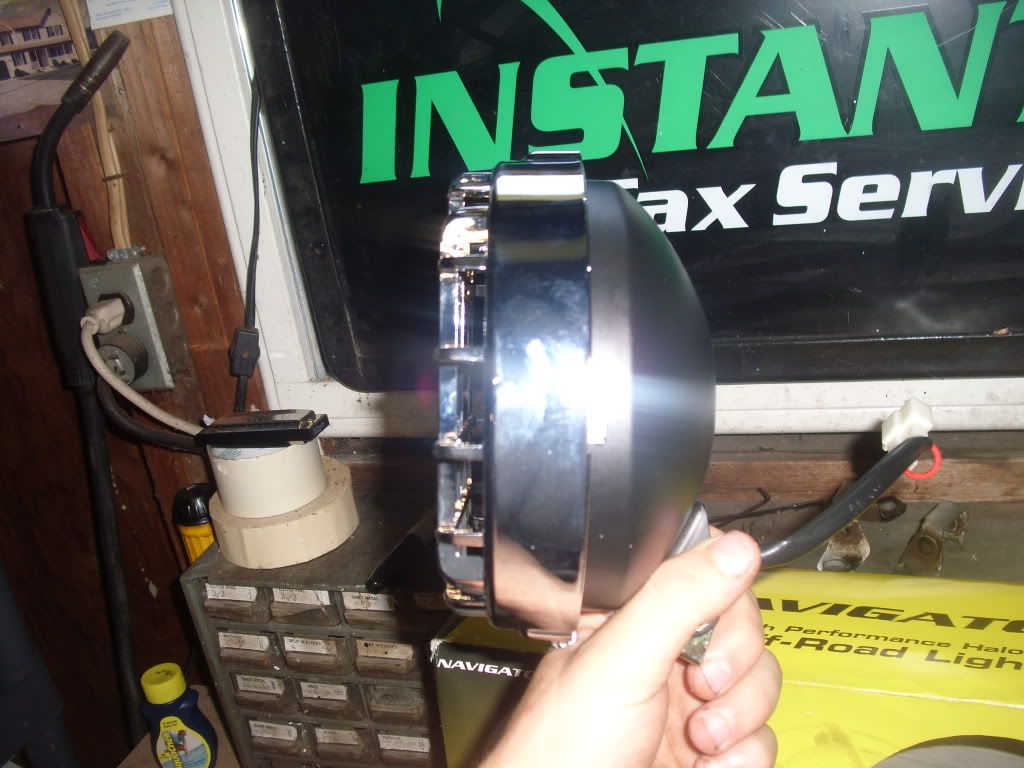
Off road lights!!
picked these up for $10 off ebay, so i really didnt care how well they worked.
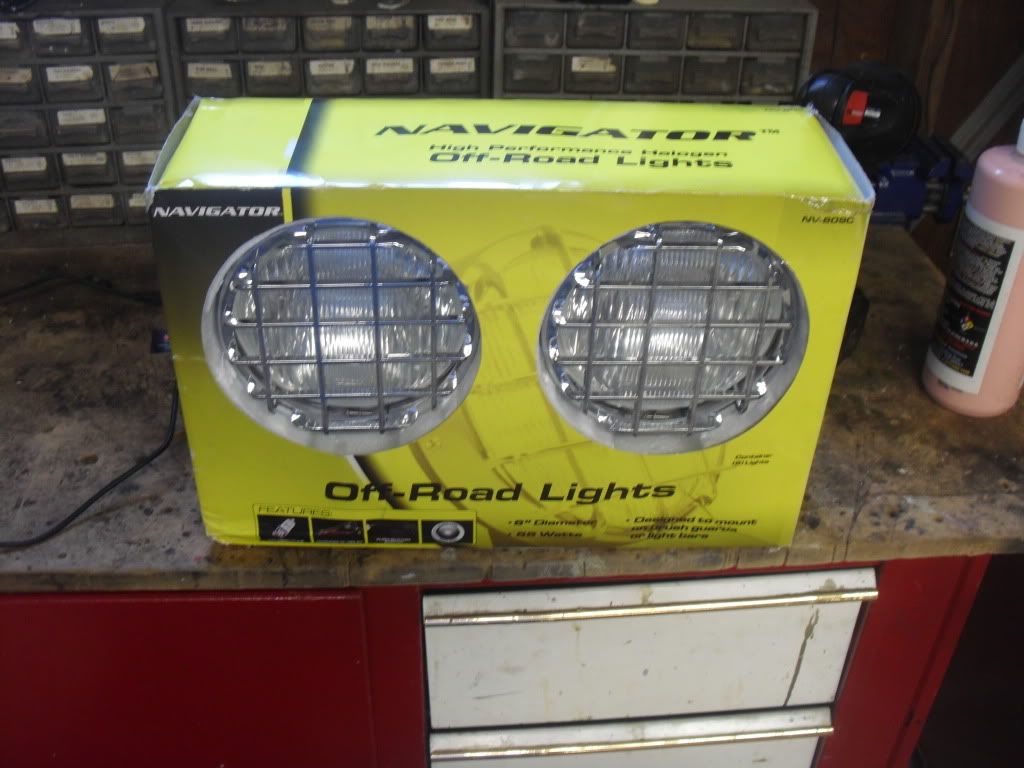
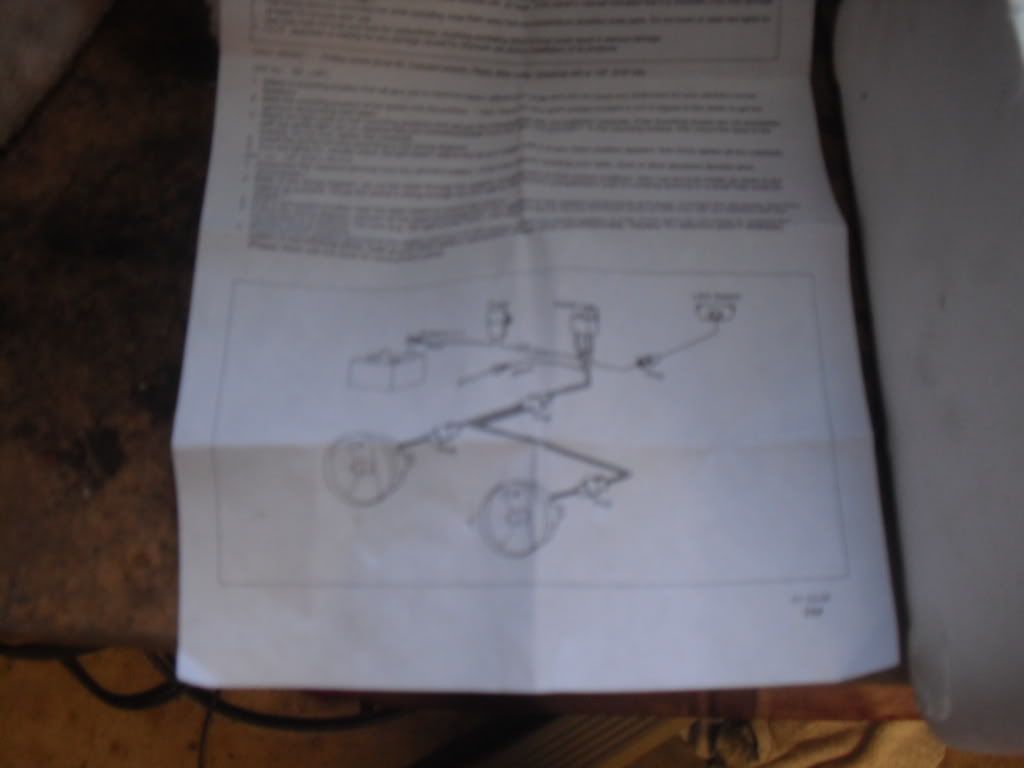
came with an awesome wiring diagram and wiring harness, complete with relay and inline fuse!!
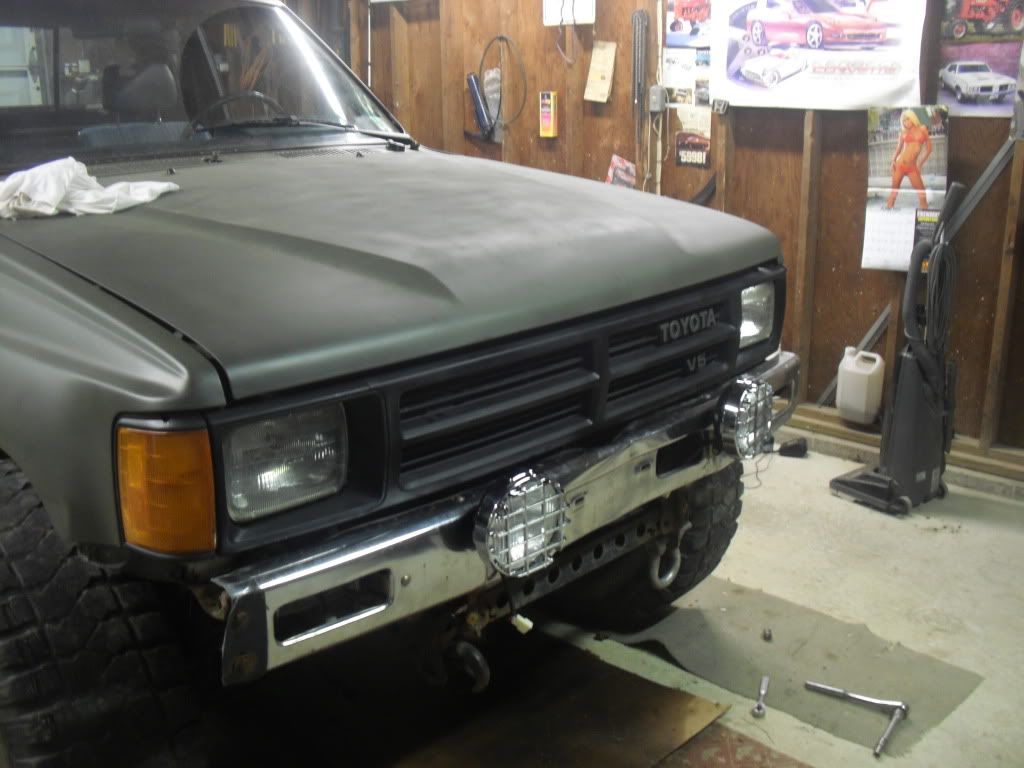
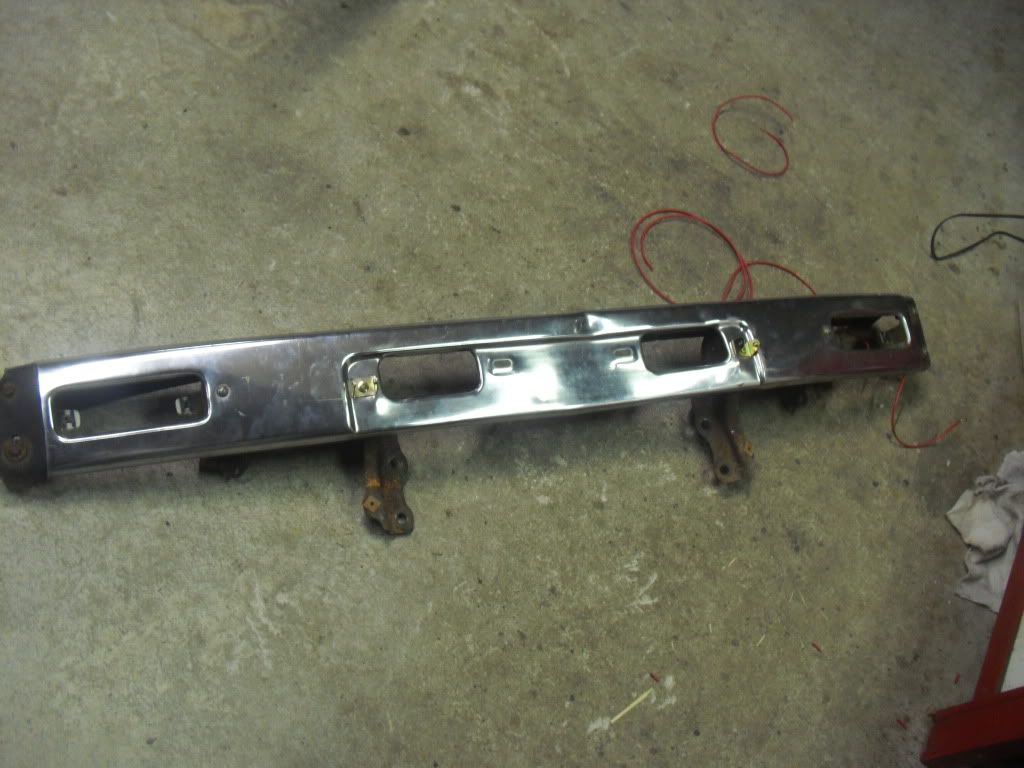
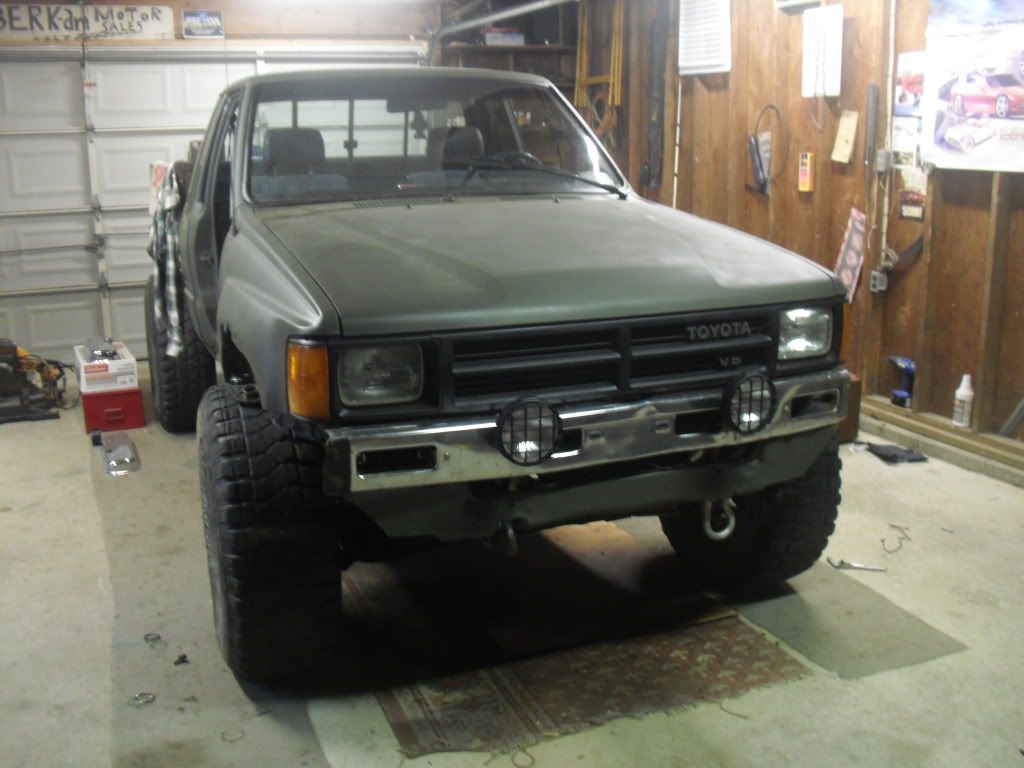
so anyway, thought long and hard, and decided instead of making special brackets, i'll just mount them on the existing holes in the front bumper (didnt want to do this because the lights would be the furthermost thing on the truck, wich wouldnt be pretty if i was ever to misjudge a turn while offroading) But Oh well!!
pulled my bumper off, and got the truck stripped down alittle. heres some pics Just because.
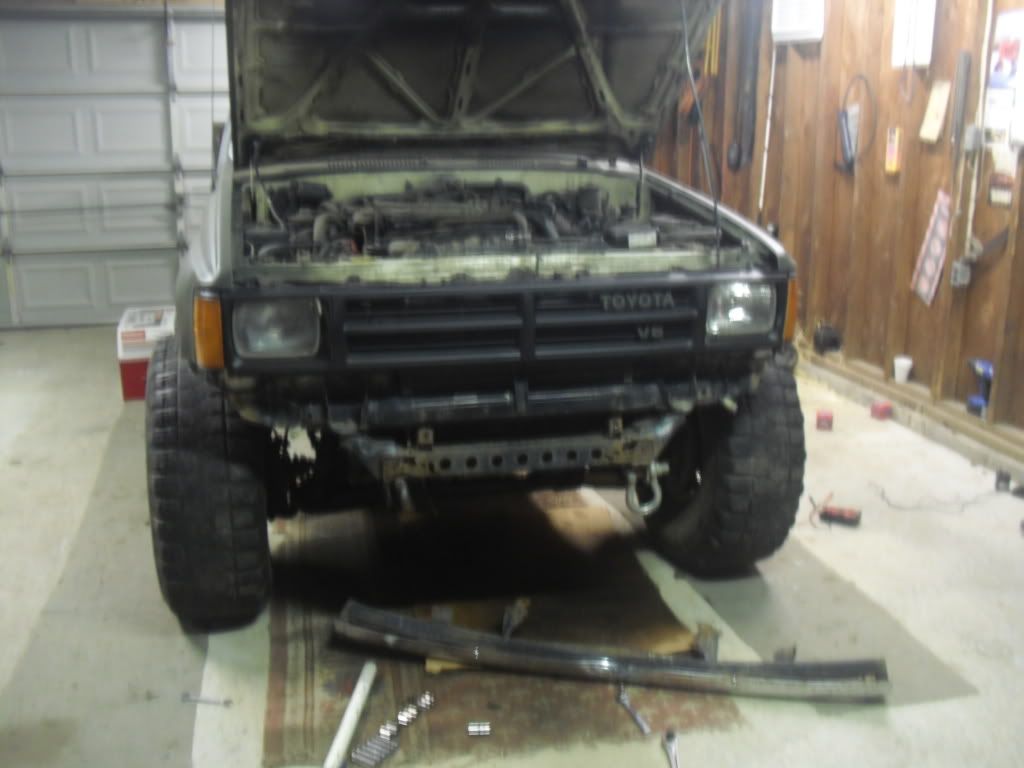
pulled my turn signals out of the bumper, along with the 2 front center carraige bolts. well i actually had to cut them off, but the lights came with almost identical carragie bolts, so its all good.
so long story short, i got the lights mounted.
BUT, as you can see here, since my bumper is bent, the bracked was pointing over to the left.
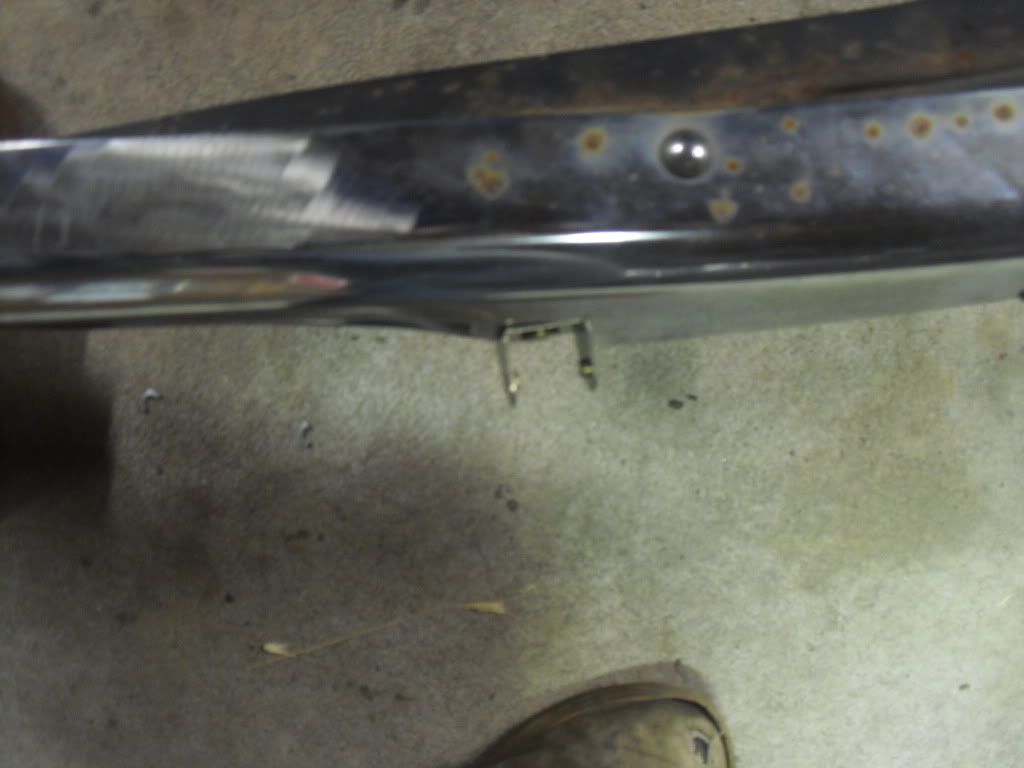
my solution was to cut a lock washer in half, and use it as a spacer/wedge.
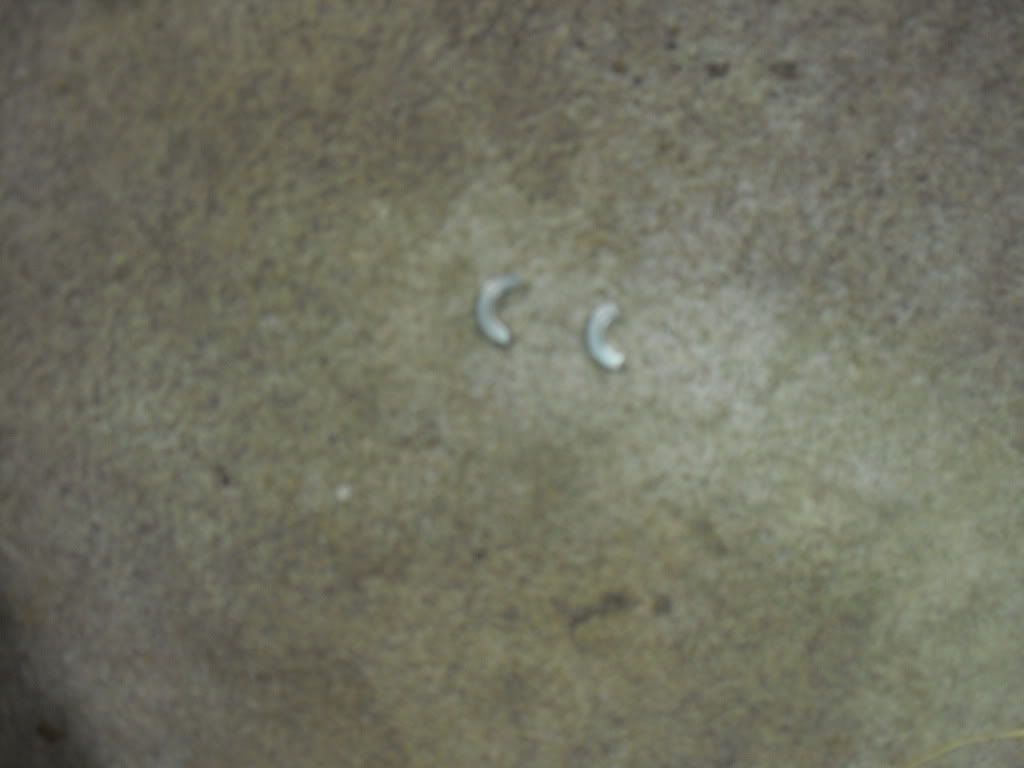
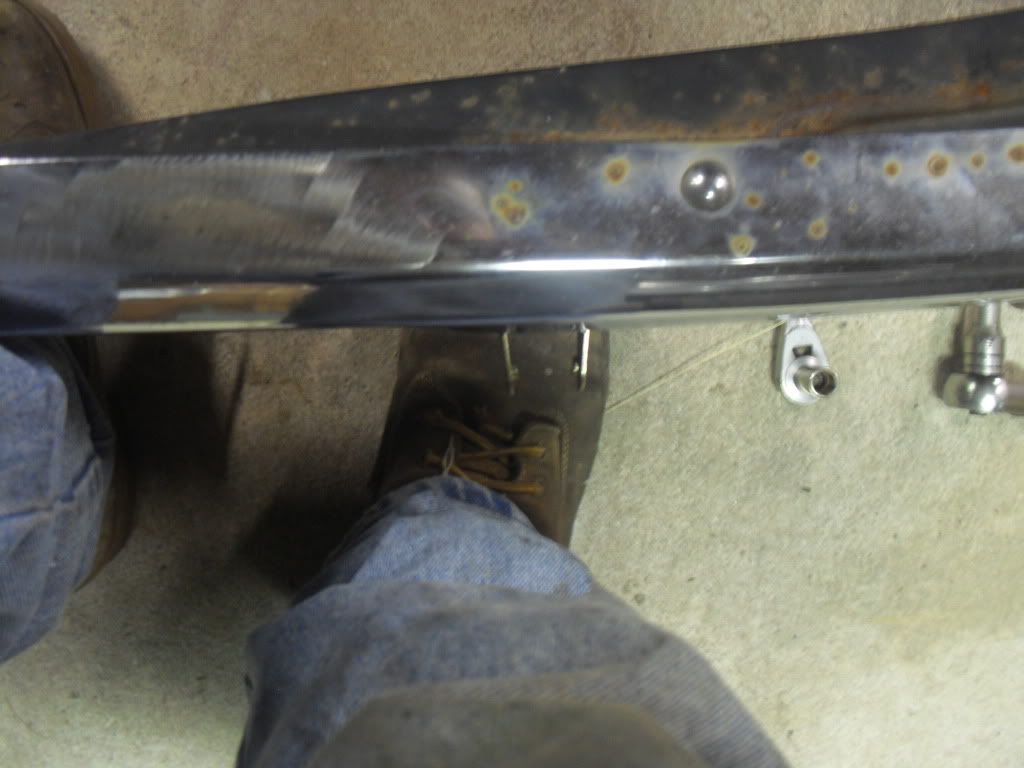
^^all good now
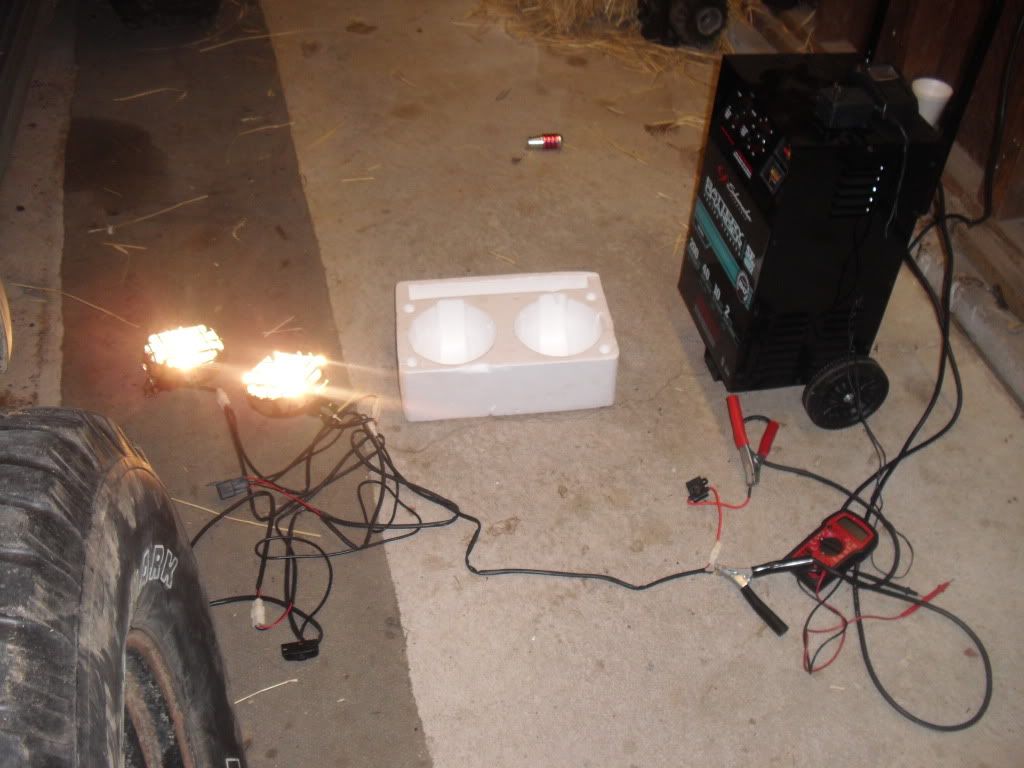
So anyway, long story short. as i was finishing off the wiring, i was sitting infront of the truck on a milk crate, and my truck was smoking pretty bad, turns out i didnt tuck the wires up good enough and as i was working they wiggles loose, and connected to the battery BACKWARDS!!
so pretty much my ground wire got really hot, metled all the wiring harness, and the hot wire. So i was 99% done AND i had to start ALL OVER!!
good thing though, my relay turned out to be okay, and all the "quick disconnects" survived, so what i did was cut them off, and soldered them to my new harness.
i used a red and a black length of 18 guage wire, soldered everything on (relay, switch, inline fuse etc.) then covered all my solders with shrinktube and shrunk it.
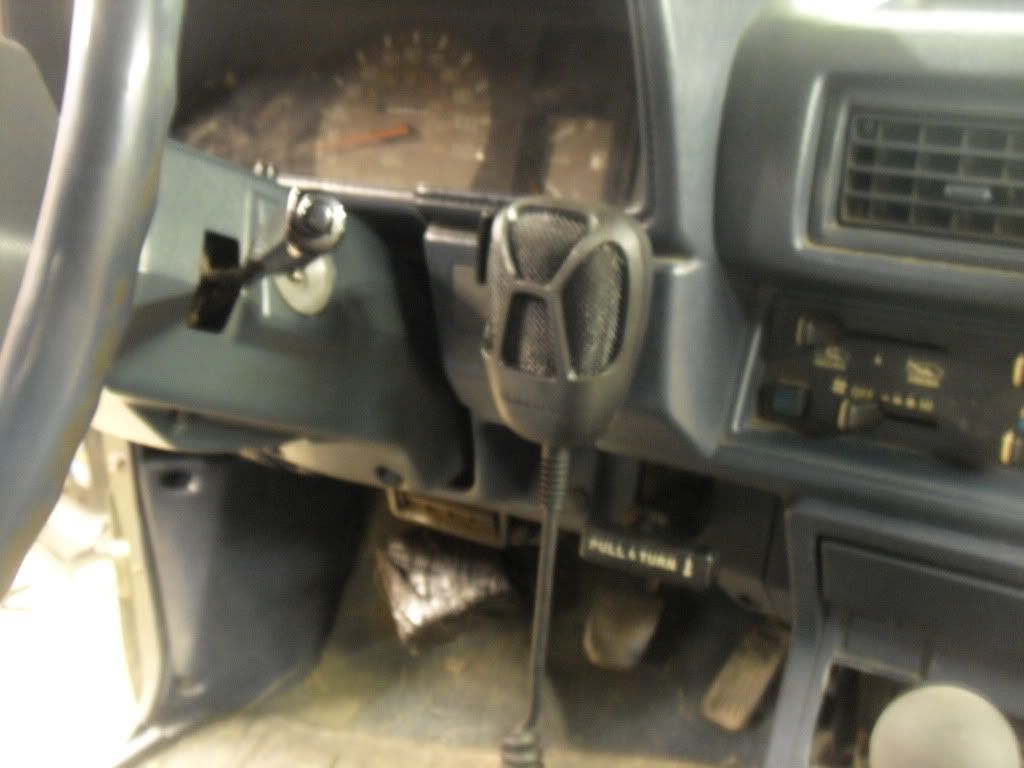
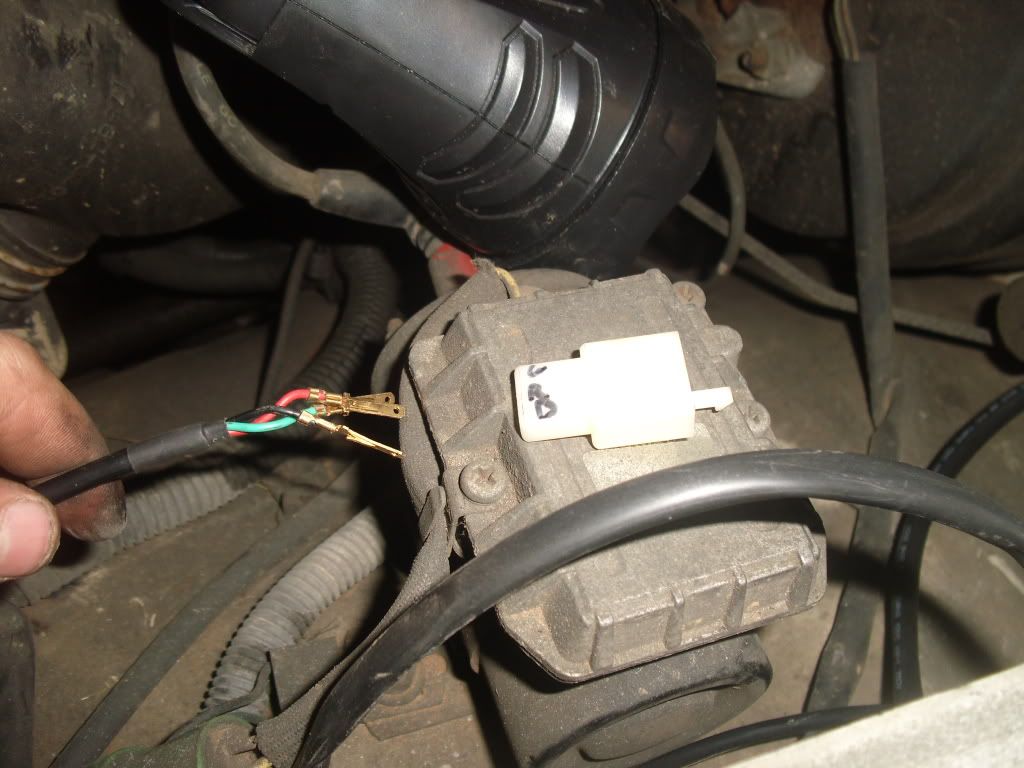
ran my switch into the cab via the hood release cable.
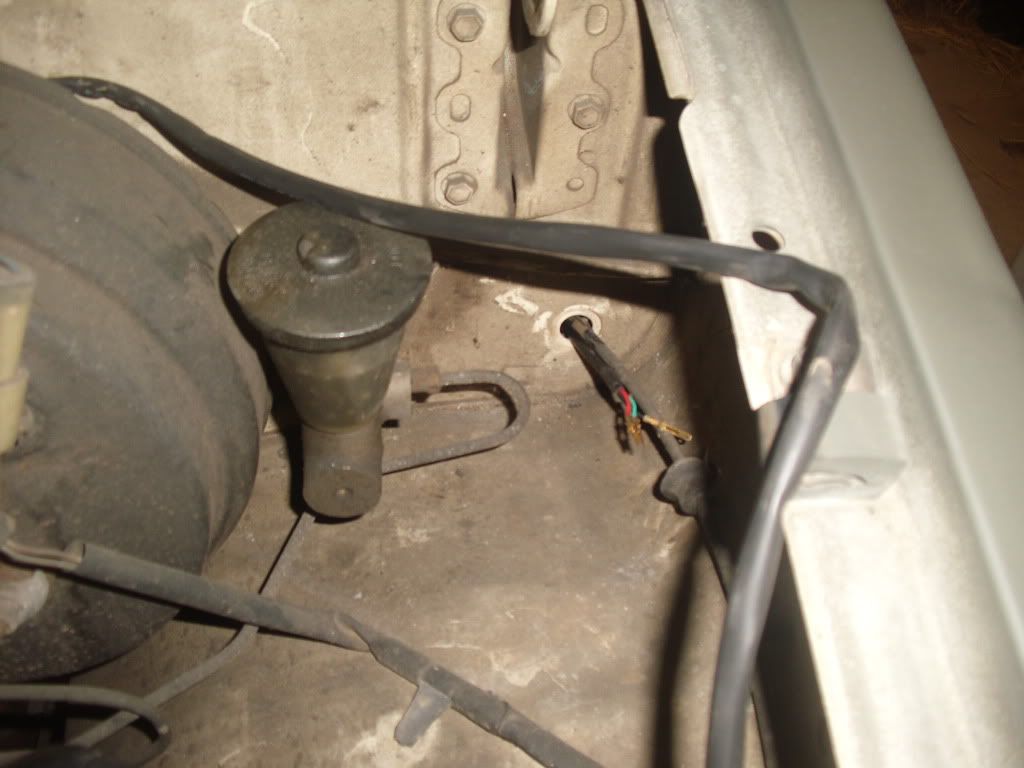
had to take off the plug end to fit the wire through, so i labled it
 .
.
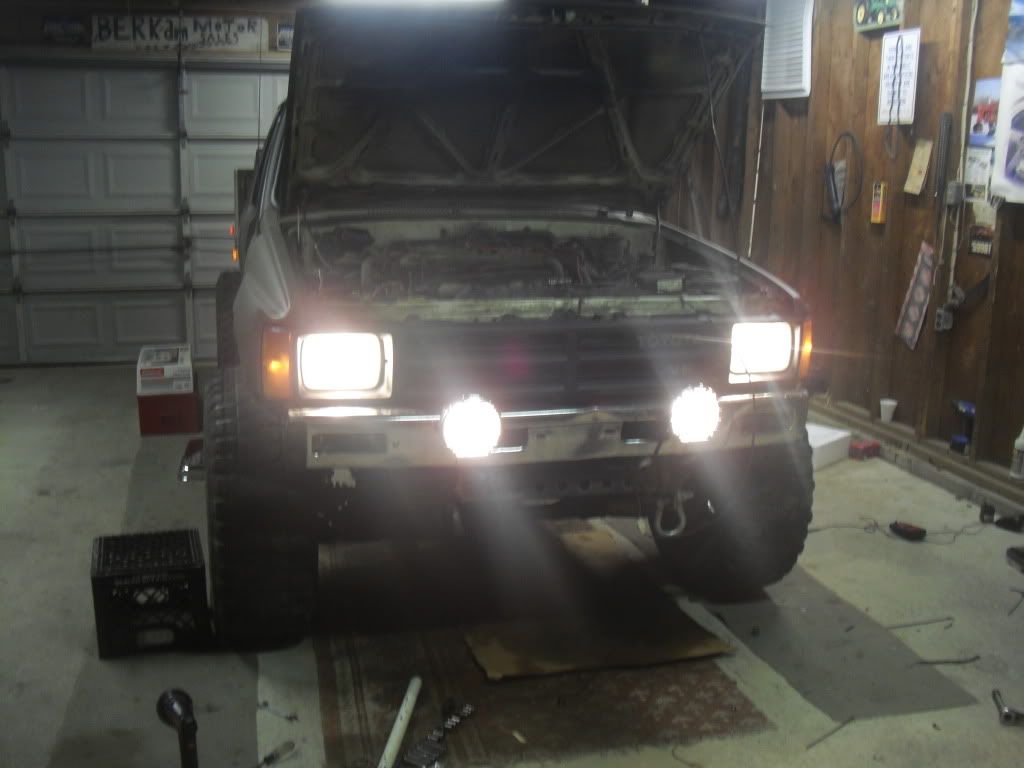
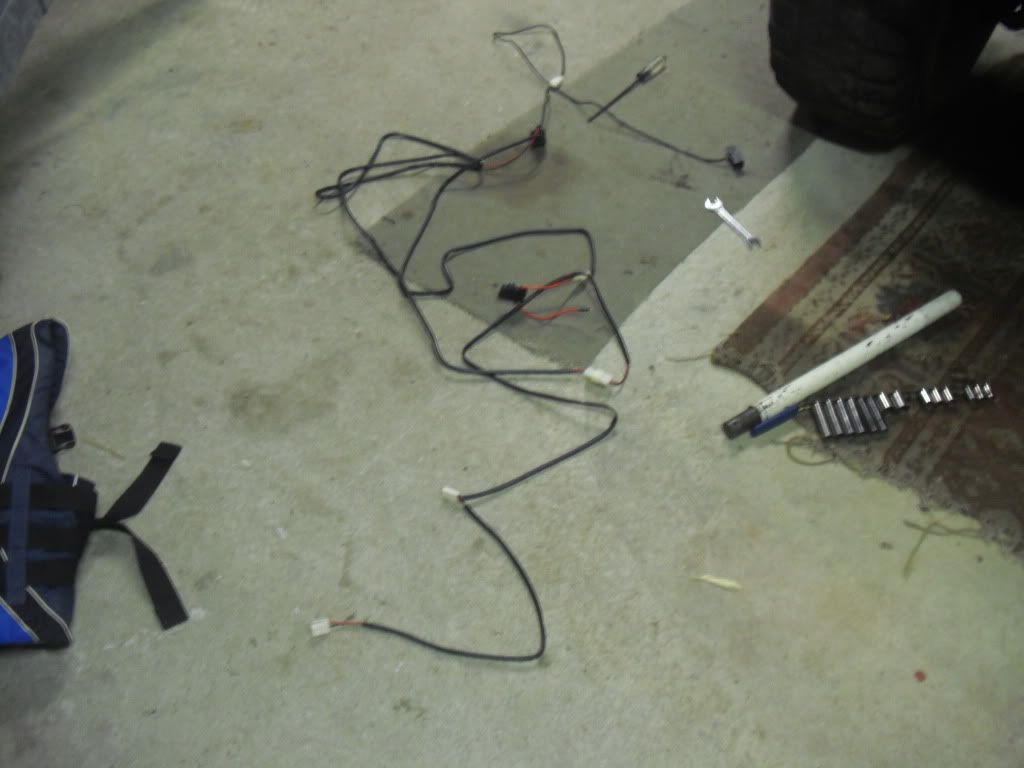
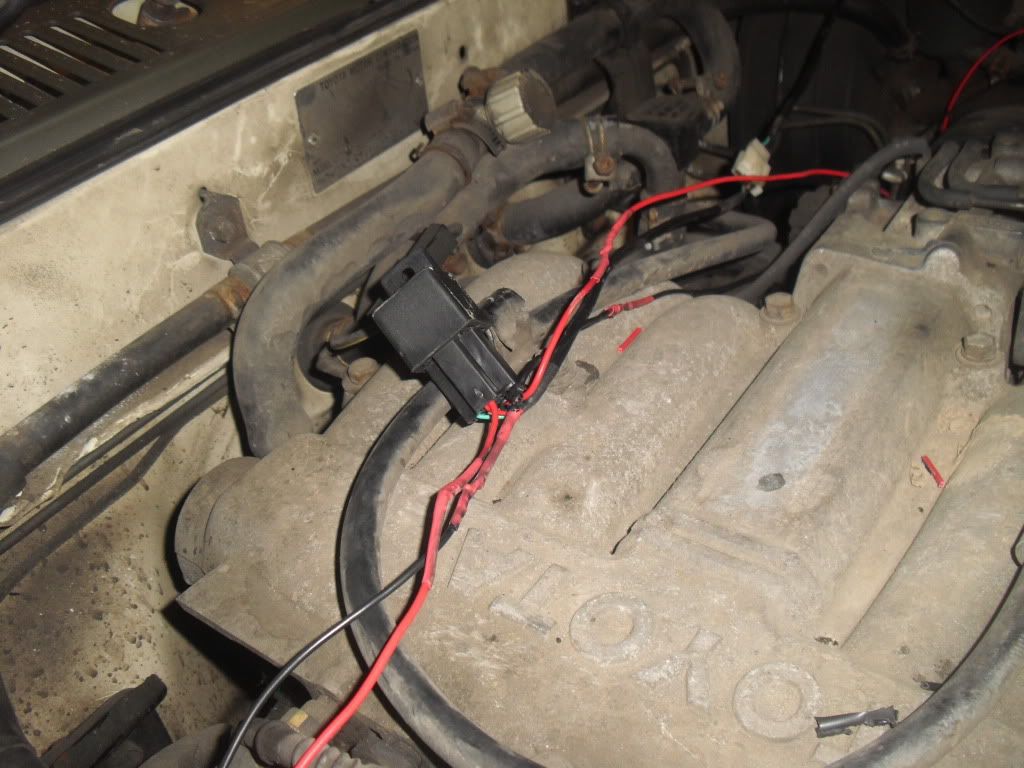
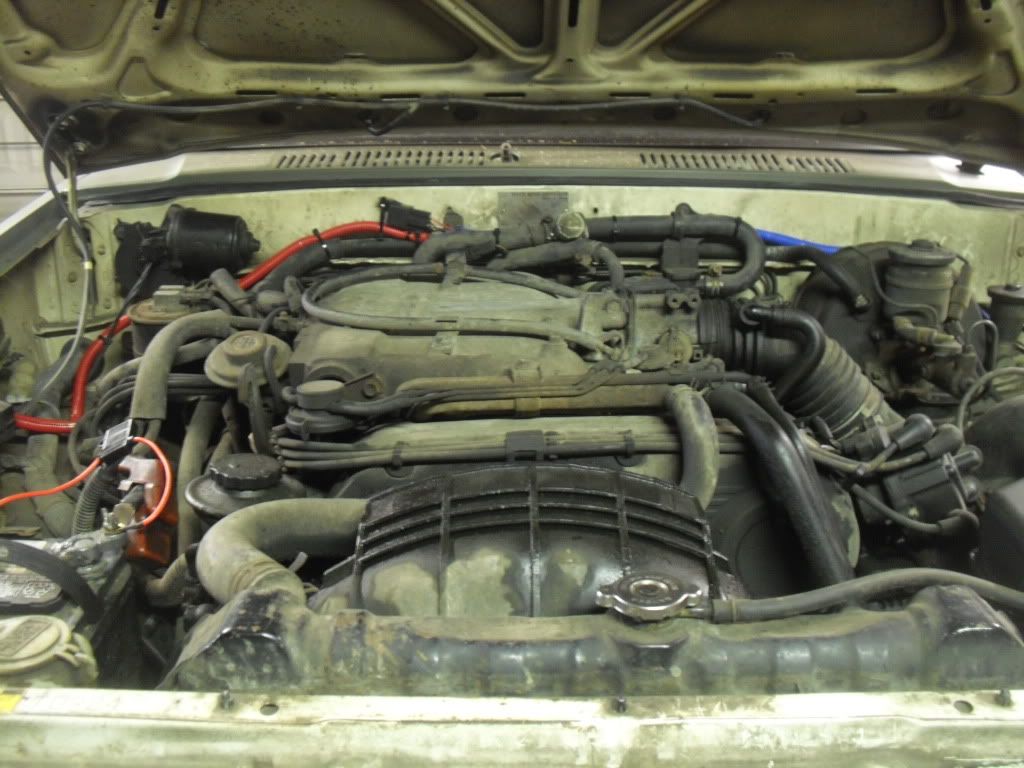
so heres the finished product.
LIGHTS:
WIRING: (NOTE, those extremely UGLY and just plain messy red and blue wire looms are the lights, this is just temporary.)
relay!!
inline fuse:

^^^NOTE, the pink shrinktube looks "burned" but i didnt have a heatgun, so i used a lighter to shrink it, so its just "soot" i guess. anyway, it rubbed off
Heres the stupid switch the thing came with, one i firt opened the box and saw the switch my first though was to ditch it, then it was givin my problems so i opened it up and fixed it, for not its just hangin there, i'll swap it one of these days.

came with an awesome wiring diagram and wiring harness, complete with relay and inline fuse!!
so anyway, thought long and hard, and decided instead of making special brackets, i'll just mount them on the existing holes in the front bumper (didnt want to do this because the lights would be the furthermost thing on the truck, wich wouldnt be pretty if i was ever to misjudge a turn while offroading) But Oh well!!
pulled my bumper off, and got the truck stripped down alittle. heres some pics Just because.
pulled my turn signals out of the bumper, along with the 2 front center carraige bolts. well i actually had to cut them off, but the lights came with almost identical carragie bolts, so its all good.
so long story short, i got the lights mounted.
BUT, as you can see here, since my bumper is bent, the bracked was pointing over to the left.
my solution was to cut a lock washer in half, and use it as a spacer/wedge.
^^all good now
So anyway, long story short. as i was finishing off the wiring, i was sitting infront of the truck on a milk crate, and my truck was smoking pretty bad, turns out i didnt tuck the wires up good enough and as i was working they wiggles loose, and connected to the battery BACKWARDS!!
so pretty much my ground wire got really hot, metled all the wiring harness, and the hot wire. So i was 99% done AND i had to start ALL OVER!!
good thing though, my relay turned out to be okay, and all the "quick disconnects" survived, so what i did was cut them off, and soldered them to my new harness.
i used a red and a black length of 18 guage wire, soldered everything on (relay, switch, inline fuse etc.) then covered all my solders with shrinktube and shrunk it.
ran my switch into the cab via the hood release cable.
had to take off the plug end to fit the wire through, so i labled it
.so heres the finished product.
LIGHTS:
WIRING: (NOTE, those extremely UGLY and just plain messy red and blue wire looms are the lights, this is just temporary.)
relay!!
inline fuse:
^^^NOTE, the pink shrinktube looks "burned" but i didnt have a heatgun, so i used a lighter to shrink it, so its just "soot" i guess. anyway, it rubbed off
Heres the stupid switch the thing came with, one i firt opened the box and saw the switch my first though was to ditch it, then it was givin my problems so i opened it up and fixed it, for not its just hangin there, i'll swap it one of these days.
Last edited by 85gijunk4x4; 07-22-2011 at 04:09 PM.
 07-23-2011, 07:54 PM
#79
Registered User
Thread Starter
07-27-2011, 06:17 PM
#80
Registered User
Thread Starter
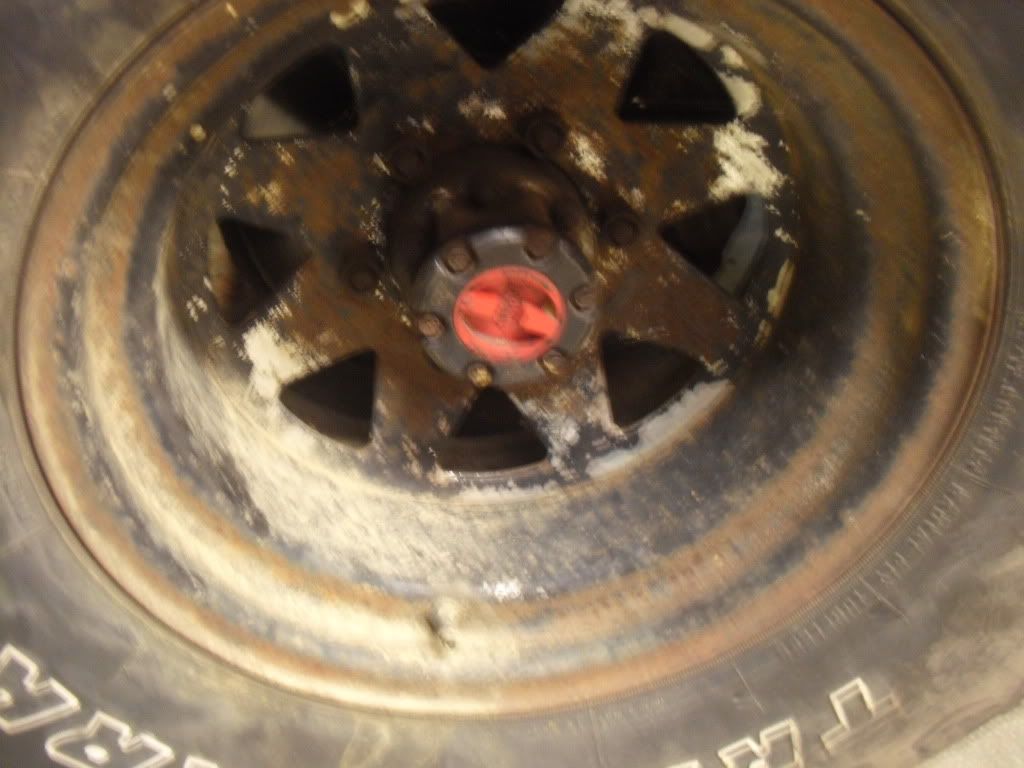
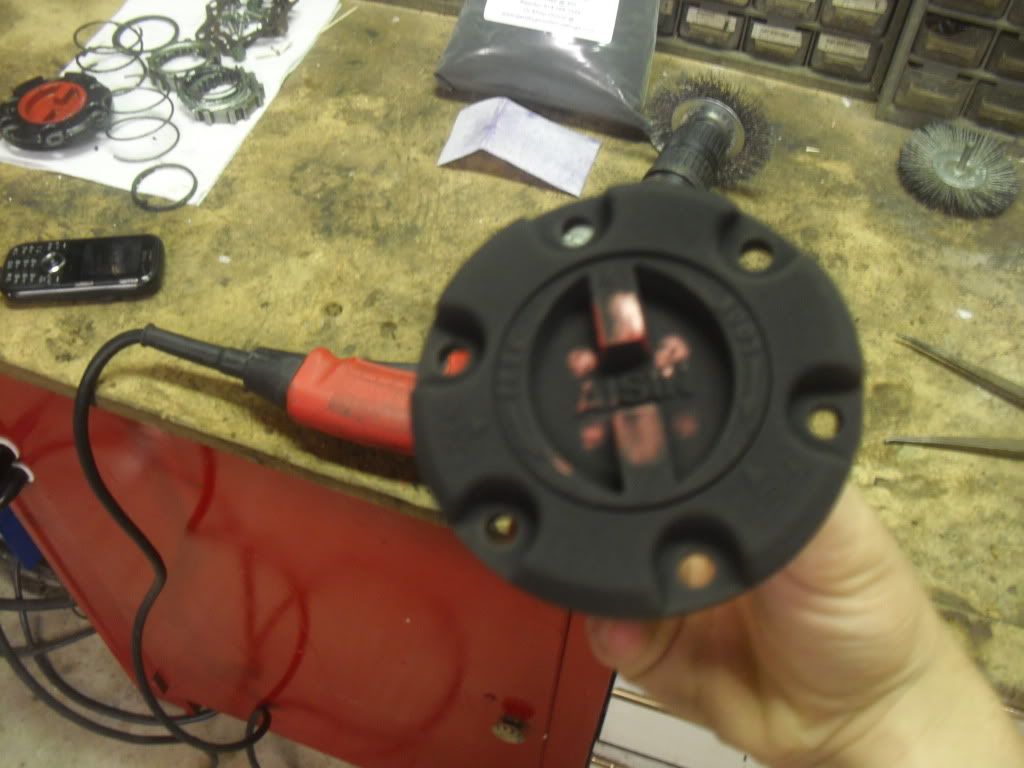
so i powdercoated my hubs!! finally got them to look pretty. i will yet again post up a bunch of pictures and explain what i did
anyway, heres the bad one, at one point i did pull the pass. side off to rattle can it temporarily.
here they are next to eachother

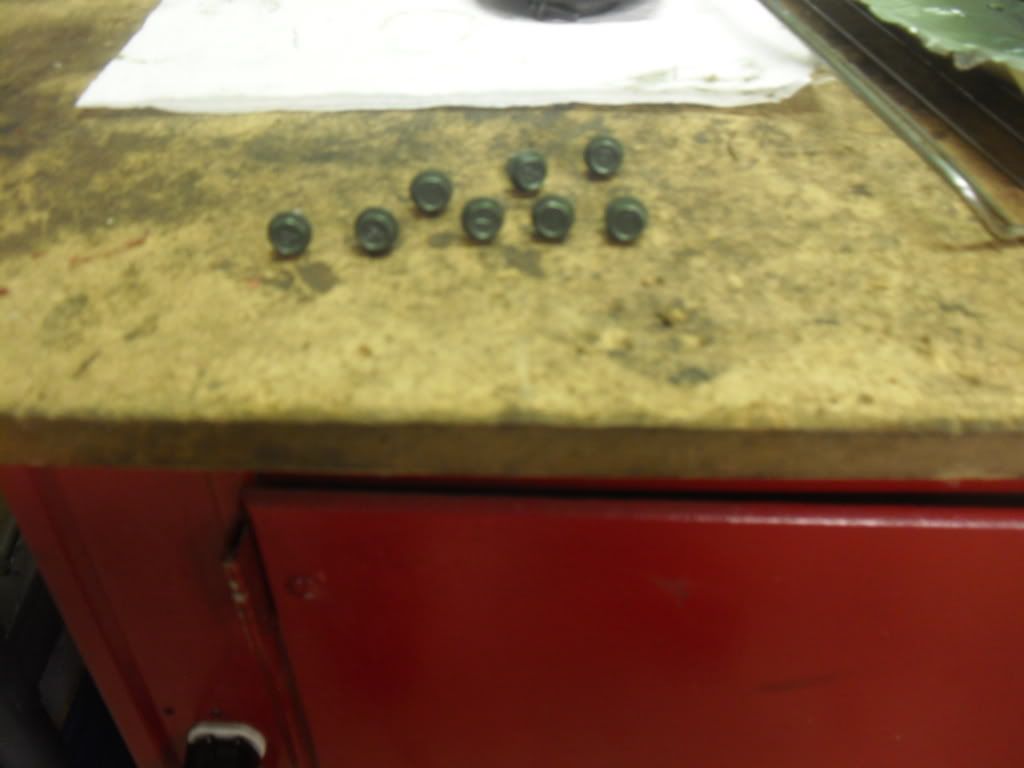
started off with the bolts, sanded them down, then wirewheeled the threads and powdercoated them olive drab
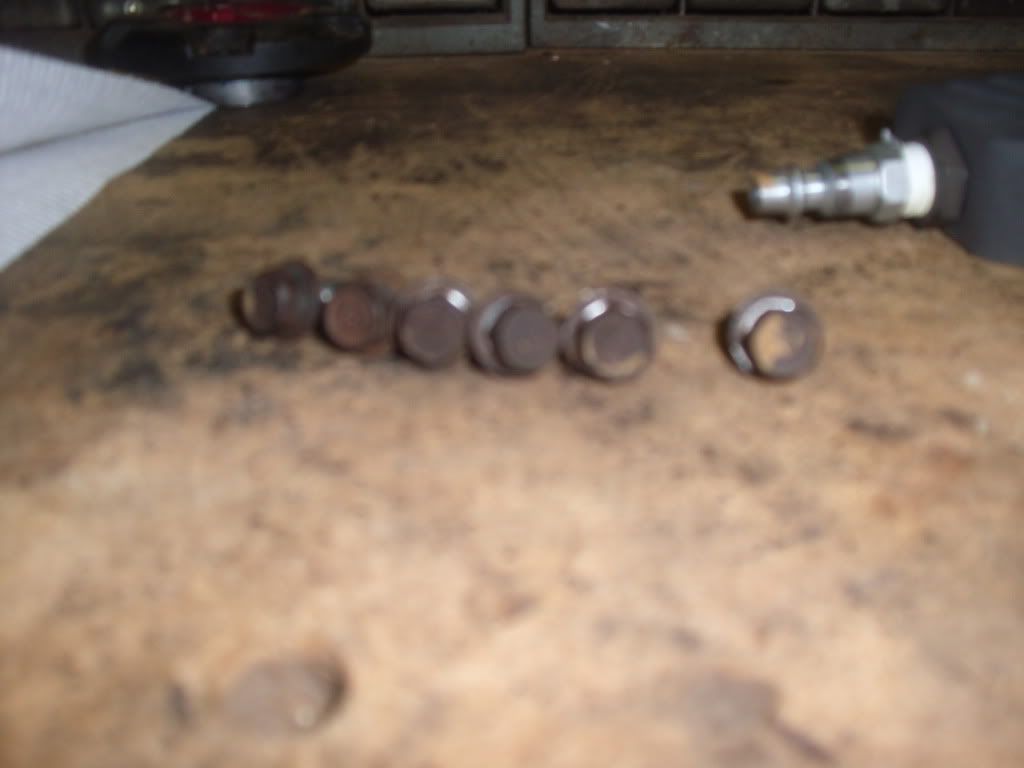
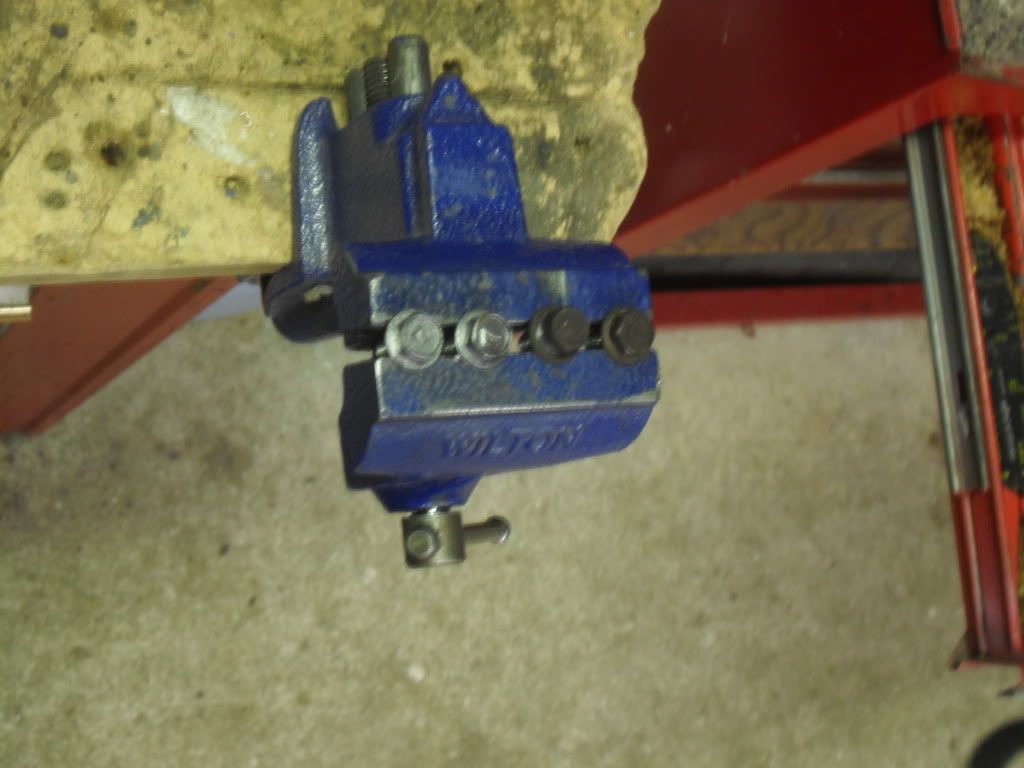
and all done!!
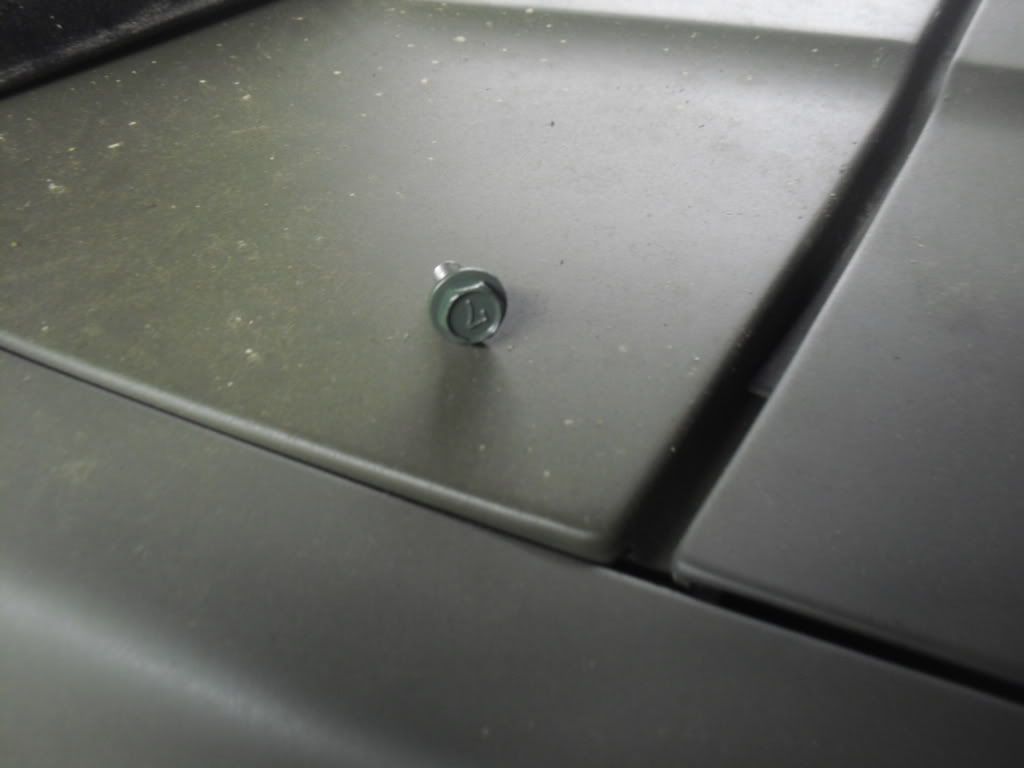
then got to work on the dials and rings, once i got the rings all good to go, i used my dial to keep powder from getting inside the ring wall (or whatever its called)
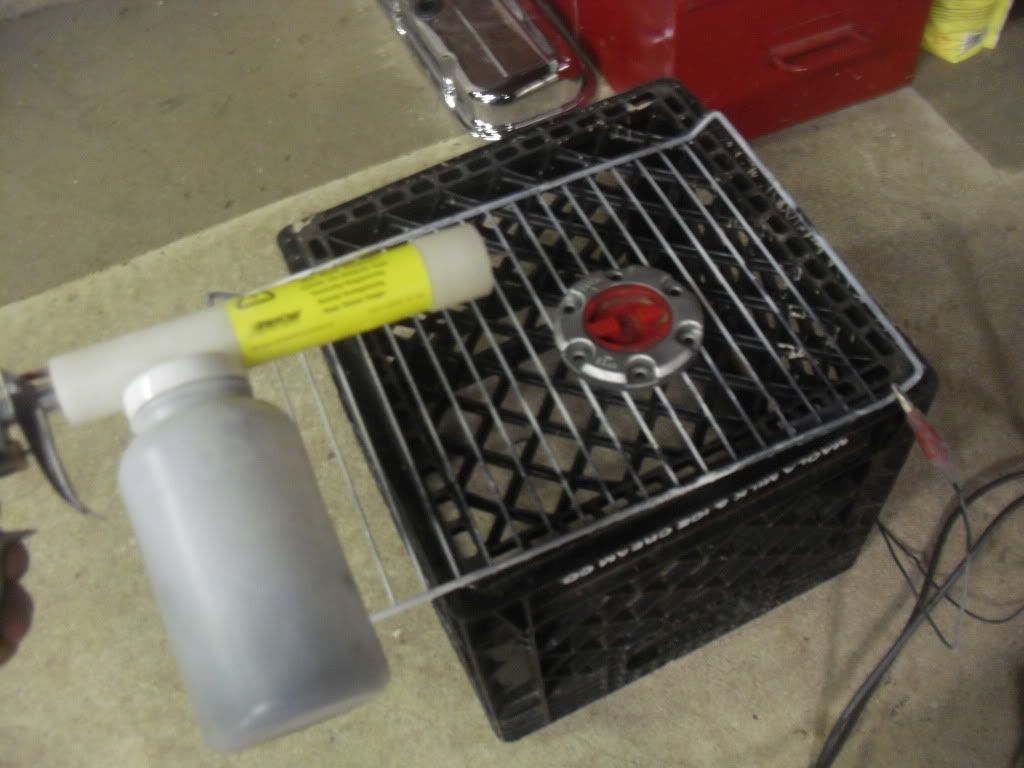
then just for kicks i took this picture, it was right after i put the powder on, you can se where it touched it on the dial, its bassicly on there like dust, but once it cooks it comes out as a thick coating.
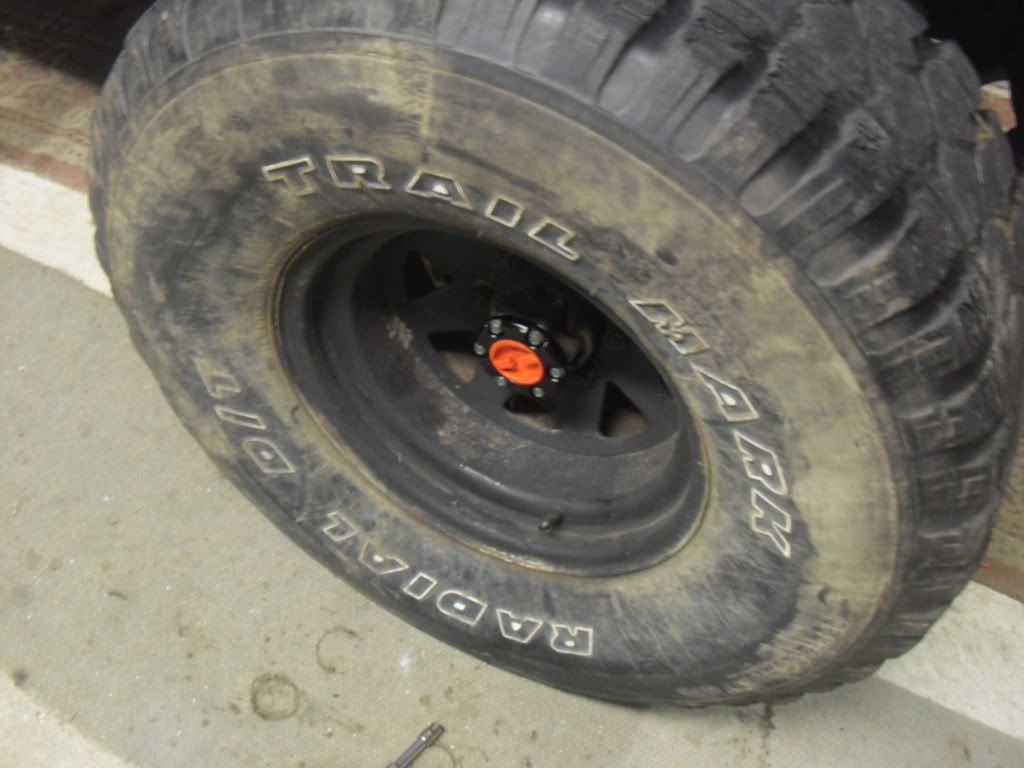
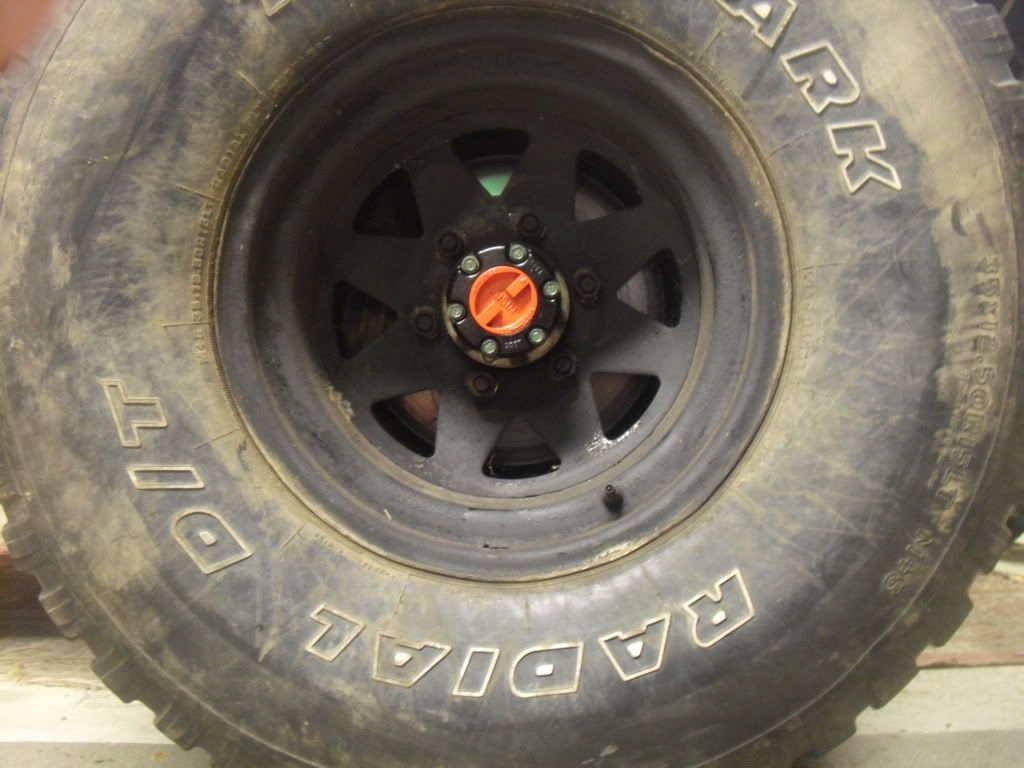
so anyway, fast forward, they're all done and put back on, i wish the red came out redder and less oranger, hope these pics look good. i tried forever to get a non-blurry pic.
anyway, heres the bad one, at one point i did pull the pass. side off to rattle can it temporarily.
here they are next to eachother
started off with the bolts, sanded them down, then wirewheeled the threads and powdercoated them olive drab
and all done!!
then got to work on the dials and rings, once i got the rings all good to go, i used my dial to keep powder from getting inside the ring wall (or whatever its called)
then just for kicks i took this picture, it was right after i put the powder on, you can se where it touched it on the dial, its bassicly on there like dust, but once it cooks it comes out as a thick coating.
so anyway, fast forward, they're all done and put back on, i wish the red came out redder and less oranger, hope these pics look good. i tried forever to get a non-blurry pic.


