
4BYDUDE's 92 single cab Build-Up Thread
 Apr 26, 2013 | 02:50 PM
#21
Thread Starter
Registered User
Joined: Dec 2011
Posts: 46
Likes: 0
From: Australia
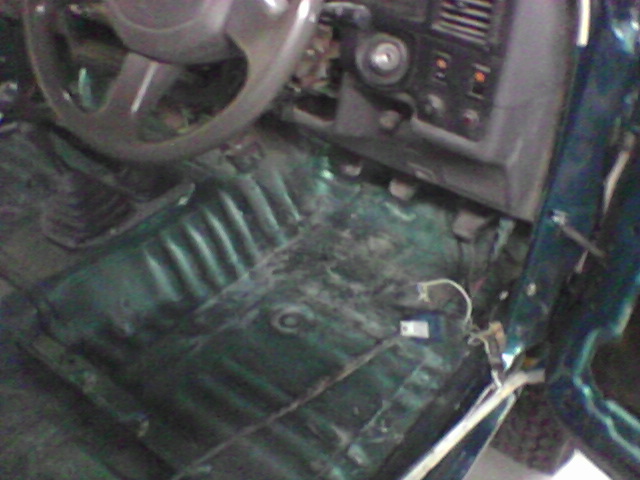
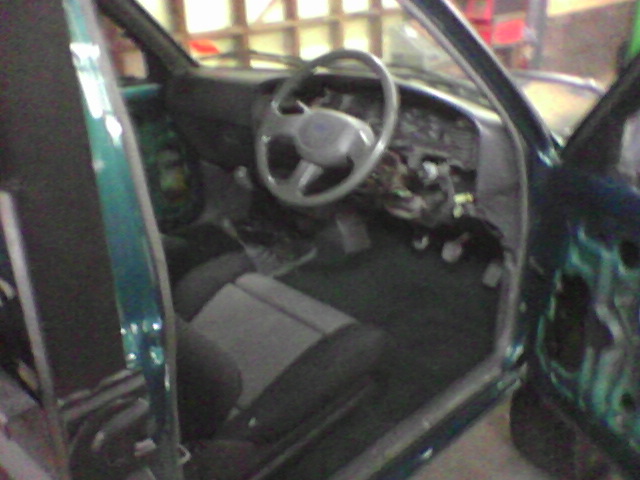
Time for an update. Interior time.
Not much going on here lots of ˟˟˟˟ wiring to fix up.
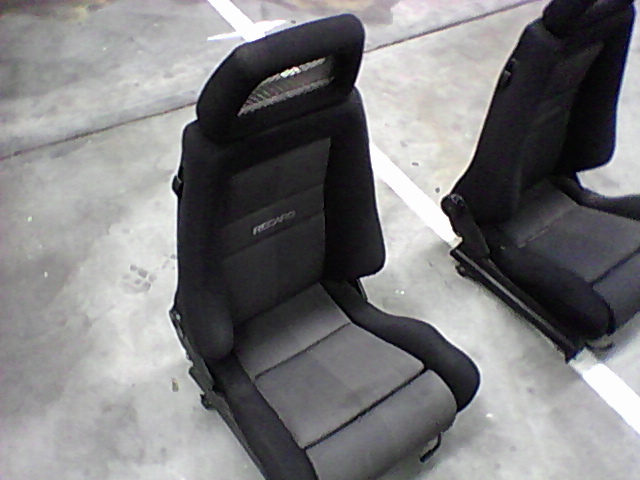
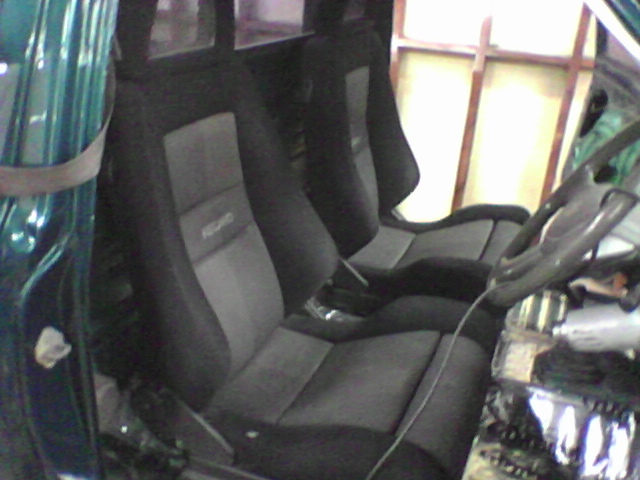
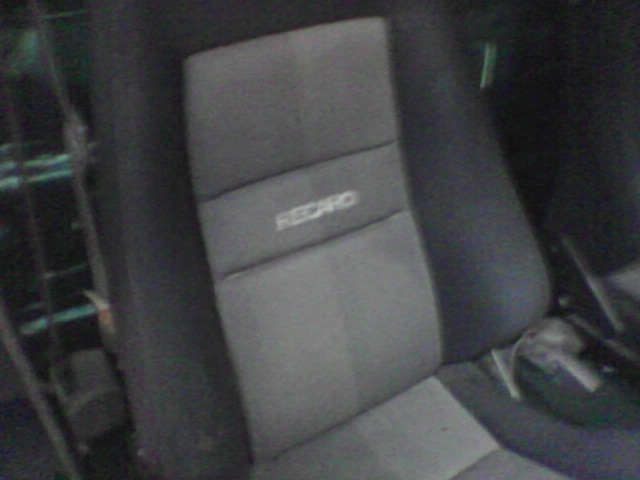
Picked up these bad boys at the wreckers for 150 each. they were out of a jap import ssrx Surf/4runner and are a straight swap even tho mine had a bench seat.
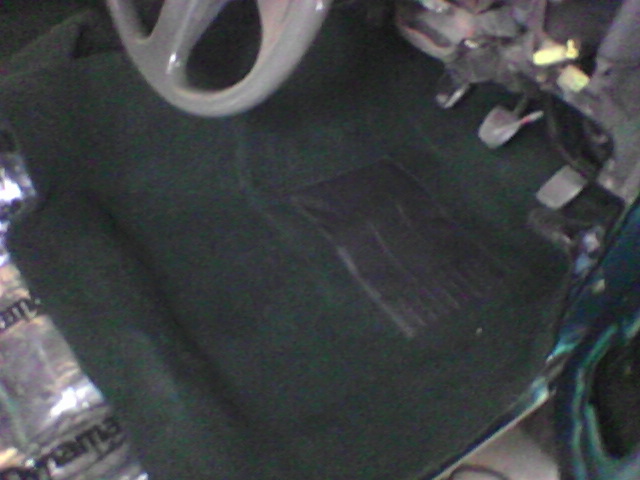
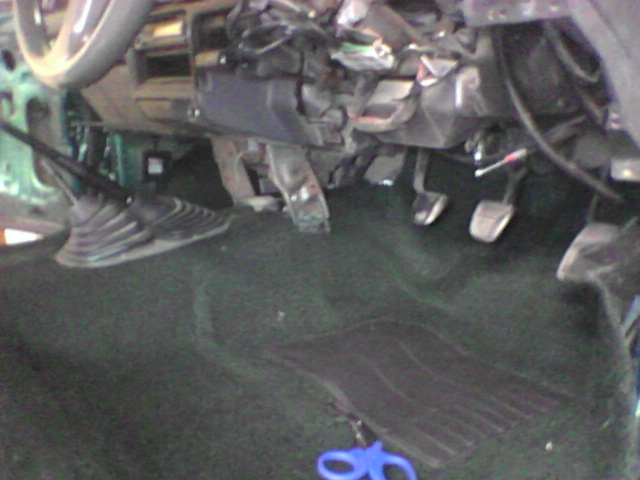
Getting ready for dynamat install. always important to have a dry clean surface for the mat to bond to.
Not much going on here lots of ˟˟˟˟ wiring to fix up.

Picked up these bad boys at the wreckers for 150 each. they were out of a jap import ssrx Surf/4runner and are a straight swap even tho mine had a bench seat.

Getting ready for dynamat install. always important to have a dry clean surface for the mat to bond to.


Last edited by 4BYDUDE; Apr 26, 2013 at 05:00 PM.
Apr 26, 2013 | 03:03 PM
#22
Thread Starter
Registered User
Joined: Dec 2011
Posts: 46
Likes: 0
From: Australia
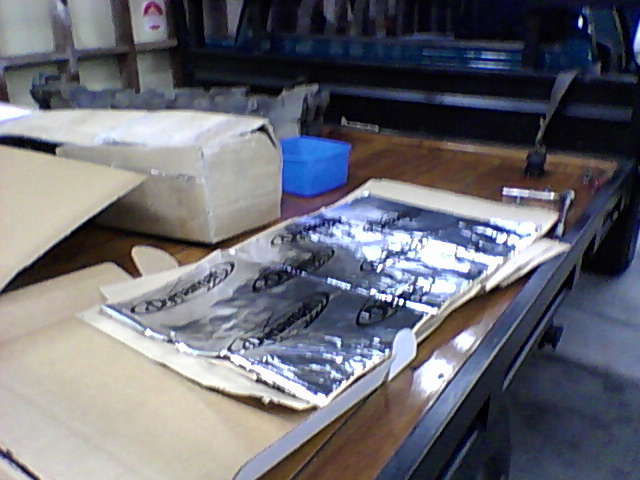
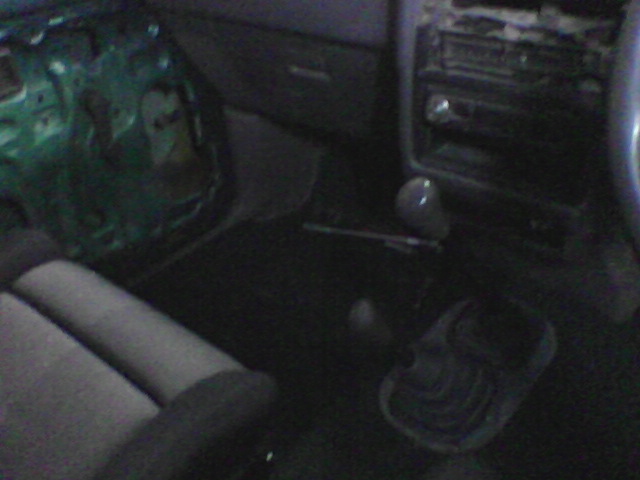
Some pics of the dynamat installed, I used a heat gun and a small wooden roller to apply the mat. Its not coming off in a hurry.
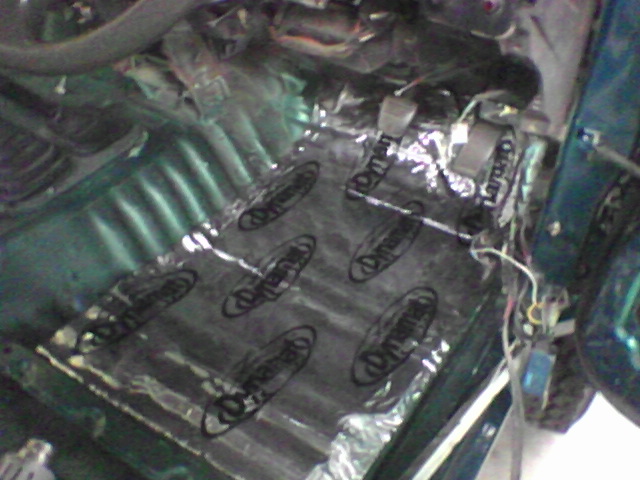
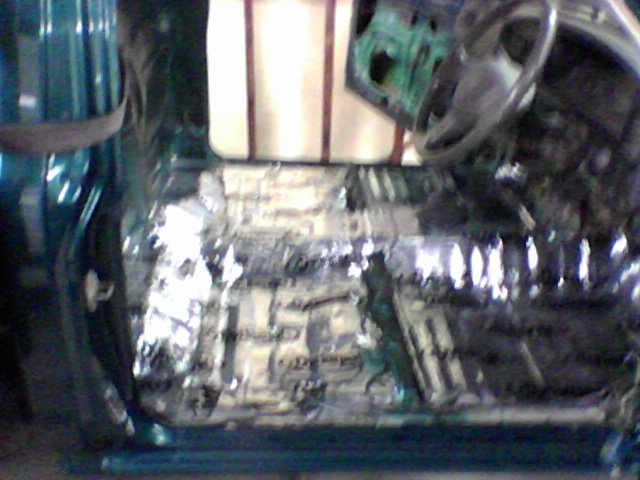
sorry for the poor quality cell phone photos.
mocking up the seats to cut holes in the dynamat.
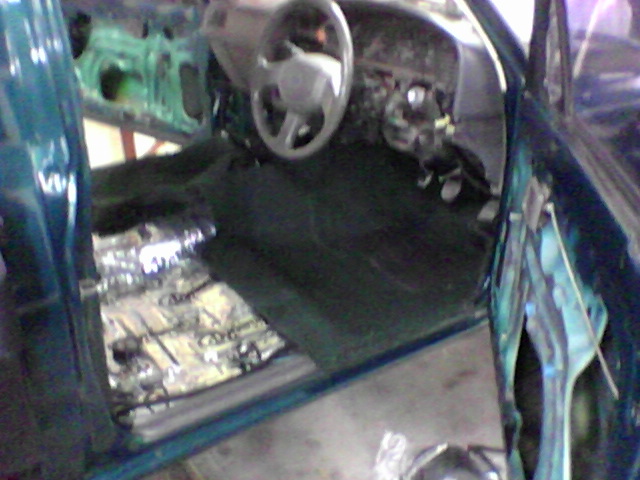
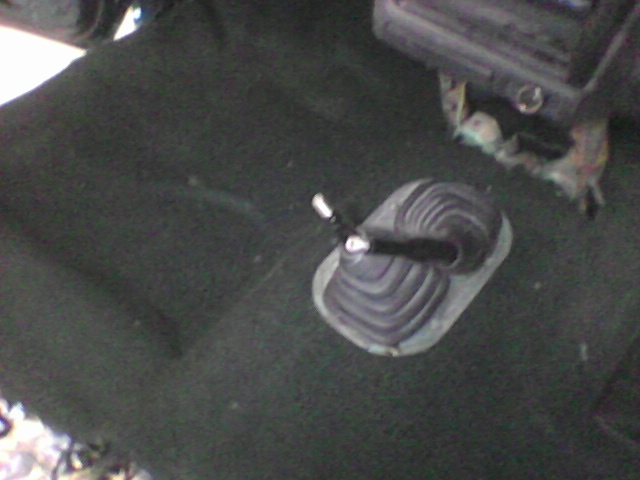
Got some moulded carpet off ebay but it was not a very good fit, ill have to get a better set but for now it will do.


sorry for the poor quality cell phone photos.
mocking up the seats to cut holes in the dynamat.

Got some moulded carpet off ebay but it was not a very good fit, ill have to get a better set but for now it will do.


 Apr 26, 2013 | 03:16 PM
#23
Thread Starter
Registered User
Joined: Dec 2011
Posts: 46
Likes: 0
From: Australia
Time to install the seats.
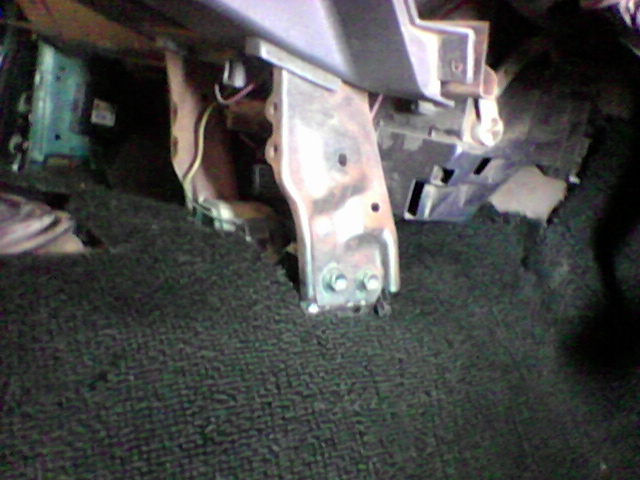
The seat didn't line up with the threaded hole on the seat support but instead it lined up with another hole next to it. the hole is still on the double thick raised seat support section so I just threw a high tensile bolt and lock nut there instead.
The difference between cabs must be where the welded nuts are placed for what type of seat it comes out with but they still cut the holes for every seating option. Good old Toyota, always a way around it.
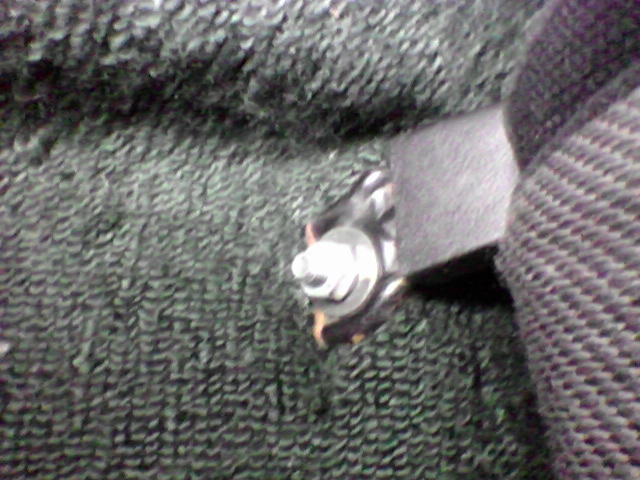
Had to use a different size bolt here as the bench seat used a different size and spot.

 Apr 26, 2013 | 03:43 PM
#24
Thread Starter
Registered User
Joined: Dec 2011
Posts: 46
Likes: 0
From: Australia
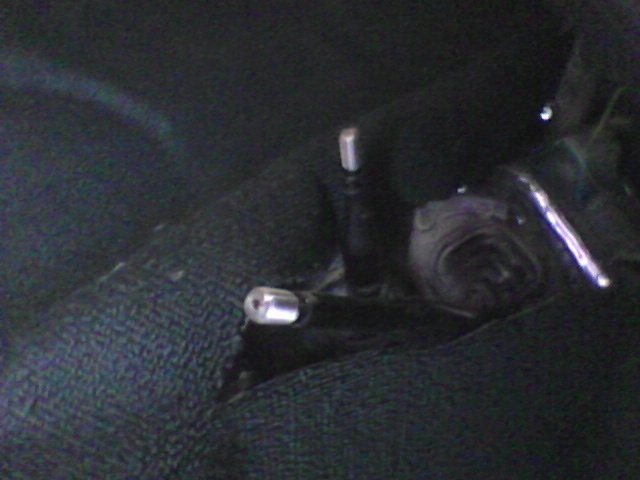
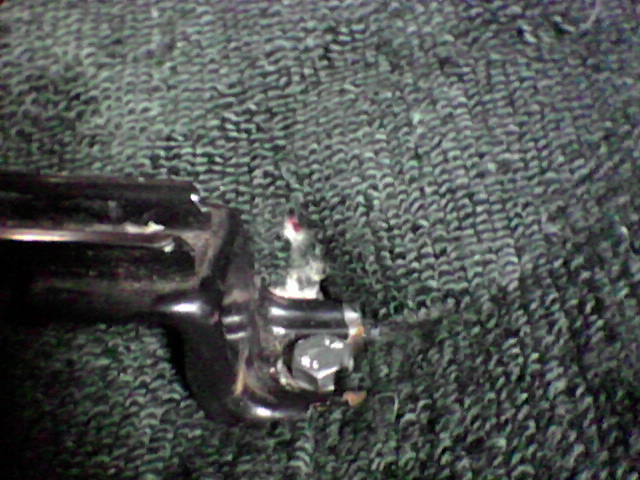
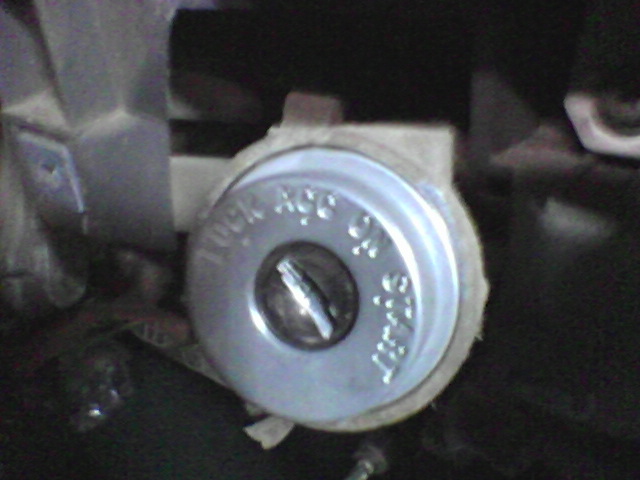
Threw in a new ignition barrel and door locks all keyed a-like. Was so over having three keys for the two doors and a different one for the ignition.
Also chucked some chrome handles on.
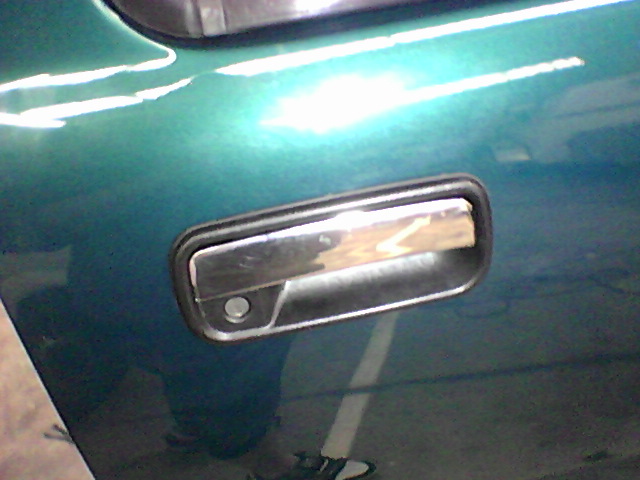
Starting to look like something
Also chucked some chrome handles on.


Starting to look like something


 Apr 26, 2013 | 04:44 PM
#25
Thread Starter
Registered User
Joined: Dec 2011
Posts: 46
Likes: 0
From: Australia
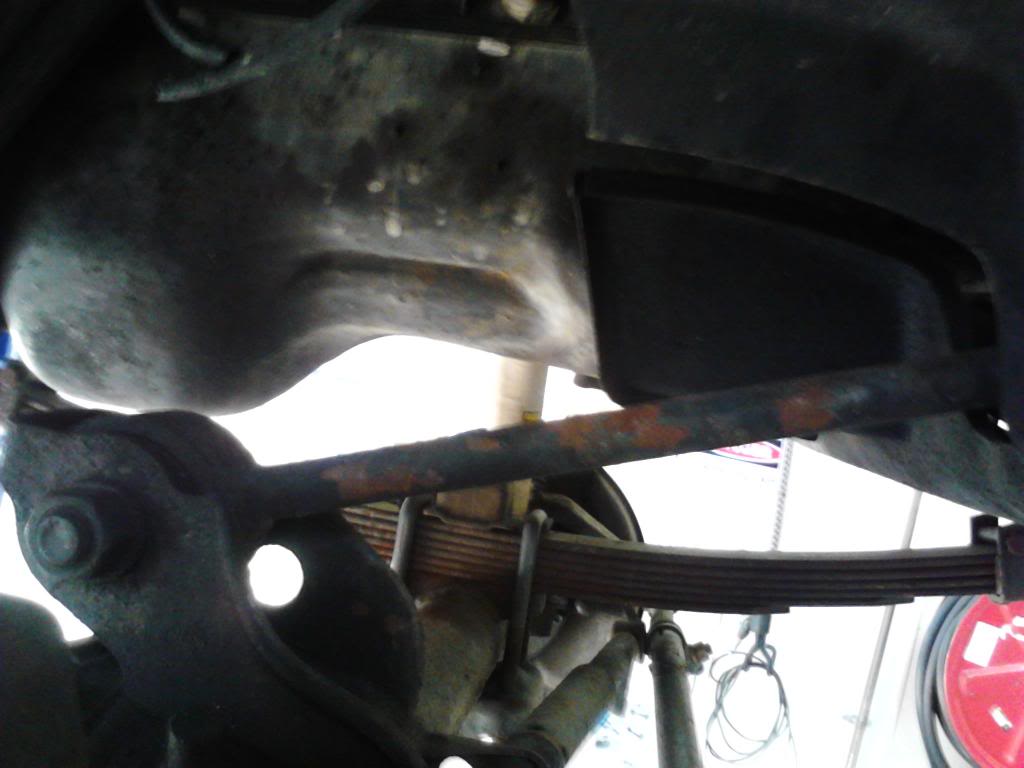
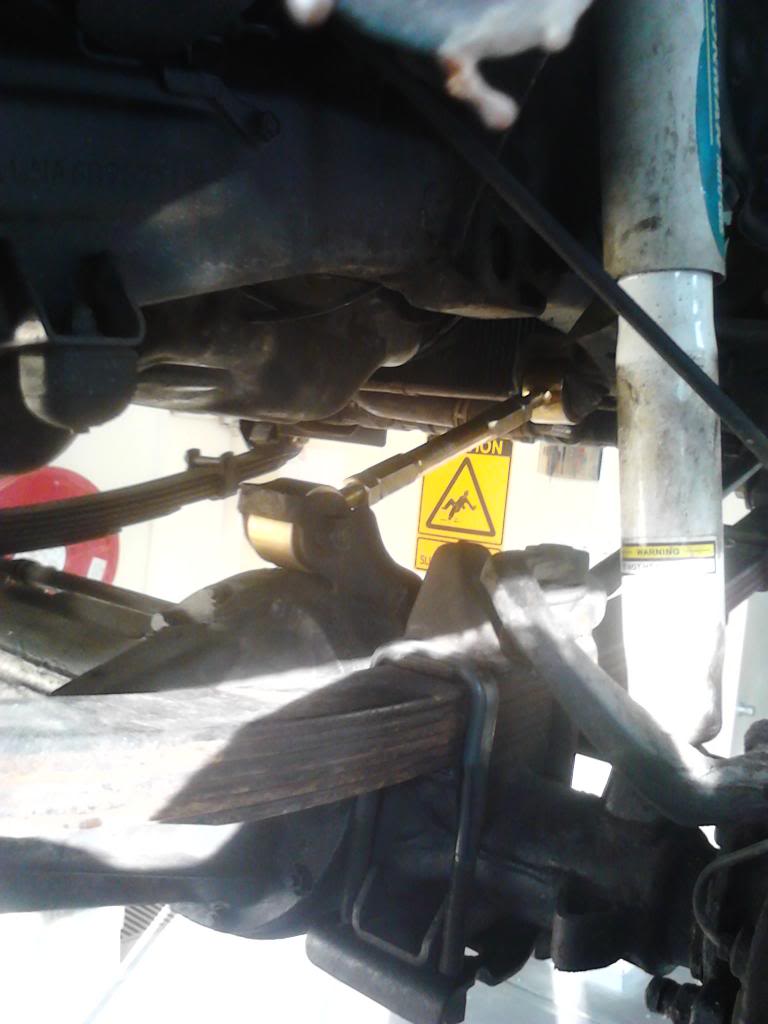
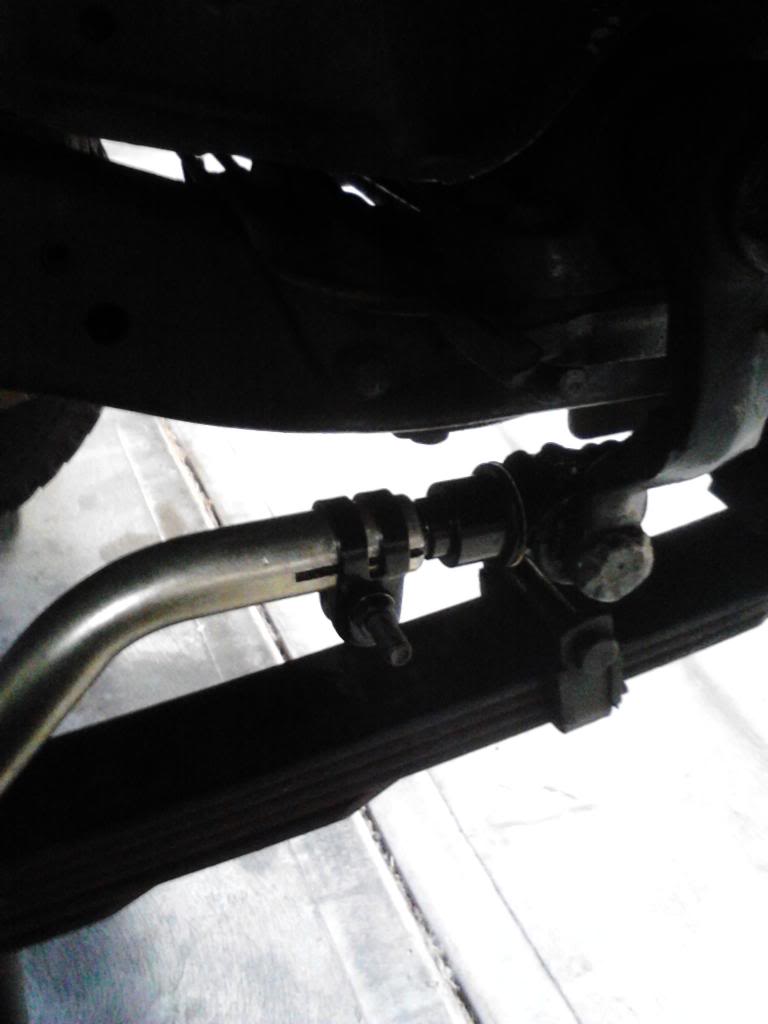
The truck has been lifted by the p/o but he could not remember how high so it was probably done by the bloke before him. I noticed it didn't have greaseable shackles or an adjustable Torquerod so thought id do a freshen up on the suspension.
Bad drag link angle

Going to replace this
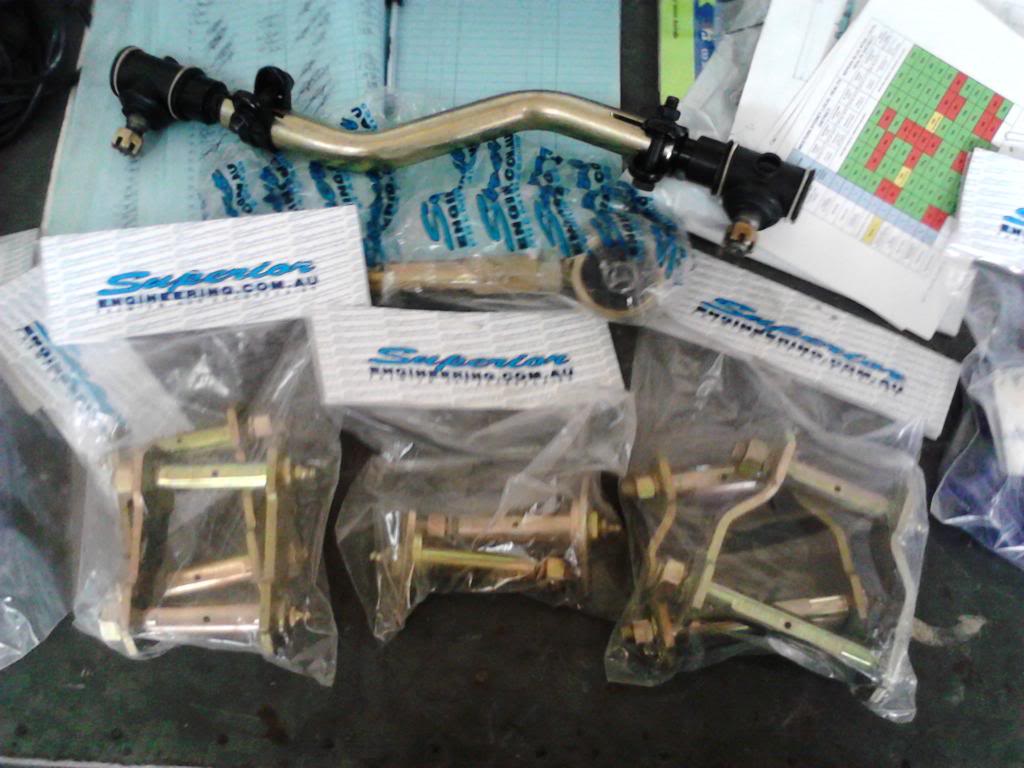
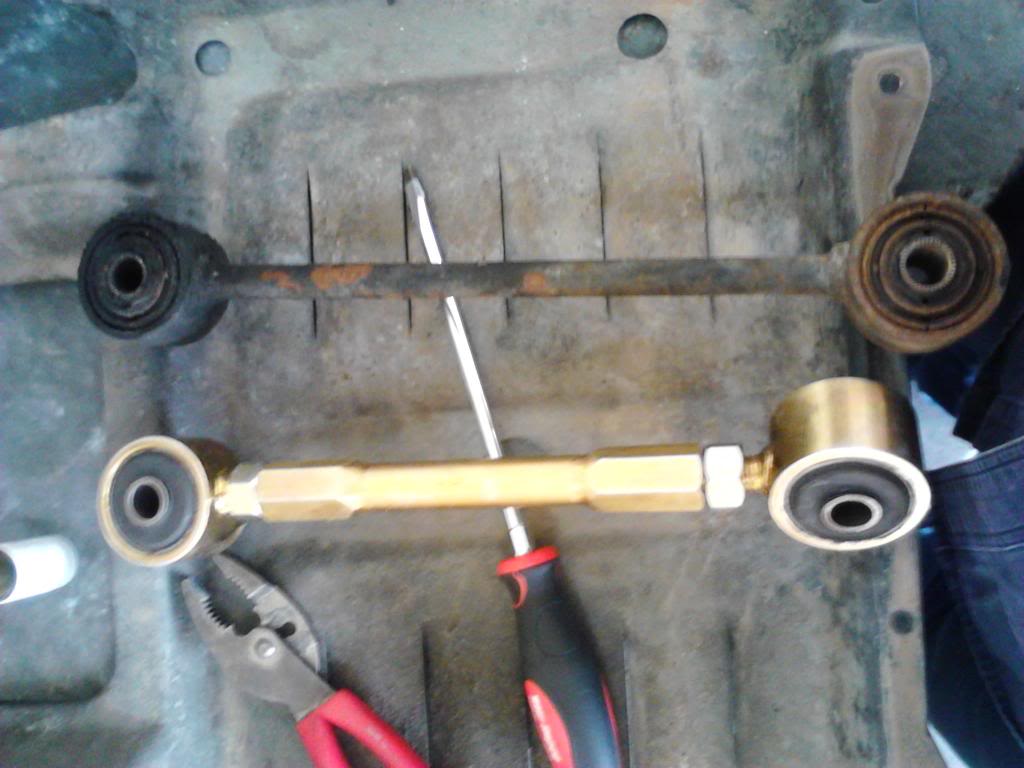
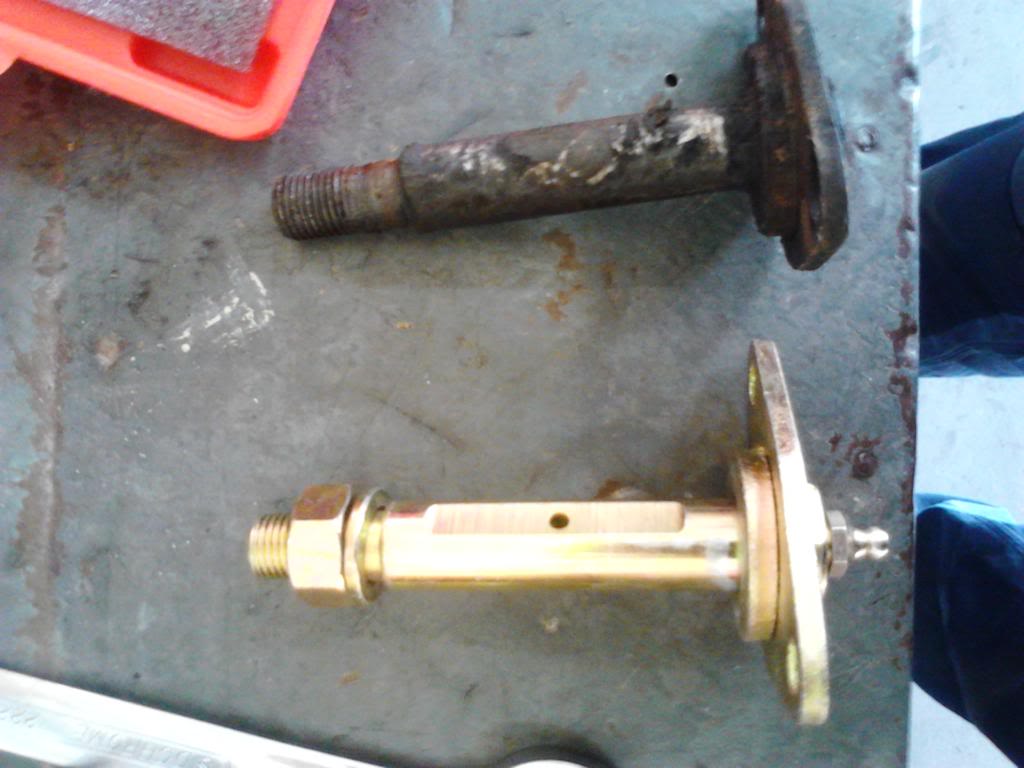
Spent some money at superior.
This top bolt was hard to get out with all the force pulling on the short torque rod.
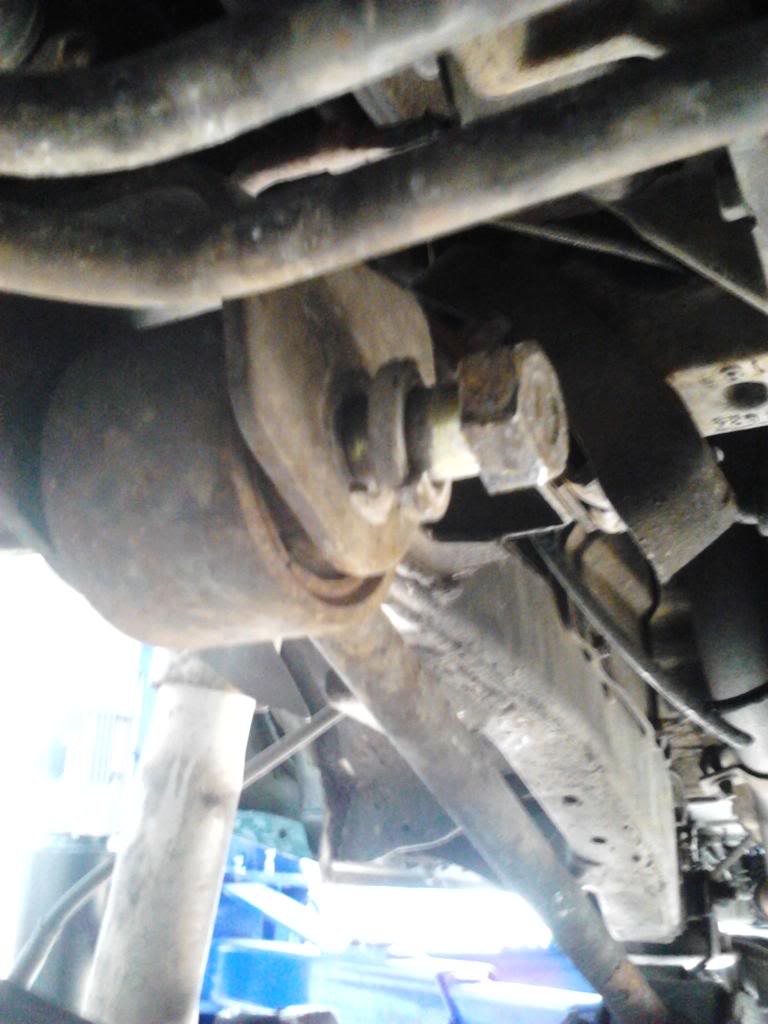
a fair bit of misalignment
the new and old

Bad drag link angle

Going to replace this

Spent some money at superior.

This top bolt was hard to get out with all the force pulling on the short torque rod.

a fair bit of misalignment

the new and old
 Apr 26, 2013 | 04:57 PM
#26
Thread Starter
Registered User
Joined: Dec 2011
Posts: 46
Likes: 0
From: Australia
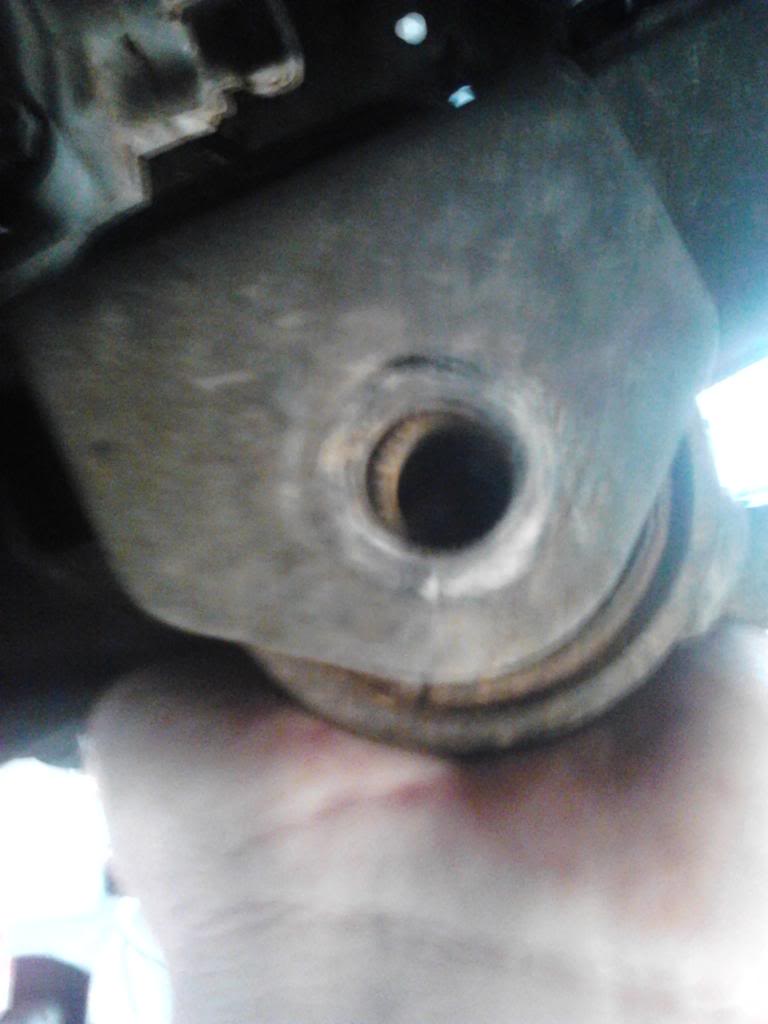
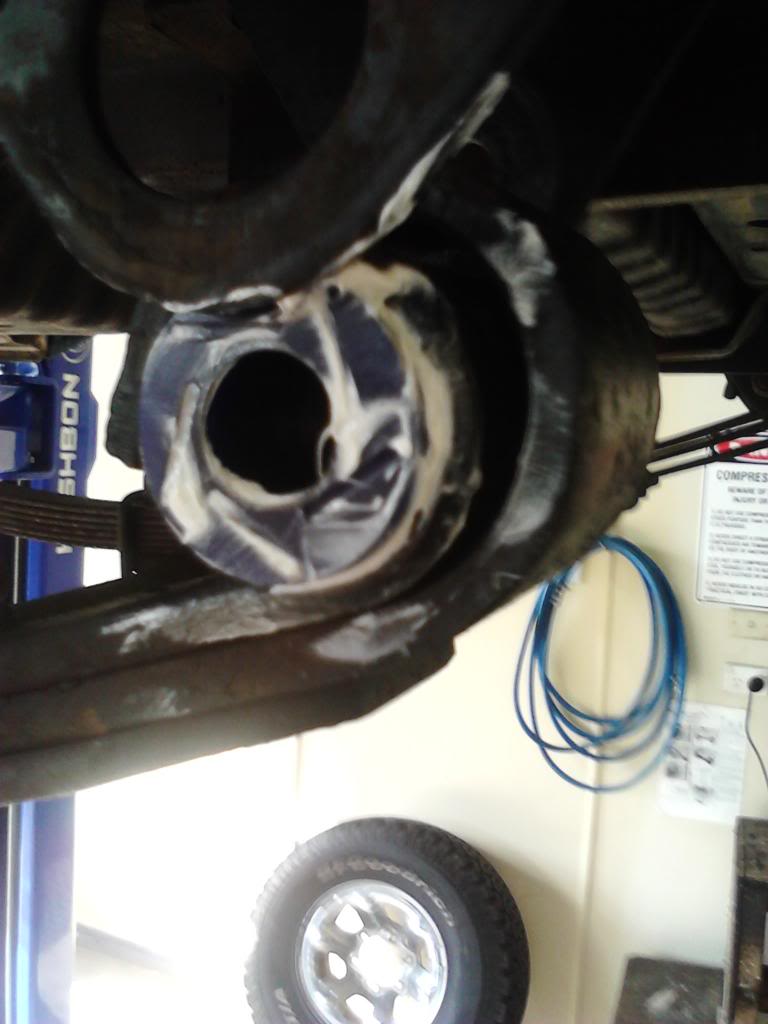
Yuck
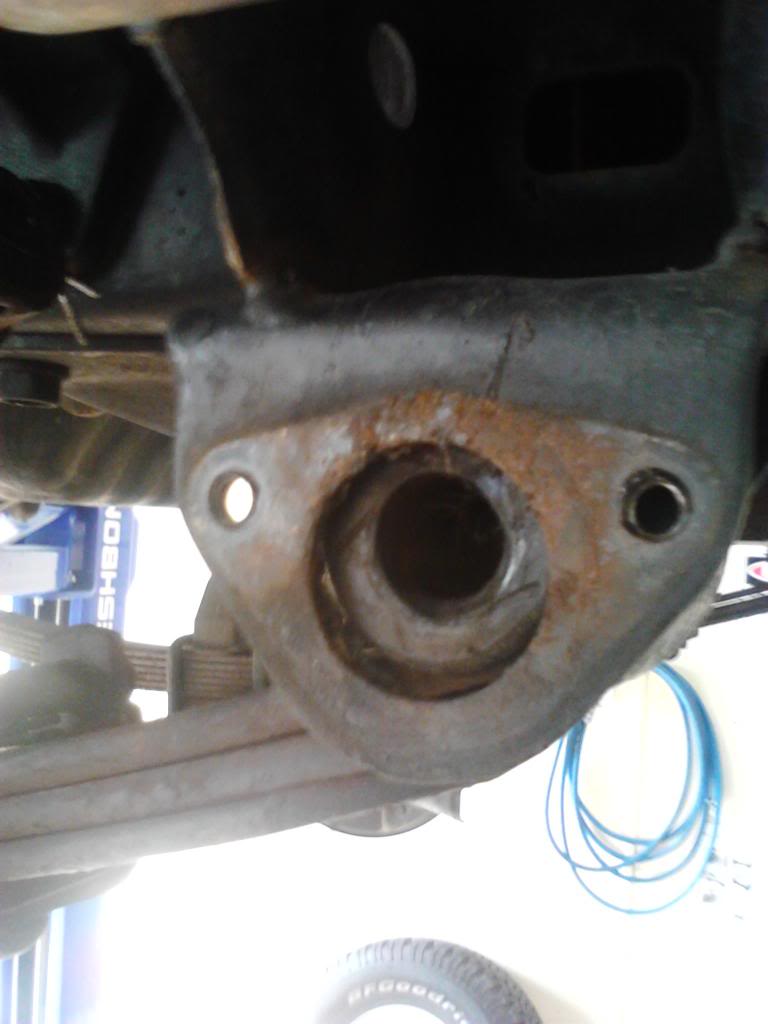
Pit City!
Caused by bushes that require grease not being greased.
New and old
New bushes
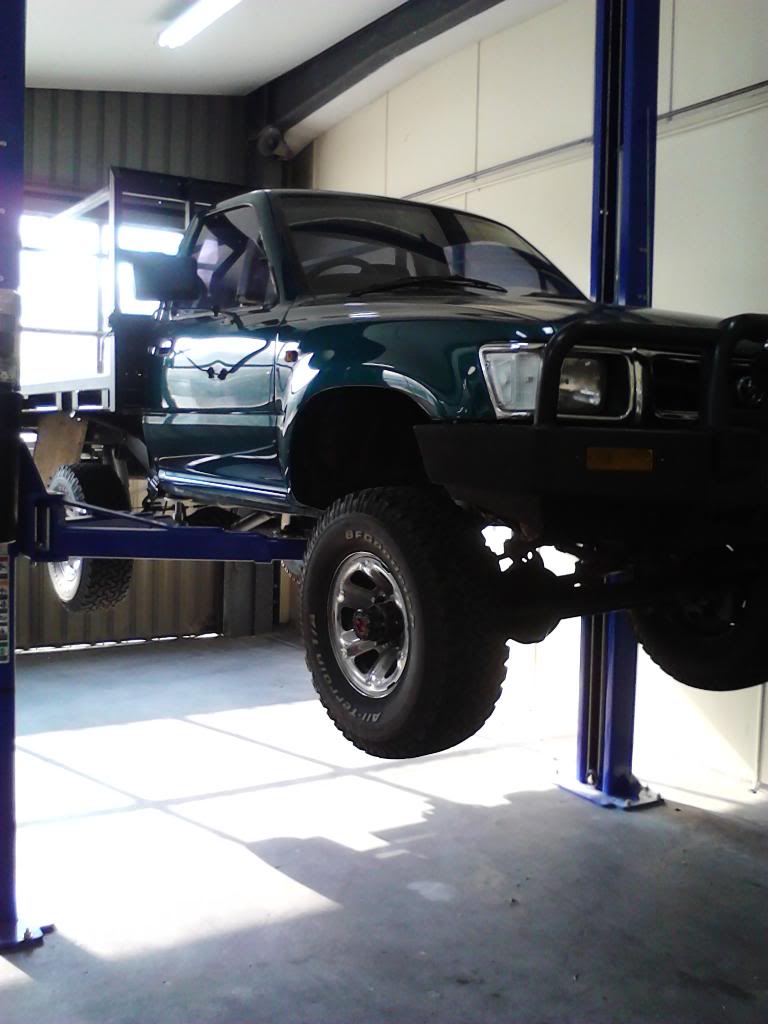
Going back in
Old and new shackles
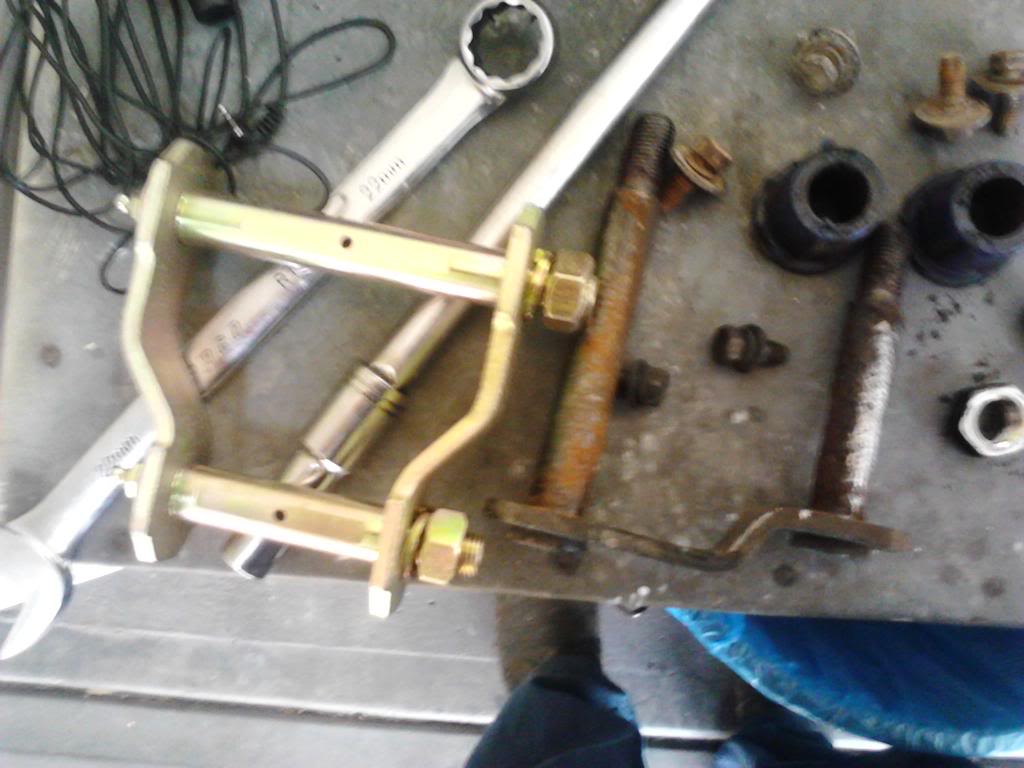
Going back in
Noticed these come loose when new.
New rod installed
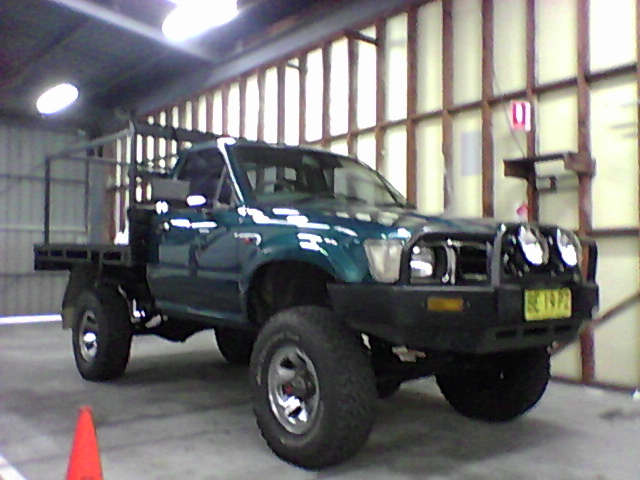
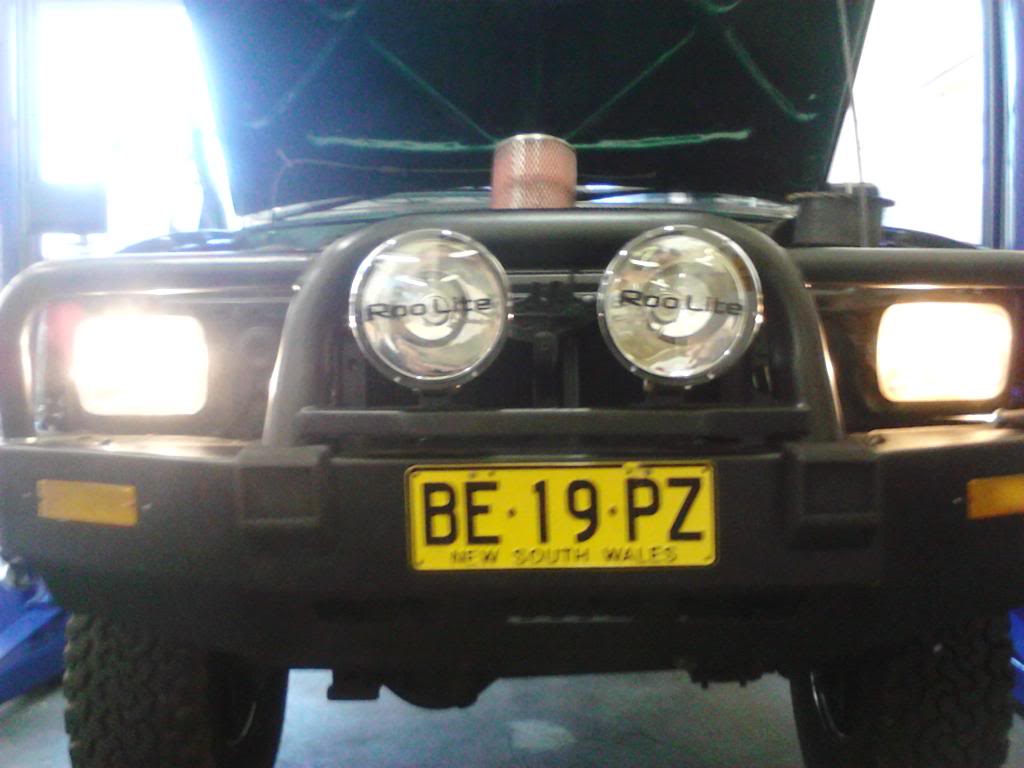
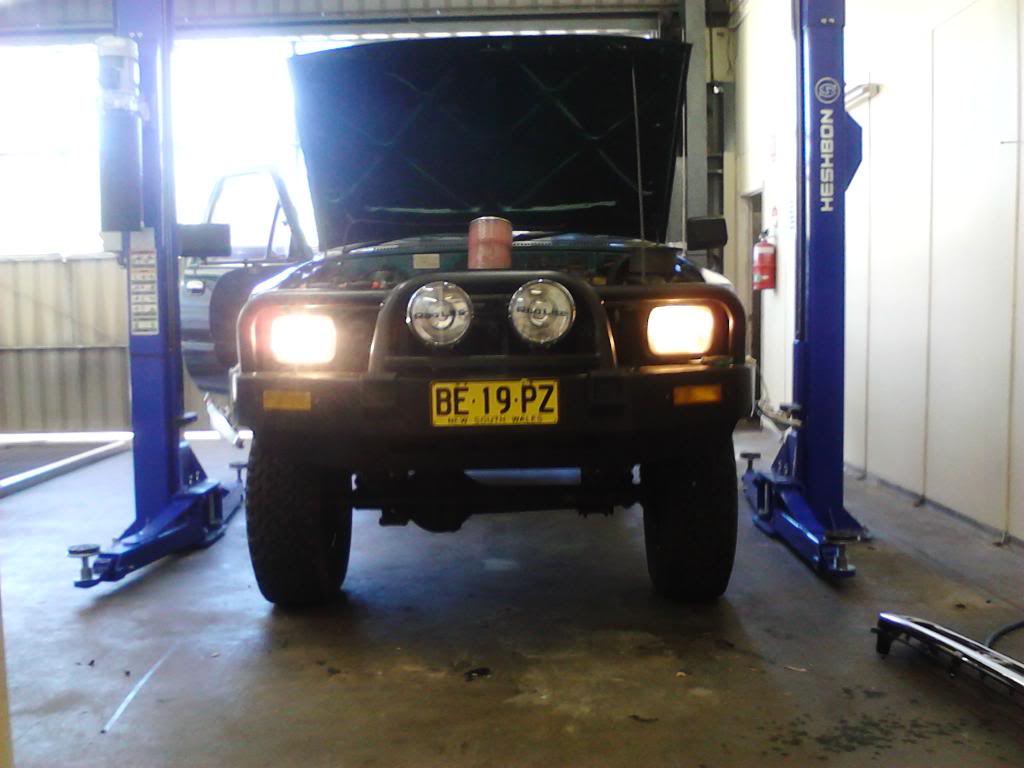
Sits better in the front also fitted some after marked headlights that take a h4 globe. the drivers side is the new headlight with a Narva plus 50 globe. pretty big difference.

Pit City!

Caused by bushes that require grease not being greased.

New and old

New bushes

Going back in

Old and new shackles

Going back in


Noticed these come loose when new.

New rod installed

Sits better in the front also fitted some after marked headlights that take a h4 globe. the drivers side is the new headlight with a Narva plus 50 globe. pretty big difference.


 Apr 30, 2013 | 10:56 PM
#30
Thread Starter
Registered User
Joined: Dec 2011
Posts: 46
Likes: 0
From: Australia
While cleaning out an old barn on my mates new property at Rylstone I found an old caravan awning the canvas looked pretty good. My mate had no use for it so I scored it for nothing. Its been sitting around in the shed since I got back, I originally wanted it just to cut it up for the canvas but after mucking around for a bit I might be able to use it as an overnight setup.
some pics of it mocked up with some broomsticks.
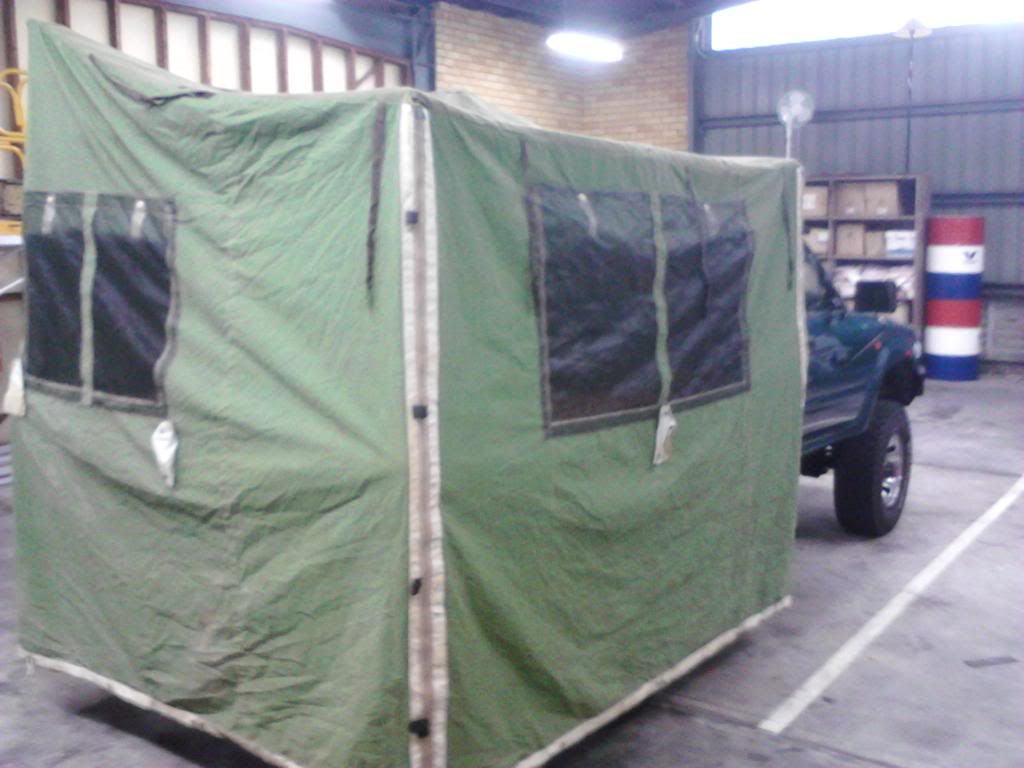
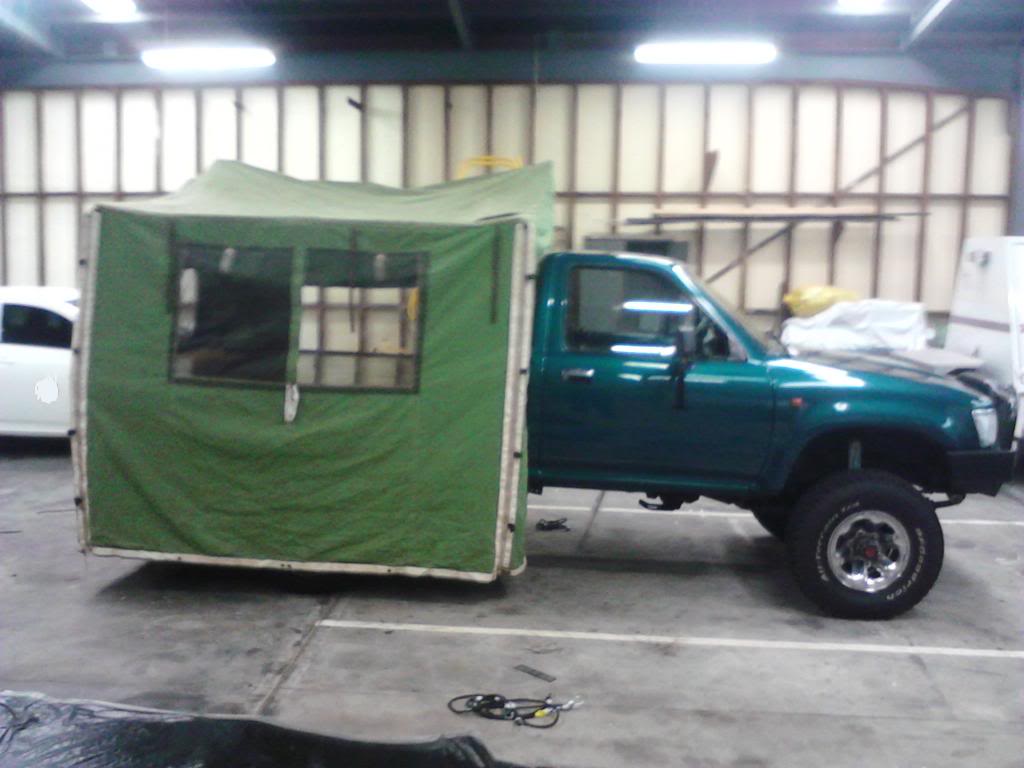
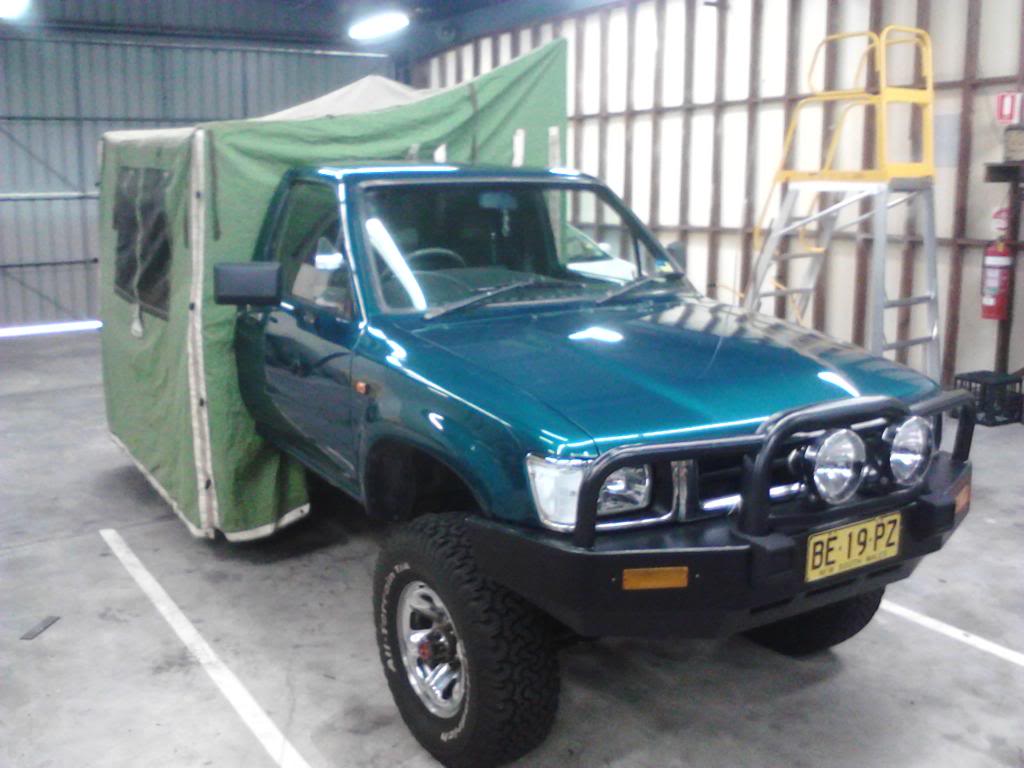
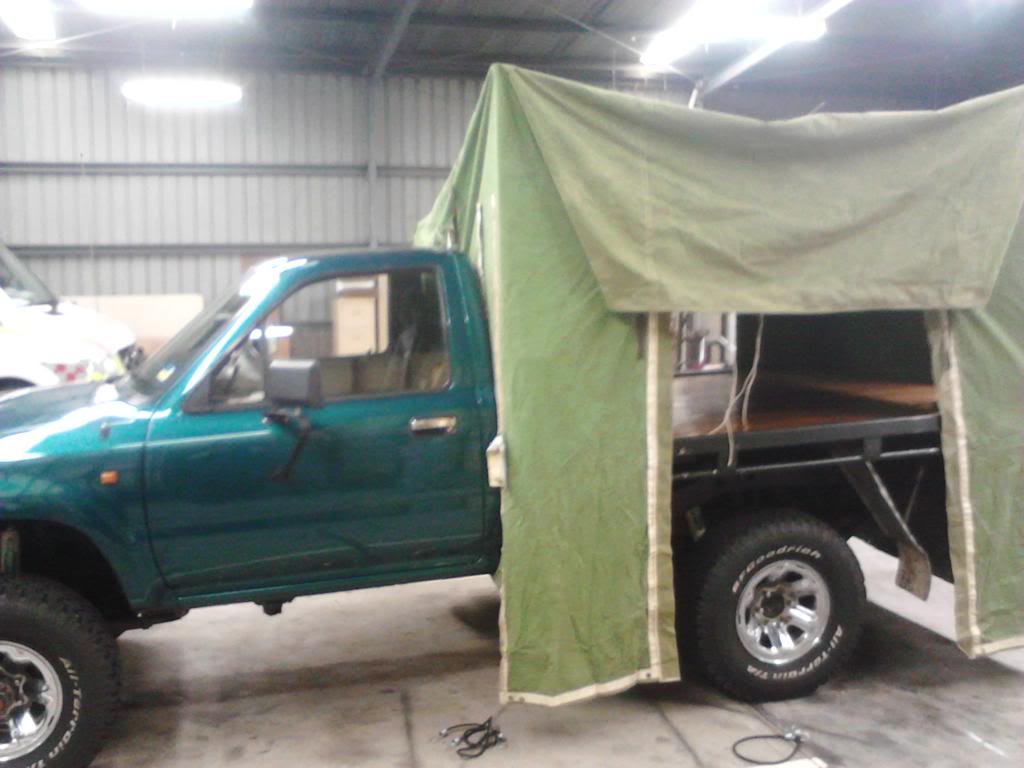
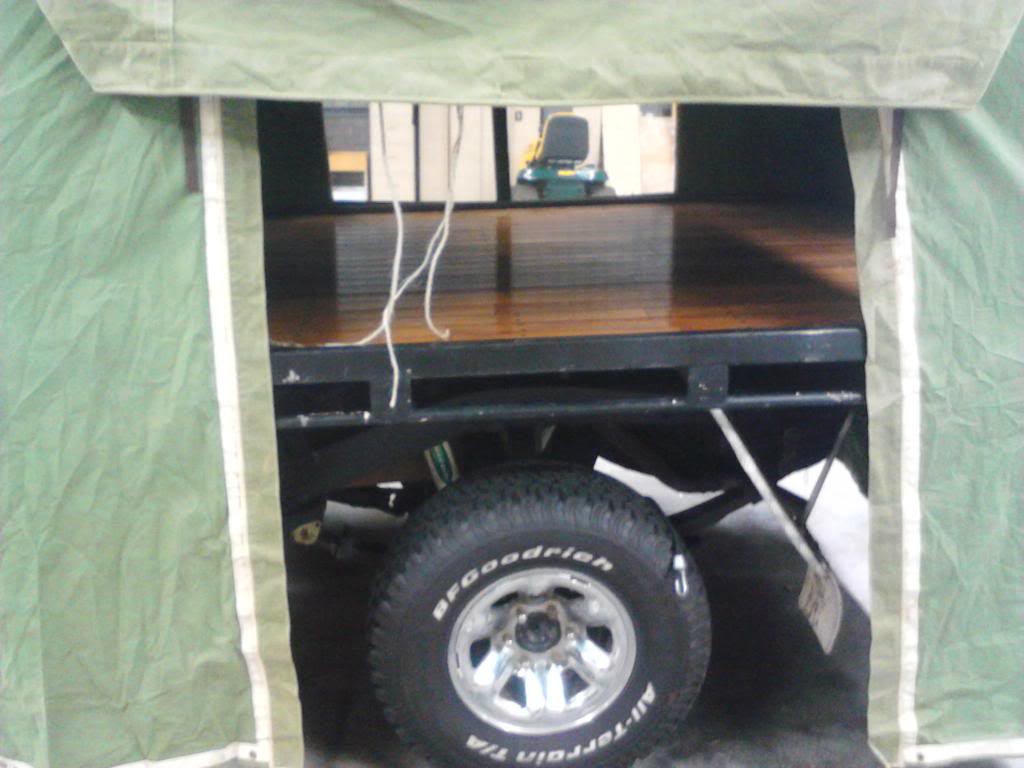
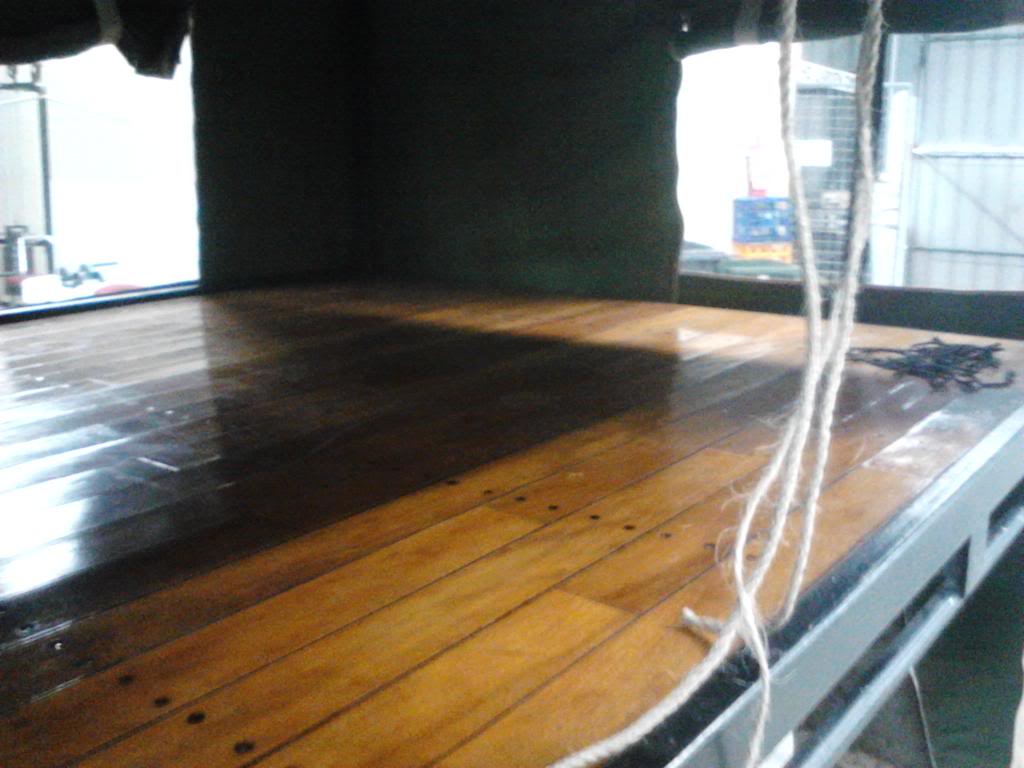
I think there is potential not sure how to finish it off yet. open to suggestions.
some pics of it mocked up with some broomsticks.


I think there is potential not sure how to finish it off yet. open to suggestions.
 May 3, 2013 | 04:46 PM
#32
Thread Starter
Registered User
Joined: Dec 2011
Posts: 46
Likes: 0
From: Australia
Thanks for the props toyo, I just read your threads your a master l like your Flatbed.
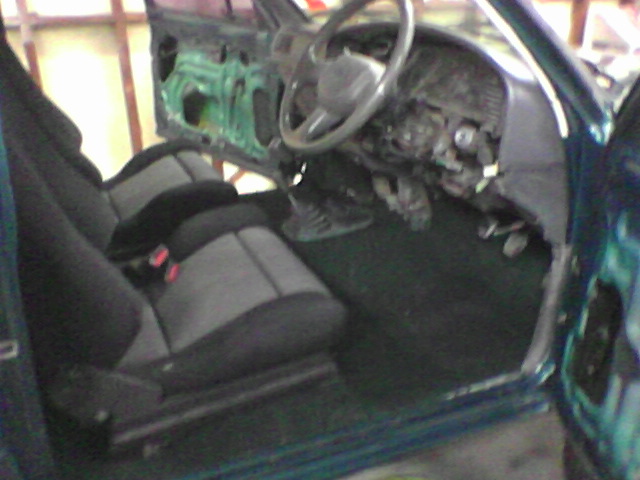
Some finished photos of the interior, I forgot to post these back at the start. Scored some better door trims at the wreckers and installed a head deck and 6" splits, it sounds good with all the dynamat I have in there.
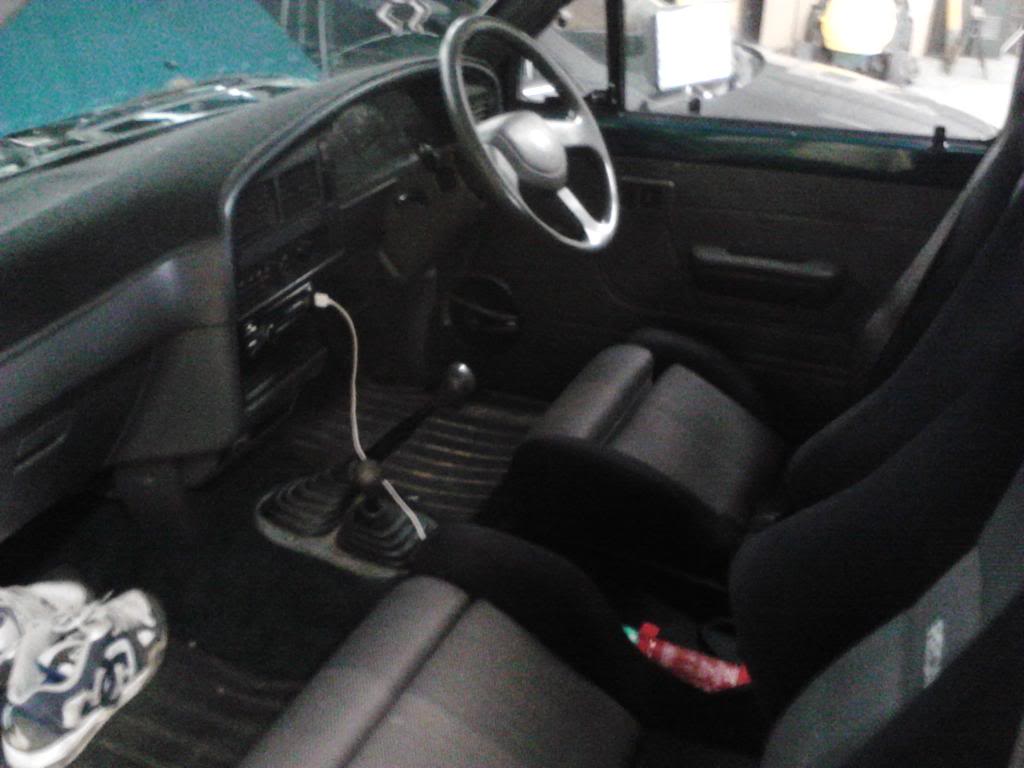
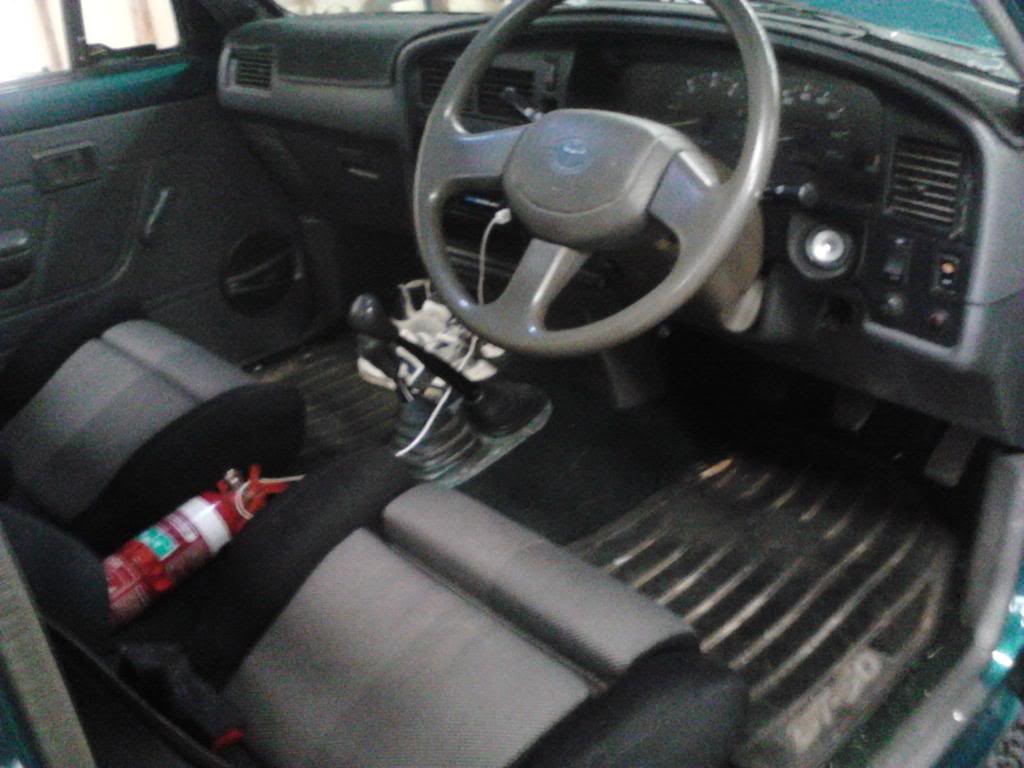
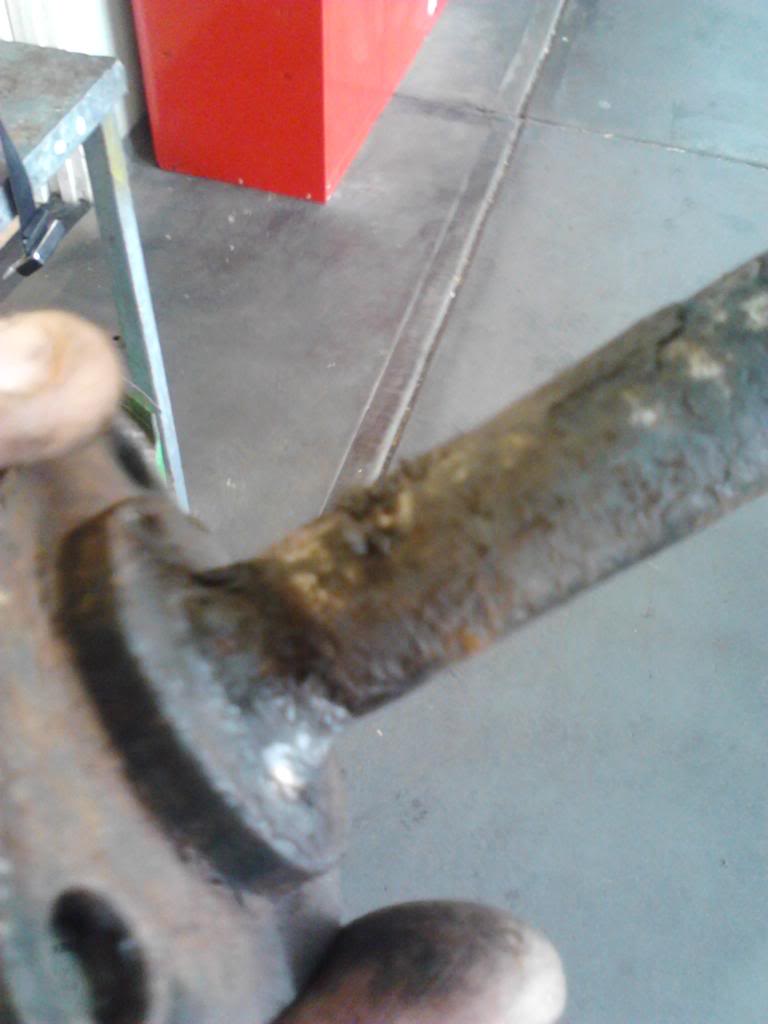
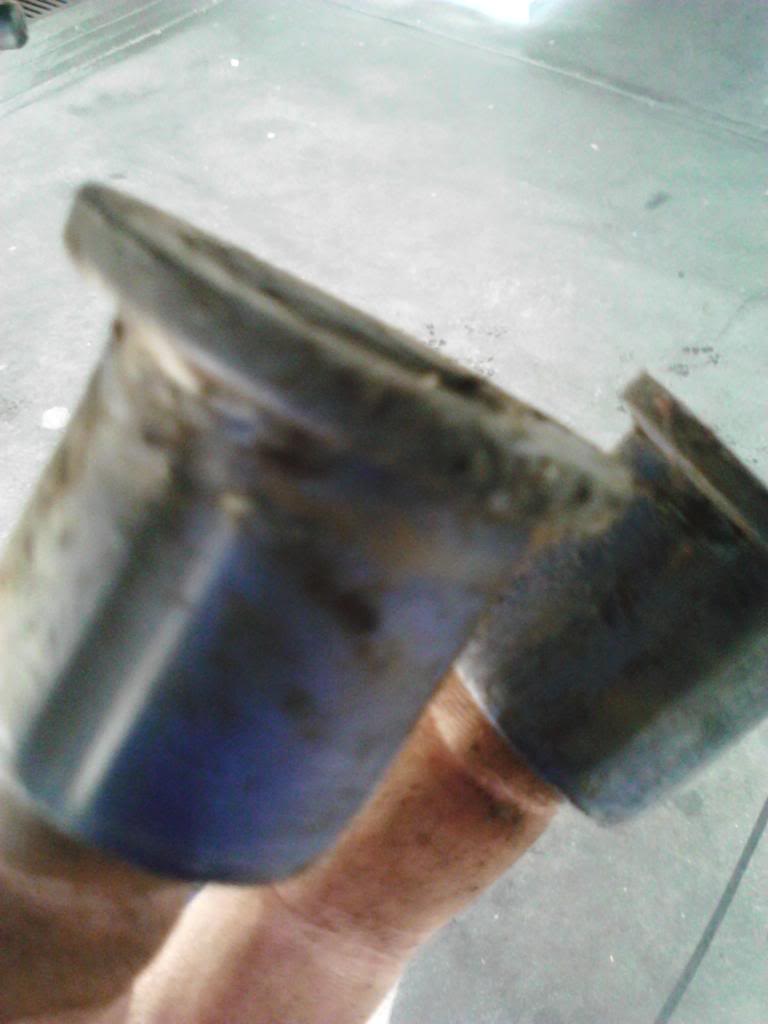
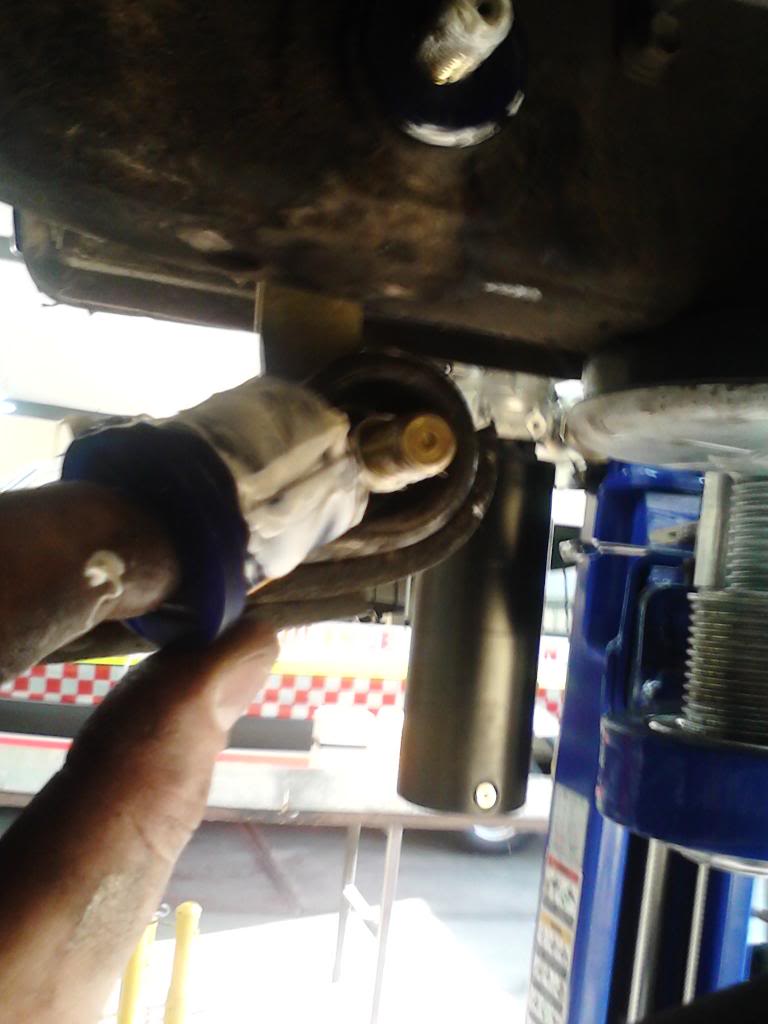
Also found some time to fix the boat like steering.
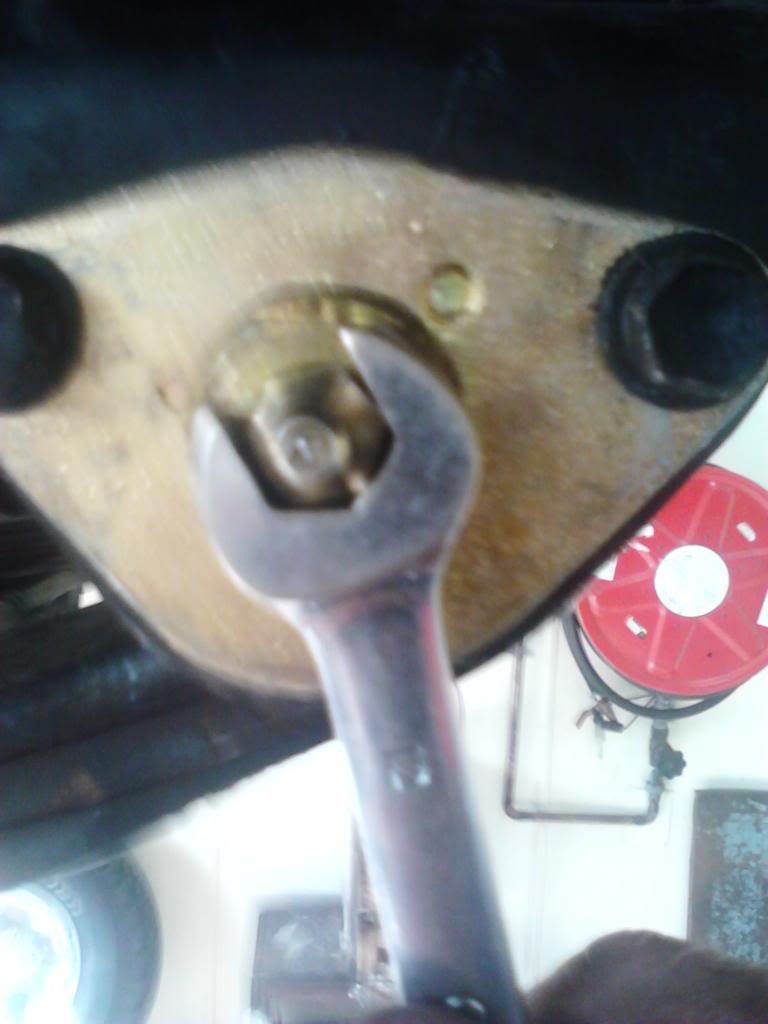
When I took the old draglink off I found out the ball stud was loose.
I tried heating the pitman arm while tightening the puller and hitting the back off the arm for like half an hour and it just would not budge. So instead we just welded the ball stud back on the pitman arm.
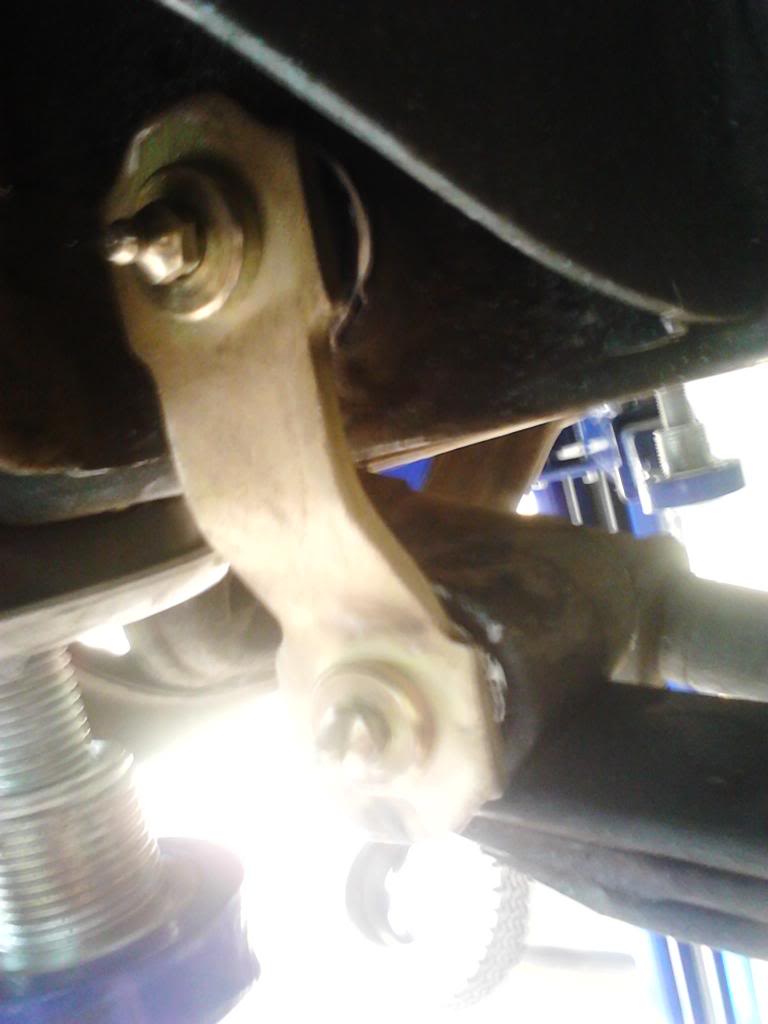
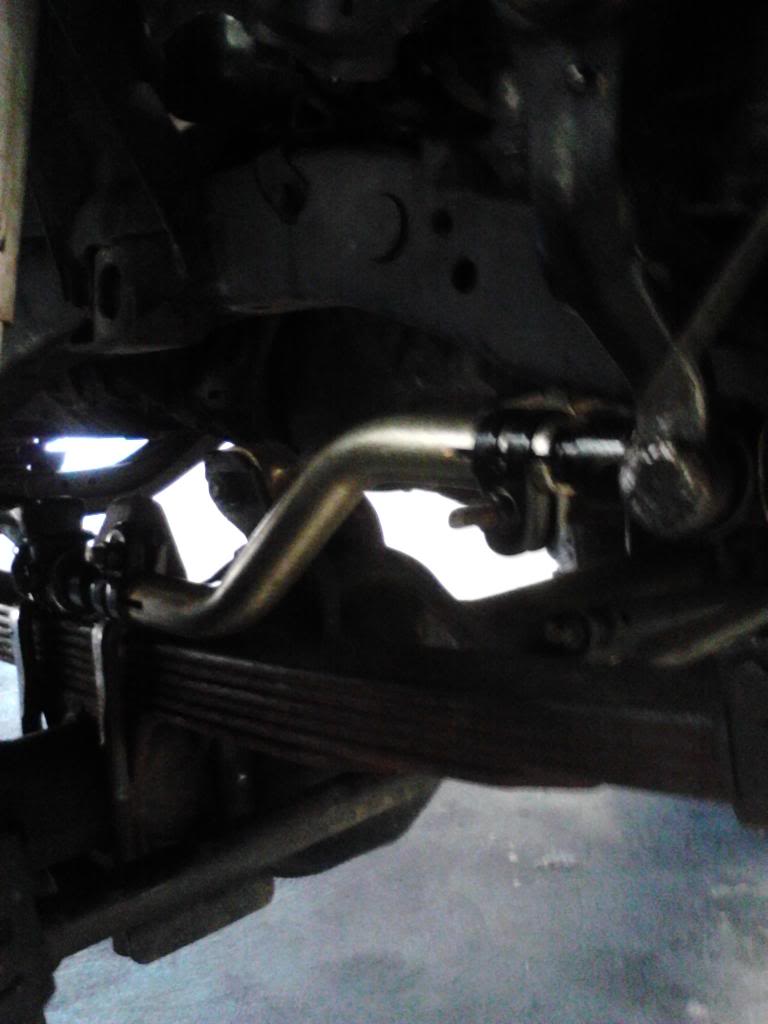
The dropped link is so much better this should have been the first thing I did.
Some finished photos of the interior, I forgot to post these back at the start. Scored some better door trims at the wreckers and installed a head deck and 6" splits, it sounds good with all the dynamat I have in there.


Also found some time to fix the boat like steering.
When I took the old draglink off I found out the ball stud was loose.
I tried heating the pitman arm while tightening the puller and hitting the back off the arm for like half an hour and it just would not budge. So instead we just welded the ball stud back on the pitman arm.
The dropped link is so much better this should have been the first thing I did.


Last edited by 4BYDUDE; May 3, 2013 at 04:48 PM.
May 3, 2013 | 04:59 PM
#33
Thread Starter
Registered User
Joined: Dec 2011
Posts: 46
Likes: 0
From: Australia
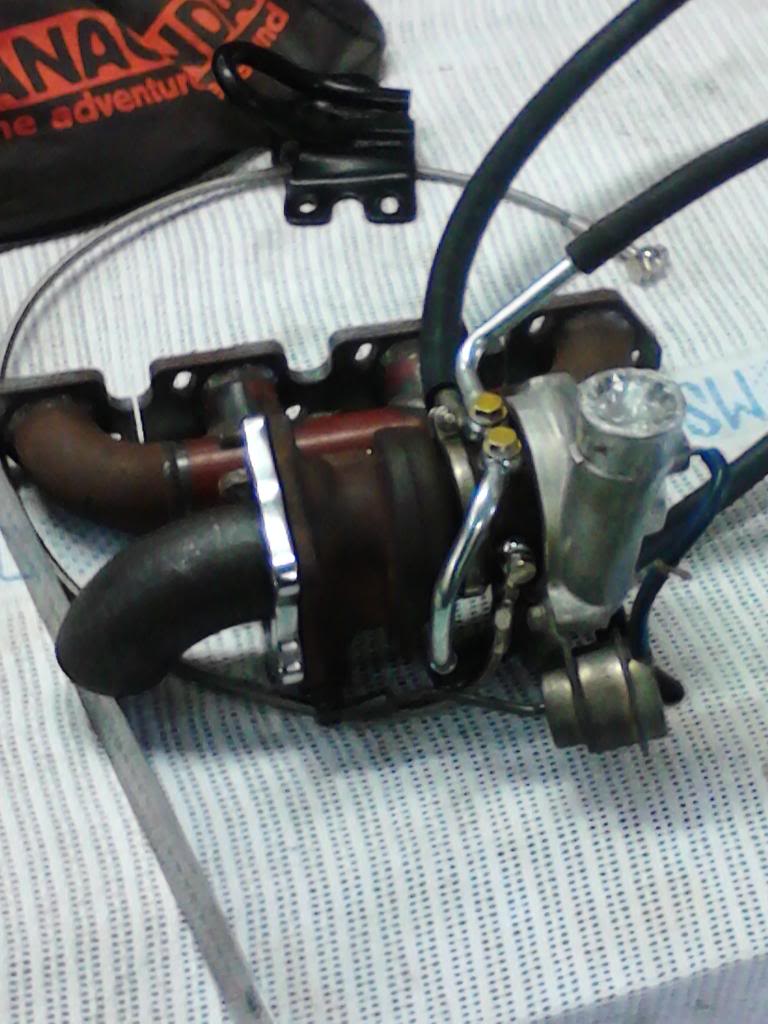
TURBO TIME
Mr Ebay has been paying me some visits over the last few weeks.
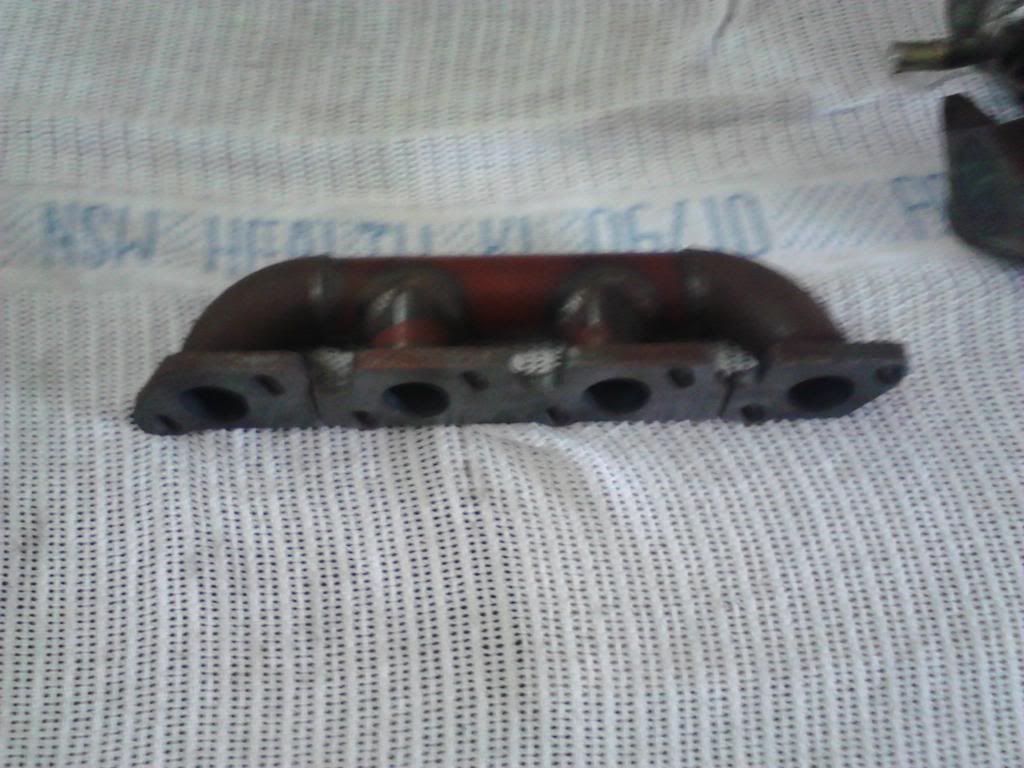
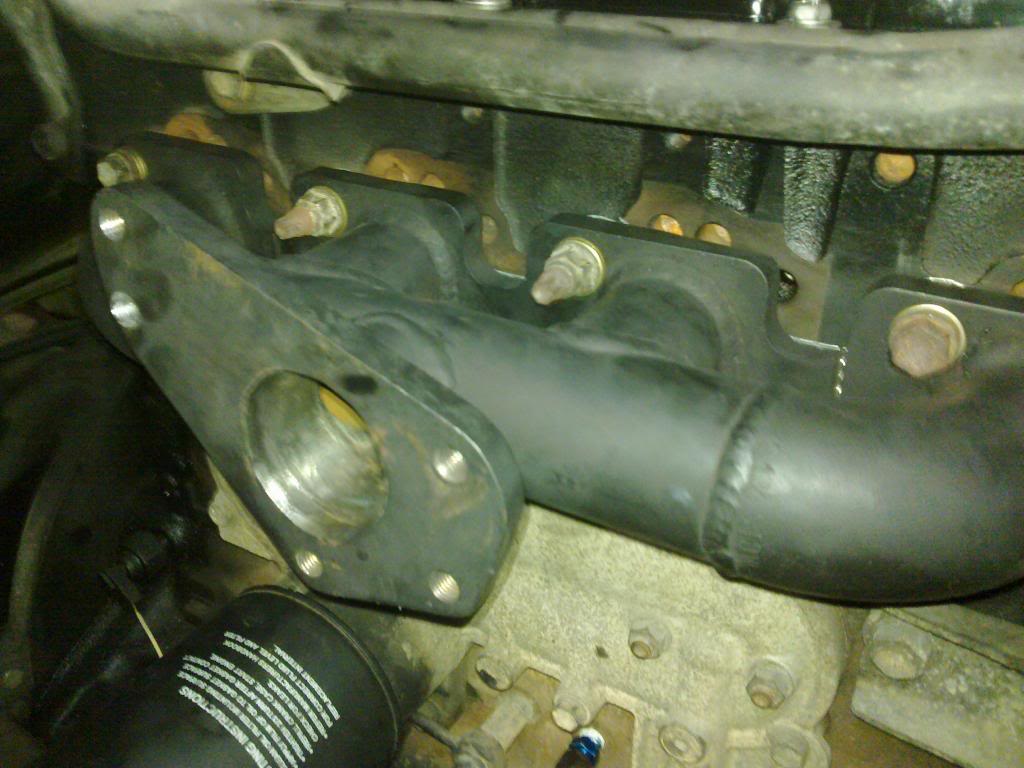
Mmmm Manifoldilishus
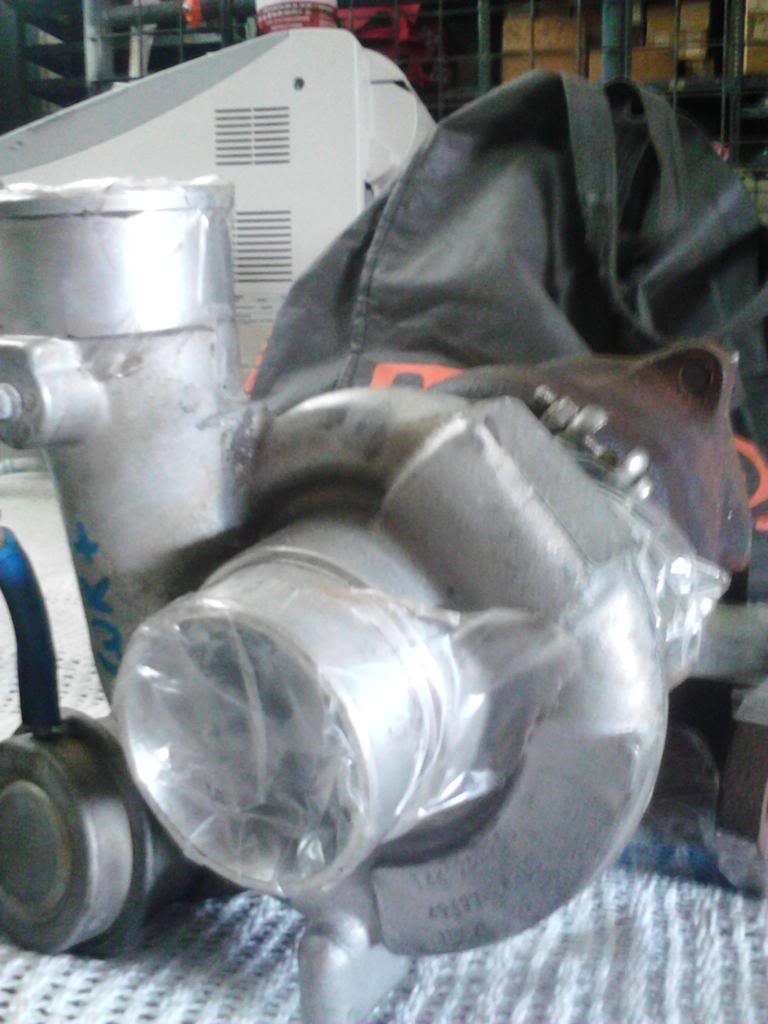
One Subaru WRX CG8 TD04 Im so excited I cant wait to be actually able to go up hills.
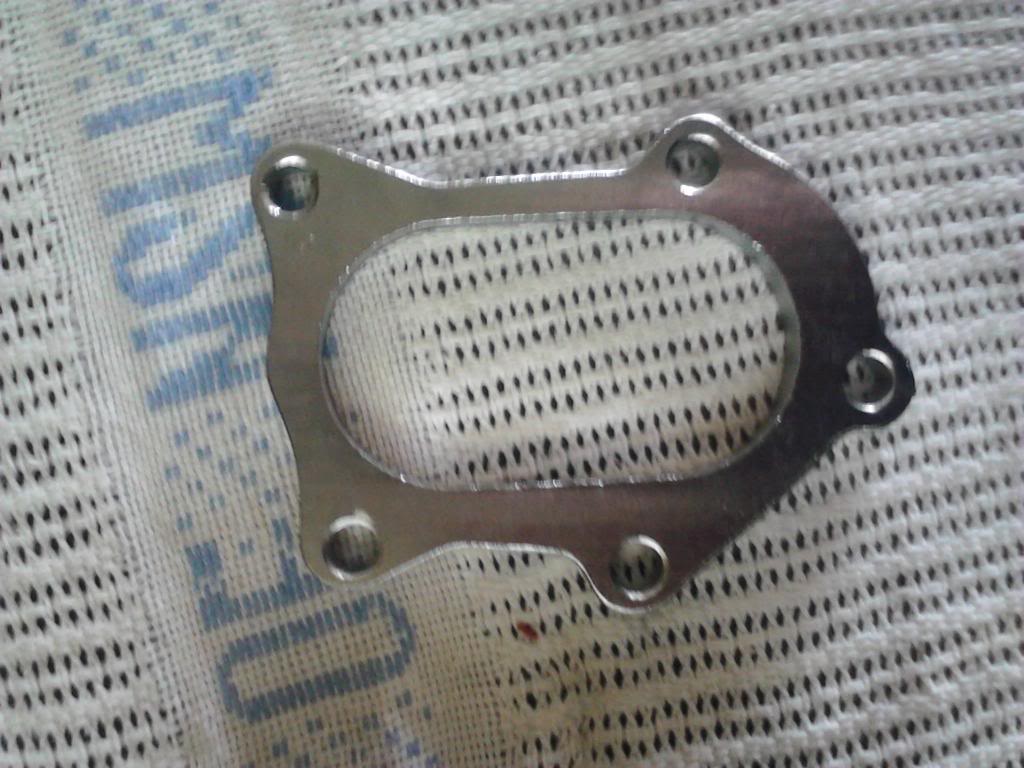
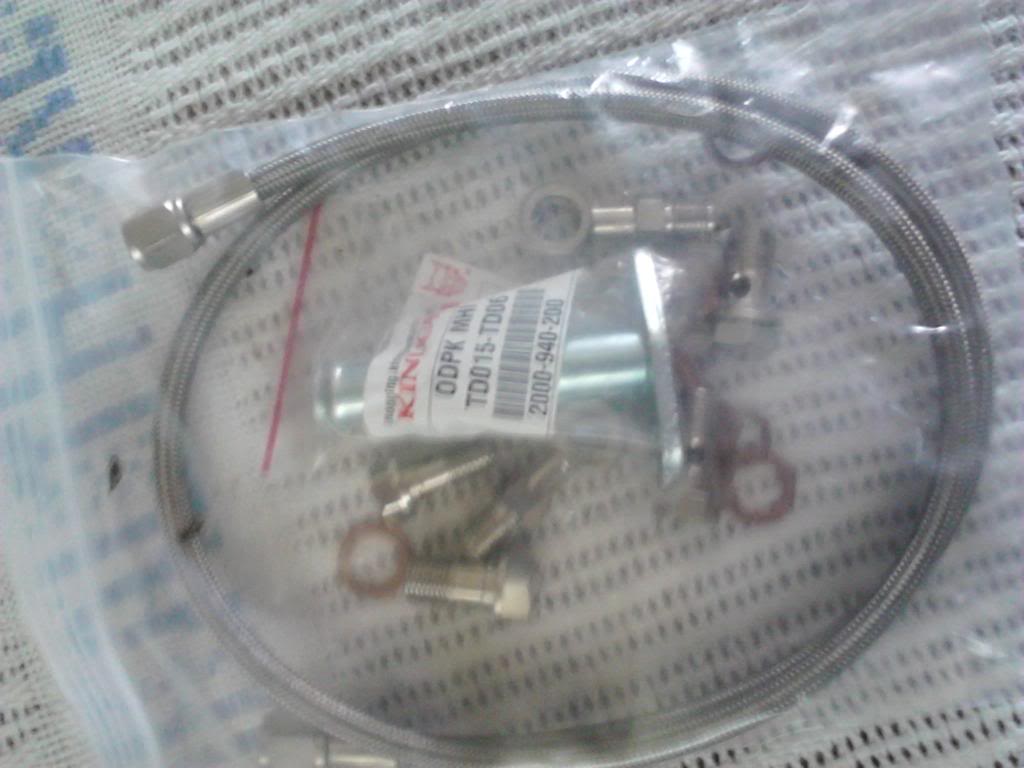
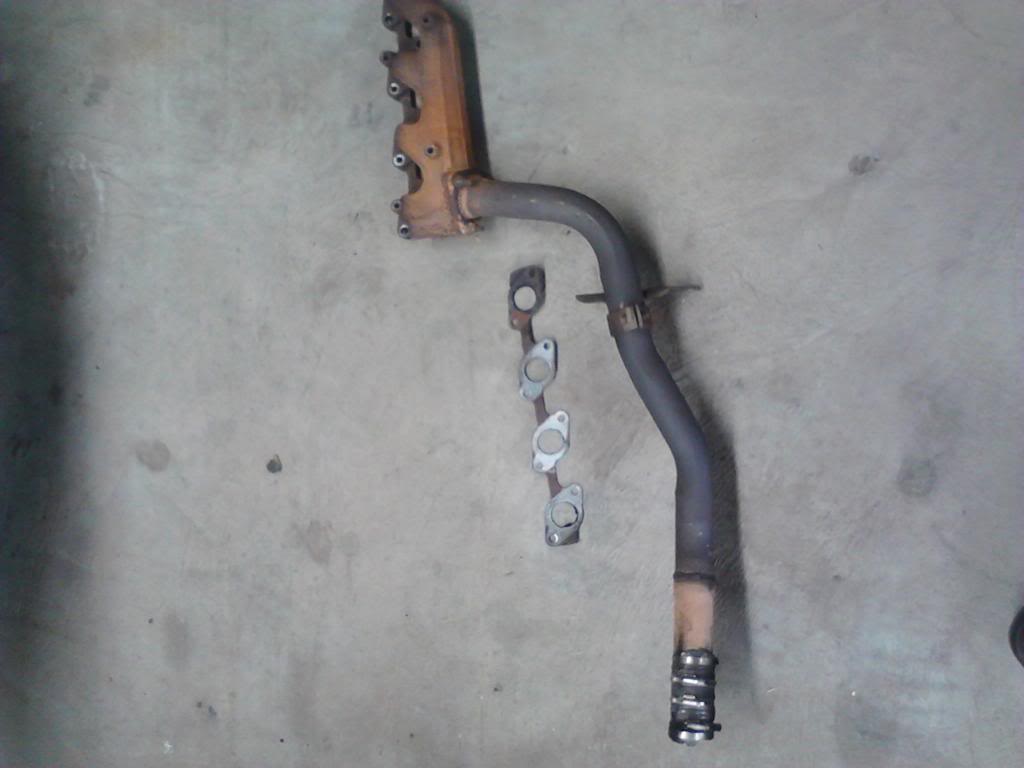
Dump Flange and fittings.
Mocking Up the system.
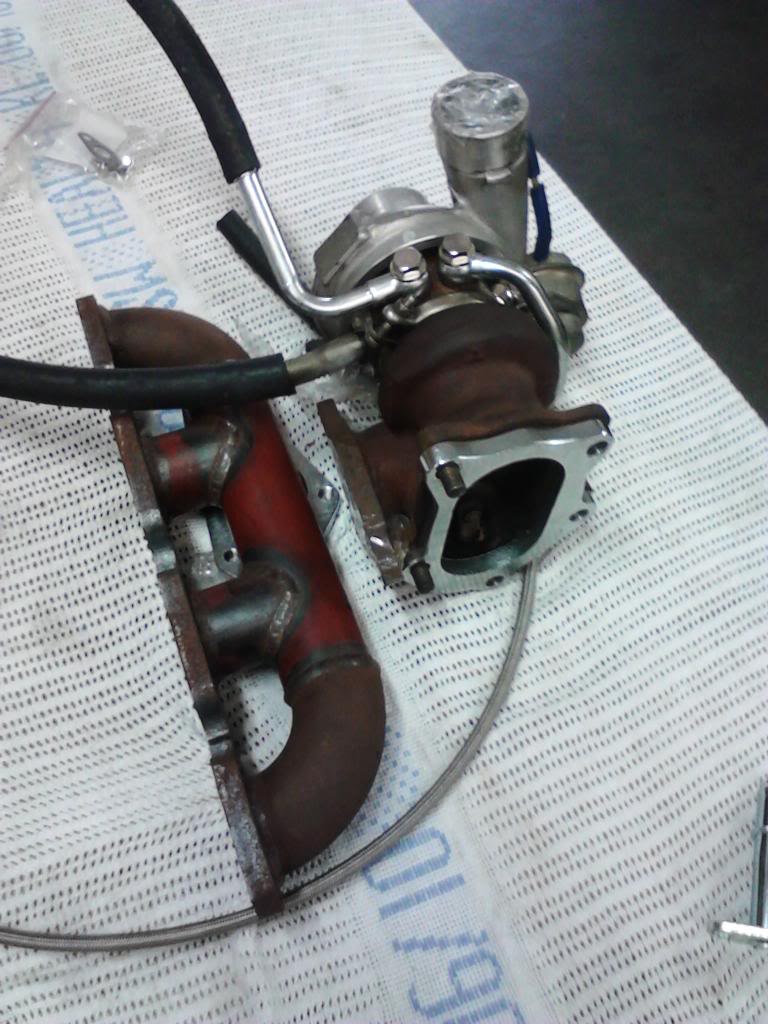
Dump pipe mock up.
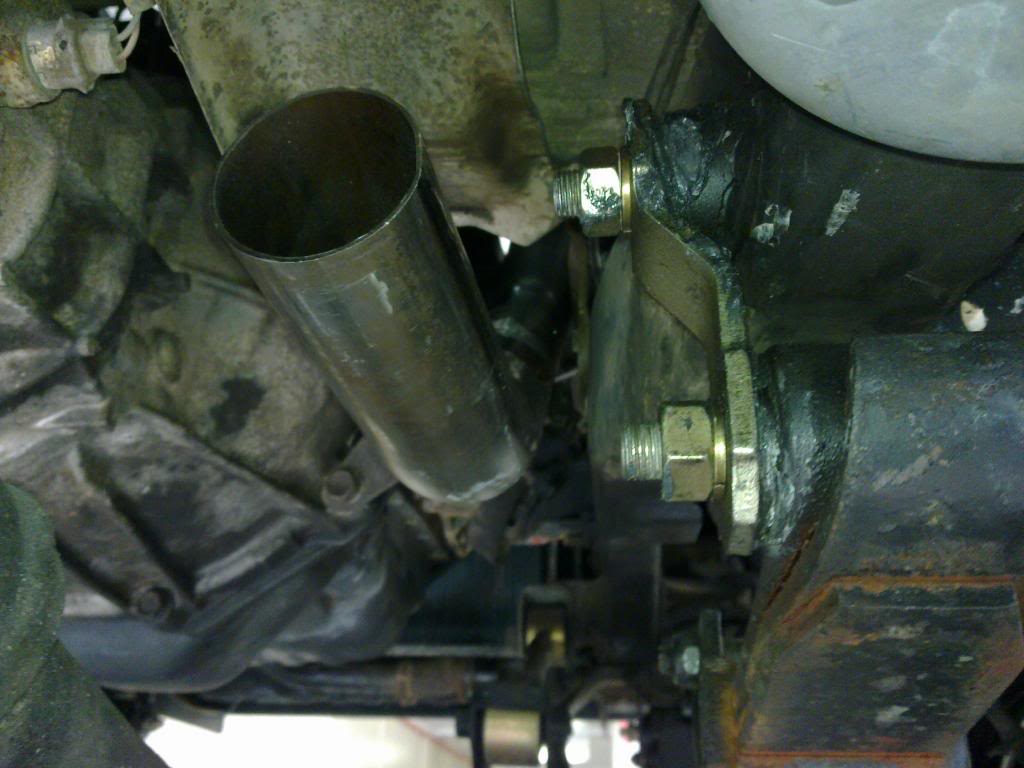
TIME TO PULL THIS THING APART
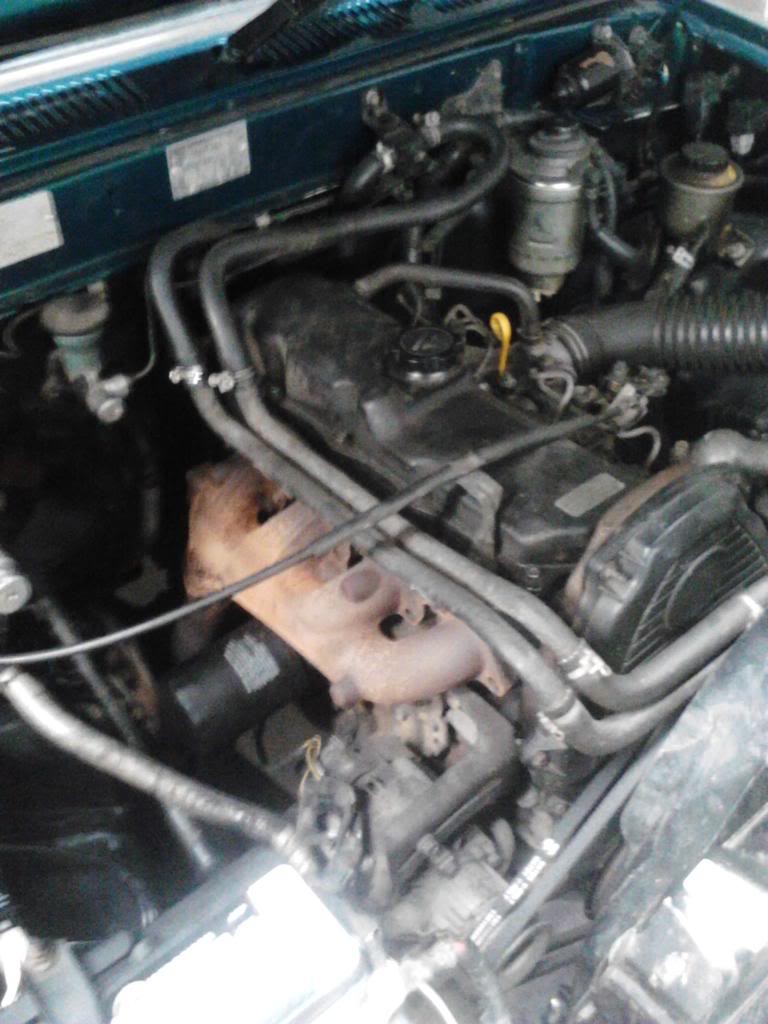
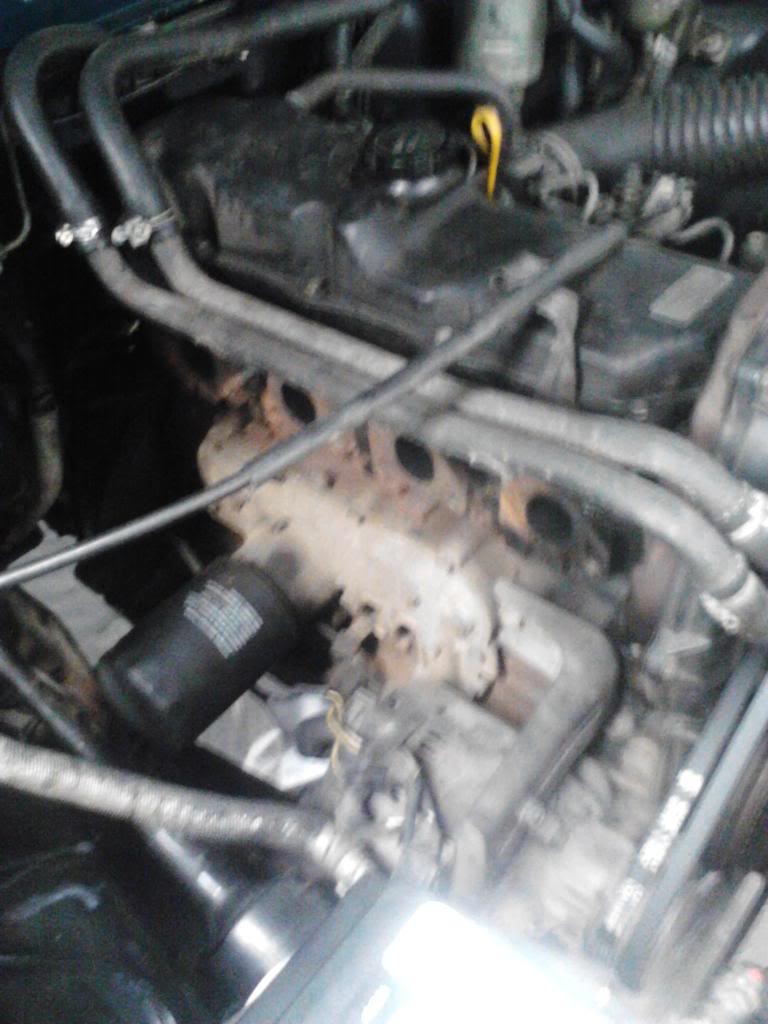
The Other reason I need to do a turbo conversion. No more sounding like a Tractor and my Dodgy soup can joiner, I Snapped the exhaust at Rystone and then came up with this. Don't laugh I did 2,500 K with this before it fell apart again.
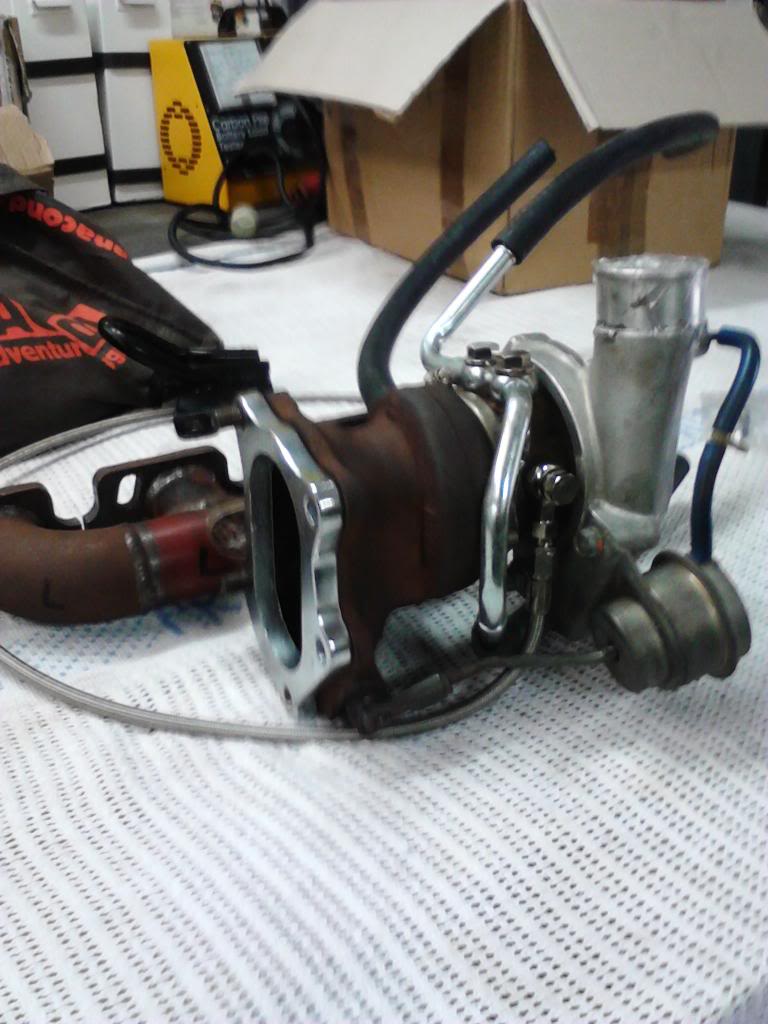
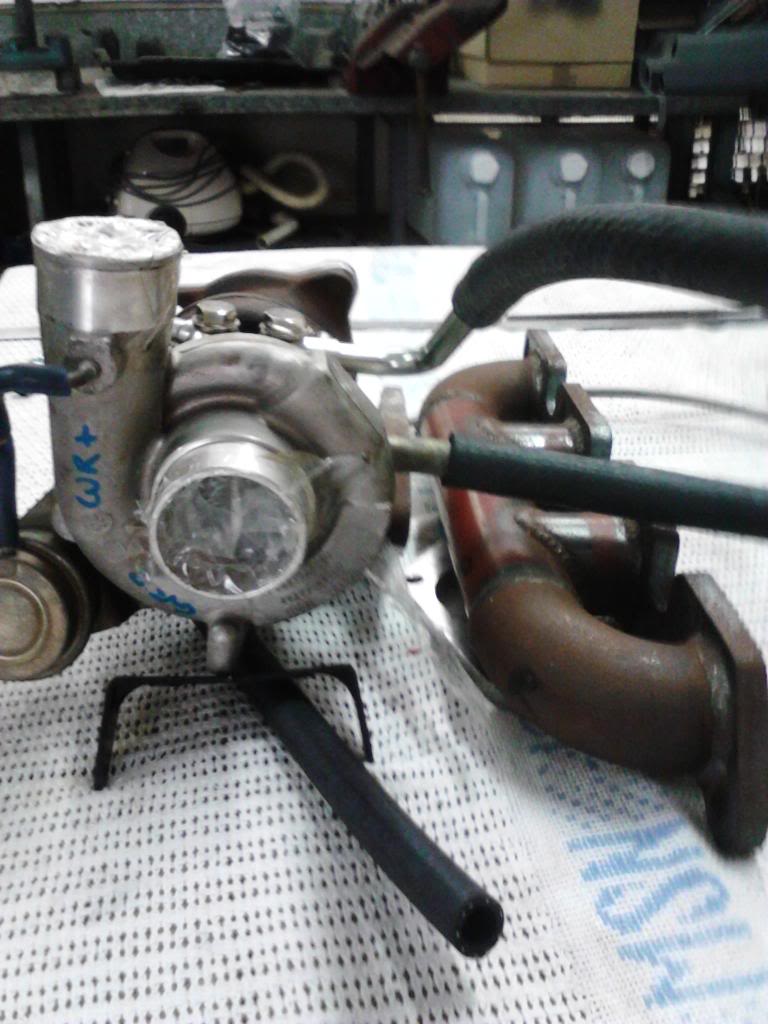
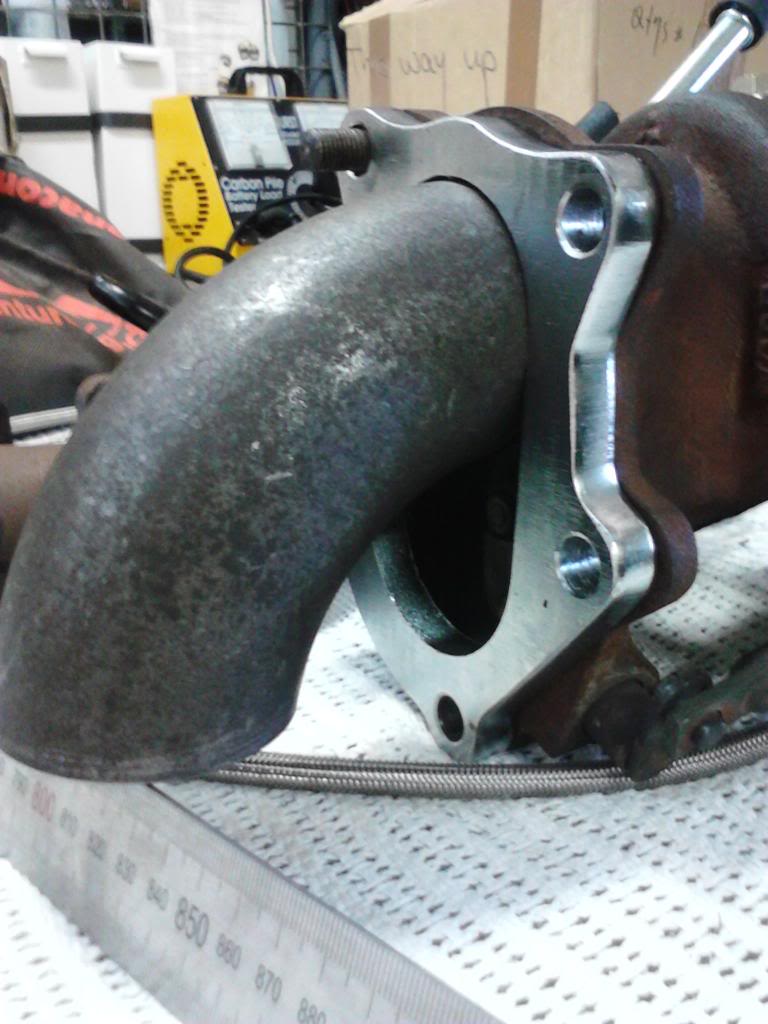
Mani fits well.
What it should look like in the end. the turbo will be sitting a bit higher than that once welded up.
So yesterday I palmed the set up off to my brother who is a fabricator/welder by trade, He is going to work on it today for me, I cant wait. I also need a shorter oil line and to re make the oil return pipe as it points almost straight at the exhaust manifold so that will slow things down a bit. Stay tuned more soon.
Mr Ebay has been paying me some visits over the last few weeks.
Mmmm Manifoldilishus

One Subaru WRX CG8 TD04 Im so excited I cant wait to be actually able to go up hills.

Dump Flange and fittings.


Mocking Up the system.


Dump pipe mock up.


TIME TO PULL THIS THING APART


The Other reason I need to do a turbo conversion. No more sounding like a Tractor and my Dodgy soup can joiner, I Snapped the exhaust at Rystone and then came up with this. Don't laugh I did 2,500 K with this before it fell apart again.


Mani fits well.

What it should look like in the end. the turbo will be sitting a bit higher than that once welded up.


So yesterday I palmed the set up off to my brother who is a fabricator/welder by trade, He is going to work on it today for me, I cant wait. I also need a shorter oil line and to re make the oil return pipe as it points almost straight at the exhaust manifold so that will slow things down a bit. Stay tuned more soon.
Last edited by 4BYDUDE; May 3, 2013 at 05:21 PM.


 Jun 22, 2013 | 04:06 PM
#36
Thread Starter
Registered User
Joined: Dec 2011
Posts: 46
Likes: 0
From: Australia
Well over due to update this page, Have made plenty of progress over the past few weeks.
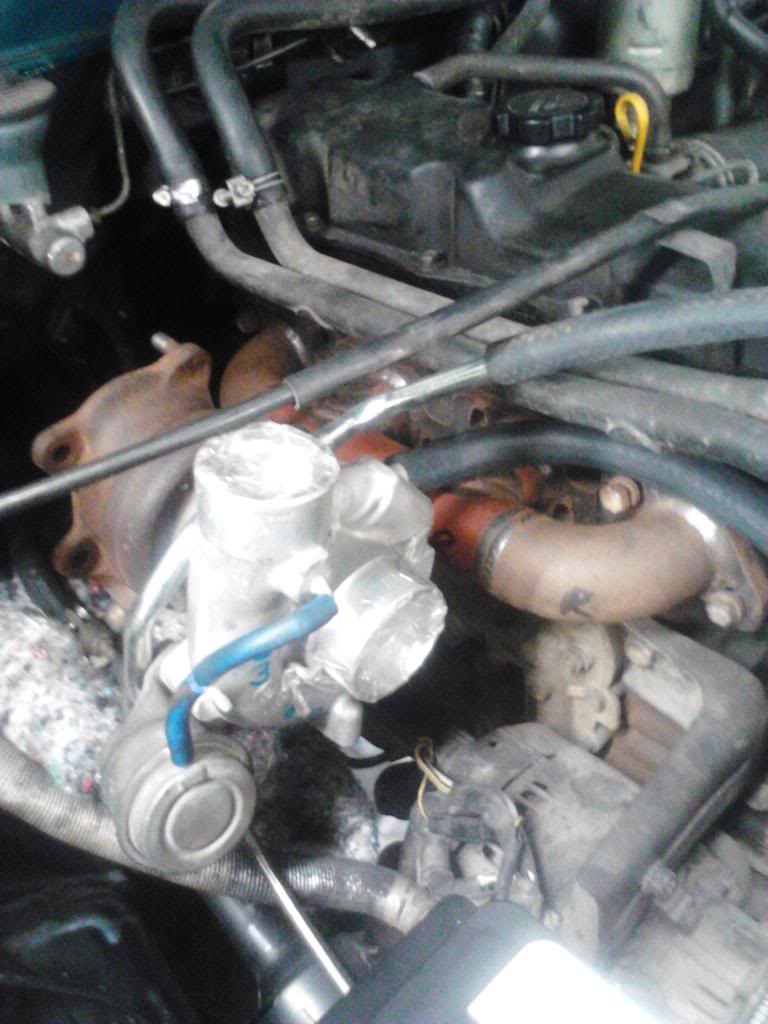
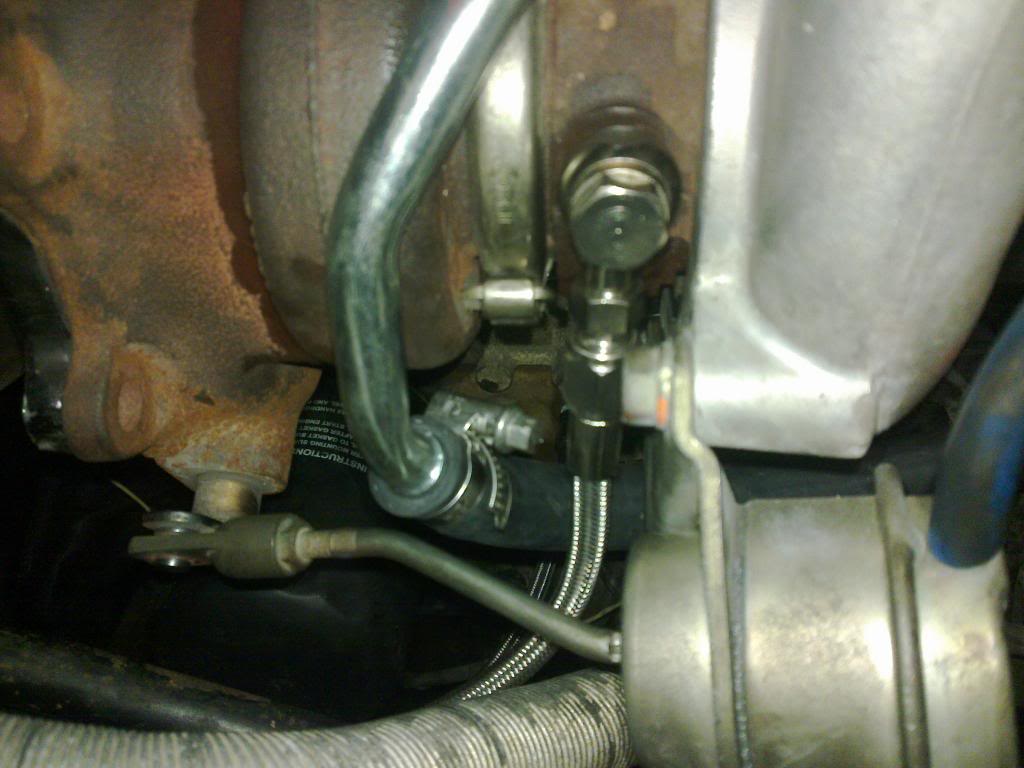
Started plumbing up all the oil lines.
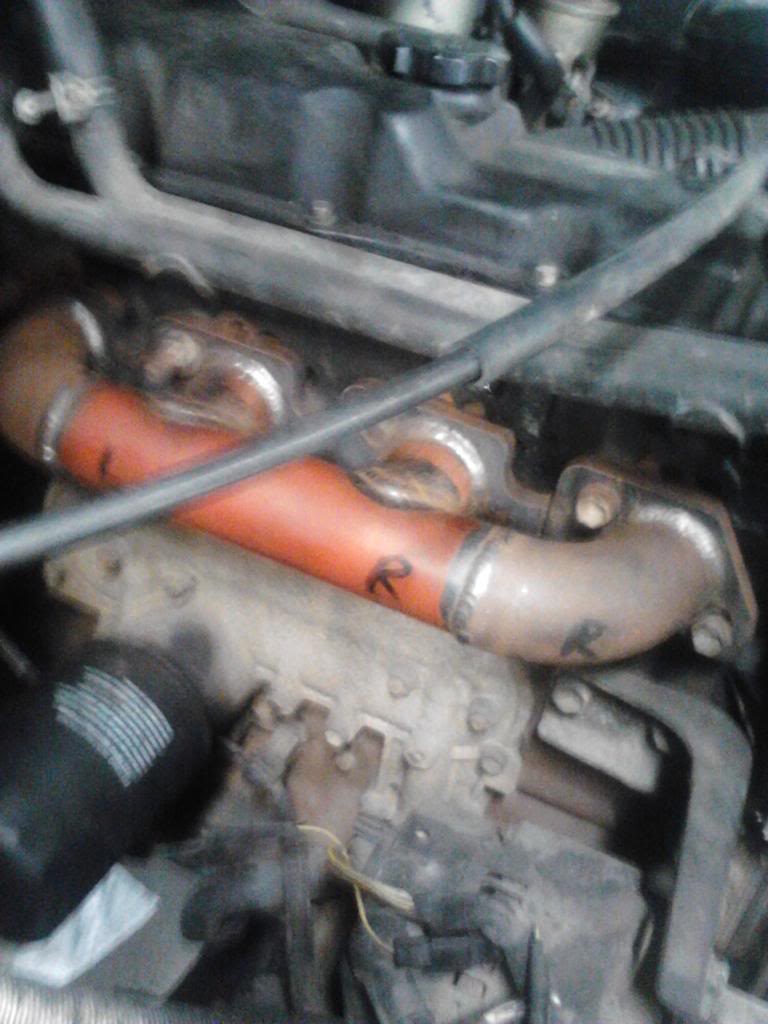
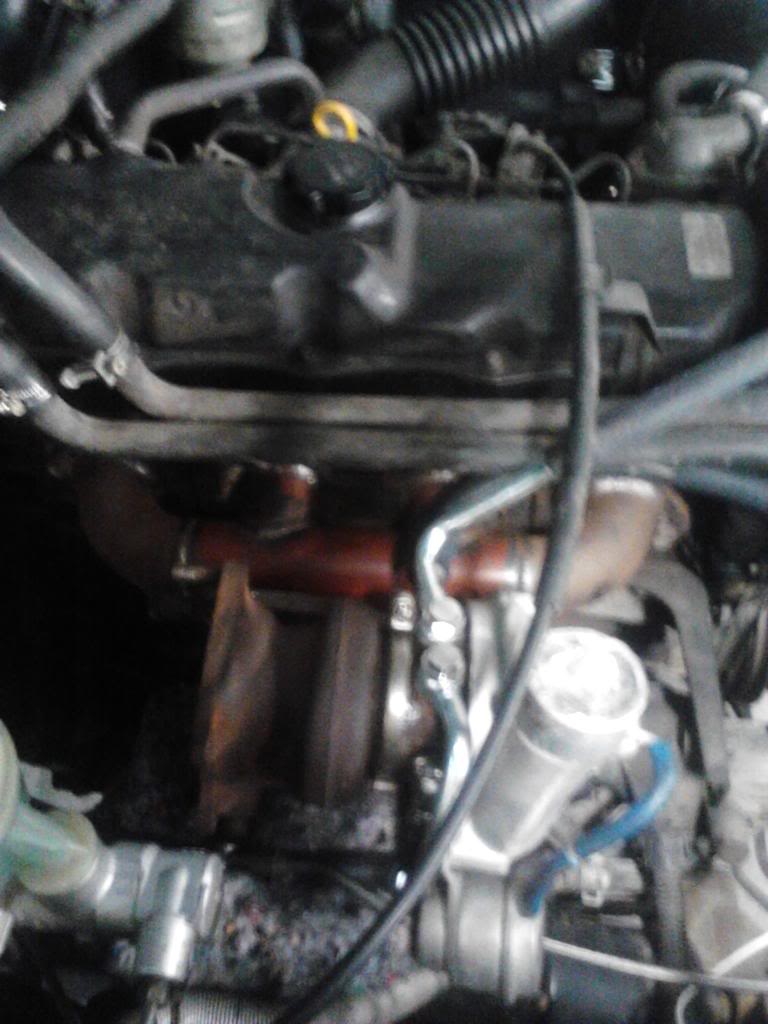
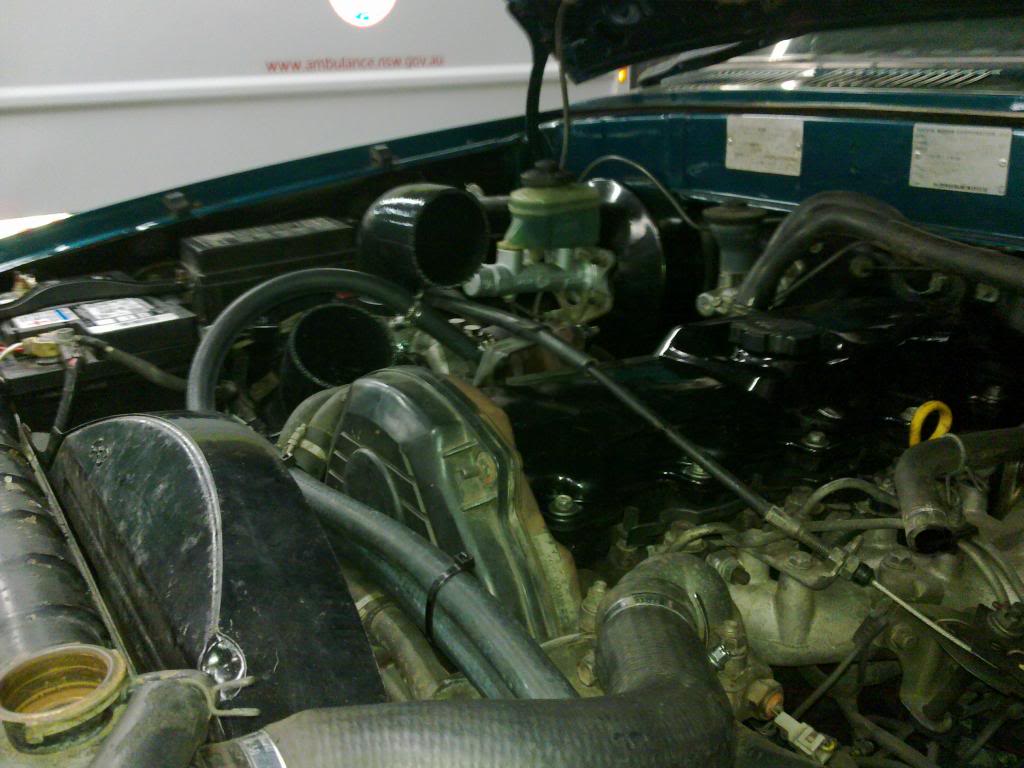
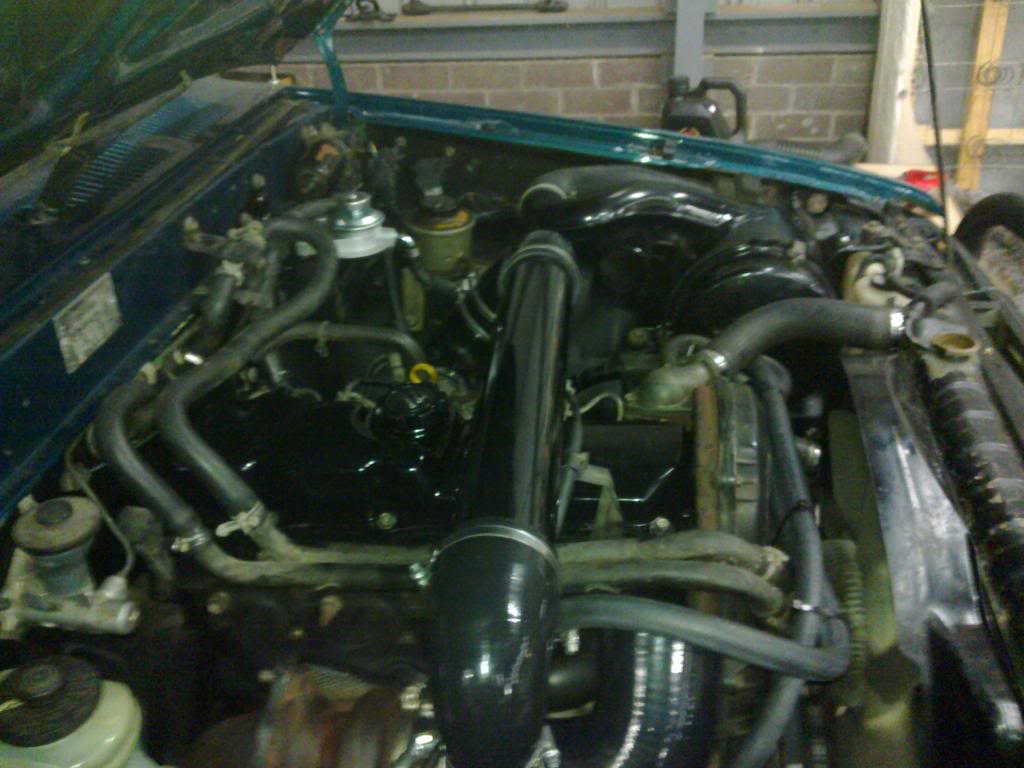
Got the mani and turbo bolted up.
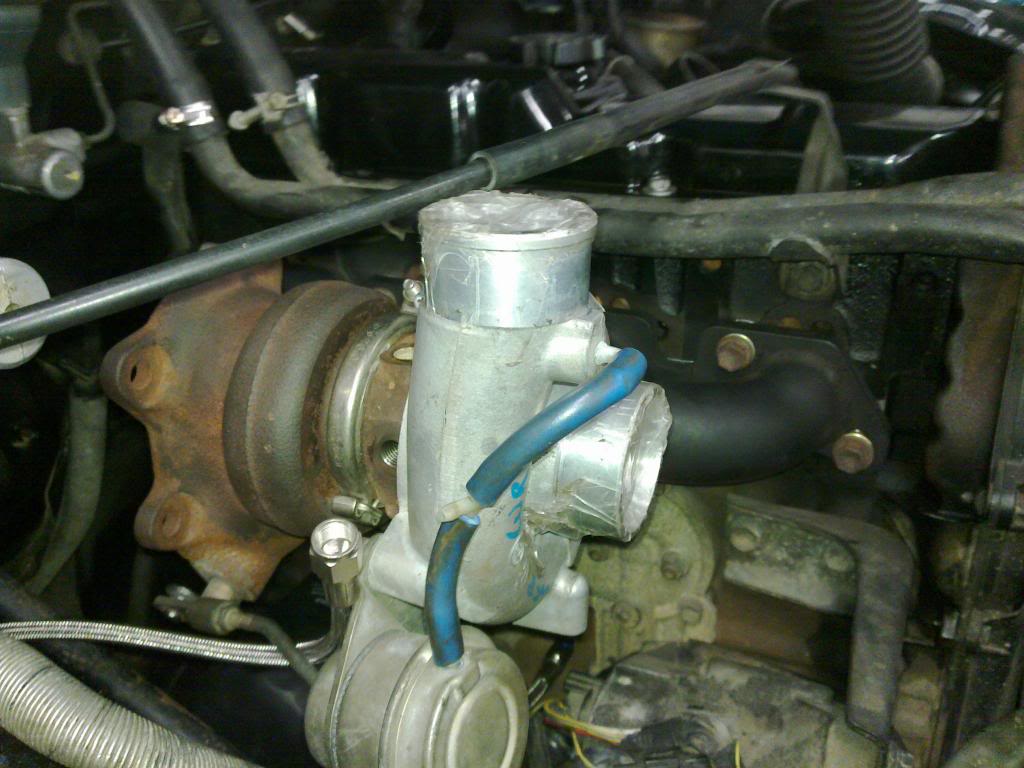
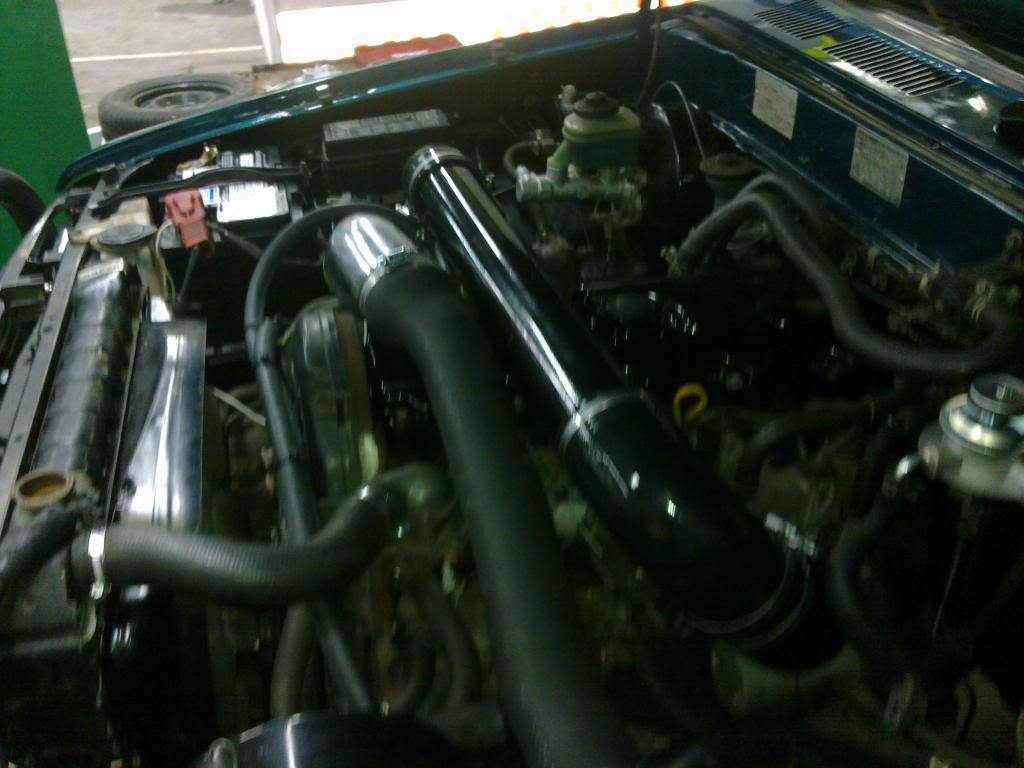
lining up the angles for the induction pipes.

Started plumbing up all the oil lines.


Got the mani and turbo bolted up.


lining up the angles for the induction pipes.


Last edited by 4BYDUDE; Jun 22, 2013 at 04:19 PM.
Jun 22, 2013 | 04:18 PM
#37
Thread Starter
Registered User
Joined: Dec 2011
Posts: 46
Likes: 0
From: Australia
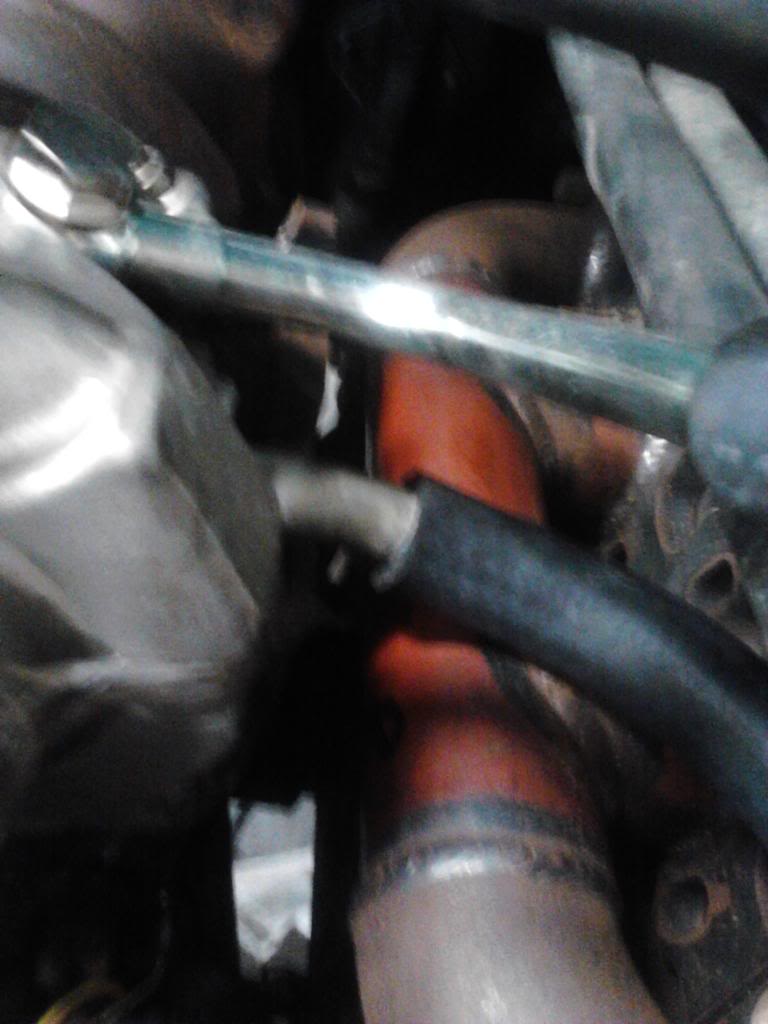
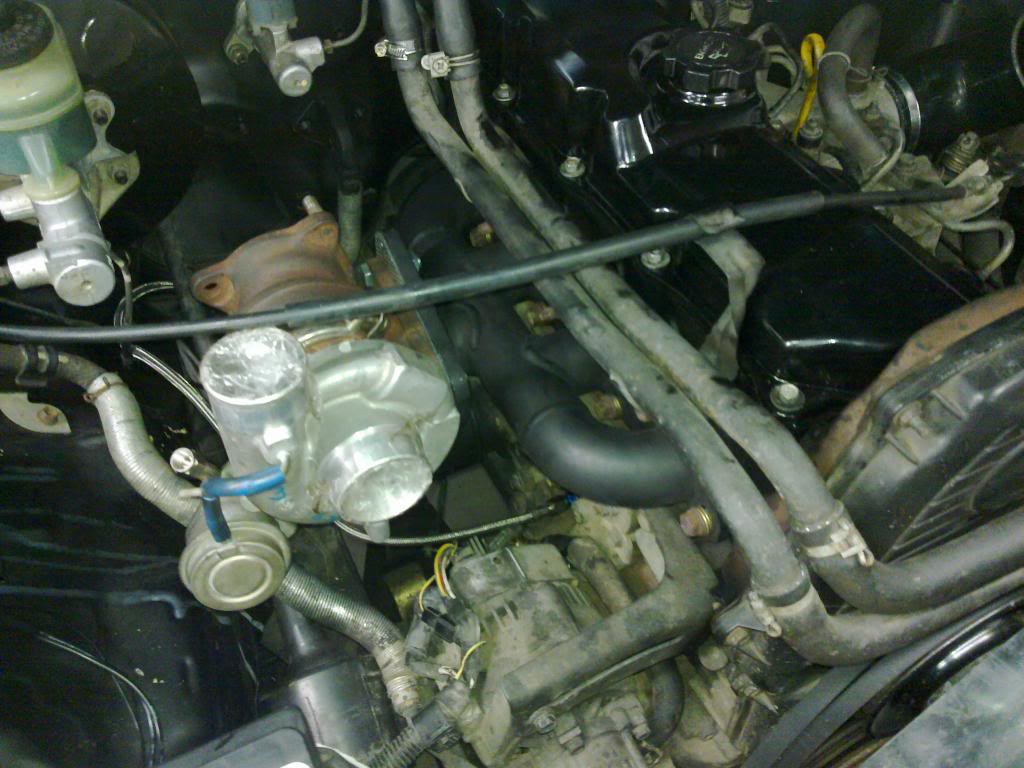
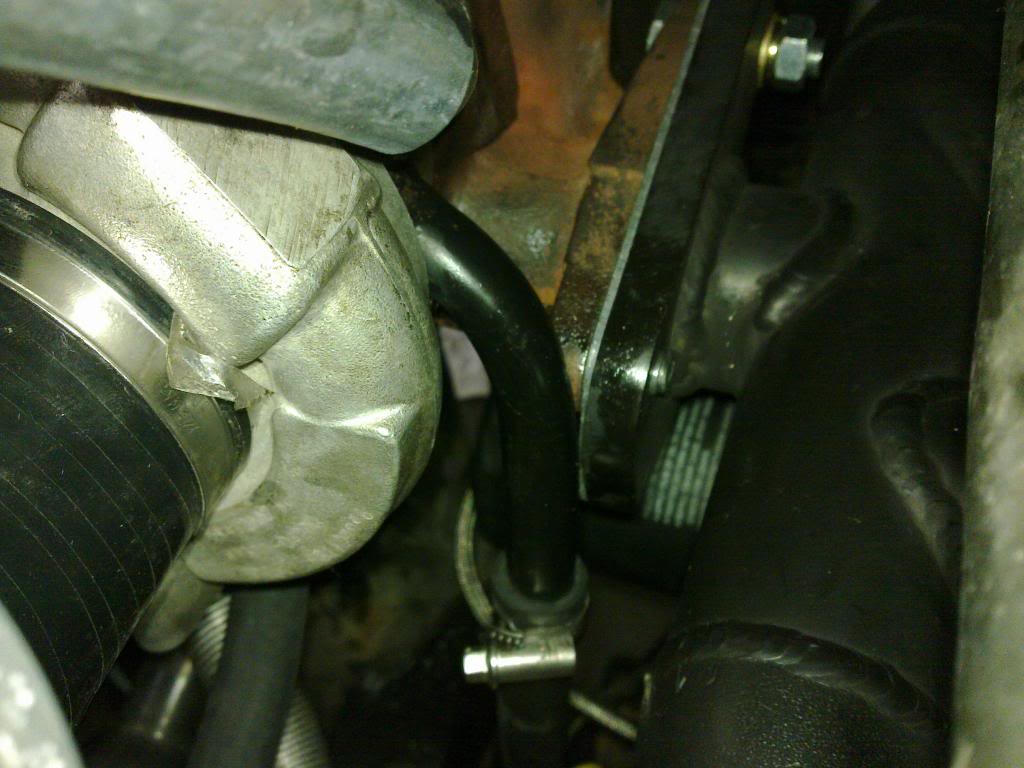
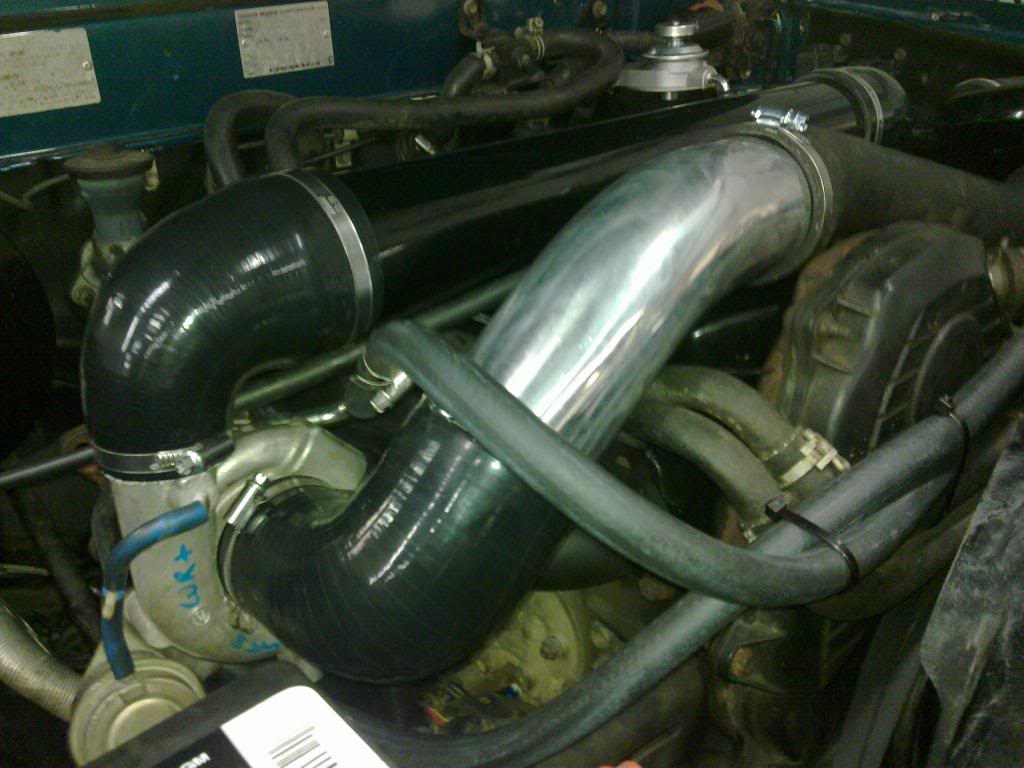
Taped a water supply down near the pump outlet, lots of people just go off up the top heater hoses but as the highest point in the cooling system it the first place an air pocket will form if there is a leak.

Ran the cooling lines around the front.
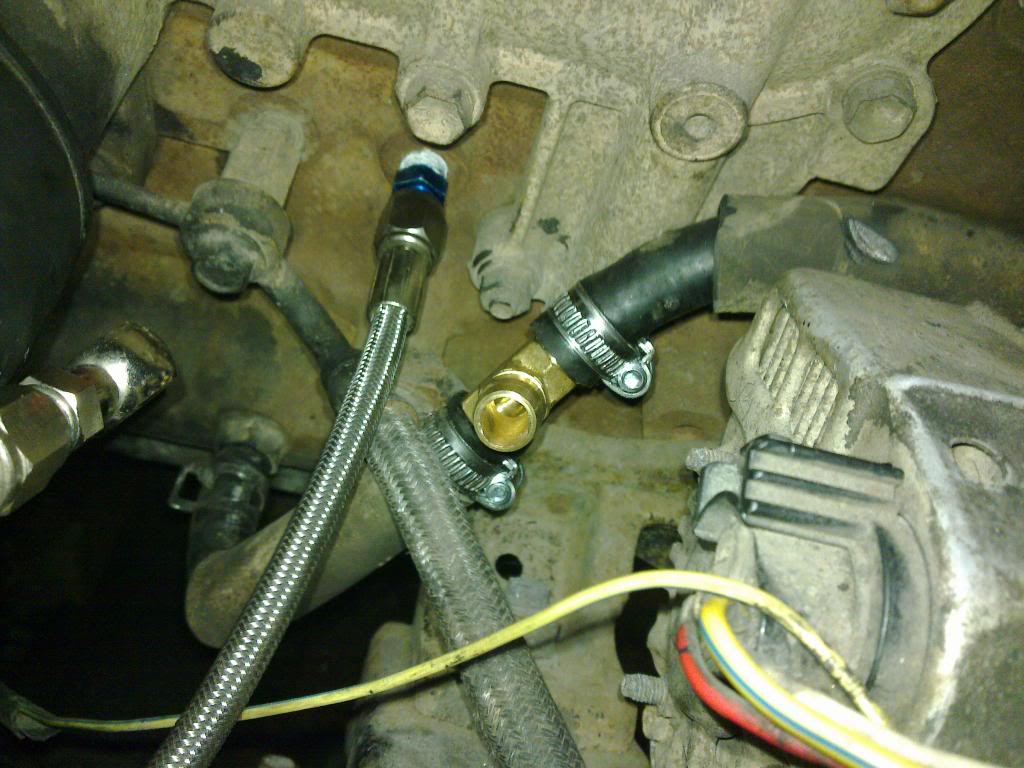
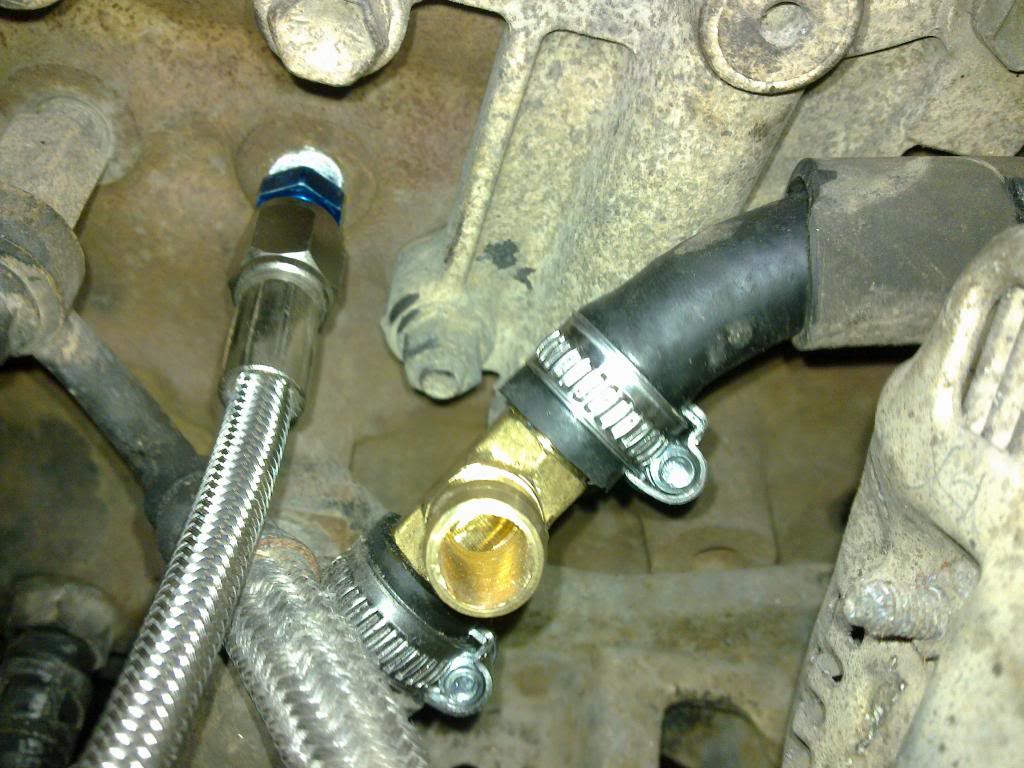
oil feed and drain installed.
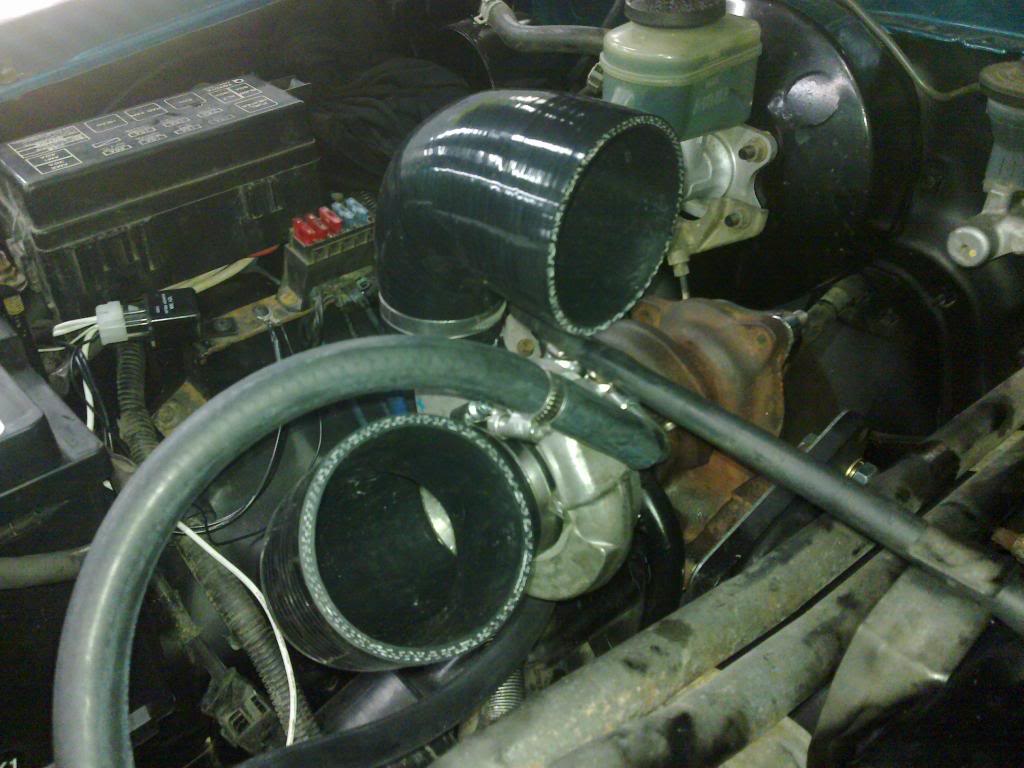
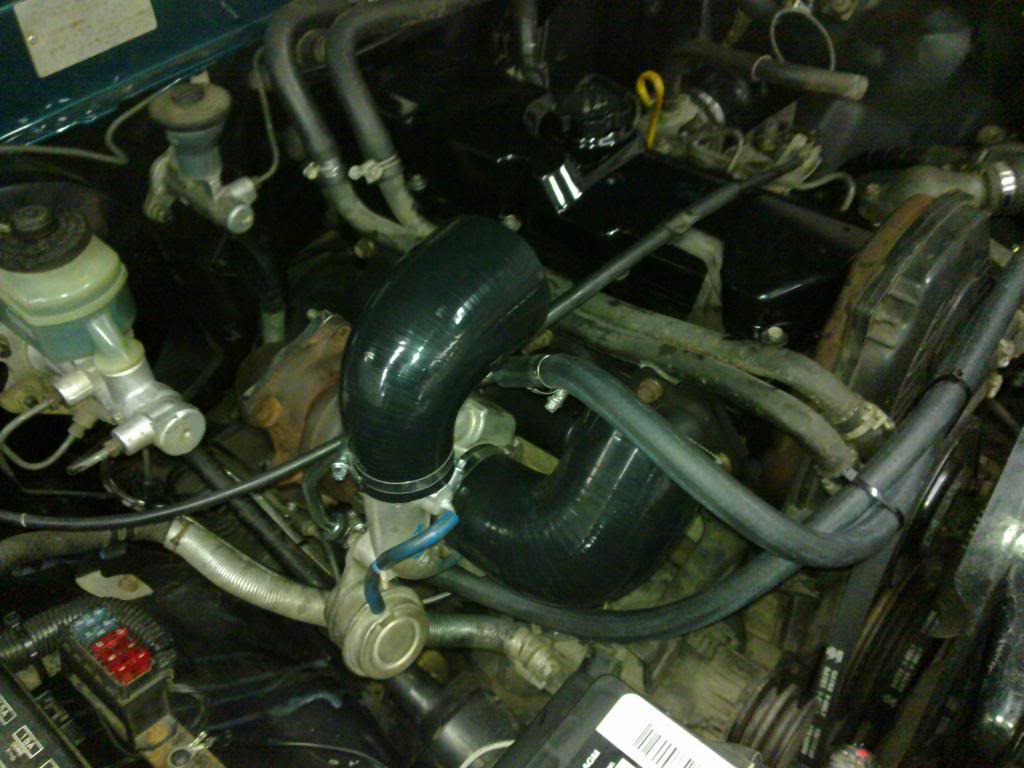
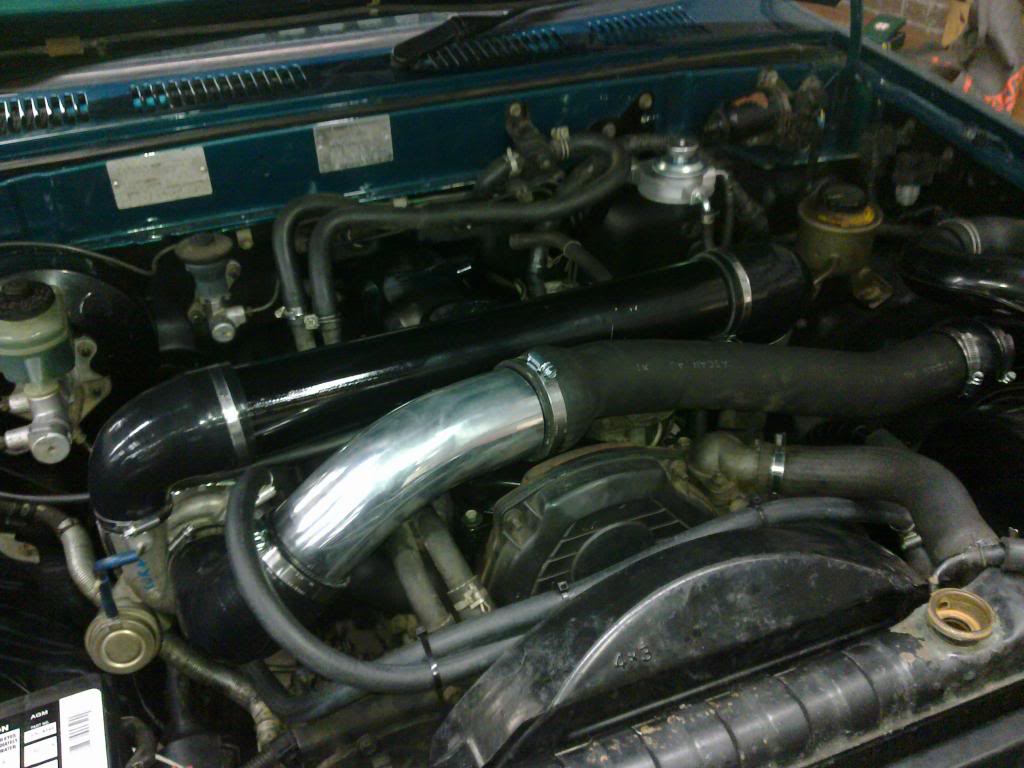
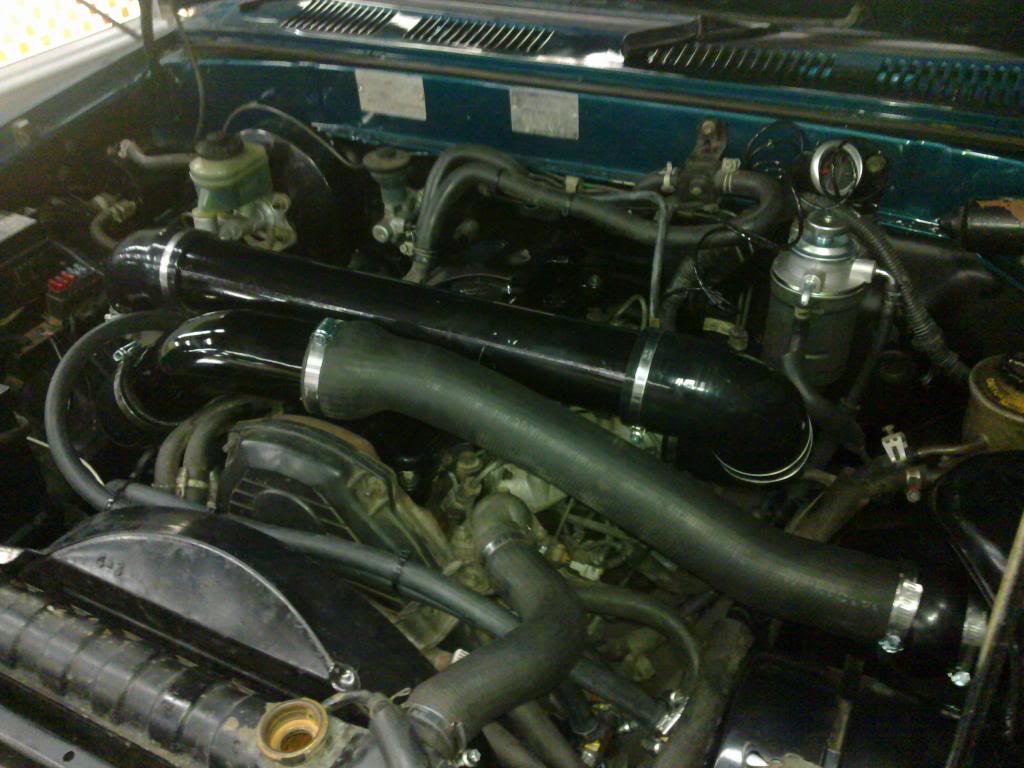
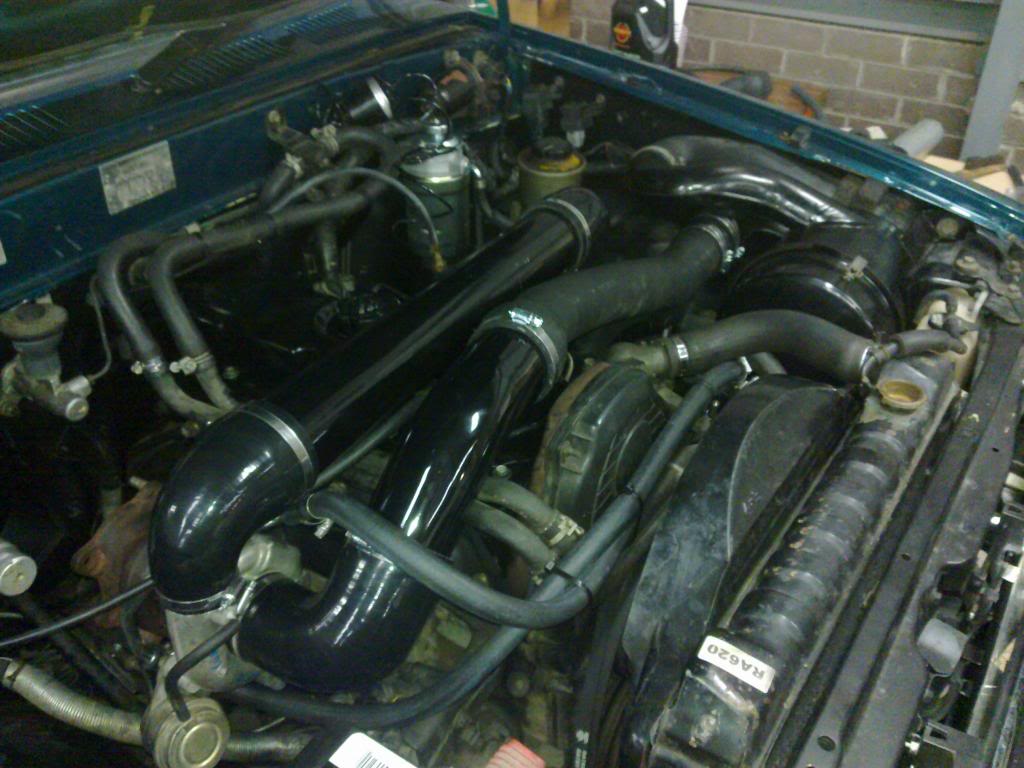
Time to start building the induction pipes.
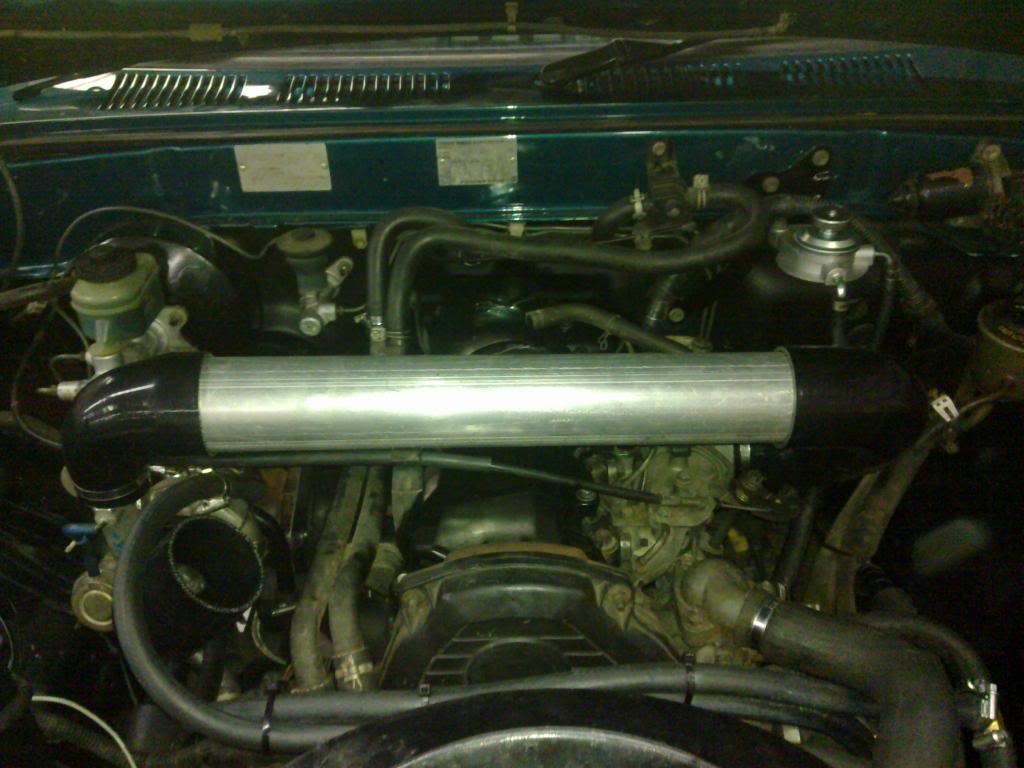
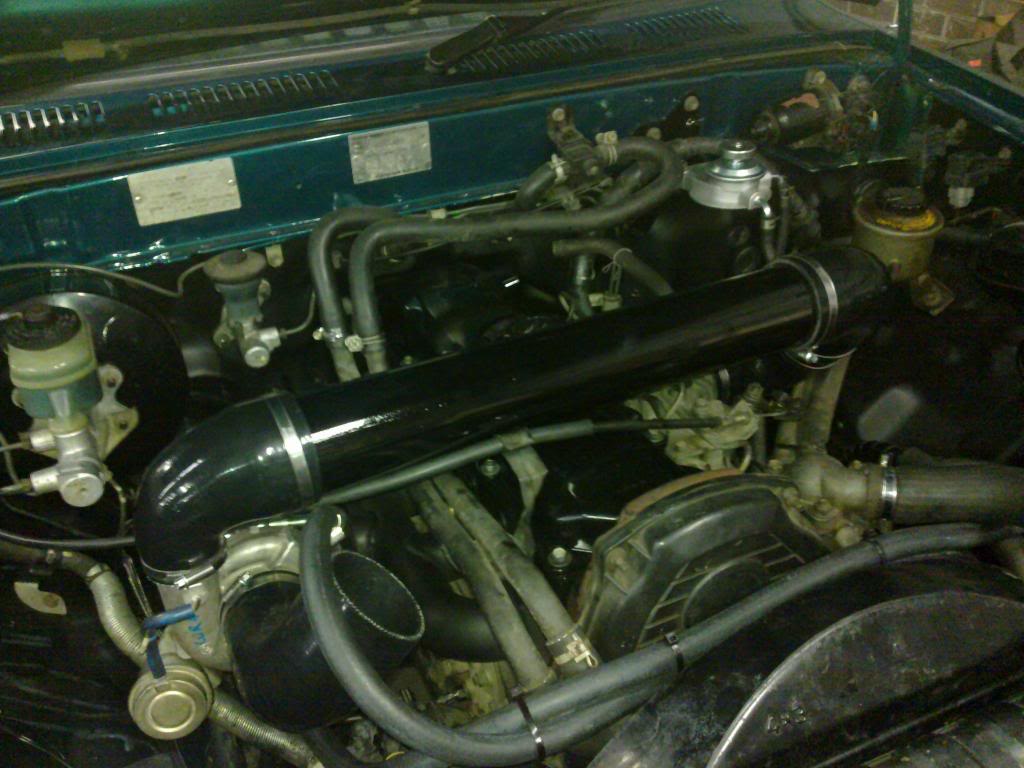
Black
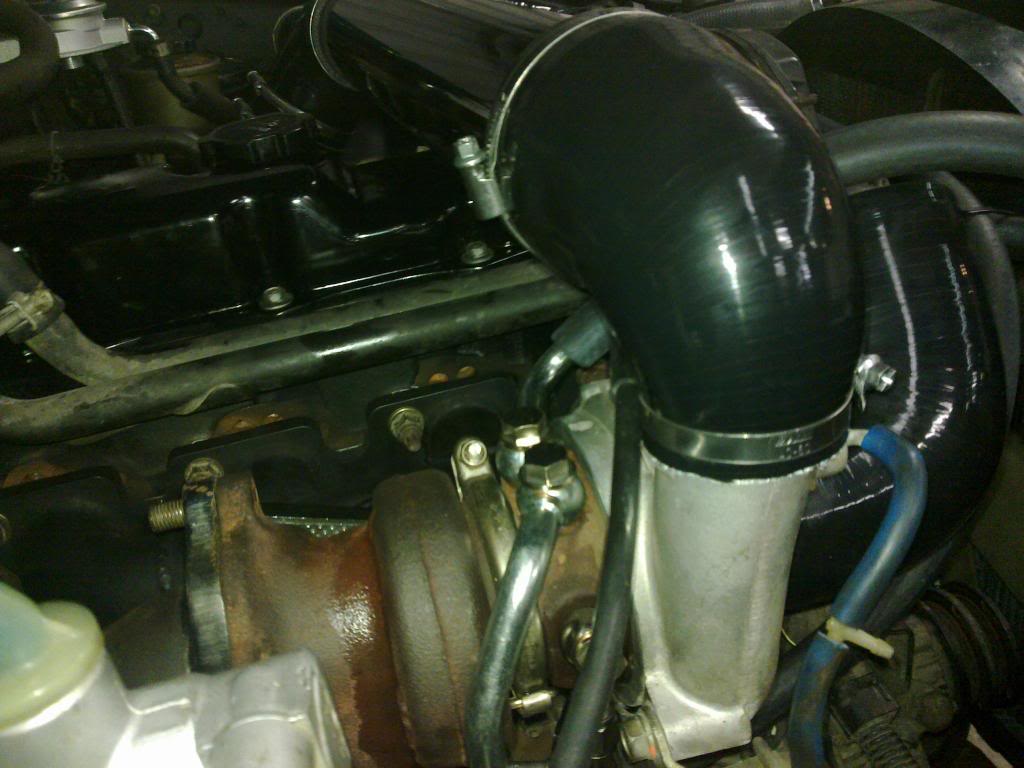
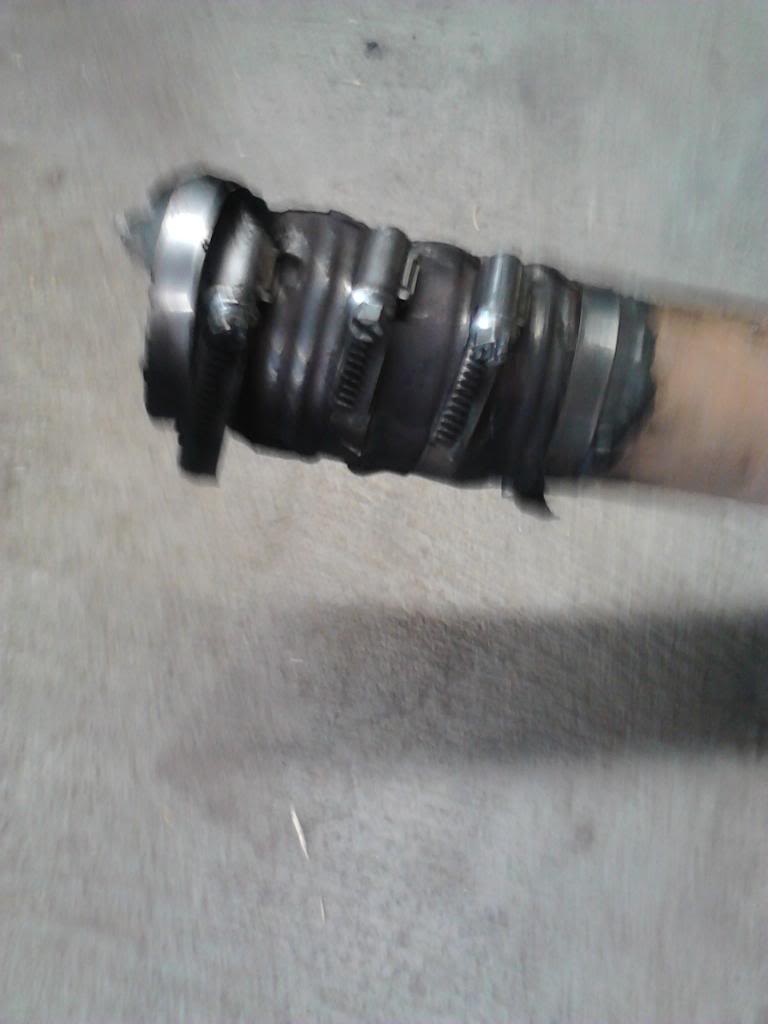
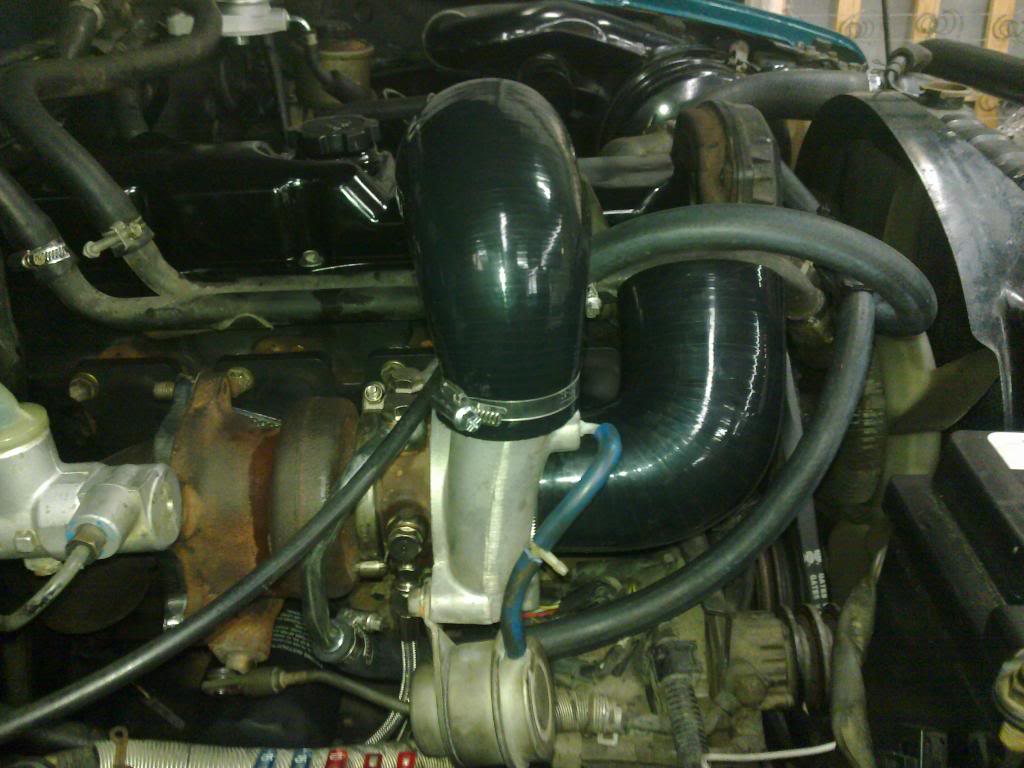
used a 45 degree intercooler pipe from supercheap auto and found an old intake pipe of an f250 that fitted perfect.
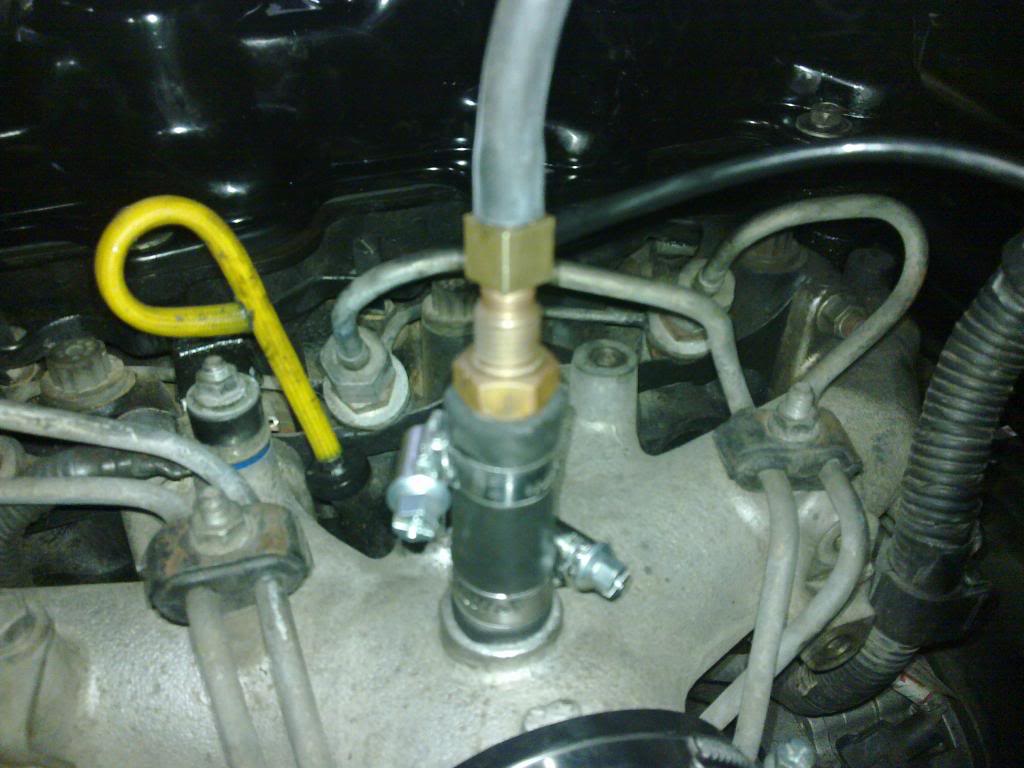
Made up a boost gauge adapter .
Finished painting everything.

Ran the cooling lines around the front.


oil feed and drain installed.


Time to start building the induction pipes.

Black


used a 45 degree intercooler pipe from supercheap auto and found an old intake pipe of an f250 that fitted perfect.


Made up a boost gauge adapter .

Finished painting everything.


 Aug 17, 2013 | 04:06 PM
#40
Thread Starter
Registered User
Joined: Dec 2011
Posts: 46
Likes: 0
From: Australia
Cheers Jeremy.
Got some pic of the exhaust mocked up, should be able to get some time to finish it of this week.
Just need to make a middle piece with a flex joint and its done.
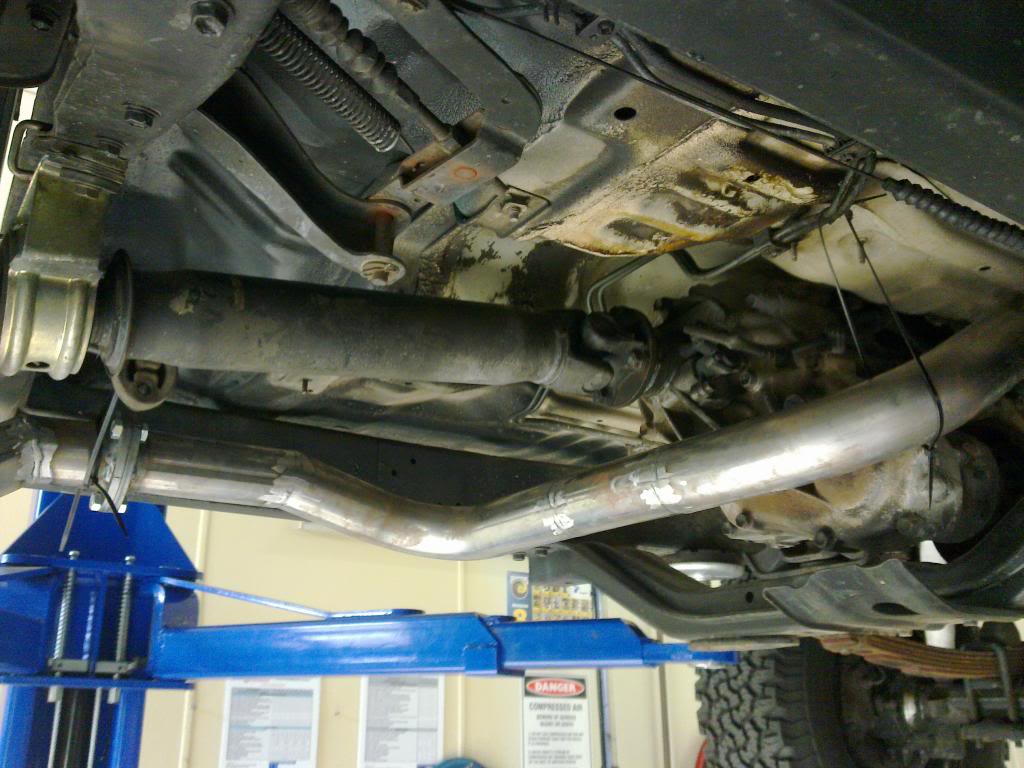
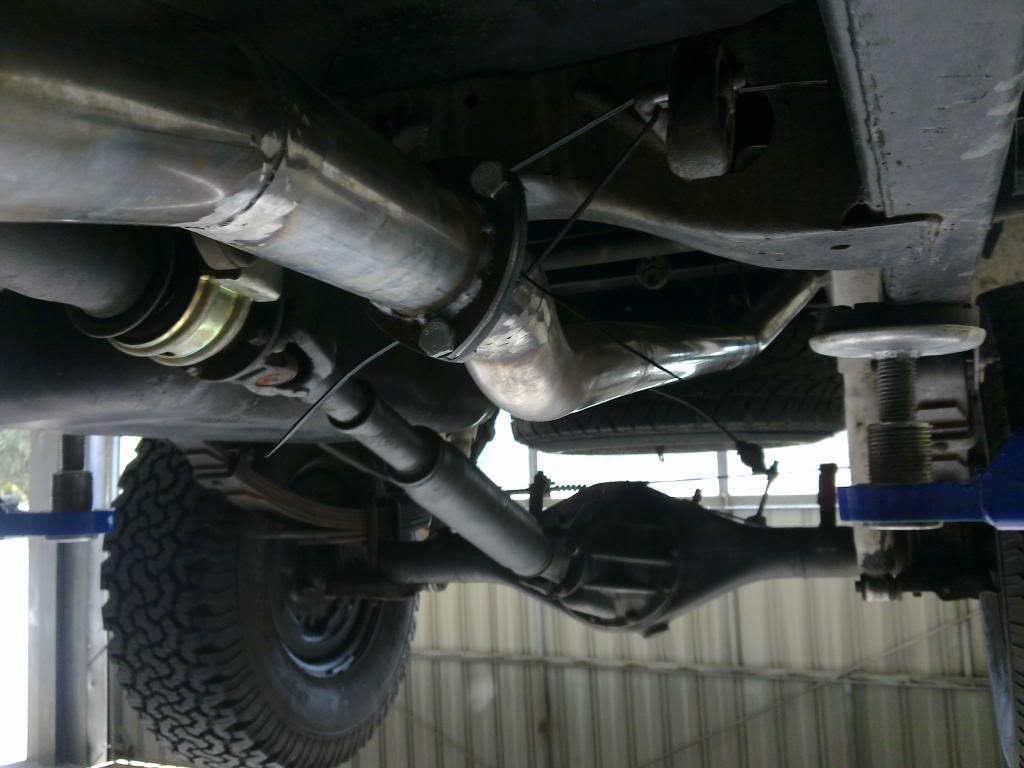
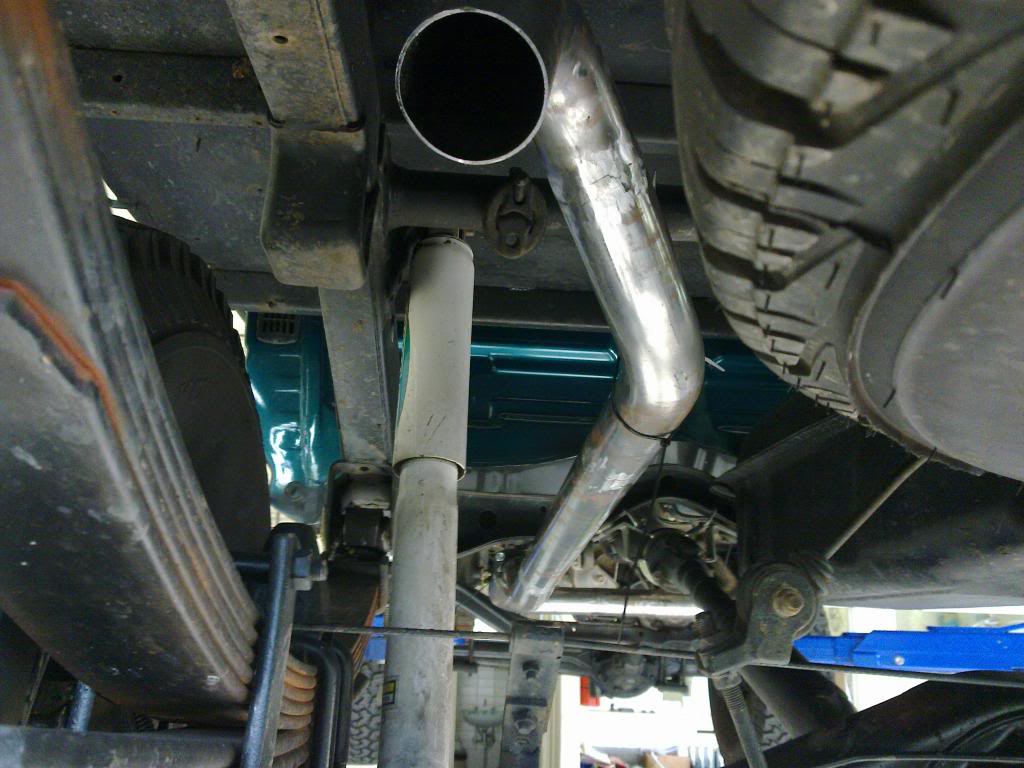
More soon.
Got some pic of the exhaust mocked up, should be able to get some time to finish it of this week.
Just need to make a middle piece with a flex joint and its done.


More soon.


