When you click on links to various merchants on this site and make a purchase, this can result in this site earning a commission. Affiliate programs and affiliations include, but are not limited to, the eBay Partner Network.
yep, did it again. found an 88 4runner in des moines iowa that i couldn't pass up so im up to 3 now. went and picked it up last week and of course, what you see in pictures doesnt compare to what it looks like in person. little rustier than i expected but it will be fine.
the guy i bought it from said it randomly started knocking and decided to sell it. it started, ran and i drove it on to the trailer to take it home. on my way back i drive through council bluffs which is where gizler resides. he suggested we take it to his shop and tear it apart for a learning experience with his students so tomorrow we start the tear down.
as we pulled it into the shop it didnt sound horrible but you could definitely tell something wasnt right. checked the oil and it was milky. either guides failed and it hit the cover or possibly a head gasket failure. i checked the coolant and noticed it was dry and red color to the fins...interesting. it had ran maybe a total for 2 minutes. i grabbed the top hose and it was squishy, no coolant. the bottom hose was rock solid...full of ice.
well here she is. gizler noticed the tires which are in really good condition.
gizler attaching the chain to the engine for removal. lift access made a huge difference as well as the extra hands helping get everything prepared for removal.
starbucks gold right here. we noticed when we pulled it in the shop last week that the dipstick was milky so this was no surprise.
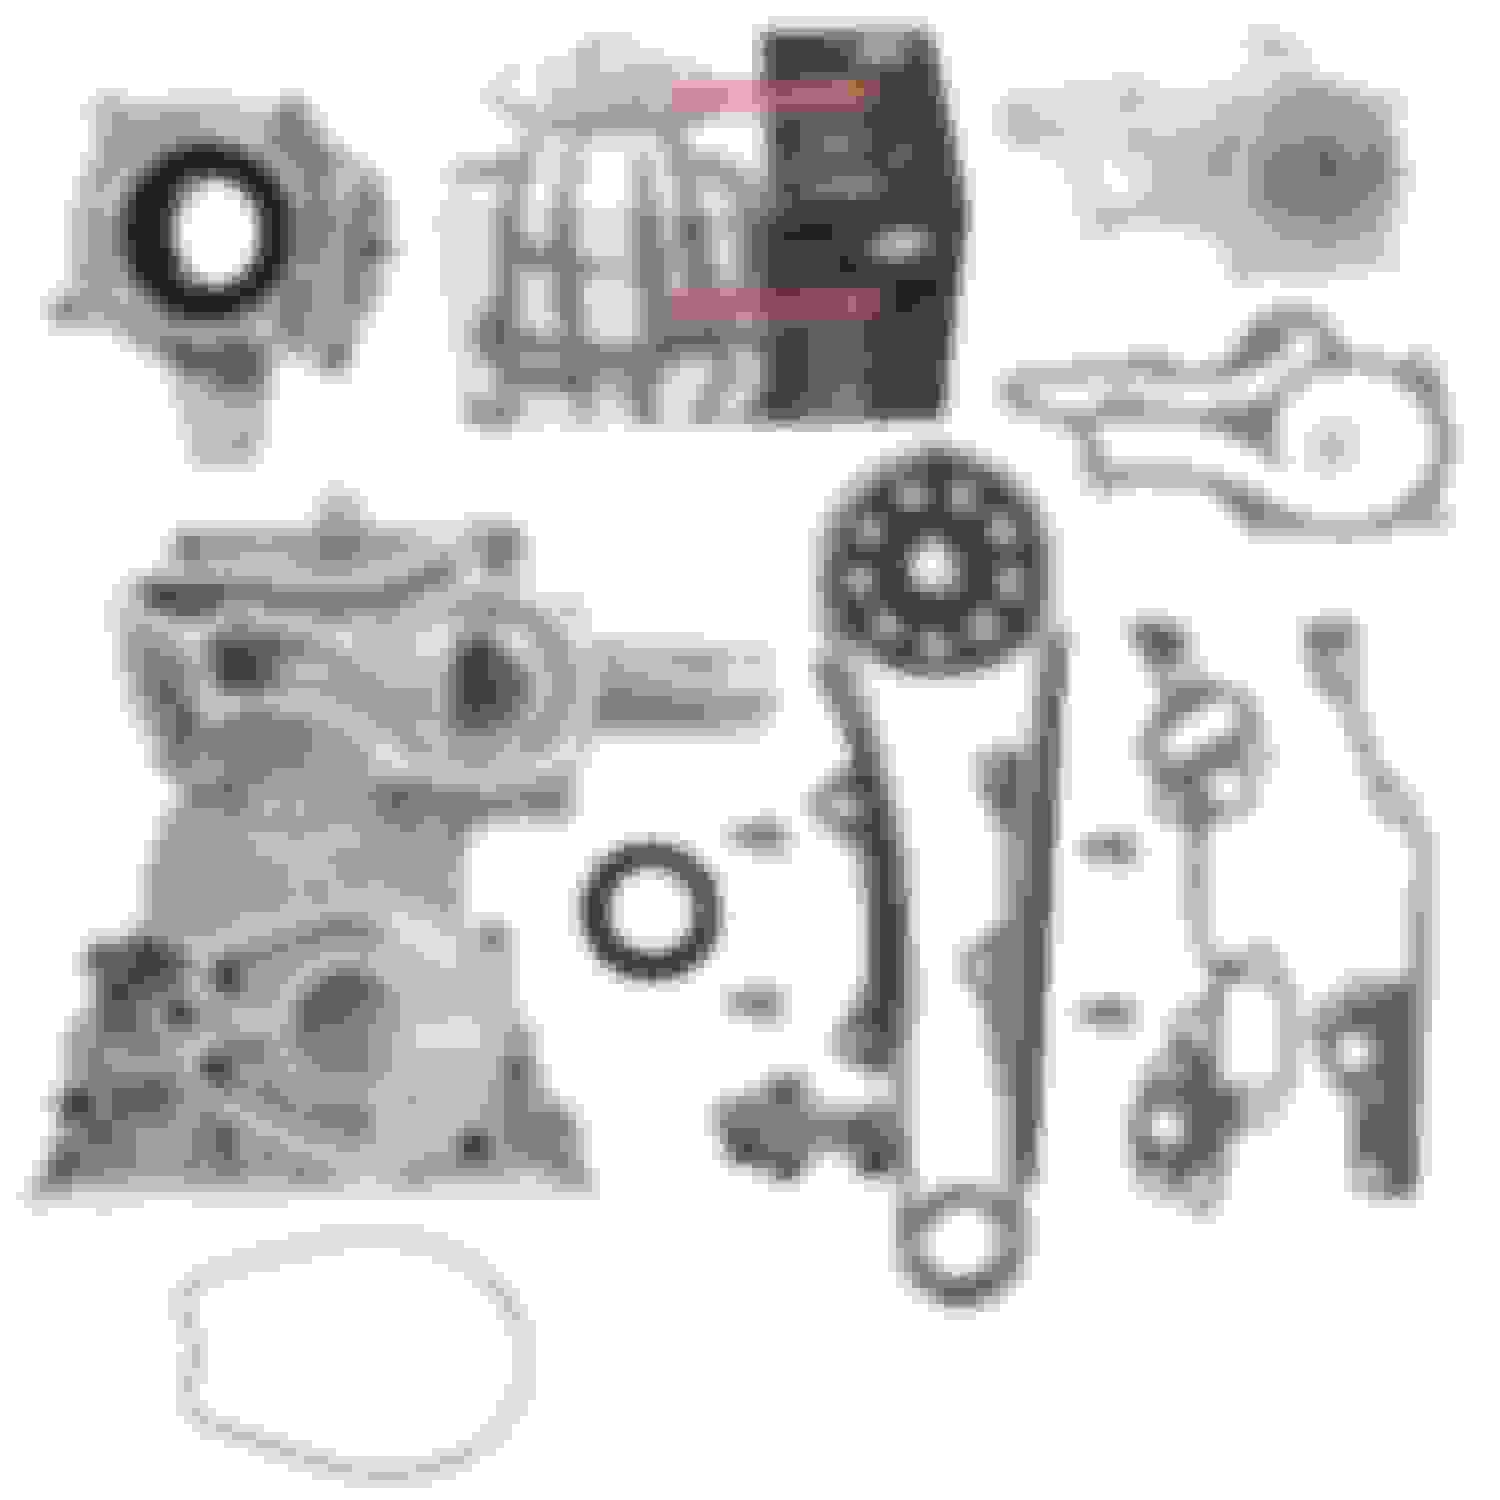
ill go into detail at the end about this, but this was expected as well. the assumption was the chain guides broke off and the chain sawed its way into the front cover. i didnt think much of it, but the front 2 bolts on the oil pan were missing. more on that later.
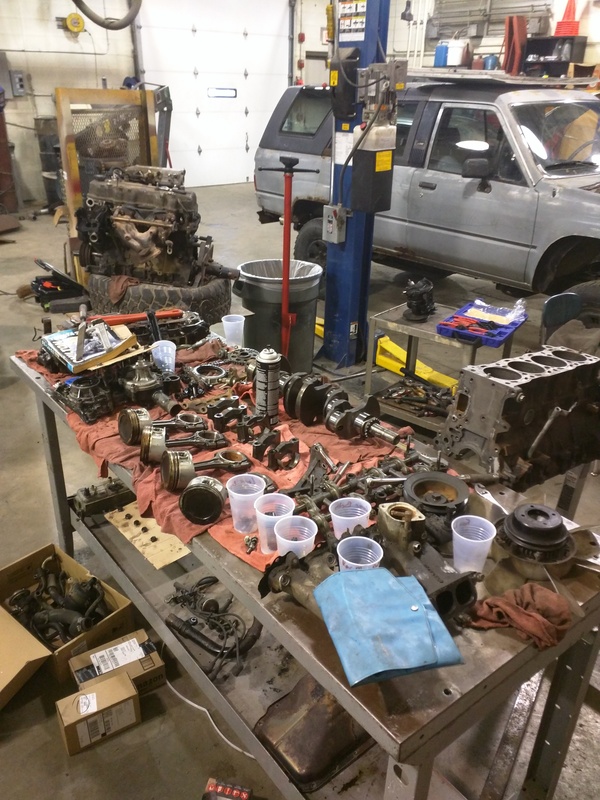
engine pretty well tore down. you cant really tell, but the chain is new and a flashlight down the hole showed new guides...wait a minute...
sooooooo
whoever replaced the timing chain/guides/etc did NOT pull the pan to remove the old broken pieces, hence them still being there as well as the 2 missing oil pan bolts and 28 pounds of rtv to not seal between the pan and front cover. i remember a few years ago when kornhuskerwizard was having a hell of a time trying to get his front cover on without pulling the pan or head. it did not work. whoever did this made it work and (fortunately?) for me i stole this thing for an easy fix.
we pulled 2 rod caps to see where the knock was coming from and like my 89, cylinder ones bearing had a deep gouge in it, crank fine. cylinder 4 bearing had a bunch of material missing but no gouge and no crank wear. i consider myself lucky with the crank being hopefully possibly OK.
so why did the coolant/oil mix? were thinking the front cover cracked. where the chain was against the front cover looks like ruts, and it would be no surprise to me that it did indeed crack. why they reused it i can only assume is they didnt see a mix of any fluid and thought it would be ok. previous owner had it titled 9/15 so he didnt have it long before this happened.
Looks like a nice little runner. Looks like you got all the normal neglect that comes along with one. I have seen several motors with the old timing chain guides in them and was no damage. Good thing for the pickup screen on the pick up tube.
Looks like a nice little runner. Looks like you got all the normal neglect that comes along with one. I have seen several motors with the old timing chain guides in them and was no damage. Good thing for the pickup screen on the pick up tube.
It's about the same condition as mine when I met up with you in 2013. Soon Gizler will be breaking in his new parts cleaner!
Tore the engine down completely today and found some interesting stuff.
Looks like the Previous owner, or whoever did the timing kit, did not replace the grooved timing cover, but also tried to make the repair with the Head and Oil pan still on.
Crazy....... I hate to see hack job stuff like this.
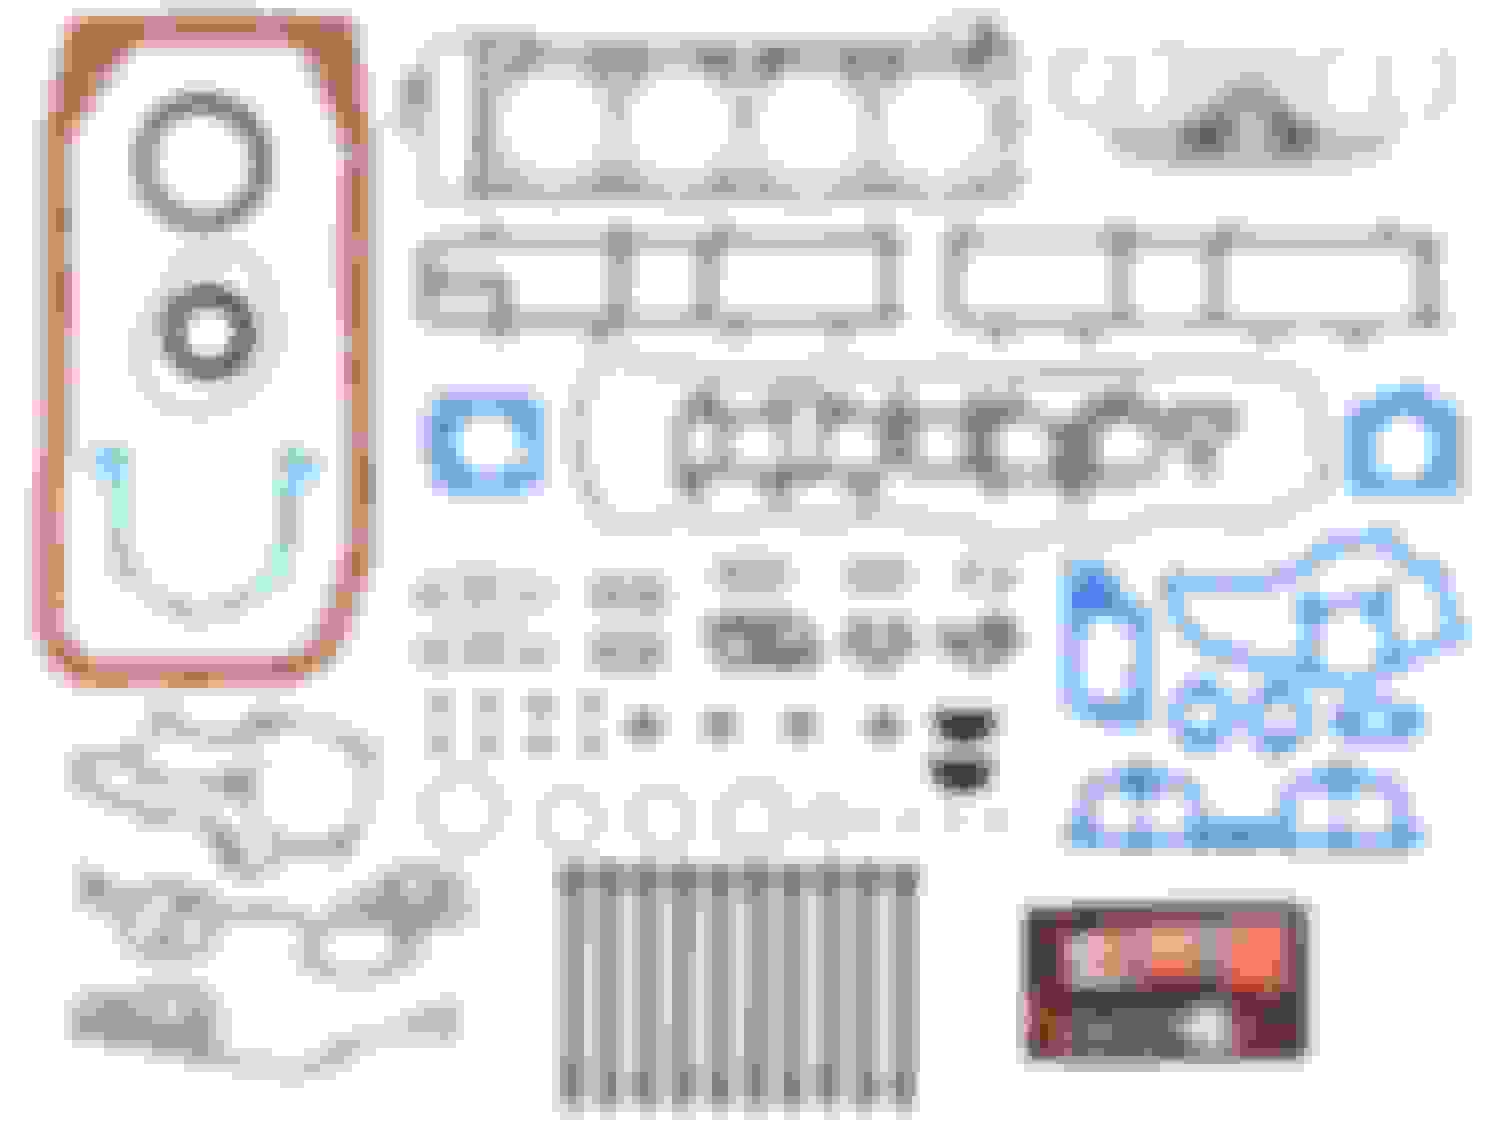
Heres the worst part............ when they pulled the Timing cover off with the head still on, they managed to either rip off the front part of the HG or cut it off prior to the Re-installation of all the parts. So what did they do.................Stuffed a crap ton of RTV in there. They did the same thing on the bottom.
On top of all of that, they were using straight water on the cooling system and everything is rusted up pretty bad.
One thing that we found was that the Head gasket failed on the #4 cyl and had to be letting coolant into the cylinder. It explains why the #4 cyl looks like its steam cleaned and the other 3 are going to need honed and cleaned up.
I will get some pics up when Photobucket is working
Bailing wire and bubble gum will fix anything. I have seen a lot of hack jobs and it seems it takes just as much effort to do it wrong as to do it right. Never understood that. Good to see you getting it sorted back out and eventually on the road. A parts washer would be handy to have.
i also messed up a headgasket doing a timing kit without removing the head,you can do it....however the headgasket will most likely leak.
I did the same thing. When putting the timing cover back on, it kinked the head gasket as it fell down just enough to catch the cover. What I do now when doing just the chain, is I put some RTV on the gasket to where it is basically glued to the head so that it cant fall down.
Talked with Mark earlier in the week to get an alternator for his car that was in town and decided to run the spare engine I had completed back in late 2013 for my white sr5 as this one needs a few more things to be finished. I brought the engine up yesterday and started swapping accessories and getting everything in. Since of the brackets were pretty greasy as well as the alternator from years of oil leaks dirt and grime so we decided to run a few things through the new parts cleaner he got. All I can say is it don't matter what you put in there its coming out clean. The temperature control is adjustable so you can put plastic in without worrying about warp or melting. Today we are putting in the air control valve as its nasty looking. The best thing about it is it only takes 15 minutes! I'll take some pictures of the results today.
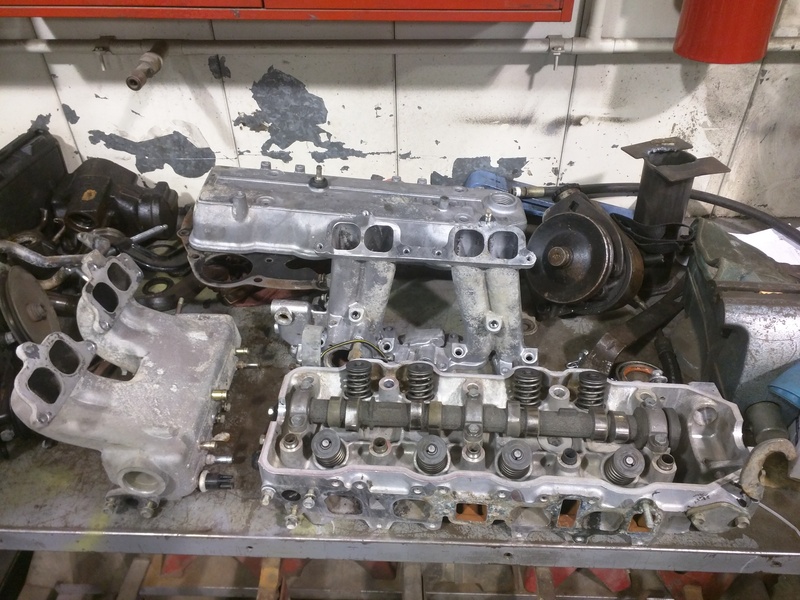
Pile of parts
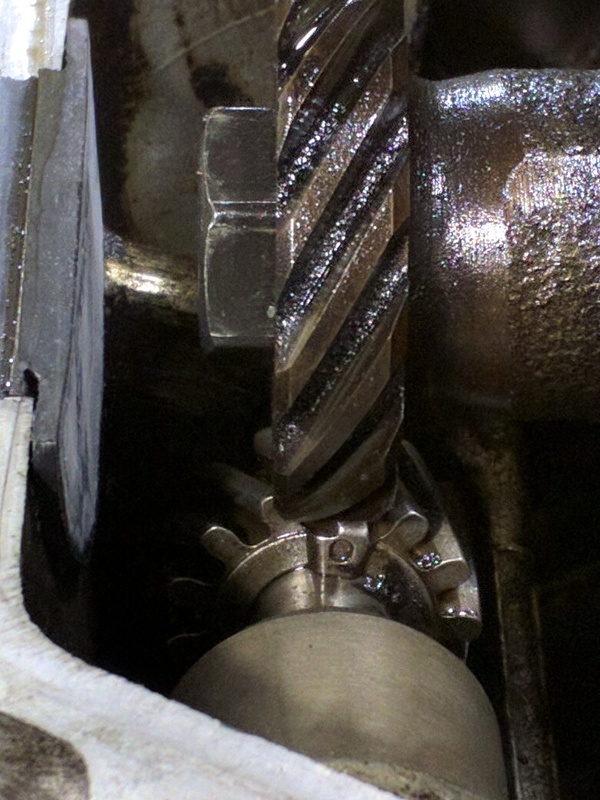
Timing marks lined up, under the cap as well.
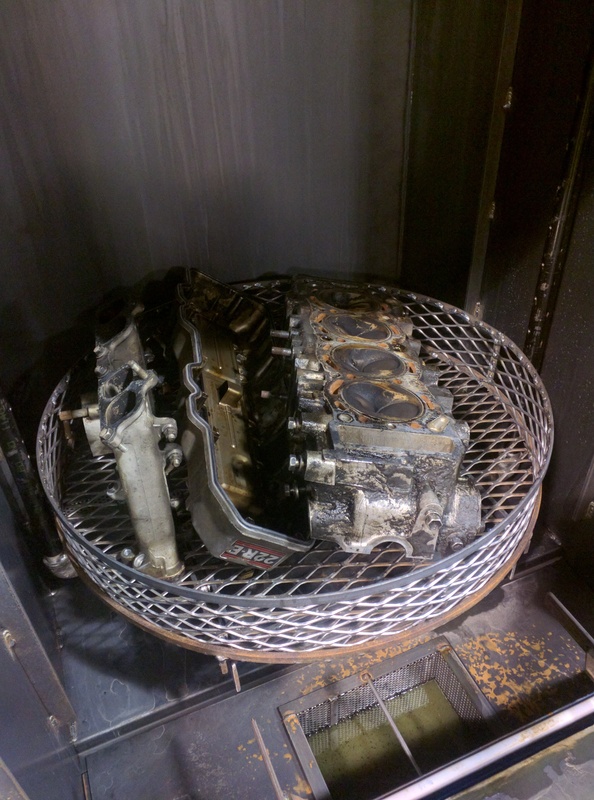
Parts cleaner before. Yes, that's a complete head.
I'm going back up today to hopefully finish it up install and drive around with it.
Went up today and didn't get as much as I wanted since I had to deal with something in the morning as well as a few hiccups. No major issues as its going in tomorrow.
Parts cleaner results from yesterday
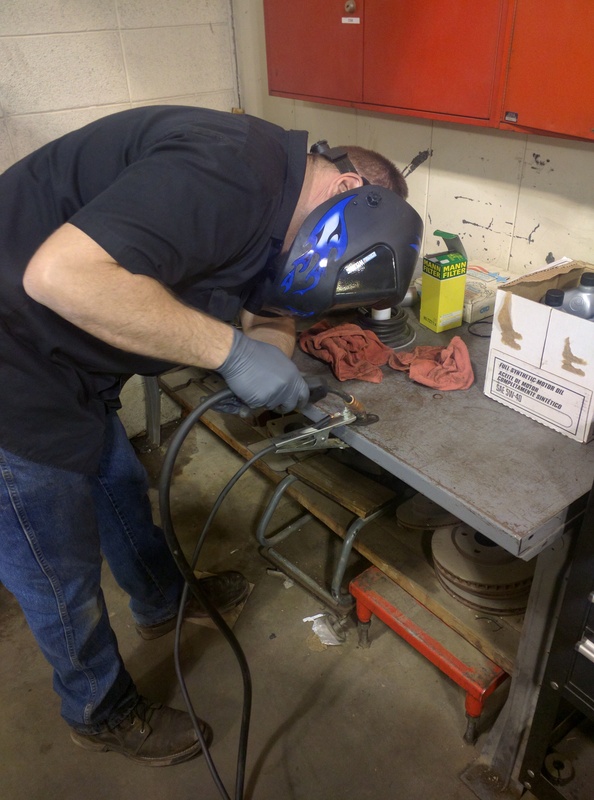
Used a few egr parts. Cut and welded the tube on the manifold. Mark welding.
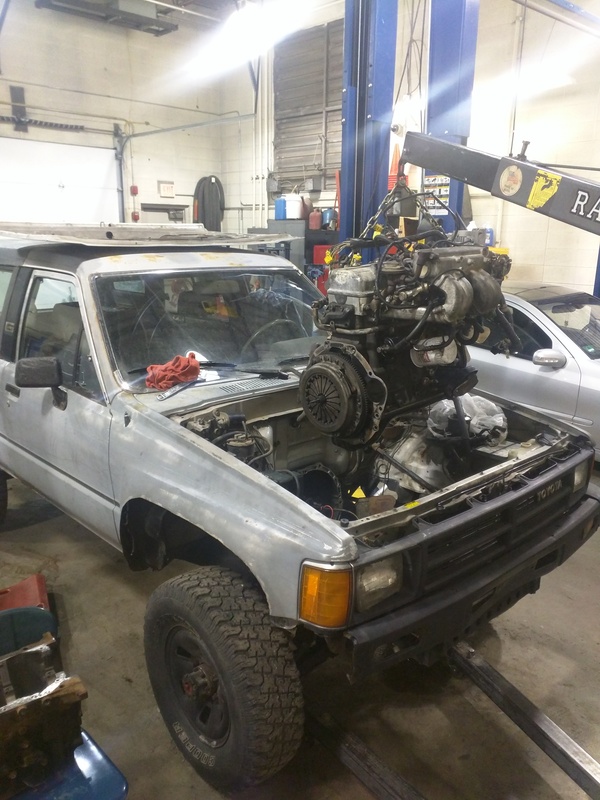
Engine in place to go in. Few things before this picture happened that sucked. First off was the clutch/flywheel I got. Found one on Craigslist with a power steering pump for 40 bucks. Clutch didn't have many miles on as I could see the machine marks on the flywheel and barely any marks on the fingers from the throw out bearing. As we bolted it on gizler noticed the fingers on the pressure plate were all facing each other. He thought it was not right. I didnt remember a time I paid attention to that so I didn't think anything of it but we compared it to the original clutch that came out of it. Good thing he was there as it was physically bigger. The part number on the pressure plate was ty-18. I did a quick search and found it was a factory Toyota/Lexus replacement but didn't specify what for.
The other thing we didn't notice til after we had the splines lined up on the input shaft was the starter plate....pulled it back out and installed it.
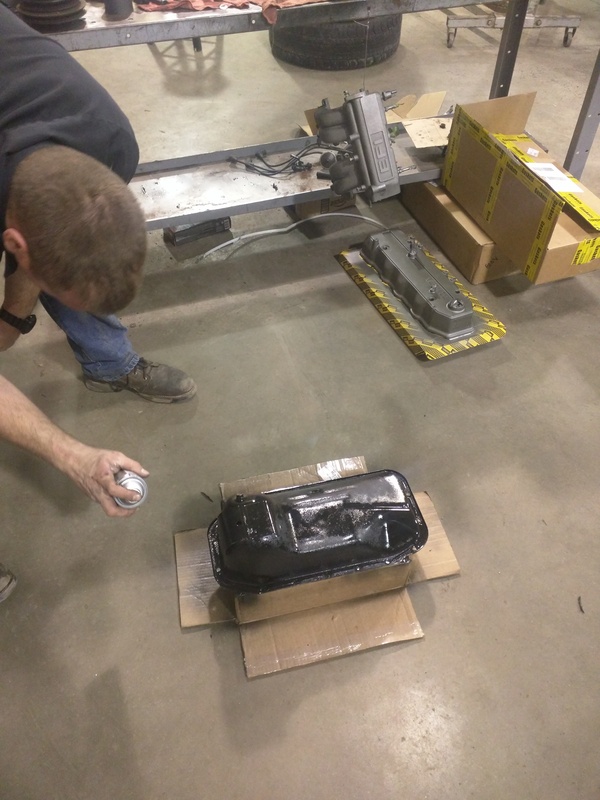
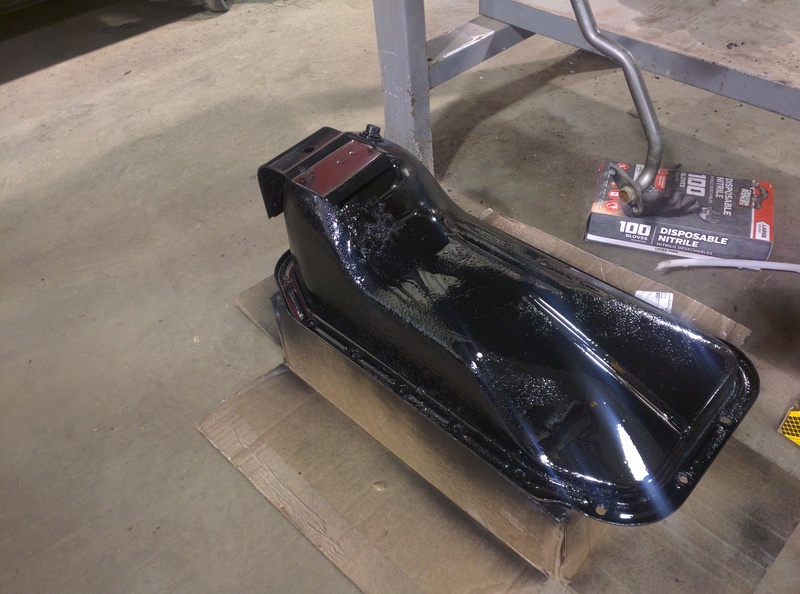
Gizler painting the oil pan
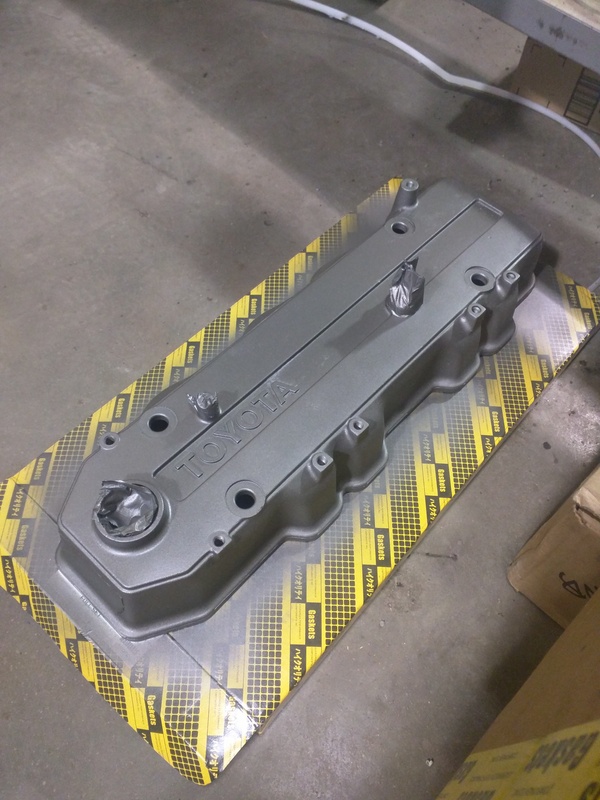
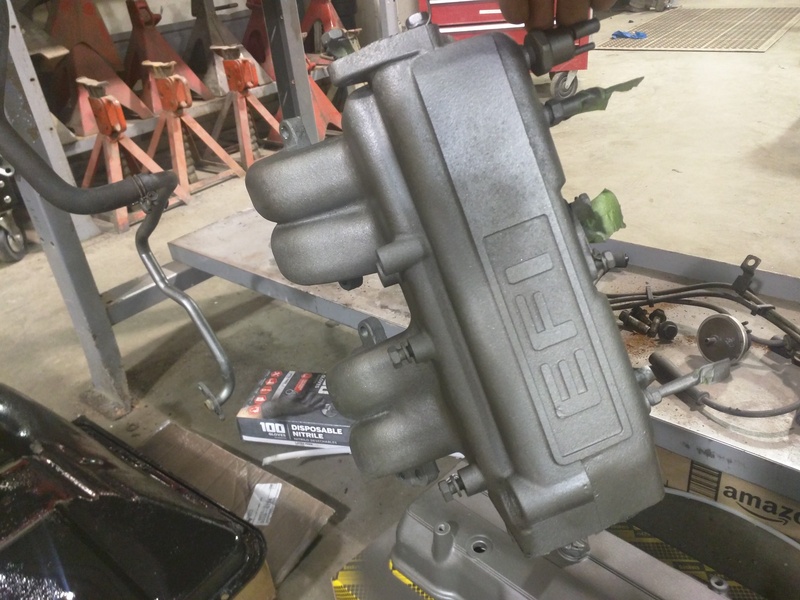
Went to oriellys and bought a few parts. I wanted to paint the valve cover and intake manifold for the white one so I found this color. Almost looks like a flake in the paint.

 Jan 26, 2016 | 06:28 AM