When you click on links to various merchants on this site and make a purchase, this can result in this site earning a commission. Affiliate programs and affiliations include, but are not limited to, the eBay Partner Network.
My first post will be a bit of a novel, but I'm going to cover the history of this truck to the best of my knowledge and the long twisting path it took to get to where it is. If you want a good juicy Yota bedtime story or something to read on the jobsite port-a-john instead of working- here you go. My second post will be the string of pictures and captions.
In April of 2017 I received three years worth of back pay for a GI Bill apprenticeship stipend. Single, bored and ready to get wrenching I spent the majority of it on truck parts...and a new project truck. A few weeks went by before this thing popped up on a facebook group for sale. It was ugly. It was weird. It was rough. It would soon be mine.
I went to go see it in Marlborough, MA. After one look at the frame and a few good taps here and there with a wrench, it was a done deal. It wasn't running but it was all there.
At some point, a guy up in New Hampshire threw this thing together from whatever was laying around. What appears to be a 2WD regular cab frame was SAS'd and a brown 1986 Xtra cab was shoehorned onto it. One front fender was black. One was white. The hood was red. The doors were brown, but the VIN stickers dont match the cab. The bed was blue and bobbed front and rear to an overall length of just over 3'. The tailgate was black and sits directly over the rear shackle mounts which is where the frame was neatly cut off. The whole thing was sprayed with a classic no-prep steel gray paint job that only covered exterior surfaces with very sparse masking. The engine is a rather rough 87 or newer. W56B transmission. 84-85 front axle and an 86-95 rear.
The front springs were lift springs for a factory solid axle truck and were thus too short. The front shackle angle was negative and it rode like a bulldozer. The rear shackles were popcorn welded scrap with re-used factory hardware. The rear springs were factory rears with bent mains and lifted slightly by adding a crooked Jenga tower stack of junkyard overload leaves. The original spring hangers were still in use and resulted in a truck that sat high and mean up front and wimpy and inflexible out back.
When I picked the truck up, it wasn't running. The woman who sold it to me kept a diligent record of every receipt for everything from shop towels and axle grease to services performed at Westboro Toyota organized in chronological order in a binder that also contained the title and a spare key. All I was told is that one day it ran. Then it didnt. Attempts to fix electrical gremlins were fruitless and the truck sat. She was getting ready to move to Texas and both this truck and the FJ62 it sat beside had to go. It had to be cranked onto the trailer with a come-a-long and a few buddies to shove the off-brand 35's in the direction it needed to be steered as the steering wasn't hooked up.
After enthusiastically handing over the cash, I rented a U Haul pickup and trailer under the premise of "towing a 1987 Samurai" and tugged my prize home.
After unloading it on the pad behind the house with the assistance of a buddy to steer the other front wheel and some hefty chock blocks we started to tear into it. Included with the truck was a pile of mismatched tires. All different sizes, wheel styles, tread wear and even a steel studded snow tire. Also included were three boxes of rather interesting spare parts. A stack of Timken wheel bearings and races, a bucket of mismatched Sylvania and Wagner replacement headlights, a mystery power steering pump, an old school timing light, three new spark plugs, bolts, clips, pins, spare mirrors and connectors and about fifteen pounds of pine needles in the bed.
A female friend locked herself in the cab with rubber gloves and every cleaning chemical my house had. When she exited an hour later, it no longer smelled like a project truck but a recently cleaned up motel crime scene room.
First issue to tackle was the steering. It had an SAS like I said, and even had an All Pro Histeer kit installed. The power steering box was missing from the frame and in its place was an old push-pull 79-85 box crookedly mounted with hardware store bolts and a chopped off drag link. Upon removing the box, I found the two bottom holes for an IFS box still intact. A spare box and pitman arm was added to hook up the dangling histeer drag link. We drew a tape measure across the tires for a slap dash alignment and then set about getting it running and checking the fluids.
The culprit turned out to be a blown 10 amp fuse in the 15 amp EFI fuse slot. I threw in a spare 15 and it fired up. Ozzy Osbourne's "Crazy Train" immediately blared from the speakers and couldn't be turned down due to the broken volume knob on the head deck.
A few coughs and chokes later it sputtered back to a solid idle...accompanied by three CE lights. One was a knock sensor, the other was an O2 sensor code and the third was TPS. I hooked up the dangling knock sensor plug and adjusted the TPS. I found the O2 sensor wire missing its plug, so I threw a spade connector on the bare wire end and slid it into the O2 sensor plug. The knock sensor and TPS codes cleared but the O2 sensor refused to budge. Whatever. Time for a road test.
It really didn't want to get going. It nearly died a few times getting on the gas, but after a few healthy revs it seemed to lunge forward. The shift from 1st to 2nd was alarmingly rough. I chalked this up to the body lift and the long dormant driveline. By the time I got to the end of the street, I realized my top speed was 35 miles per hour. As the stop sign approached, I downshifted with difficulty and applied the brakes. Everything but stopping happened. The truck bucked and lurched and squealed. It dove for the far side of the road. I rolled through the stop sign quickly downshifting and fighting the intermittent power steering. Shakily I turned it around and limped back up the street. After jacking it up and pulling the front wheels I found the driver side brake caliper was missing its pads. The pistons had over extended and dumped half of the brake fluid out. The rotor was scored beyond repair. After a brake job, my paychecks began to slow down my progress.
I continued with an oil change, coolant flush, thermostat change, plugs, wires, cap, rotor, TPS check, timing check and valve adjustment. It barely improved and the shifting only slightly played along any better. As winter approached, it sat dormant again. I felt bad, but my 87 4Runner was still the reliable daily doing 500 highway miles a week on 35s and demanded my attention and labor.
A year later I found myself trying to sell it. I hadn"t turned a wrench on it in months and it was bugging my landlord who was losing patience with my lifestyle. The only people who ever showed up to check it out flaked. The others were Guatemalan and only interested in hauling it back home to sell for a profit. One gentleman fanned out $5000 in front of me saying he'd pay me that on top of my asking price if I could fix it up enough for him to DRIVE to Guatemala....from Rhode Island. I ushered him off of my property with sudden stories about the rotted out cup holders, inoperable floor mats, head rests out of adjustment and a rod knock in the carb I had discovered the week prior while changing the seven injectors...
Eventually my best friend was over with his girlfriend and offered me his cherry 2WD carbed 1988 Toyota pickup. It was a smart move in my book and gave me an alternate and fuel efficient daily driver with a bed. He scooped the truck up to fix up as an anniversary gift for his girlfriend. But, as these things always go...the girlfriend went. We gave the truck a hasty tune up and go through in my driveway before my friend drove it 40 minutes up back roads to his house in CT. It made the trip spectacularly well after my last attempts to drive it made it feel like a beater with little future. It then sat dormant at my buddy's farm once more- having only been interested in it to fix for the girl and only moving to act as a lawn ornament for a pre-Toyota Fest cookout and bonfire we held after I moved in with my buddy and his family.
As 2019 rolled in, I stared longingly at the truck parked in the back field. Kicking myself constantly for trading it. The 2WD life wasn't for me. I eventually offered a trade back which my buddy eagerly accepted.
Since I bought the truck I had changed jobs from a strict and competitive electrical contractor to a laid back and easygoing hazmat company. The shop was free to use after hours and on weekends so I loaded it on a trailer and hauled it there. A few long jobs away in hotels left my bank account flushed with truck money and an itching to get it going so "Jenny", my rusty and trusty 87 4Runner could get a break and the bodywork and paint she badly needs.
So the Prologue is complete. You're up to speed. My next post will show the pictures and progress I've made and will cover it until project completion. Hoping to have it on the road, painted and registered by July. Thanks for checking it out.
I had built my 4Runner from a basketcase after wrecking my 93 Pickup the month prior. I largely followed the style I had begun to build the Pickup in. Used the same type of bumper, shift knobs, seats, modifications and recycled a lot of the parts.
With "Stubby" I decided to take a different approach. Tear it down, build it right from the inside and out. Clean and paint everything I could. Rebuild things instead of buying new. Really slap my name on it and do it on a tight budget. I finally dipped into my sprawling parts stash to scrounge up the items I needed.
I love my 4Runner to death. It really is the best truck I've ever owned and has served me well for the last 50,000 miles. I've had plans for an OM617 swap and a dual case build and another regear but in the end- with it being my daily- I never got around to the work it needs. The body rot is spreading and the little paint remaining is falling victim to New England weather. The sunroof and windshield leaks have gotten worse and the 309,000 miles on the motor are screaming for attention. Decided to build this truck cheap, different and fun before the 4Runner calls it quits without warning.
While a few good paychecks hit, I decided on building the single RF1A transfer case with 4.70 gears. I did my research, ordered the gear set and found a set of twin sticks I liked. Now with city traffic in Worcester on my commute, the long stretches of bumper to bumper traffic on 290 in the evenings could be dealt with in 2L hahaha.
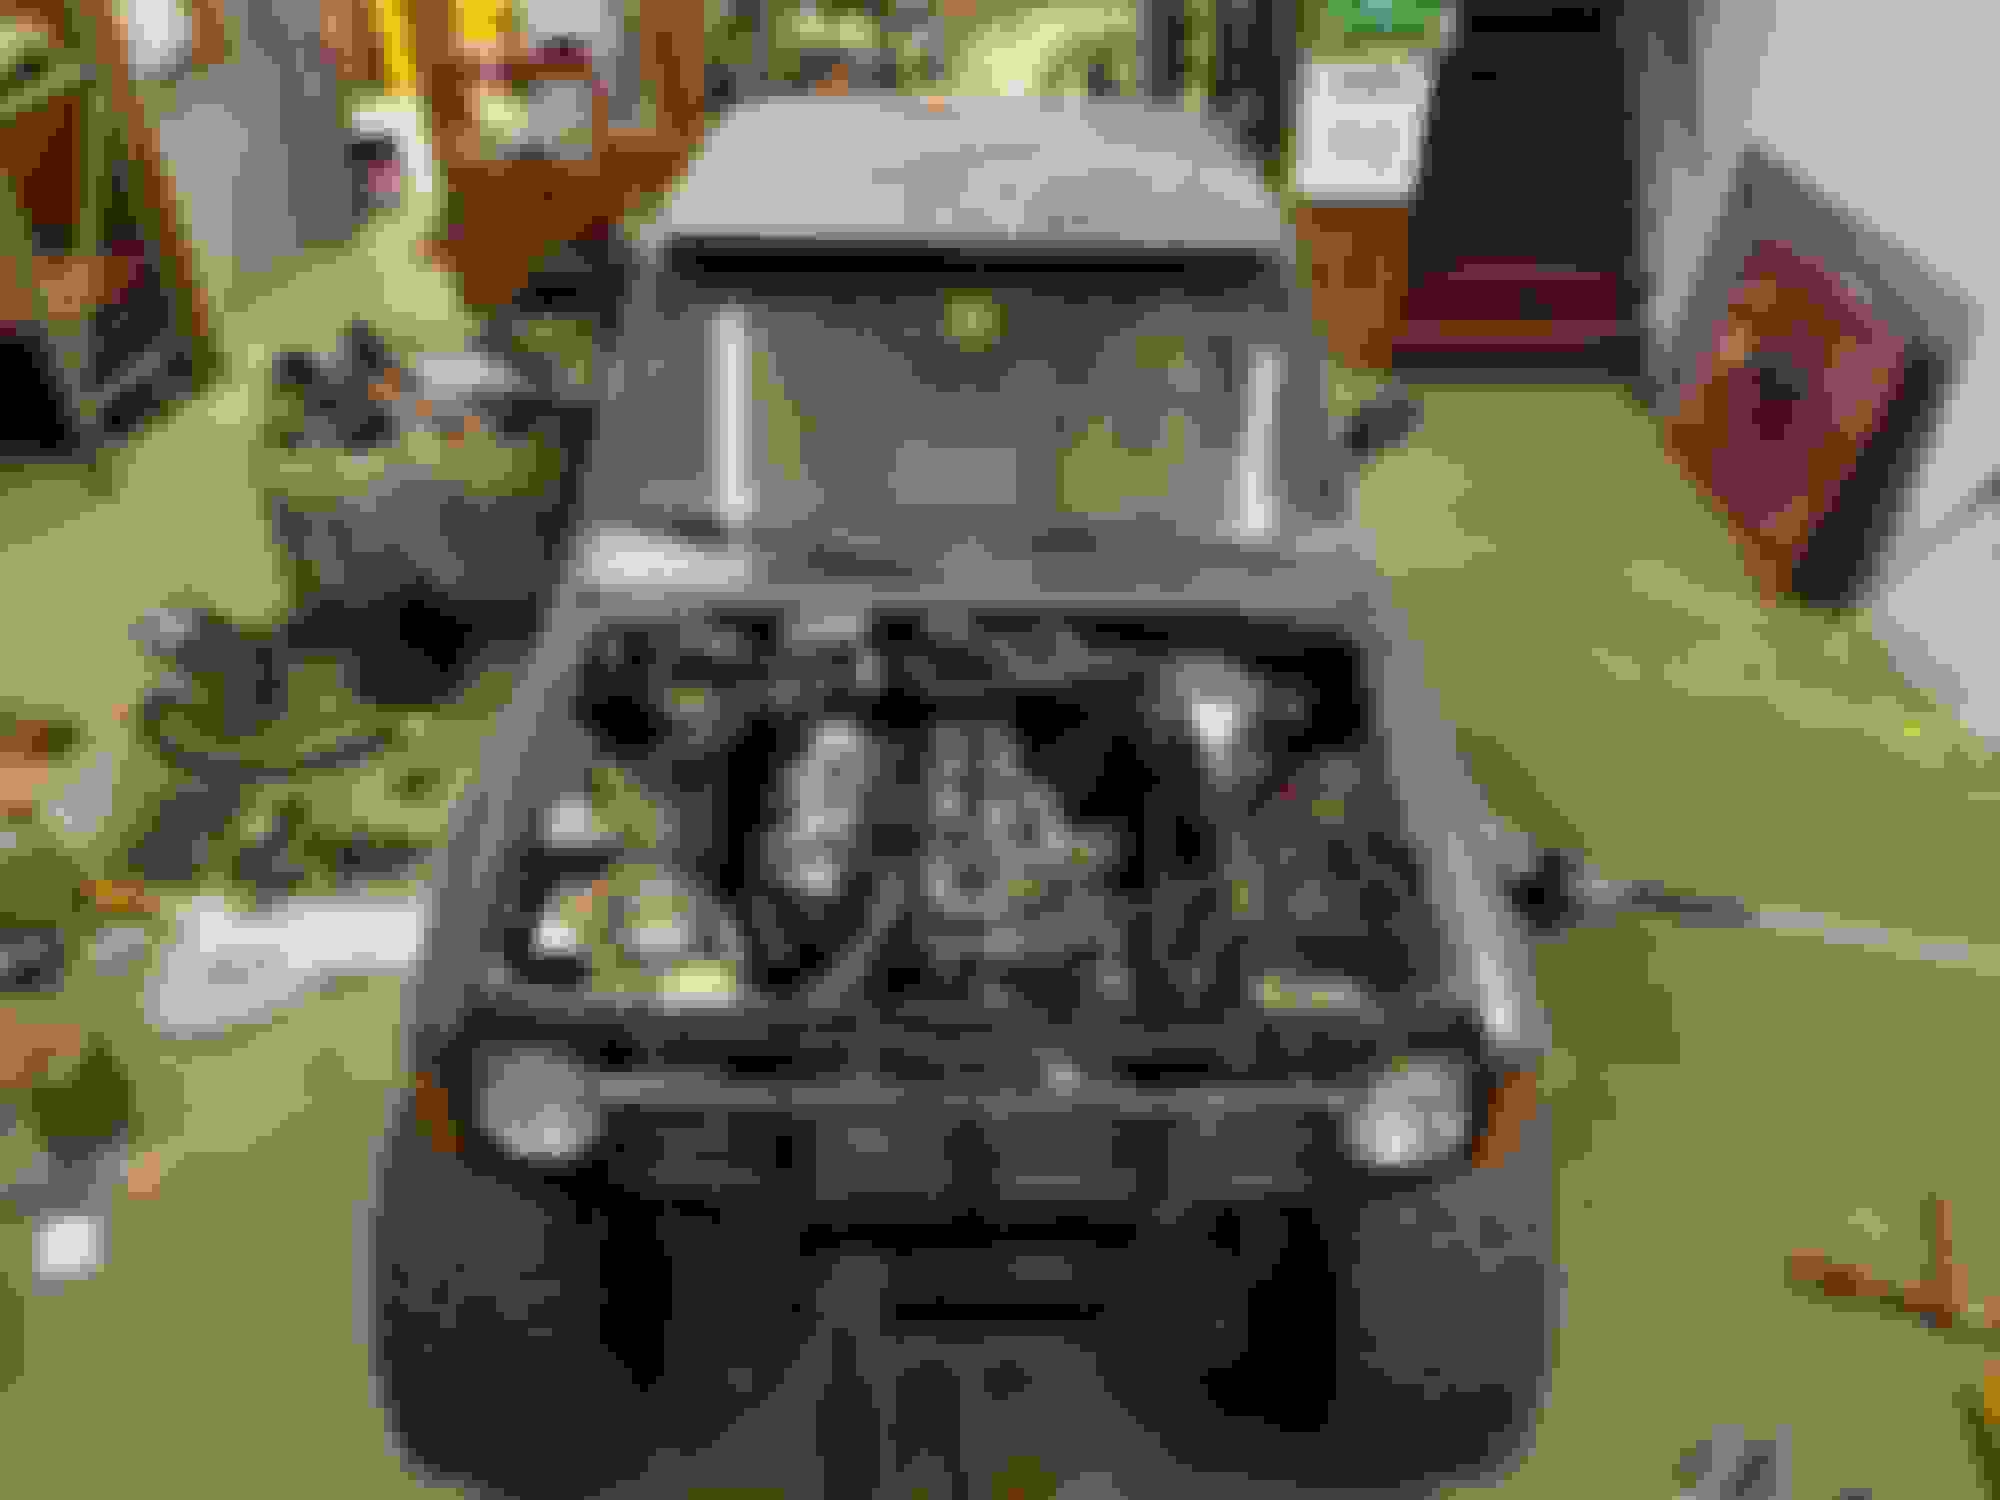
I knew the truck had issues, so I tore the engine down to the block on a stand, which I had only ever done with the motor mounted in the truck. If I could clean it, paint it, rebuild it, delete it or modify it- I was going to.
Taking advantage of the shop after hours to fix a destroyed birfield joint in my 4Runner. Had to borrow parts from Stubby. Thats when I decided to start working on it at a breakneck pace and get it on the road. I had a spare 79 grille a buddy pulled in the junkyard for a wall hanger and mounted it for kicks. Came across some clean round headlight buckets on ebay and even managed to scrounge up two 7" round headlights from the pile of extra work truck parts at the shop. Phase I begins. Drove it under its own power into the bay on a Friday night to pull the motor and transmission.
A few hours later and it's all ready to pull. First issue encountered. Found only five bolts in the flywheel. The sixth was still hanging out in the crank. Having access to a forklift made this the easiest pull I've ever done. The filthy motor in the initial stages of teardown. This is what degreaser and a power washer wouldn't remove. Forgot to use the starter to bump the crank bolt loose. Luckily the shop has a few pipe stands and steel pipe laying around. Cost me a breaker bar, but I got it. Prepping the bland valve cover for a little snazz factor. Diesel fuel, wire brushes and Brakleen managed to clean off the muck on the motor. The cylinder walls looked great. Block surface was straight and the old head gasket peeled right off without a fight. Wiped the block down with denatured alcohol and masked off the gasket surfaces.
Last edited by Peter Franklin; May 1, 2019 at 05:25 PM.
Cleaned up the cylinder head while the first coat dries on the block. I used Rust-O-Leum high heat primer and engine enamel. It lays down beautifully and I'll be using this a lot in this build. It takes a long time to dry but when it does its very durable stuff. Slipped wrenches and dropped sockets haven't marred the finish yet. The cylinder head is magnificently clean. The rocker arms haven't turned yellow and the puddles of oil wiped away without leaving that dark brown cooked on color. Masked off the lettering with axle grease. Wiped it away with a diesel soaked rag.
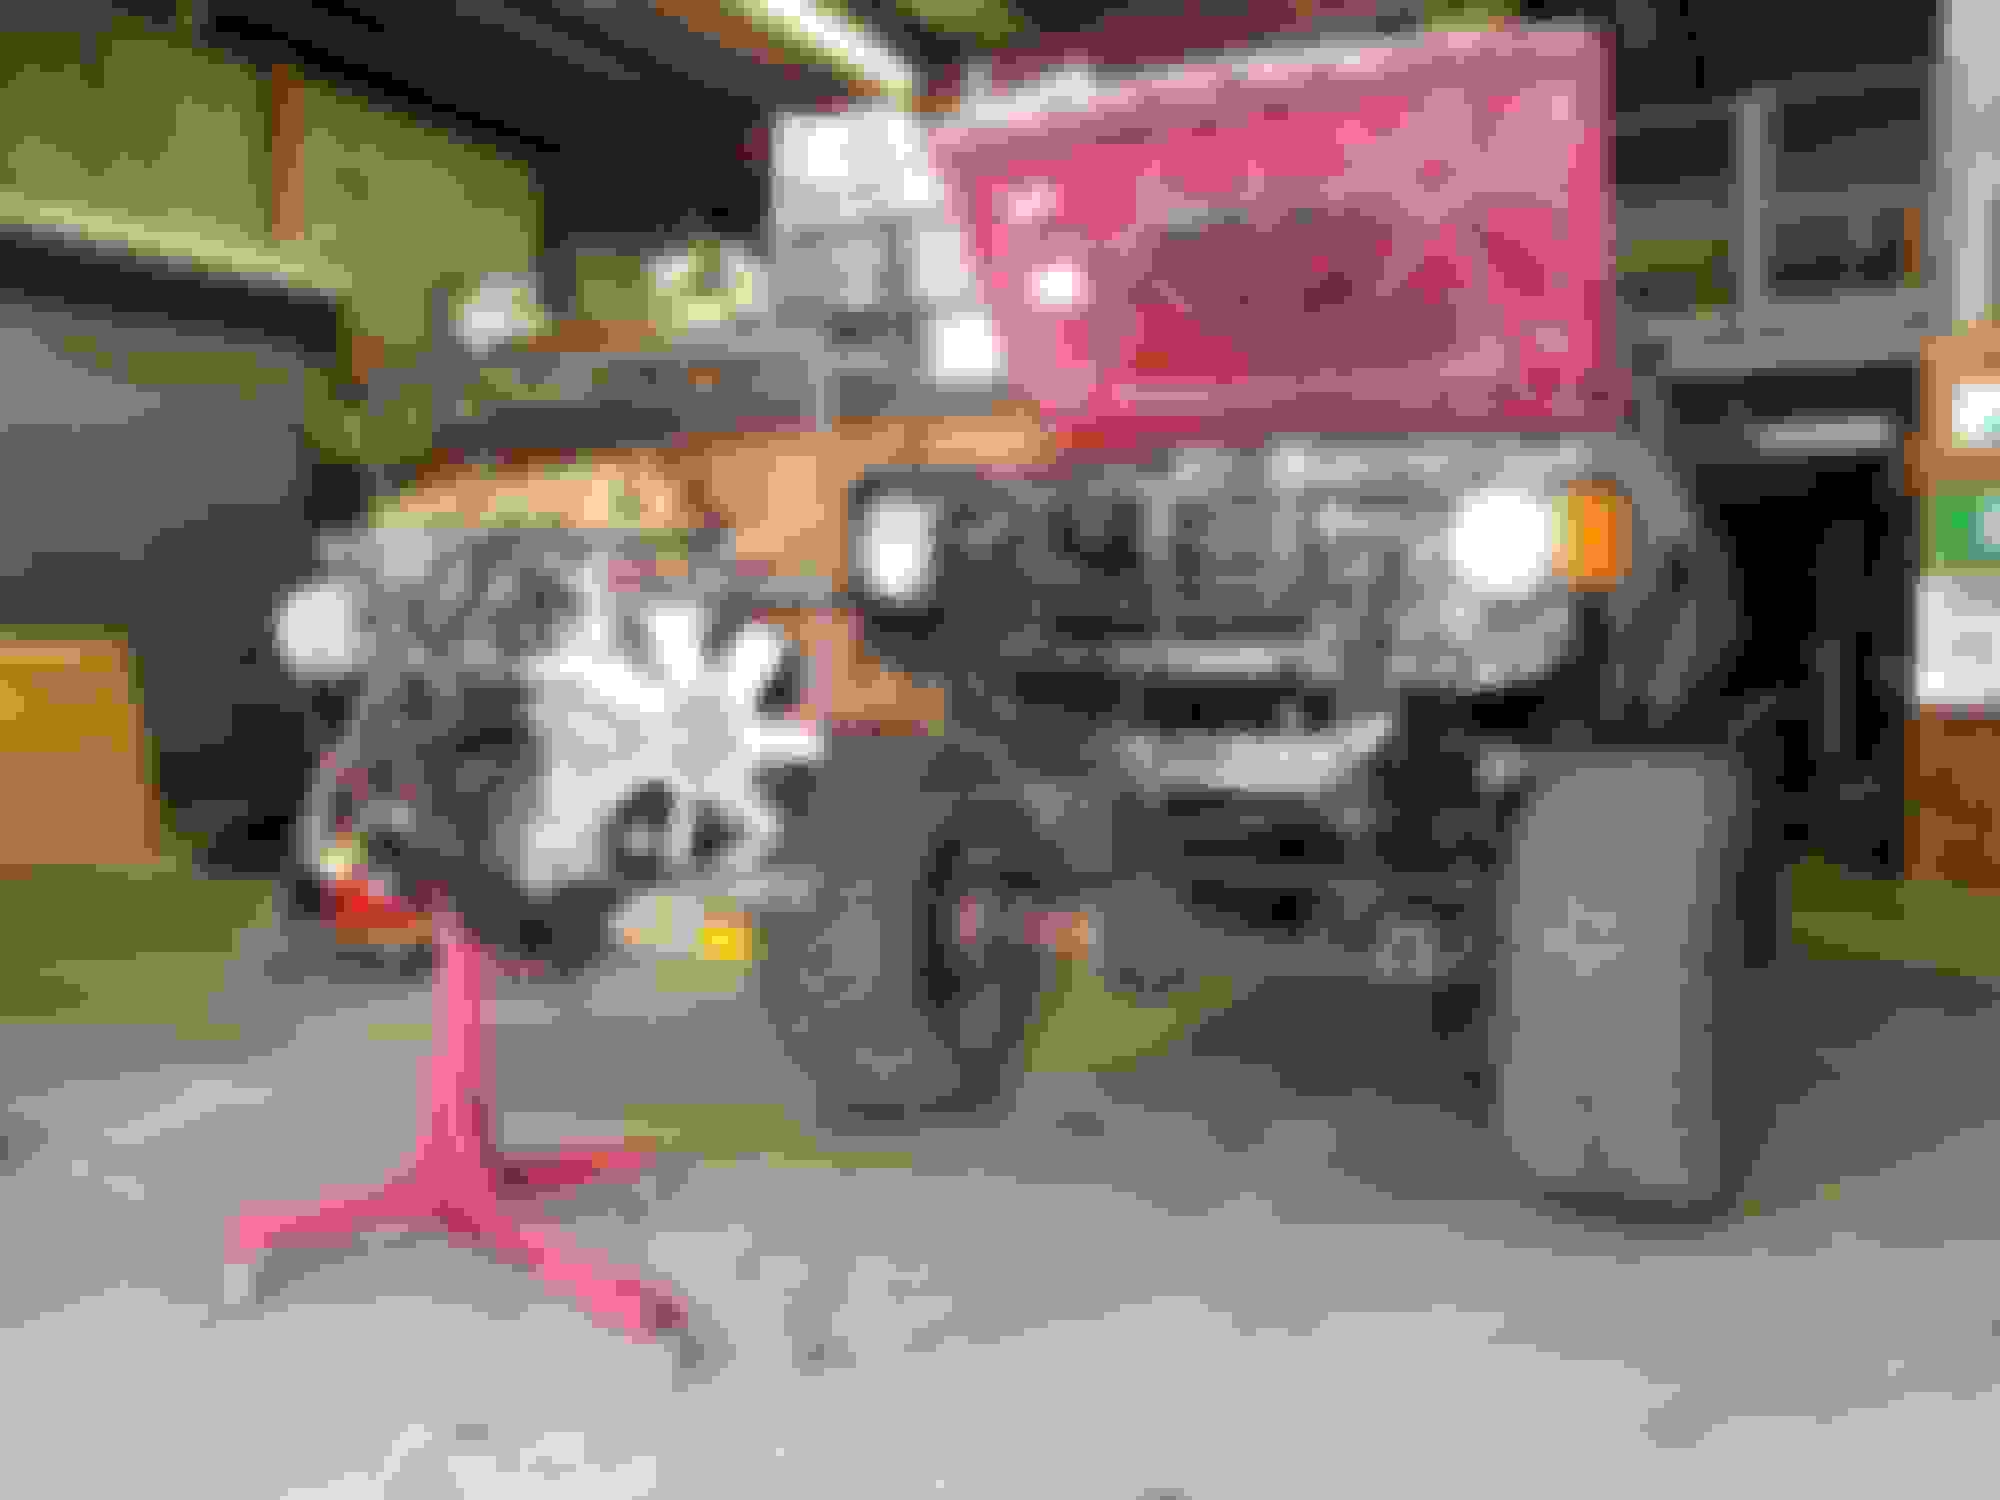
As it sat when I went to go check it out Now you can see why I started referring to it as "Stubby".
I have always like the X-tra Cab on a short bed frame. Sort of a PITA conversion to do when dealing with the right rear corner of the cab and the gas tank.
Despite my luck in other areas, the majority of the exhaust manifold studs stripped upon removal. One of the intake manifold bolts stripped its hole as well .Ordered helicoils and an LCE stud set for each. While the block dried, I installed an LCE timing set with steel guides. Drilled out the oil baffle in the valve cover as well to make filling easier. Used Rust-O-Leum hammered silver on the valve cover. The effect isn't as pronounced as I'd hoped but it did turn out well. Here's the bulk of the motor assembled on a Sunday night before a week of work out of state. Gives everything a chance to dry away from my impatient hands. Helicoils installed on both intake and exhaust. Still waiting on studs. Only waiting on a power steering pump rebuild kit which is back ordered. Rock Auto provided more AISIN stuff than I had assumed would be available . Skipped over the injector rebuild which revealed two missing pintle caps, one cracked one, hardened and warped grommets and dry rotted O-rings. The kit was exactly what I needed and didn't break the bank. Letting my wallet cool off for a week and waiting on parts, I picked up a stitch-on leather steering wheel cover. Of course the "M-" size I need was sold out so I used a razor knife to cut off 3/8" from one side and re-punched the holes with a ruler and a small nail. More time consuming than punching holes was stitching this thing on. Took about an hour but it fits like a glove and spruced up one of the uglier Toyota steering wheels .
Last edited by Peter Franklin; May 1, 2019 at 05:29 PM.
Sumo 4.70 gear set arrived from Marlin. Tore apart an RF1A for the first time. Having a good set of automotive snap ring pliers and a shop press on hand made the regear a breeze. Marlin has a spectacular write up that I followed step by step. Trail Gear's video tutorial opened in another window gave me the bearings I needed. Pun unintended. I loathe the look of the TG twin sticks so I opted for the less popular and definitely Chinese Front Range Offroad twin sticks. The levers are unpainted and all of the hardware is loose. The knobs are rough rubber molded over coarse thread hex nuts. A little paint and Loc-tite and the T-case is all set. Had an old All Pro T-case parking brake in my 4Runner until the tranny went. Swapped in a W56D and neglected to swap it back over. Decided to repaint it and mounted it back up. belmetric.com supplied the metric mounting hardware I lost in the shuffle. Married them back together. Again, diesel and Brakleen spruced up the corrosion and muck that caked these two. Installed a Marlin shifter bushing and socket along with fresh input and output seals on both units. My trusty Harbor Freight tranny jack finally put in its two week notice under the combined weight.
Last edited by Peter Franklin; May 2, 2019 at 04:09 AM.
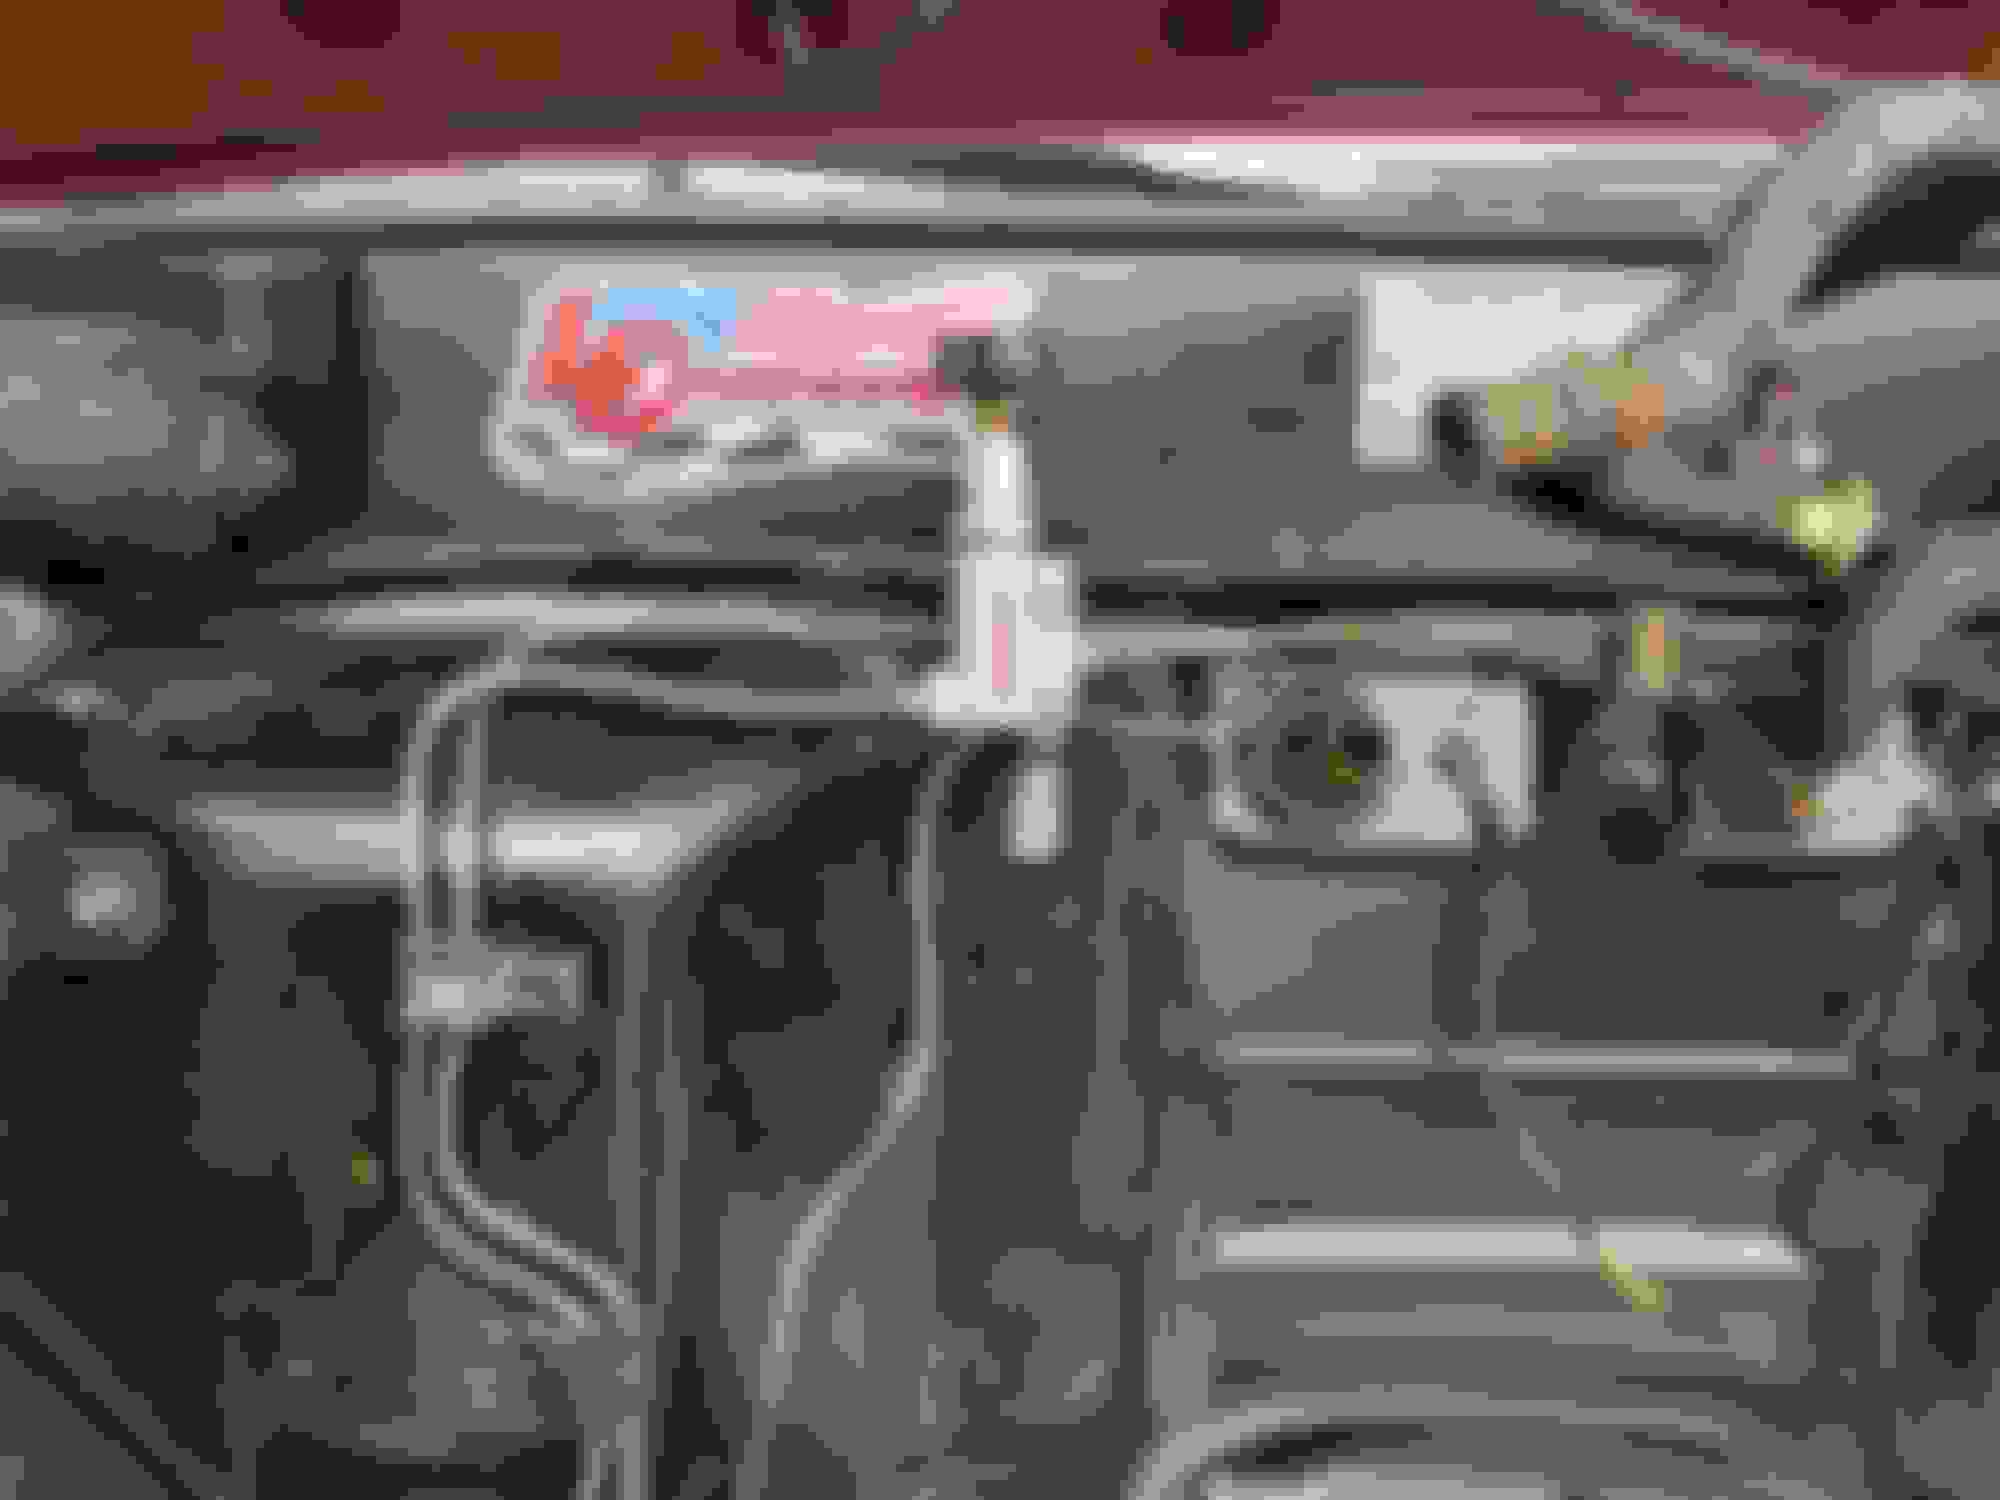
Got my beadlocked 36's back from a buddy who had need of inspirational roller tires. Found a great place to store them! Phase II begins . Cleaning up the carcass of the beast. As you can see, the original color in the engine bay was not very appealing. Luckily I found no rot in either the battery tray or firewall. Cleaned another five pounds of pine needles out of the firewall gutter cavity. Dislodged the mouse nest that was jamming the windshield wiper transmission bar. So yes , it's backwards. Theres a method to the madness here. The original IFS box top mount was cut off and about six spare holes were drilled into the frame as the unusable push-pull style box was mocked up multiple times by a P. O. I turned the Marlin IFS steering box adapter around to cover the extraneous holes and reinforce that part of the frame. The bottom mounts are original, but the top mount had to be cut, dropped down and slid back to work. Cut open the inner fenders and sanded the engine bay as much as I could before applying self etching primer. Frame was cleaned with an angle grinder and wire wheel. Sticking with the theme, the frame is getting Rust-O-Leum rusty metal primer. Two coats on the front third of the frame so far.
Engine bay drying. More of that wonderful engine enamel. Frame drying. Inner fenders about to get a few coats of Rust-O-Leum aerosol bedliner. Cleaned and repainted the brake booster with leftover paint from the valve cover. Began reinstalling engine bay hardware and equipment. All set up front.
Got this bumper with a $200 clapped out 1985 4Runner. The guy was a real good dude and only made me promise to give this bumper a good home.
Told me he and his buddies built it in a garage together in high school and that there's a lot of good memories in it. How can't you honor that? Just a mock up for now. Planning to add it to a blank TG winch plate. Middle third of the frame wire wheeled and primed. Took the time to run a new parking brake cable, a new speedo cable and a new throttle cable as well. Front springs as I got them with the truck.
Last edited by Peter Franklin; May 2, 2019 at 04:14 AM.
Whoops! Forgot to chock the front axle. Came back from the bathroom to find my truck developed an overbite. Sparing myself from bloody knuckles and a BFH I used a shop press to combine the lower half of the perfectly arched original packs with the spanked military wrapped main leaves from an old All Pro set I had. The "after" shot. Huge improvement in shackle angle. Adding the motor and tranny should kick them right back. The axle came forward a bit too. A buddy hooked me up with a spare fender he had .Replaced the dented and rotted one.
Getting set to put the All Pro rears in. How the rear turned out. 350 pounds of dead weight in the bed and no engine or transmission. Hopefully it levels out. Cleared out the 350 pounds of dead weight, leaves and beer cans. *80s montage music*
My luck ran out. The inner walls of the frame from the cab back are toast. The rear shock mounts are horrible salt traps, the more I cleaned the more I found. Making templates for 3/16" plate I'll cut to replace the frame faces. Having met defeat on the rear third of the frame , I cut down some 3/4 base model door cards into more dated looking 1/2 cards. Deleted the garish moisture trap SR5 cards and chunky dirt trap handles. Relocated the SR5 map bucket to a handy position just under the door handle. It clears both my fingertips in the handle and fits perfectly beside the seat bolster when the door is closed. Primed the outside faces of the frame and the crossmember. Put the bed back on to park the truck for another week. Getting good at towing it with the forklift by myself!
Last edited by Peter Franklin; May 2, 2019 at 04:16 AM.
Sorry for the delay. Been going at it still. Here are the photos of my progress continued since where I left off in July/ August. Kept chasing the floor rot. Ended up cutting a spare floor pan to shape, but oversized. Laid a bead of sealant and used a little self tapper engineering to suck it down. Sealed the underside with more sealant after grinding down the screw tips and painting the whole thing with bedliner. Complete redo of my brake lines while the engine is out. Planning on a rear disc swap so a Wilwood prop valve from summit was added. Made the bracket from an old 3/4" ball valve handle. The copper brake line was a dream to work with. I refuse to go back to sticks of hard line in the future! The culmination of a few hard months of work. Getting set to install the motor. Ever see the Mr. Bean episode where he drives his car home from an armchair strapped to the roof of his Mini? Yeah, that was me getting the motor in. Had a push broom bungee corded to the fork truck levers and had the handke in the crook of my arm while I kneeled on the truck tire. Guided the motor in with one arm while using the broom to remotely run the fork and mast controls. Climbed up on top of the forklift for this photo and a victory beer.
So that pesky broken flywheel bolt turned right out of the crankshaft with the left handed drill bits I bought. Moved onto driving out the pilot bearing with the old bread trick. Didn't take long at all. Now comes the reason why I live paycheck to paycheck. Started shelling out for some snazzy parts. Trying an LCE heavyweight flywheel with a Marlin 1,200 lb clutch. Started the transmission install about midnight. 3AM and a broken strap later I improvised with my tree saver and a little help from my floor jack. Reached that point where I was exhausted and working against myself. Got it. Seems a few bolts went MIA from my organizer bins so my next trip home I'll grab the ones I need from my "private reserve". Got the sticks installed to mock up the twin stick boot position. Created a template from cardboard to produce a steel cover plate.
Took a weekend to finally paint and clean the front axle housing. Reworked the position of the headlight buckets too. Went with the most cost effective exhaust system I could. RockAuto supplies a bunch of Walker pipe sections for our trucks. Doesn't fit great. Production quality certainly isn't up there. So I hung the sections up and buzzed them with a wire wheel. Gave them a few coats of exhaust paint and... Covered up the cheap pipe work with some Auto Zone exhaust wrap. Soaking the wrap in hot water and periodically clamping it helps keep the wraps uniform. A few moments later: Not bad for a $20 collector pipe. Curious as to how it will sound. Eventual plan is to install an ARB locker long term. Couldn't turn down the deal on a compressor. Took a little creative dremeling and X-acto knife work but I'm pleased with the result. Stared at that Wilwood valve long enough. Time for that rear disc swap. Out with the old... God, I love this press. ...in with the new.

 May 1, 2019 | 02:36 PM