Stevesk88's '85 SR5 Extra Cab Build
 Dec 1, 2012 | 08:42 AM
#1
Thread Starter
Registered User

Joined: Feb 2010
Posts: 482
Likes: 0
From: Deadwood, SD
Stevesk88's '85 SR5 Extra Cab Build
Been thinking about making a build thread for awhile now. So why not start when your half way built? That way we have something to talk about.
So i can say i've owned a few toyota's. Seven to this day and i'm only 21. It all started with my buddy kipp (Babyjesus). he has always been into these truck's and i never understood why...Till i rode in one on the trail. When i really stepped back to realize how great these trucks were, an obsession began..
After getting an 84 SR5 and being forced to sell it i had to have another SFA 84-85 Extra cab.
Here are some of my other trucks. In order kinda.
Dumb Kid
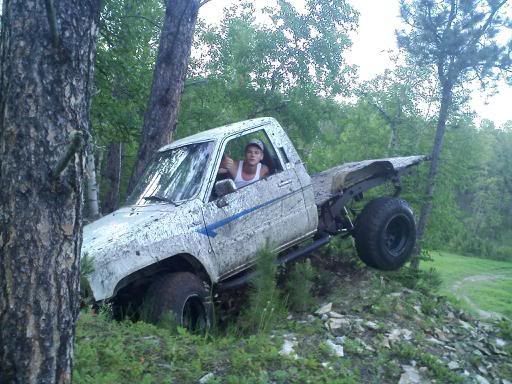
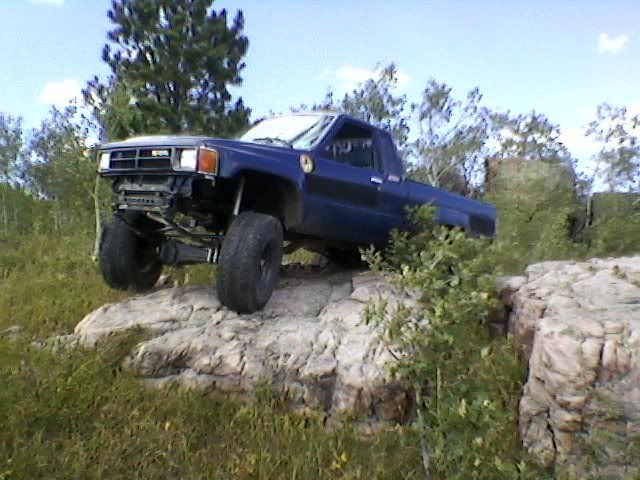
The one i miss. The reason i have my 85.

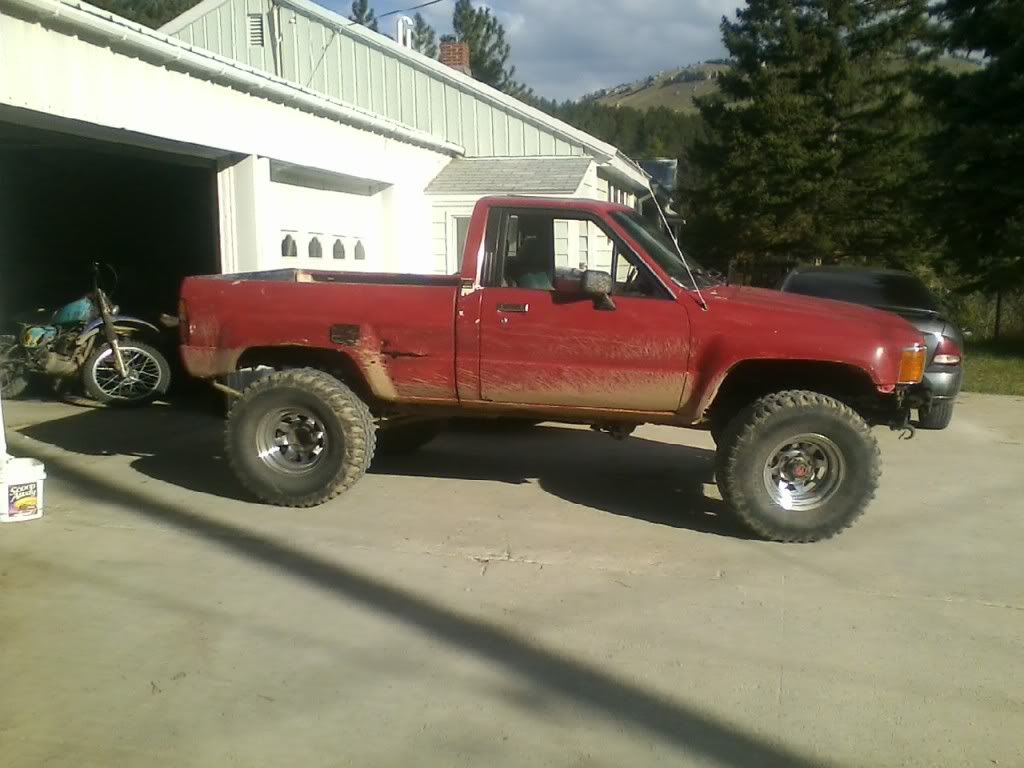
My runt truck..Wabfab Bj spacers and AAL. Fun truck. Traded srtait for tacoma in very rough condition.
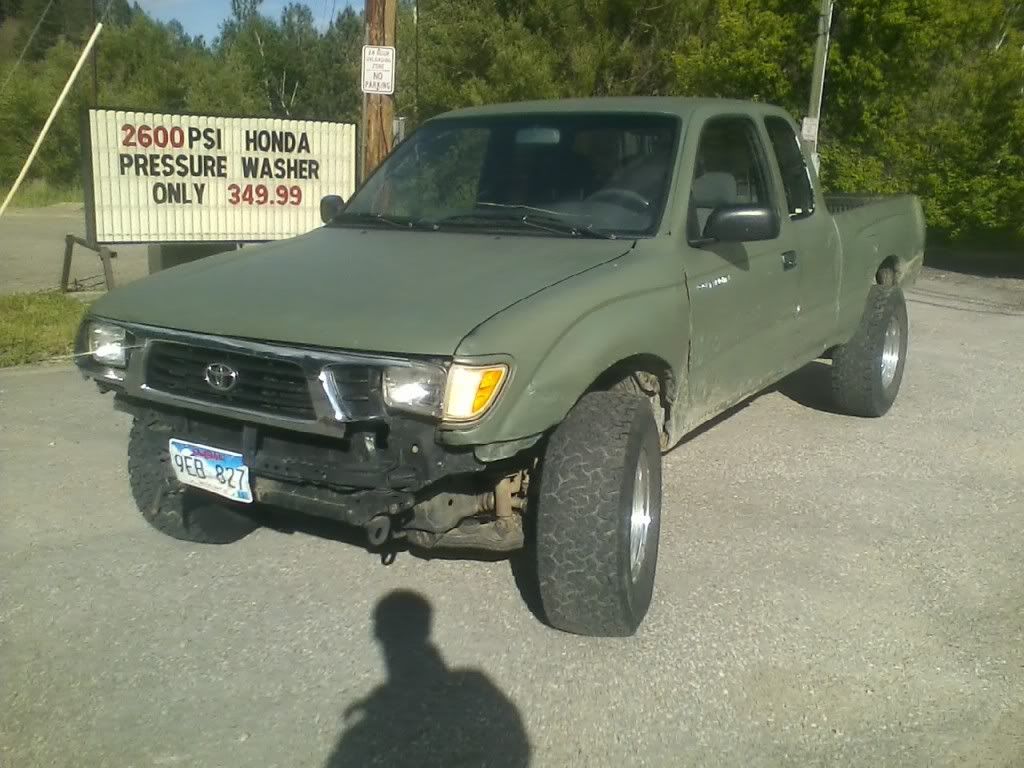
The tacoma+1000$ i traded for my 85.

Took along while to find every demon stopping it from from running good.
So i can say i've owned a few toyota's. Seven to this day and i'm only 21. It all started with my buddy kipp (Babyjesus). he has always been into these truck's and i never understood why...Till i rode in one on the trail. When i really stepped back to realize how great these trucks were, an obsession began..
After getting an 84 SR5 and being forced to sell it i had to have another SFA 84-85 Extra cab.
Here are some of my other trucks. In order kinda.
Dumb Kid
The one i miss. The reason i have my 85.
My runt truck..Wabfab Bj spacers and AAL. Fun truck. Traded srtait for tacoma in very rough condition.
The tacoma+1000$ i traded for my 85.
Took along while to find every demon stopping it from from running good.
Last edited by Stevesk88; Jan 5, 2013 at 09:00 AM.
Dec 1, 2012 | 09:01 AM
#2
Thread Starter
Registered User
Joined: Feb 2010
Posts: 482
Likes: 0
From: Deadwood, SD
The work
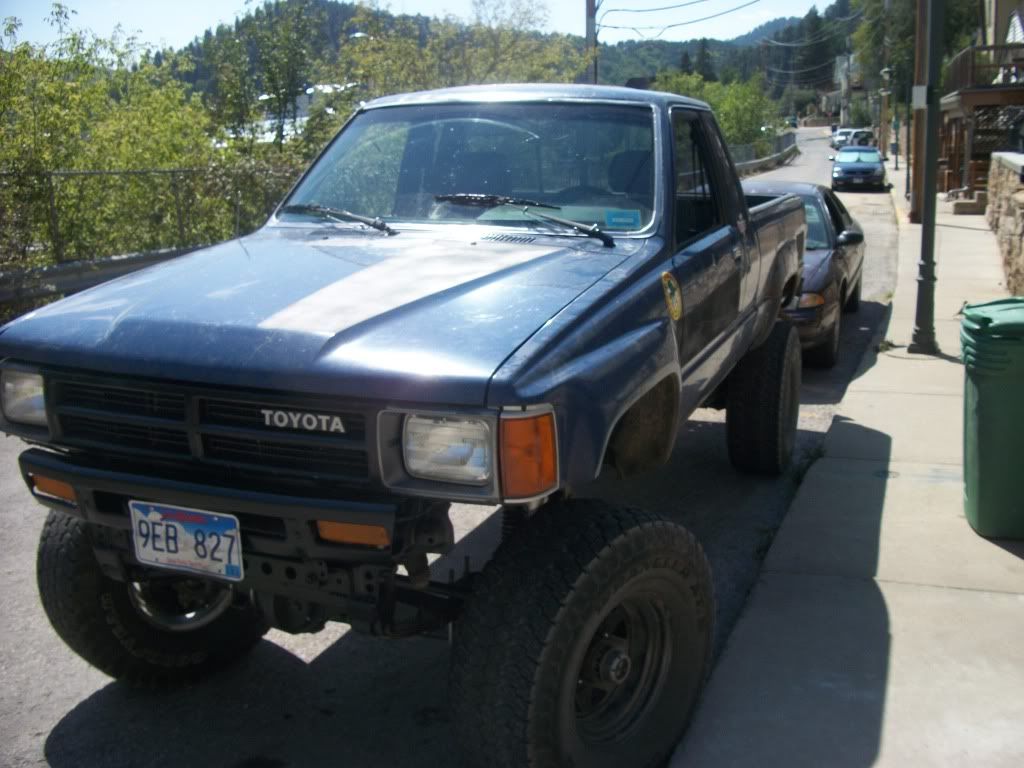
Traded the tacoma + a 1000$ for my 1985 SR5 Extra Cab.
Good's= Power Windows, p/s stock, Cruise (Didn't work), A/C (didn't work), Tilt wheel, wiper delay, sunroof.
Extra goods= TG kit up front with high steer. All built by Flex Point Offroad out of Reding Ca. (pic's on thier site under the projects section)
I cant say i'm very happy with how they built it. Seem's like they had just thrown the kit at it and rolled it out the door. They didn't put in bump stops, and the put blocks in the rear under the chevy 63's with sky's kit. They also moved the front axle too far forward. Making the front shackle angle almost strait up and down, as you can tell in the first pic of it. Thats also when it was on blocks.
Dec 1, 2012 | 09:08 AM
#3
Thread Starter
Registered User
Joined: Feb 2010
Posts: 482
Likes: 0
From: Deadwood, SD
More
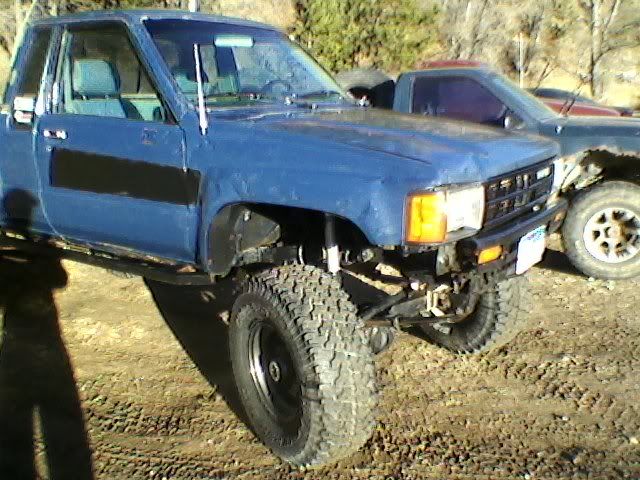
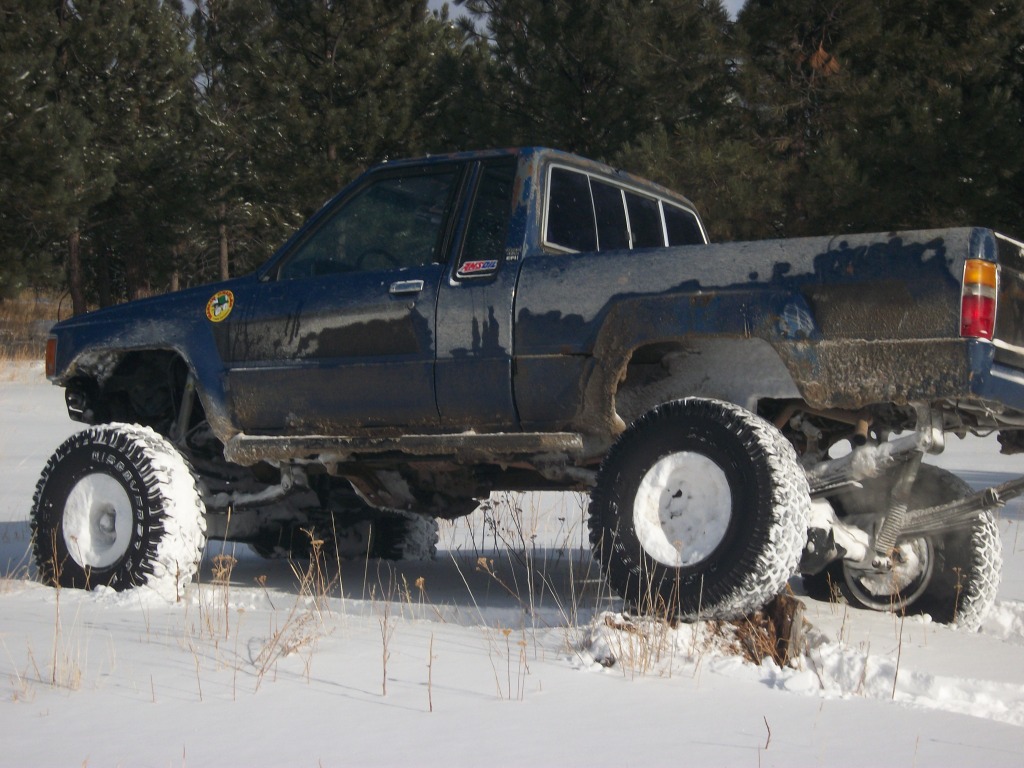
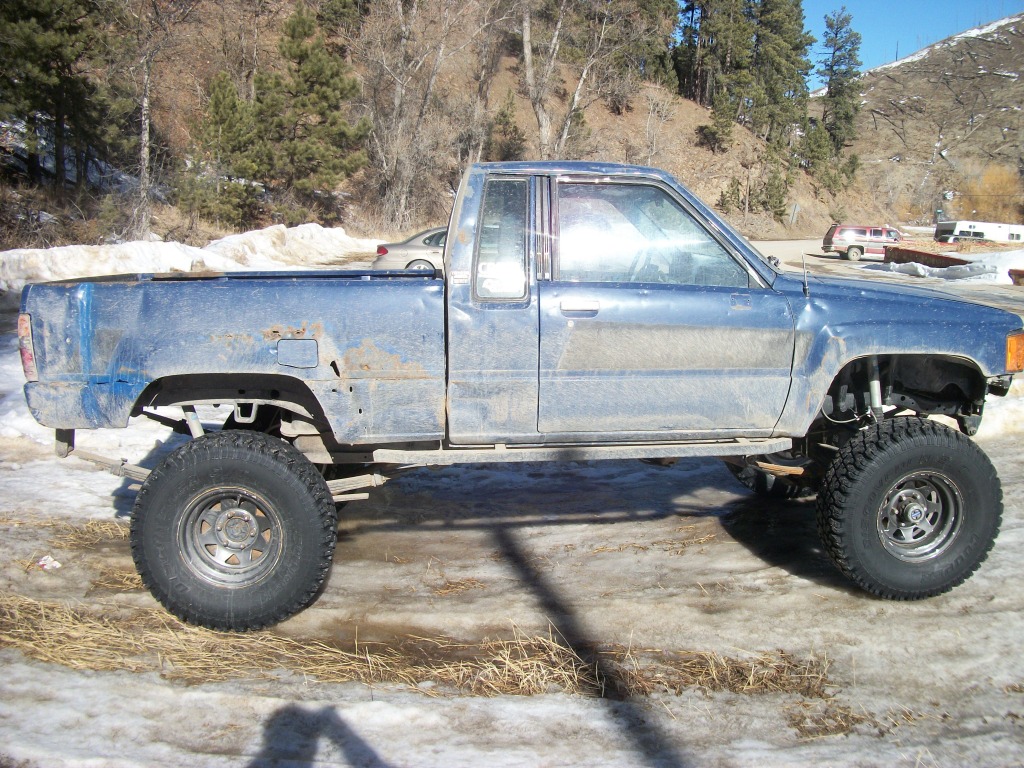
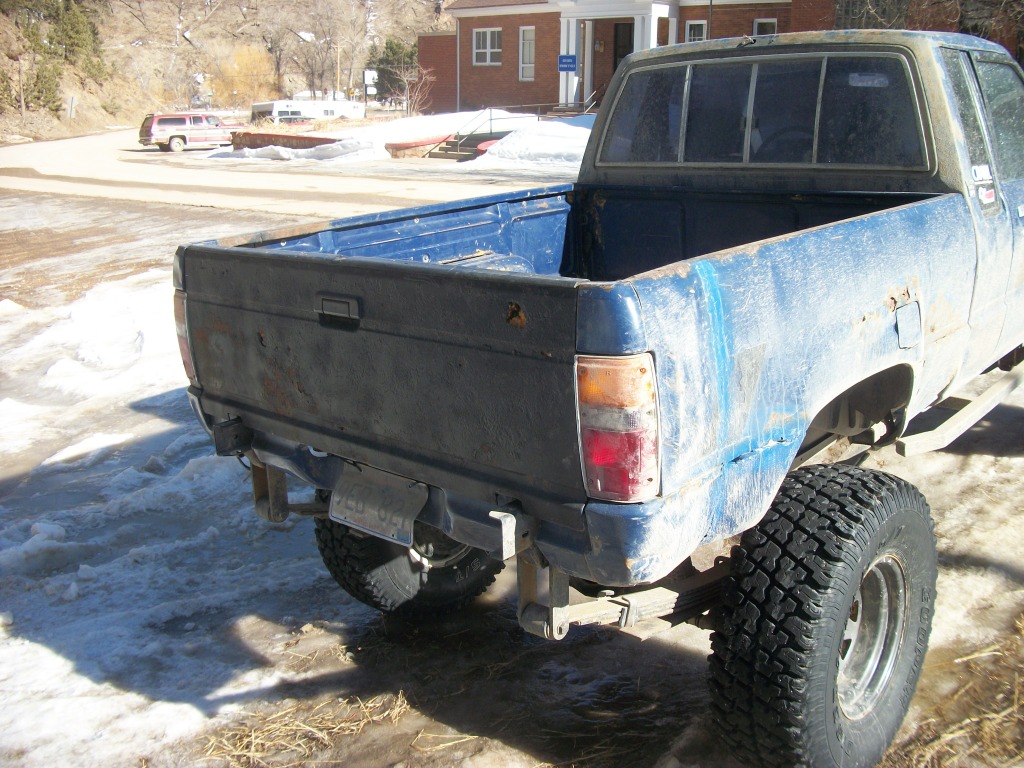
Then i found some steel rim's for it and some matching street skins for summer. Daily driver approved. I made my bumper look low profile and clearenced the fenders while i was at it.
I really love the look of the high clearence and trimmed bumper. Pretty fly.
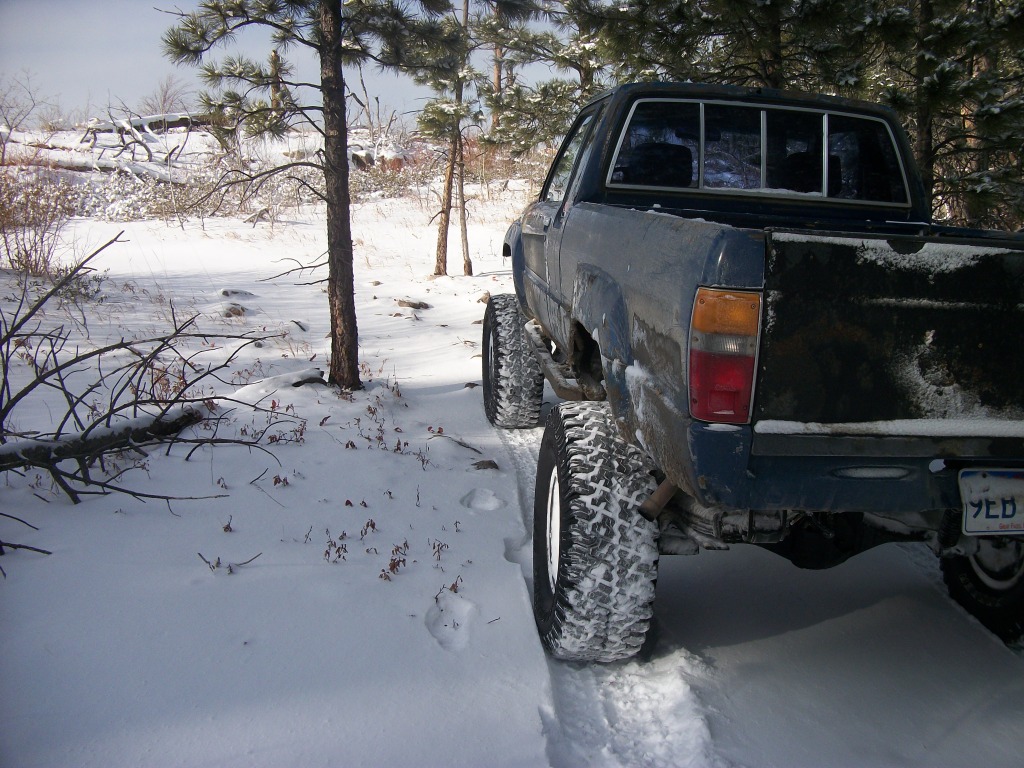
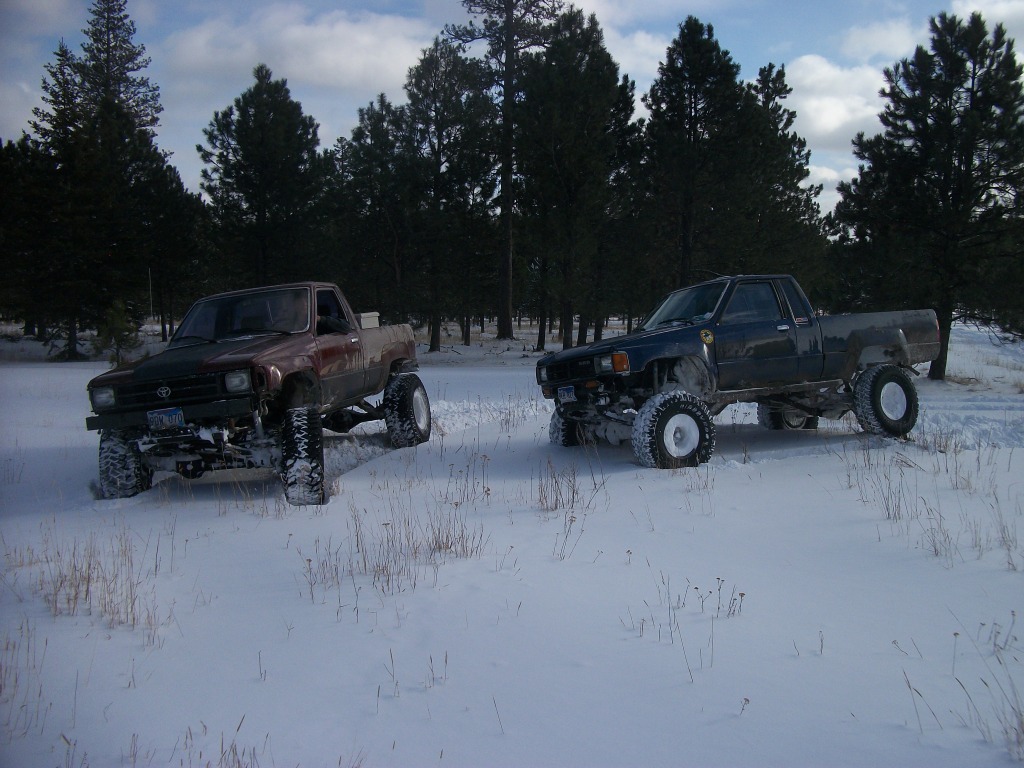
Here's how it sat a week ago.
Next to Babyjesus's two 84's and my little blue pile-o-parts.

I really love the look of the high clearence and trimmed bumper. Pretty fly.
Here's how it sat a week ago.
Next to Babyjesus's two 84's and my little blue pile-o-parts.
Dec 1, 2012 | 09:29 AM
#4
Thread Starter
Registered User
Joined: Feb 2010
Posts: 482
Likes: 0
From: Deadwood, SD
the latest
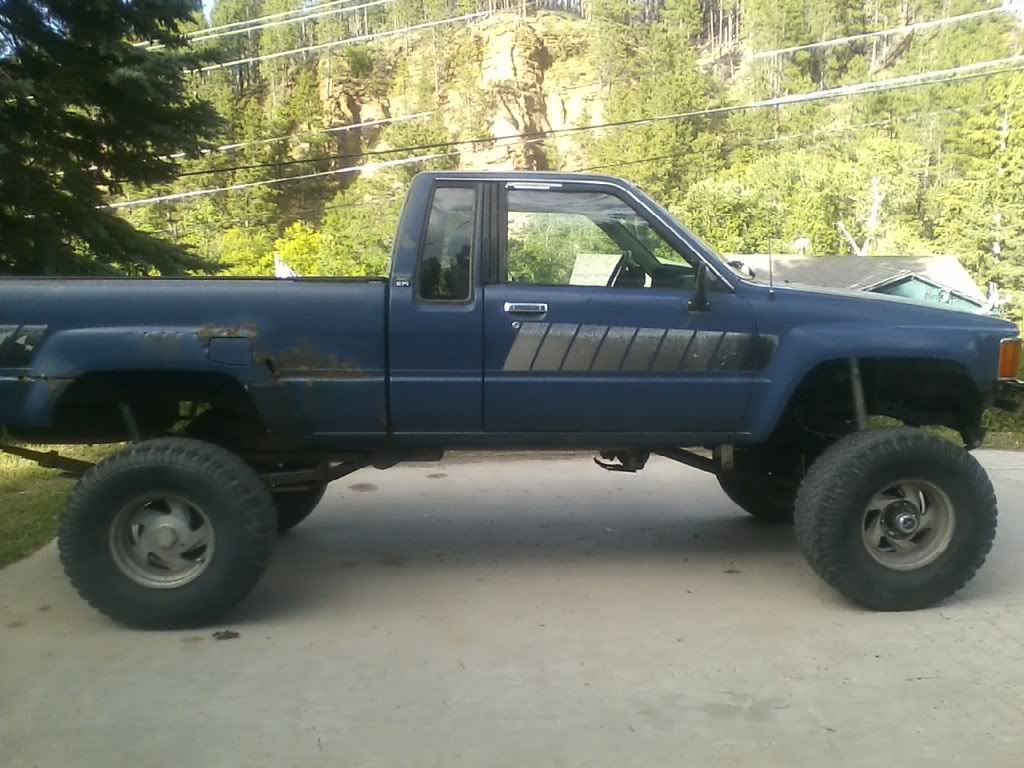
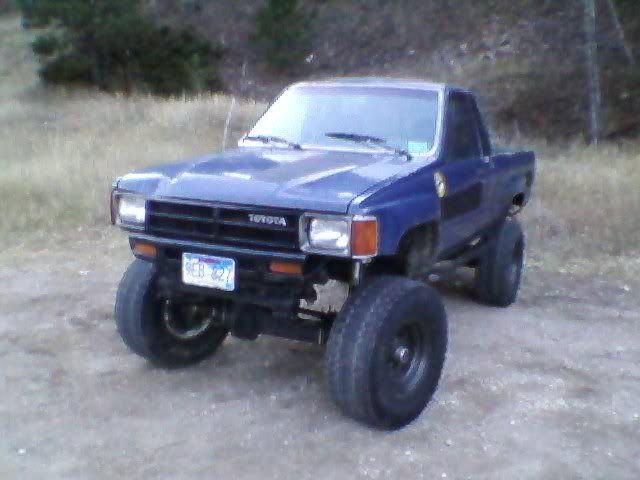
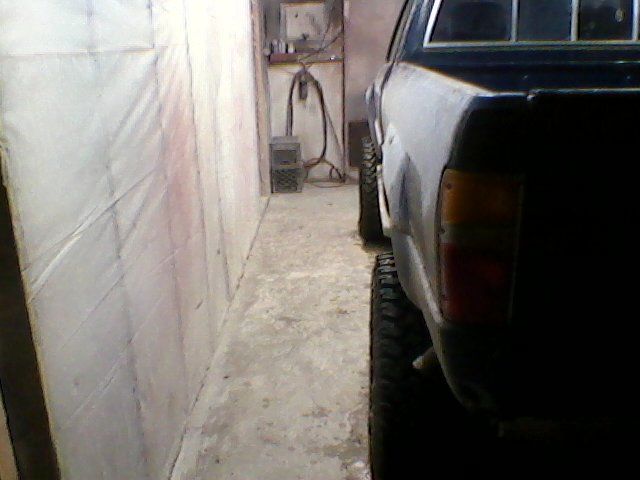
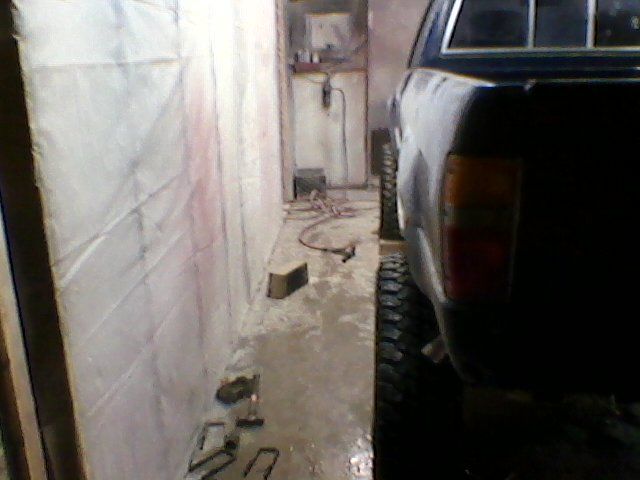
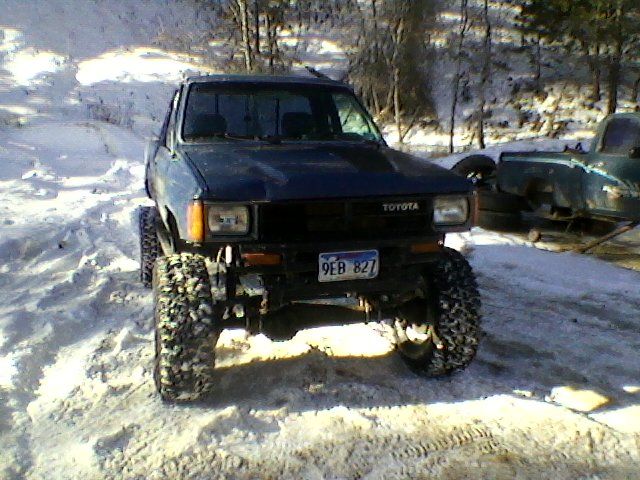
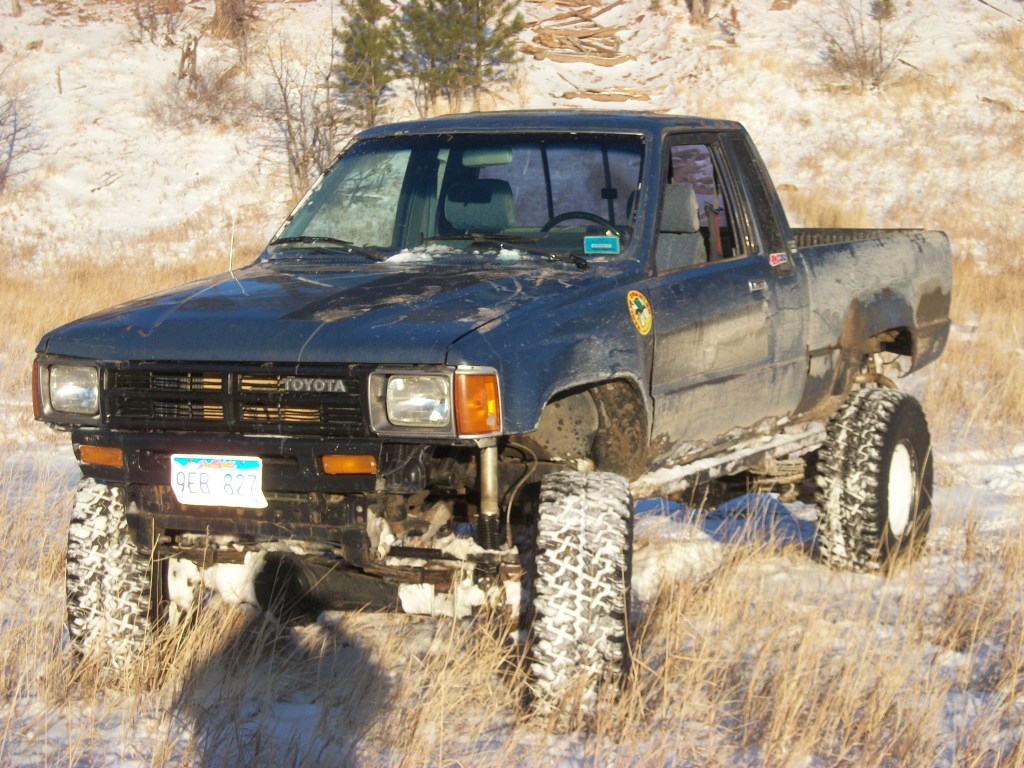
This is how it sits today. No longer a daily driver but still driven daily haha.
Sits on new studded 33x12.5R15 Cooper S/t's. Love them.
My blue parts truck is donating the rear axle, hub's, and calipers for my wide conversion. Thats going to be within the next month or so. After that i'll buy a stick of DOM and make a bumper to house my Warn 9.5 that i've had for almost four years.
Jan 5, 2013 | 08:53 AM
#5
Thread Starter
Registered User
Joined: Feb 2010
Posts: 482
Likes: 0
From: Deadwood, SD
Back at it
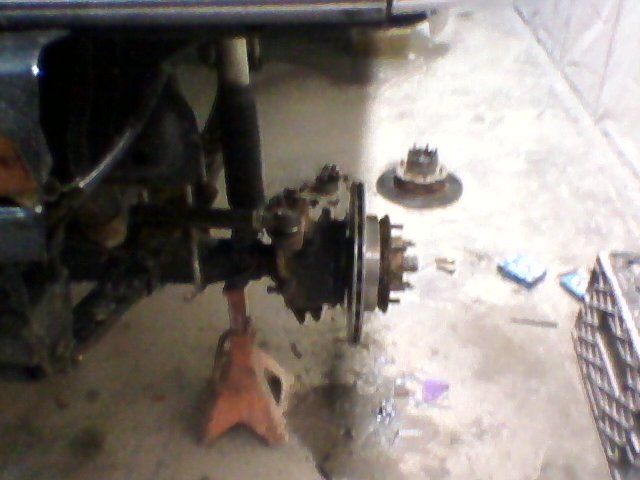
Been busy with the toys lately. Sellin parts i dont need off the 90 and pulling what i do want. Funny how craigslist brings out all kinds of colorfull people to come pick at your parts truck. haha Had a couple tard farmers come get a torsion bar bolt cause they broke theirs trying to losen the torsion bars, so they could get tension off the a arm to get the CV axle out  I took it apon myself to show them the right way to pull the CV.
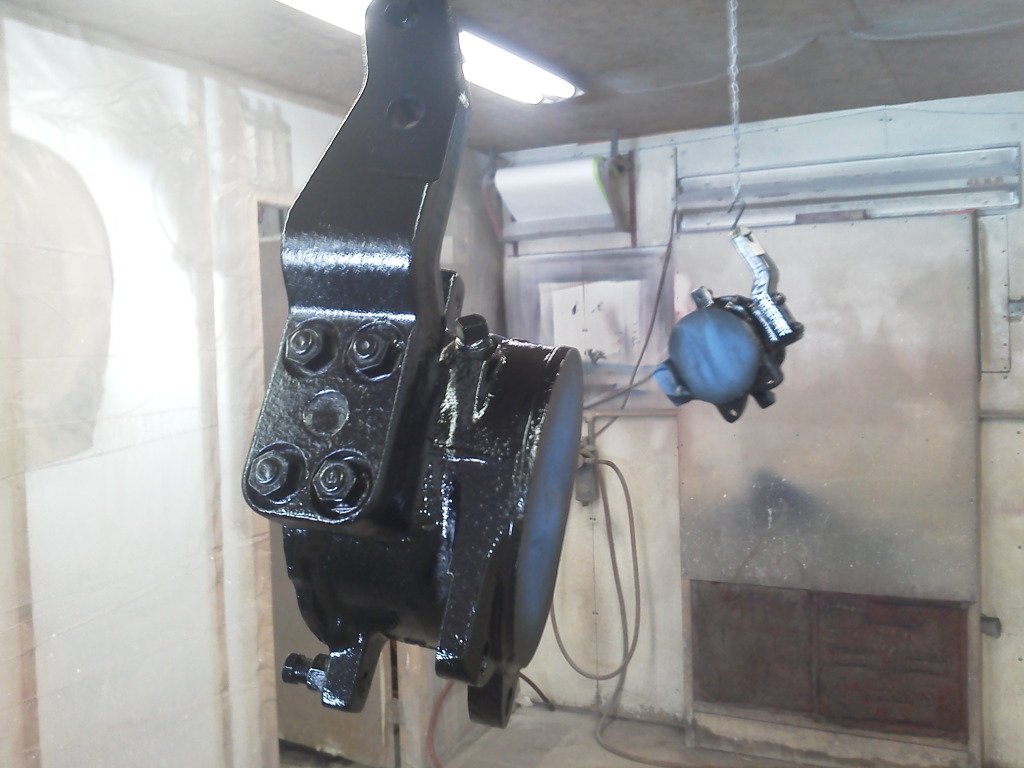
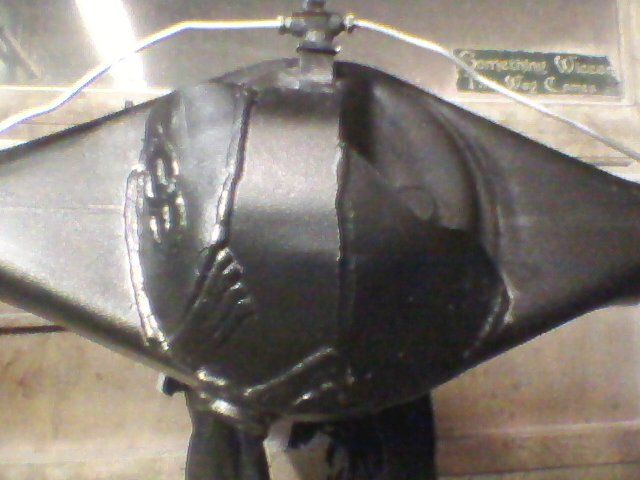
Anyway, my rear axle is finished and ready to be bolted on. Its obviously from my 1990 ifs 4wd parts truck. I did new bearing's, seals, and brake lines.
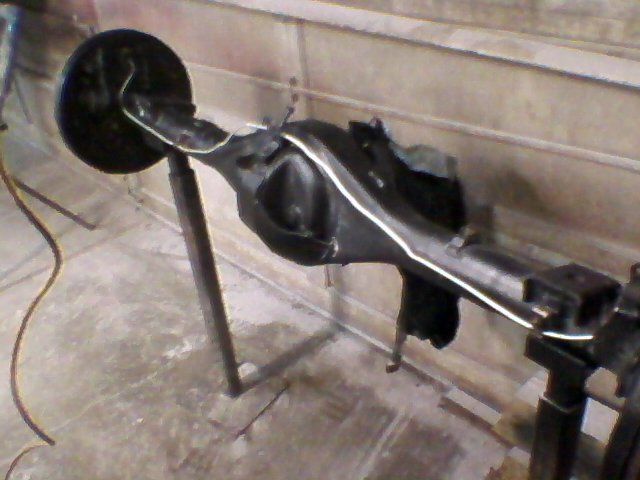
I welded the rear third also. Welded the gears together then plated on top of that and welded around that for extra support. Turned out pretty nice.
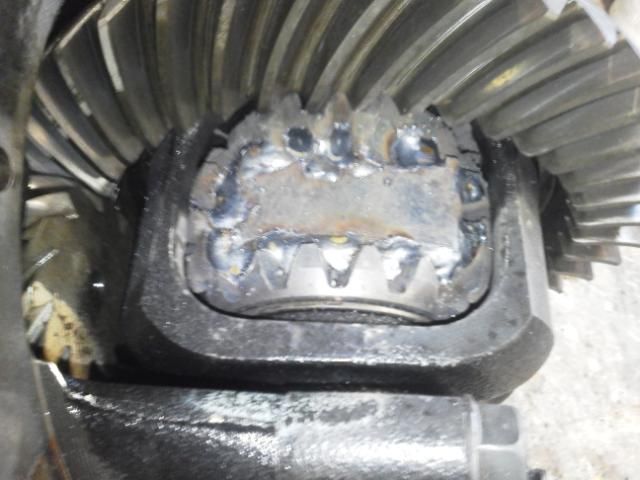
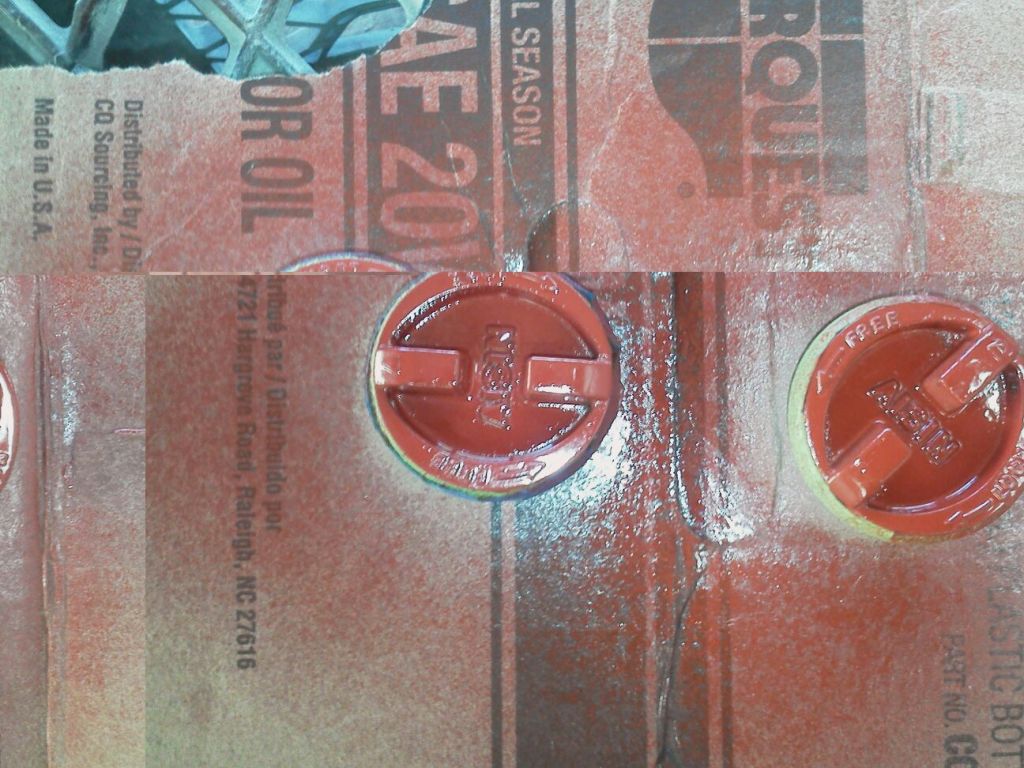
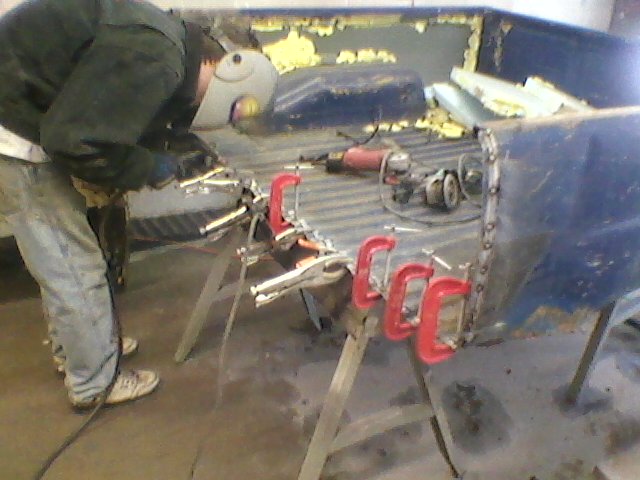
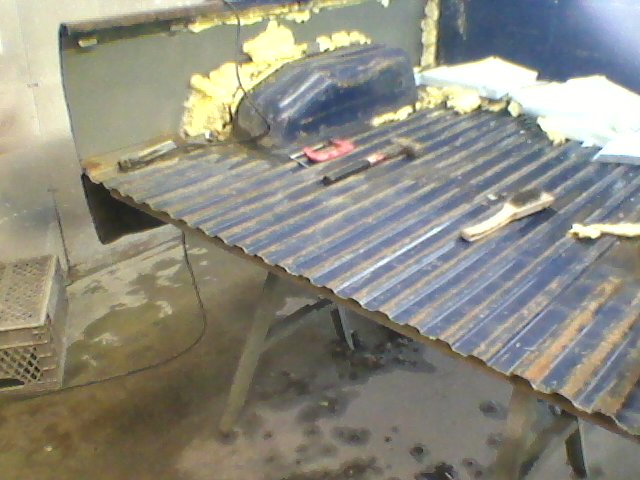
I figured while i had everything apart i should do a little armor as well. Nothing fancy or anything. More for function than anything. Something is better than nothing in this case.
I took it apon myself to show them the right way to pull the CV.Anyway, my rear axle is finished and ready to be bolted on. Its obviously from my 1990 ifs 4wd parts truck. I did new bearing's, seals, and brake lines.
I welded the rear third also. Welded the gears together then plated on top of that and welded around that for extra support. Turned out pretty nice.
I figured while i had everything apart i should do a little armor as well. Nothing fancy or anything. More for function than anything. Something is better than nothing in this case.

Trending Topics
Jan 9, 2013 | 06:59 AM
#8
Thread Starter
Registered User
Joined: Feb 2010
Posts: 482
Likes: 0
From: Deadwood, SD
Front is done and doing good. Love it. has the stance i always wanted and ubber good braking power. Had to rebuild the drivers side, seals and all. Seal let go and started spilling gear lube into the birf and wheel bearings. Thanks to Two-Bit (Dan) for having a full trail gear rebuild kit just laying around haha
Had to pull my trans and tcase out of my parts truck sooner than i thought. Turns out kipp needed a new pressure plate and my parts truck had one. After doing a clutch for dan, then tearing kipp case's and trans out a day later, ripping the parts truck trans and tcase was done in less than an hour.
So look's like my next step is to get my tcase adapter ordered.
Finished Pics.
Jan 9, 2013 | 03:13 PM
#11
Thread Starter
Registered User
Joined: Feb 2010
Posts: 482
Likes: 0
From: Deadwood, SD
Thanks man! I appreciat it. Most of the work i've done since getting the truck has been done in the last month believe it or not. This thing is my baby and i love it.
BED BOB COMING SOON!!!!
BED BOB COMING SOON!!!!

 Feb 7, 2013 | 04:27 PM
#16
Good job on the bed bob. I have a buddy that bobed his bed and frame. He cut frame off right behind shackles then stopped bed a 1" from there. Looks sweet.
Hope to see more.
(Sub)
Hope to see more.
(Sub)
Feb 7, 2013 | 06:31 PM
#17
Thread Starter
Registered User
Joined: Feb 2010
Posts: 482
Likes: 0
From: Deadwood, SD
Thanks man. I need to address my rear shackle angle. I want to get new springs and move my hangers before i cut off any frame. My next big thing is duels though. Toyotas love transfercases
Feb 7, 2013 | 06:48 PM
#18
Ehh just give it the right set of gears... Nah I'd love to have duals myself. Just can't afford it.
Feb 26, 2013 | 12:42 PM
#19
Thread Starter
Registered User
Joined: Feb 2010
Posts: 482
Likes: 0
From: Deadwood, SD
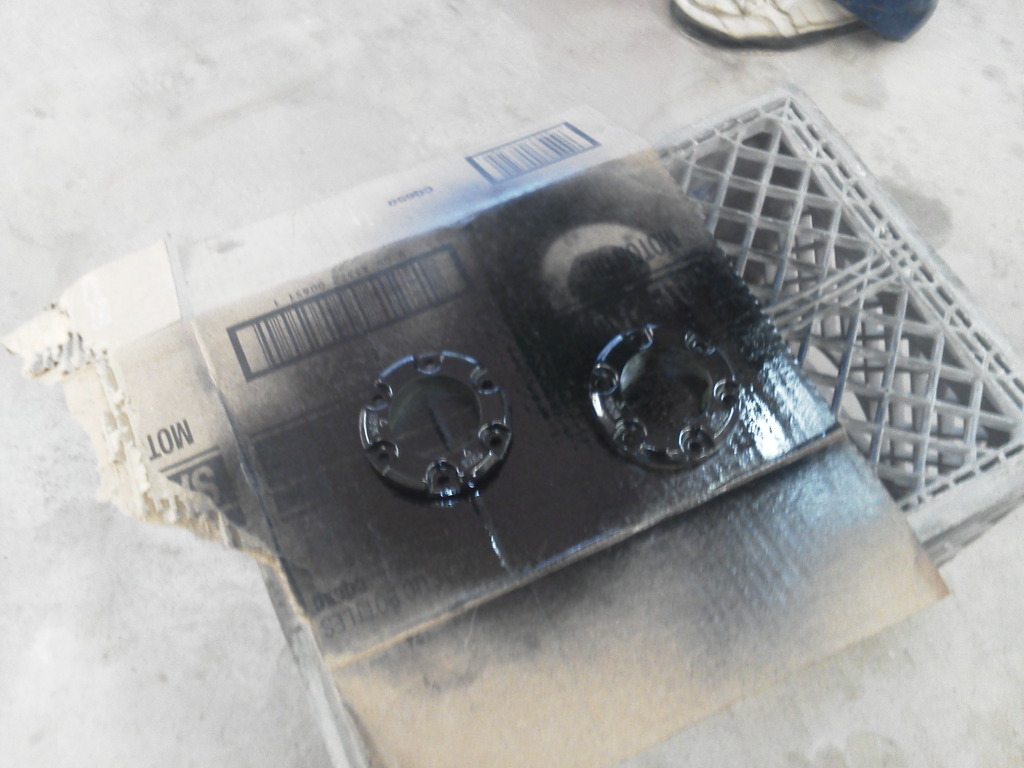
Got some things done over the weekend. I was sick of my gear lube leaking into my wheel bearing and birf's. I think this was cause by my crappy Superwinch hubs. To much play in the shafts kept taking out the inner seals. So i had to do something.
I started by trading Dan my superwinches for a set of AISIN's off of his axle he has laying around. I rebuilt them piece by piece and used the parts washer on everything that'd fit in it.
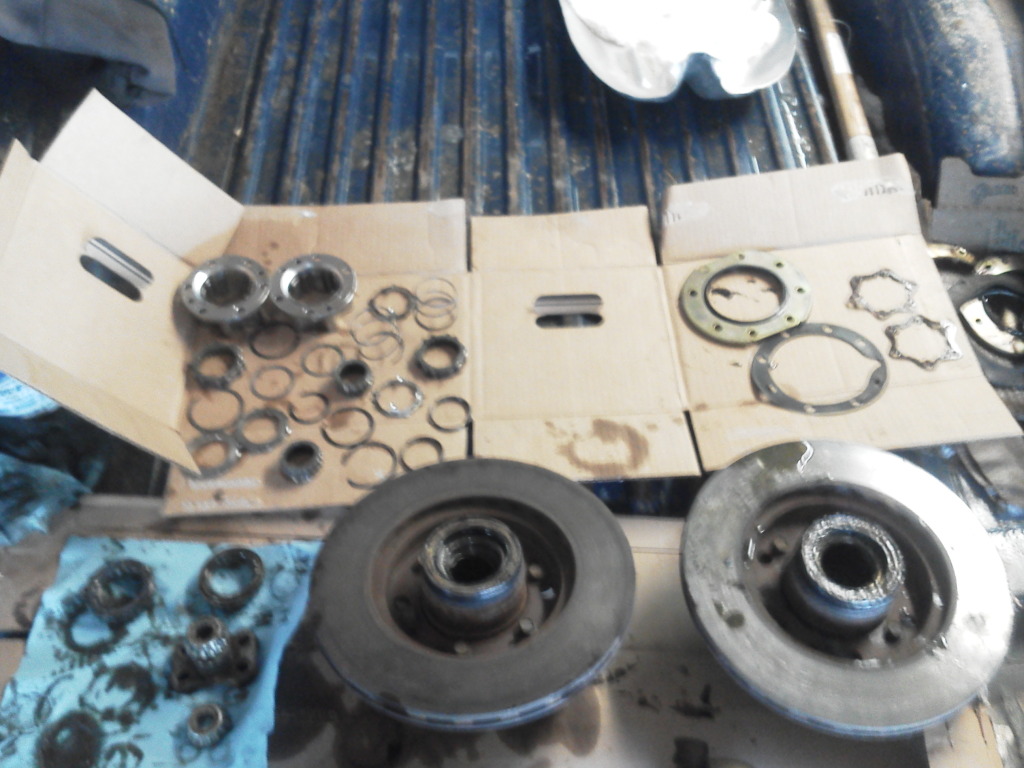
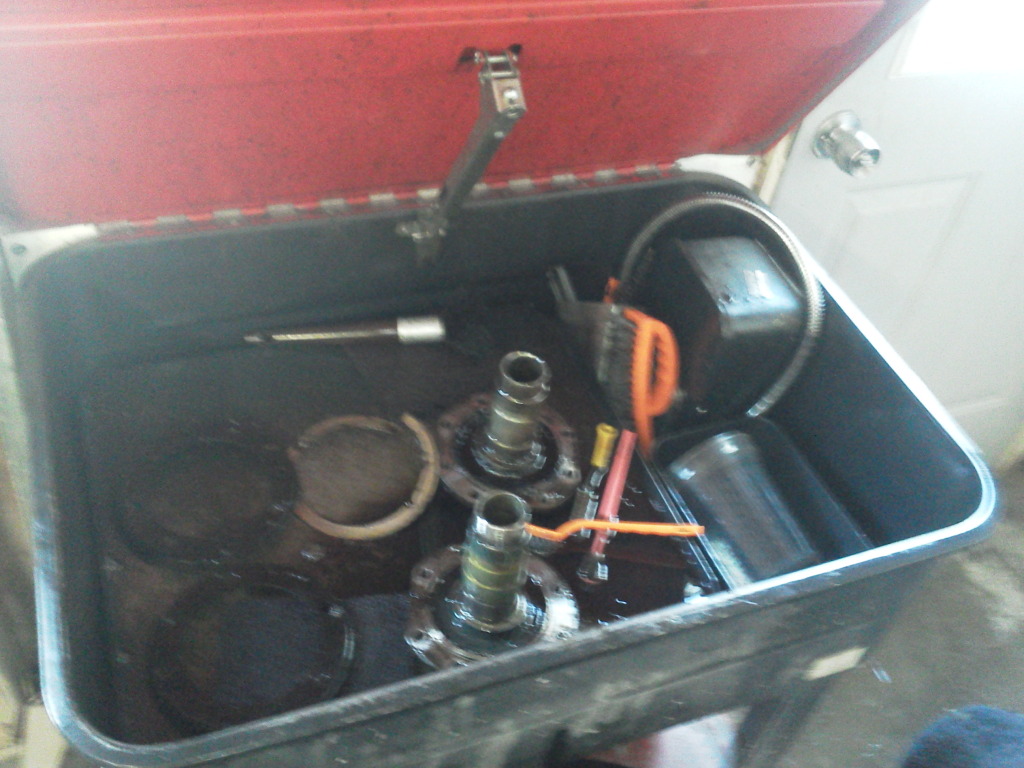
I started by trading Dan my superwinches for a set of AISIN's off of his axle he has laying around. I rebuilt them piece by piece and used the parts washer on everything that'd fit in it.