
82 Money Pit
 Apr 12, 2016 | 07:49 PM
#1

Thread Starter
Registered User
Joined: Dec 2015
Posts: 98
Likes: 1
From: oregon
82 Money Pit
Hey guys, thought you might like to see this 82 I've been working on for the last couple months. Turned into a much bigger project than the quick DD I was trying to make it.
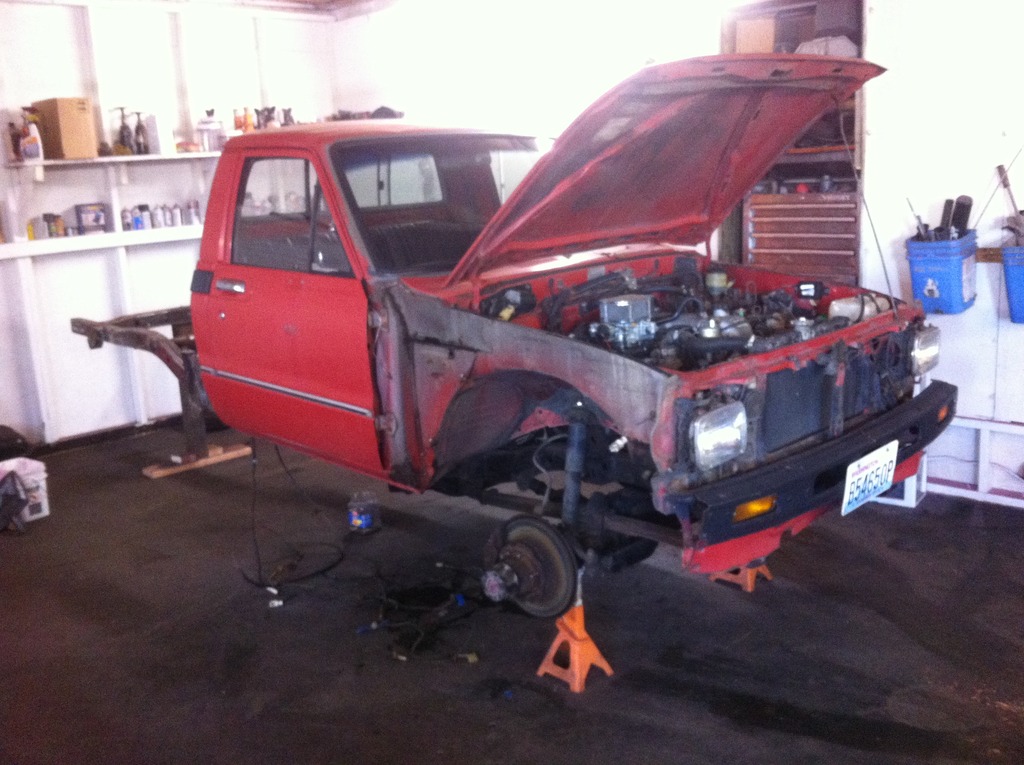
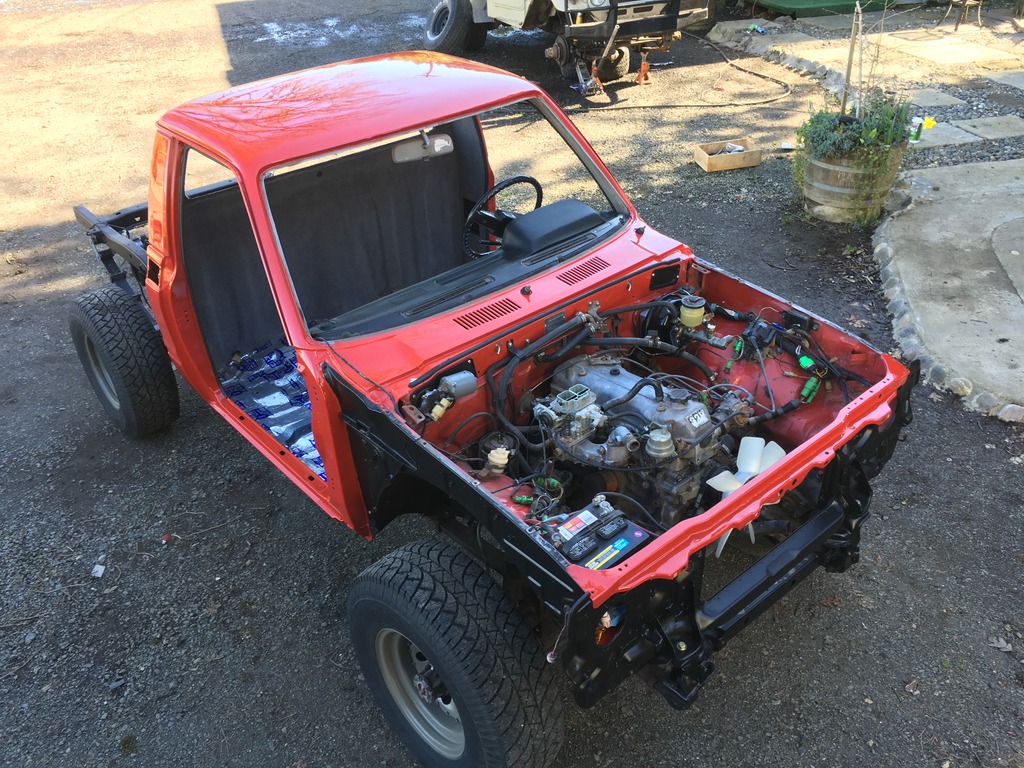
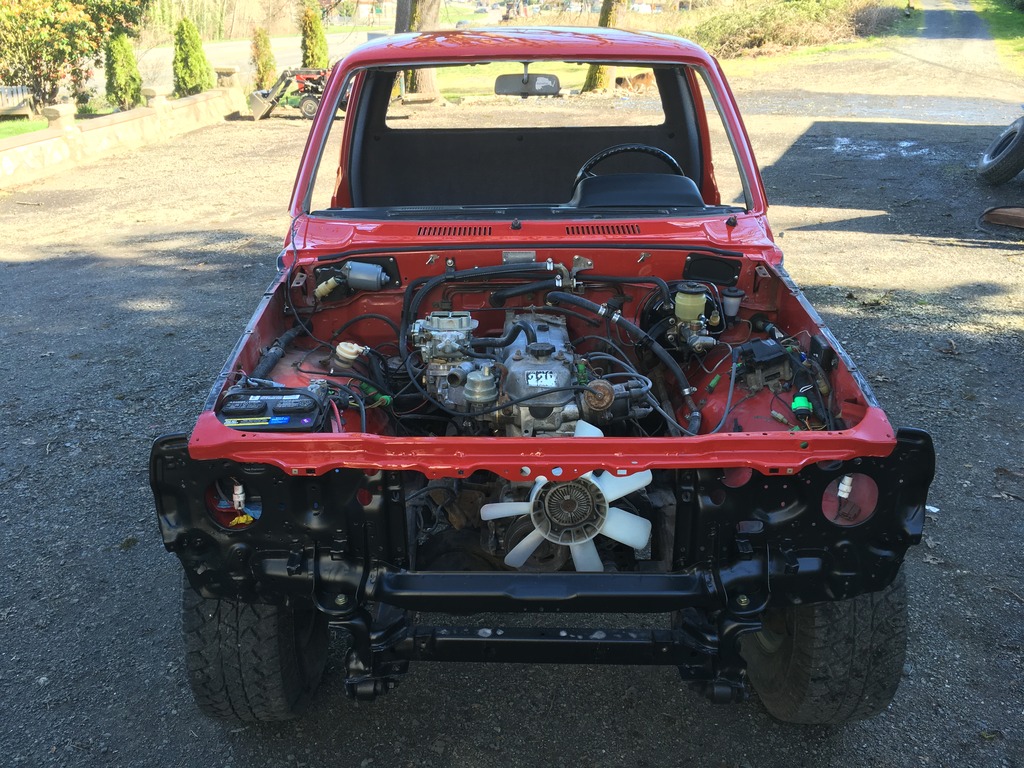
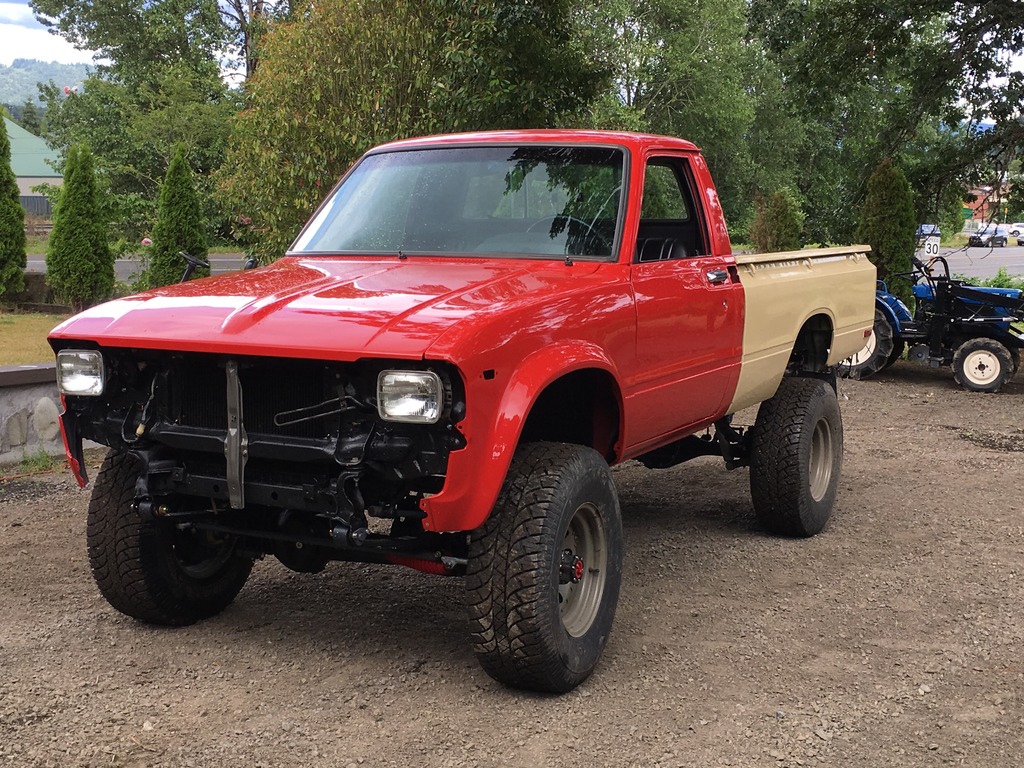
Here's the day I brought her home, looking pretty ugly and rusty... Bear with me on the build, it'll be slow as I'm simultaneously doing an FJ45 Land Cruiser. I just posted that build up a couple days ago, so Ill try to keep both threads updated often.
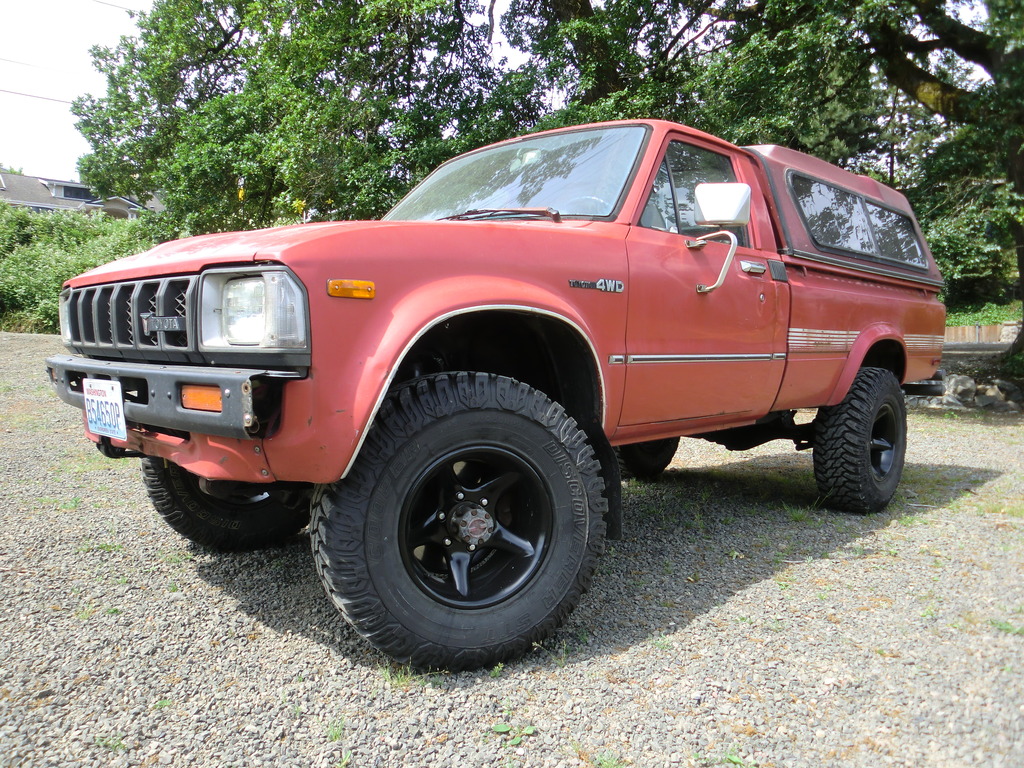
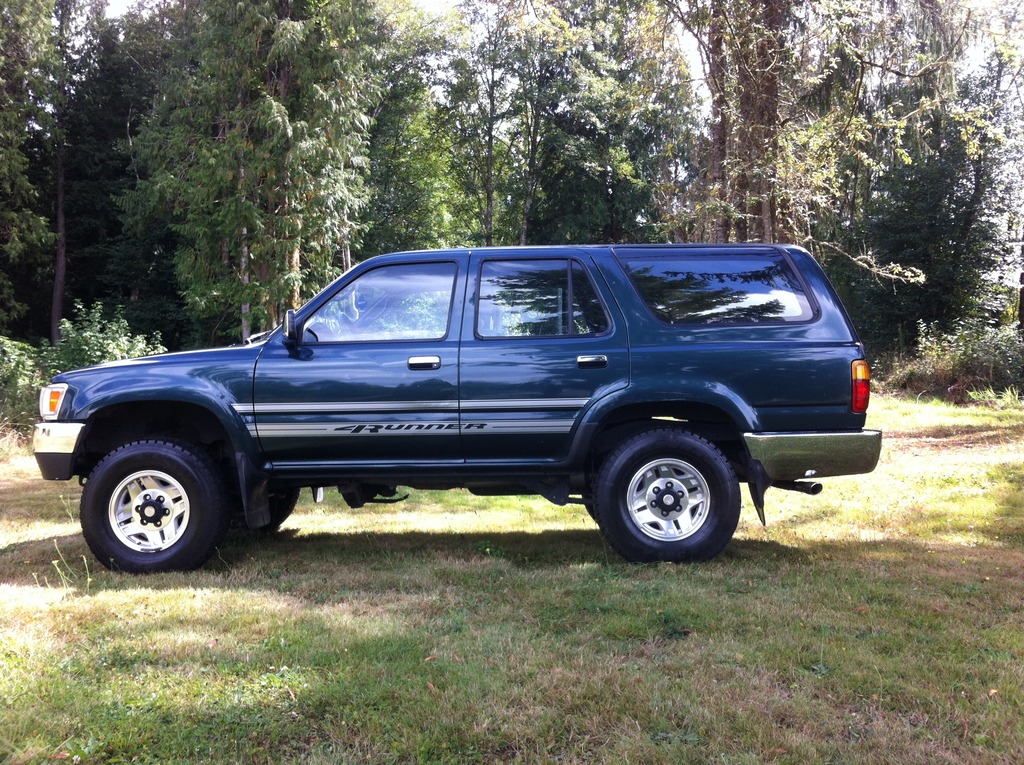
Back Story on the truck is I sold my 94 4Runner 22re, to find a pickup. Ended up finding this turd, not near as nice as what I gave up unfortunately.
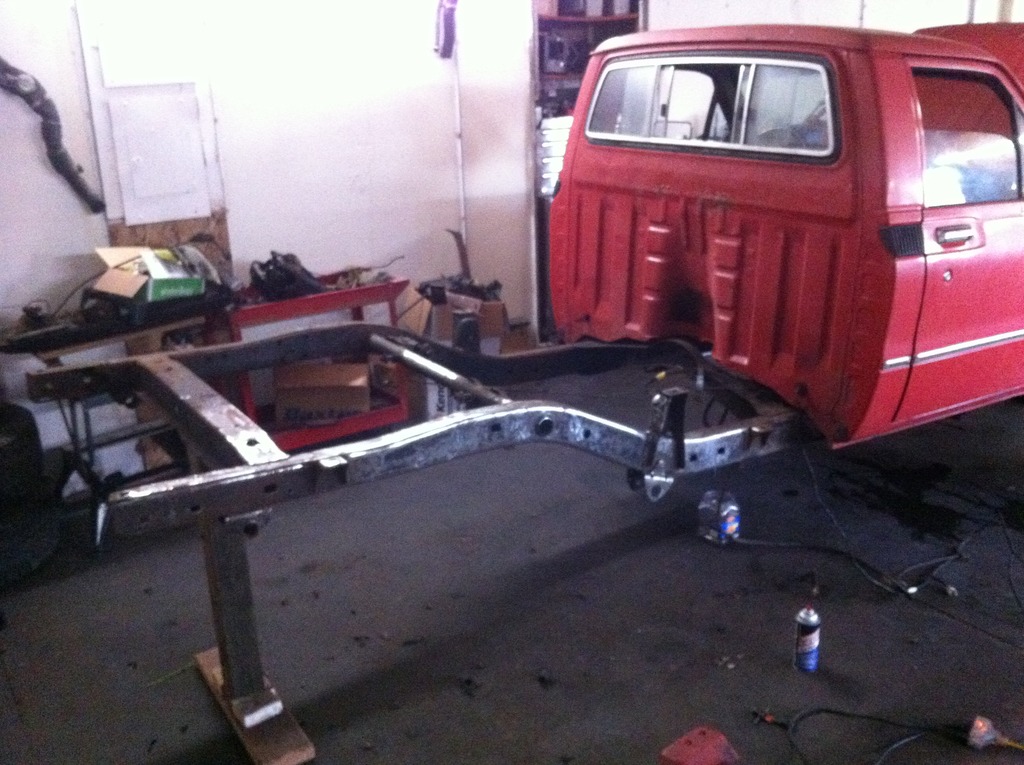
Had to ditch the rusty old bed, drove 10 miles home from the scrap yard after dumping it, got a lot of weird looks lol.
Had to ditch the rusty old bed, drove 10 miles home from the scrap yard after dumping it, got a lot of weird looks lol.
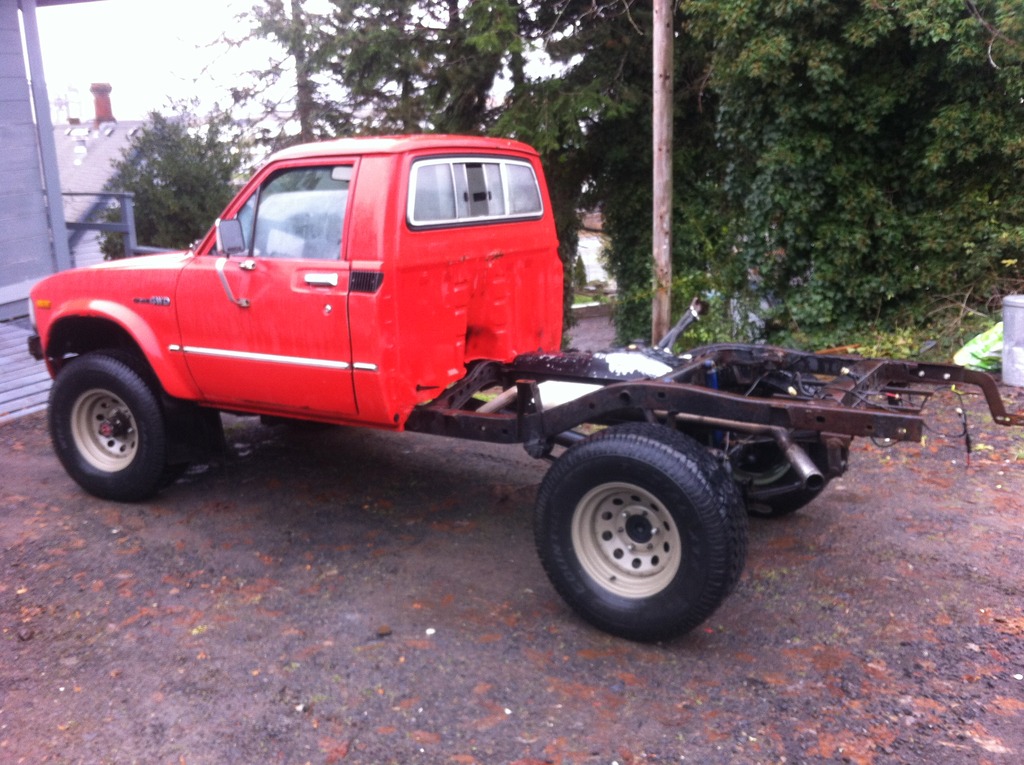
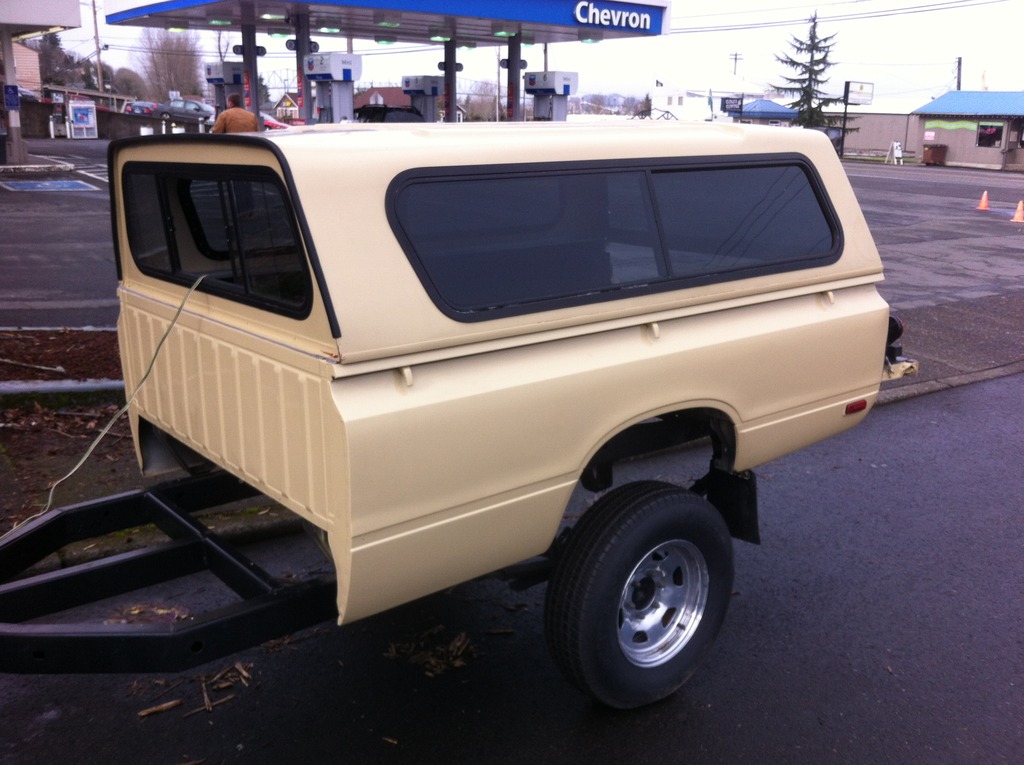
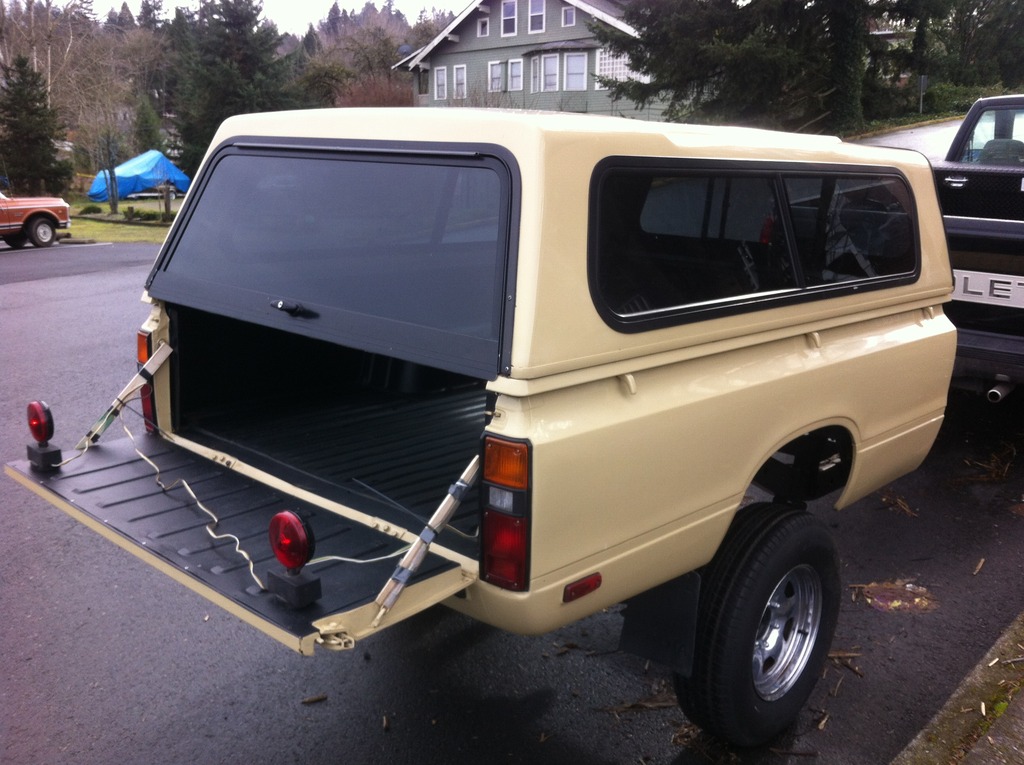
I was really lucky to have a buddy unloading a very nice bed he had restored. Bad part was it cost almost as much as the truck!
Got the sorry thing limped into the shop and started on the Demo.
Got the sorry thing limped into the shop and started on the Demo.
Picked up and EMU suspension package (2.5" lift). Should ride a little better than the 30+ year old springs..
Picked up and EMU suspension package (2.5" lift). Should ride a little better than the 30+ year old springs..

Needed new brakes too.
Needed new brakes too

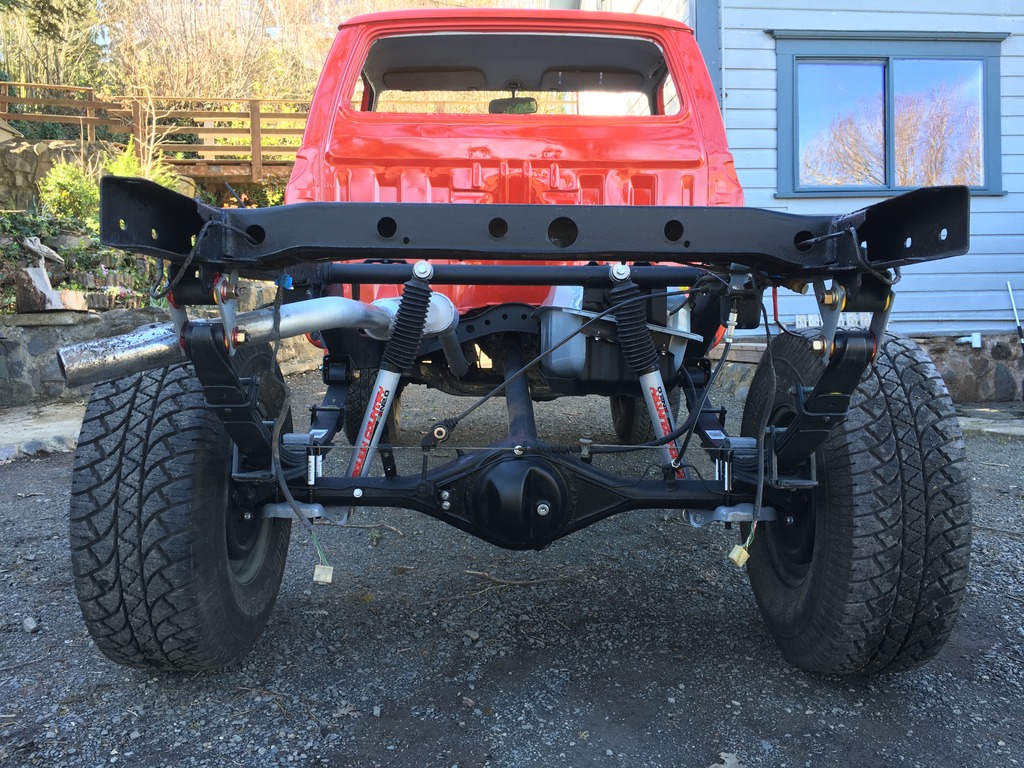
Starting to come together in the rear. Frame was Epoxy primed, and then painted satin POR-15.
Starting to come together in the rear. Frame was Epoxy primed, and then painted satin POR-15.
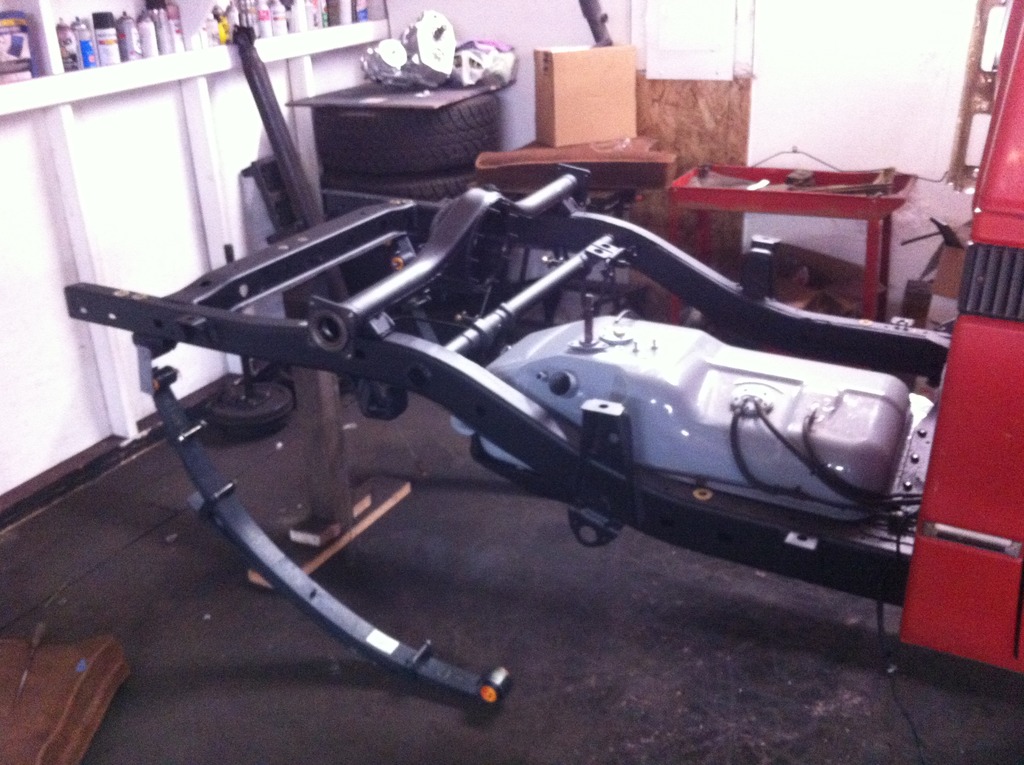
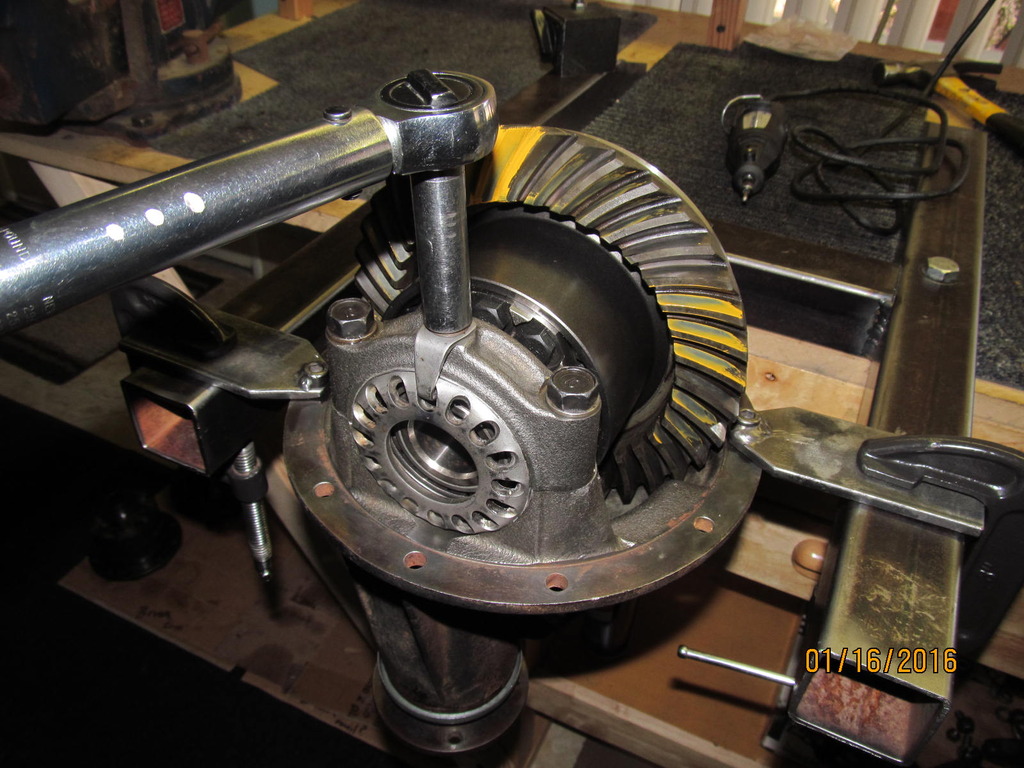
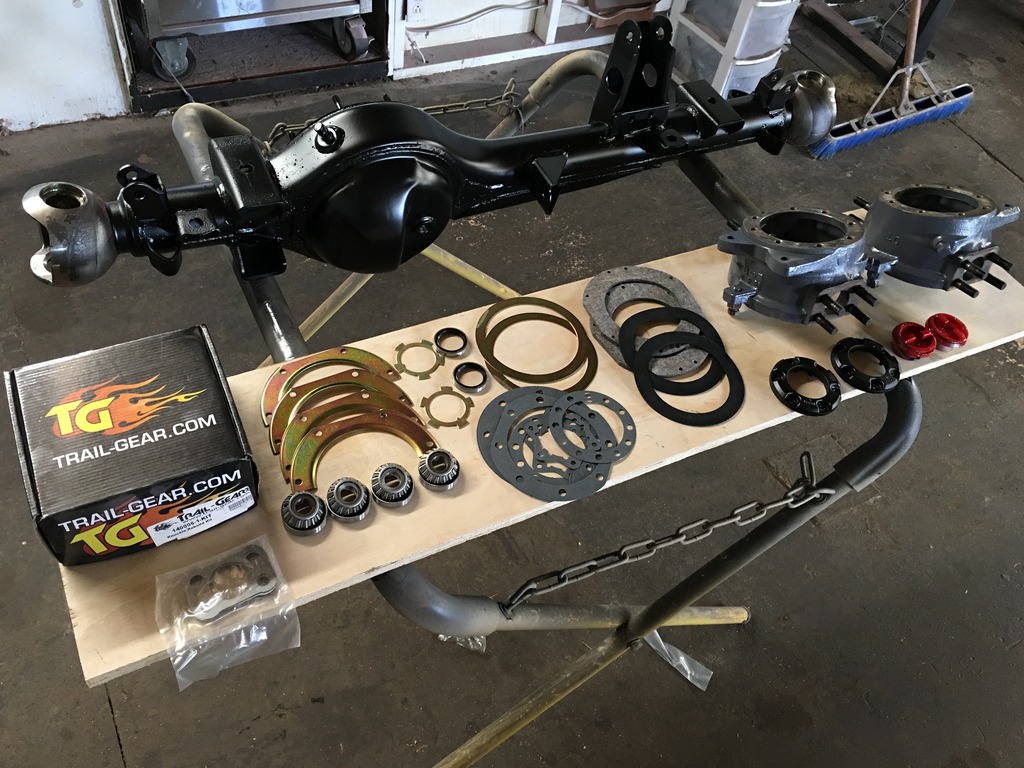
Sent the rear Diff down to Ken at gearinstalls.com. Guys does amazing work, specializing in only Toyota Differentials. Had a full rebuild, and Detroit Tru-Trac installed for a little extra fun.
Still have a bunch to update, but that's all the energy I have for tonight. Hope it keeps someone entertained!
Here's the day I brought her home, looking pretty ugly and rusty... Bear with me on the build, it'll be slow as I'm simultaneously doing an FJ45 Land Cruiser. I just posted that build up a couple days ago, so Ill try to keep both threads updated often.

Back Story on the truck is I sold my 94 4Runner 22re, to find a pickup. Ended up finding this turd, not near as nice as what I gave up unfortunately.

Had to ditch the rusty old bed, drove 10 miles home from the scrap yard after dumping it, got a lot of weird looks lol.
Had to ditch the rusty old bed, drove 10 miles home from the scrap yard after dumping it, got a lot of weird looks lol.

I was really lucky to have a buddy unloading a very nice bed he had restored. Bad part was it cost almost as much as the truck!


Got the sorry thing limped into the shop and started on the Demo.
Got the sorry thing limped into the shop and started on the Demo.


Picked up and EMU suspension package (2.5" lift). Should ride a little better than the 30+ year old springs..
Picked up and EMU suspension package (2.5" lift). Should ride a little better than the 30+ year old springs..

Needed new brakes too.
Needed new brakes too

Starting to come together in the rear. Frame was Epoxy primed, and then painted satin POR-15.
Starting to come together in the rear. Frame was Epoxy primed, and then painted satin POR-15.

Sent the rear Diff down to Ken at gearinstalls.com. Guys does amazing work, specializing in only Toyota Differentials. Had a full rebuild, and Detroit Tru-Trac installed for a little extra fun.

Still have a bunch to update, but that's all the energy I have for tonight. Hope it keeps someone entertained!
Last edited by J.yota; Jul 25, 2016 at 08:35 PM.
Apr 13, 2016 | 07:47 AM
#2
Thread Starter
Registered User
Joined: Dec 2015
Posts: 98
Likes: 1
From: oregon
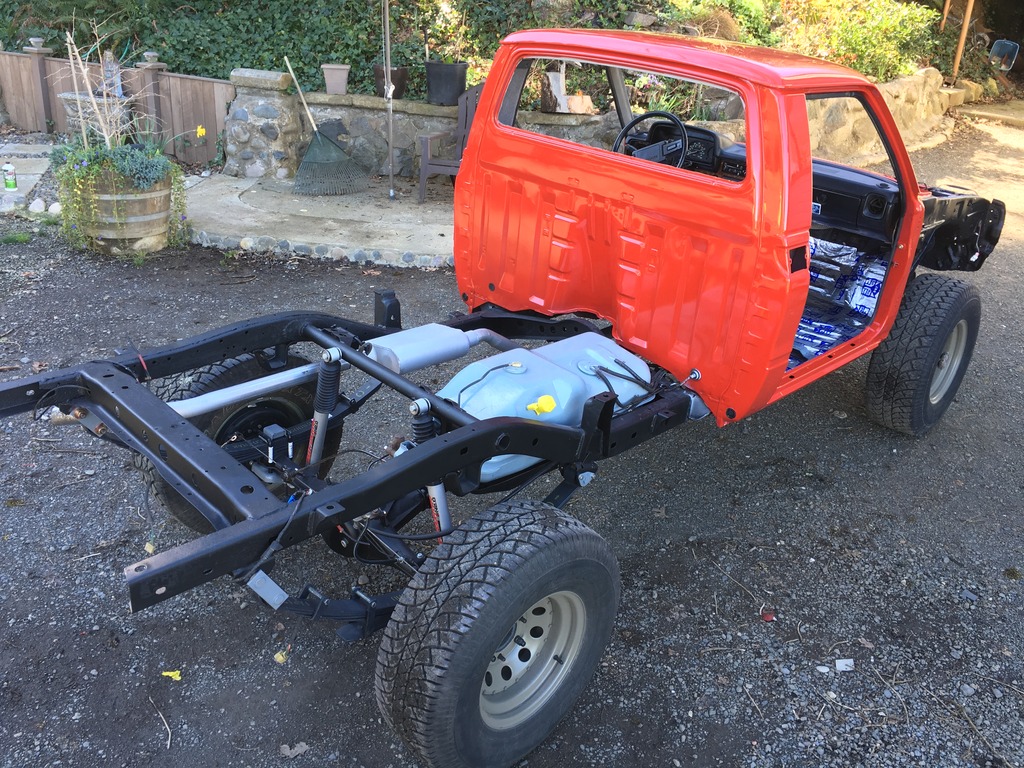
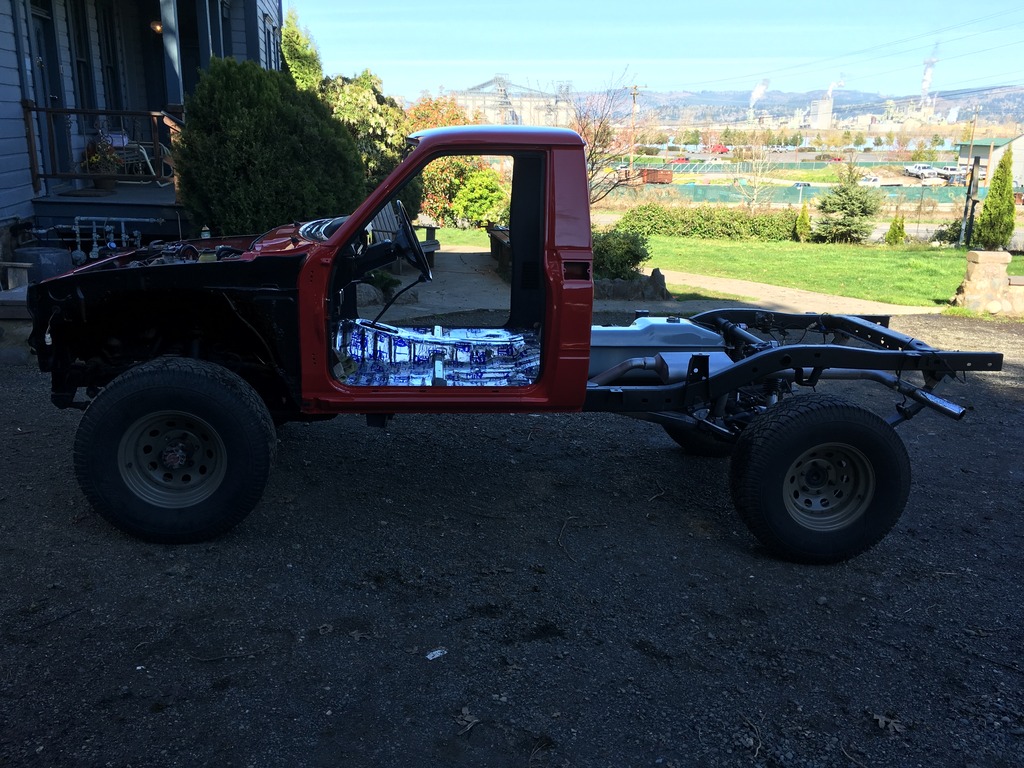
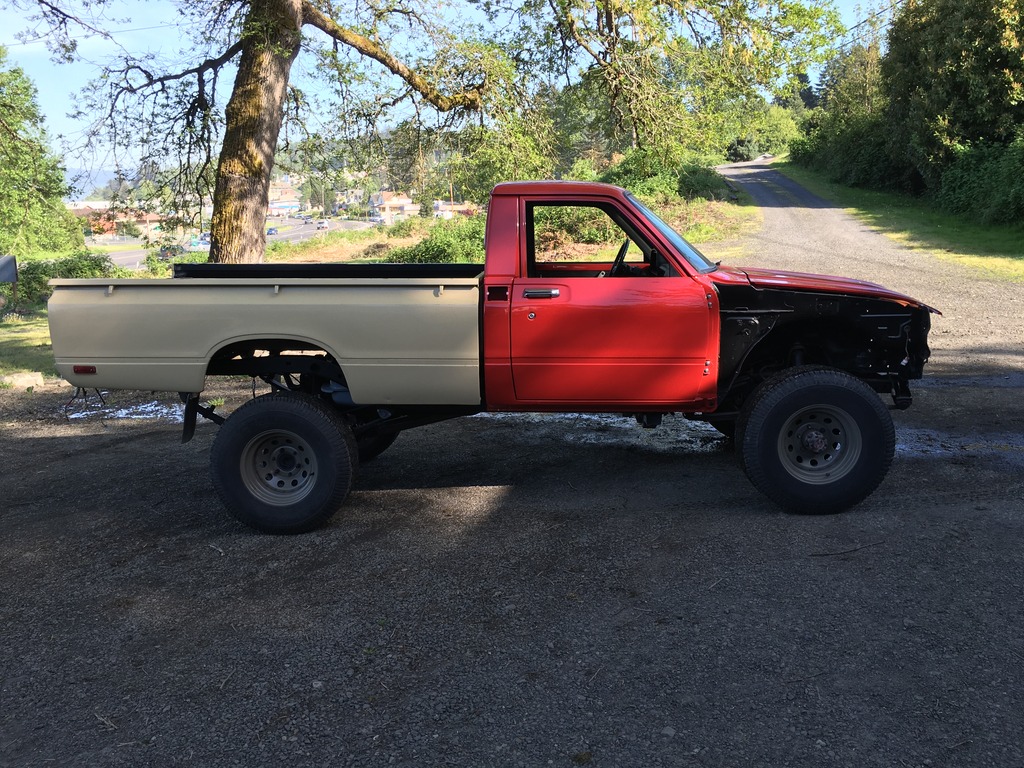
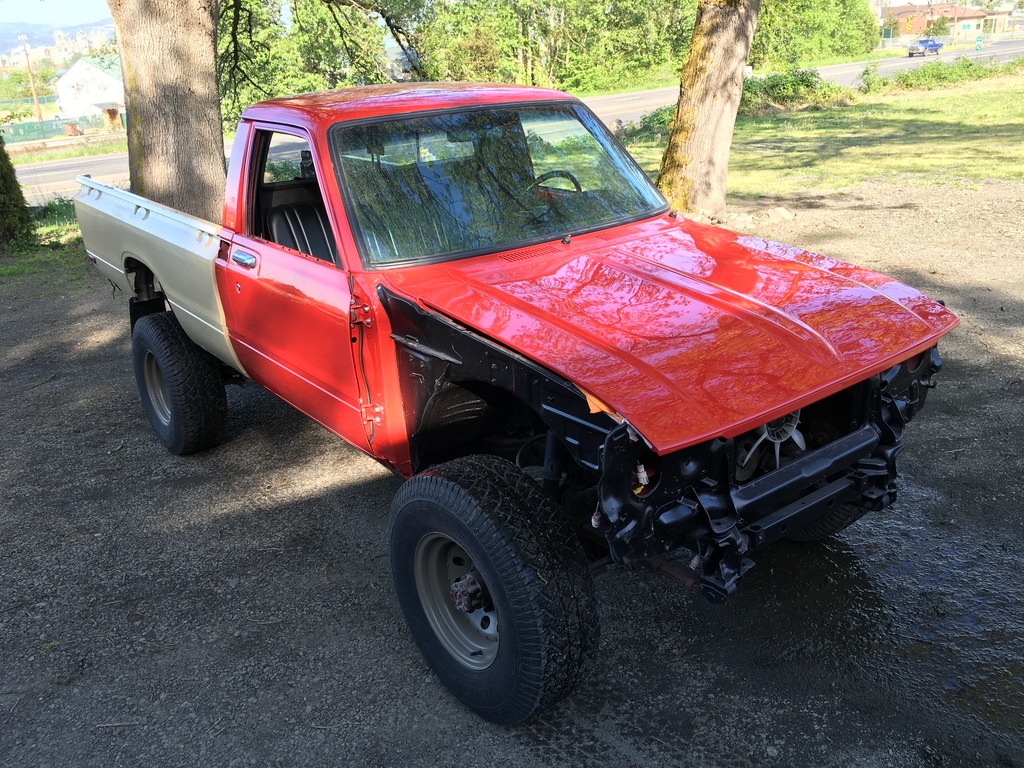
Latest update is the paints under way. Got the cab ripped apart, and glass pulled. Finished the cab in 4 coats of PPG "Super Red" original Toyota color. Toped it off with 3 Coats of DuPont Clear Coat. Think it turned out ok.
Got the rear suspension finished
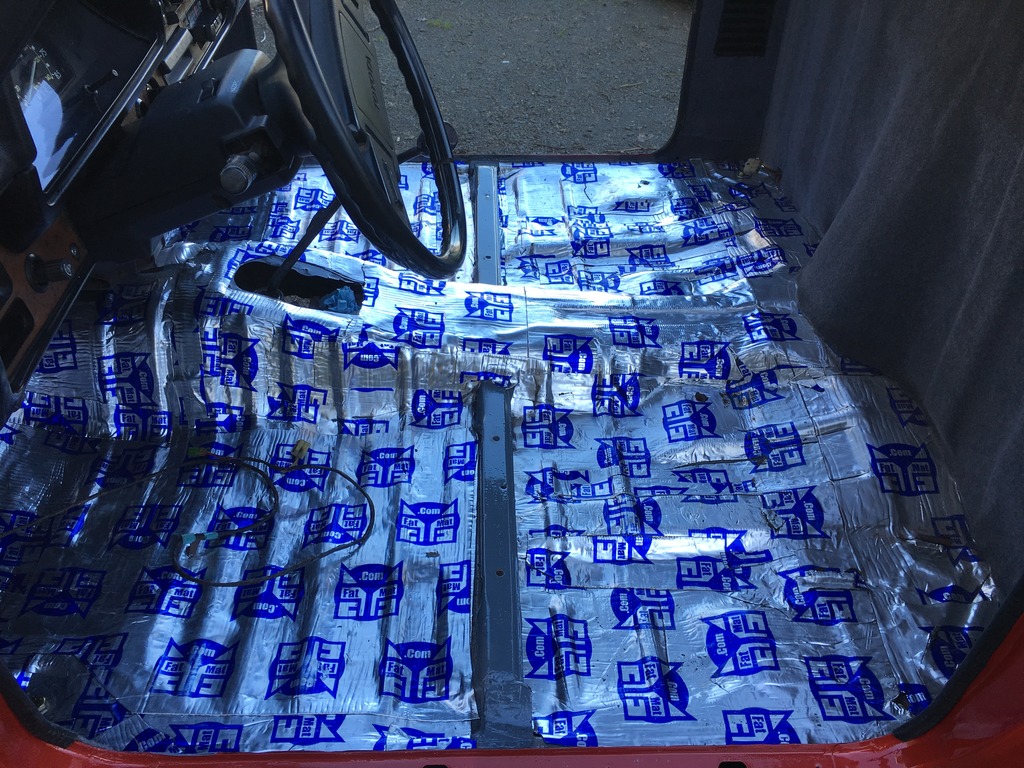
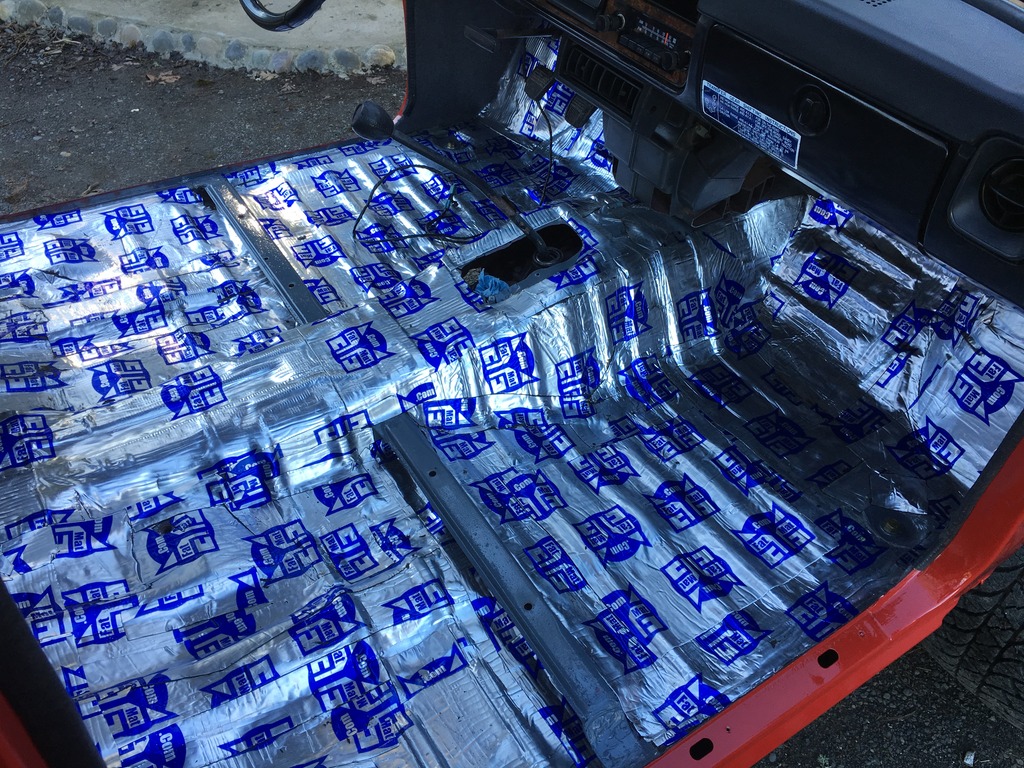
Also did some sound proofing while I was in there, and carpeted the rear wall.
So this is where I'm at now, Long road back.
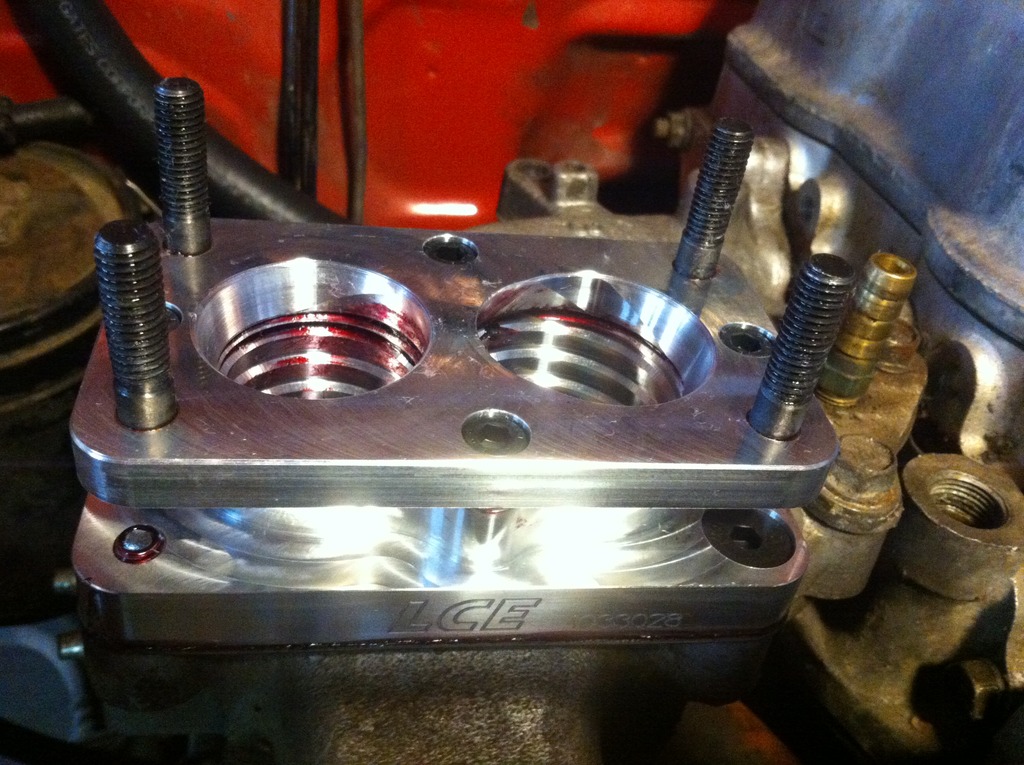
One more little update, the Weber carb kept having Vac. Leaks. As you may know the adapter plates that Weber send with the carbs are JUNK! I've had several leak, and makes tuning the carb a Pain. So I found this little part LCE makes, and is a much higher quality adapter. I think adds a little power (They say 5Hp) Seems more responsive. Just thought I'd share incase anyone else suffers from the crap Weber adapters. Not a single leak now.

Got the rear suspension finished


Also did some sound proofing while I was in there, and carpeted the rear wall.


So this is where I'm at now, Long road back.

One more little update, the Weber carb kept having Vac. Leaks. As you may know the adapter plates that Weber send with the carbs are JUNK! I've had several leak, and makes tuning the carb a Pain. So I found this little part LCE makes, and is a much higher quality adapter. I think adds a little power (They say 5Hp) Seems more responsive. Just thought I'd share incase anyone else suffers from the crap Weber adapters. Not a single leak now.

Last edited by J.yota; Jul 22, 2016 at 04:52 PM.
Apr 14, 2016 | 08:53 AM
#3
Beautiful build so far! I would give certain parts of my anatomy for a cherry bed like that - you're very lucky to find such a nice steal bed. I searched for about two years before I finally broke down and bought a fiberglass bed. I do have a word of advice for you on that steel bed though. Since you are painting it anyway, I would go back and weld up and shave all the body seams where the bed panels over lap. It's a little bit of work, but it would still look the same and you will greatly reduce the possibility of rust in the typical problem areas.
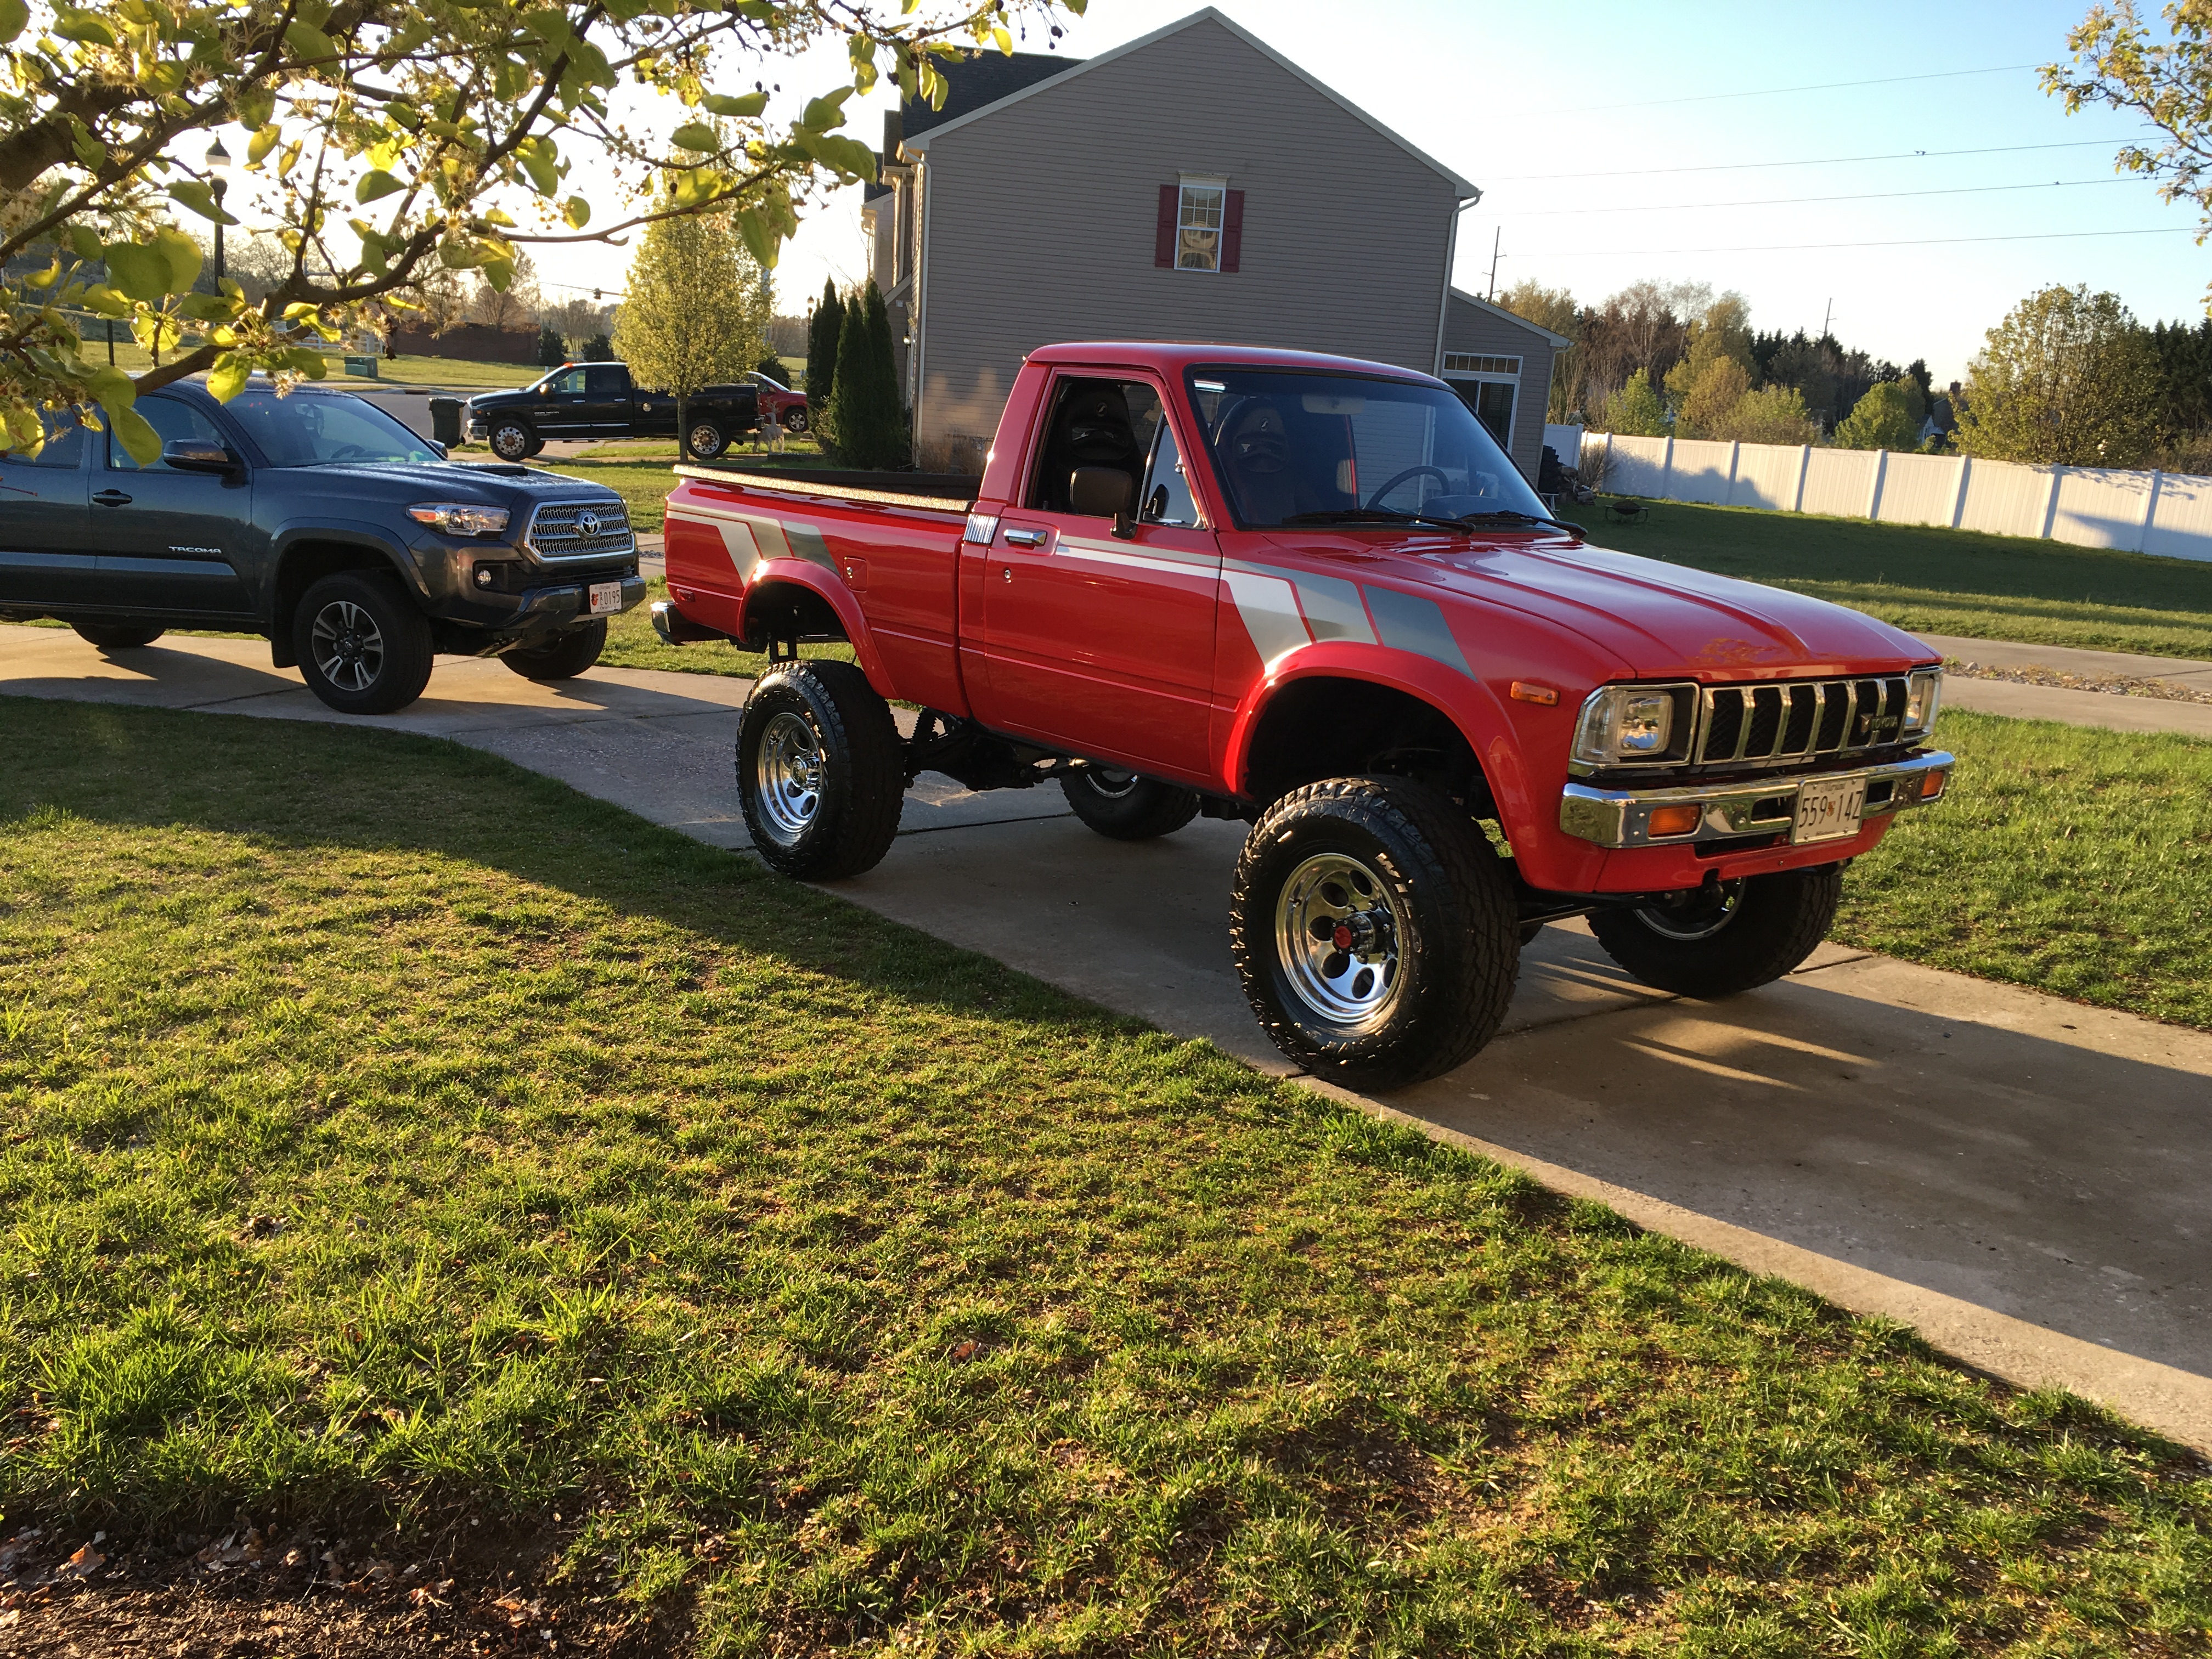
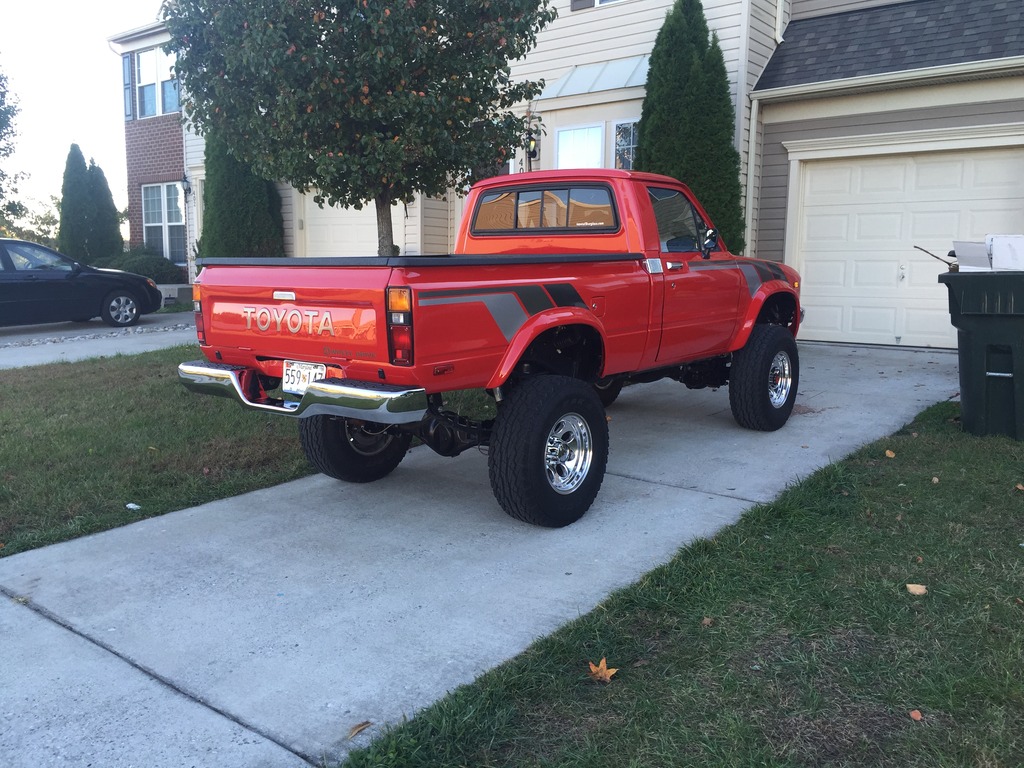
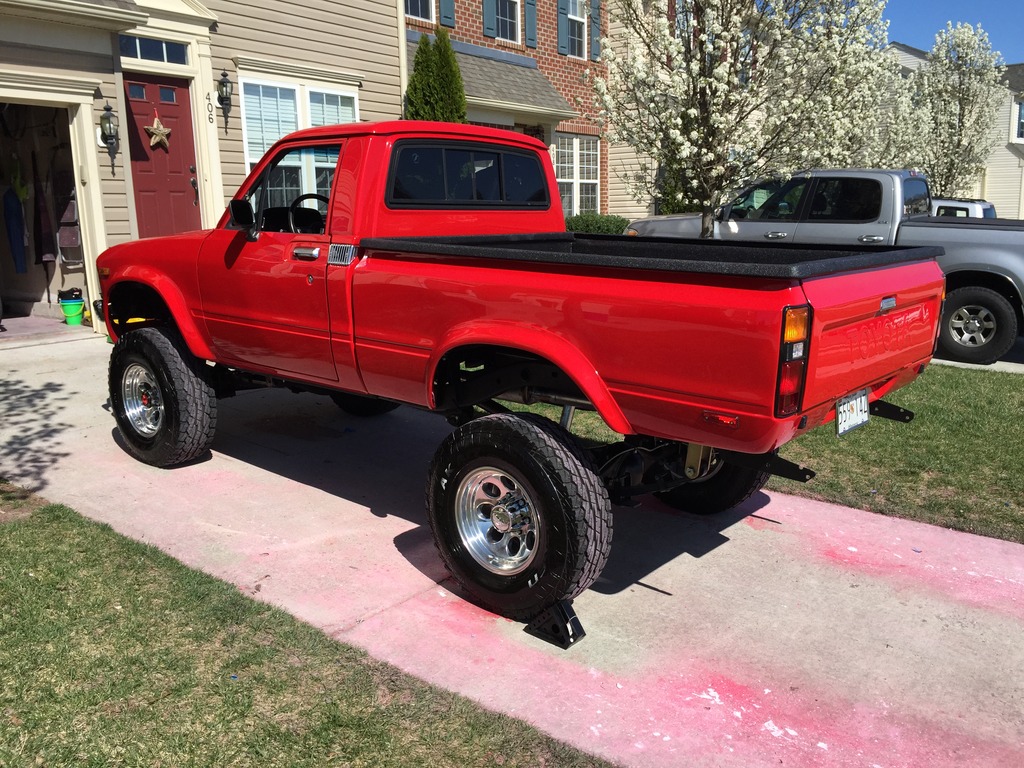
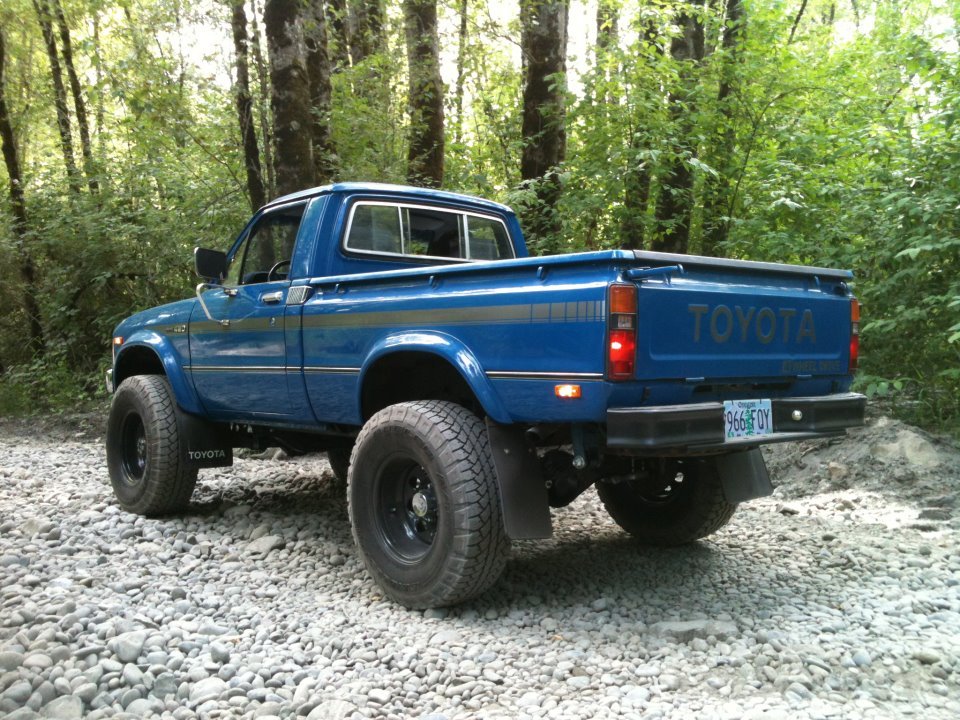
The red looks good too. Personally, I think that for a daily driver, bright red is the most attractive color for these trucks (for a off-road truck, the Sahara sand or beige looks best). I have absolutely no regrets painting my truck red. The amount of heads I turn is unbelievable - Just wait until you get it on the road! Are you planning on doing the original decals? I was hesitant at first to do them, but I'm glad I did. It really sets the paint off well. Here are a few pictures of mine before and after the stripes if you are undecided:

Looks good so far and keep up the great work!! I've been through everything you're about to go through so if you need any advice let me know
The red looks good too. Personally, I think that for a daily driver, bright red is the most attractive color for these trucks (for a off-road truck, the Sahara sand or beige looks best). I have absolutely no regrets painting my truck red. The amount of heads I turn is unbelievable - Just wait until you get it on the road! Are you planning on doing the original decals? I was hesitant at first to do them, but I'm glad I did. It really sets the paint off well. Here are a few pictures of mine before and after the stripes if you are undecided:


Looks good so far and keep up the great work!! I've been through everything you're about to go through so if you need any advice let me know
Apr 15, 2016 | 09:01 AM
#4
Thread Starter
Registered User
Joined: Dec 2015
Posts: 98
Likes: 1
From: oregon
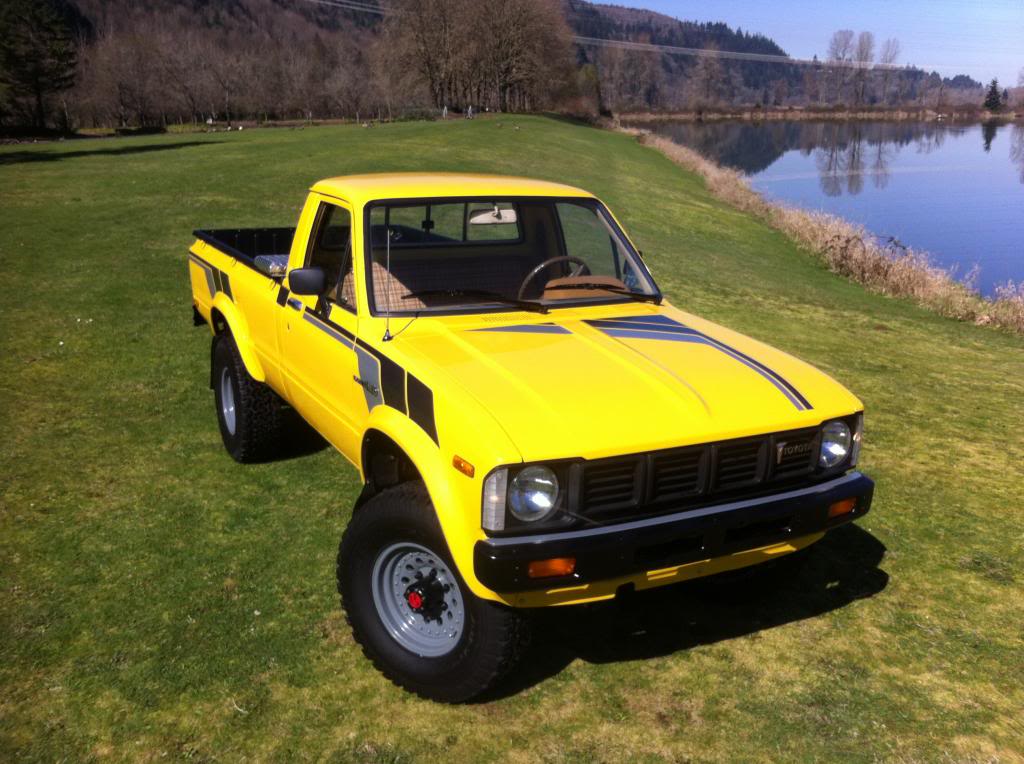
Nice truck! Yeah I plan on doing the original decals. Here's a 1980 I restored a few years ago, and did the decals. Now I cant imagine these trucks without them! I just cant get enough of these old 1st gen pickups. Everyone I see I end up buying, restoring, selling, then repeat lol.
Here's the yellow with stripes.
Here's another 80' I did back in 2012. I came up with my own home brew stripes, think they looked ok.
So I got all the interior redone, and installed in the 82'. Damn bench seat, new carpet, new dash, and OEM radio only set me back $1200 lol. Update Pics coming soon.
Here's the yellow with stripes.

Here's another 80' I did back in 2012. I came up with my own home brew stripes, think they looked ok.

So I got all the interior redone, and installed in the 82'. Damn bench seat, new carpet, new dash, and OEM radio only set me back $1200 lol. Update Pics coming soon.
 Apr 19, 2016 | 06:47 PM
#6
Thread Starter
Registered User
Joined: Dec 2015
Posts: 98
Likes: 1
From: oregon
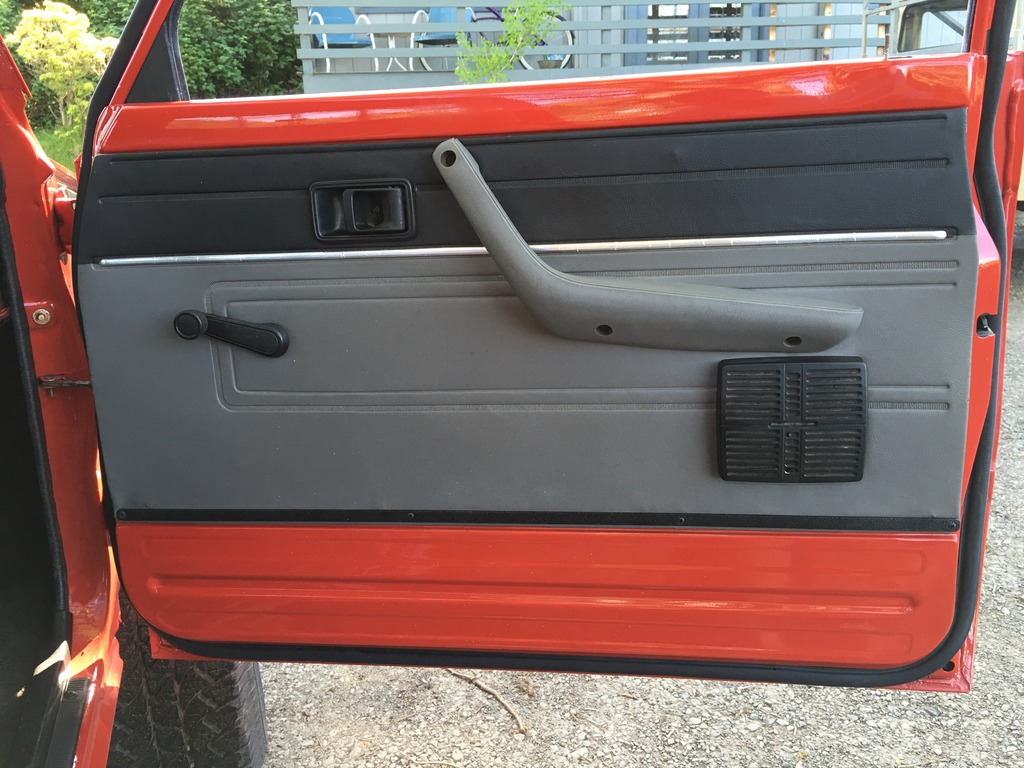
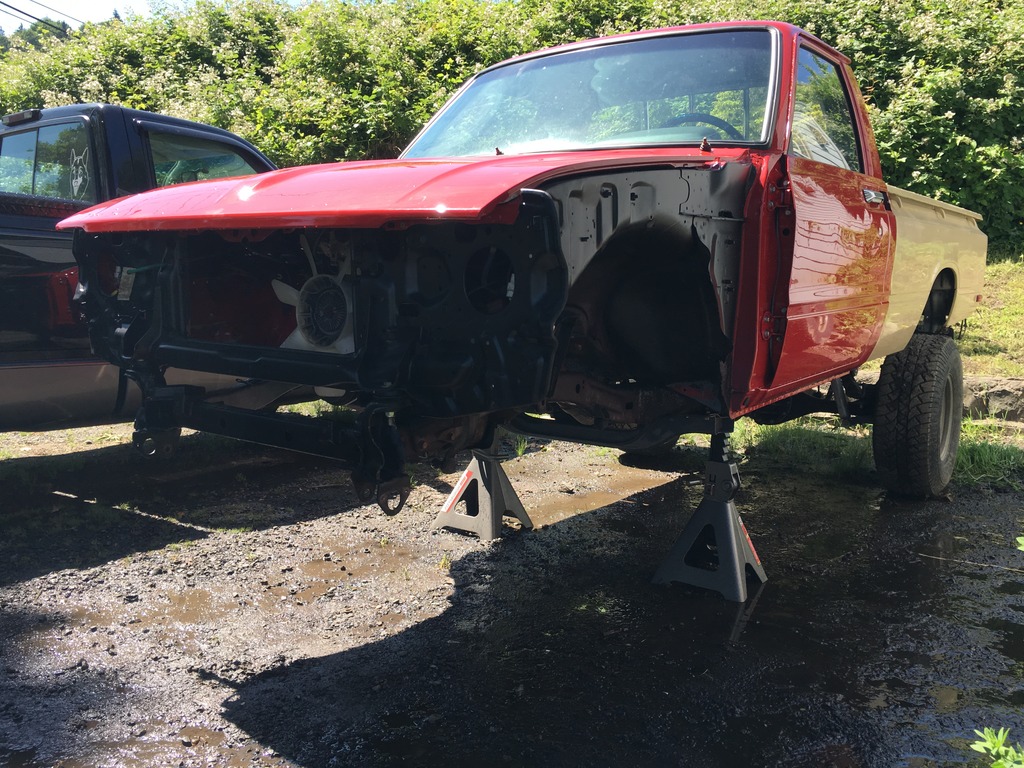
Little update, I got the doors finished/installed. I also got the bed on to start body work.
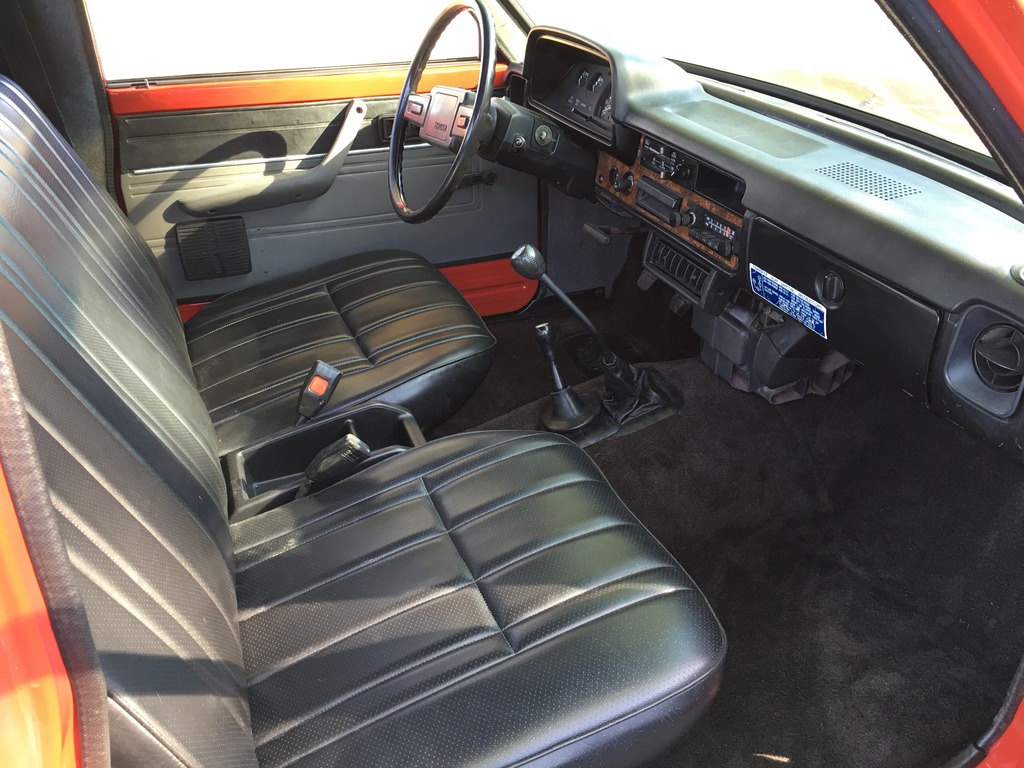
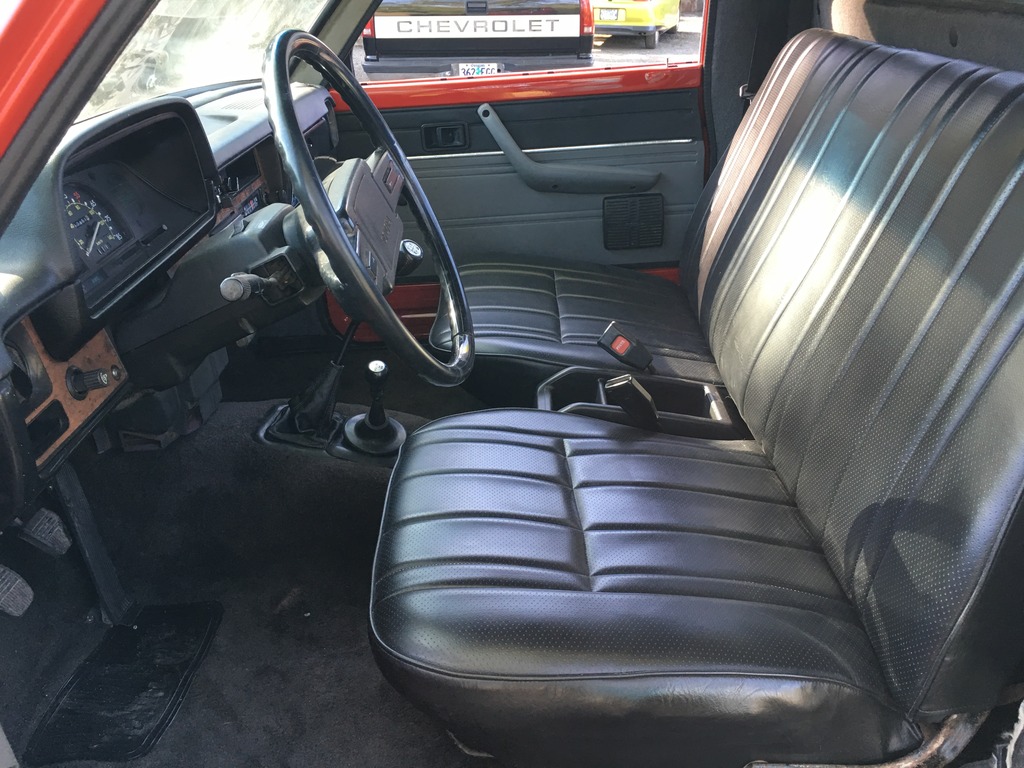
Here's the interior all finished up, was a pain getting all the missing/broken original trim pieces to put it all back together. And the Original radio still works!


Here's the interior all finished up, was a pain getting all the missing/broken original trim pieces to put it all back together. And the Original radio still works!


Trending Topics
Apr 21, 2016 | 08:02 PM
#9
Thread Starter
Registered User
Joined: Dec 2015
Posts: 98
Likes: 1
From: oregon
Apr 22, 2016 | 11:51 AM
#11
Registered User


Joined: Jan 2015
Posts: 960
Likes: 147
From: Gaston, OR
 Apr 26, 2016 | 08:26 PM
#13
Thread Starter
Registered User
Joined: Dec 2015
Posts: 98
Likes: 1
From: oregon
I got the carpet kit from ebay, molded specifically for the 1st gen trucks. I got a new dash pad from ebay as well, I think it was arounf $300 ish. I also got the wood grain bezel prices new on Ebay.
Jul 8, 2016 | 07:21 PM
#14
Thread Starter
Registered User
Joined: Dec 2015
Posts: 98
Likes: 1
From: oregon
Been a while since the last update, but I've still been picking at this project. Latest update has been the front axle removal and rebuild.
I ran out of shop space so I had to pull the axle in my drive way.
Got the axle stripped, cleaned, and painted. All ready to go back together.
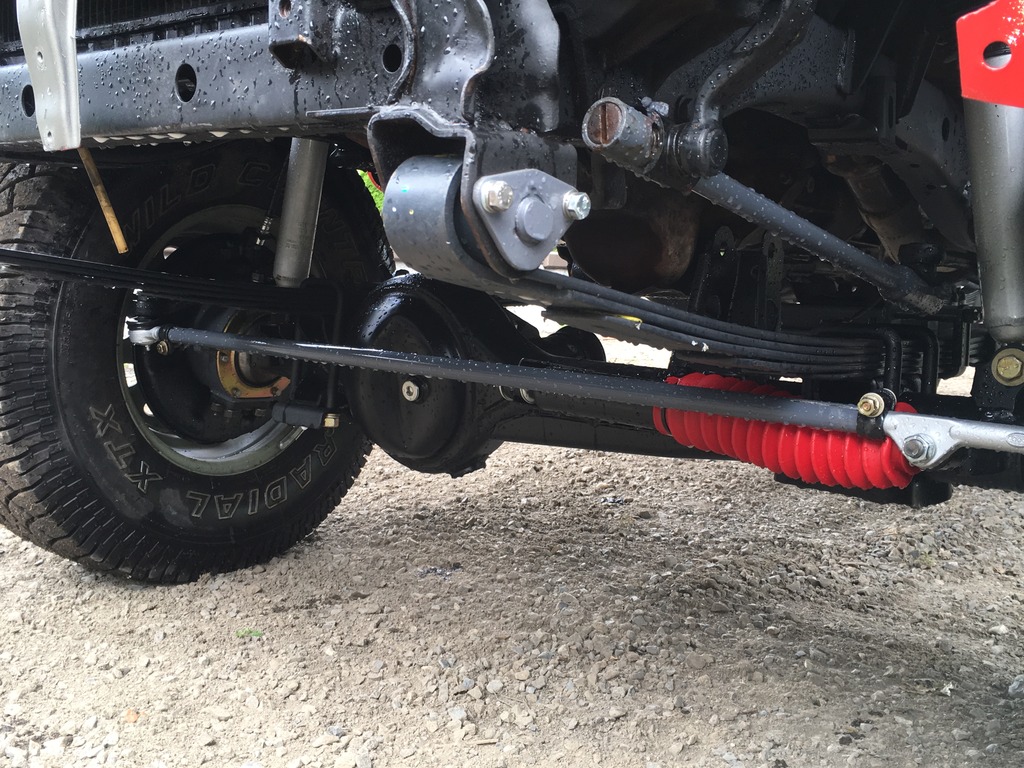
And here she is reinstalled with all new steering linkage, new OME leaf spring, new stabilizer, etc....
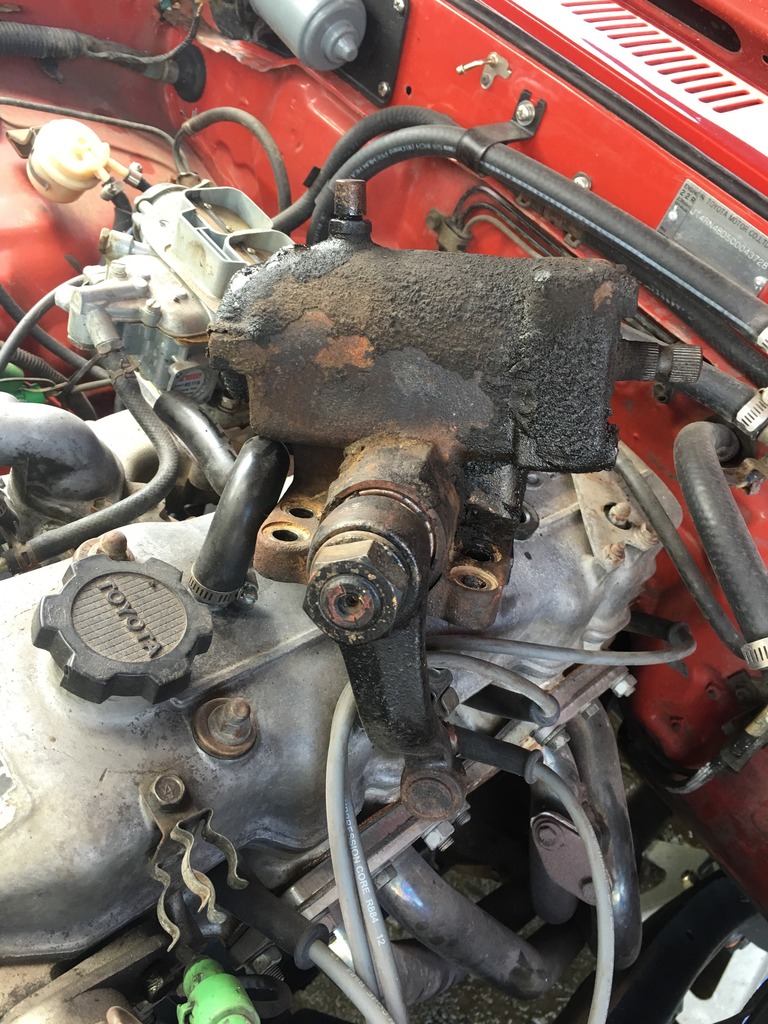
During the axle rebuild I also converted to power steering.
Nasty old manual box removed
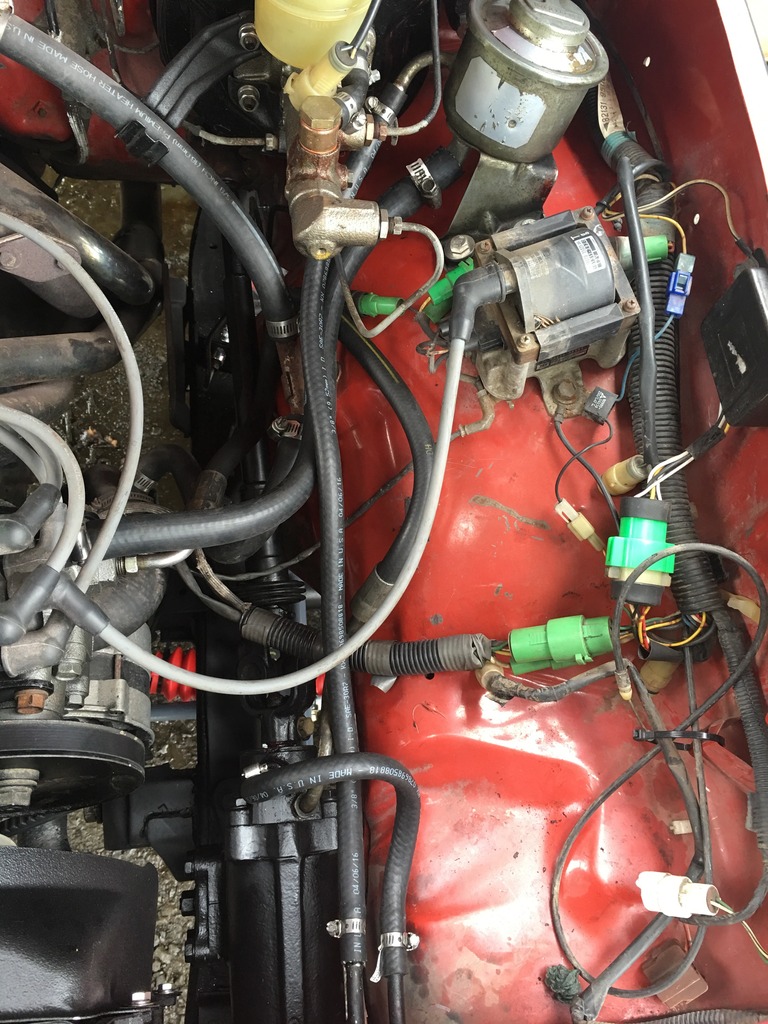
And new to me power steering system installed.
And this is how it sits with the new 2" lift springs. Oh, also got the front fenders painted/installed.
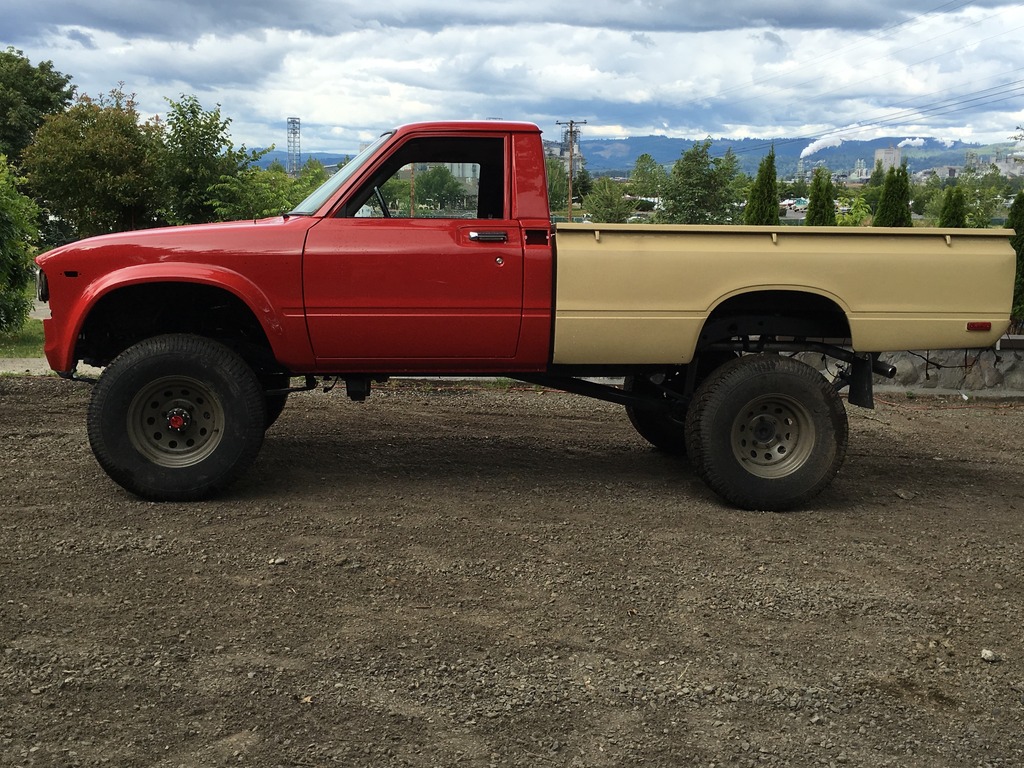
That's it for now, next I'll be moving onto painting the bed and canopy. I also got new wheels (polished alloy) and new BFG 31" tires. I grab some pics of those soon.
I ran out of shop space so I had to pull the axle in my drive way.

Got the axle stripped, cleaned, and painted. All ready to go back together.

And here she is reinstalled with all new steering linkage, new OME leaf spring, new stabilizer, etc....

During the axle rebuild I also converted to power steering.
Nasty old manual box removed

And new to me power steering system installed.

And this is how it sits with the new 2" lift springs. Oh, also got the front fenders painted/installed.


That's it for now, next I'll be moving onto painting the bed and canopy. I also got new wheels (polished alloy) and new BFG 31" tires. I grab some pics of those soon.
Last edited by J.yota; Jul 8, 2016 at 07:26 PM.
Jul 22, 2016 | 05:13 PM
#17
Thread Starter
Registered User
Joined: Dec 2015
Posts: 98
Likes: 1
From: oregon
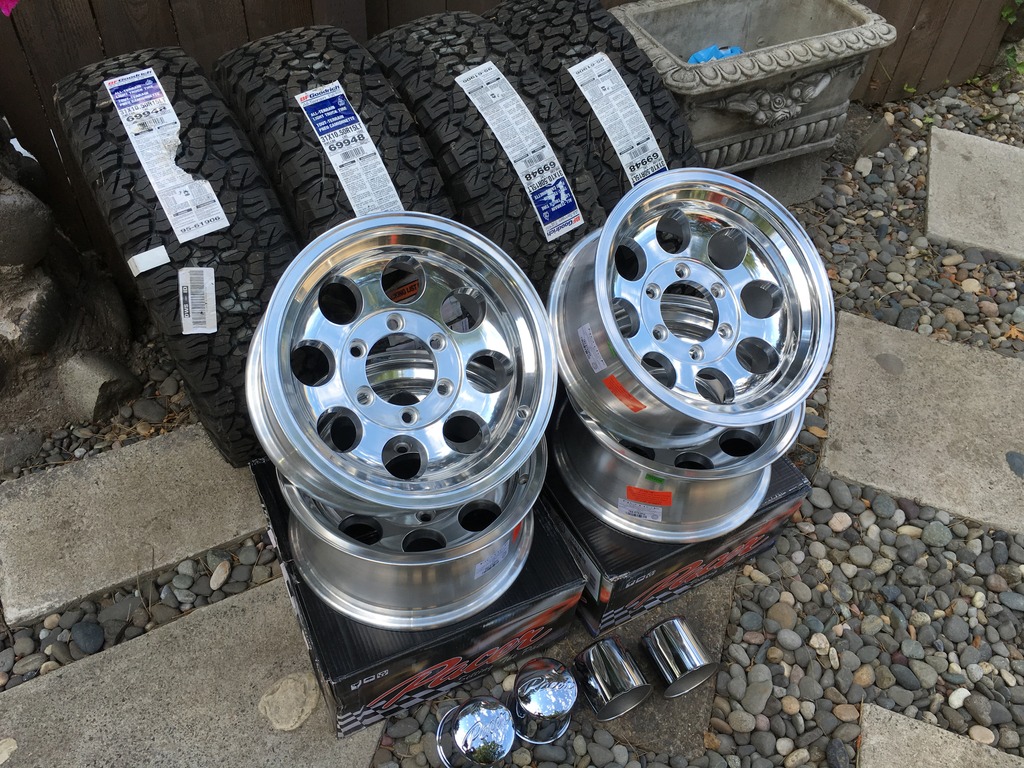
Small update here. I got the wheels and tires in (FedEx guy hates me). Here they are all unpacked. 31 BFG's, American Racing alloys, and new caps and lug nuts.
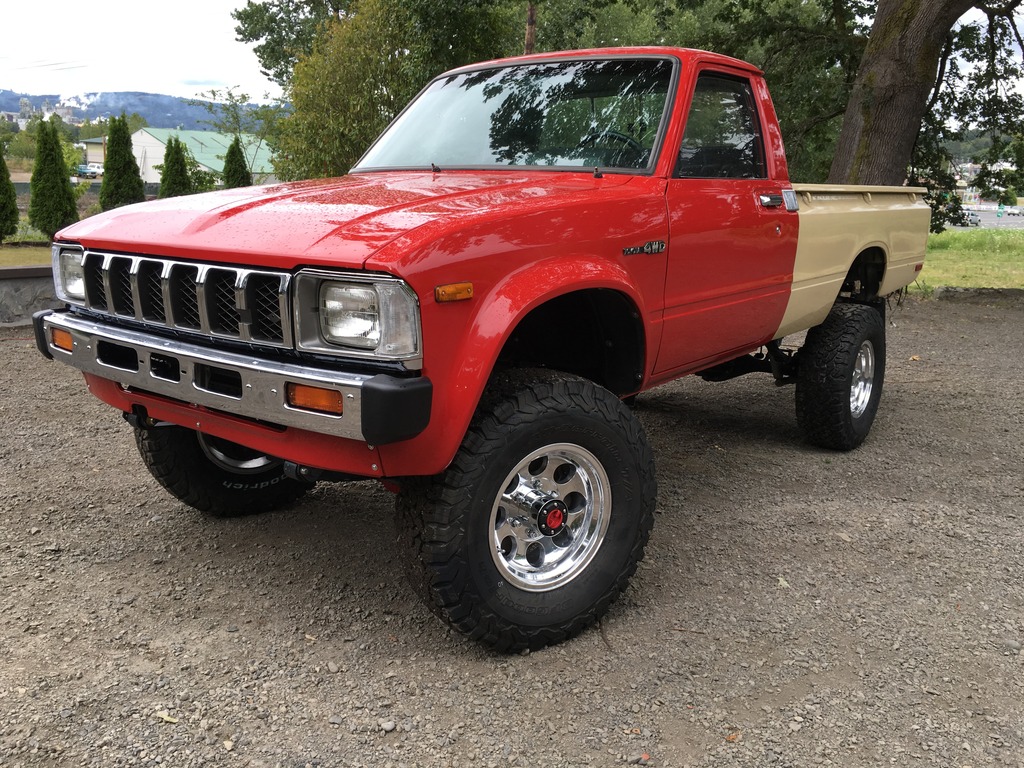
Here they are mounted on the rig.

Incase anyone is wondering, these wheels are 15x7 with a 3.6" back spacing. They fit perfect, no rubbing, and the offset looks factory. I'm really pleased with them so far, and I think the 31's look about right on it.
I also fineshed the front end, new grill, new head light bezels, new lights, new bumper, etc...
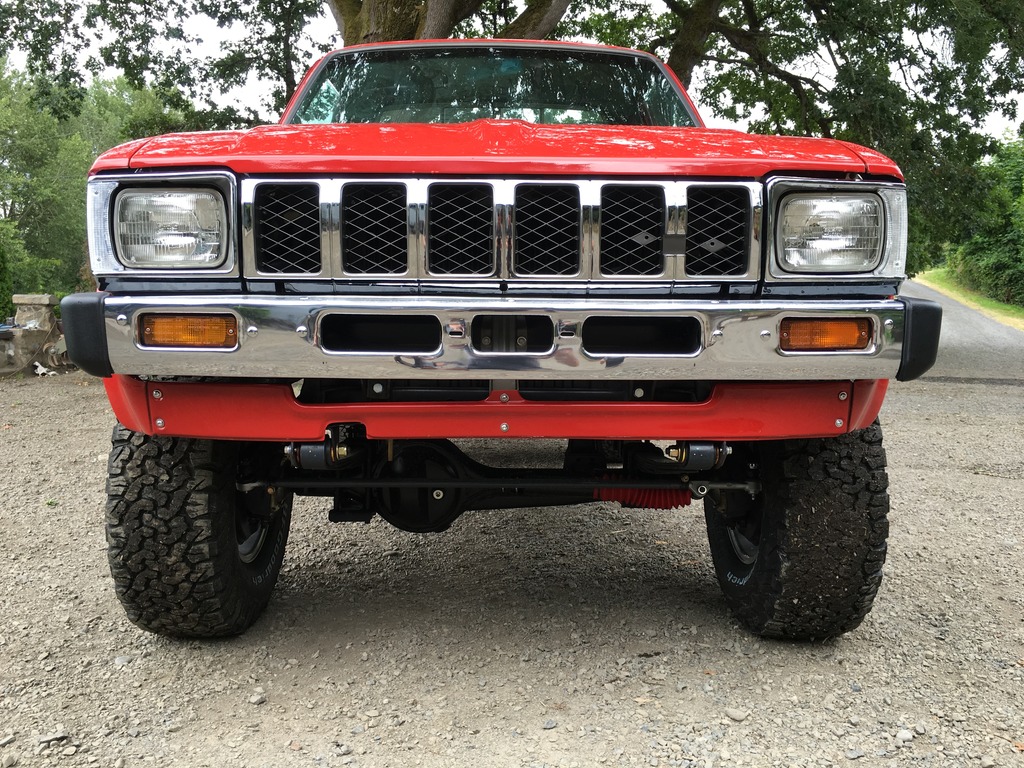
Did some cutting and buffing on the fenders to see how the paint would come out. I started with 1500 grit, and finished with 2000 grit.
Before
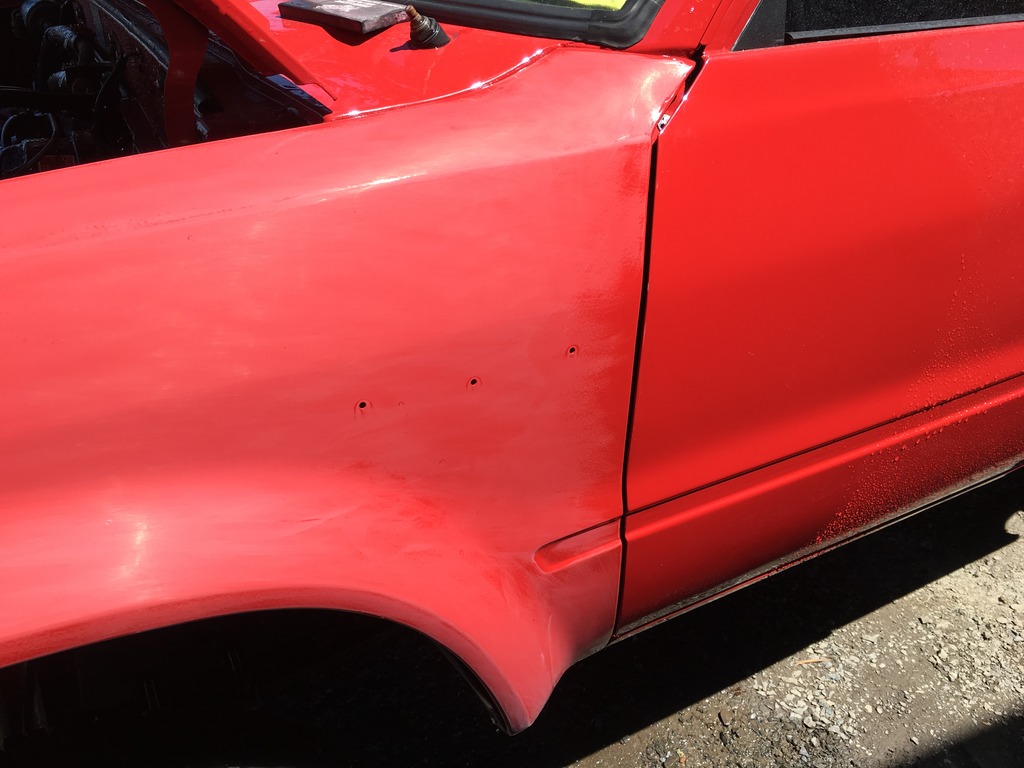
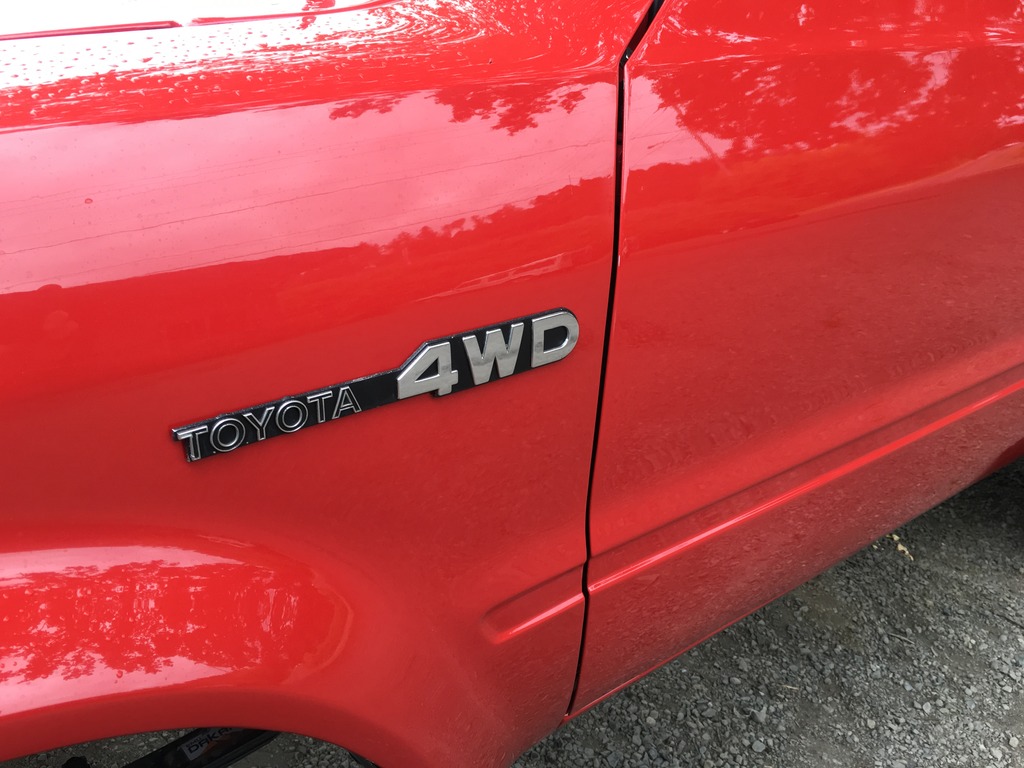
And after. I'm glad I made the decision to use the more expensive DuPont clear coat, the shine is super deep.
If anyone's following, I'M TRYING TO FIND THE FRONT GRILL EMBLEM. My original is badly faded, no chrome left. If anyone has a good used one please let me know, I'll pay a far price for a decent one.

Here they are mounted on the rig.


Incase anyone is wondering, these wheels are 15x7 with a 3.6" back spacing. They fit perfect, no rubbing, and the offset looks factory. I'm really pleased with them so far, and I think the 31's look about right on it.
I also fineshed the front end, new grill, new head light bezels, new lights, new bumper, etc...

Did some cutting and buffing on the fenders to see how the paint would come out. I started with 1500 grit, and finished with 2000 grit.
Before

And after. I'm glad I made the decision to use the more expensive DuPont clear coat, the shine is super deep.

If anyone's following, I'M TRYING TO FIND THE FRONT GRILL EMBLEM. My original is badly faded, no chrome left. If anyone has a good used one please let me know, I'll pay a far price for a decent one.
Jul 22, 2016 | 05:21 PM
#18
Thread Starter
Registered User
Joined: Dec 2015
Posts: 98
Likes: 1
From: oregon
If anyone's interested I will be selling this truck when I finish it. I'll continue to update the build as I go so you can see all the work.
I recently bought a Land Rover Defender Turbo Diesel out of Australia. I can't afford to keep this project once completed, as the Rover will be pricey to restore.
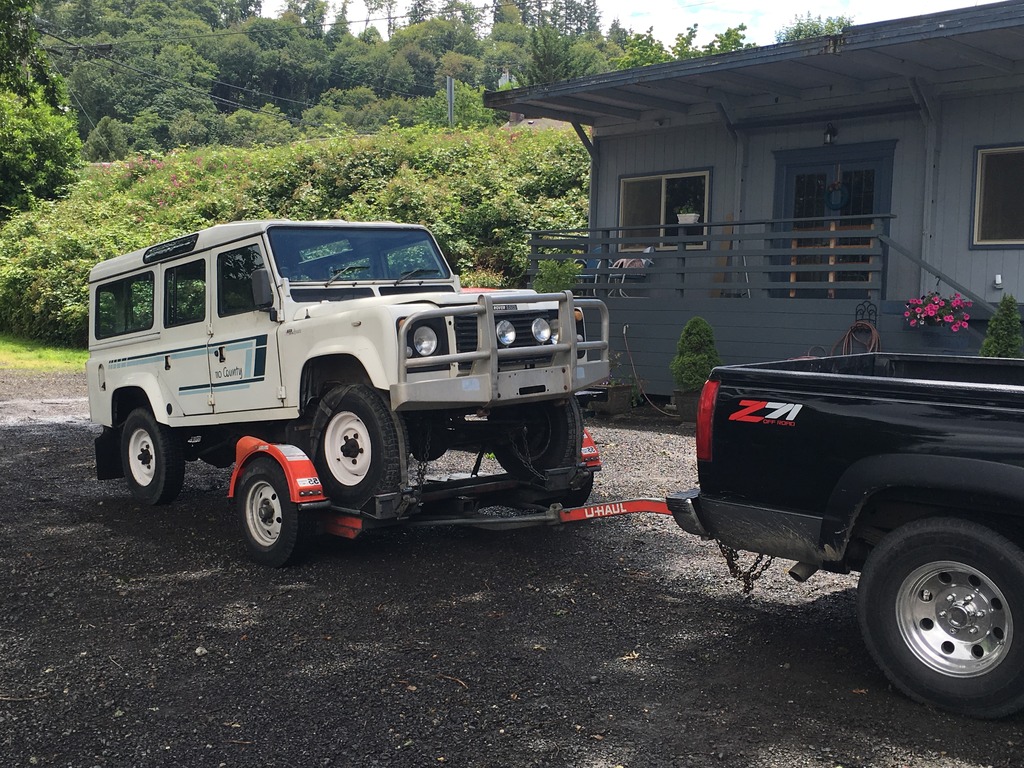
I haven't given much thought to price yet but just wanted to get the word out if anyone's looking. I'd say its pretty close to a new truck, most everything is new or rebuilt. I'm not looking forward to selling, but I cant keep them all. This rover had the rare factory Isuzu 4BD1-T (3.9 liter) Turbo Diesel, I just couldn't turn it down when I saw it.
Last edited by J.yota; Jul 22, 2016 at 06:28 PM.


