When you click on links to various merchants on this site and make a purchase, this can result in this site earning a commission. Affiliate programs and affiliations include, but are not limited to, the eBay Partner Network.
Alright! So I've been on here for years now but never had anything to post.. Well, the last few weeks have been crazy, first we did the sas... That was a ton of fun and a great learning experience. I'll share all the details below. Now I'm onto the back end. I decided to go with some chevys in the back. Keep the budget low and flex big. Let's just say that has been an interesting one, deciding on axle placement and shock placement along with deciding to cut and re clock the perches to correct the pinion angle.
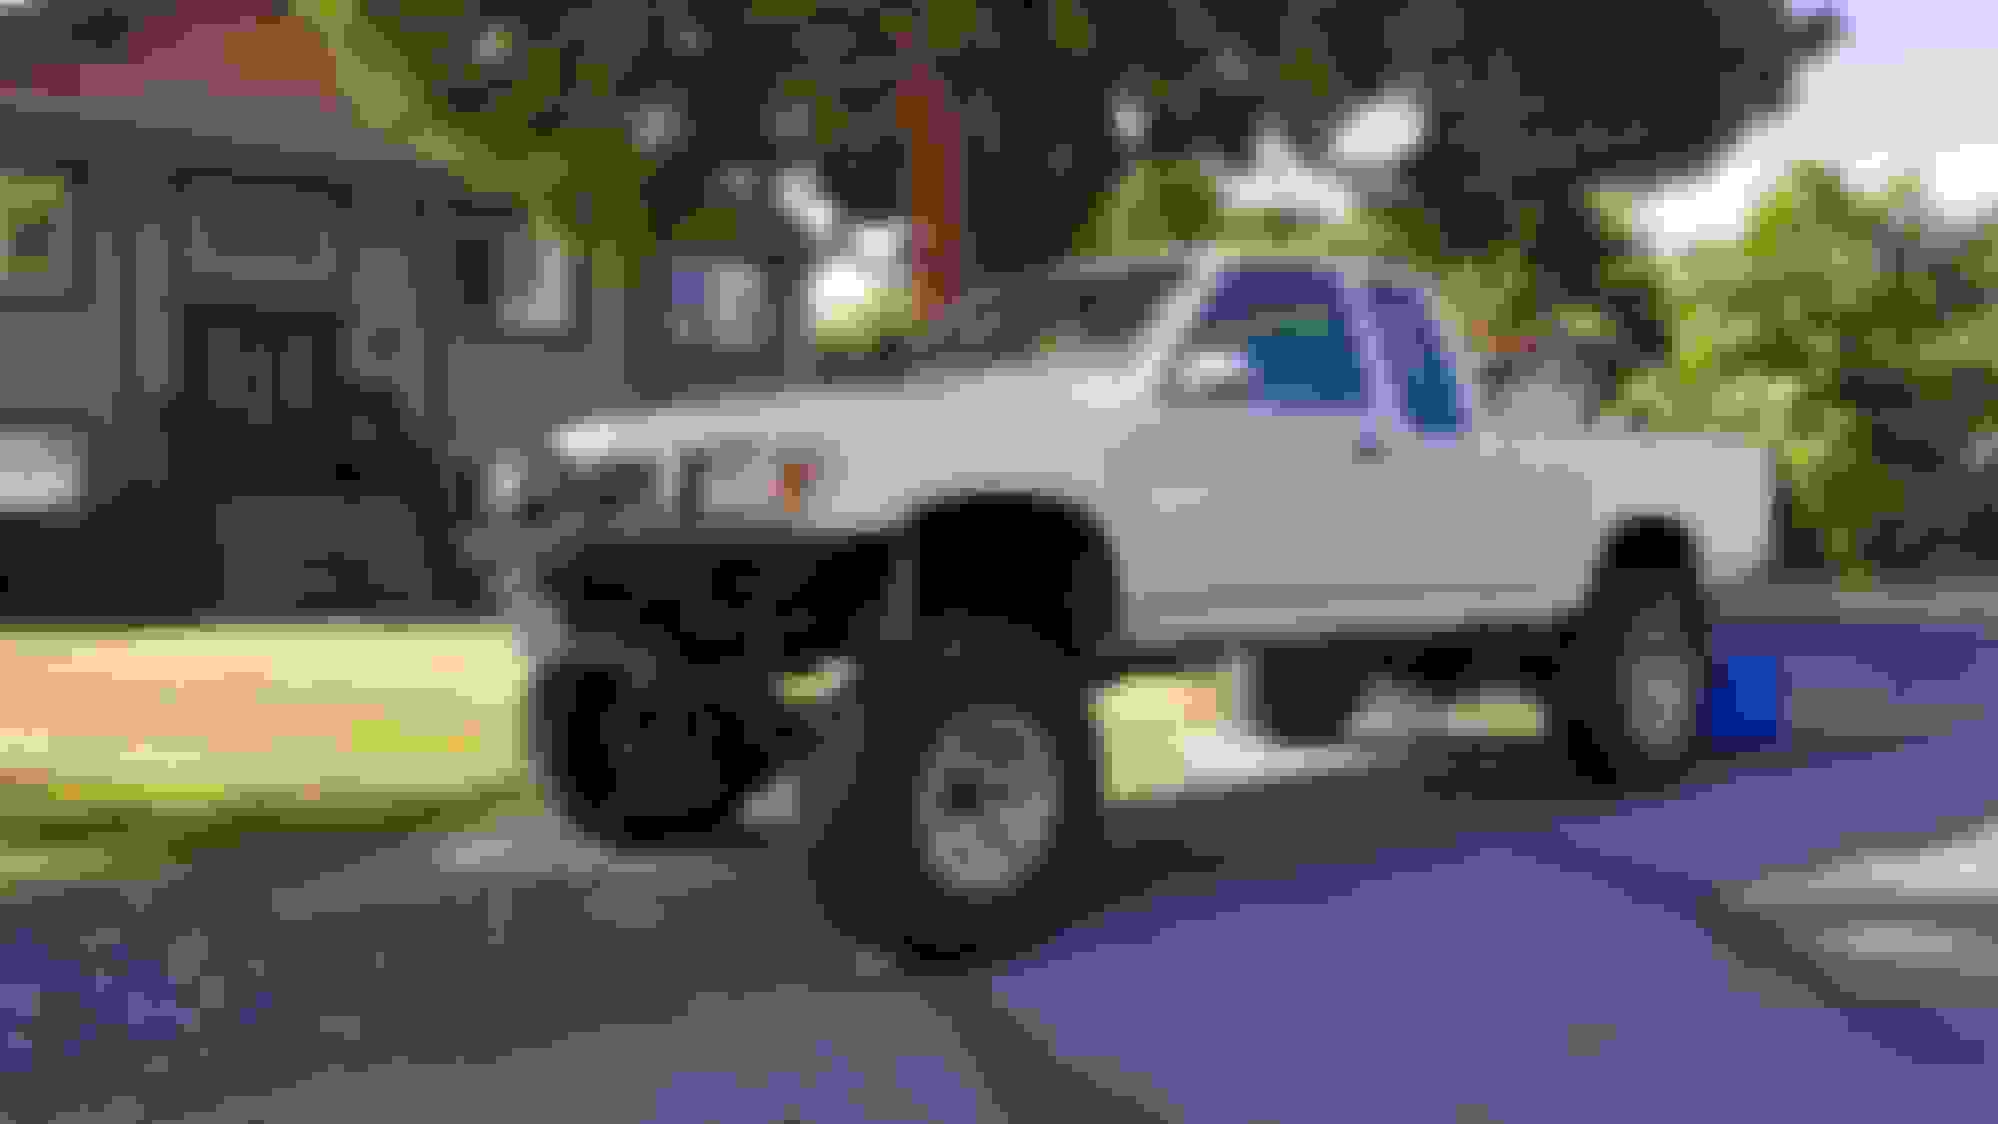
Before I get going, little back story on the truck. It'd a 93 pickup, extended cab dlx. 3.0l! Has 390,000km on it and still going strong! 4.56 stock gears. I did bj spacers and torsion bars to give her some extra clearance and new ome leafs in the back. Truck has surprised the ˟˟˟˟ out of me with how far it's gone basically stock. This is it after a few years of my abuse on it, Ive basically replaced this front end 2 times completely but the parts lasted longer then I thought they would lol New tires, bumpers, lights and all that good stuff.
So the front... Started with an 85 housing, purchased the trail gear ifs eliminator kit, and started going to town.. Built the axle at a buddies place, main truss, knuckle ball gussets and small diff plate. Did the jb trick on the knuckle balls to smooth them out, it actually worked very well. Time for knuckles.. We opted to do the tac weld on the axles to eliminate the c clip to make for easier trail fixes on birfs. Stoked on the idea, but it was a bit of a trail and error thing and it took longer then expected, but o well.
My friend who was helping me, had set trunnion preload on fresh bearings before we were pretty prepared to get that done and it went smoothly, but tip.. Keep the shims organized in pairs and if you can, get extras. You will find an almost perfect set to get the desired preload, but need one or 2 extra thin ones to fine tune it. That's what we found anyway. We set them on the tightest side of the spec break away, and got good results, after 800km I never experienced death wobble or any this strange and they have loosened off slightly to be perfect.
Alright so fun parts done, new grease all round and spindles are on.. Moved the party back to my place to do the ifs hub swap and final assembly.
Ifs hubs, easiest, and best thing I've done on this build. Got a buddy to machine the faces down to fit the rotors, bought new Tacoma rotors and packed the new bearings, assembly is easy just make sure you set the bearings properly and slip on your new rotors, no bolts required! Slapped on some locking hubs and that's all she wrote for the axle. Overall, easiest part, just took time to make sure everything was set how I wanted it. Mounting the brakes was another story. Had to clearance the calipers on the inside to fit the rotro, and the fins on the front face to clear my wheels. Not alot but enough to make you work for it.
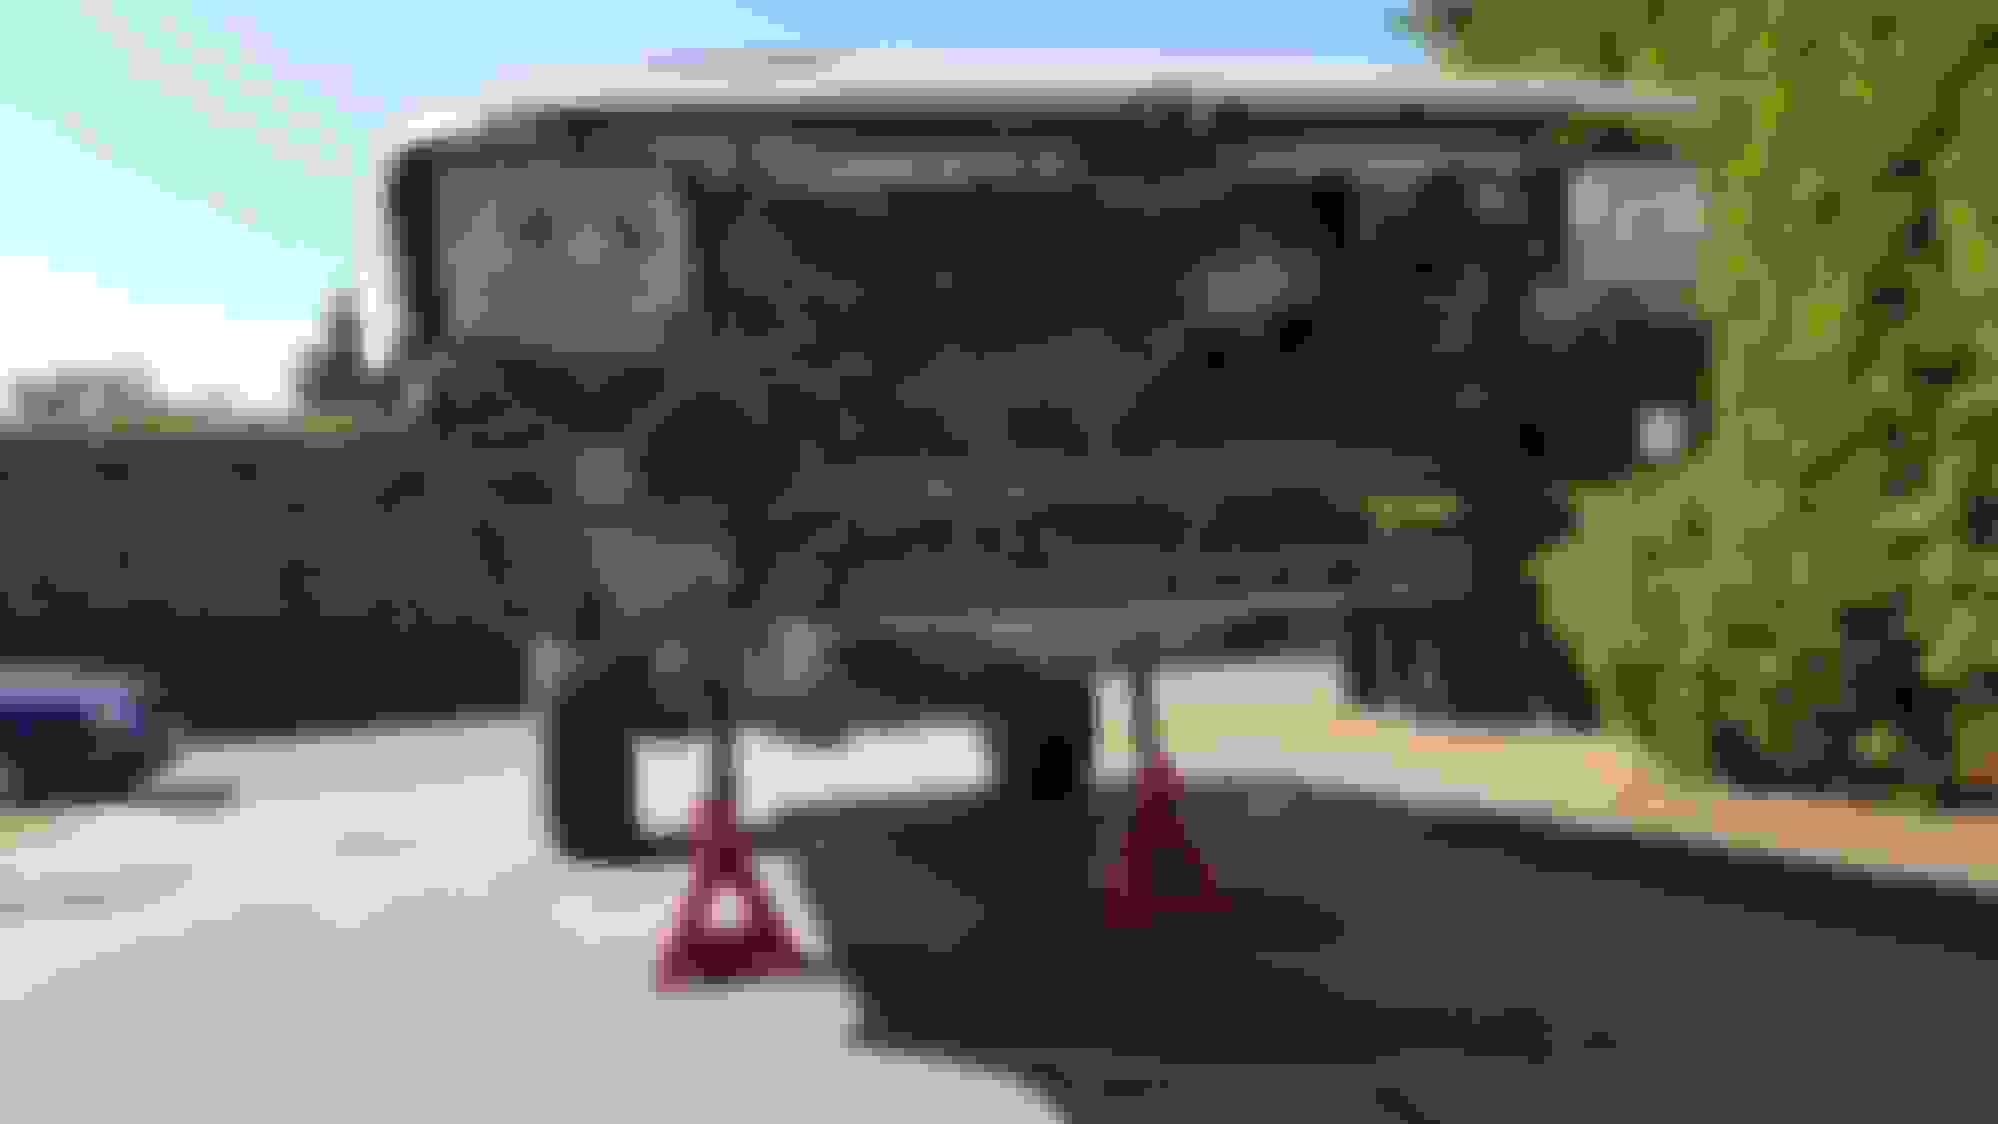
Tore down the truck on Friday evening, had all the ifs unbolted and laying on the driveway in a few hours. I've stripped it so many times to replace parts it was actually fun to do it for the last time! Saturday was D-day.. Cut all that crap off! Okay so fast forward a day of grinding, cutting and all kinds of sparks. I hade a very useless truck sitting in my driveway..
First project was to move the steering box, ended up pushing it forward 1 1/4" from stock location. More and I would have had to butcher my front end and any less and it wouldn't be worth it. Fun times, not going to lie.. It kind of sucked with a cab on, but oh well. We notched the body up front and some of the body mount, ended up using some plate to fill it back in so it was structural again.
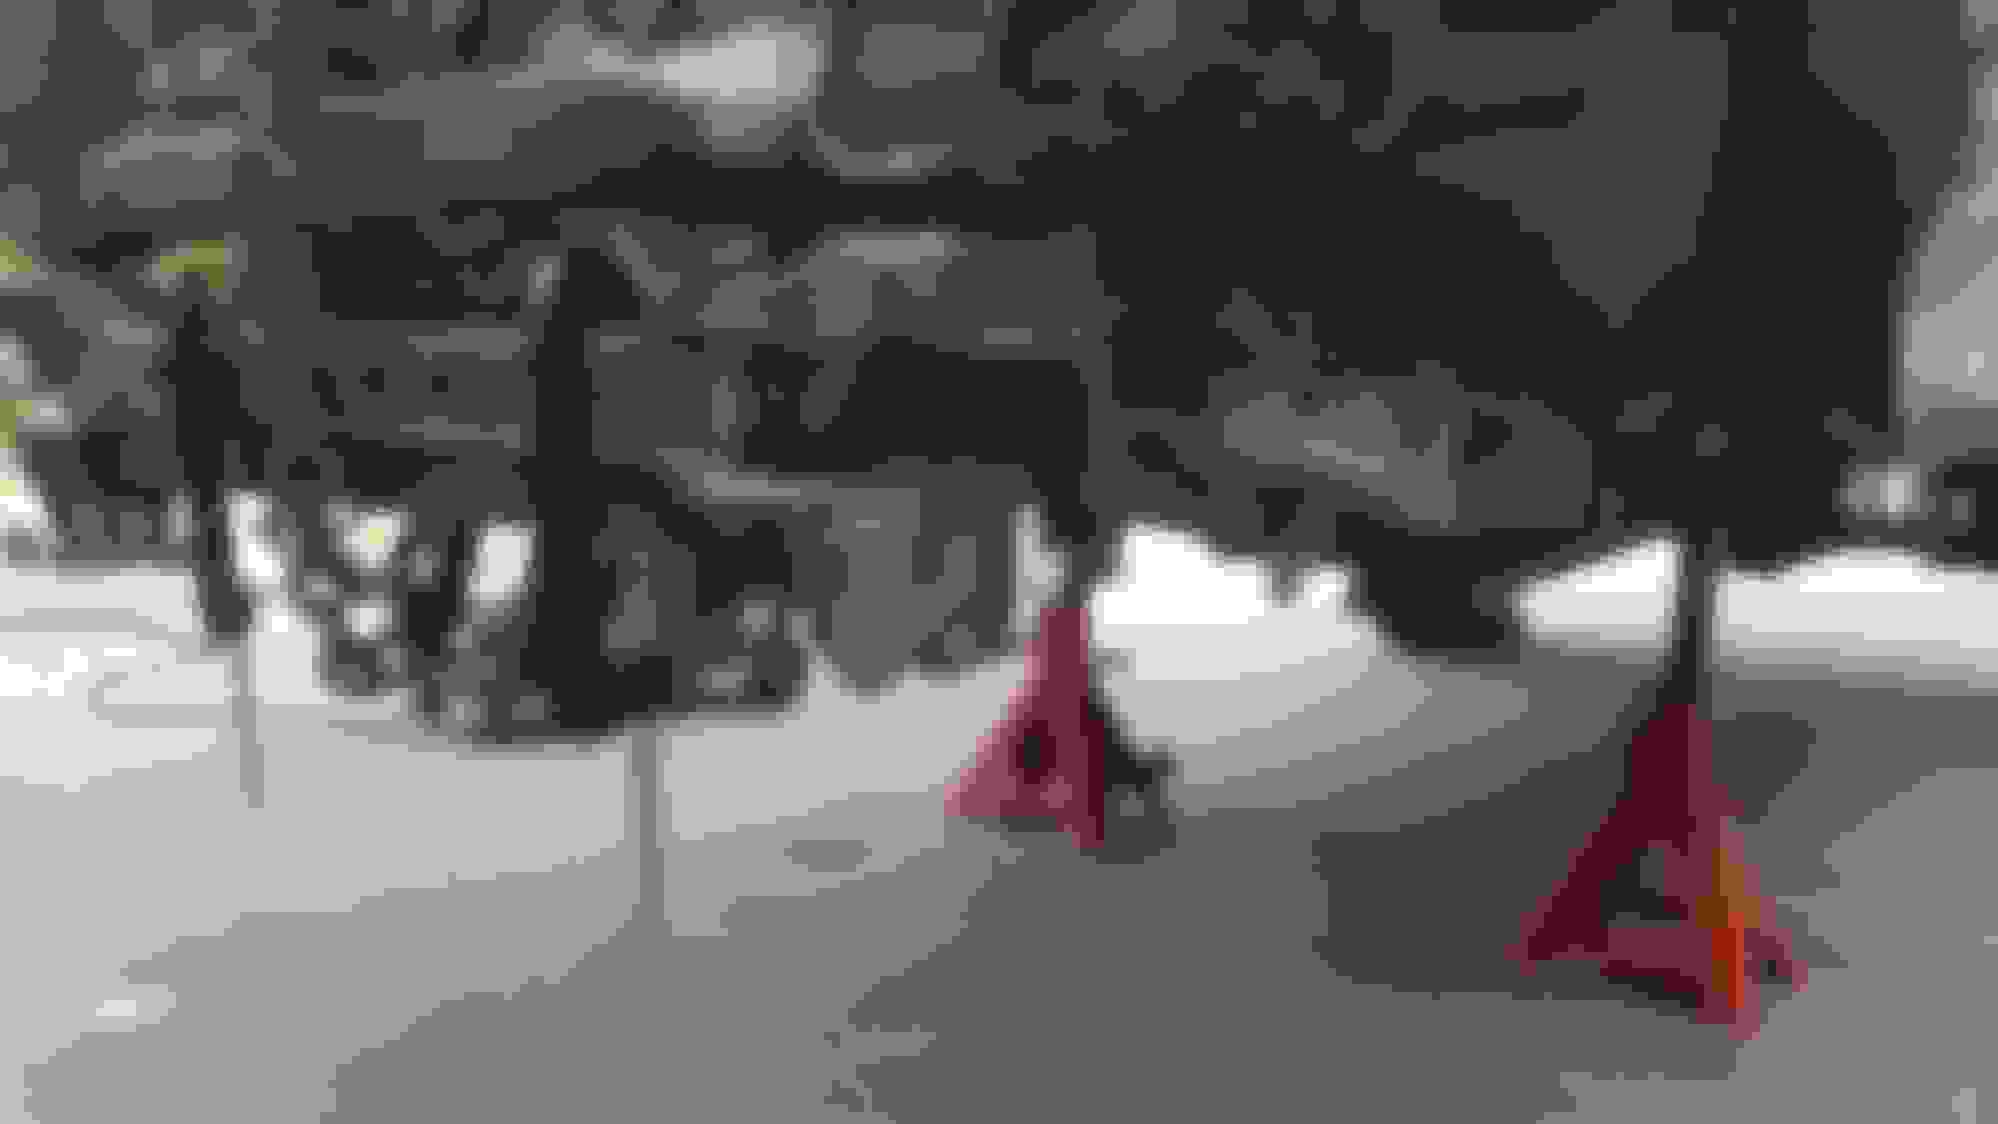
Next fun project was drilling the rear shackle mount holes in the frame. Easy enough if you align the templates well but we had to do some adjustments as we went. Next was motor mount plates and them moving onto the front hangers. Front hanger started flush with the stock crossmember. First test fit!
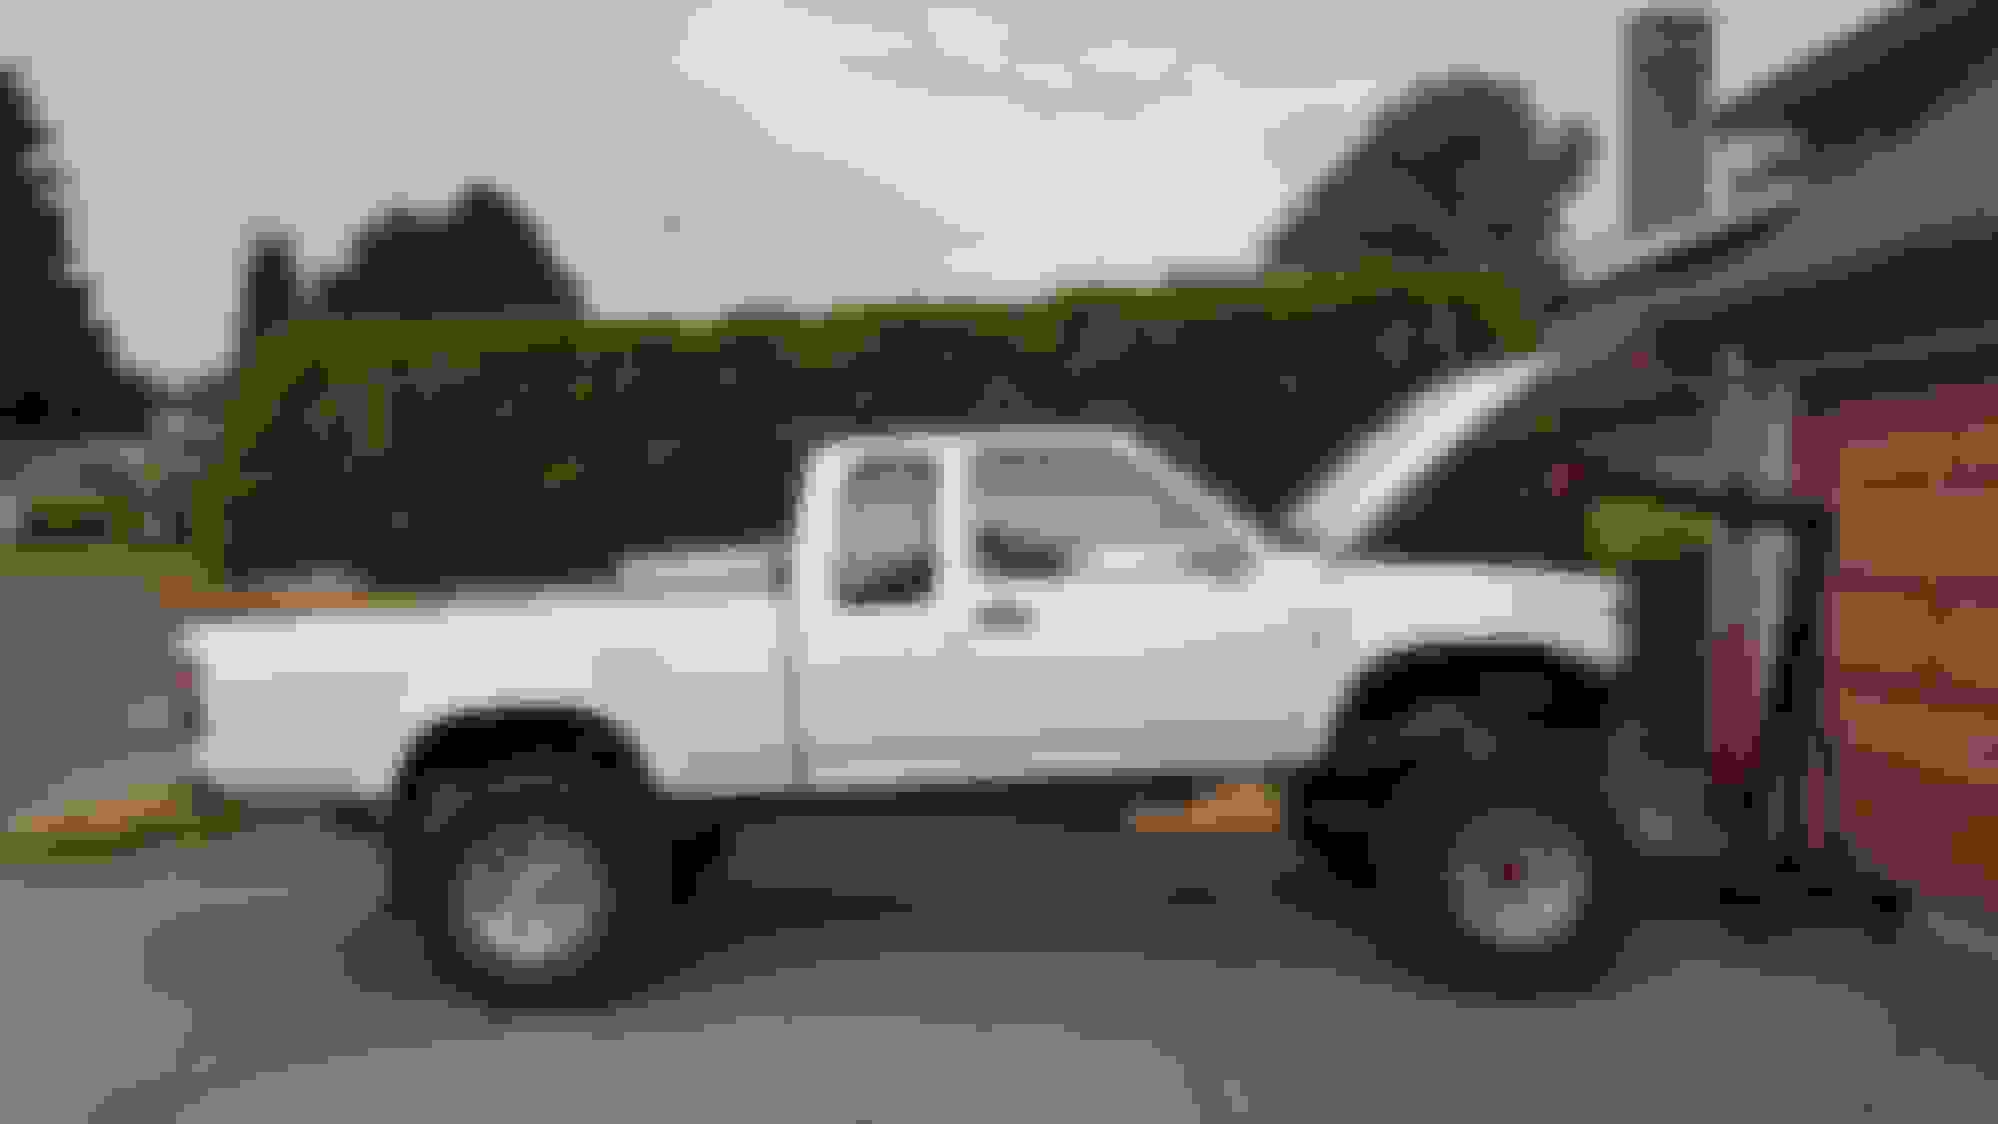
So... This sucked, but its part of building something like this. Shackle angle sucked and the height was crazy! Probably got about 7 inches of lift lol, guess I should have mentioned, I got the 3" HD trail gear kit.. I thought it would be much lower, but guess all of you were right lol its not what it says it is.
So we torn it back down and moved the front hanger a 1/4" back and we also took out the 2 baby leafs at the bottom of the pack, now this is an HD pack and it's massive. No need for all those leaves right away. My front end is not much heavier then stock, only a tube bumper and 9500lb winch. So after that debate we sat it back down. And that was that, we were finally happy with how it was sitting! We were stoked on the results, steering angles were perfect! no clearance issues and managed to get the steering stabilizer almost perfectly flat. Shackle angle is settling to where i want it to be and haven't really had any issues so far with a little over 800km on pavement test driving for a week. Had to do a big retighten and check torque day, as expected everything had to find its happy place.
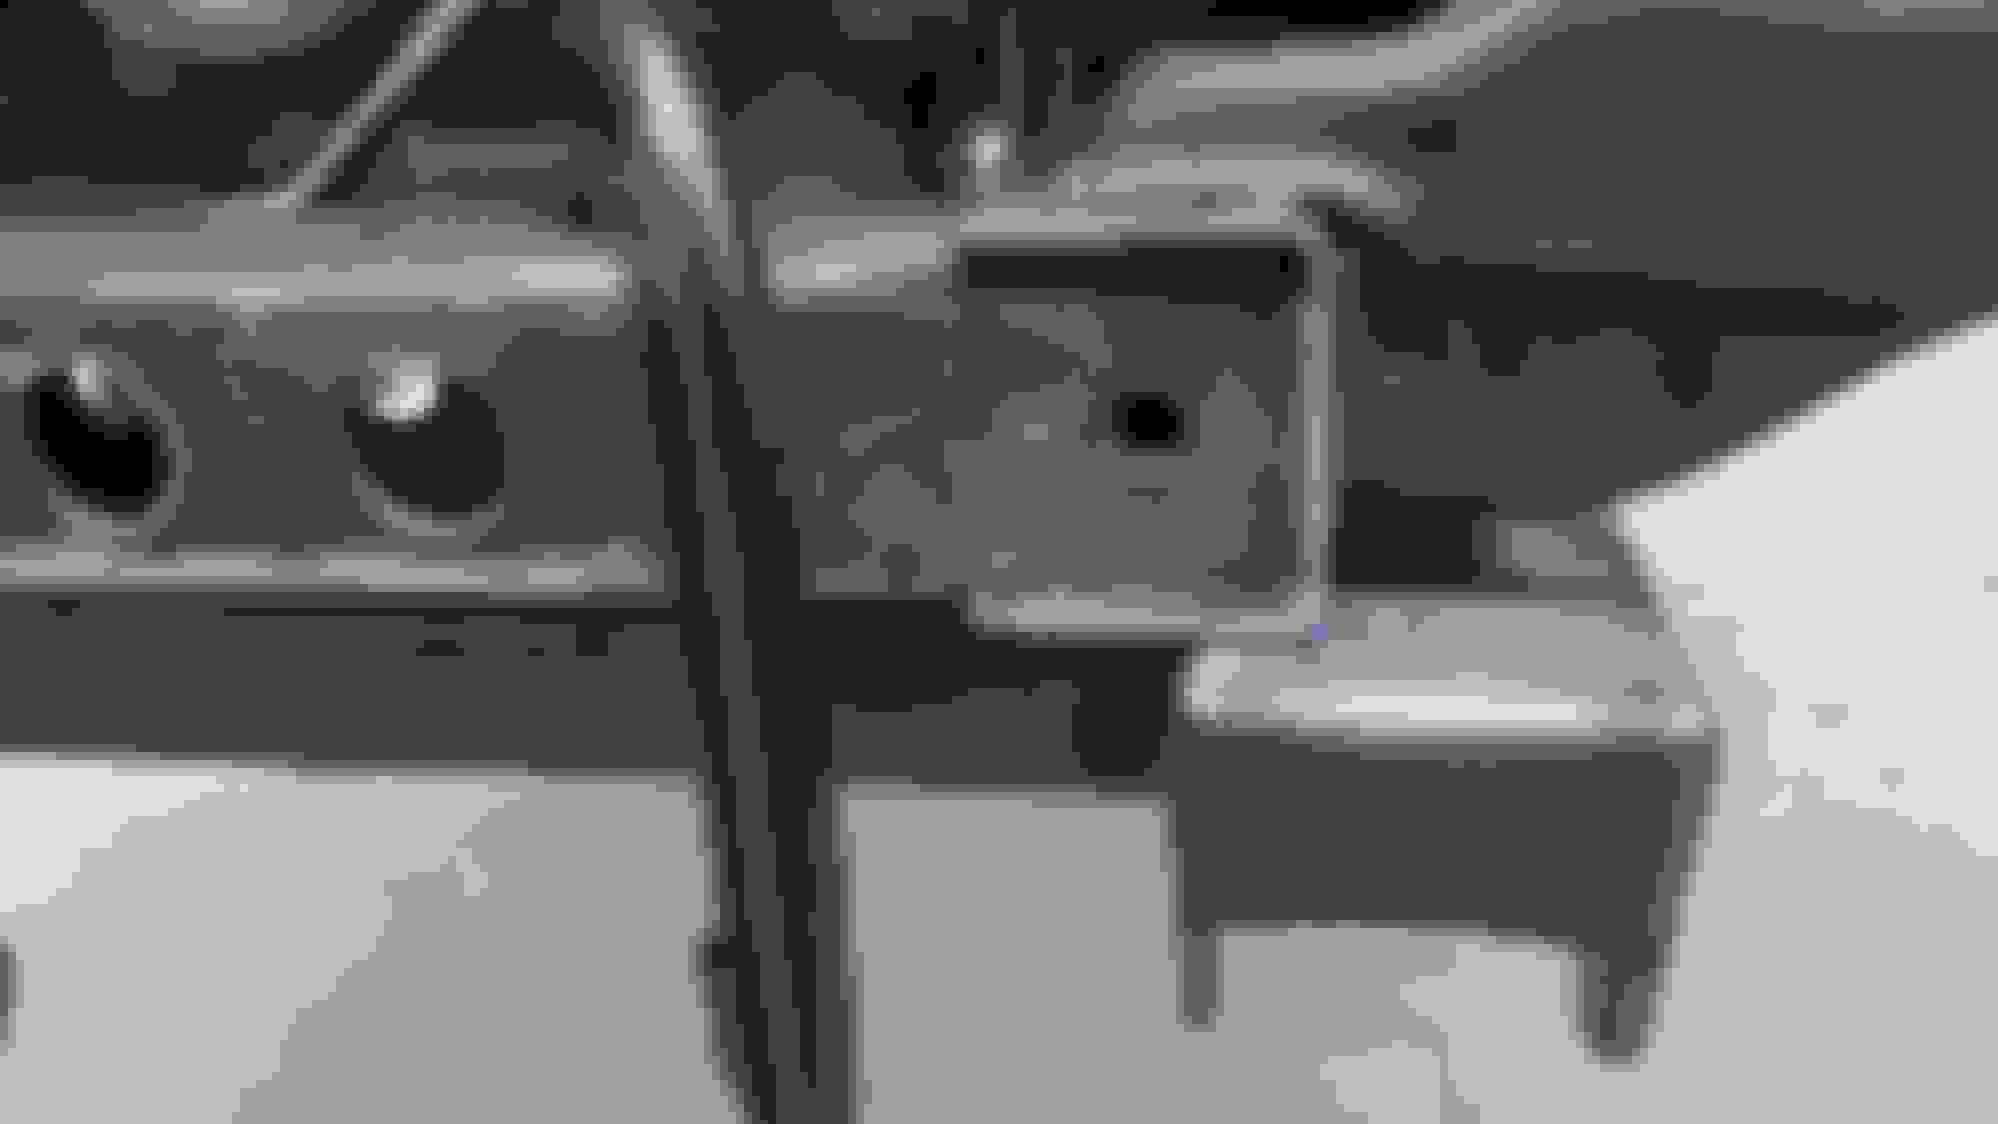
Shackle hanger is flush to the body mount, front hanger is 1/4" in from the stock member. 2 leaves pulled and steering box moved forward 1 1/4" forward.
I'll have pictures up soon! And some more info on what I did up front! Currently working on putting my new 63"s in the back and mounting the tent rack and lights!
I have a full build thread going that I'm going to be adding to as i go along with this truck, and what I've done in the past. Its the least I could do since I've been on here for years using all of the very helpful information on this page.
Currently working on the back of the truck, swapping some chevy 63s in and its been another adventure lol Moved hangers and reclocking perches to correct pinion angle. Along with a new tent rack and some new lights for the back!
More to come!
Last edited by whiteyota93; Aug 6, 2017 at 04:35 PM.
Wow. Looks extremely clean. The paint does too but I mean the the SAS.
Thank you! I cant take all the credit though, I had a good friend of mine help out with the fab work as I'm not extremely skilled in that department, glad we took our time to get it dialed in! Ill have pics up shortly!

 Aug 6, 2017 | 01:12 PM