
New Rear Bumper From T.G. With Optional Side Mounts


 Nov 30, 2009 | 06:05 PM
#22
Thread Starter
Contributing Member
Joined: Dec 2006
Posts: 3,607
Likes: 2
From: maryland
Nov 30, 2009 | 06:10 PM
#23
Thread Starter
Contributing Member
Joined: Dec 2006
Posts: 3,607
Likes: 2
From: maryland
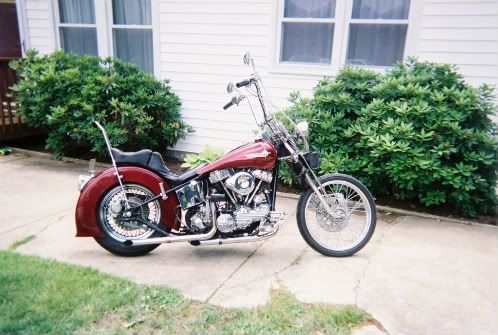
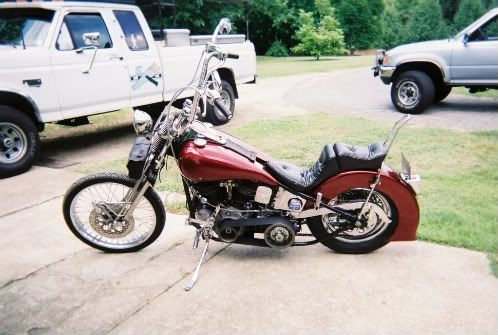
YEA that's my 55 Pan original motor frame and trans but the rest is mostly the the parts I got with it when I bought it from the original owner so I decided to use all of them and streached the tanks and added the tail dragger rear but still fenderless on front with the springer
Yea did they disappear for some reason if I try to edit or preview it just wacks out my posts so I end up redoing the same post 4 or 5 times to make it understandable anybody else getting that issue?
Last edited by olharleyman; Nov 30, 2009 at 06:13 PM.

 Nov 30, 2009 | 09:00 PM
#31
Thread Starter
Contributing Member
Joined: Dec 2006
Posts: 3,607
Likes: 2
From: maryland
If it looks bad there as well then I will go back to the idea of building a mount off the front bumper or if I get it, I will build one off the stock tire carrier rack after I retro fit it to this truck which is what I wanted to do from the start but thought I would give this a try and see what happens.
Nov 30, 2009 | 09:19 PM
#32
I carried my hi lift on the rear bumper for years and the damn thing never worked when I needed it. I had to soak it with oil eveytime. However, Ive found that having one or two, even three spots to rigidly mount the jack makes it easier to tailor to your needs.
Nov 30, 2009 | 09:45 PM
#33
Thread Starter
Contributing Member
Joined: Dec 2006
Posts: 3,607
Likes: 2
From: maryland
Well my original idea was to mount it off the stock swing out tire carrier mounted on the top bar behind the tire once it is mounted.
I found a perfect 1990 tail gate with the carrier and it is as complete as if it came from the factory for $100 just got to find time to pick it up and switch it out on my 93 so I am going to do the stereo set up at the same time so I can set the inside support behind the rear panel killing two projects at one time.
I found a perfect 1990 tail gate with the carrier and it is as complete as if it came from the factory for $100 just got to find time to pick it up and switch it out on my 93 so I am going to do the stereo set up at the same time so I can set the inside support behind the rear panel killing two projects at one time.
Dec 1, 2009 | 04:24 PM
#36
Thread Starter
Contributing Member
Joined: Dec 2006
Posts: 3,607
Likes: 2
From: maryland
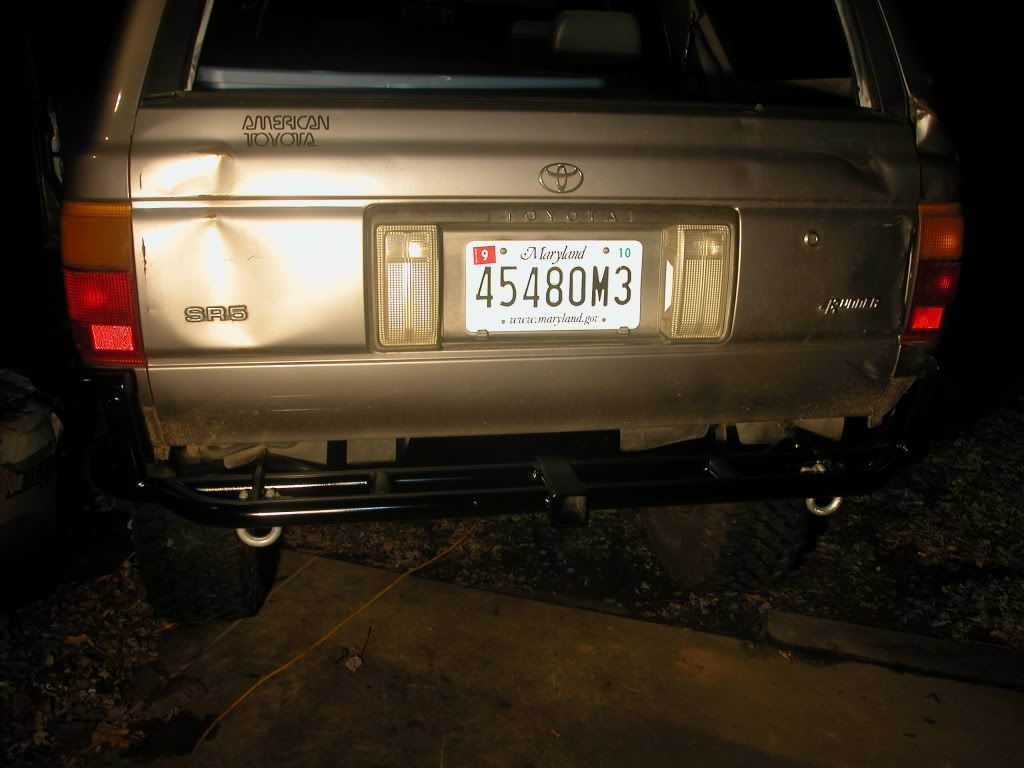
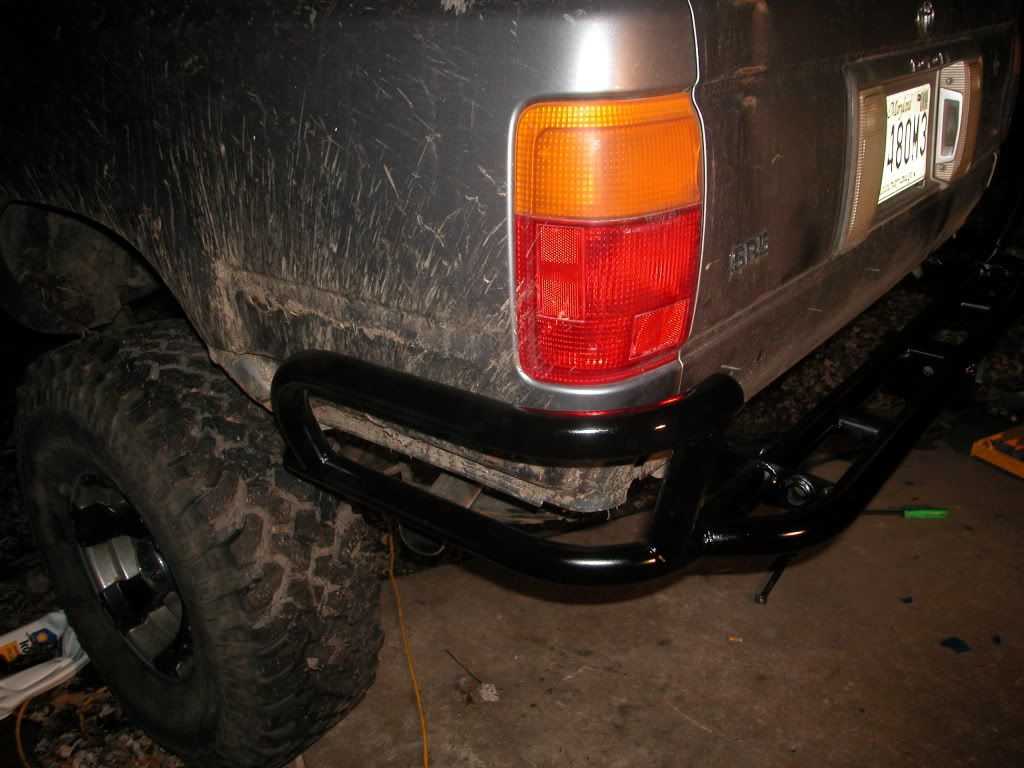
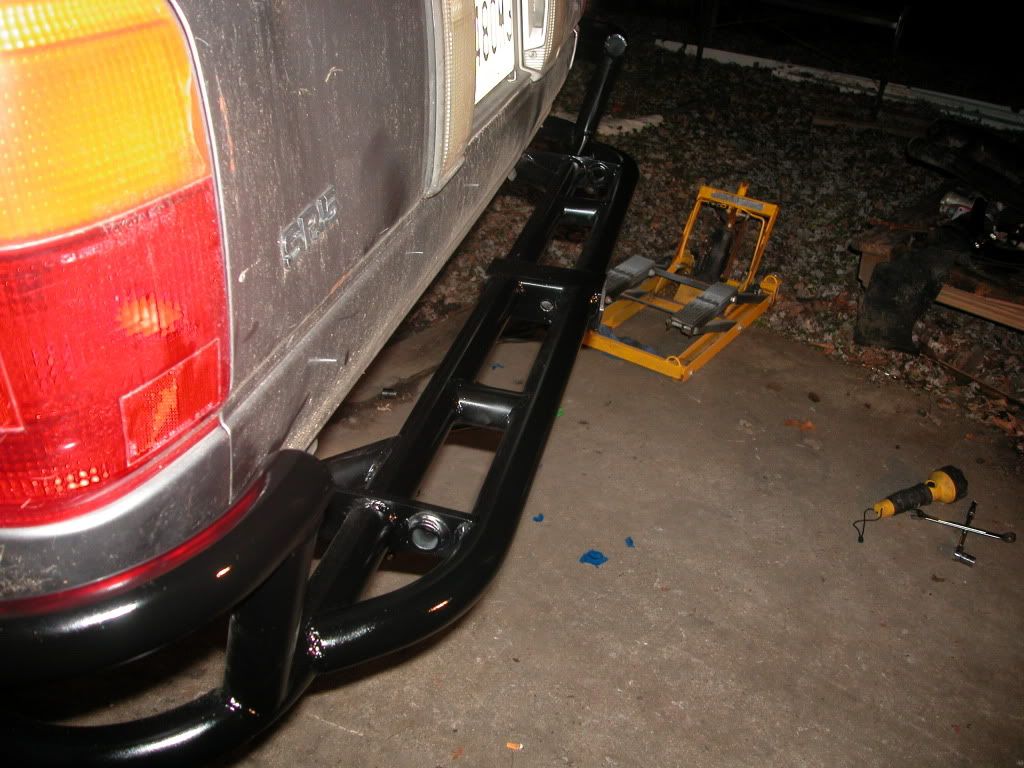
OK well here she is installed some of the pics may not be the best but camera just don't seem to like night time
TMCORBIN
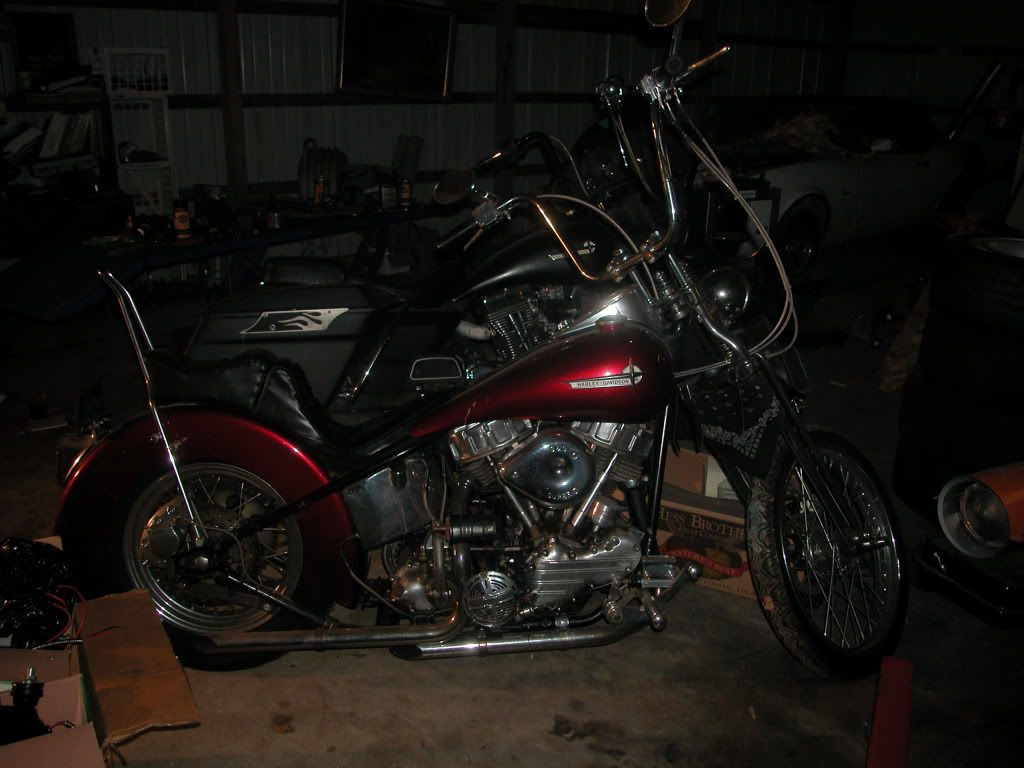
Is that a pan in the background, HD in the red, cant really tell from the pics.
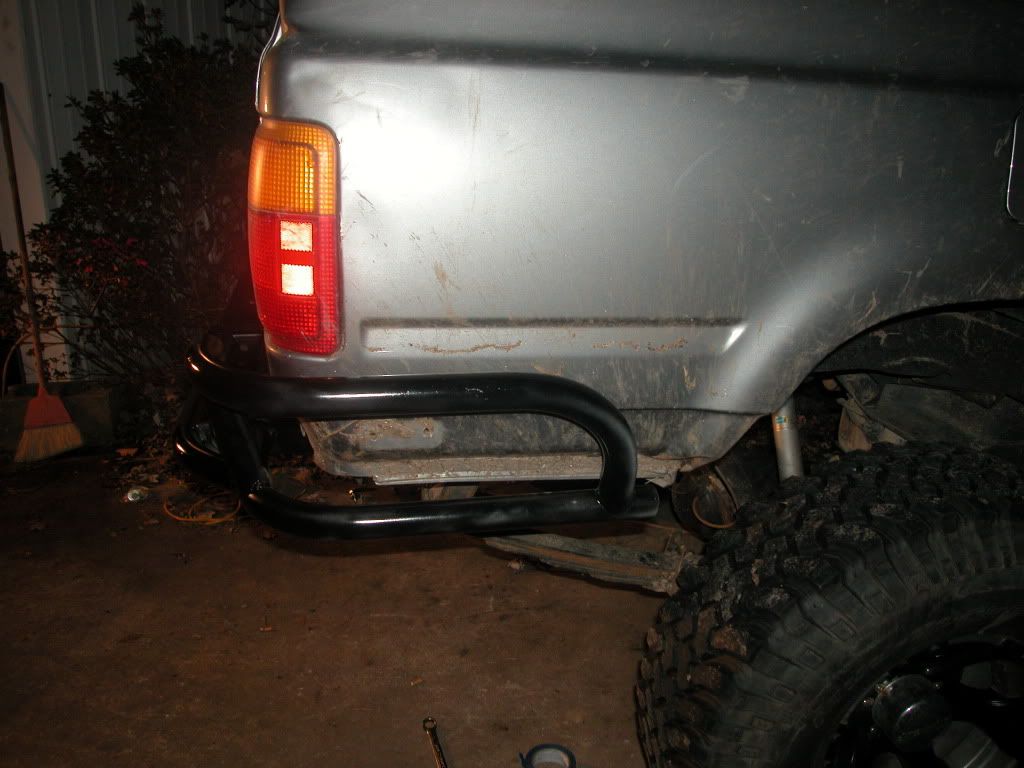
THESE ARE FOR YOU MIGHT BE ABLE TO MAKE IT OUT A BIT BETTER
TMCORBIN
Is that a pan in the background, HD in the red, cant really tell from the pics.
THESE ARE FOR YOU MIGHT BE ABLE TO MAKE IT OUT A BIT BETTER
Last edited by olharleyman; Dec 1, 2009 at 04:34 PM.
 Dec 1, 2009 | 04:38 PM
#38

Registered User
Joined: Mar 2007
Posts: 721
Likes: 0
From: Dayton, OH
looks good. How did the install go? I installed mine last night and had to grind off over a 16th inch of metal on both mounting tabs. I was very grateful I didn't powder coat the bumper!! I would have been a sad person after beating on it like that to get on the truck.
Dec 1, 2009 | 04:45 PM
#39
Thread Starter
Contributing Member
Joined: Dec 2006
Posts: 3,607
Likes: 2
From: maryland
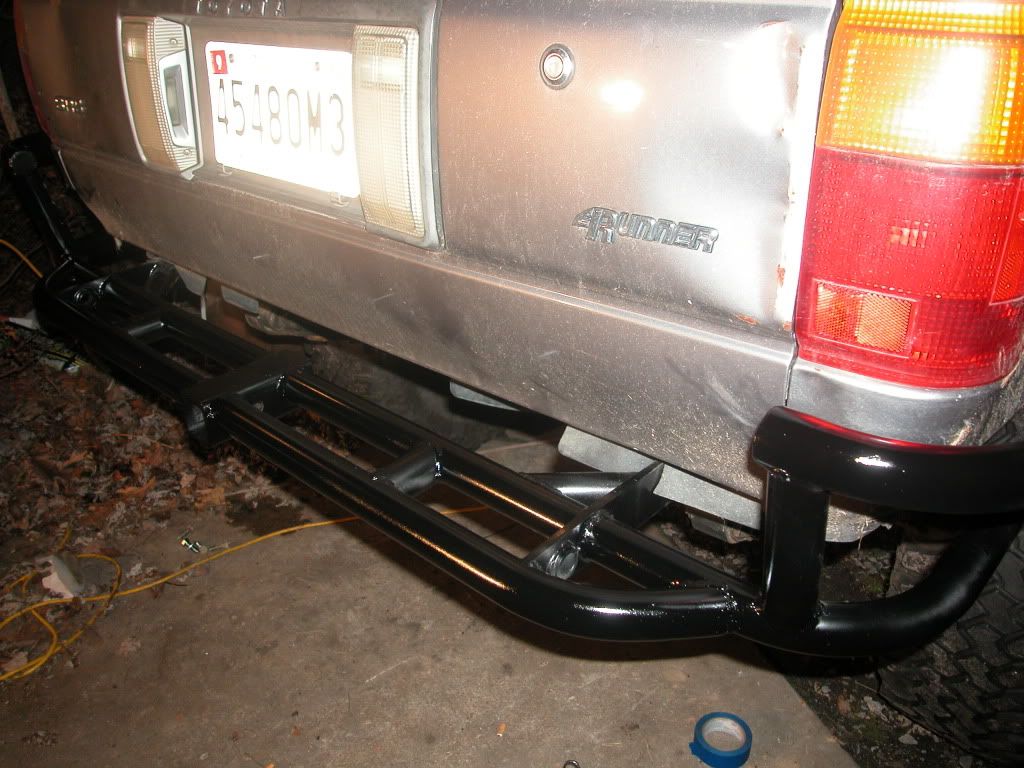
It was a pain in the ass the bolts inside the frame gave me hell for a couple hours other then that it was not a problem, but I did notice that the bumper seems to be about 1/8 different side to side but I am going to live with that and as for the paint I am going to leave it as is for now but I am going to try some POR 15 on both the front and rear bumpers and see if it holds up better then or as good as powder coating if not i will take them to the shop throw them in the oven (6x8 walk in)and bake them for about 45 mins at 400 degrees
Dec 1, 2009 | 04:56 PM
#40
Registered User
Joined: Mar 2007
Posts: 721
Likes: 0
From: Dayton, OH
Yes, mine is off centered by about the same amount. I'm going to have to grind a little off the left vertical piece to clearance it for my tail gate. It catches by a hair...just enough to scuff the paint on the tail gate.
If you POR-15 it you should probably strip the rattle can off and prep the bare metal with metal-ready, then 2 coat with POR-15 per instructions. That stuff works great as long as you do the prep work right. Otherwise, it'll peel off in sheets. i did my frame with it and it looks pretty good....but it does need a top coat if it's in direct sun light.
I noticed you had trouble painting the same areas I did on mine! those are a PITA to get covered well.
Looks good though. I'll have to get some pictures of mine for you to see.


