The New 3VZ-E Timing Belt Replacement With Pics Thread
#1
Registered User
Thread Starter
Join Date: Jul 2008
Location: GA
Posts: 1,062
Likes: 0
Received 0 Likes
on
0 Posts
The New 3VZ-E Timing Belt Replacement With Pics Thread
1995 3vze Timing belt removal and replacement "With Lots Of Pics"I was asked to reload the pictures that had disappeared from my other thread. I didn't know if I would be able to find them, but I did. I will say that these pics and write up are from a few years ago. I hope this will continue to help others and feel free to add comments and pics that you feel necessary that will support this thread

removing the radiator fluid

catching the fluid

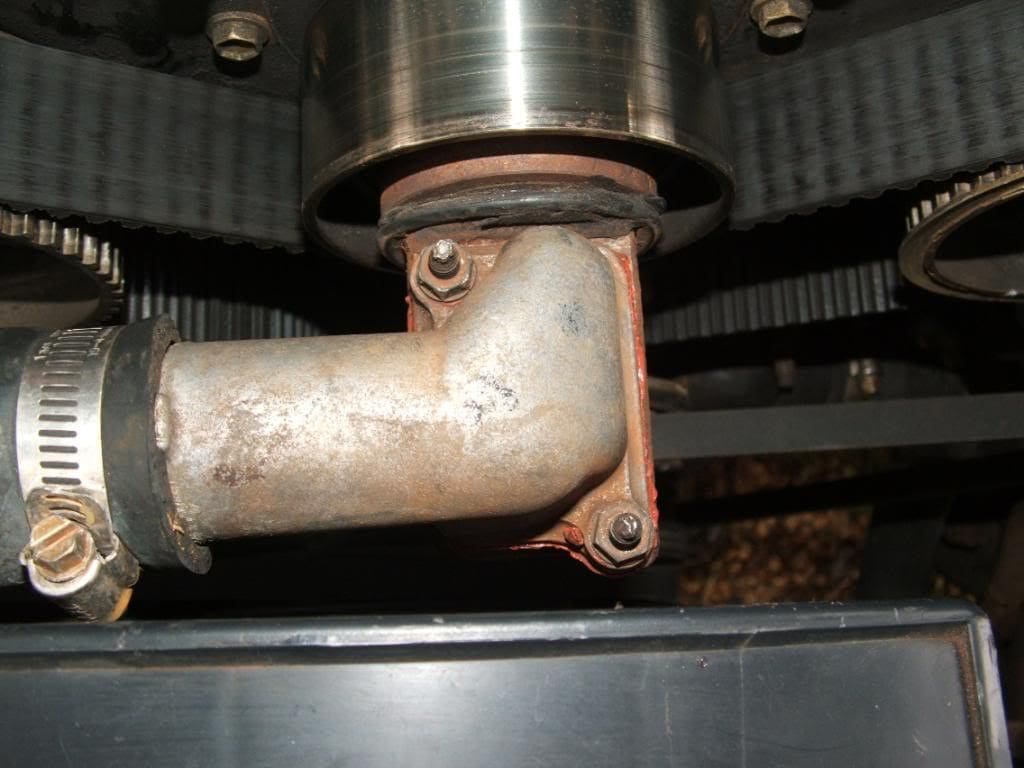
looking at the water outlet of the #2 idler pulley

removing the water outlet and upper rad hose

removing bolts from fan shrouds

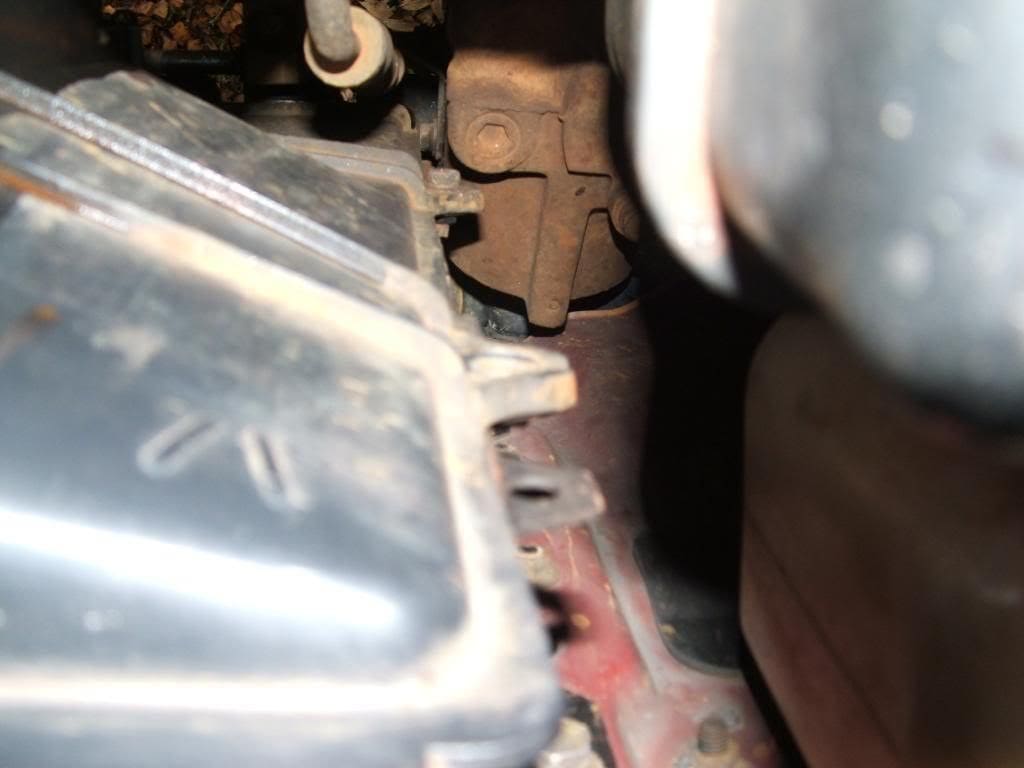
it helps to have a bright flash lite to see some of the bolts that are hard to see in dark places

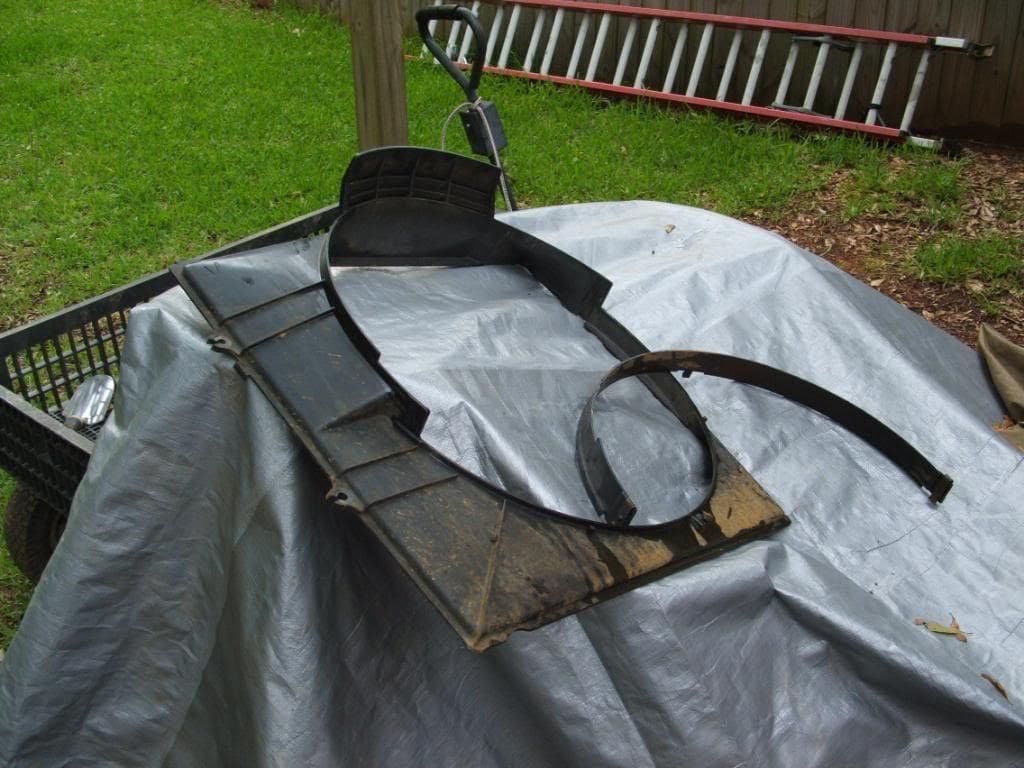
fan shrouds removed it has 2 pieces so you can remove it without removing the radiator at this point

fan shrouds removed

looking under the radiator at the automatic transmission lines they have to be removed from the rad

catch the transmission fluid in something and you need to plug the end of the detached lines or the fluid will just keep flowing

bolts that hold the rad to the frame

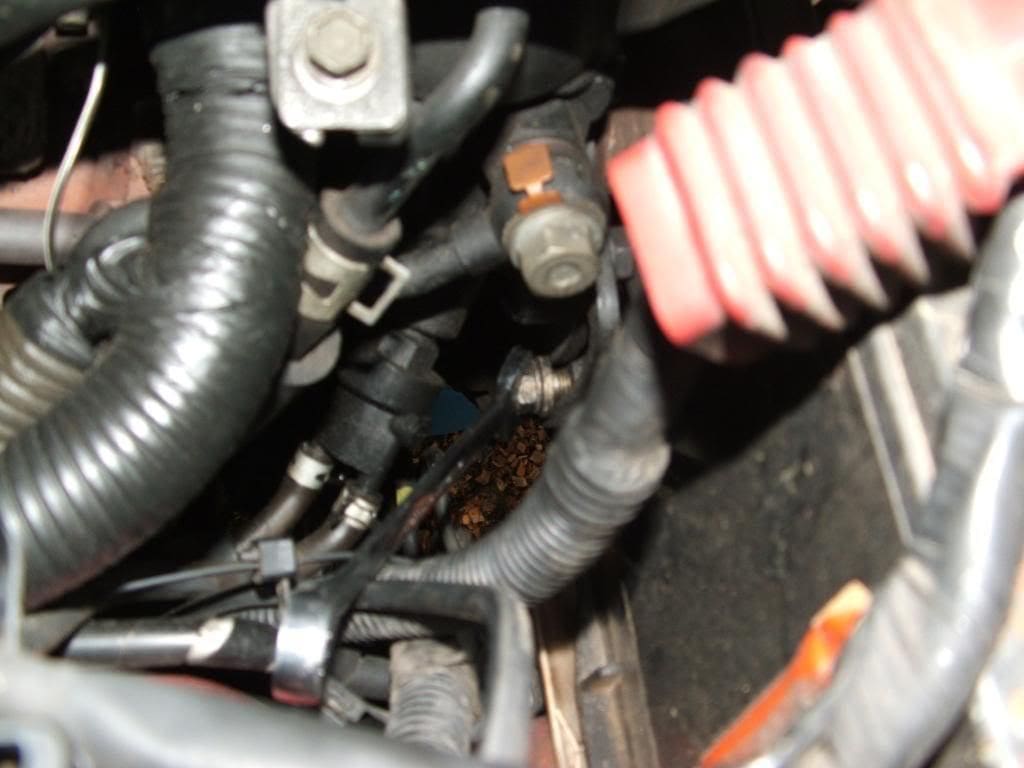
two hoses that need to be moved out of the way for now

hoses removed

loosening the adjusting bolt on the back of the ps bracket and it is a pain to get to!

the front adjusting bolt loosen it so the ps belt can be removed when you need to

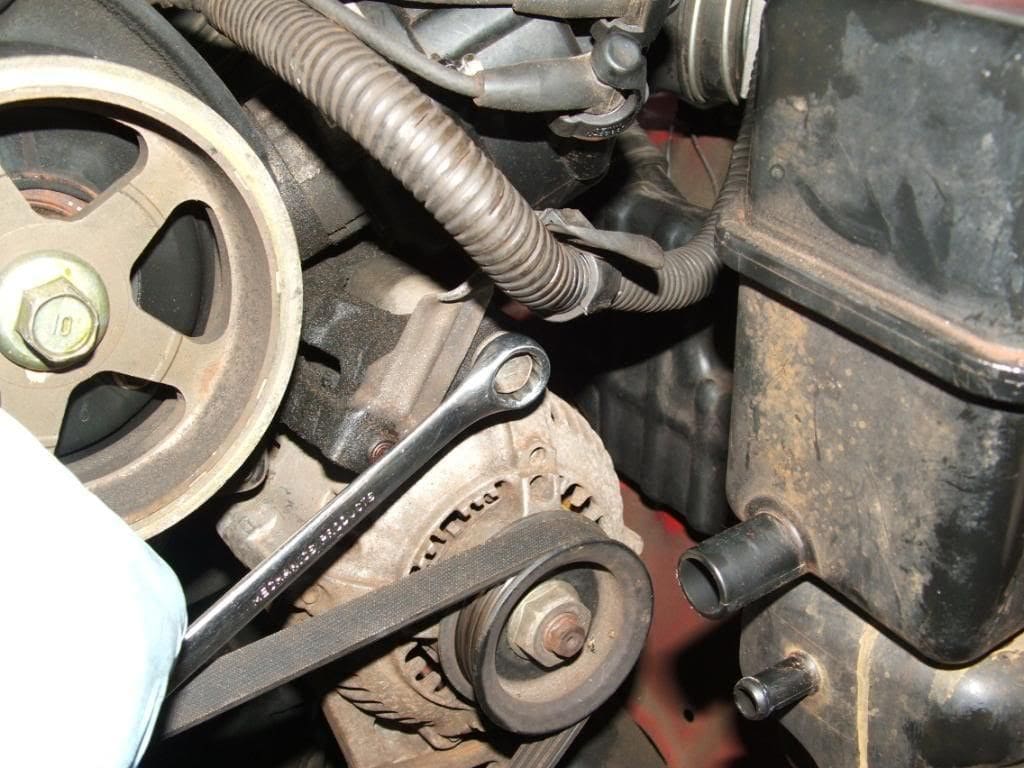
loosening the bottom alt adjusting bolt
 loosening the top alt adjusting bolt so you can remove the belt when you need to
 loosening the ac pulley bolt so you can remove the ac belt when you need to
 all belts removed

fan bracket gasket

removing the ps pump adjusting bracket

bracket removed

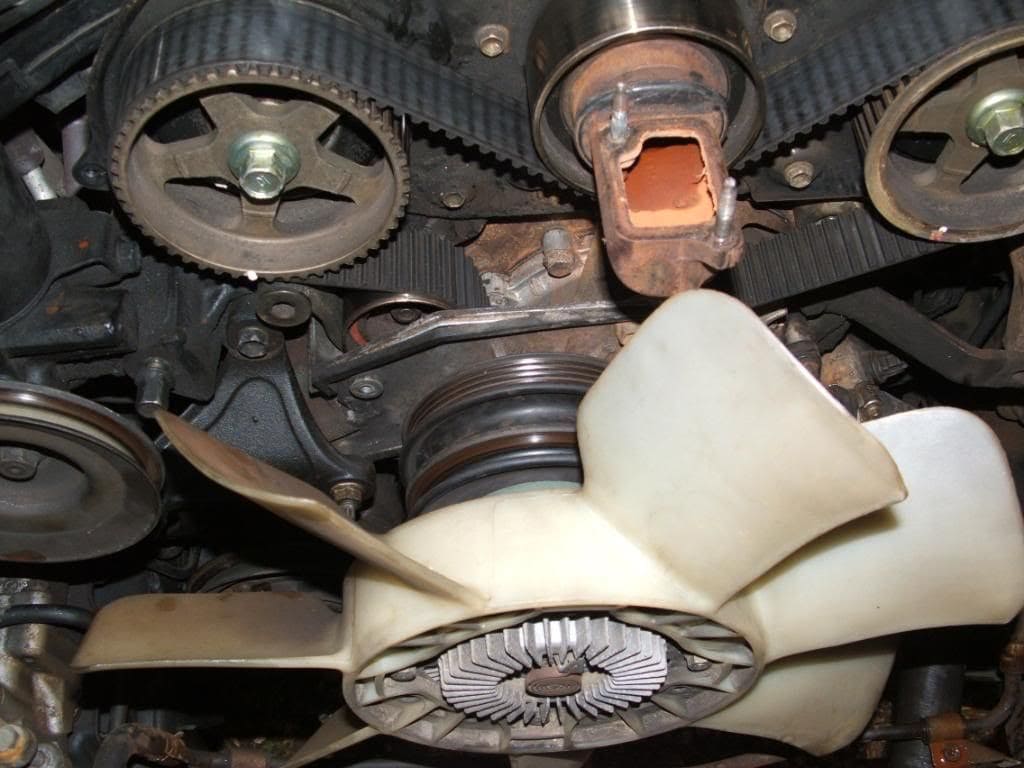
ps bracket removed now you can see the fan idler bracket

last bolt removed from the fan idler bracket I'm removing the whole assembly which includes the fan,pulleys,fan bracket and hydraulic tensioner all at the same time

assembly removed

this is what the whole assembly removed as one

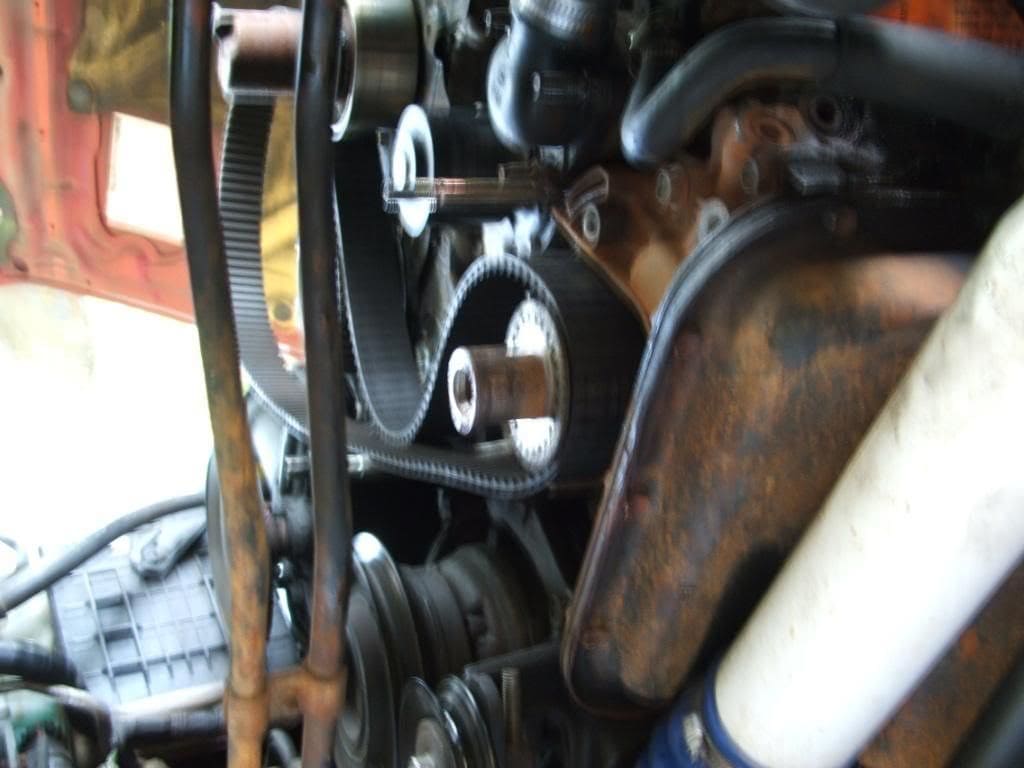
old timing belt notice the camshaft pulley timing marks are a tooth off

removing the hex bolt from the idler pulley#1
I will continue my posting in a few minutes

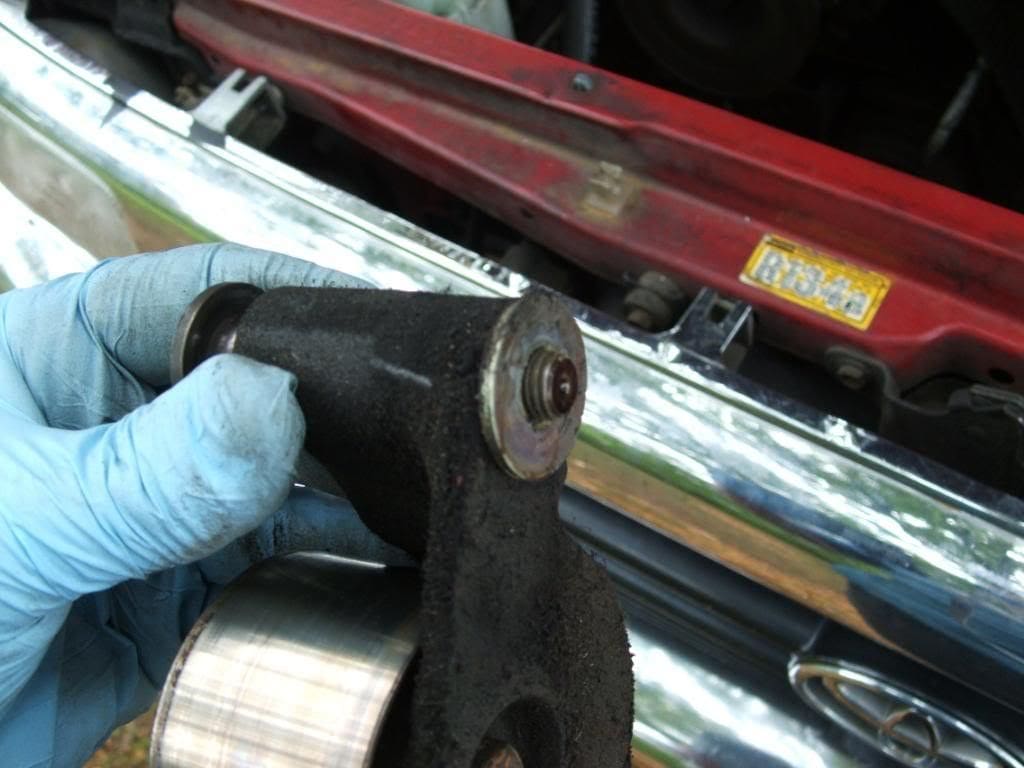
#1 idler pulley remover note the washer on the threads save that you will need it for the new hydraulic tensioner

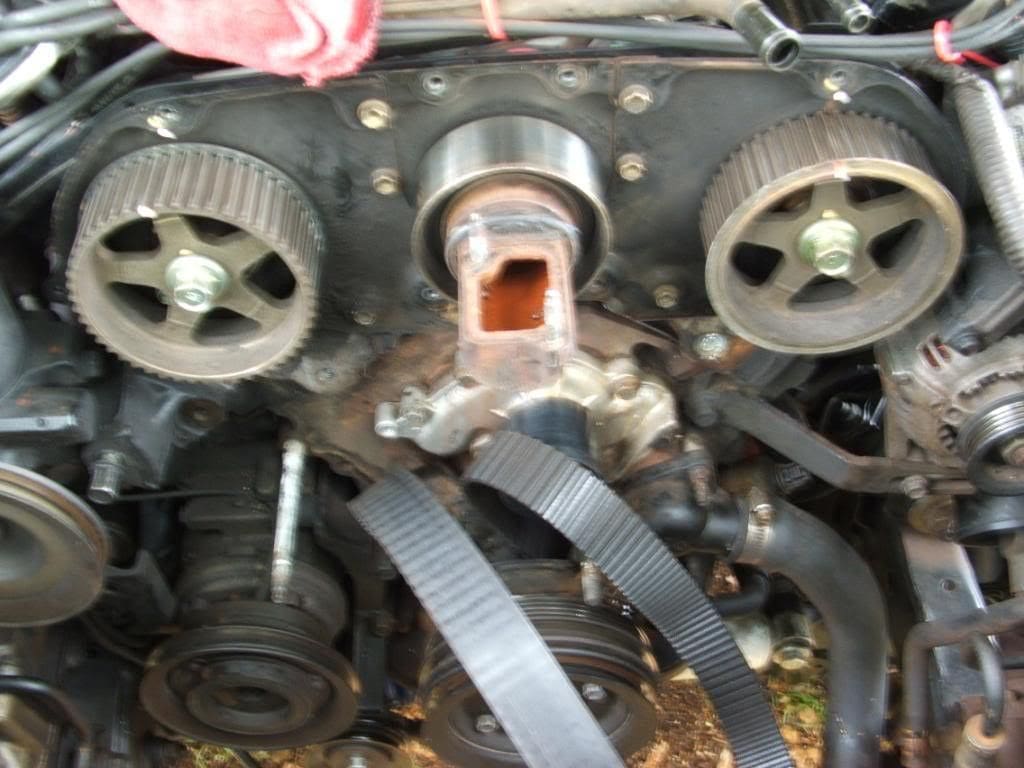
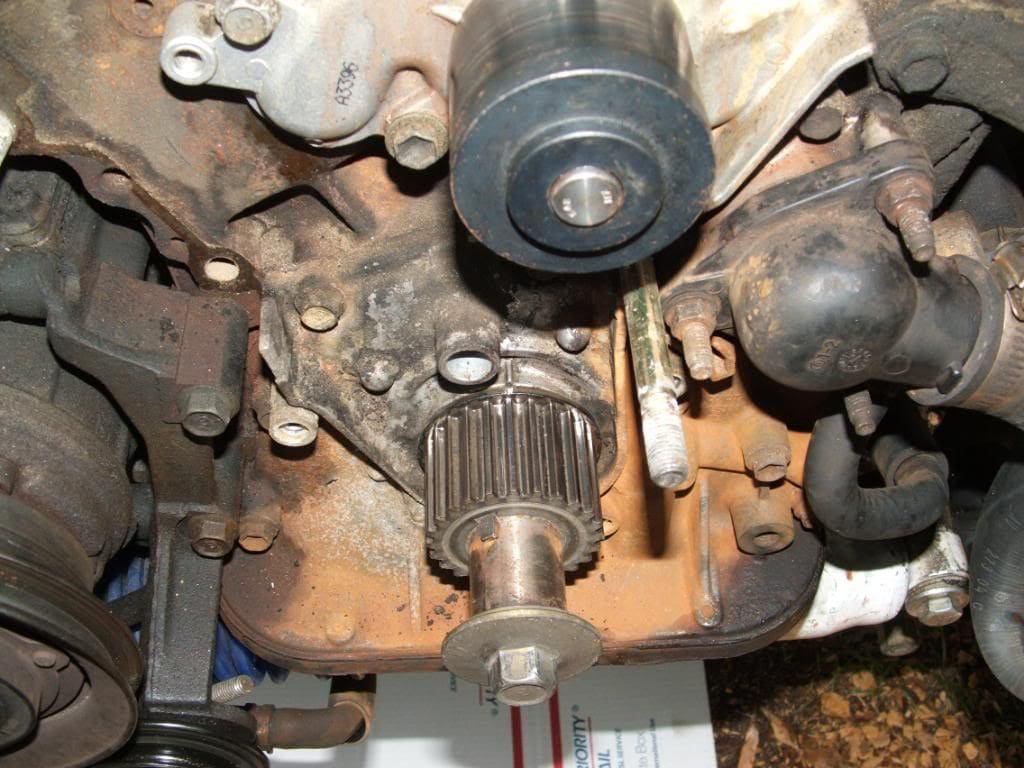
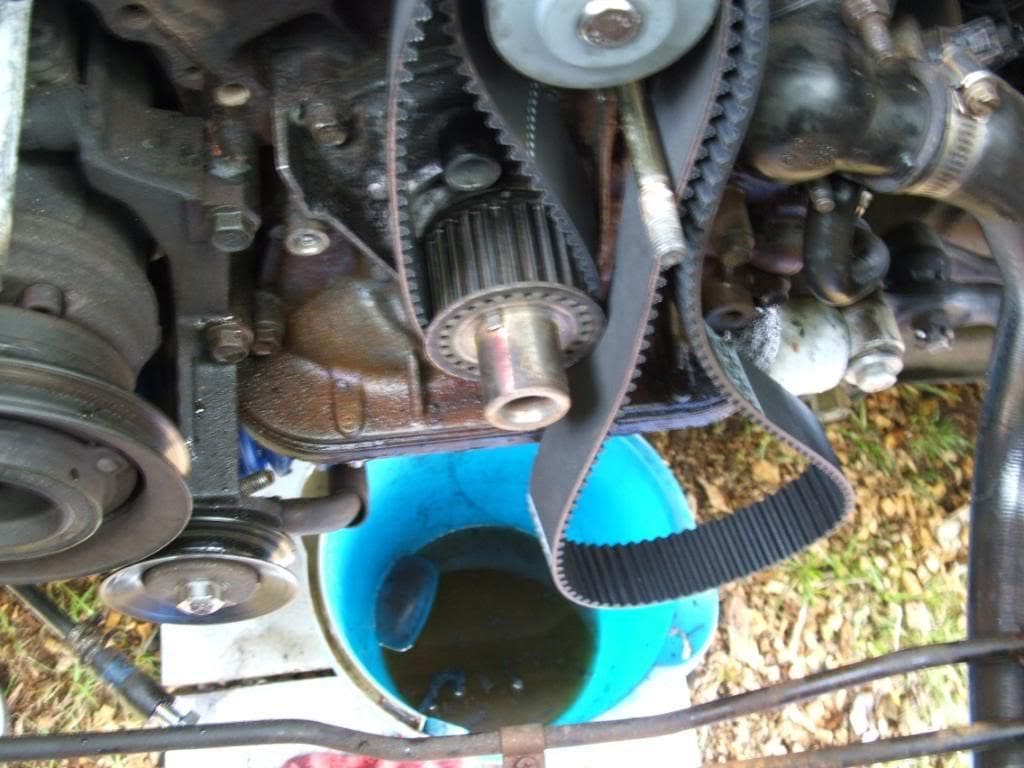
timing belt removed from crankshaft pulleys

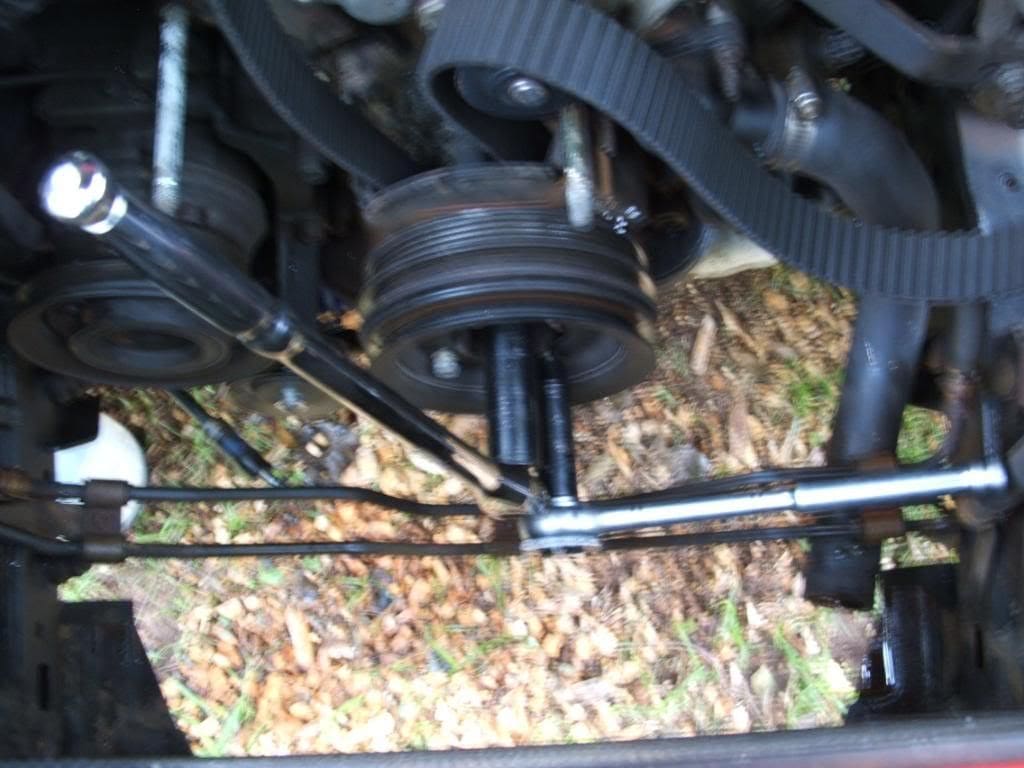
removing the ps pulley from the harmonic balancer with a $16.00 puller it came with a assortment of bolts

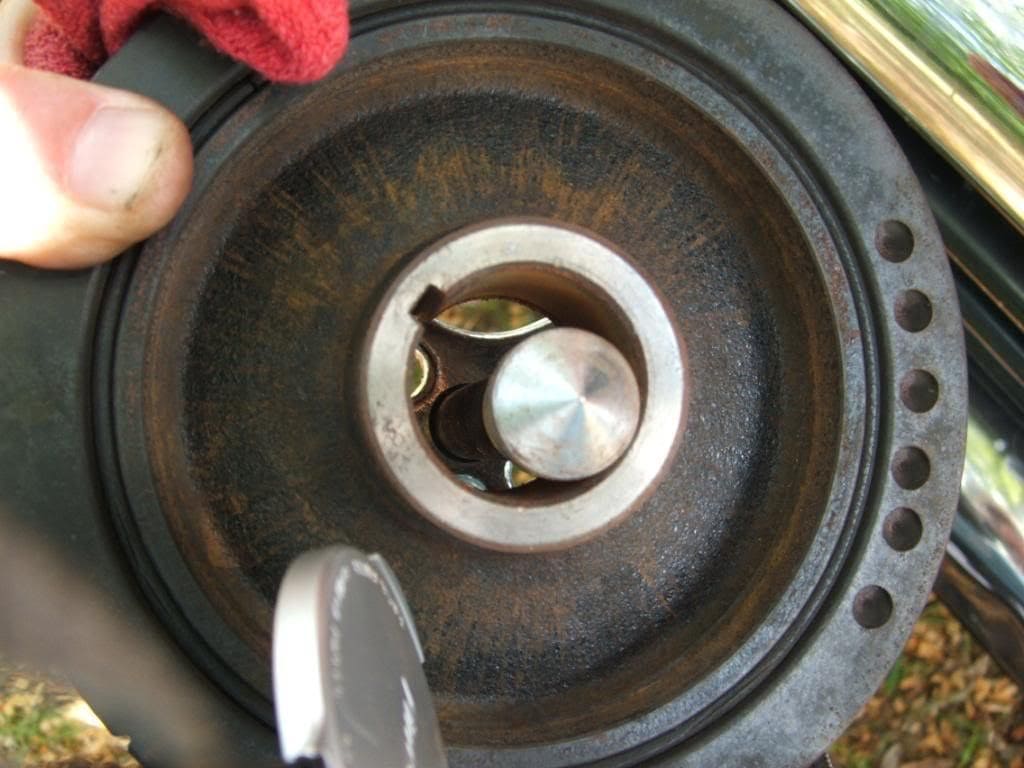
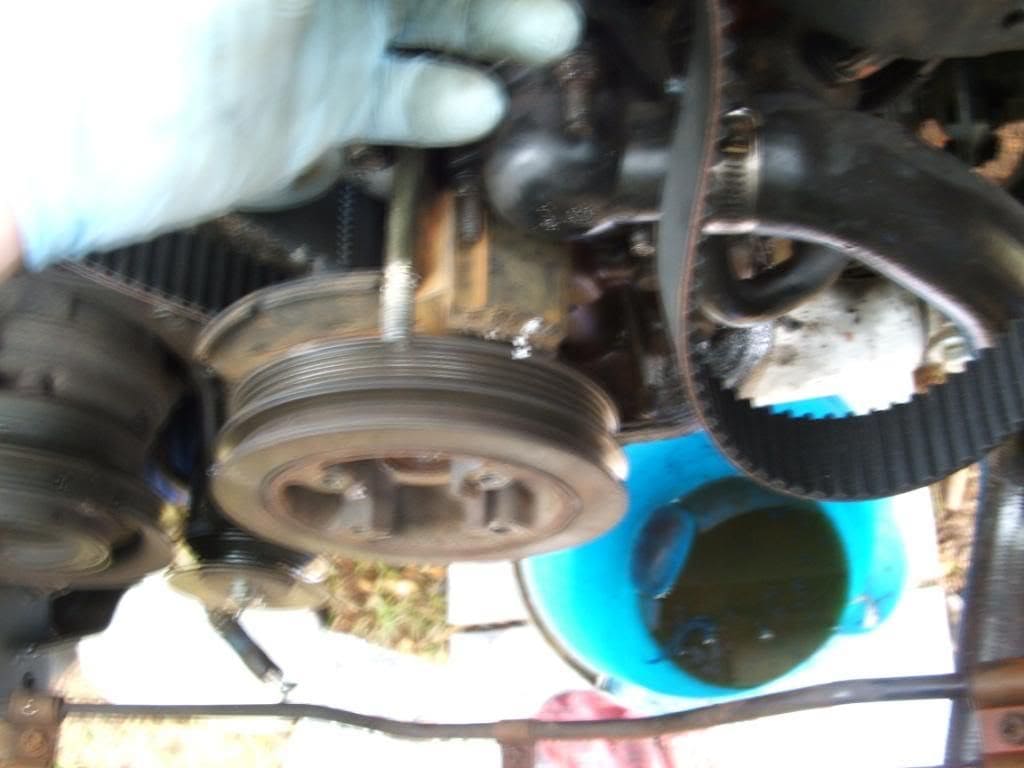
Harmonic balancer removed notice the key way notch

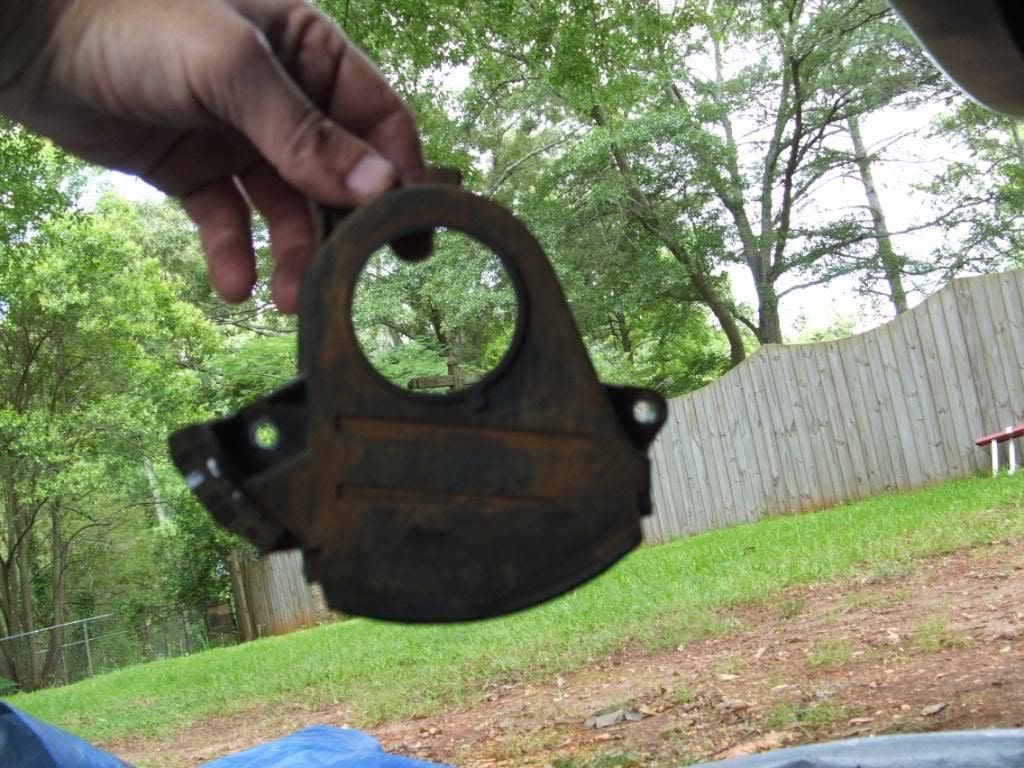
now looking at the #1 timing belt cover that has to be removed

removed #1 timing belt cover notice the silver timing belt guide it has holes around the edge and the cup side faces out wards

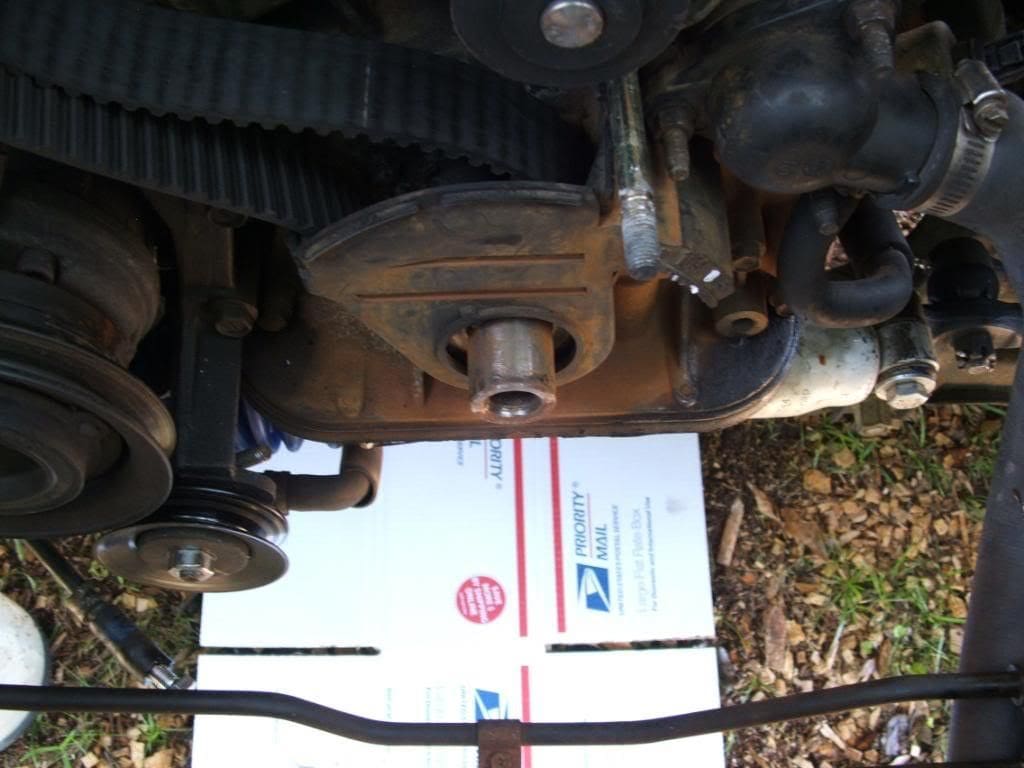
#1 timing belt crank pulley cover removed

timing belt removed and all timing marks are lined up on the camshafts pulleys and crankshaft pulley to timing mark on the oil pump body

Groove in the crankshaft pulley lined up with the raised timing line mark on the oil pump body

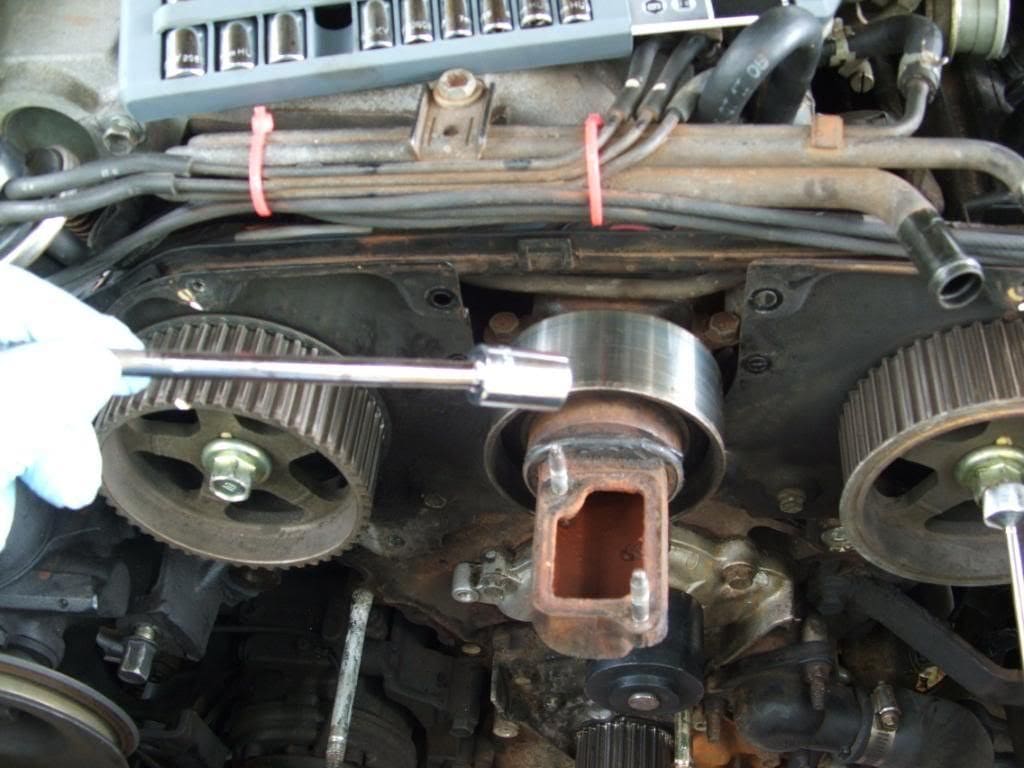
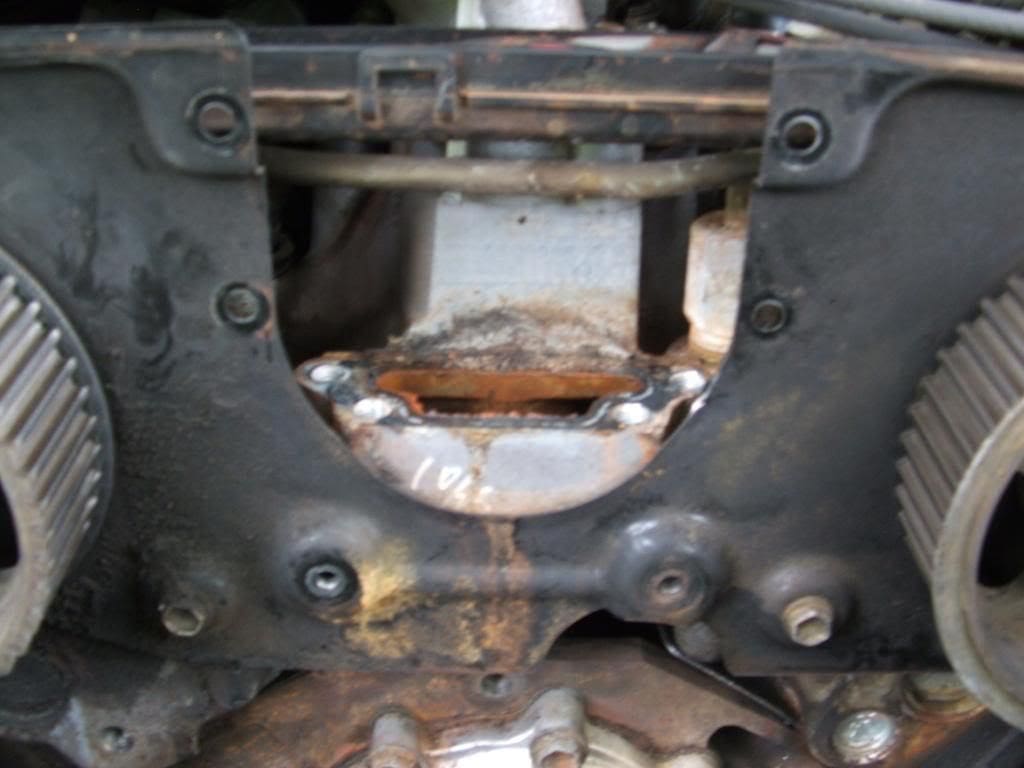
removing the 4 bolts that hold the #2 idler pulley backing plate so you can have access to the 4 hold down bolts that hold the #2 idler pulley to the intake it's tricky trying to get to the bolts so use a wobbly 1/4" extension for easy access(thanks for the advice guys on the wobbly extensions better than taking the intake off to get to the bolts

backing plate removed

1/4" wobbly extension i purchased it and a 3/8" from Lowe's

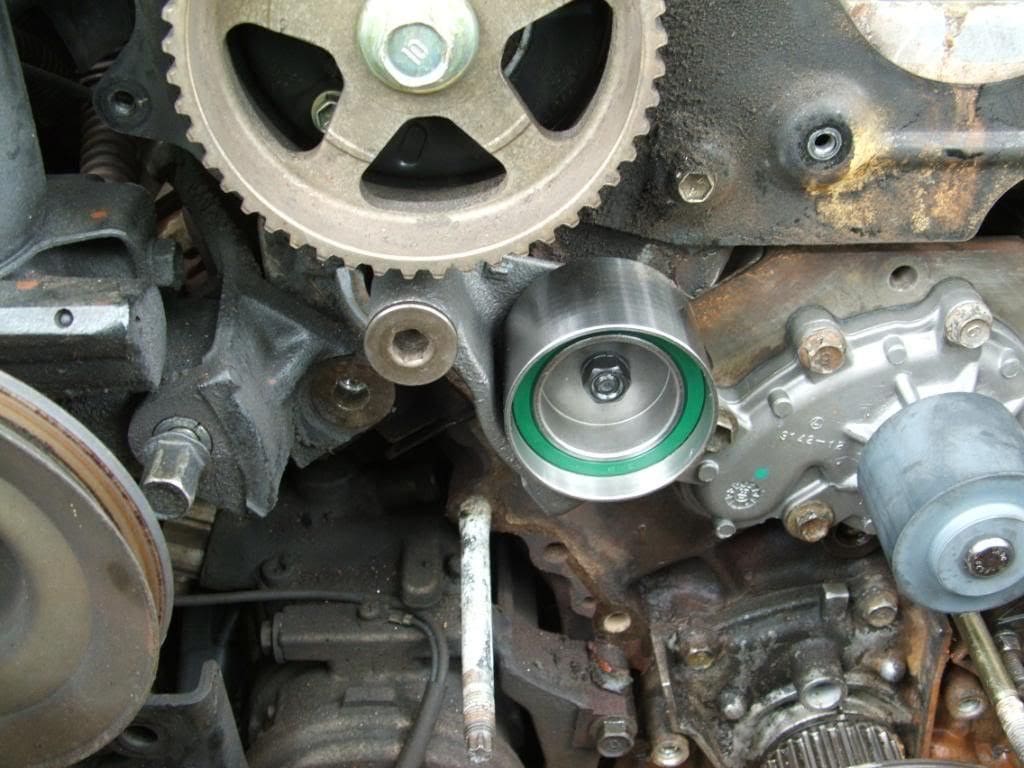
#2 idler pulley bolts removed and pulley with huge bearing removed as a whole unit

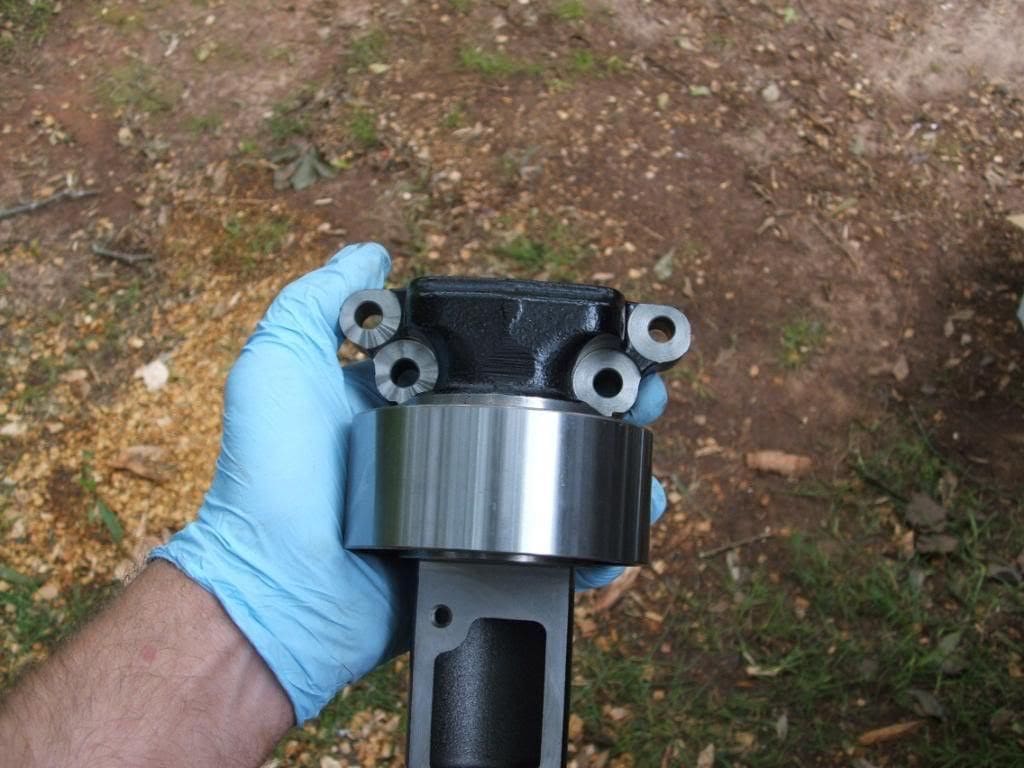
Old #2 idler pulley with bad bearings sounds like squeaking when I rotate it

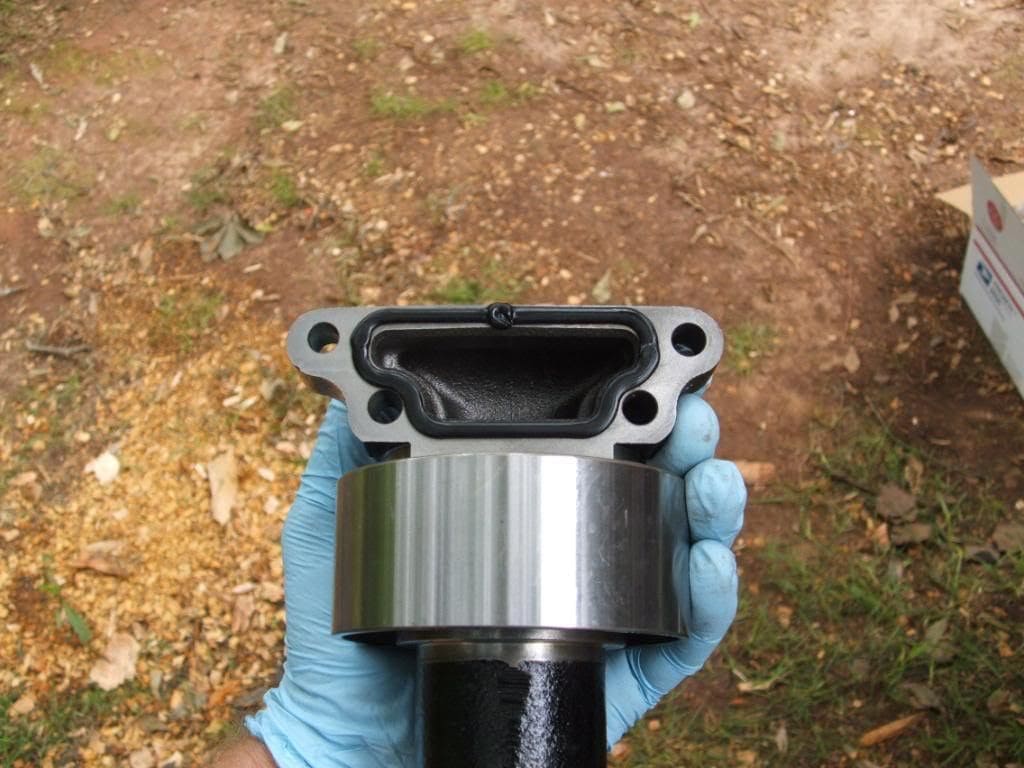
New #2 idler pulley soooo smooth when bearings are rotated

back side of the #2 idler pulley showing the gasket material

removing the thermostat housing and my studs came out with the nuts so be careful I had to reinstall the studs back in the block for proper installation of the housing later

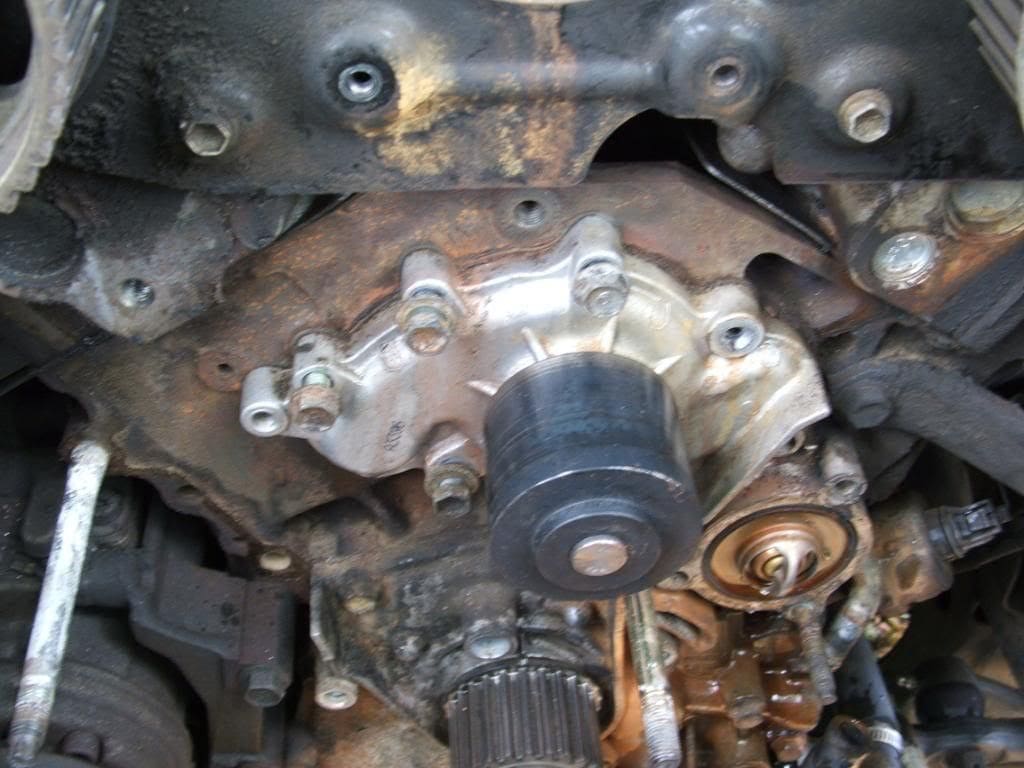
The thermostat housing removed and the old water pump now will be a good time ti install a new t-stat and rubber washer

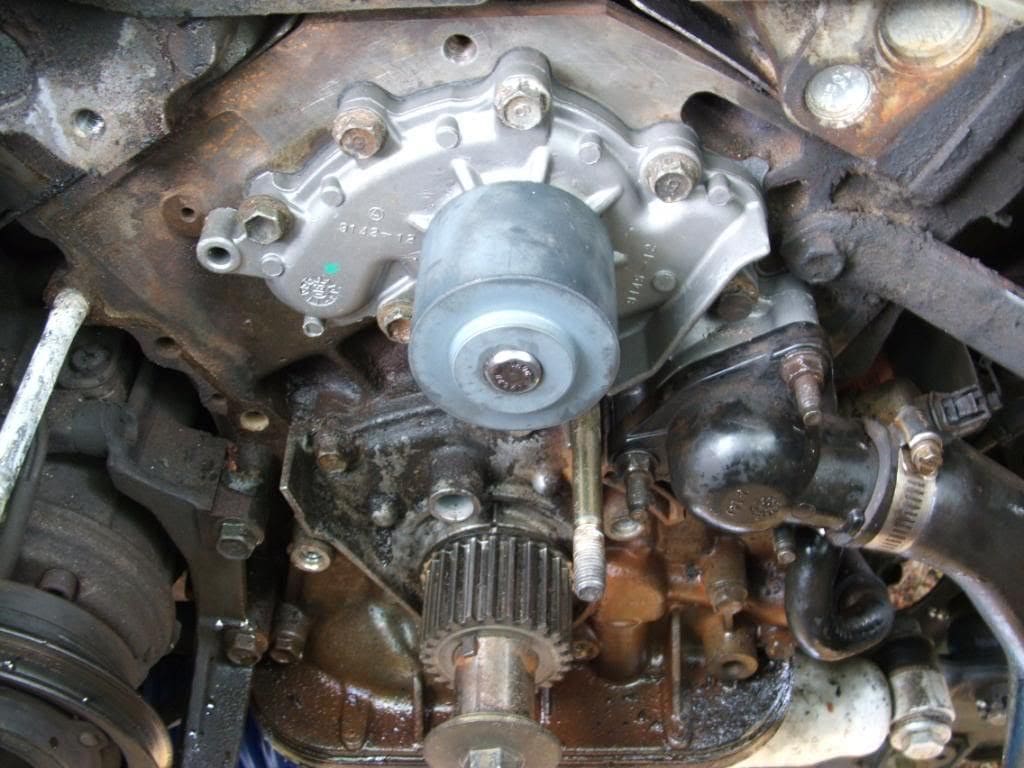
the old water pump removed

The new water pump installed after cleaning the mating surfaces and remember to torque per the FSM

new t-stat and rubber washer and housing installed be careful not to over torque the nuts or the plastic housing will crack and you will have to buy another because it will leak once you put water in the system

I marked the path of the crankshaft key(red line) so when I reinstall the harmonic balancer I can line the 2 up and not worry about messing up the key

I also put a mark on the harmonic balancer the same thickness as the key way so things will line up because when you put the two back together at some point you cant see the key way on the balancer this helps to ensure that you stay on the right path toward the key on the shaft

New #1 idler pulley installed with washer over the hex bolt on the back side don't forget to do that

The dot on the crank shaft pulley is lined up with the CR>>>> on the new timing belt

pull new timing belt up snug and over the water pump pulley so you can put the crankshaft guide back on and the #1 timing belt cover back on that will hold the belt in place so you can start to route the belt around the pulleys

installed the #1 timing belt cover and the harmonic balancer and notice if you have the dot lined up with the CR>>> on the new belt & the notch on the crank shaft pulley lined up with the timing mark on the oil pump body then when you install the cover and the harmonic balancer then the notch in the balancer pulley will line up with the "0" on the #1 timing belt cover

Camshaft timing marks are lined with the marks on the rear camshaft cover

New timing belt installed and all timing marks line up on my first try without the tensioner installed yet

Installed the new hydraulic tensioner but don't pull that pin out until you install the assembly back on the motor and torque all fan idler bolts then release the pin and PRAY that nothing moves

fan assemble back on and torqued I pulled the tensioner locking pin out and all timing marks stayed on mark so no problem with belt skipping a tooth

Installing the #2 timing belt cover

All finished and ready to start up for a test...I got it done right the first time, timing is correct no water leaks and the engine runs smooth and has more pep I think? at least it feel that way.I do have a bad bearing on my ac compressor so that will have to be replace at a later date
Thanks to All who help me with this project I couldn't have done it without your help and this site "ROCKS!!!!!").... thanks yotatech!!!
removing the radiator fluid
catching the fluid
looking at the water outlet of the #2 idler pulley
removing the water outlet and upper rad hose
removing bolts from fan shrouds
it helps to have a bright flash lite to see some of the bolts that are hard to see in dark places
fan shrouds removed it has 2 pieces so you can remove it without removing the radiator at this point
fan shrouds removed
looking under the radiator at the automatic transmission lines they have to be removed from the rad
catch the transmission fluid in something and you need to plug the end of the detached lines or the fluid will just keep flowing
bolts that hold the rad to the frame
two hoses that need to be moved out of the way for now
hoses removed
loosening the adjusting bolt on the back of the ps bracket and it is a pain to get to!
the front adjusting bolt loosen it so the ps belt can be removed when you need to
loosening the bottom alt adjusting bolt
fan bracket gasket
removing the ps pump adjusting bracket
bracket removed
ps bracket removed now you can see the fan idler bracket
last bolt removed from the fan idler bracket I'm removing the whole assembly which includes the fan,pulleys,fan bracket and hydraulic tensioner all at the same time
assembly removed
this is what the whole assembly removed as one
old timing belt notice the camshaft pulley timing marks are a tooth off
removing the hex bolt from the idler pulley#1
I will continue my posting in a few minutes
#1 idler pulley remover note the washer on the threads save that you will need it for the new hydraulic tensioner
timing belt removed from crankshaft pulleys
removing the ps pulley from the harmonic balancer with a $16.00 puller it came with a assortment of bolts
Harmonic balancer removed notice the key way notch
now looking at the #1 timing belt cover that has to be removed
removed #1 timing belt cover notice the silver timing belt guide it has holes around the edge and the cup side faces out wards
#1 timing belt crank pulley cover removed
timing belt removed and all timing marks are lined up on the camshafts pulleys and crankshaft pulley to timing mark on the oil pump body
Groove in the crankshaft pulley lined up with the raised timing line mark on the oil pump body
removing the 4 bolts that hold the #2 idler pulley backing plate so you can have access to the 4 hold down bolts that hold the #2 idler pulley to the intake it's tricky trying to get to the bolts so use a wobbly 1/4" extension for easy access(thanks for the advice guys on the wobbly extensions
backing plate removed
1/4" wobbly extension i purchased it and a 3/8" from Lowe's
#2 idler pulley bolts removed and pulley with huge bearing removed as a whole unit
Old #2 idler pulley with bad bearings sounds like squeaking when I rotate it
New #2 idler pulley soooo smooth when bearings are rotated
back side of the #2 idler pulley showing the gasket material
removing the thermostat housing and my studs came out with the nuts so be careful I had to reinstall the studs back in the block for proper installation of the housing later
The thermostat housing removed and the old water pump now will be a good time ti install a new t-stat and rubber washer
the old water pump removed
The new water pump installed after cleaning the mating surfaces and remember to torque per the FSM
new t-stat and rubber washer and housing installed be careful not to over torque the nuts or the plastic housing will crack and you will have to buy another because it will leak once you put water in the system
I marked the path of the crankshaft key(red line) so when I reinstall the harmonic balancer I can line the 2 up and not worry about messing up the key
I also put a mark on the harmonic balancer the same thickness as the key way so things will line up because when you put the two back together at some point you cant see the key way on the balancer this helps to ensure that you stay on the right path toward the key on the shaft
New #1 idler pulley installed with washer over the hex bolt on the back side don't forget to do that
The dot on the crank shaft pulley is lined up with the CR>>>> on the new timing belt
pull new timing belt up snug and over the water pump pulley so you can put the crankshaft guide back on and the #1 timing belt cover back on that will hold the belt in place so you can start to route the belt around the pulleys
installed the #1 timing belt cover and the harmonic balancer and notice if you have the dot lined up with the CR>>> on the new belt & the notch on the crank shaft pulley lined up with the timing mark on the oil pump body then when you install the cover and the harmonic balancer then the notch in the balancer pulley will line up with the "0" on the #1 timing belt cover
Camshaft timing marks are lined with the marks on the rear camshaft cover
New timing belt installed and all timing marks line up on my first try
Installed the new hydraulic tensioner but don't pull that pin out until you install the assembly back on the motor and torque all fan idler bolts then release the pin and PRAY that nothing moves
fan assemble back on and torqued I pulled the tensioner locking pin out and all timing marks stayed on mark so no problem with belt skipping a tooth
Installing the #2 timing belt cover
All finished and ready to start up for a test...I got it done right the first time, timing is correct no water leaks and the engine runs smooth and has more pep I think? at least it feel that way.I do have a bad bearing on my ac compressor so that will have to be replace at a later date
Thanks to All who help me with this project I couldn't have done it without your help and this site "ROCKS!!!!!").... thanks yotatech!!!
Last edited by buckz6319; 12-11-2016 at 12:48 PM.


