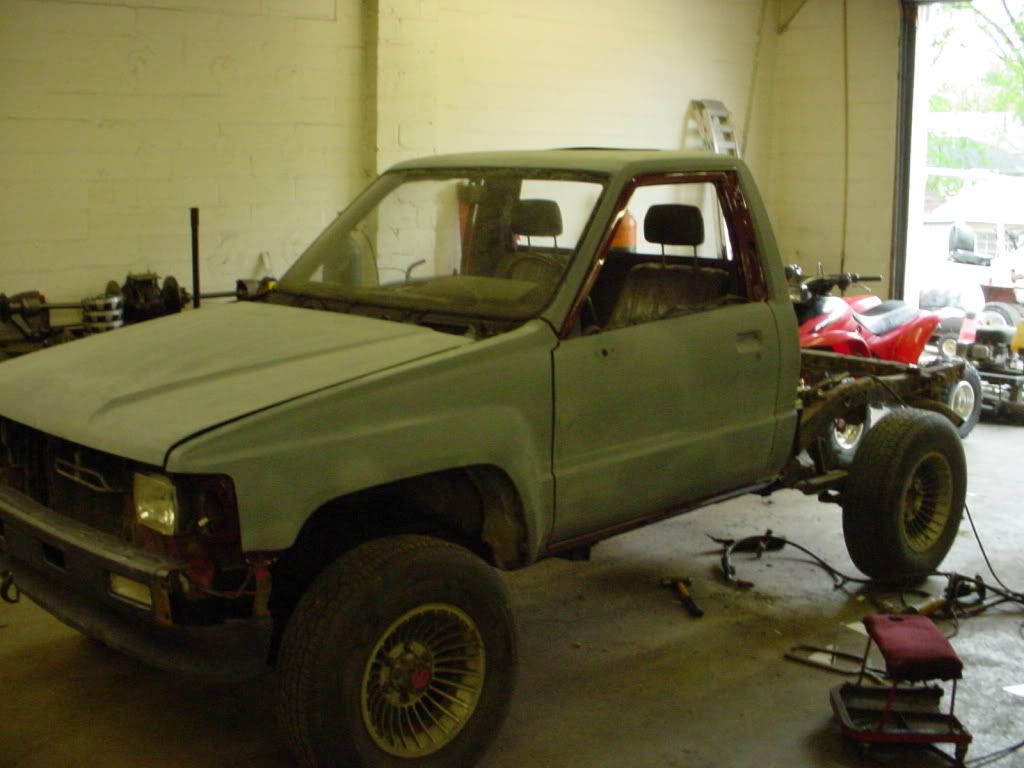
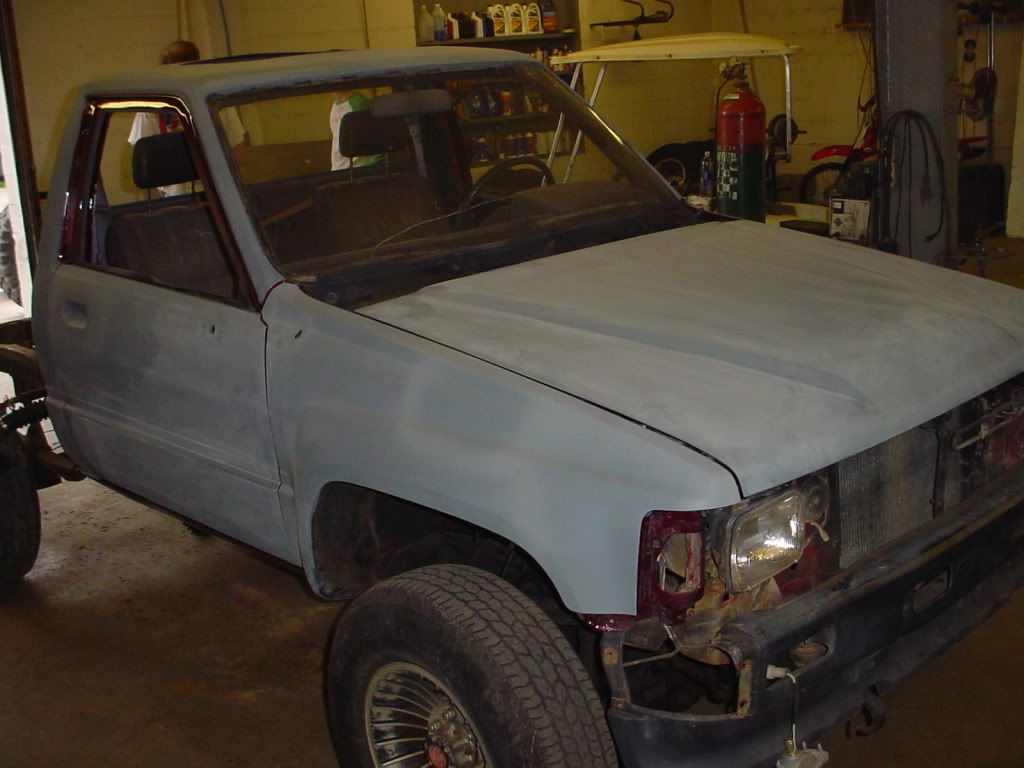
anyone interested in seeing a paint how-to on my 87?
 Apr 20, 2009 | 05:16 AM
#62
Thread Starter
Registered User
Joined: Mar 2009
Posts: 257
Likes: 0
From: indiana
body work is all skill and painting is all knowledge. take you time with it and don't get too air tool happy, i always finish blocking by hand. learning how to "feel" and effective blocking techniques is the hardest part. if you don't already have them get a good selection of blocks and not only flat ones. one of my most used blocks is a teardrop shaped rubber block, it works great on rounded bodies because it has such a small contact area. also make sure you use a big enough block for the job, using a six inch block on a two foot section of mud is a waste of time. if in doubt use a longer block. use guide coat to help you to see low spots, it helps you develop "feel" as well because you have a visual cue to guide your hand. another often overlooked aspect of body work is to get your bondo on smooth. it saves material, sanding time, and helps eliminate waviness.
a few blocks, dollies, and a ball peen hammer? not a body hammer
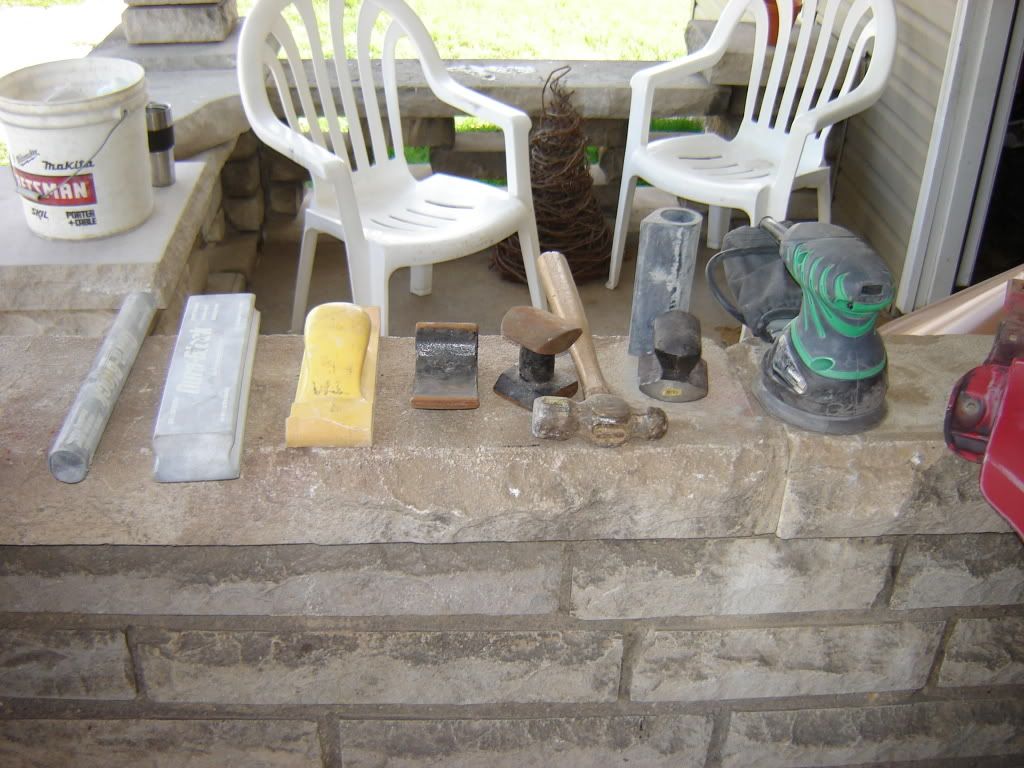
a few blocks, dollies, and a ball peen hammer? not a body hammer
Last edited by wheatus; Apr 20, 2009 at 05:24 AM.
 Apr 22, 2009 | 12:16 PM
#66
Thread Starter
Registered User
Joined: Mar 2009
Posts: 257
Likes: 0
From: indiana
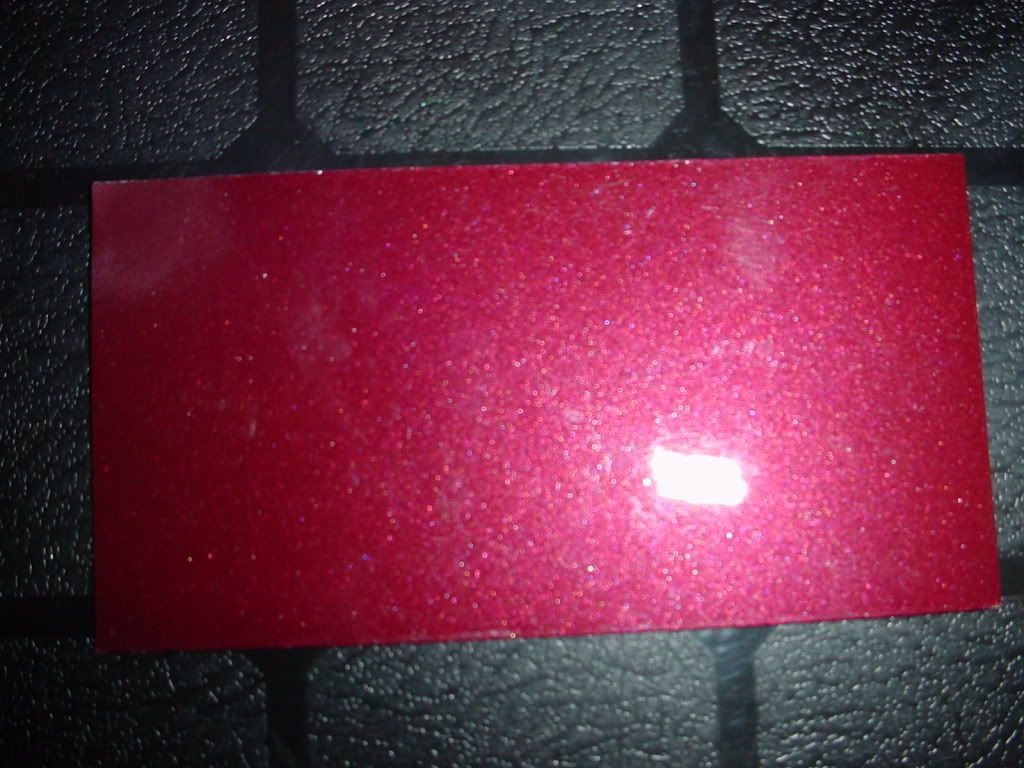
yea the "feel" thing is pretty much the same except you are dealing with curves and body lines. you could always get old panels to practice on. the majority of the paint was from a BMW, actually it is the one in the booth pictured above, with some blue added to it. can't argue with free paint!
Apr 24, 2009 | 02:54 PM
#67
Thread Starter
Registered User
Joined: Mar 2009
Posts: 257
Likes: 0
From: indiana
i ran into a little problem finding new hinges for the drivers side. turns out you can get lowers but not uppers so i am going to fix my old hinges. i went to the parts store today and got new bushings and pins. i didn't get the part number but i am going to do a write up on upgrading hinges so i will put it in there. has anyone done this? i searched but didn't find anything.
Apr 24, 2009 | 03:40 PM
#68
Registered User
Joined: Jan 2008
Posts: 407
Likes: 0
From: West NC
To be honest, every paint and body man does things different and will swear that all the others are doing it wrong. I have worked in alot of restoration and custom shops and I have been told to do things different in every one of them. Finally I opened up my own shop and using all of their knowledge, I have found that it's all about what the customer is willing to spend money on! Weld the holes, glass the holes, strip it down, paint around it, etc. etc. I have started on my '87 recently as well and I will be putting up pictures as it progresses on my build site. It's my afterhours shop truck so it will take a while as I work on customer vehicles.
Apr 25, 2009 | 02:48 PM
#69
Thread Starter
Registered User
Joined: Mar 2009
Posts: 257
Likes: 0
From: indiana
here are my stock door hinges modified with GM bushings and pins. they were really close it didn't take much to make them work. best part is now they are easily replaced.
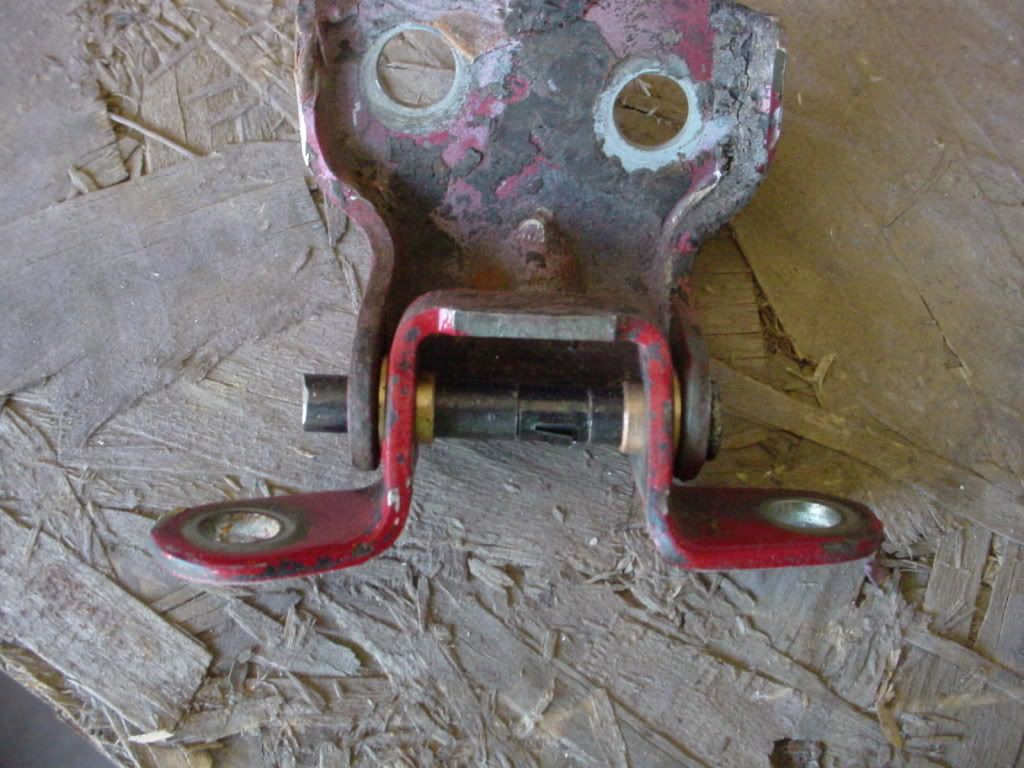

hinges in this pic are backward
hinges in this pic are backward
Last edited by wheatus; Apr 26, 2009 at 08:10 PM.
Apr 25, 2009 | 03:07 PM
#70
Thread Starter
Registered User
Joined: Mar 2009
Posts: 257
Likes: 0
From: indiana
you are absolutely right yoda. i am so glad that i don't work in a body shop anymore. people want quality work but don't want to pay for it, especially custom stuff. they don't seem to realize how many hours go into it. so far we probably have close to 100 hours in this paint job so far, taking it to a shop to have this done would have cost many times what the truck is actually worth. don't do much work for other people these days, i quote what i think its worth to mess with and they usually decide to have someone else do it.
Apr 25, 2009 | 08:06 PM
#71
Thread Starter
Registered User
Joined: Mar 2009
Posts: 257
Likes: 0
From: indiana
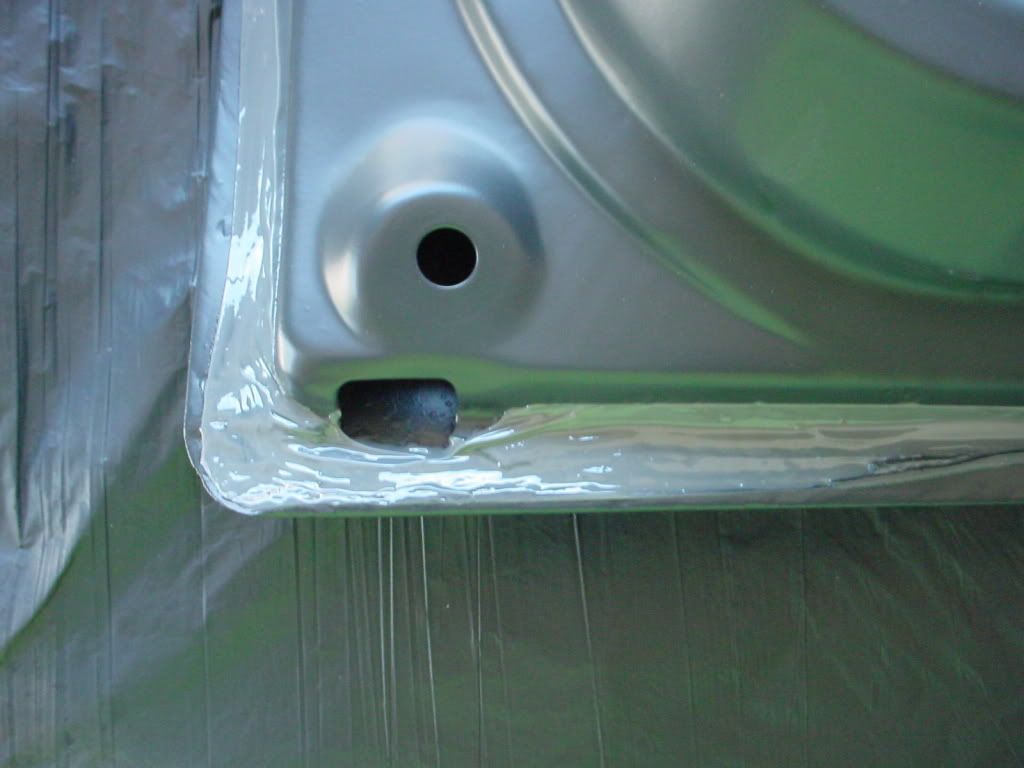
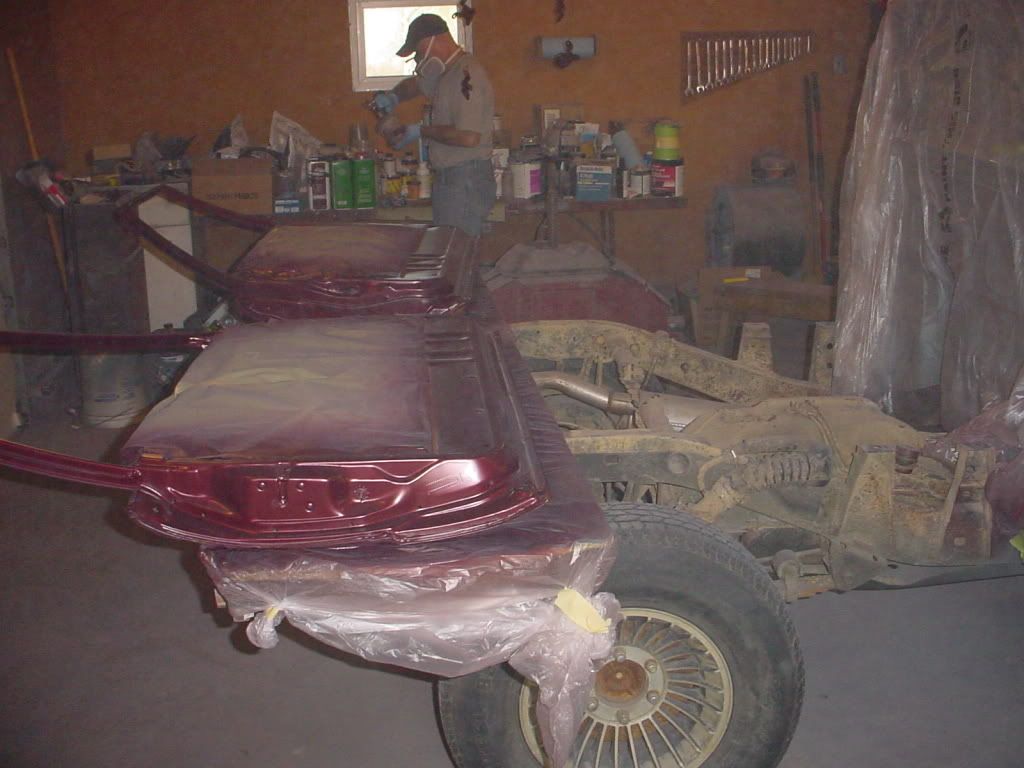
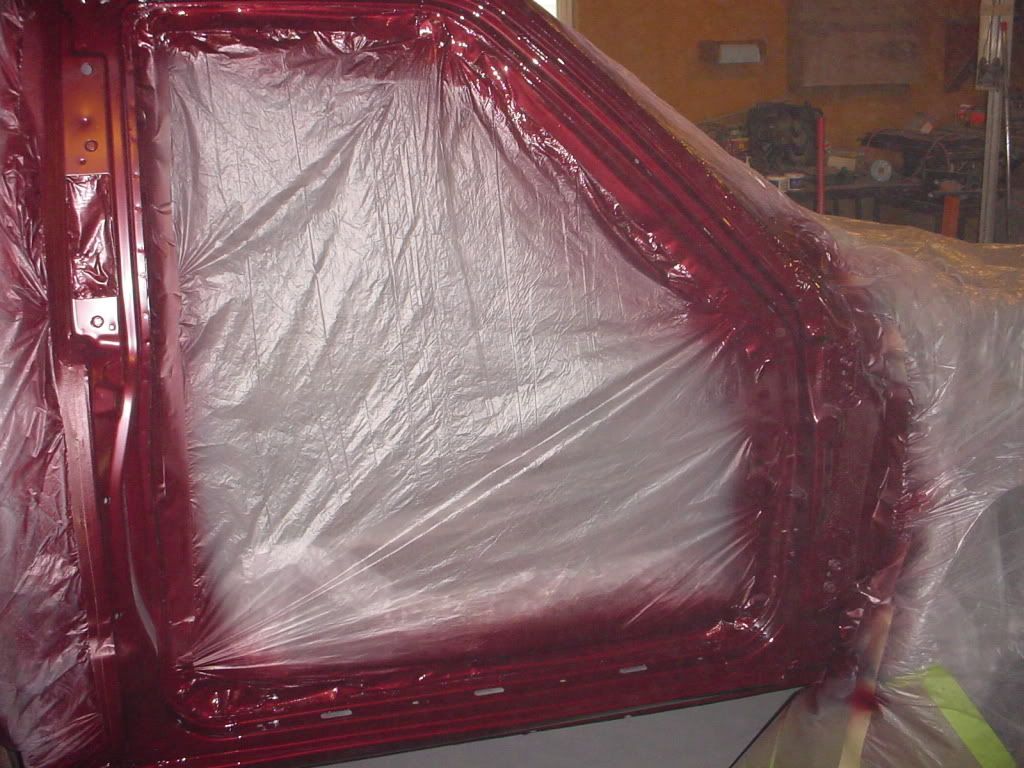
finally got some color on today. i edged doors, fenders, hood, and painted the hinges, door jambs, and rockers. tomorrow i am going to pressure wash the back half of the frame since my brother rented a pressure washer for his house. more importantly i am going to hang everything and start blocking. make sure to use seam sealer where any sheet metal overlaps.
Apr 26, 2009 | 06:32 PM
#72
Thread Starter
Registered User
Joined: Mar 2009
Posts: 257
Likes: 0
From: indiana
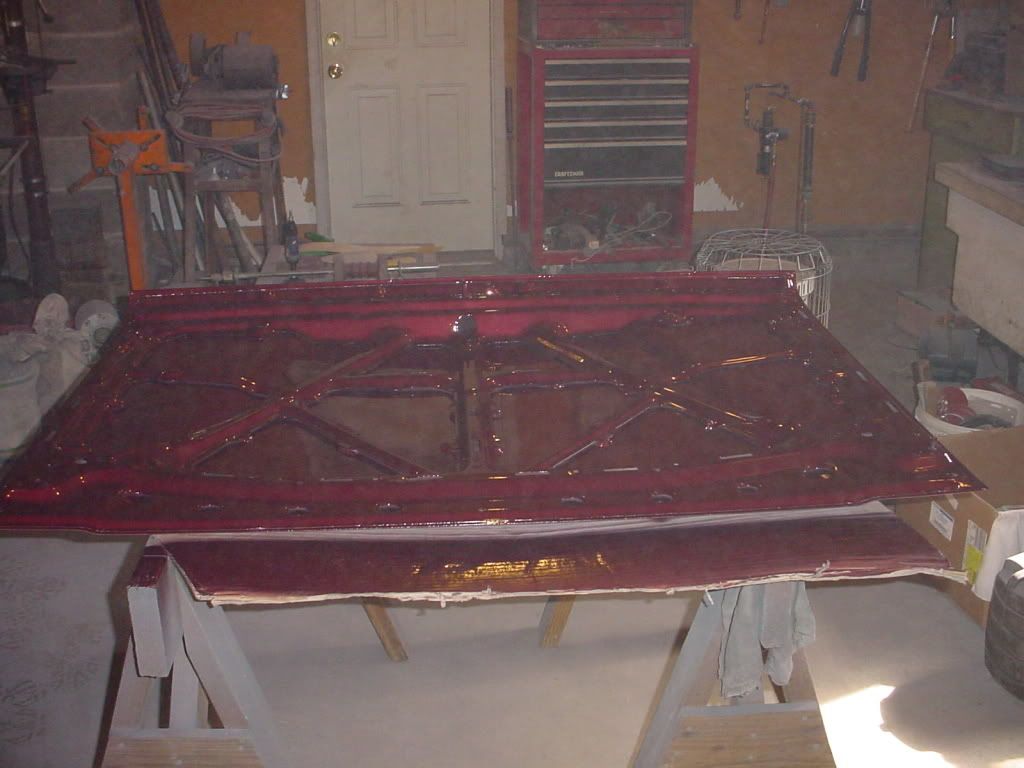
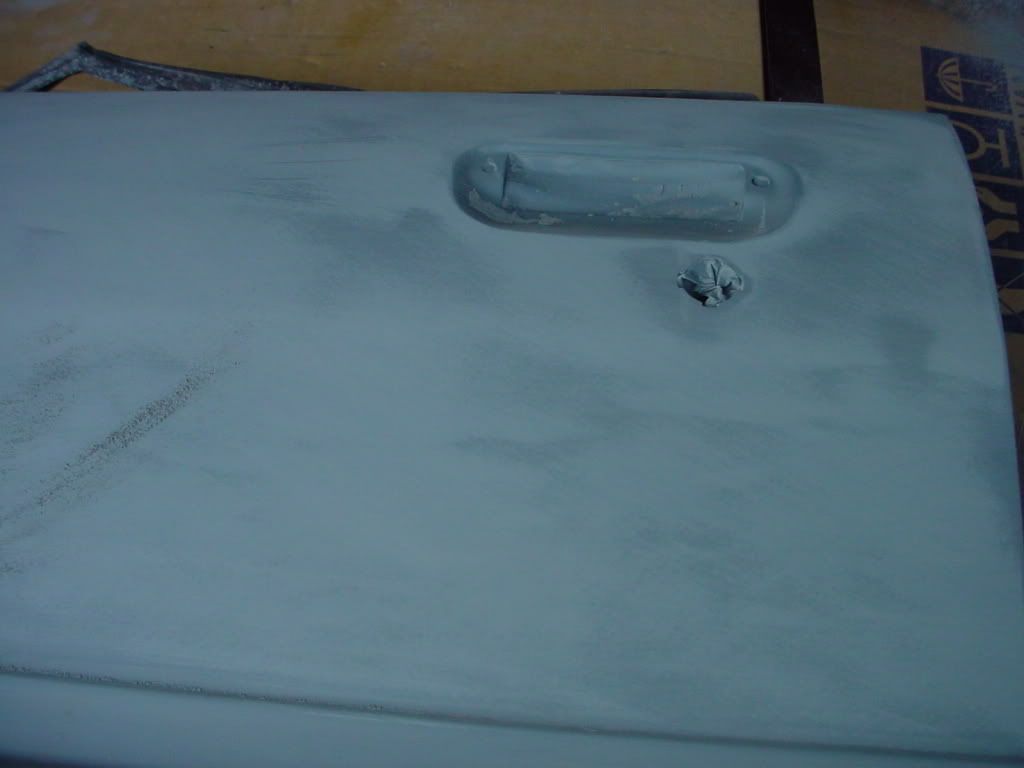
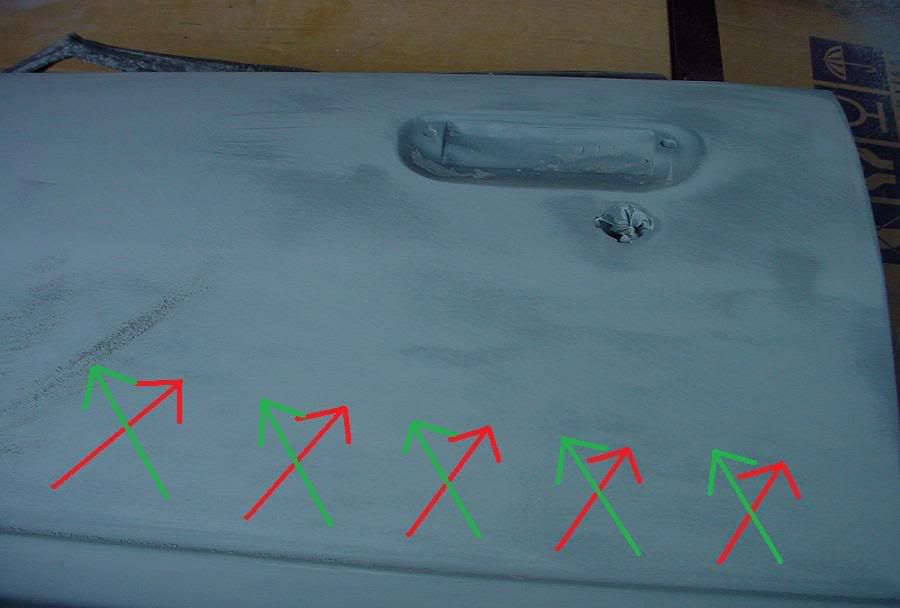
ok lots of sanding and blocking today. i didn't take many pictures because its just not that exciting to look at. in the following picture the darker areas you see are low spots that need further blocking. i wouldn't just hit it with the DA because you lose the contrast. a lot of people like to use cheap black spray bomb as guide coat, i prefer to use 3M powder guide. nothing wrong with the spray bomb method i just don't like how it gums up my sandpaper and it makes pinholes harder to see for me. the 3M stuff is also the best to make sure you get all the deeper sand scratches out.
on this door i started blocking with 220. i went over the panel quickly to get an idea of how much i would have to block. i didn't finish off the body work very fine 100 grit or so and you can see some deep scratches to the left of the door handle that are probably 80 grit.
the second photo is how i block. using a long block i make a long forward stroke at about 45 degrees and pull back at about half working my way across the panel in long strokes. when i get to the end i go 45 back the other direction always in long straight lines. this is the method i use if i am blocking body filler, primer, or even runs in clear. if you cut through to your filler you will need to prime again. filler is much cheaper than primer so take extra time on your body work. there is almost always some cut through on body lines and such just one or two quick coats of primer and you will be good. please don't just paint over cut throughs it will show up in your finished product as rings.
after you have your primer blocked out you need to get out those straight scratches. this is where the dry 3M guide coat is the best it shows the scratches plain as day. from here you can block again with a finer grit 500 or 600 if you really want it to be straight but it is usually just overkill. this is when you can use your DA, slap on 320 and go to town. you don't want to stay in one spot, just like blocking you need to make long strokes with the DA. be careful not to cut through.
i do my blocking dry, IMO blocking wet just creates too much slurry and if you cut through your filler will get wet. i use an old tack rag to keep the dust off the surface. DA's work well but stir up a lot of dust and they take some practice to use effectively. i like to do my final sanding wet, this gives me a chance to get a good look at the surface and allows me to fix anything before i begin to mask. after i finish wet sanding i wash the entire vehicle making sure to get all of the jambs clean as well. this gets all of the dust off so it doesn't end up blowing out in the middle of your clear coat. the only drawback is that if you are painting right away you need to blow out everything really well, but if you are just working on one vehicle and have the time you can just let it dry out.
Last edited by wheatus; Jun 9, 2009 at 07:46 PM.
May 1, 2009 | 08:44 AM
#75
Thread Starter
Registered User
Joined: Mar 2009
Posts: 257
Likes: 0
From: indiana
i lost the pics of my door hinge modification so i don't think i will make another thread, i will just post it here. it is a pretty simple mod.
1. remove door hinges
2. grind the weld holding the pin
3. knock out pin with a punch
4. use a round file, grinder or drill to open the holes to fit new pins and bushings
(if i recall correctly i used a 27/64 bit for the new bushings)
5. install new bushings
6. install new pins
7. reinstall door hinges
note: do one hinge at a time and take pictures or mark the hinges so you know how they go back together