When you click on links to various merchants on this site and make a purchase, this can result in this site earning a commission. Affiliate programs and affiliations include, but are not limited to, the eBay Partner Network.
I'll get some pics for you later of mine. Gotta remember half the extra height is under the axles also. I have one side cut currently but not the passenger side. The front needs the most cutting and bashing, all at the bottom back corner of the wheelwell.
Big thing helping on mine is the 50$ Jeep coils between the back axle and frame taking all the sag out. Look up the zuk mod for that.
If you do a search also, there's a whole write up on ih8mud where a guy put 35s on stock and wheeled it hard. Good info there also
Would love to see some pics! Thanks
yeah! I've been looking into it. I wanted to do what this guy did- https://www.yotatech.com/forums/f116...photos-207564/ but I'm always kind of chicken when it comes to cutting stuff like that :/
Look forward to seeing some pics though!
While I was waiting for someone to possibly suggest how much to trim, I decided I'd start working on cleaning up the rust on the frame.
After breathing in a lot of rust, getting quite a few chunks in my eye, I've started to make some nice progress! I have about half of it off. Once I'm done, I'm going to grind/sand it, and coat it with something. I read grease and wax is supposed to work pretty good. That, or I'll just use rustoleum.
My shock absorber is also rusted through. Not sure how bad that is lol. They aren't a horrible price, so I'll probably replace that soon.
Cut what you need to squeeze them on then go from there.
Personally I would line it up trace w sharpie then add 1/2" to that line cut there then put tires on and flex them cut where it hits.
front same thing but just put them on to see where you need to bash REMOVE computer it's in passenger side kick panel. Bash the hell out of rear of wheel well on fire wall. Put wheel on, flex it, repeat until satisfied
take toyscrap advice look into and DO Zuk mod it is super cheap and will really help!
Alrighty, so I was just about to start cutting them off today but some guy that was working on the house came across the street to see what I was doing. I told him, and he said I'd completely wreck the 4Runner within a day if I did it and put those tires on. Any truth to it? He said he did it with one of his older trucks and it bent the axel or something. But it wasn't a 4runner.
These axles are plenty strong enough for 35s! Ppl run 40s on em or even bigger (hopefully with cromolly shafts and a full floater kit) so you will be fine with 35s
Alright. He said his front tires like folded in after he hit a bump. Just made me want to double check
I'll be doing it tomorrow after work Pretty pumped! I'll make sure to take lots of pictures. Only thing I have is a grinder, so hopefully that does the trick okay.
btw, I checked the gear ratio in the rolled 4runner. I (think) it's 4.3. I used the tape method to check. Think I'm capable of swapping them later on?
Imo I wouldn't think it would be worth the time to swap in 4.30s really wouldn't make much difference. I would just worry bout gears later. And by then u will have an idea of what u wanna do with the truck then what gears would suit you. Maybe you like the taller gearing if u spend more time on highway and stuff and you like it how it is. Or u may want lower gears for crawling or maybe even some where in between. Would just focus on doing good job with the trimming and fitting the tires and go from there.
Also may wanna tie up the load sending proportioning valve so your rear brakes can help stop those big tires. Search around when u can look at the off road mod section here and no shame in going to the newbie section either lots of great info in there! Also toy bible 2.0 over on pirate lots of great info there
Could use some advice!
I'm not exactly sure what way to go about cutting the wheel tubs.
I could either cut them really high to match where I cut, then weld something in there (not a great welder though)
Or, do my original plan and cut them in sections and then fold them up
Sure can. What I did was weld a small piece of pipe onto the base where the bump stop is supposed to be. Holds the spring in place perfectly. Not gonna bottom out anyway with that coil in there.
Having said that, I'm going to some Chevy's fairly soon. The zuk mod is not the best for articulation and wheel travel. Tho that helps keep rubber and sheet metal separated also.
alright good, was kind of worried about that. I'll really have to brush up on my welding then lol
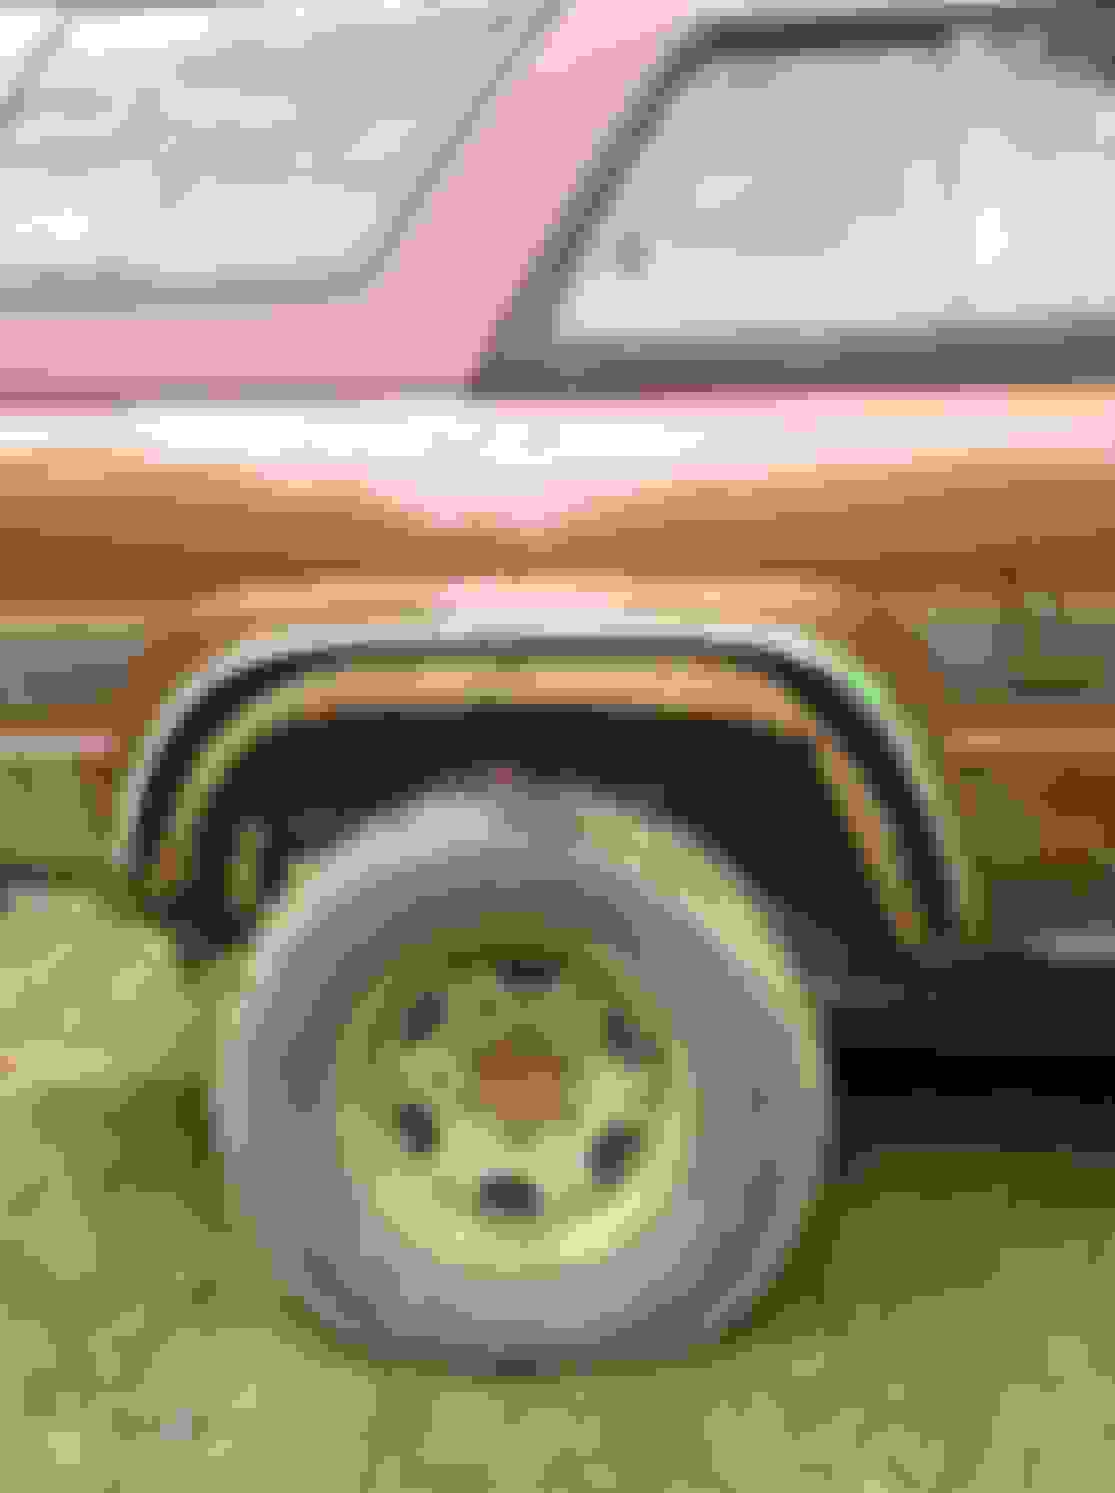
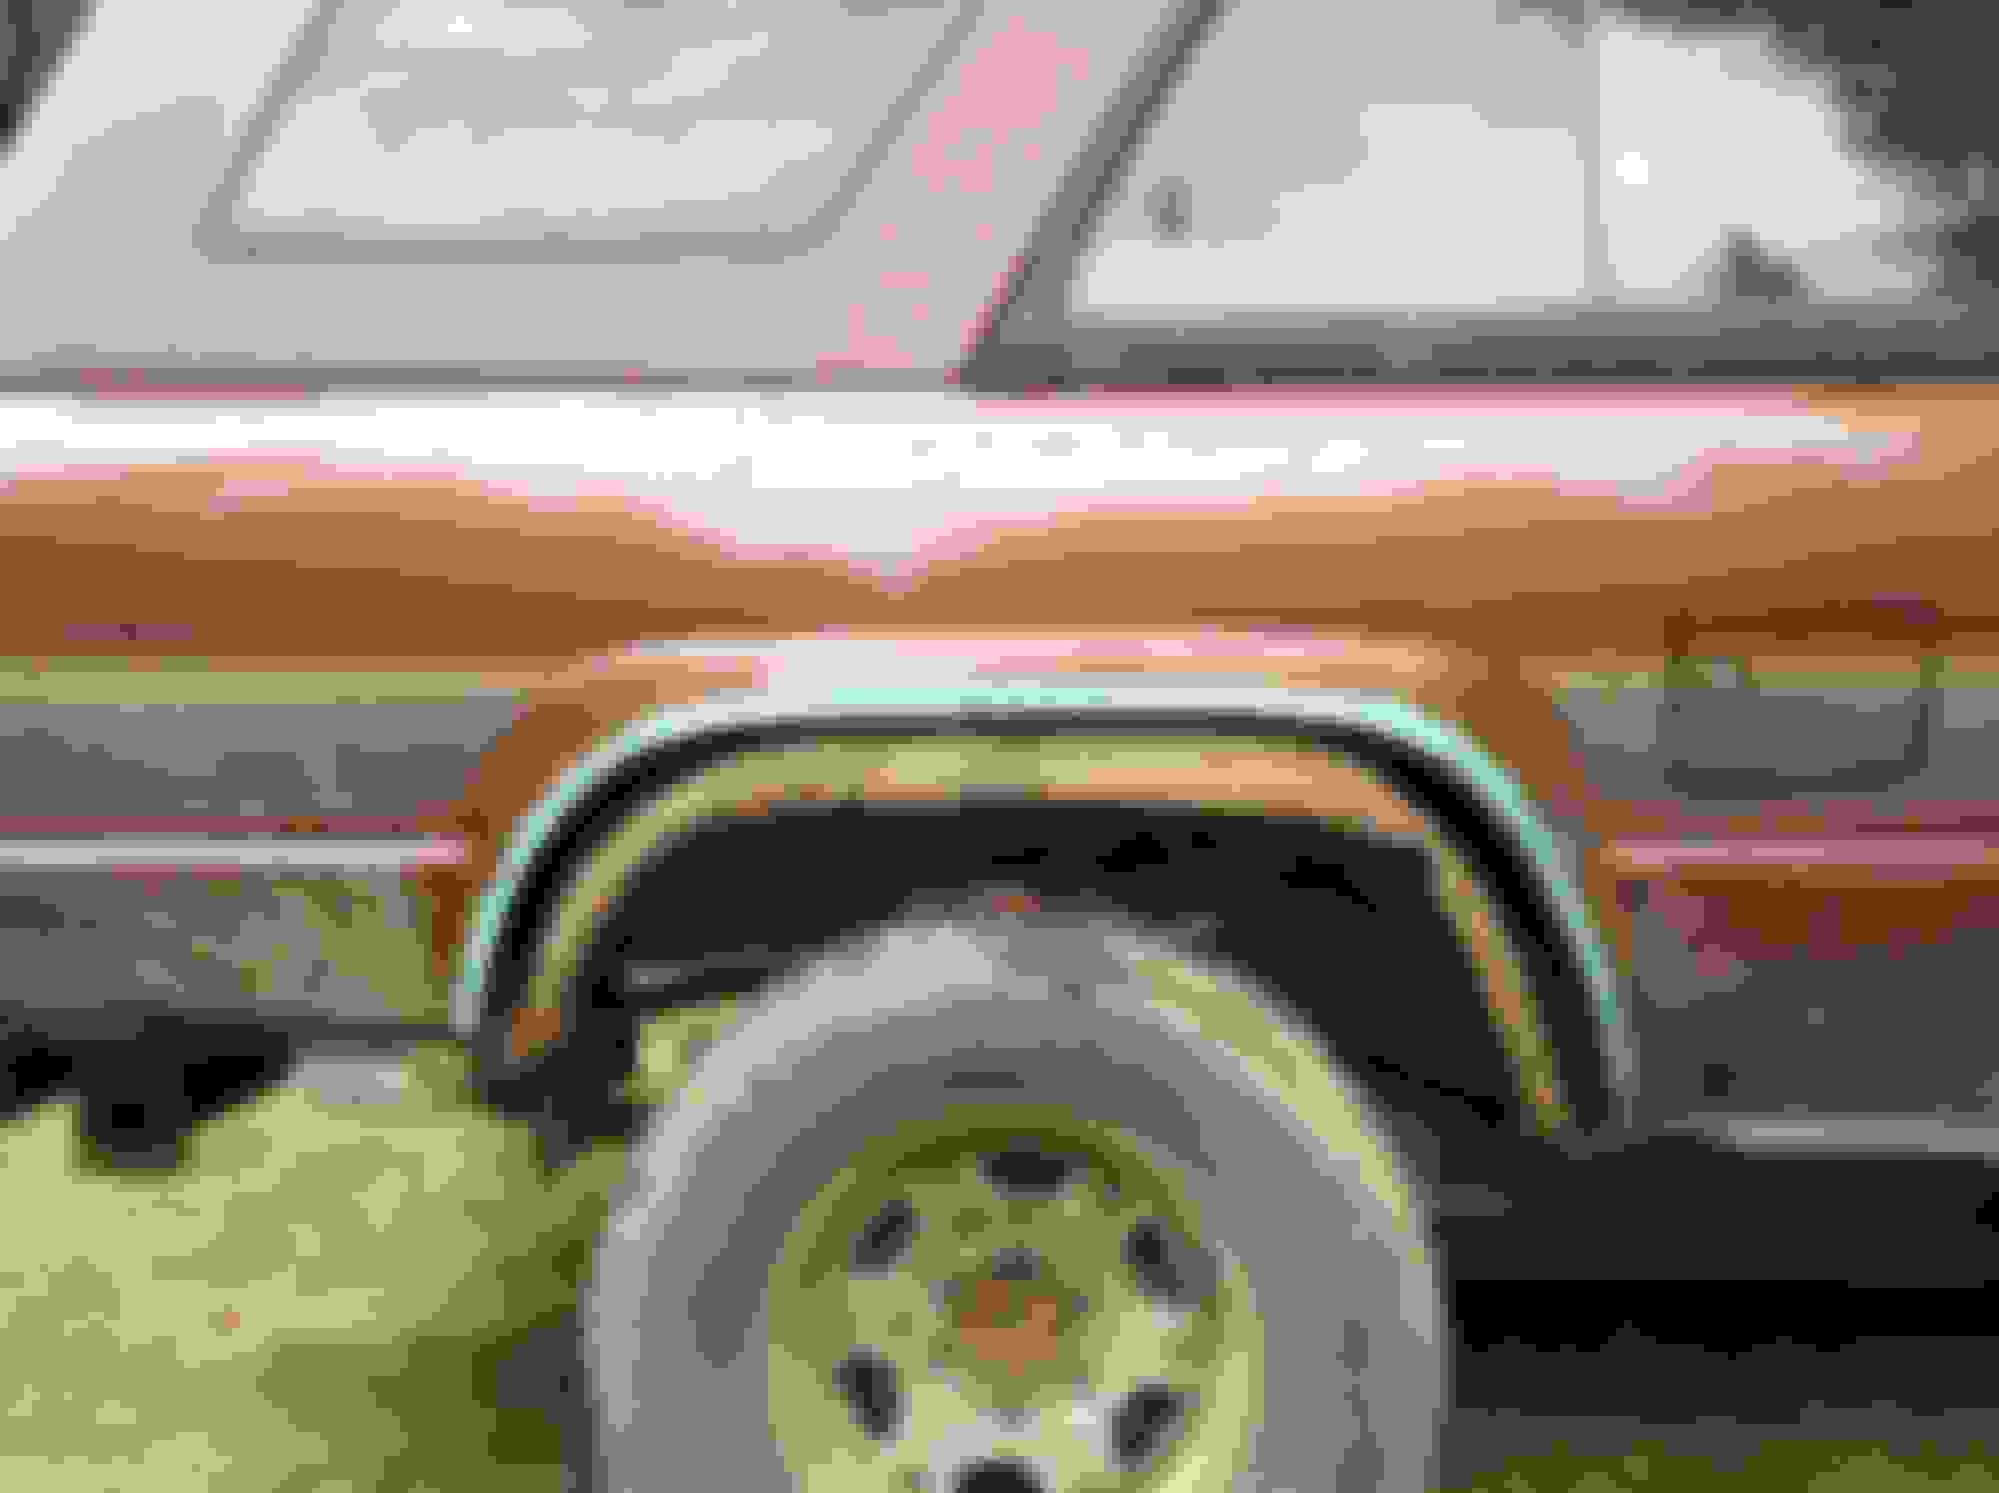
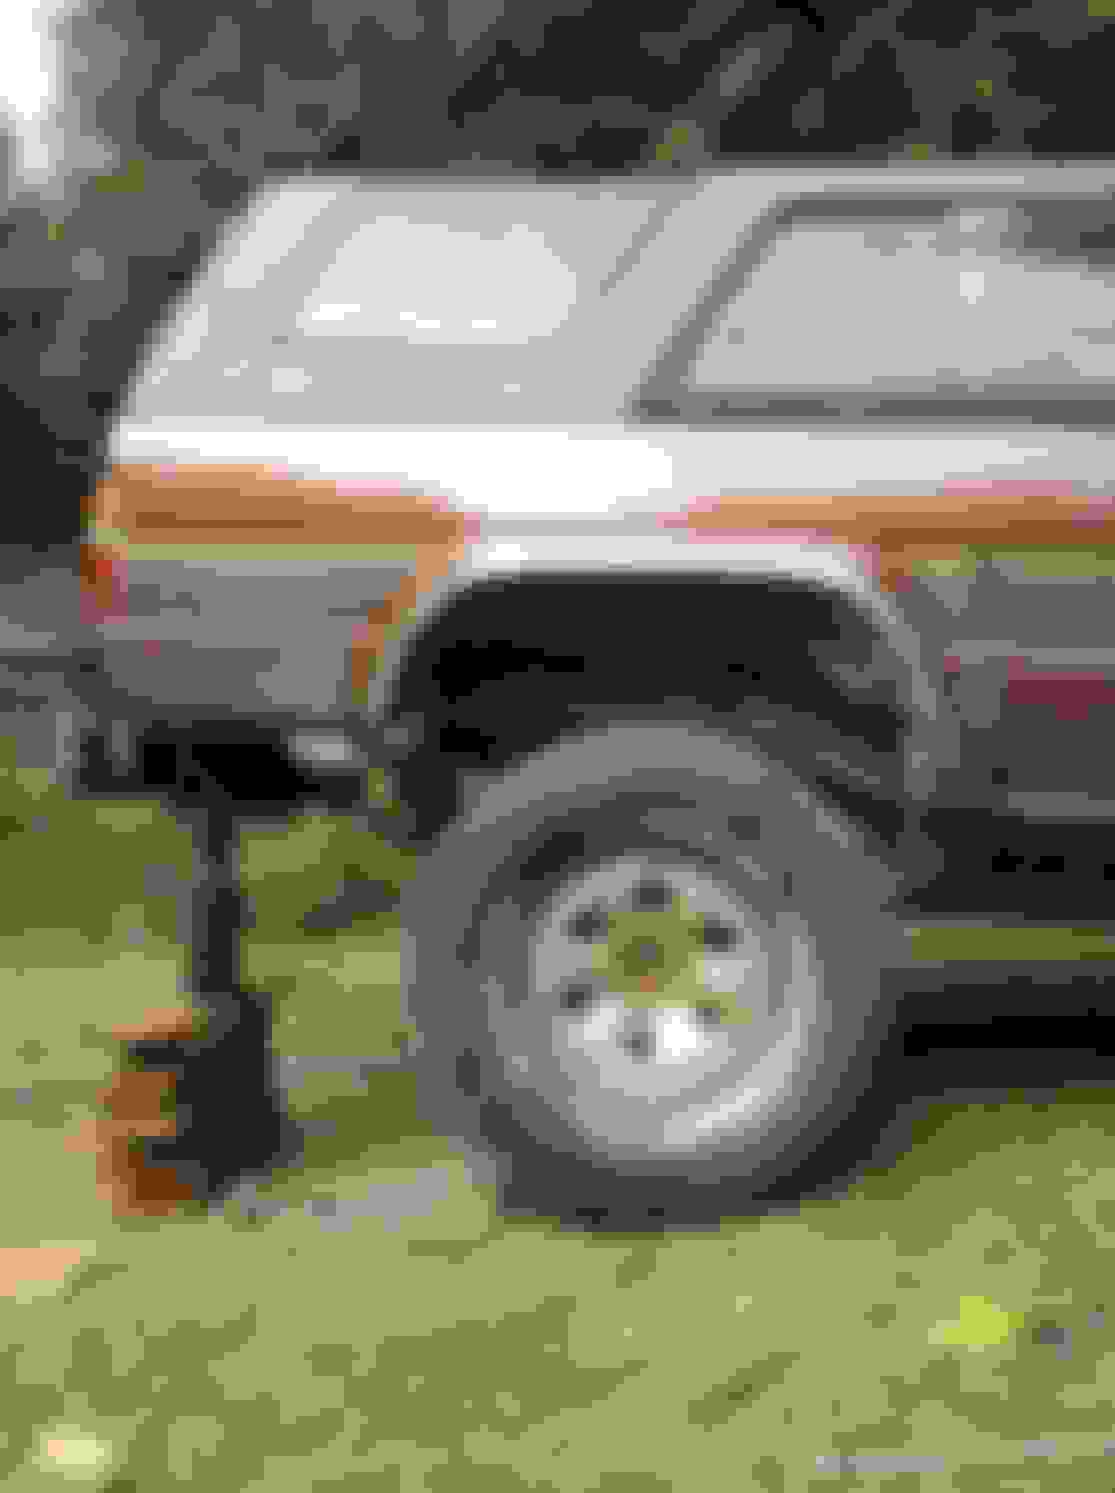
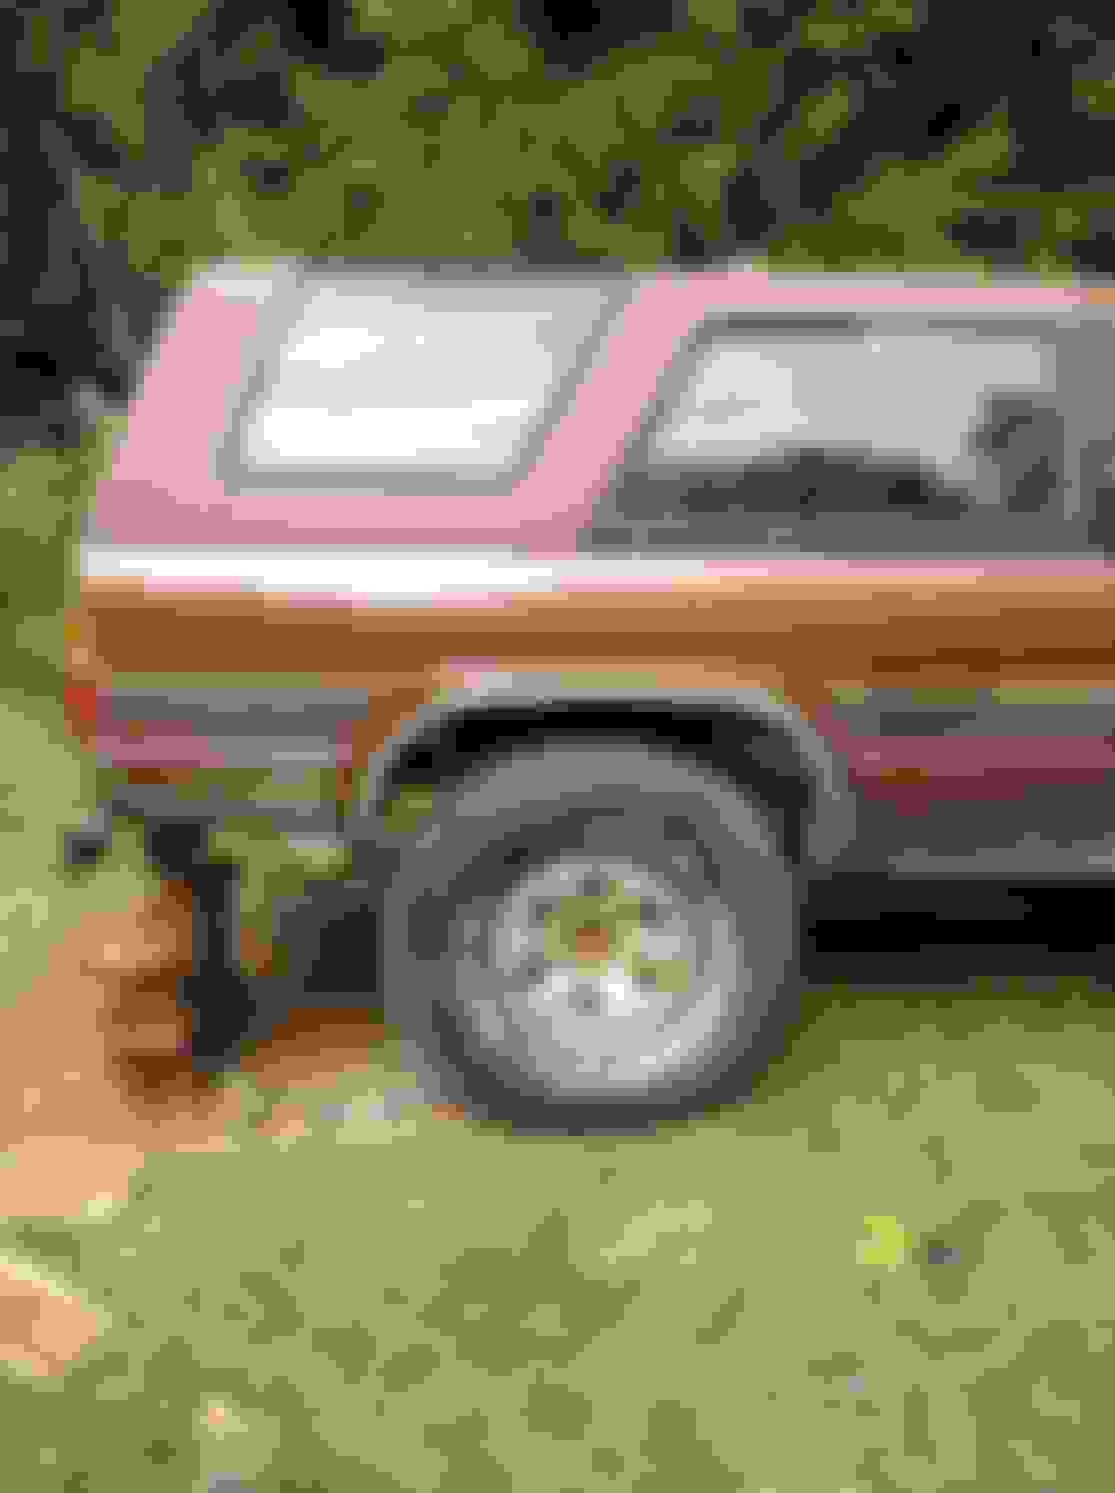
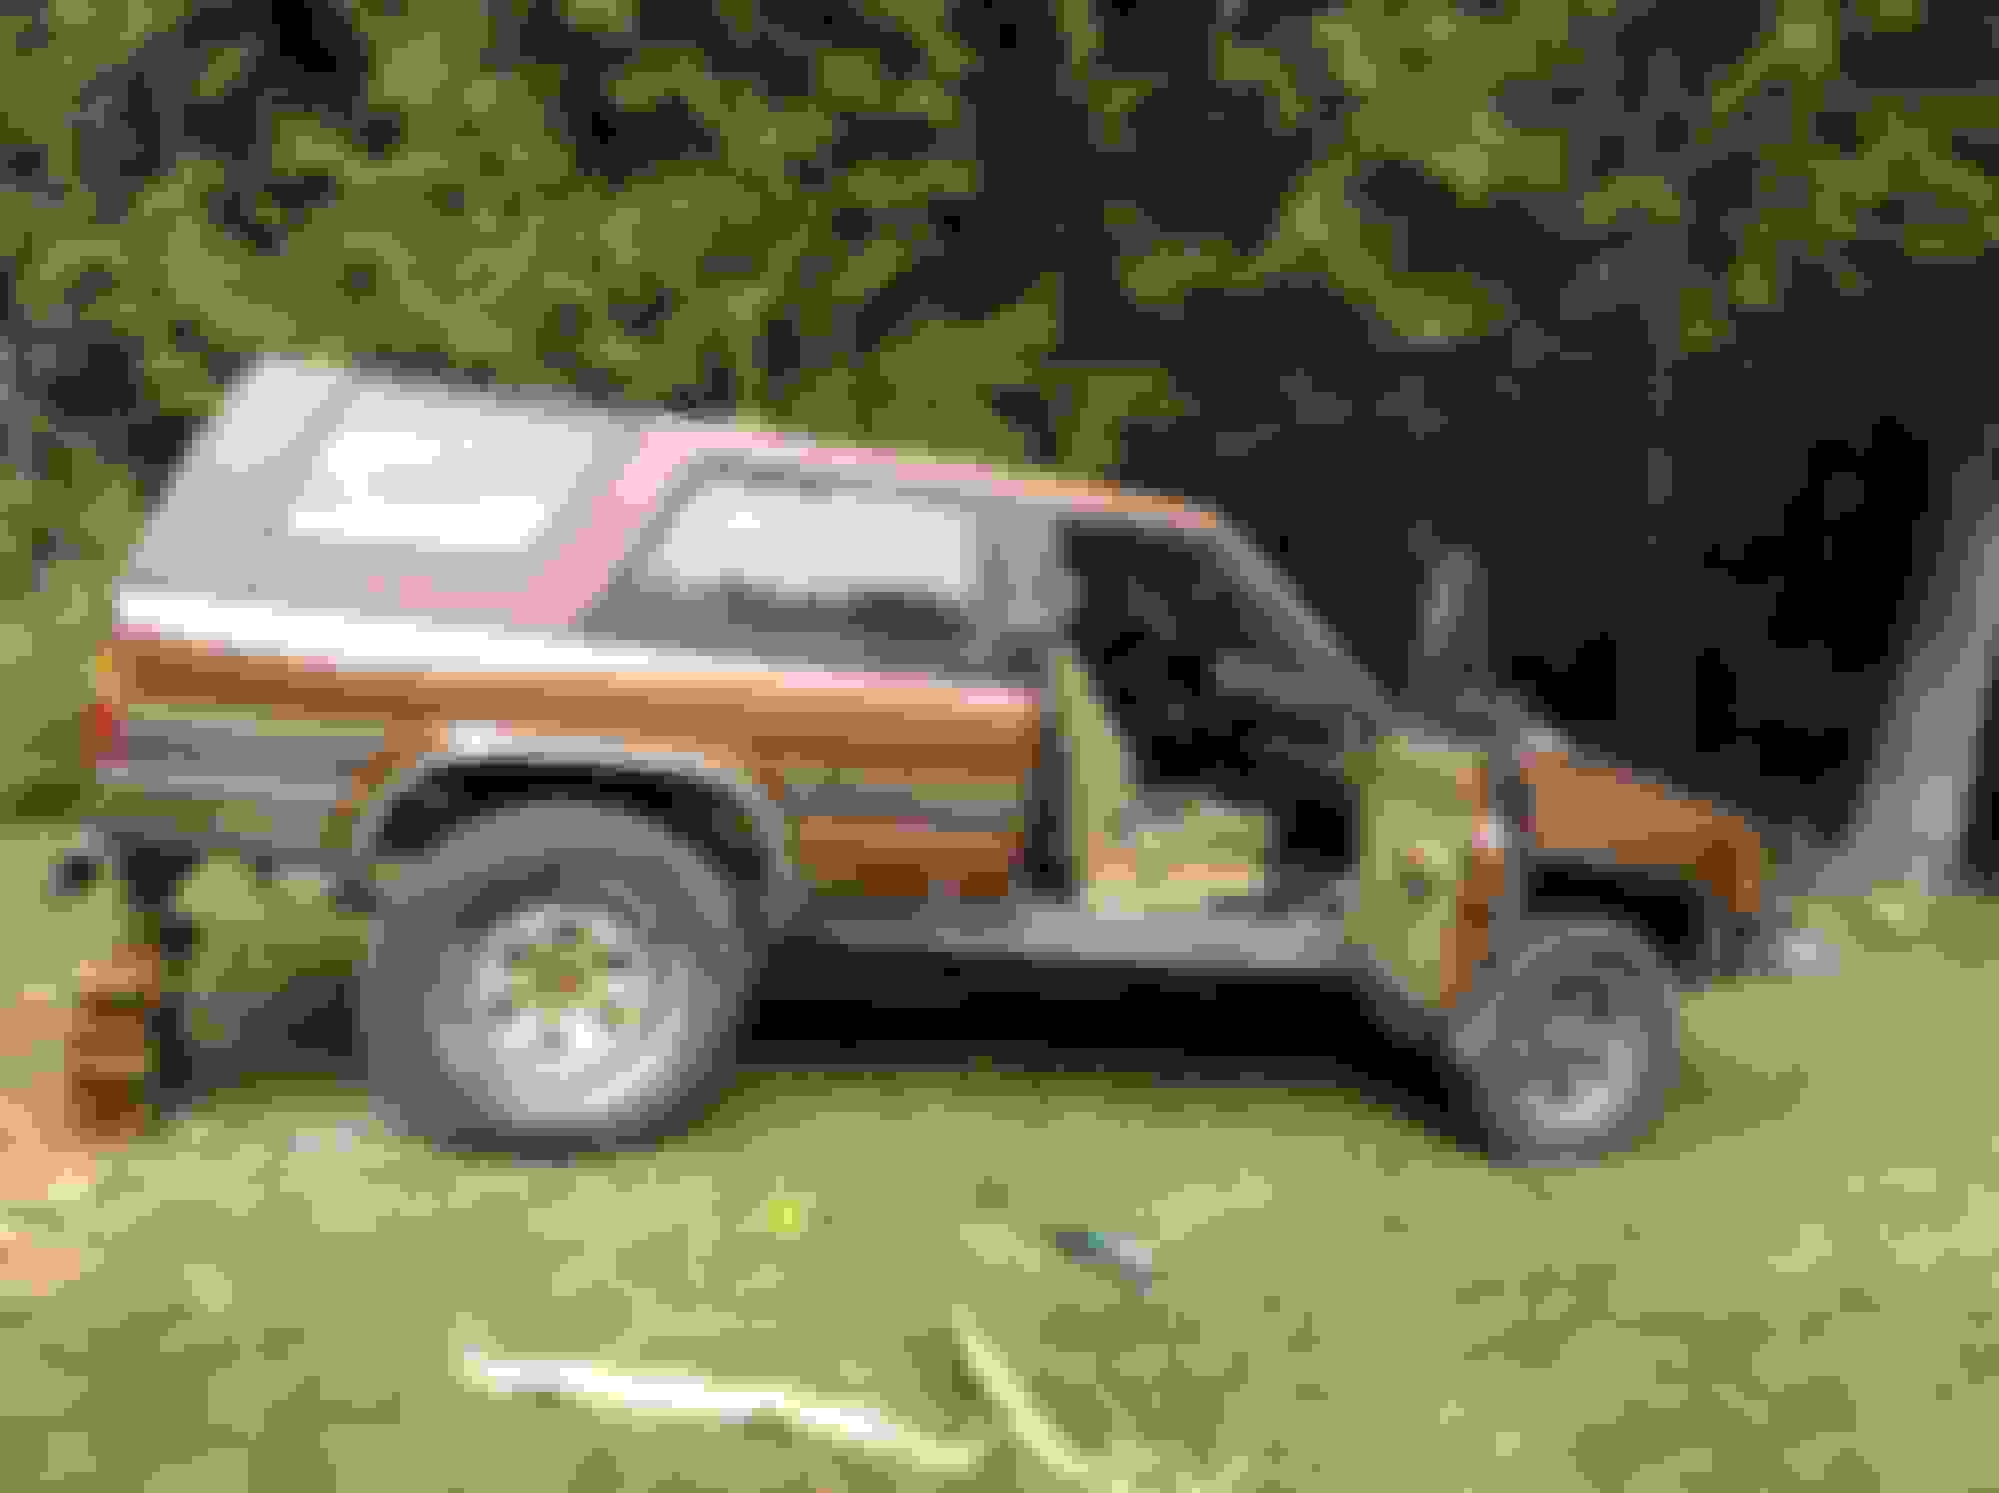
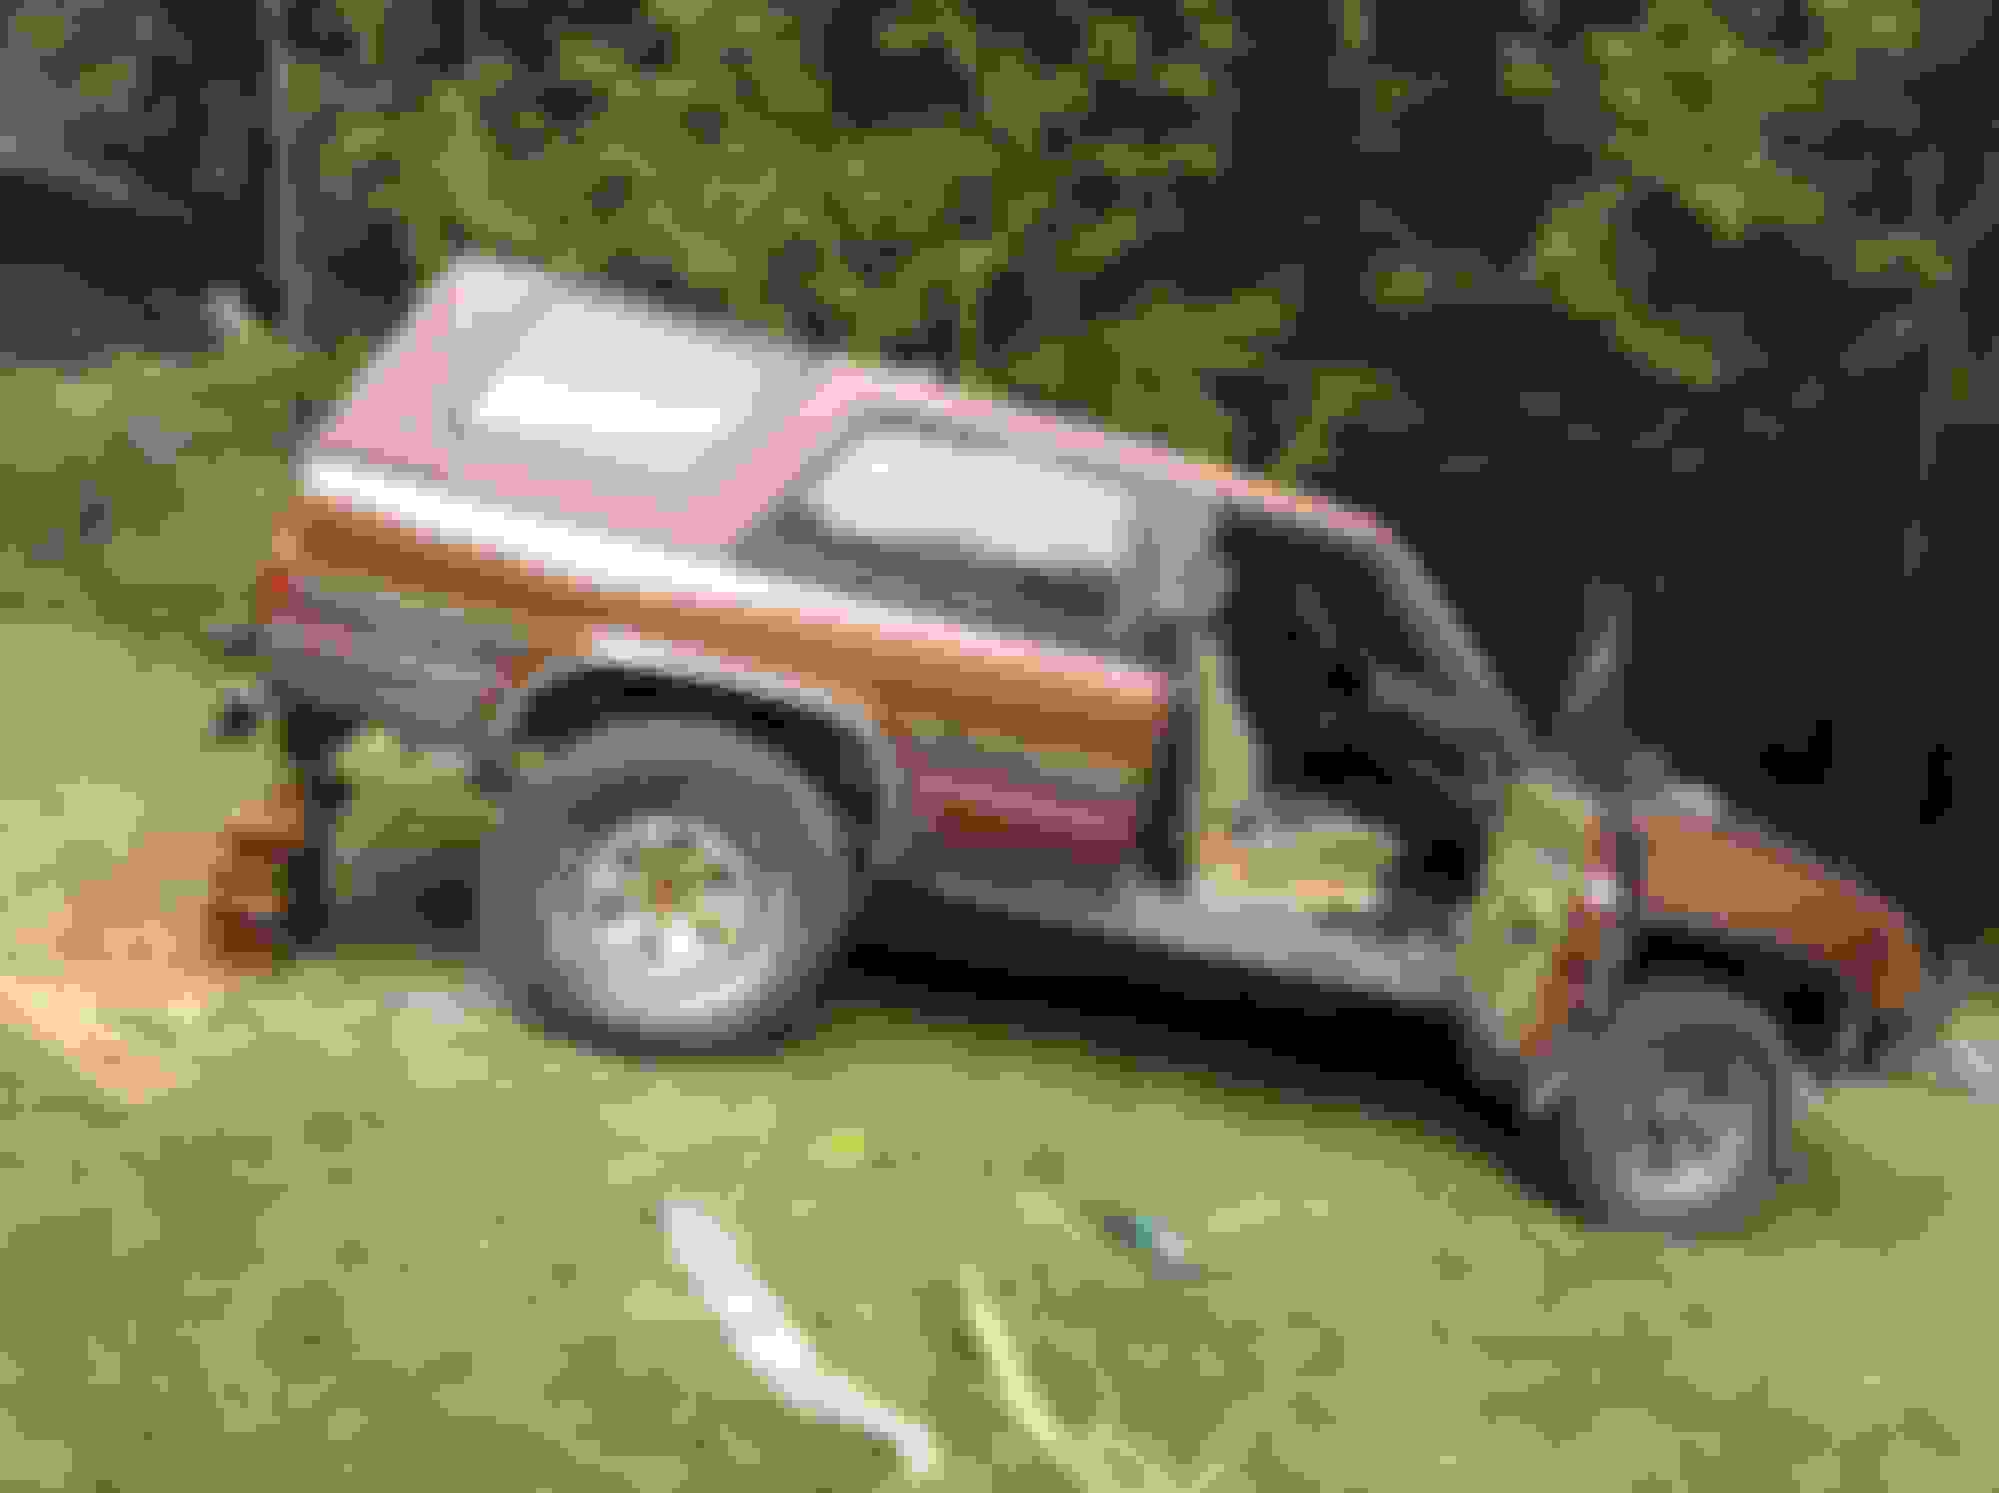
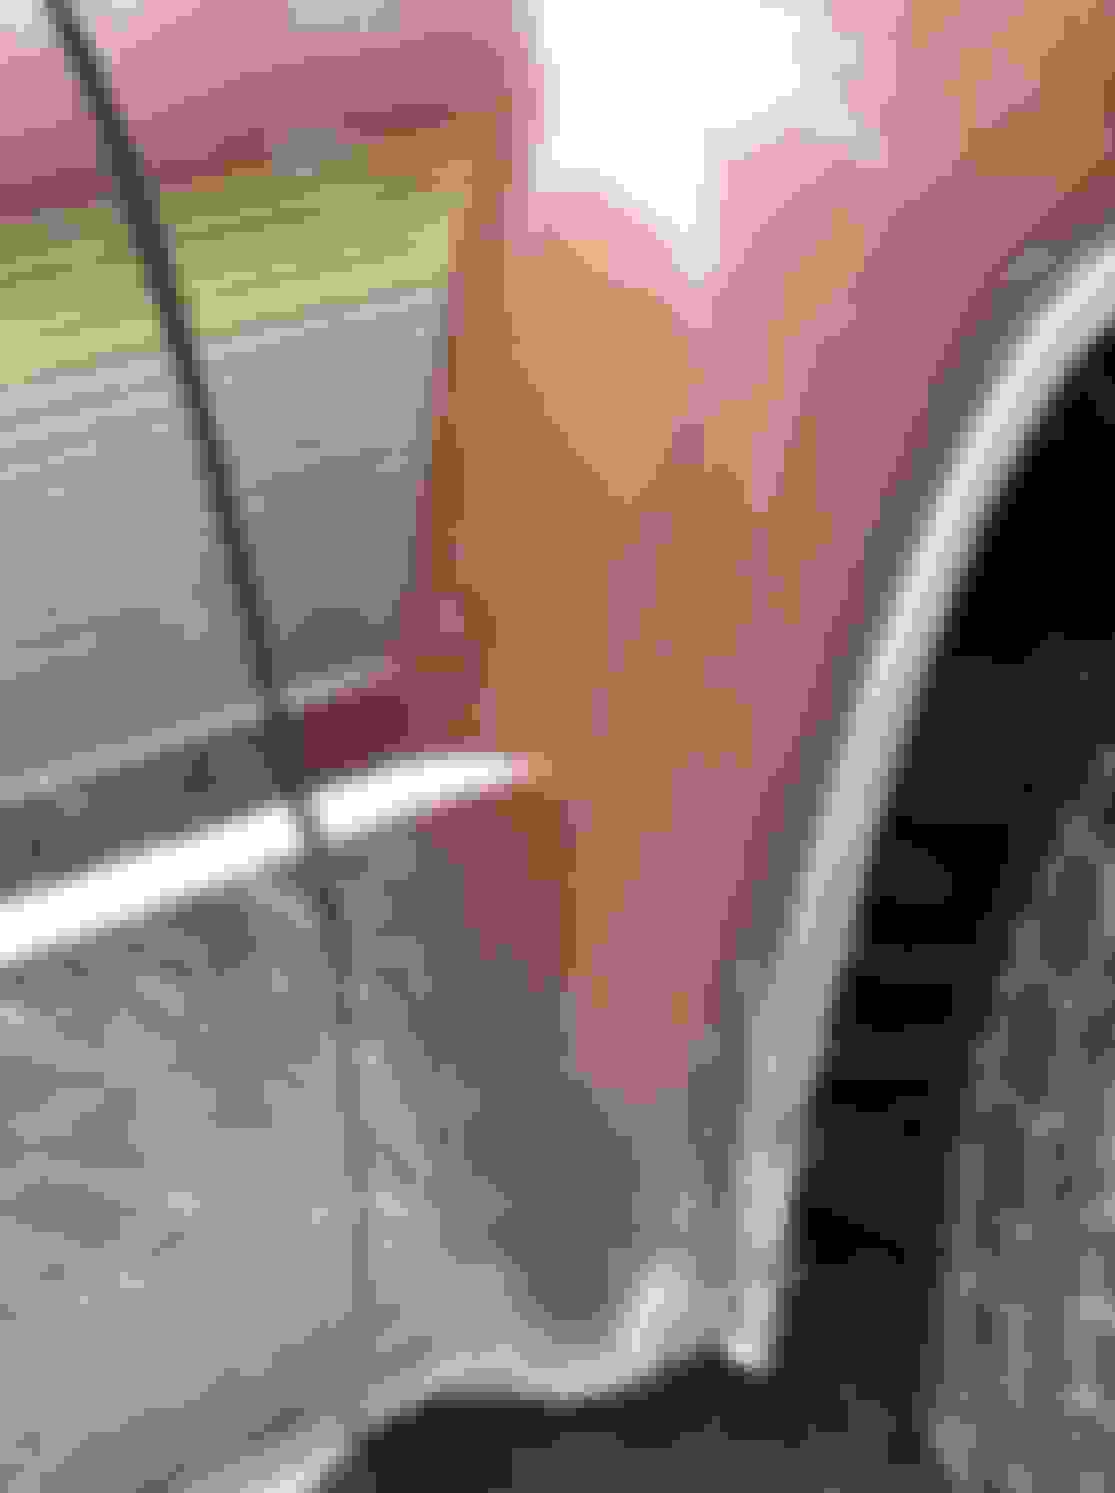
1 down, 3 more to go. I think I did a pretty decent job. I need to take the grinder and some sand paper to touch it up still. I also need to trim the bits off the side as well
Just hack off the bracket it just holds that plastic piece for front bumper
As far as the light you should be fine just note were it bolts, remove it prior to cutting. Even if u can only put the top screw back in ur fine. Funny my bottom screw (close to wear ur cutting) has been gone since I owned it lol only top screw but never had an issue, never noticed til now when I went to look at it prior to posting this.
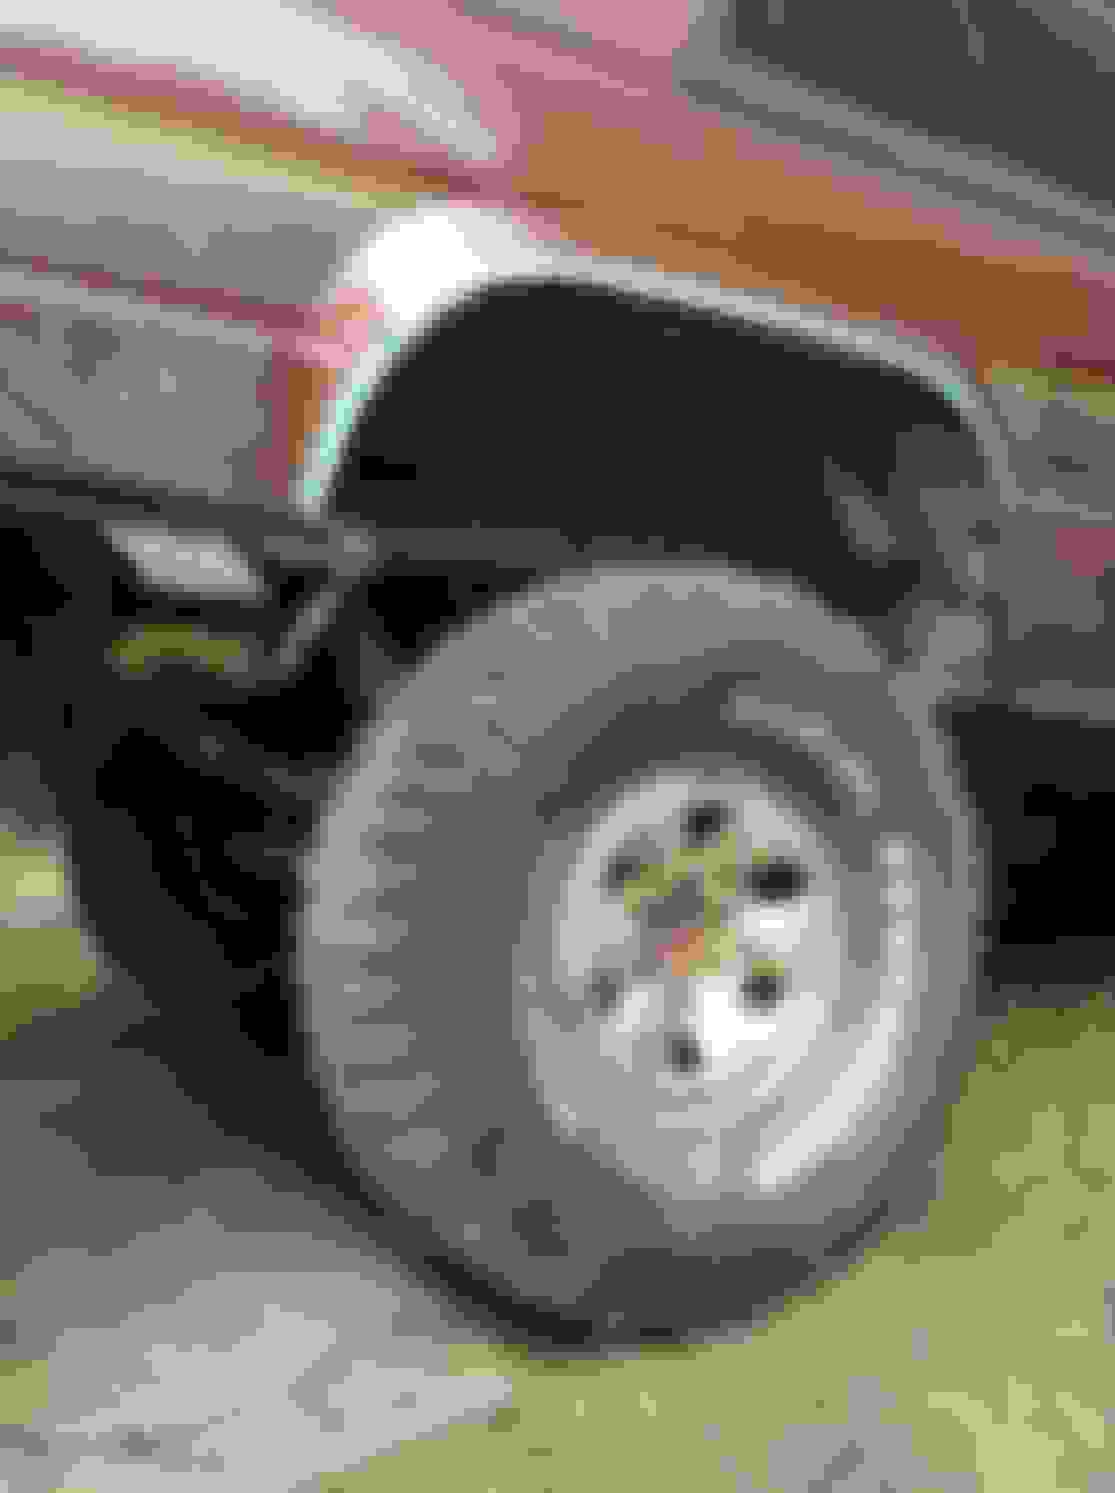
I didn't cut the front much at all. A bit at the bottom back, then bashed it in some with a hammer till it fit at full turn.
How exactly did you go about "bashing" it? Would I have to remove all of the electronic stuff out from the side kick panel? Do you mind if you post a few pics of yours?

 Aug 24, 2016 | 02:10 PM