turnandburn's 84 4runner
 05-19-2009, 07:33 PM
#1
Registered User
Thread Starter

Join Date: Apr 2009
Location: Rocky Mountain House Alberta Canada
Posts: 49
Likes: 0
Received 0 Likes
on
0 Posts
turn1andburn1's 84 4runner
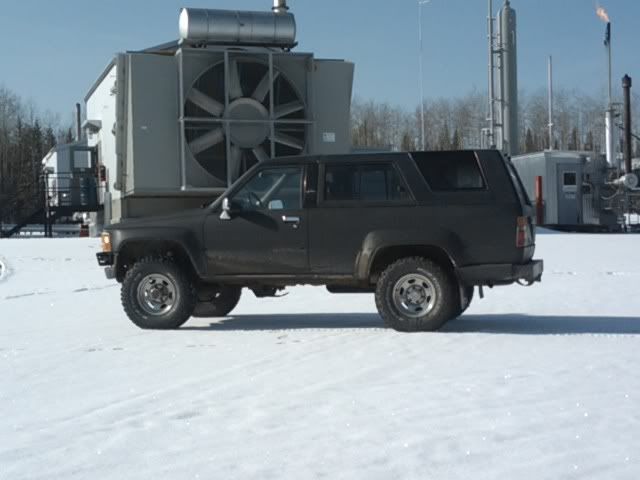
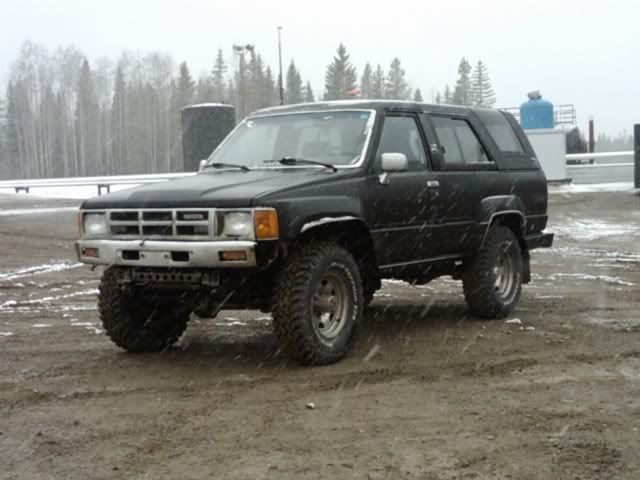
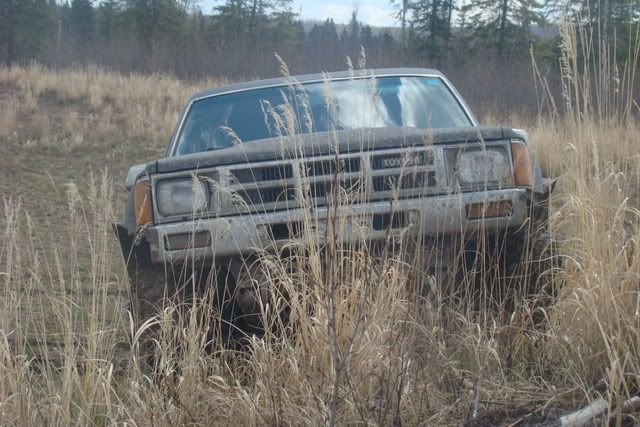
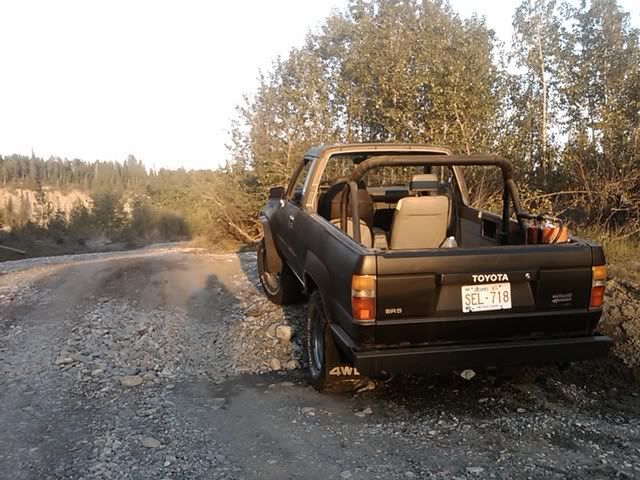
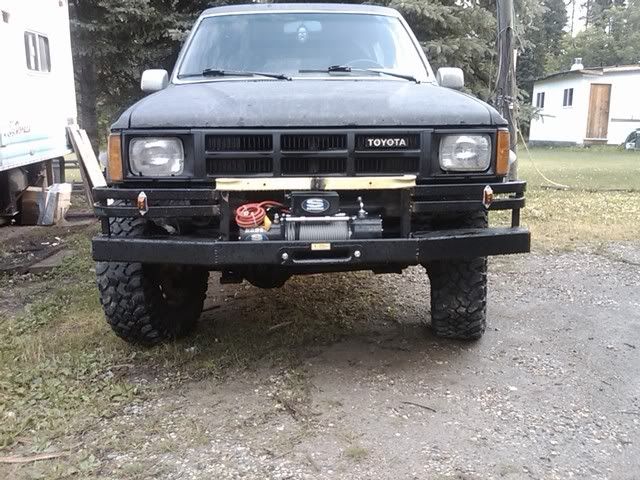
This is my first 4runner and loving it. Its an 84 22R sr5. I bought it in April 09 with 375,000kms on it, with some new parts, front fenders, shocks all round, rear springs, clutch, and 31in BFG MT's. Does not burn oil and runs great. I use it mostly for work, I operate oil, gas wells and gas compressors. Thought it was time to give my 07 Tundra a rest. As far as rust, drivers door has it, a little on the tailgate, and rear wheel wells. Frame looks good and so does floor. Very soon i will be pulling the int. out and fixing all rust i find then rhino lining the floor.
Future mods:
4.88 gears
Rear locker
33in Tires
If i can find a 2in lift, don't want to go any higher
Buy used 22r and rebuild, run mine till it gives and replace.
Second day of ownership
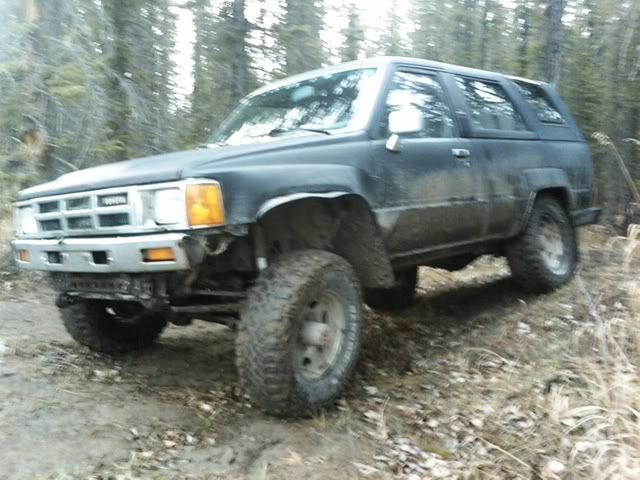
First time flexing on purpose haha booo
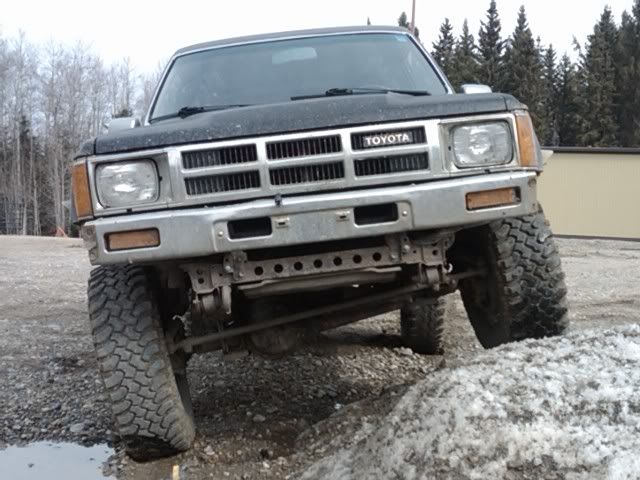
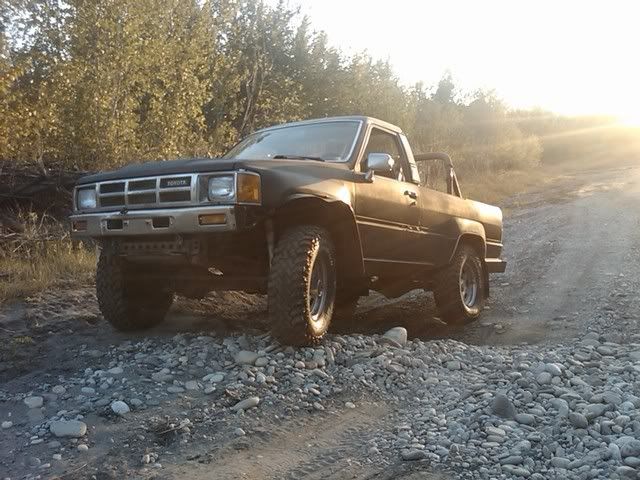
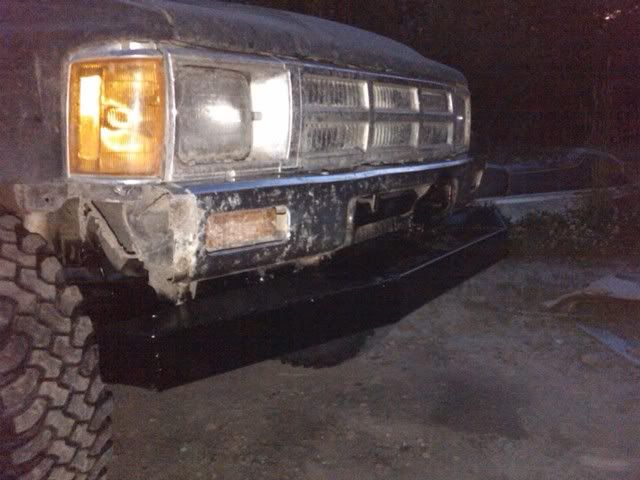
I took off the ugly front valence
I got sick of mud covering my side windows so i put on some long john mud flaps.
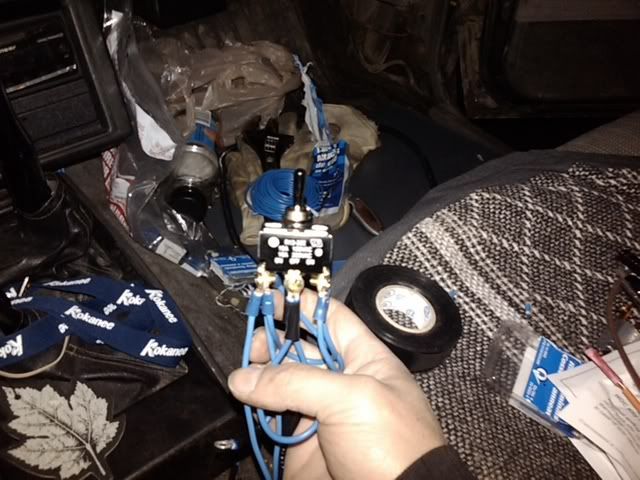
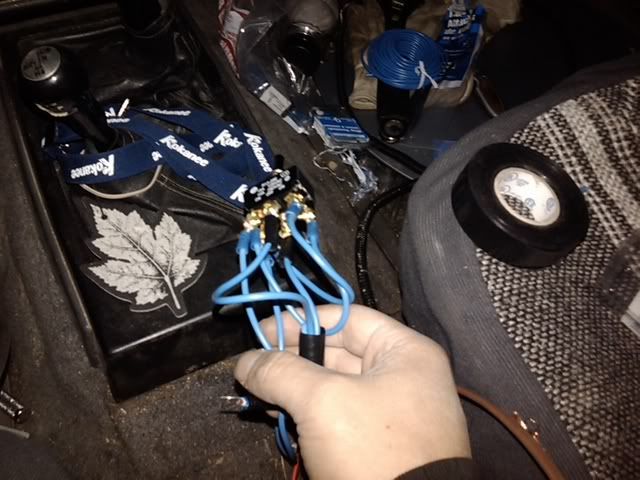
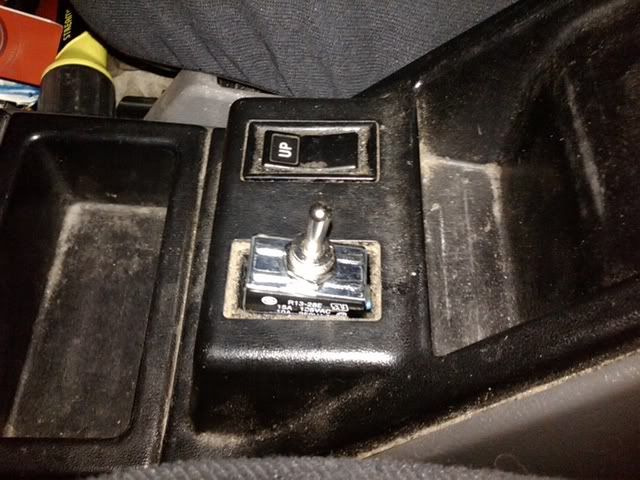
My rear window didn't work so after testing the motor and it worked, i started testing wires starting at the switch, nothing, i tried hooking up power wire from batt to switch still nothing. Probably broken wires, not to mention the saftey's that don't allow it to roll down. So i bought a ON OFF ON switch with 6 prongs and wired it direct from the battery to the motor. Works great.
Future mods:
4.88 gears
Rear locker
33in Tires
If i can find a 2in lift, don't want to go any higher
Buy used 22r and rebuild, run mine till it gives and replace.
Second day of ownership
First time flexing on purpose haha booo
I took off the ugly front valence
I got sick of mud covering my side windows so i put on some long john mud flaps.
My rear window didn't work so after testing the motor and it worked, i started testing wires starting at the switch, nothing, i tried hooking up power wire from batt to switch still nothing. Probably broken wires, not to mention the saftey's that don't allow it to roll down. So i bought a ON OFF ON switch with 6 prongs and wired it direct from the battery to the motor. Works great.
Last edited by turn1andburn1; 05-19-2009 at 07:54 PM.
 05-19-2009, 07:37 PM
#2
Registered User
Thread Starter
Join Date: Apr 2009
Location: Rocky Mountain House Alberta Canada
Posts: 49
Likes: 0
Received 0 Likes
on
0 Posts
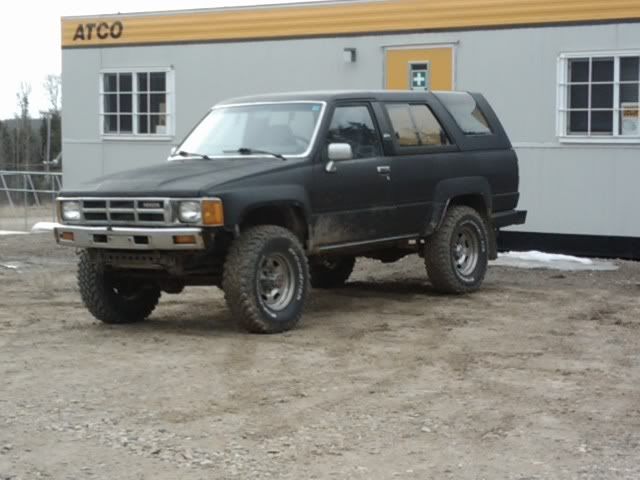
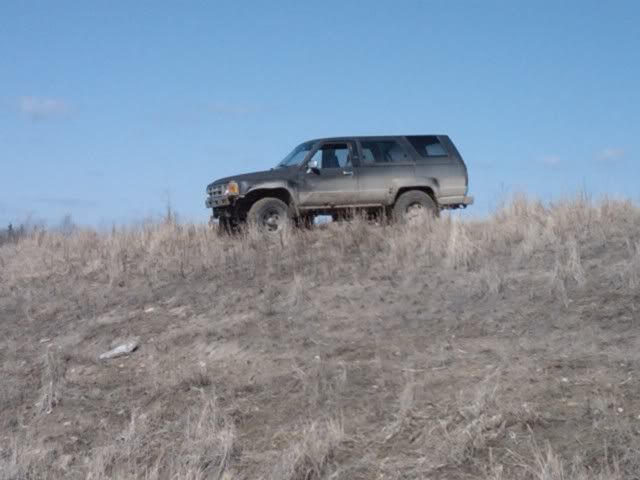
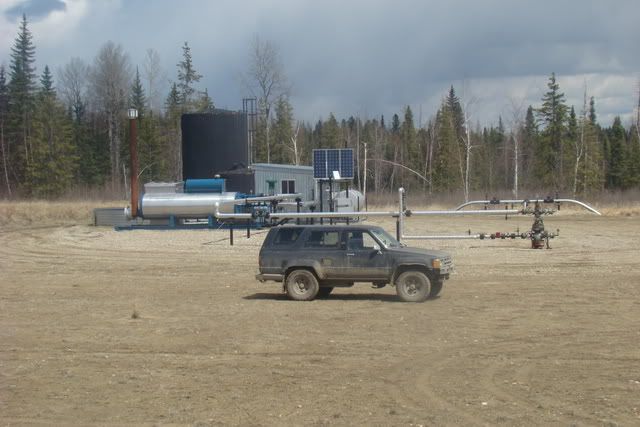
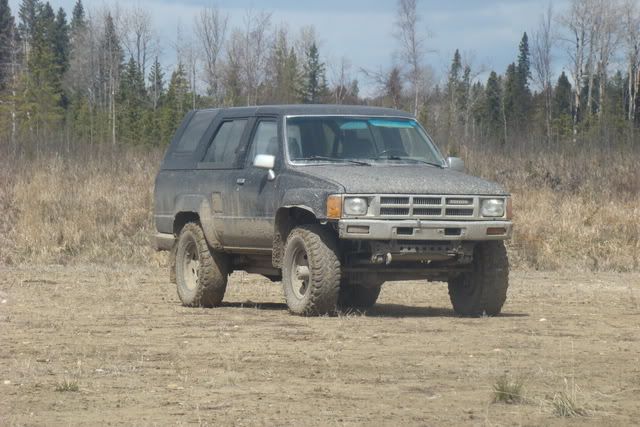
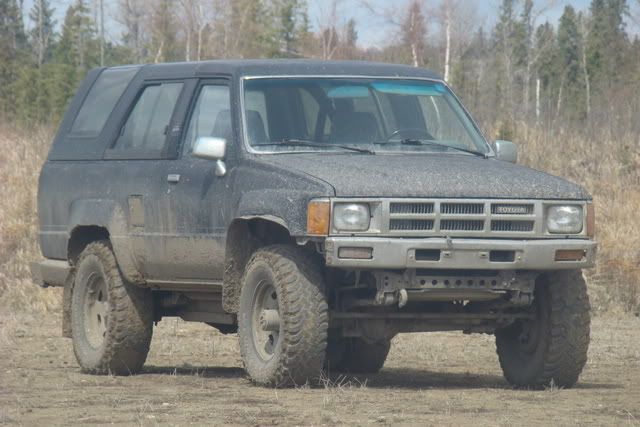
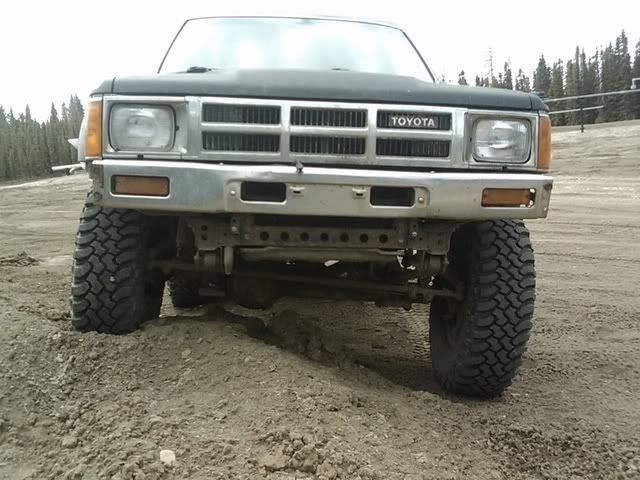
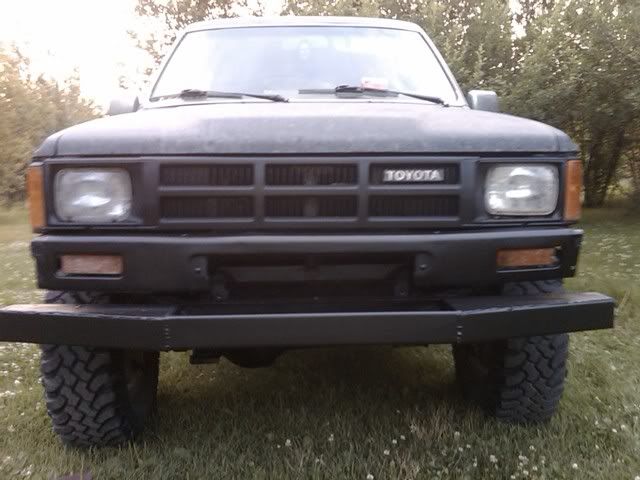
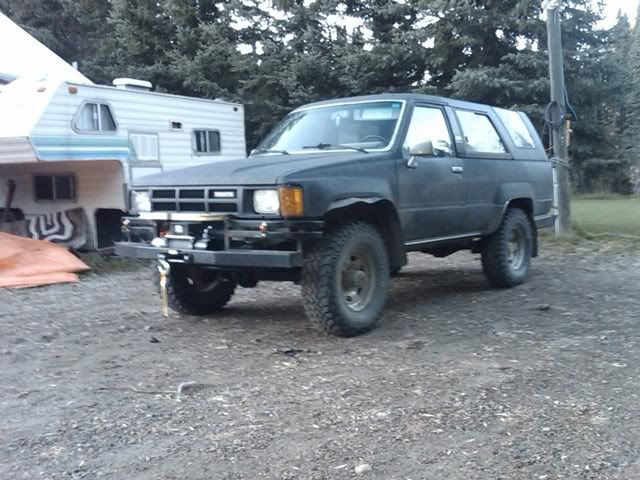
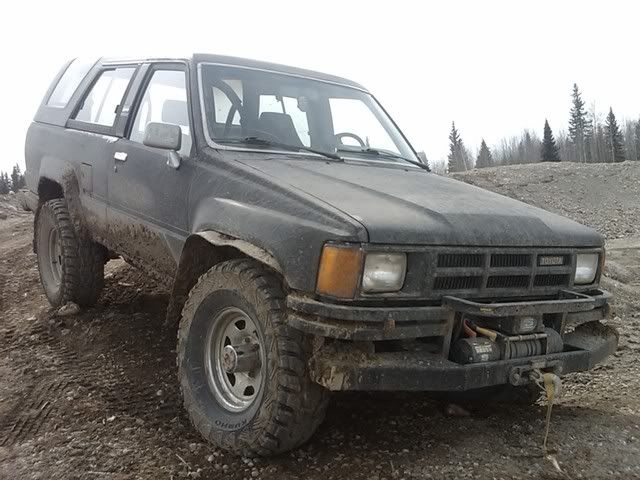
Im hoping to do my first trail run in the runner on the weekend and hopefully get some pics. For now all i got are some poser shots at work.
 05-19-2009, 07:44 PM
#4
Registered User
Thread Starter
Join Date: Apr 2009
Location: Rocky Mountain House Alberta Canada
Posts: 49
Likes: 0
Received 0 Likes
on
0 Posts
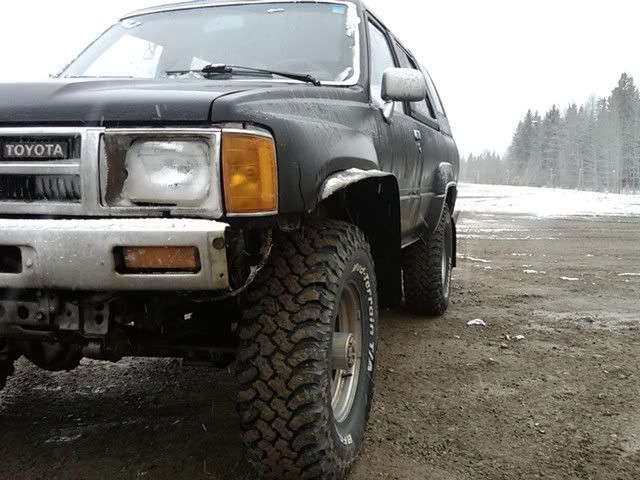
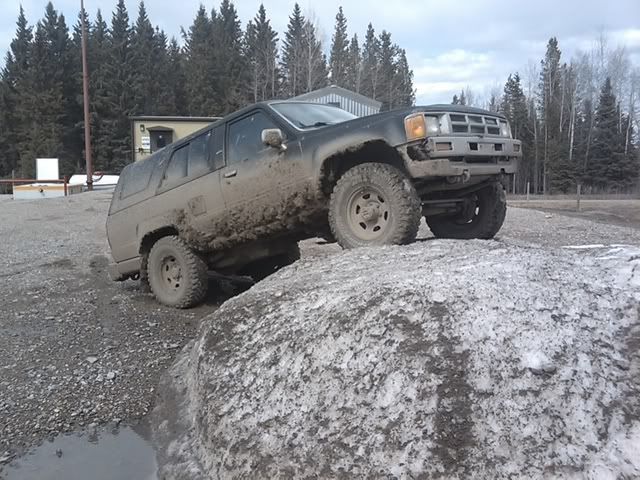
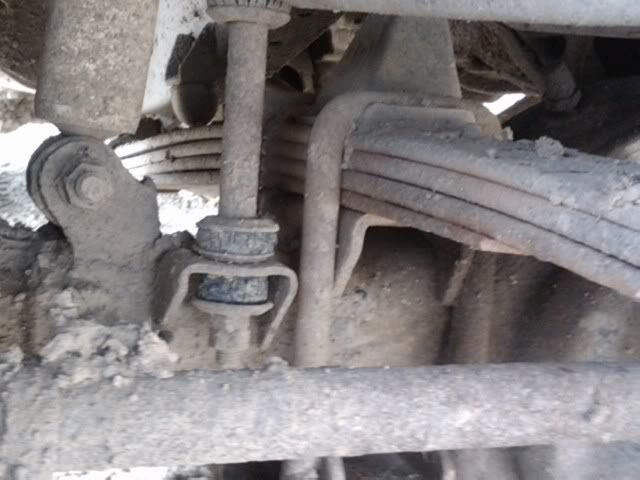
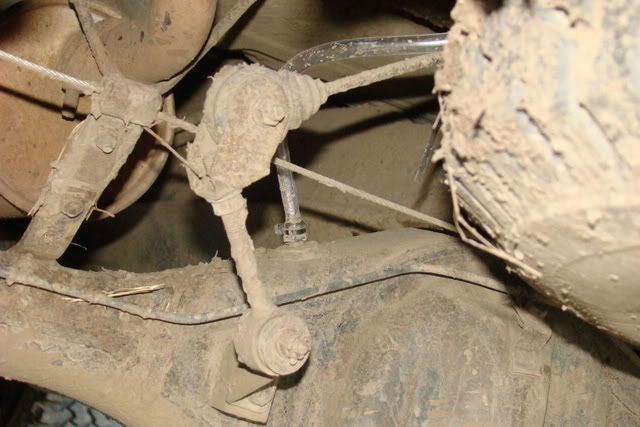
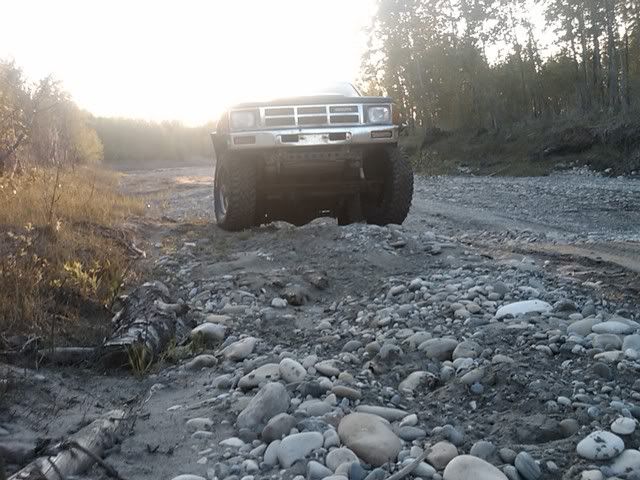
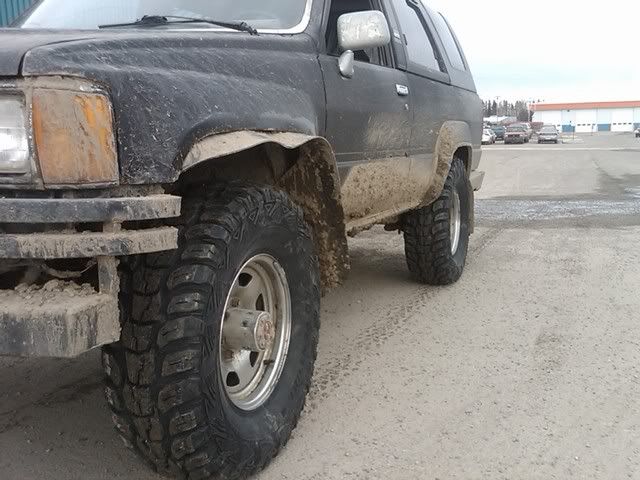
Ok so i think i need some new front springs. Sitting on level ground the springs are pretty straight and sometimes look a little on the negative arch side. This pic was takin while flexing very little.
05-23-2009, 07:14 PM
#5
Registered User
Thread Starter
Join Date: Apr 2009
Location: Rocky Mountain House Alberta Canada
Posts: 49
Likes: 0
Received 0 Likes
on
0 Posts
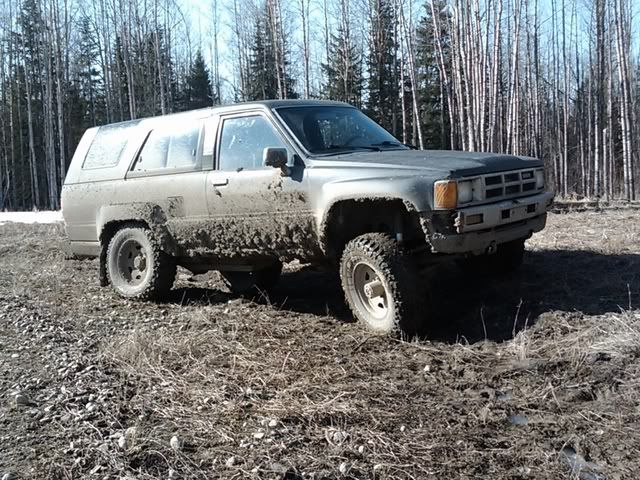
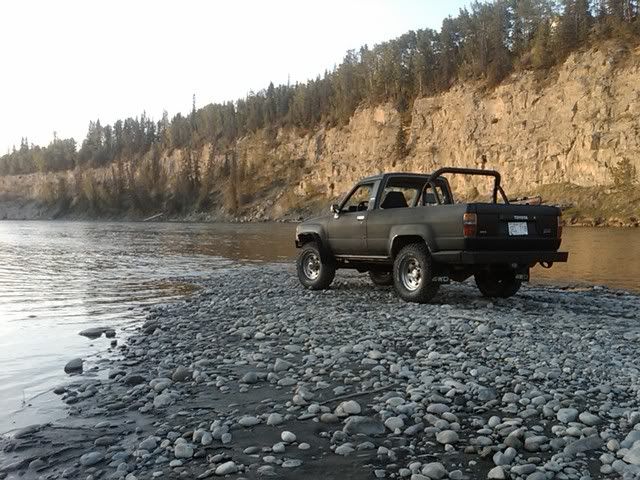
Not pics from todays trail run.
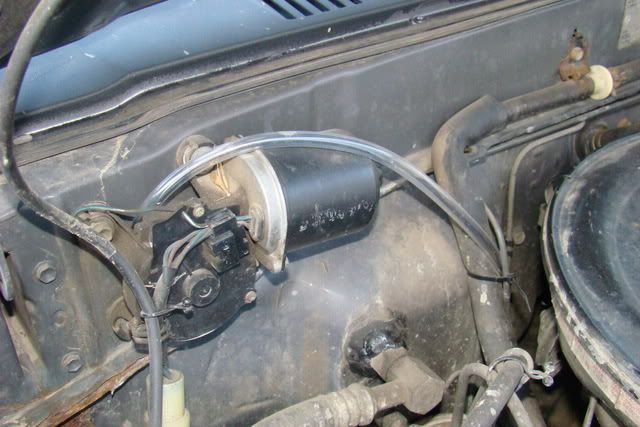
I extended my front and rear diff breathers a few day ago. I took off the little cap on the factory breather and took out to the spring and rubber. I used 1/4in hose and had to heat up the end to get it over the flared end of the stock fitting and used a zip tie to finnish it off.
Front, i run it up into the engine bay and wrapped it around the wiper motor.
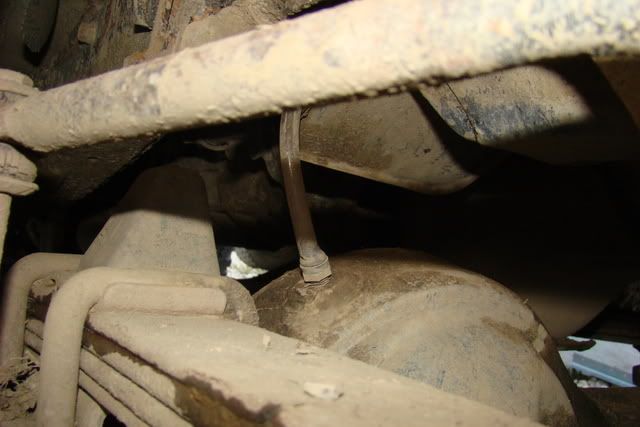
Rear, i run this one up and through the frame and then up into the tail gate were the wires for the window motor are.
I extended my front and rear diff breathers a few day ago. I took off the little cap on the factory breather and took out to the spring and rubber. I used 1/4in hose and had to heat up the end to get it over the flared end of the stock fitting and used a zip tie to finnish it off.
Front, i run it up into the engine bay and wrapped it around the wiper motor.
Rear, i run this one up and through the frame and then up into the tail gate were the wires for the window motor are.
Last edited by turn1andburn1; 05-23-2009 at 07:16 PM.
05-23-2009, 07:19 PM
#6
Registered User
Thread Starter
Join Date: Apr 2009
Location: Rocky Mountain House Alberta Canada
Posts: 49
Likes: 0
Received 0 Likes
on
0 Posts
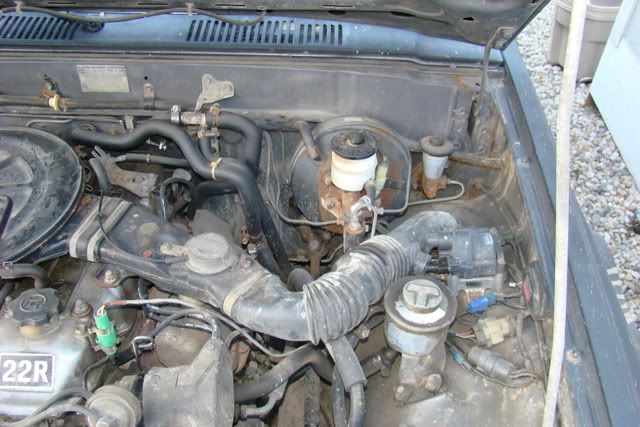
I turned around the air intake for the engine today before i hit the trail so she wouldn't take a drink. Works for now till i can fab something up. I all so put in a new filter today, man what a difference, the old one was pretty dirty.

05-26-2009, 07:55 PM
#7
Registered User
Thread Starter
Join Date: Apr 2009
Location: Rocky Mountain House Alberta Canada
Posts: 49
Likes: 0
Received 0 Likes
on
0 Posts
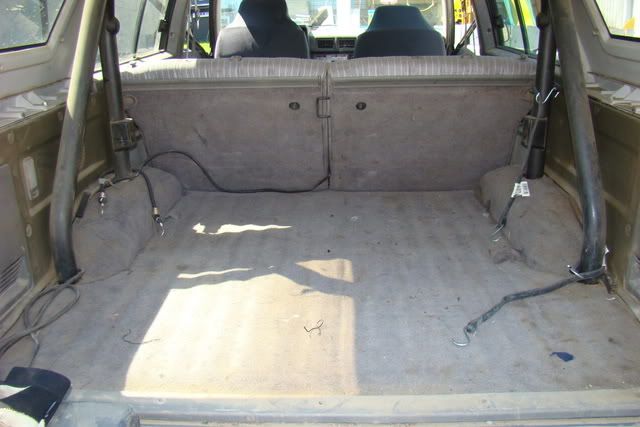
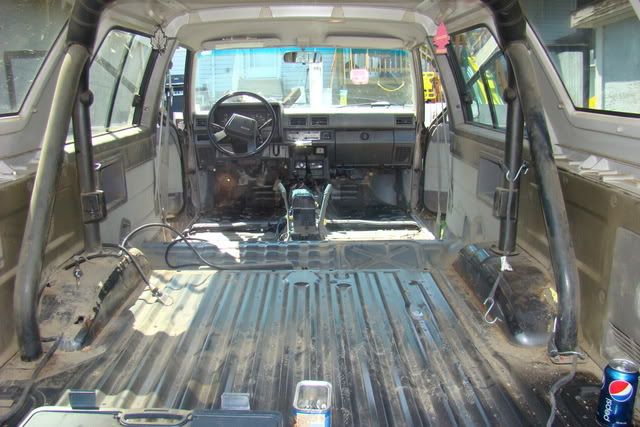
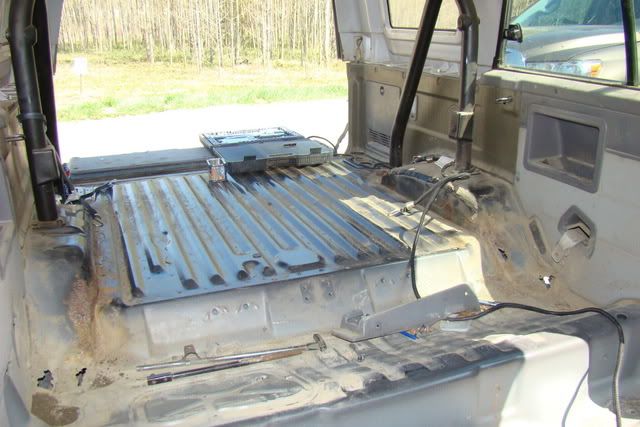
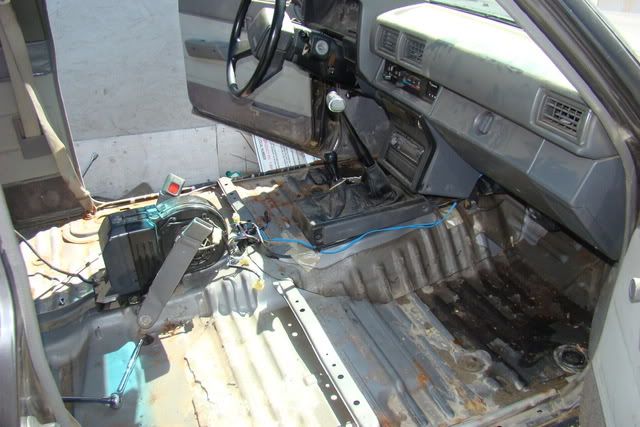
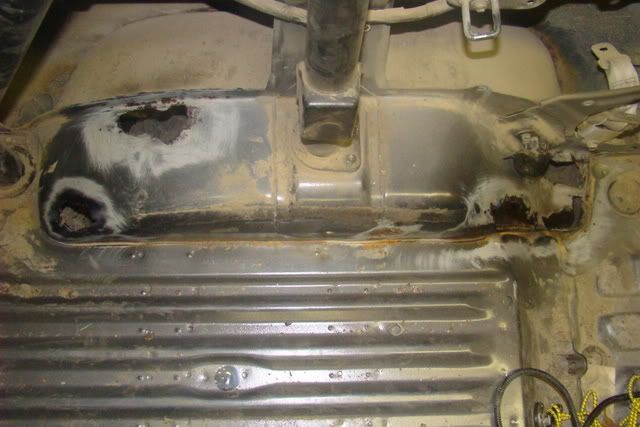
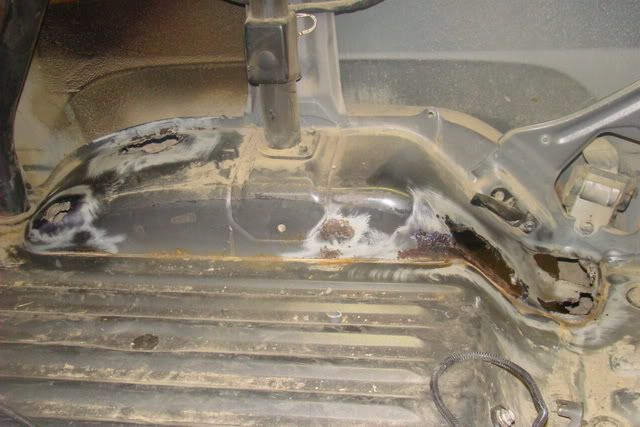
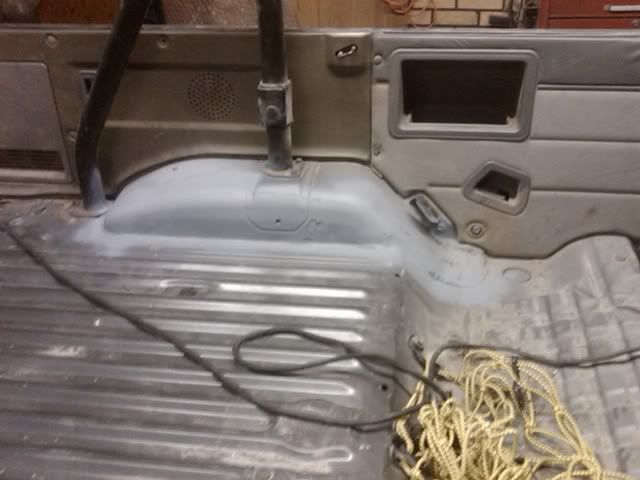
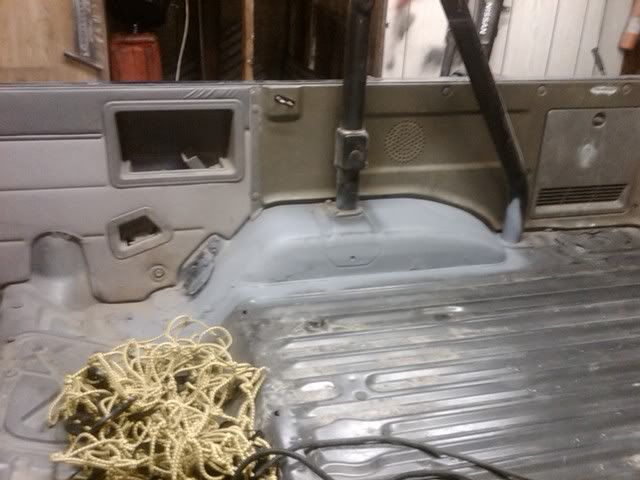
So its time to rip up the carpet to expose the holes. I expected it to be alot worse. Most of the the rot was found on the rear wheels wells, on the drivers side front fender well/fire wall above the clutch pedal. The drives side floor up front has some surface rust but not real holes. I got some work ahead of me but its not as bad as i thought it would be.
Under the rear seat, its like that on both sides
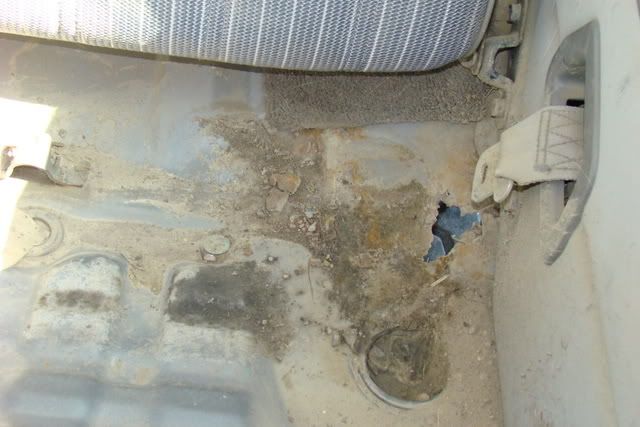
Under the rear seat, its like that on both sides
Trending Topics
05-26-2009, 07:59 PM
#8
Registered User
Thread Starter
Join Date: Apr 2009
Location: Rocky Mountain House Alberta Canada
Posts: 49
Likes: 0
Received 0 Likes
on
0 Posts
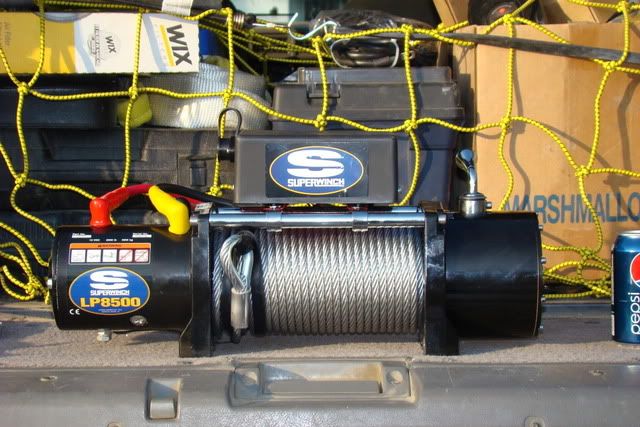
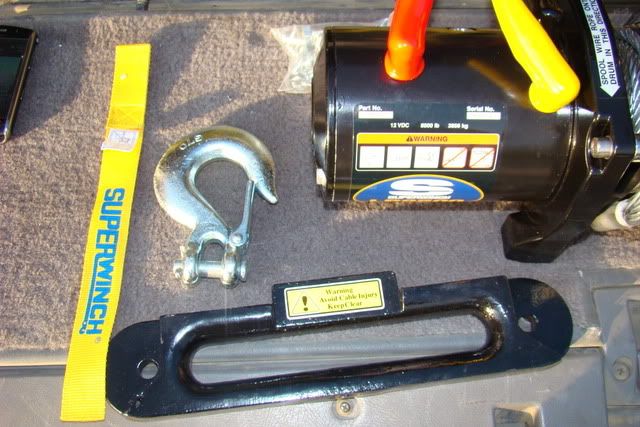
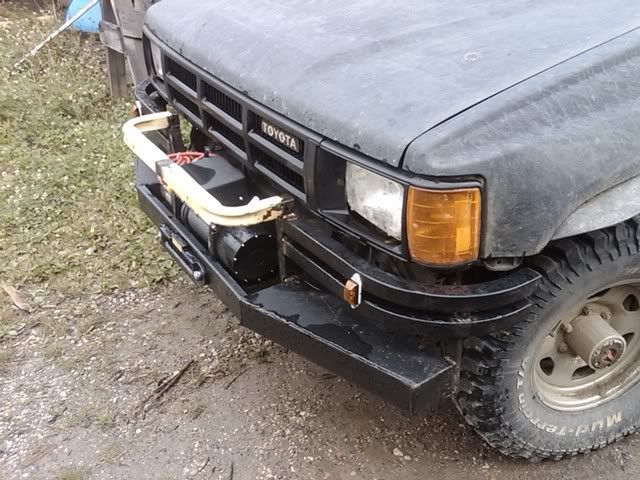
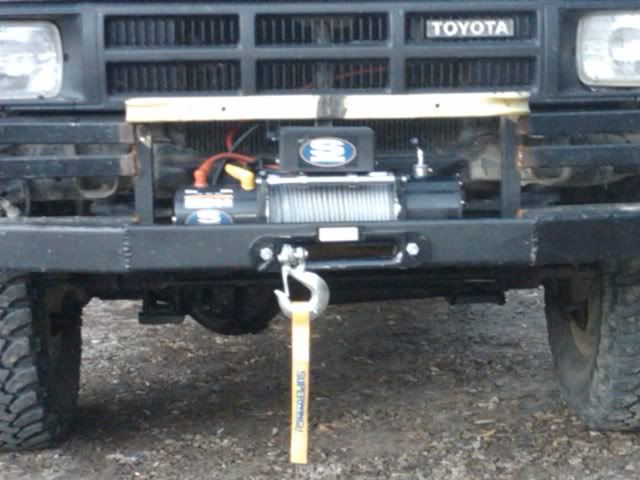
Look what i brought home yesterday. Im not much of a fab guy, so my father will be helping me construct a simple winch bumper. Should be fun.
SuperWinch LP8500
SuperWinch LP8500
09-27-2009, 06:53 PM
#9
Registered User
Thread Starter
Join Date: Apr 2009
Location: Rocky Mountain House Alberta Canada
Posts: 49
Likes: 0
Received 0 Likes
on
0 Posts
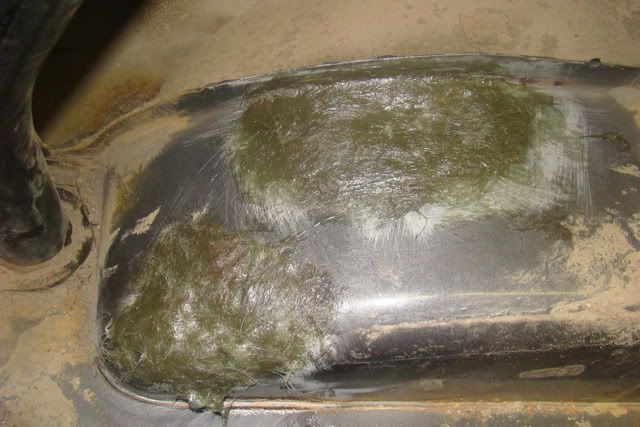
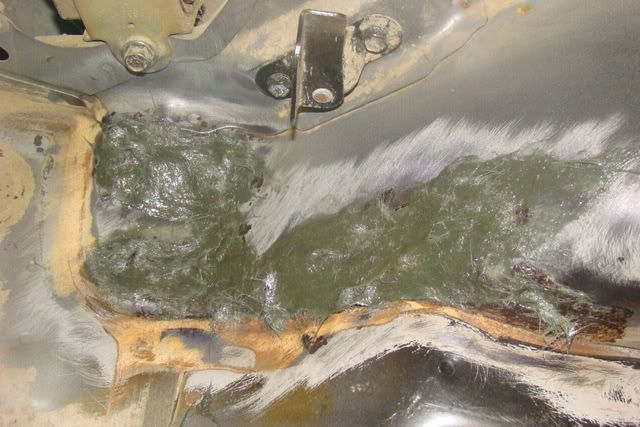
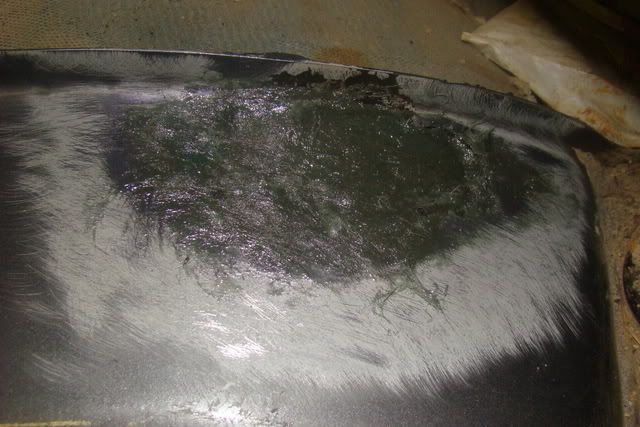
Its been awhile since i last posted, time for an update. I found a few more holes in the rear wheel wells than i had hoped for. So after punching out all the rust i decided to fiber glass them instead of weld in patches as i did not have the time, baby being born and all. Turned out pretty good i think.
Now with the kitty hair
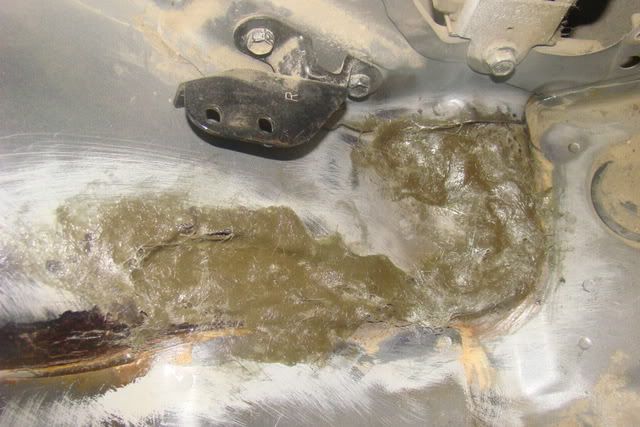
I also patched up a big hole up front behind the clutch and brake.
Now with the kitty hair
I also patched up a big hole up front behind the clutch and brake.
09-27-2009, 07:22 PM
#10
Registered User
Thread Starter
Join Date: Apr 2009
Location: Rocky Mountain House Alberta Canada
Posts: 49
Likes: 0
Received 0 Likes
on
0 Posts
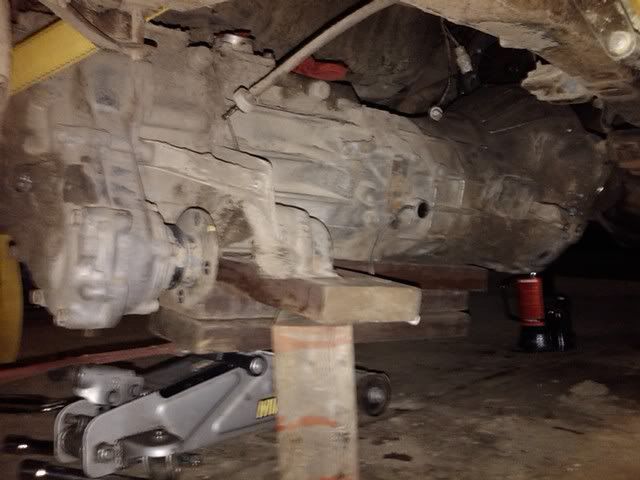
Next i had to change the clutch out. Not a fun job by your self and no tranny jack. In the end i had to get a tranny jack to put it back in place. Fun fun. Not too many pictures for this thrilling job.
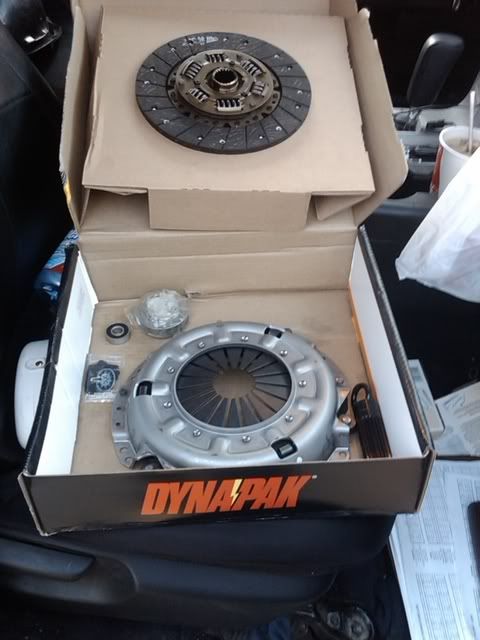
Testing out the new clutch
Testing out the new clutch
09-27-2009, 07:35 PM
#11
Registered User
Thread Starter
Join Date: Apr 2009
Location: Rocky Mountain House Alberta Canada
Posts: 49
Likes: 0
Received 0 Likes
on
0 Posts
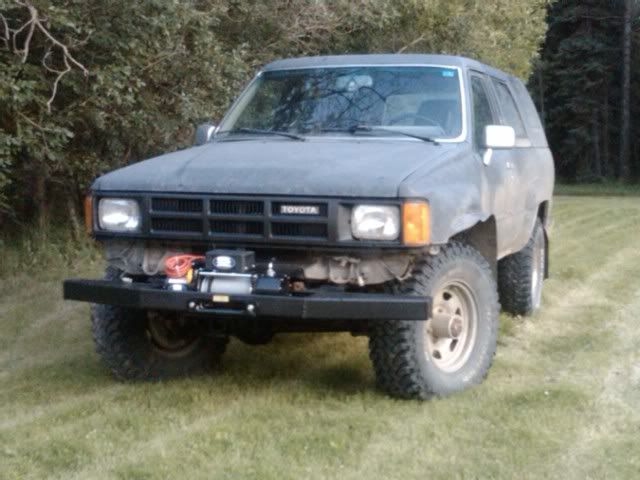
Time to build a bumper for my new winch. My father did all the welding in the shop were he works, the only part i had in it was measuring and cutting all the peices. The only parts i had to buy were the little signal lights, which i will be changing out for something alittle more nice. All the metal came from a set of old loading ramps from a car trailer i no longer have. The upper peices came from an old head board from a bed, lol. Next all i need is to weld on some recovery points and some paint and thats that. Total cost of bumper and winch was about $425.00 cdn.
09-27-2009, 07:40 PM
#12
Registered User
Thread Starter
Join Date: Apr 2009
Location: Rocky Mountain House Alberta Canada
Posts: 49
Likes: 0
Received 0 Likes
on
0 Posts
Tomorrow im going to be looking into 3in lift springs for the front and 4in lift springs for the rear. Any suggestions?? Im thinking procomp or OME. Also from the reading i've been doing some guys have not need to get custom drive shafts, any truth to this??
03-17-2010, 12:27 PM
#13
Registered User
Thread Starter
Join Date: Apr 2009
Location: Rocky Mountain House Alberta Canada
Posts: 49
Likes: 0
Received 0 Likes
on
0 Posts
Got some new rubber on the Runner. Kumho Road Venture MT (KL71) 32x11.50x15. Had it out at work today. Tested them on the ice, in the snow, gravle roads, hiway, and mud. Haha all in one day. Spring time in Alberta. My old BFG MT's don't even compare to these tries. Happy I picked them up.

Thread
Thread Starter
Forum
Replies
Last Post
Flying91
86-95 Trucks & 4Runners (Build-Up Section)
45
04-11-2024 04:39 PM
BeMiceElf
Misc Stuff (Vehicle Related)
7
10-10-2015 09:40 PM


