meswoleshane's 1987 4Runner Build-Up Thread
 06-07-2010, 05:47 PM
#1
Registered User
Thread Starter
Join Date: Jun 2006
Location: Ocean Springs, MS
Posts: 262
Likes: 0
Received 0 Likes
on
0 Posts
1987 4Runner Build-Up 3rz swap
Blown engine
And the rebuild...
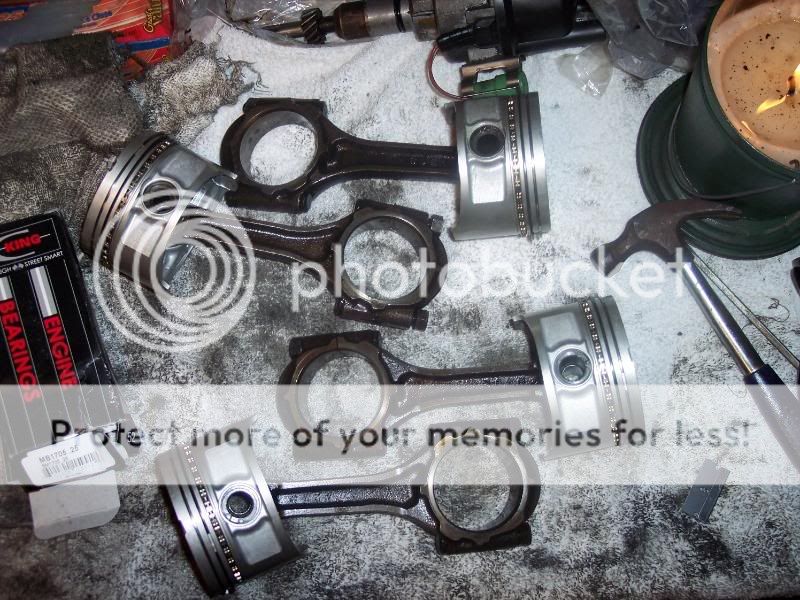
New pistons/rings .75 over
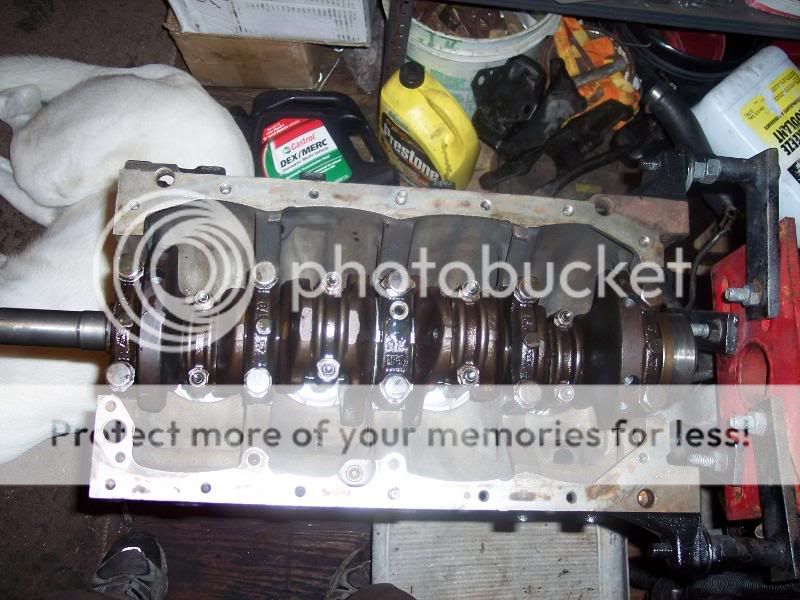
Installed
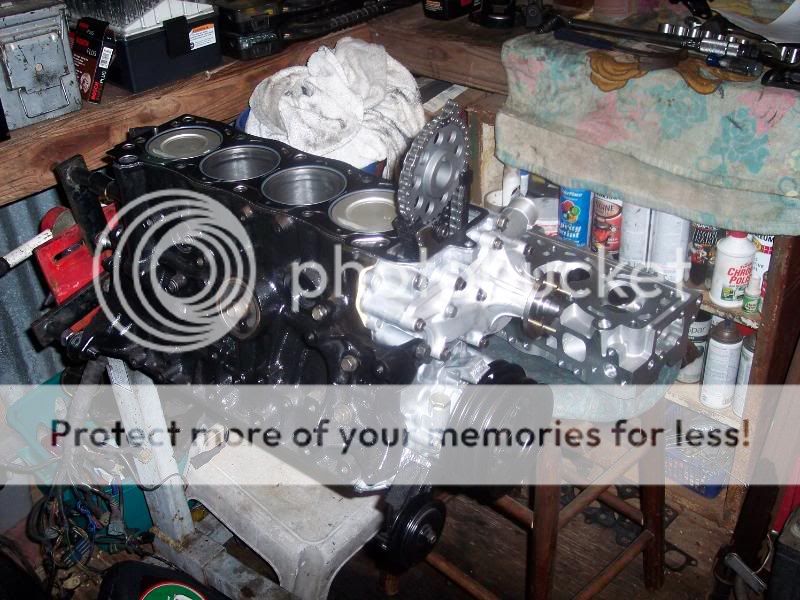
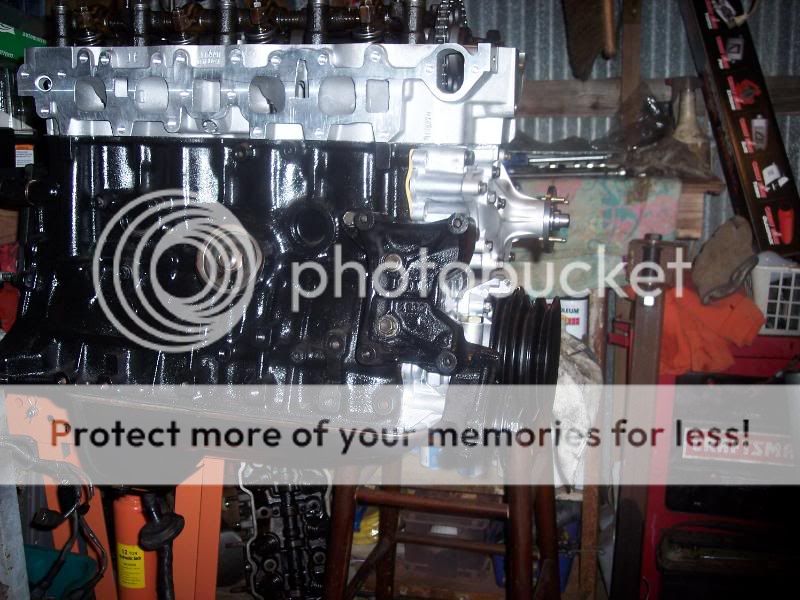
New timing cover/water pump/oil pump
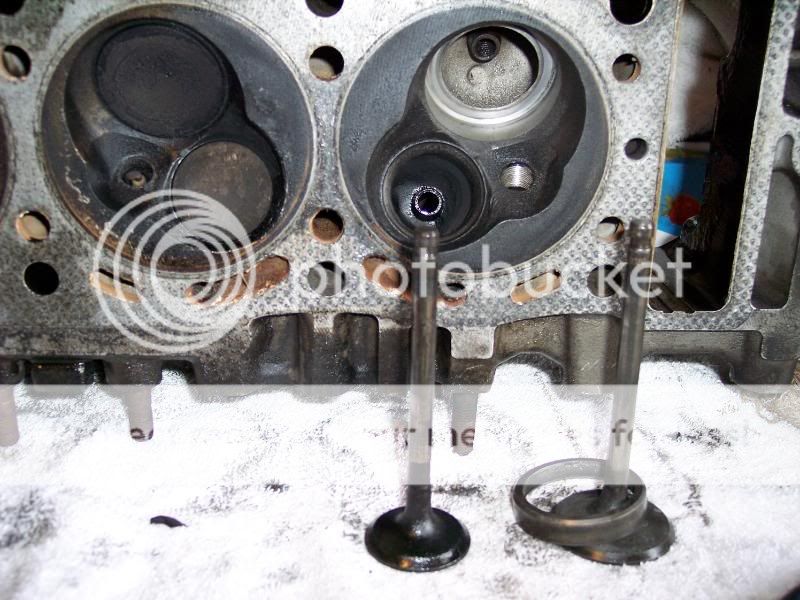
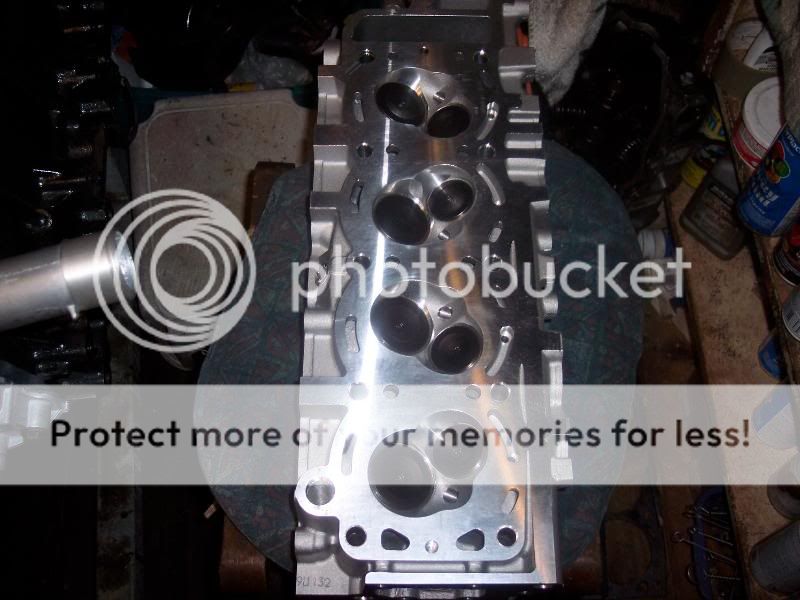
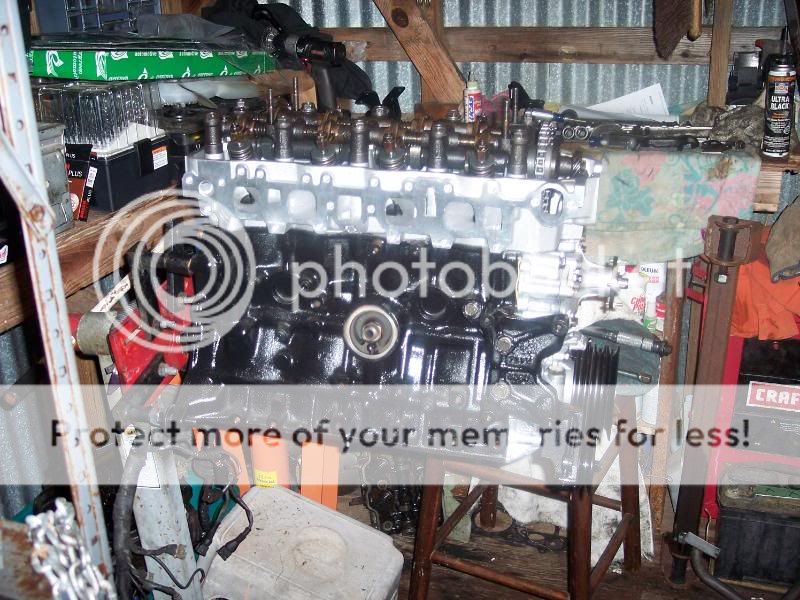
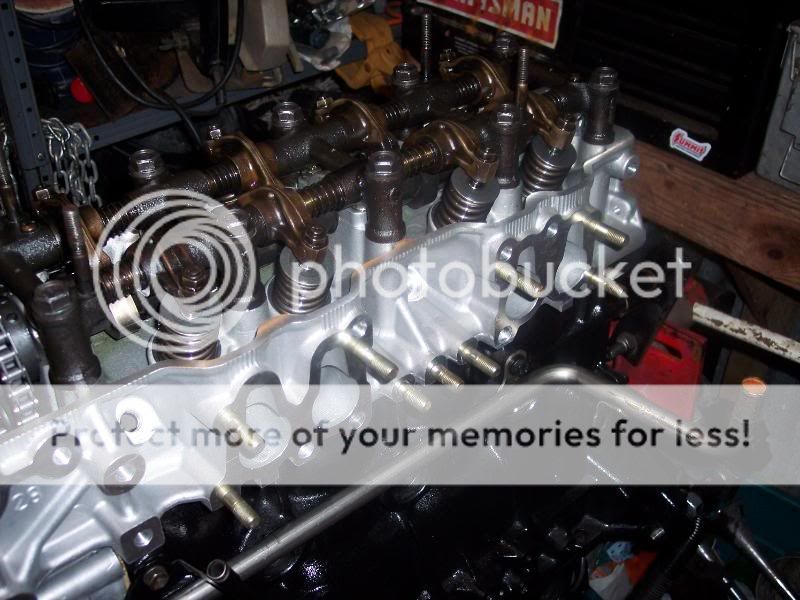
New head
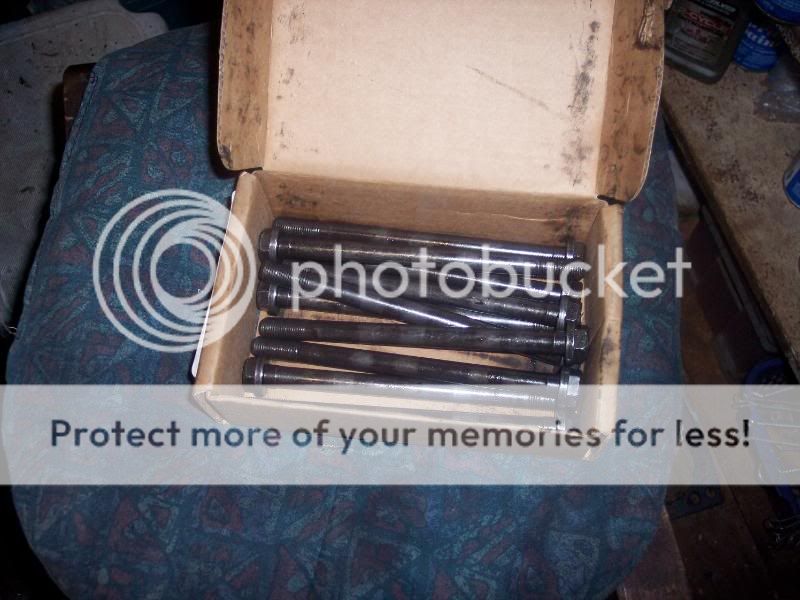
New head bolts
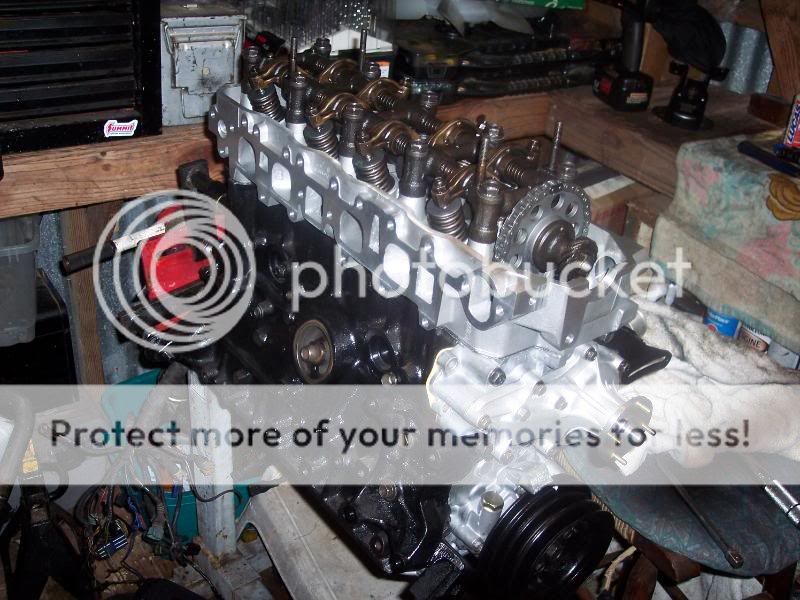
Head on
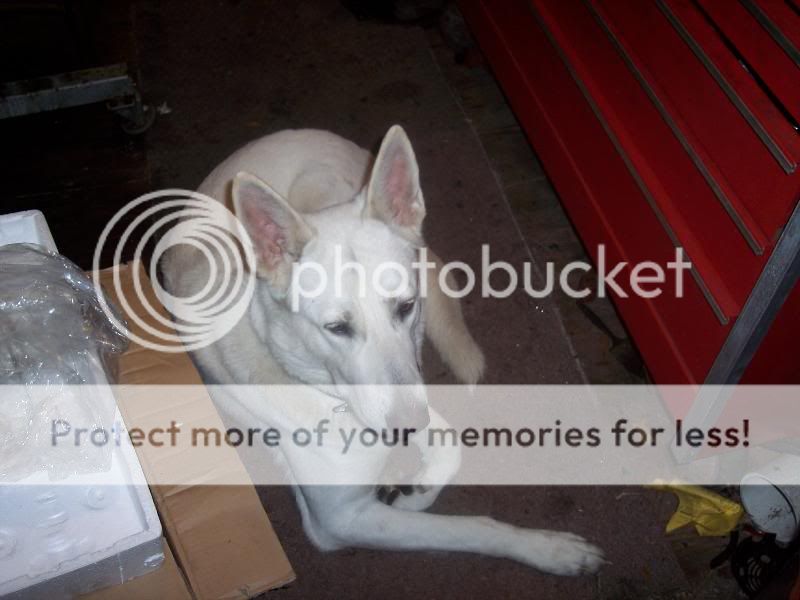
My helper
Oil pan installed
New exhaust studs
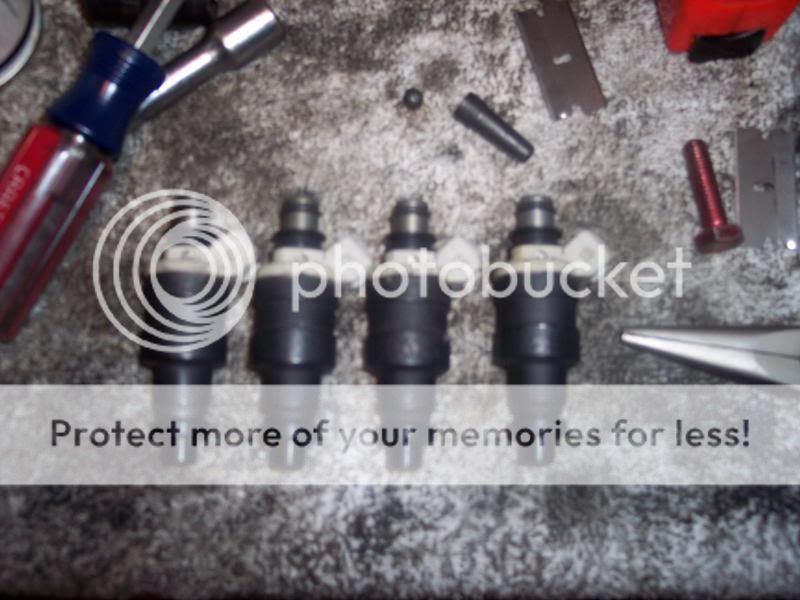
Rebuilt fuel injectors
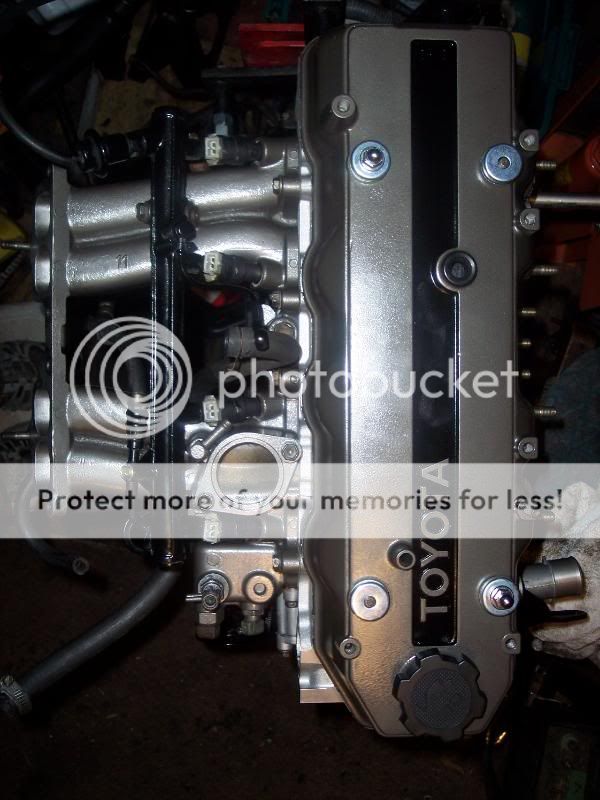
Lower intake
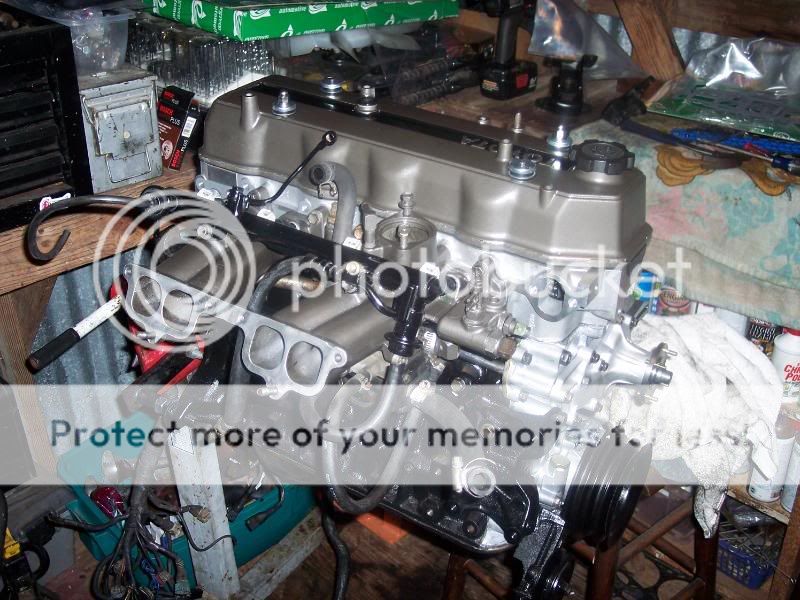
The paint scheme
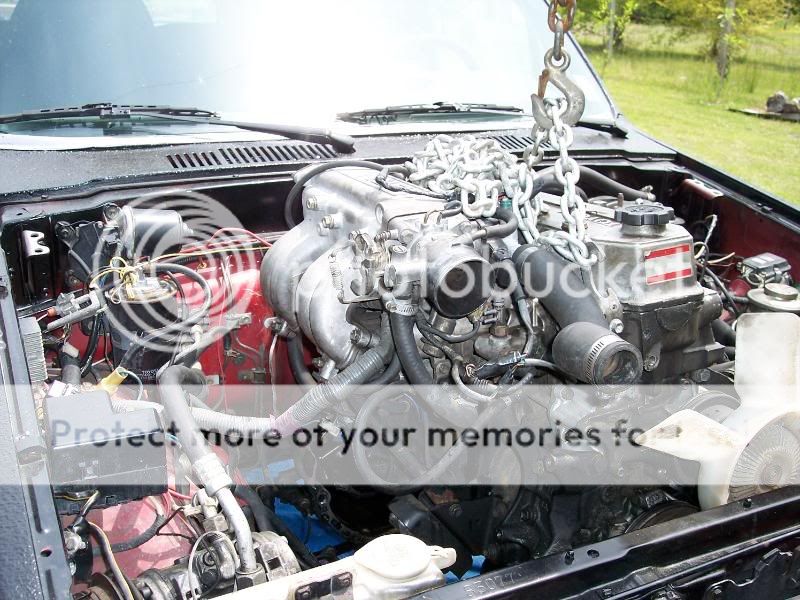
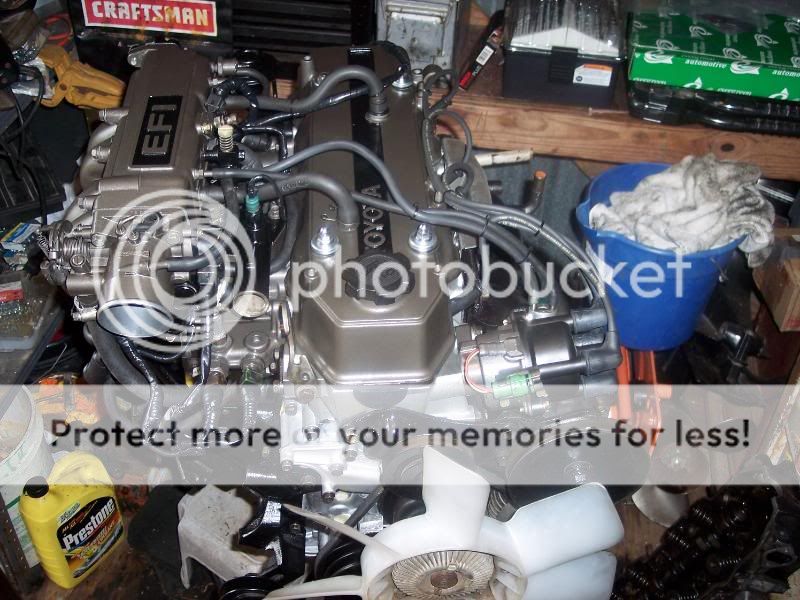
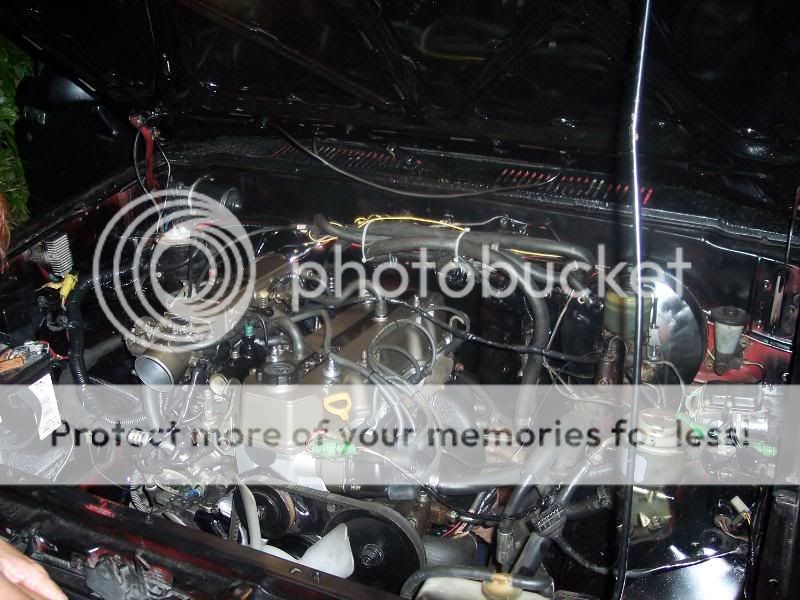
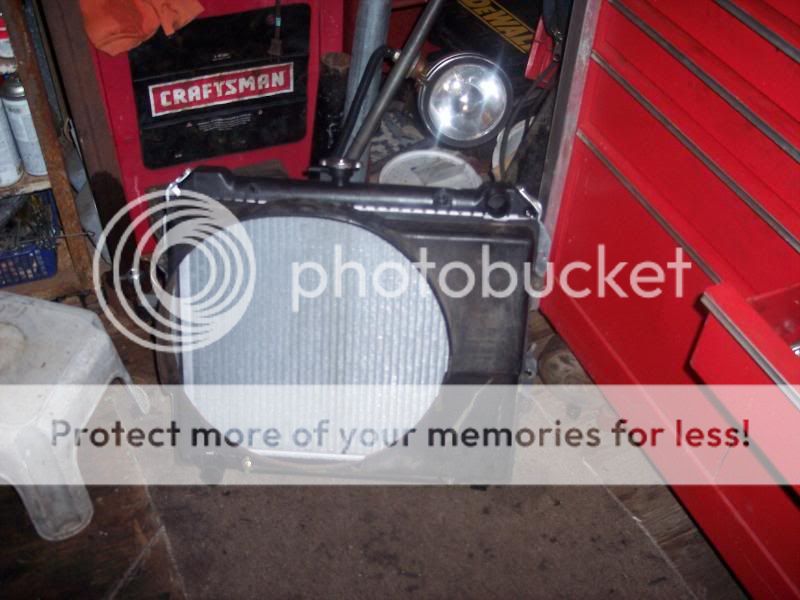
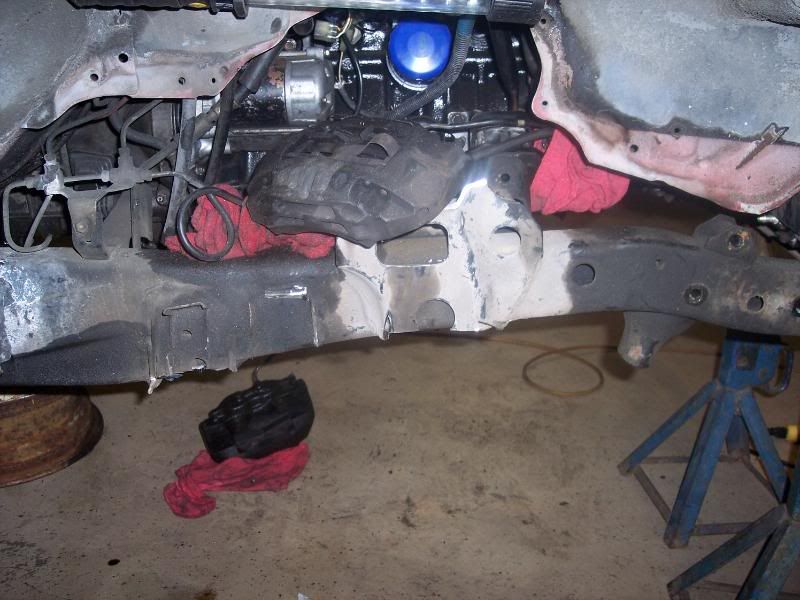
I got the engine buttoned up. I went ahead and bought a new radiator and new brushes for the alternator.
Ready to go
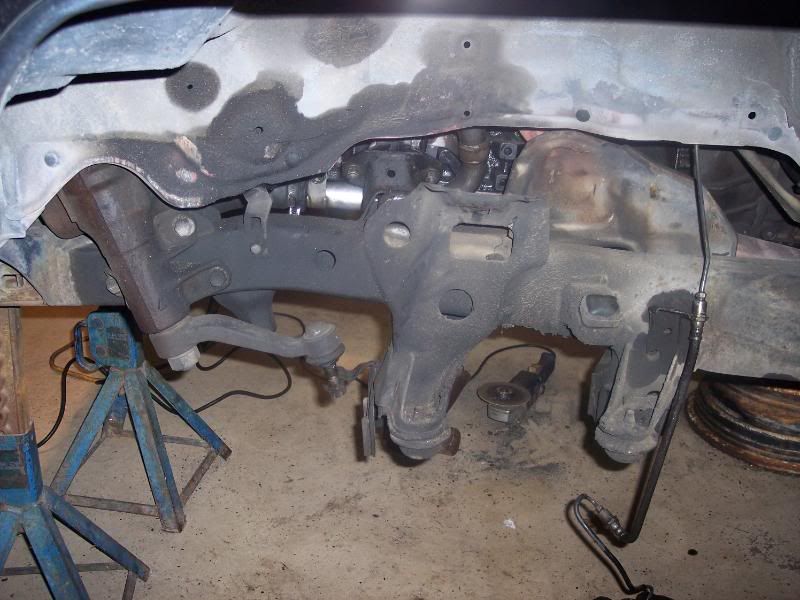
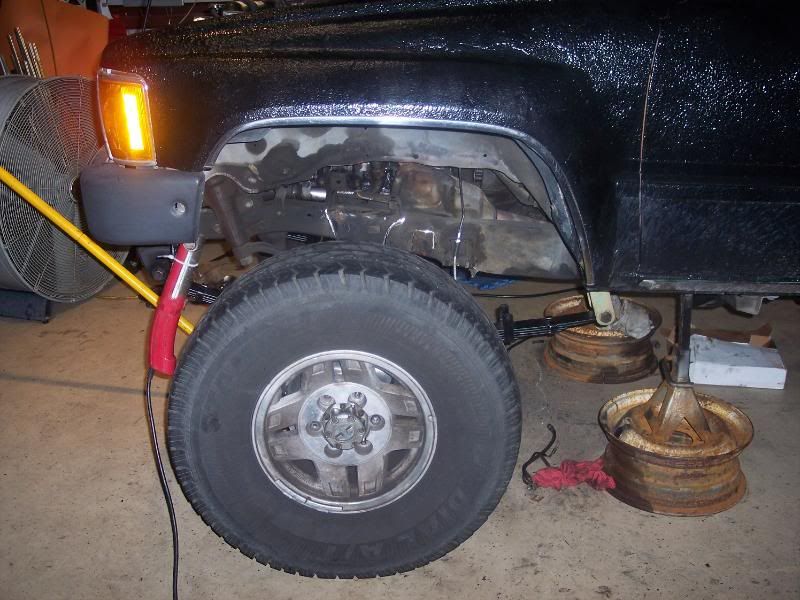
Then I was cleaning the engine bay and noticed this...
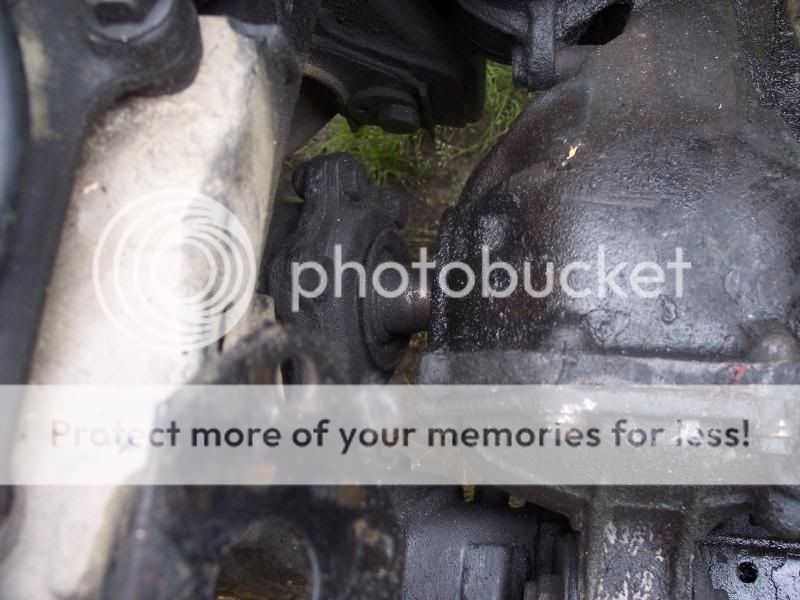
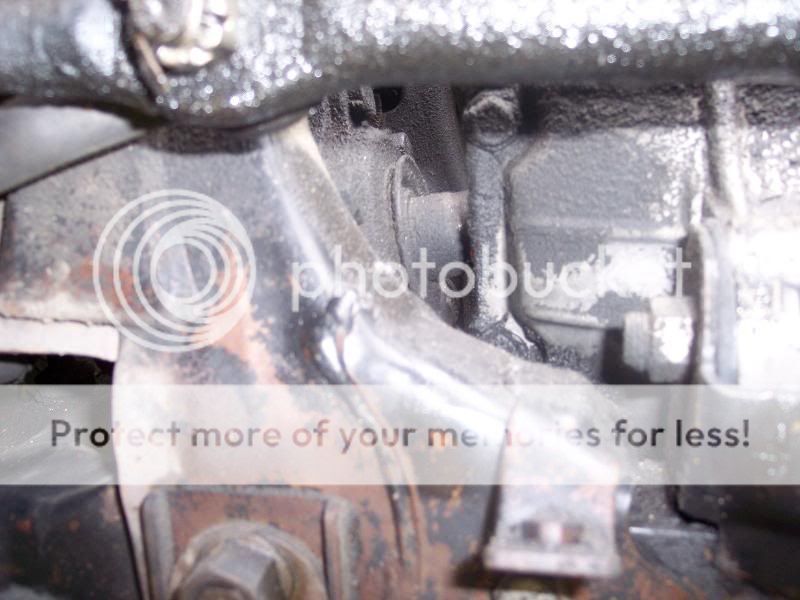
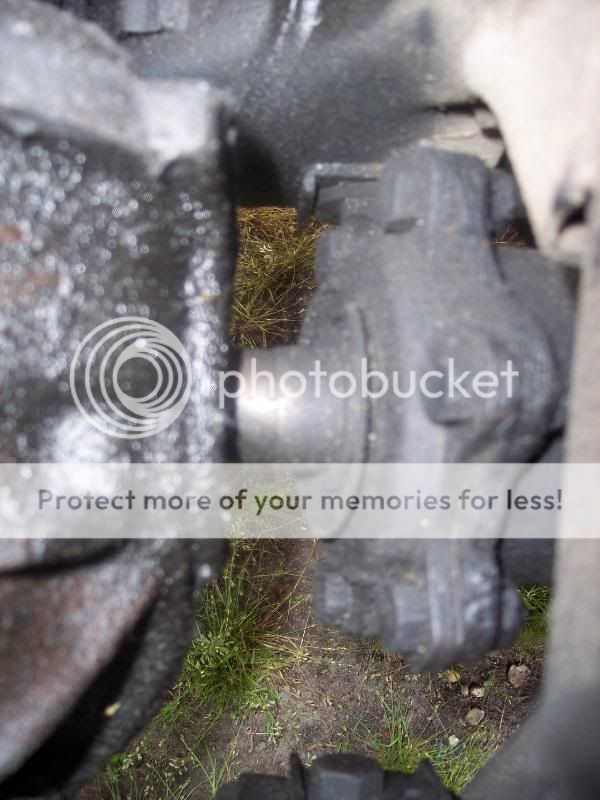
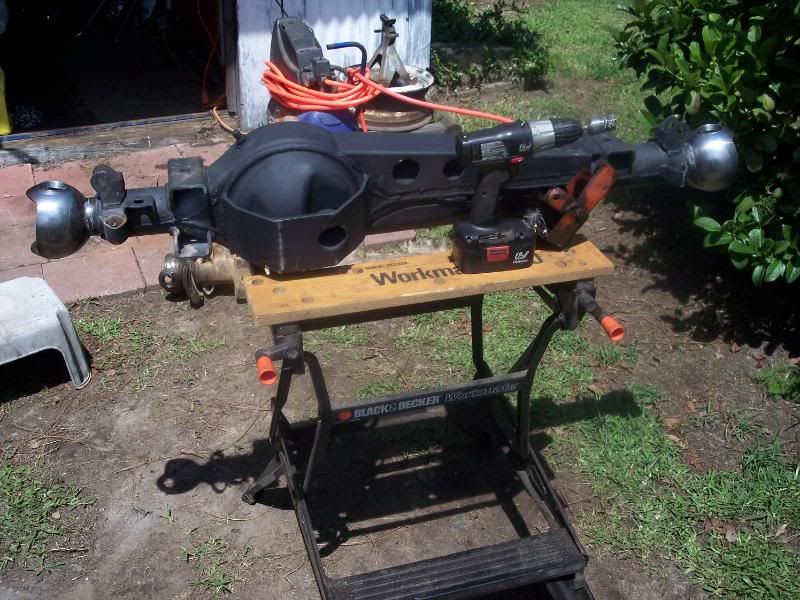
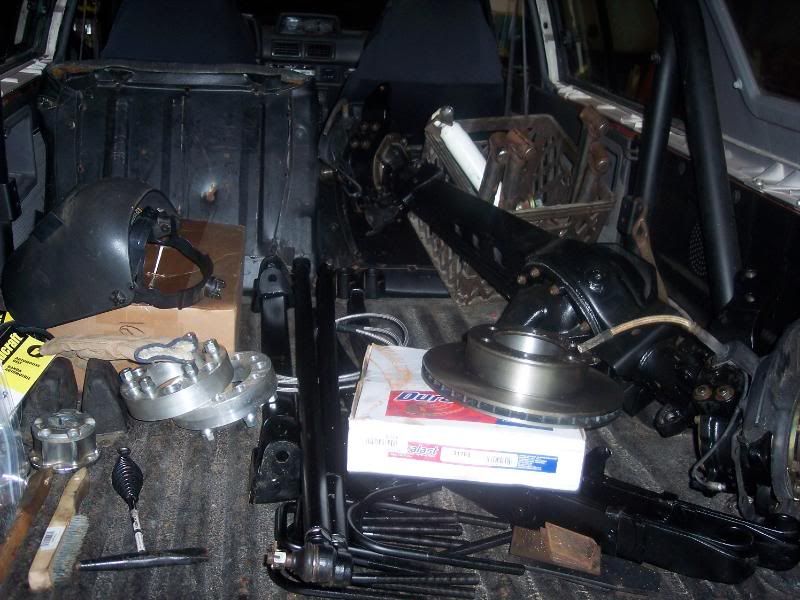
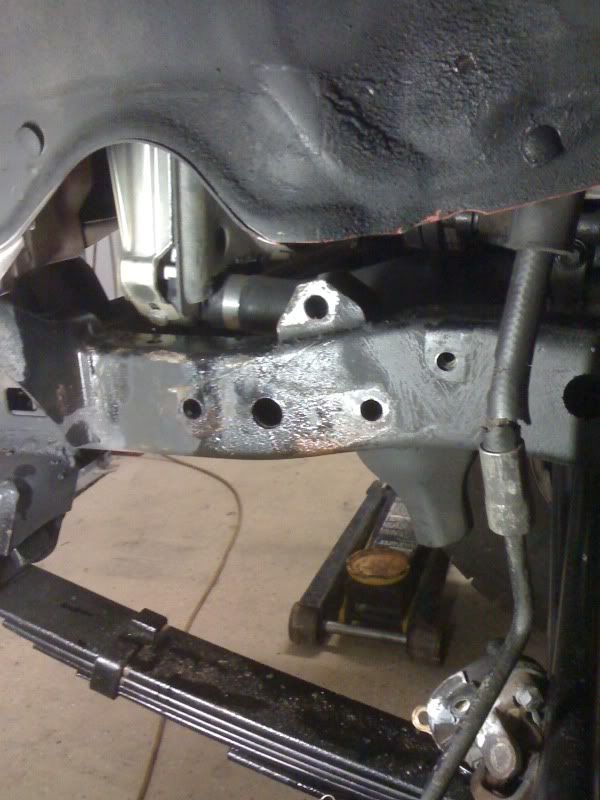
The pass.side of the diff. is falling out! I noticed my pass. tire has worn on the inside really bad in the last few months but I have not looked into why. But after looking ALL of the steering parts are worn so badly I can move the tires about 2" side to side independently of one another!
So....
Now I'm going to start putting this together.
Marlin crawler
Engine in
New radiator
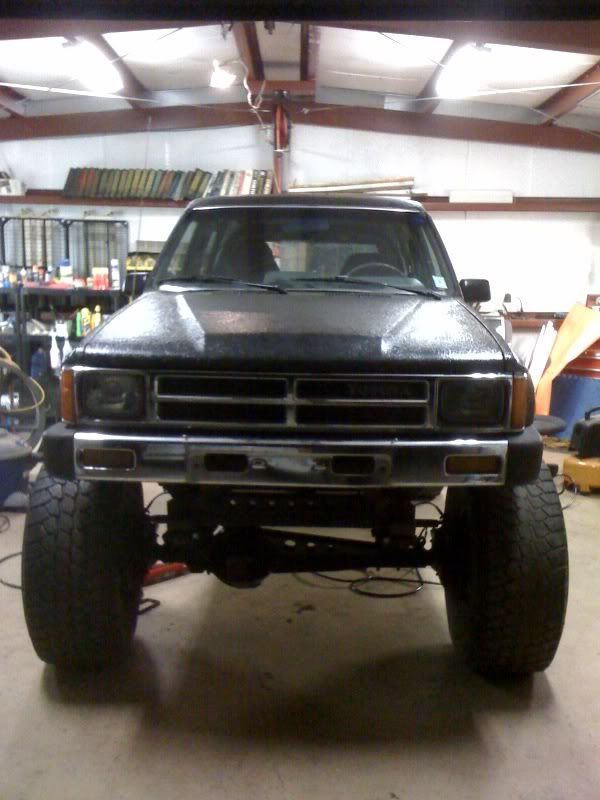
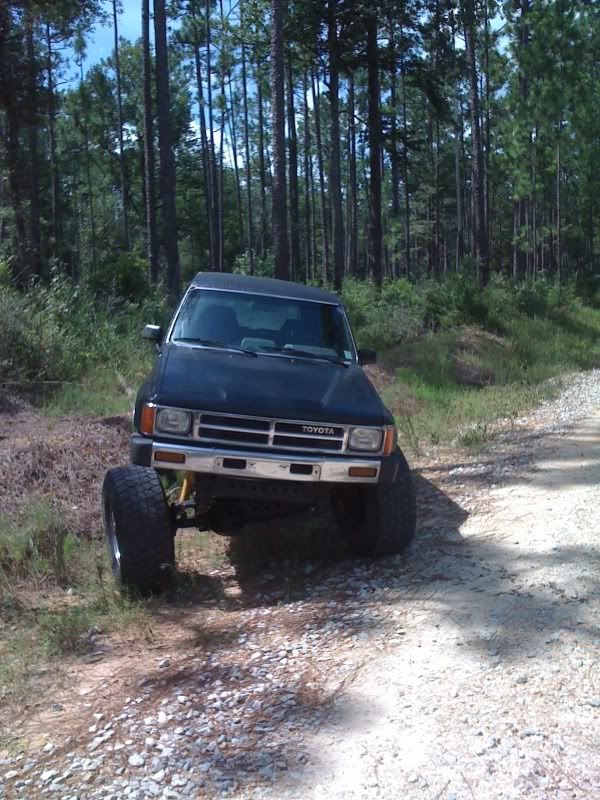
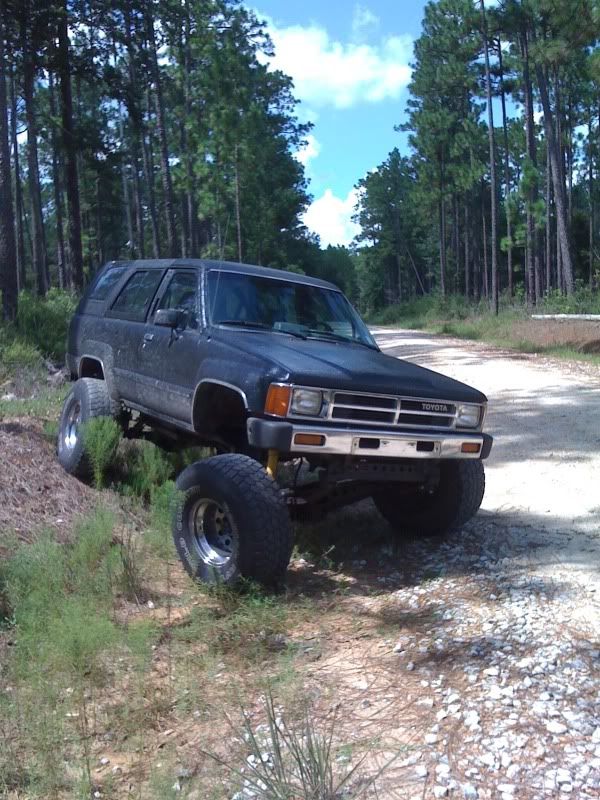
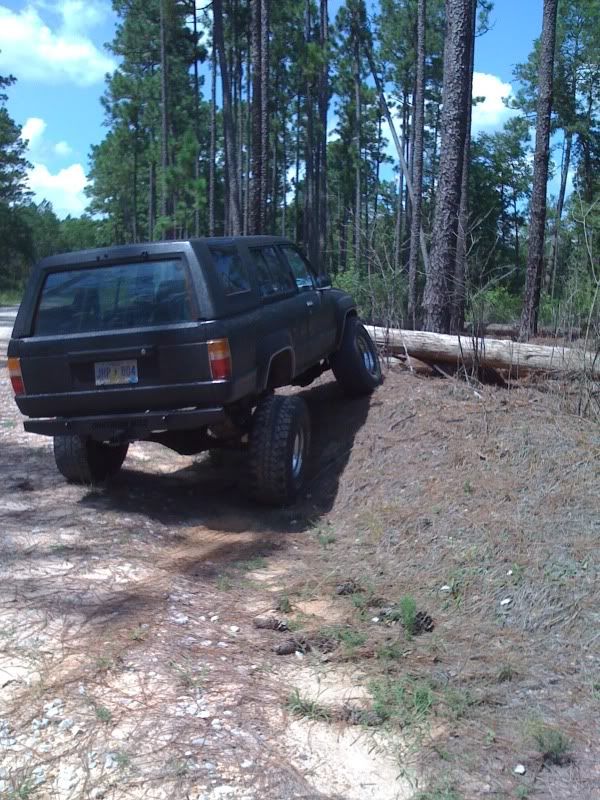
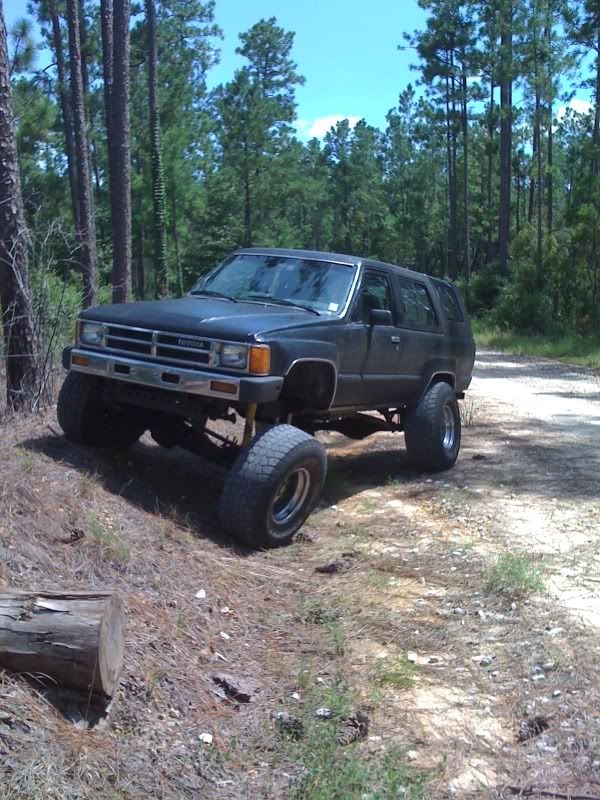
It's done!
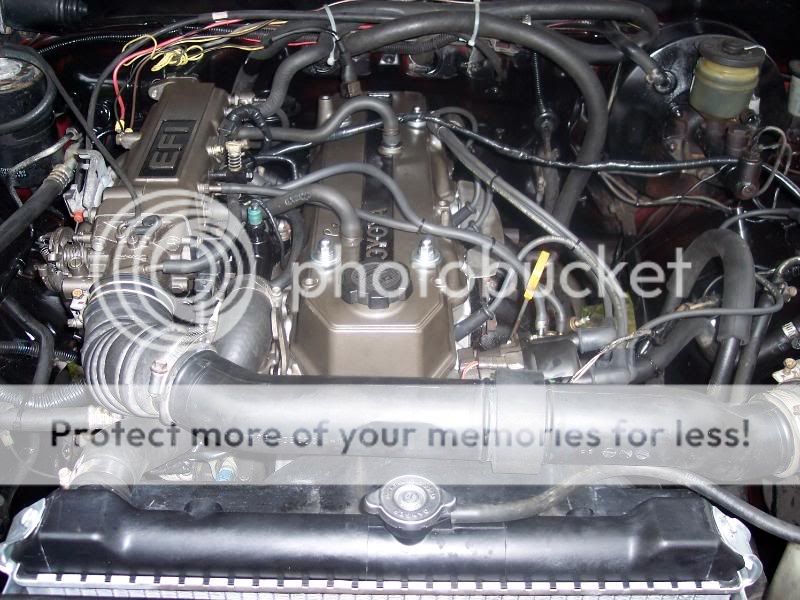
It fires right up and idles smooth. Up next is going to be the SAS, then sliders and maybe bumpers. The rear plate bumper is going on my ext. cab. and this is getting tube bumpers. I have a set of 35x12.5 BFG At's that will be going on with the SAS. Right now I'm looking for some decent aluminum 15x8 rims to use.
And the rebuild...
New pistons/rings .75 over
Installed
New timing cover/water pump/oil pump
New head
New head bolts
Head on
My helper
Oil pan installed
New exhaust studs
Rebuilt fuel injectors
Lower intake
The paint scheme
I got the engine buttoned up. I went ahead and bought a new radiator and new brushes for the alternator.
Ready to go
Then I was cleaning the engine bay and noticed this...
The pass.side of the diff. is falling out! I noticed my pass. tire has worn on the inside really bad in the last few months but I have not looked into why. But after looking ALL of the steering parts are worn so badly I can move the tires about 2" side to side independently of one another!
So....
Now I'm going to start putting this together.
Marlin crawler
Engine in
New radiator
It's done!
It fires right up and idles smooth. Up next is going to be the SAS, then sliders and maybe bumpers. The rear plate bumper is going on my ext. cab. and this is getting tube bumpers. I have a set of 35x12.5 BFG At's that will be going on with the SAS. Right now I'm looking for some decent aluminum 15x8 rims to use.
Last edited by meswoleshane; 05-30-2017 at 07:14 AM. Reason: Update
 06-07-2010, 06:08 PM
#3
Registered User
Thread Starter
Join Date: Jun 2006
Location: Ocean Springs, MS
Posts: 262
Likes: 0
Received 0 Likes
on
0 Posts
Getting started

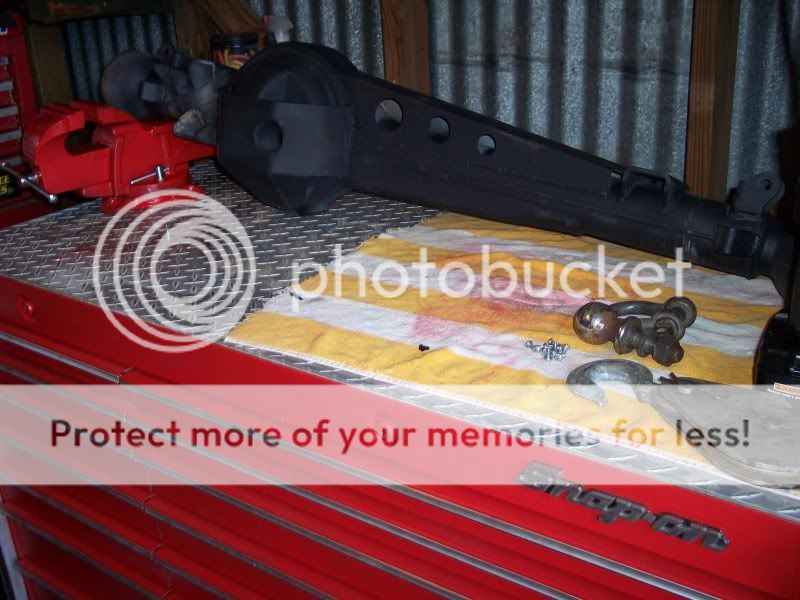
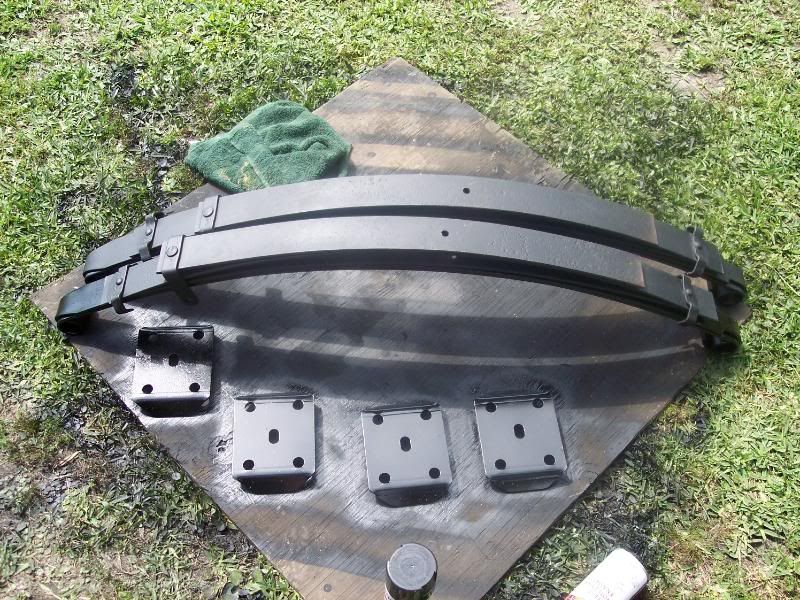
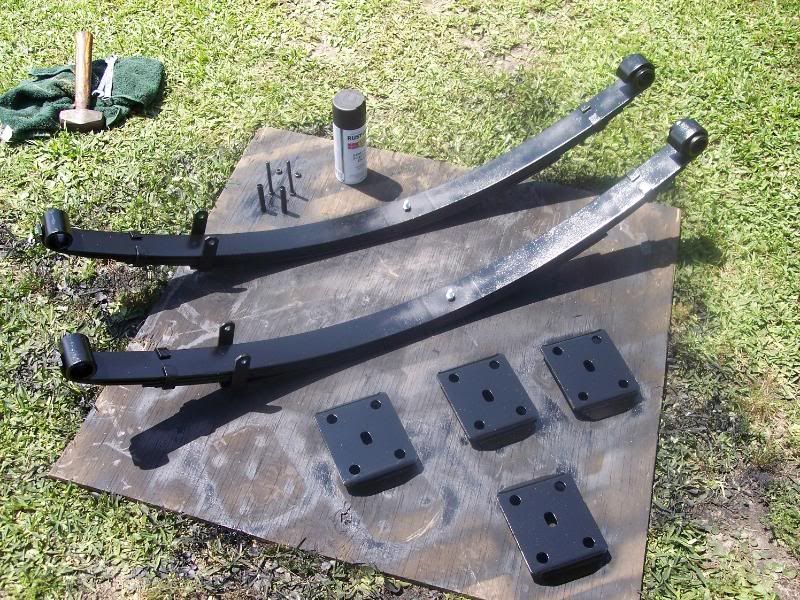
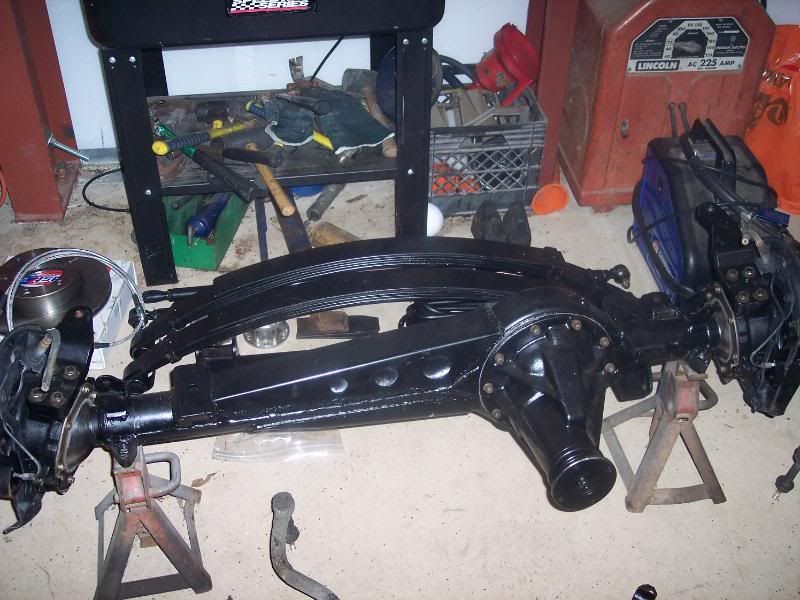
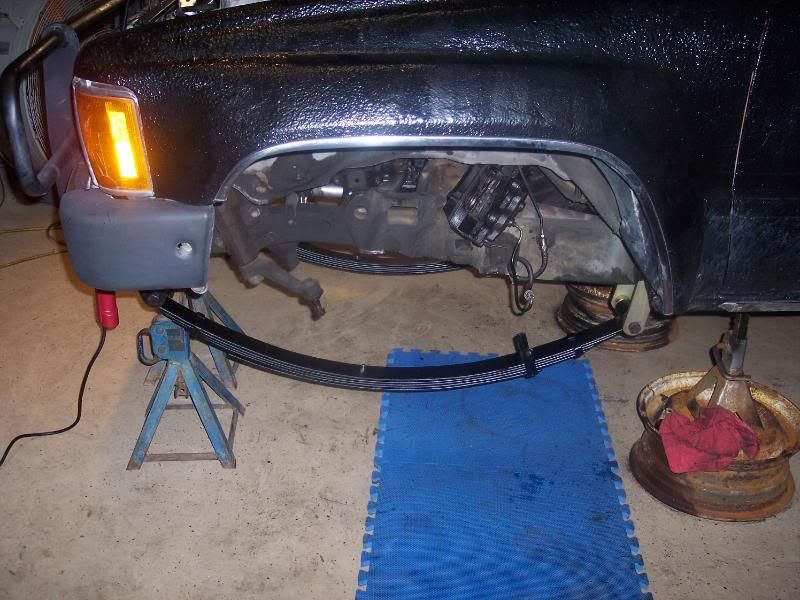
83 rears, I used the first 3 leaves and mixed a few I had laying around.
The axle
5/8" nut mod
Loaded up to head to the shop
At the shop
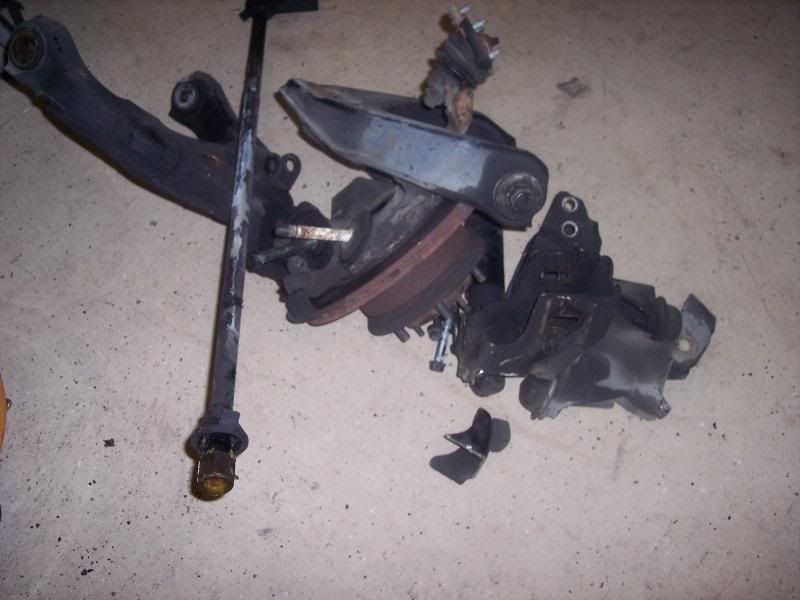
One side
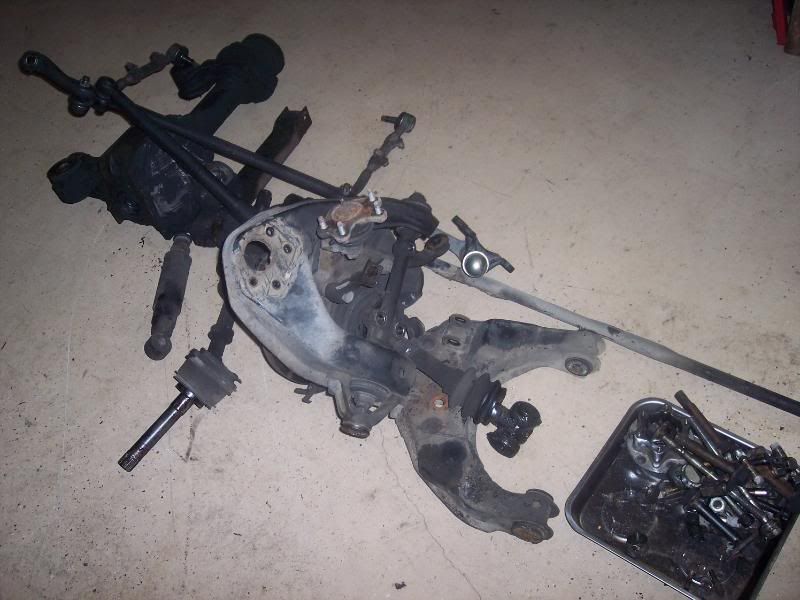
The other
Started cutting/grinding
Little later
Shackle tube cut
Installed
Hanger tacked on and springs
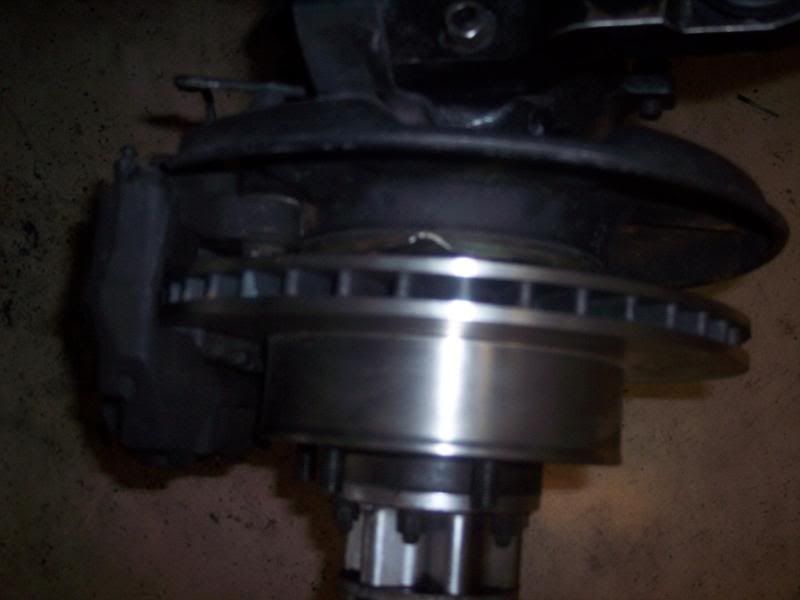
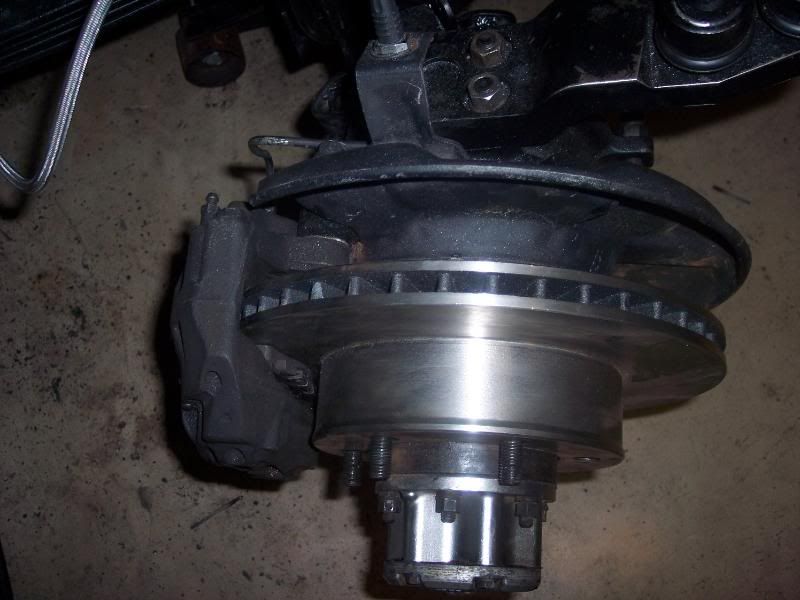
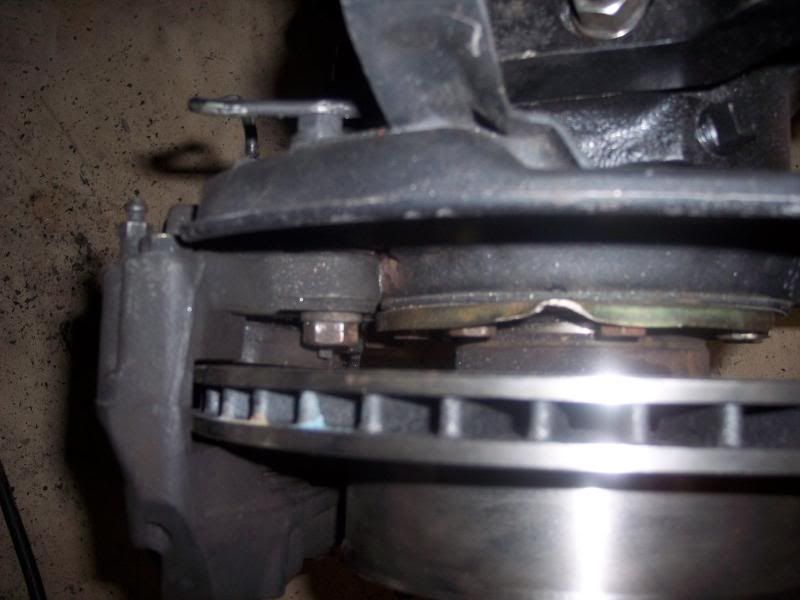
Axle mock up
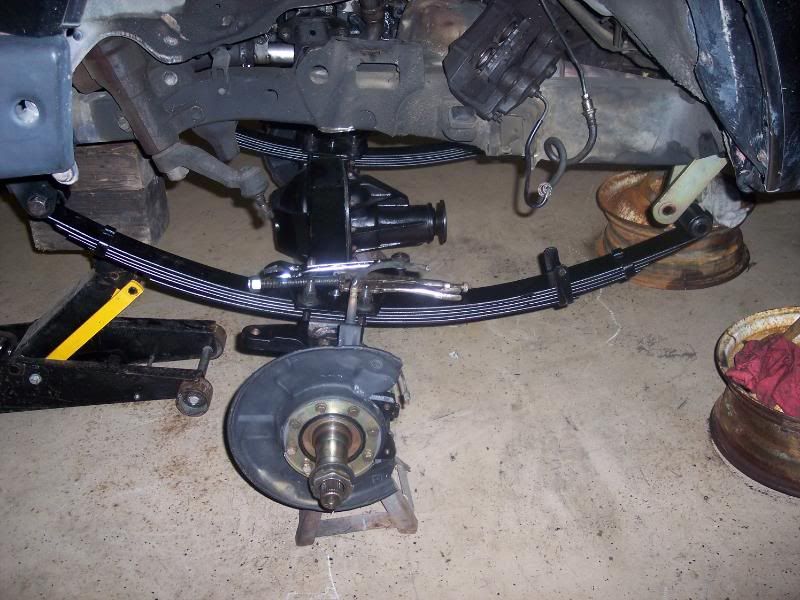

Hub installed w/ taco rotor
More grinding....
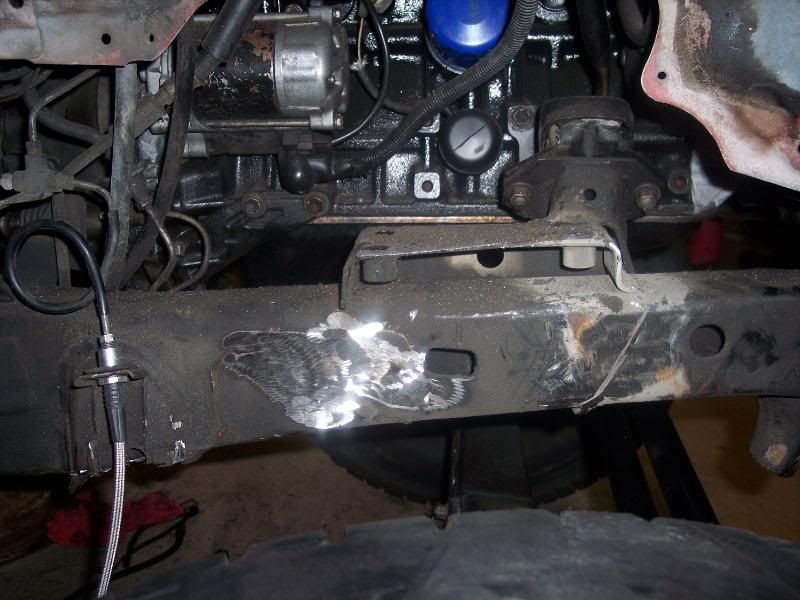
How far I moved the axle forward
Shock loops
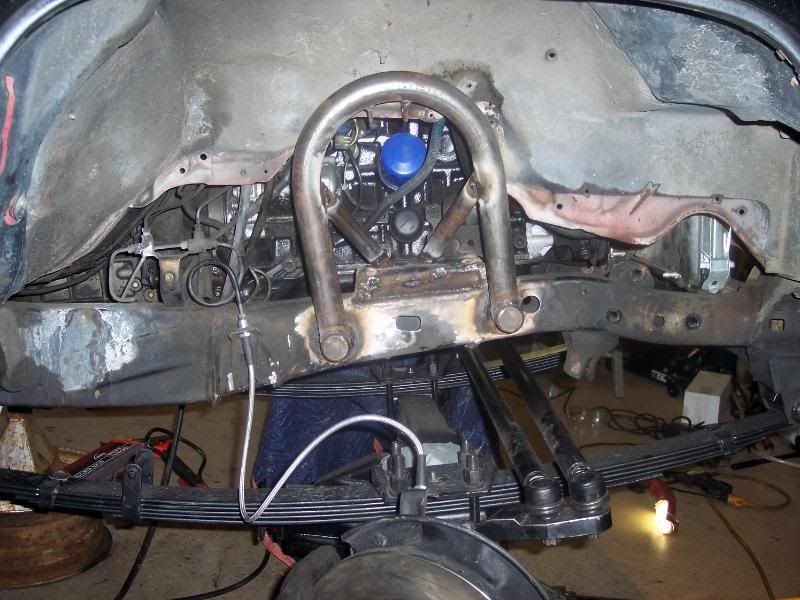
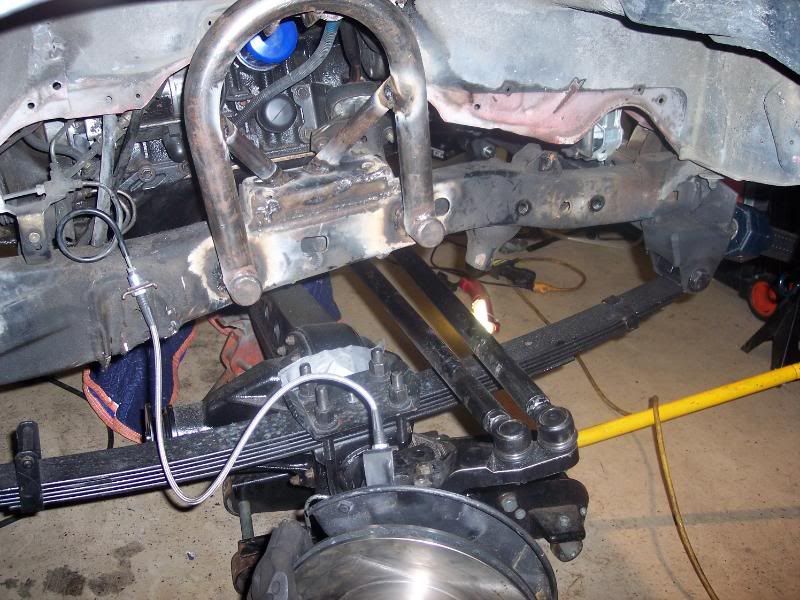
Thanks for the quick shipping on the brake lines WabFab!
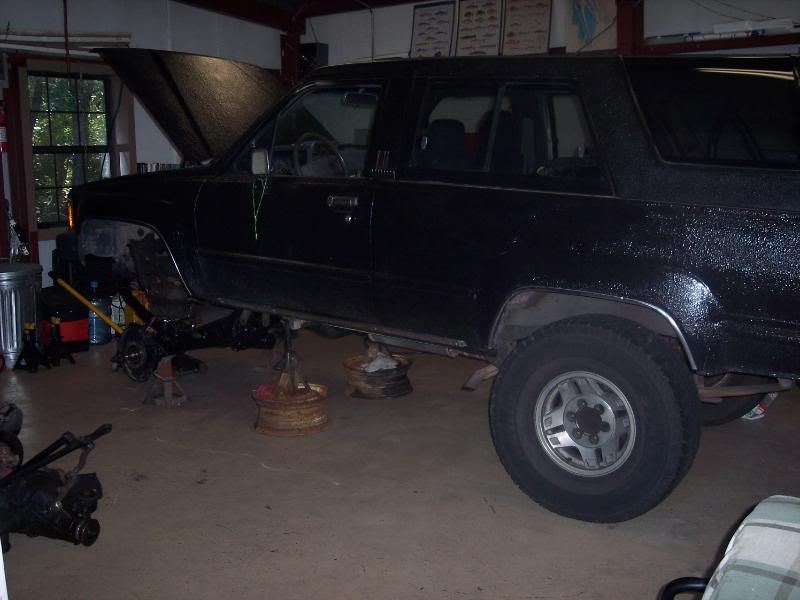
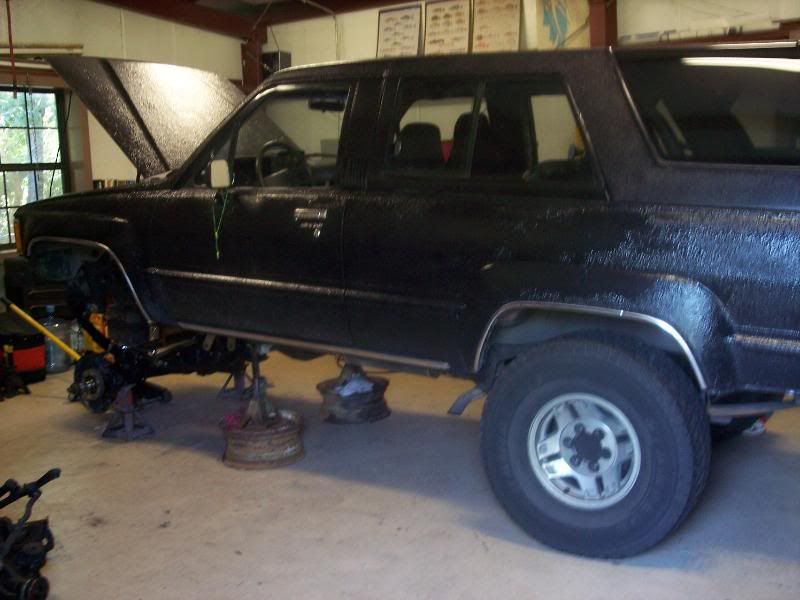
As it sits now
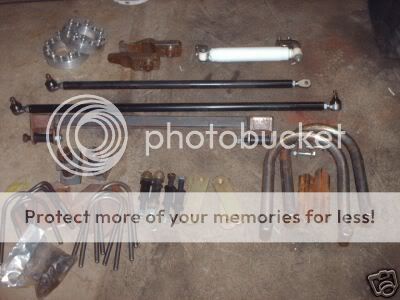
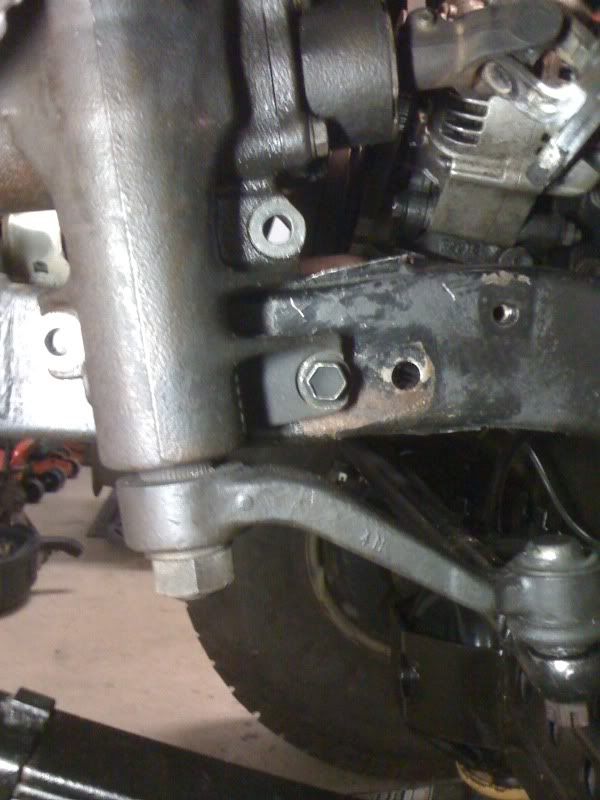
I just ordered a steering box brace so I can move the steering box forward, I didn't really want to but with RUF you don't really get a choice. I've got to come up with some rear shock mounts still also. Right now I just put some blocks back there but, I'm planning on running 63" chevies. I'm going to run the cheap Monroe shocks from autozone. About $30 each and the have 13" of travel.
83 rears, I used the first 3 leaves and mixed a few I had laying around.
The axle
5/8" nut mod
Loaded up to head to the shop
At the shop
One side
The other
Started cutting/grinding
Little later
Shackle tube cut
Installed
Hanger tacked on and springs
Axle mock up
Hub installed w/ taco rotor
More grinding....
How far I moved the axle forward
Shock loops
Thanks for the quick shipping on the brake lines WabFab!
As it sits now
I just ordered a steering box brace so I can move the steering box forward, I didn't really want to but with RUF you don't really get a choice. I've got to come up with some rear shock mounts still also. Right now I just put some blocks back there but, I'm planning on running 63" chevies. I'm going to run the cheap Monroe shocks from autozone. About $30 each and the have 13" of travel.
06-07-2010, 06:12 PM
#4
Registered User
Thread Starter
Join Date: Jun 2006
Location: Ocean Springs, MS
Posts: 262
Likes: 0
Received 0 Likes
on
0 Posts
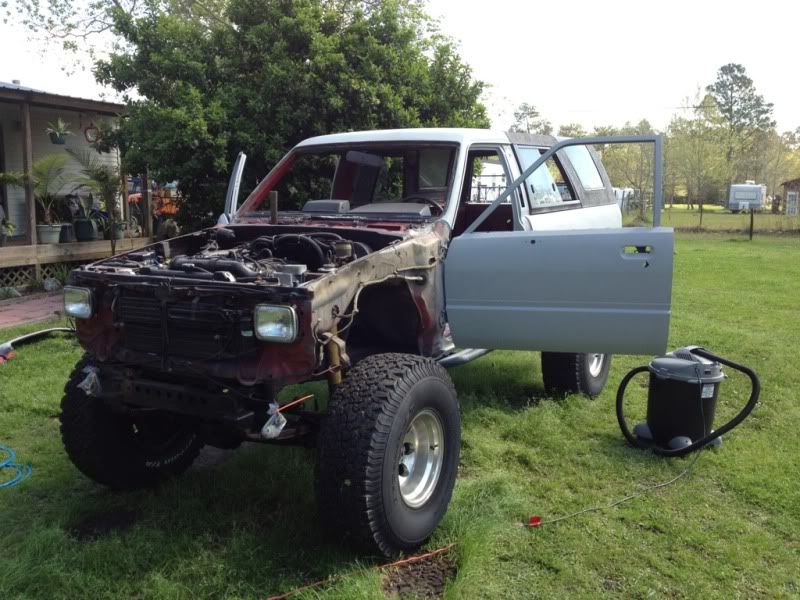
Man I work fast, huh? I've been meaning to start a build for the last couple of months. I finished the engine about 2 months ago and got started on the SAS 2 weeks ago. But now this is up to date. From here I need to finish up the SAS and get the kinks works out. Next is going to be sliders. I'm going to make them with my harbor freight bender and some sch40. After that will be bumpers.
06-07-2010, 06:33 PM
#5
Registered User
Join Date: Feb 2007
Location: Sierra Nevada's or the Deserts of Las Vegas
Posts: 2,203
Likes: 0
Received 0 Likes
on
0 Posts
Woops, I posted while you were still uploading lol in addition to what I said earlier, the swap is looking good too! How much lift did you get with the swap and RUF? That looks like about the height that I want to go and run 35's too.
06-07-2010, 06:50 PM
#6
Registered User
Thread Starter
Join Date: Jun 2006
Location: Ocean Springs, MS
Posts: 262
Likes: 0
Received 0 Likes
on
0 Posts
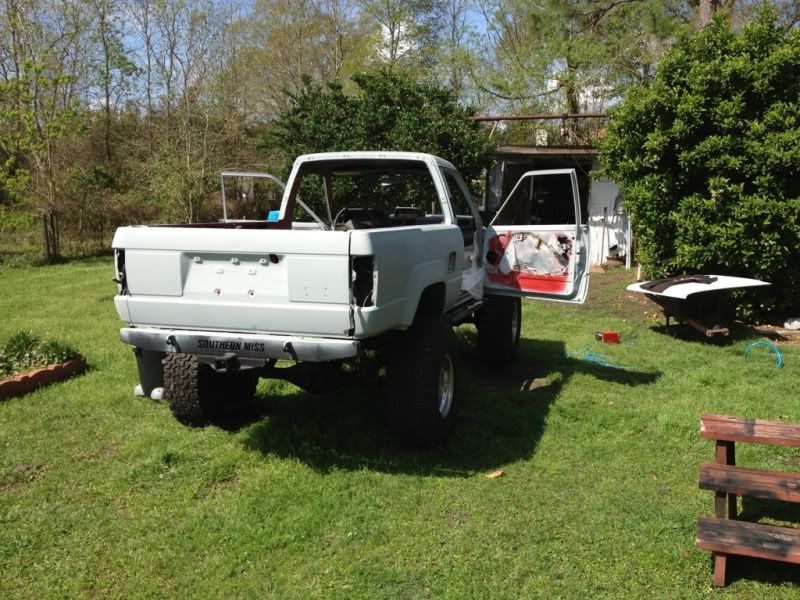
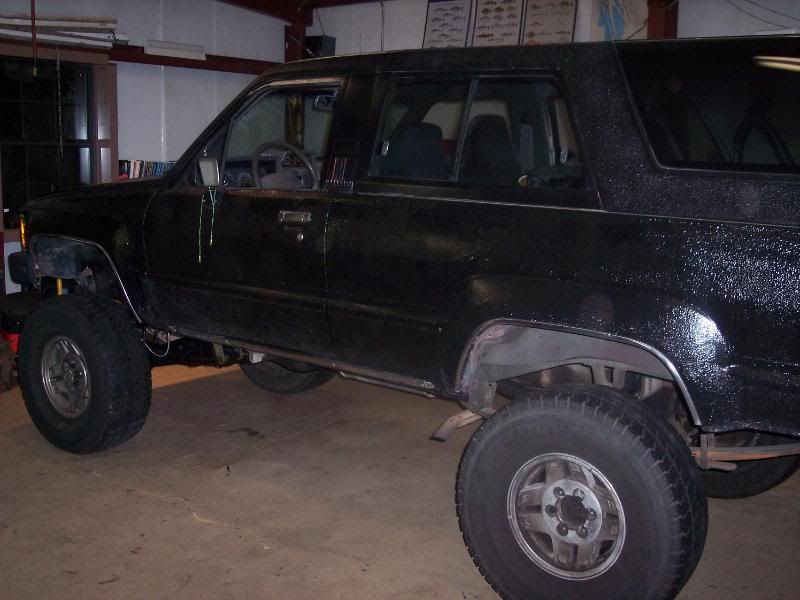
There is 25 1/2" to the bottom of the body just behind the front tires and the same in front of the rear tires. All four corners are within 1/4" but it still looks like its sagging... Not sure on the total lift but those are 33" tires on there now.
Also I have all the IFS stuff minus the hubs if anyone wants it. I replaced all the steering parts about 2 months ago too. All tie rod ends and idler arm. Its in a big garbage can by itself and if no on comes to get it in the next week its going to the road. I wonder if the truck can lift it?
Also I have all the IFS stuff minus the hubs if anyone wants it. I replaced all the steering parts about 2 months ago too. All tie rod ends and idler arm. Its in a big garbage can by itself and if no on comes to get it in the next week its going to the road. I wonder if the truck can lift it?
06-08-2010, 06:14 PM
#7
Registered User
Thread Starter
Join Date: Jun 2006
Location: Ocean Springs, MS
Posts: 262
Likes: 0
Received 0 Likes
on
0 Posts
I found this also, it might help someone else so I thought I'd post it.
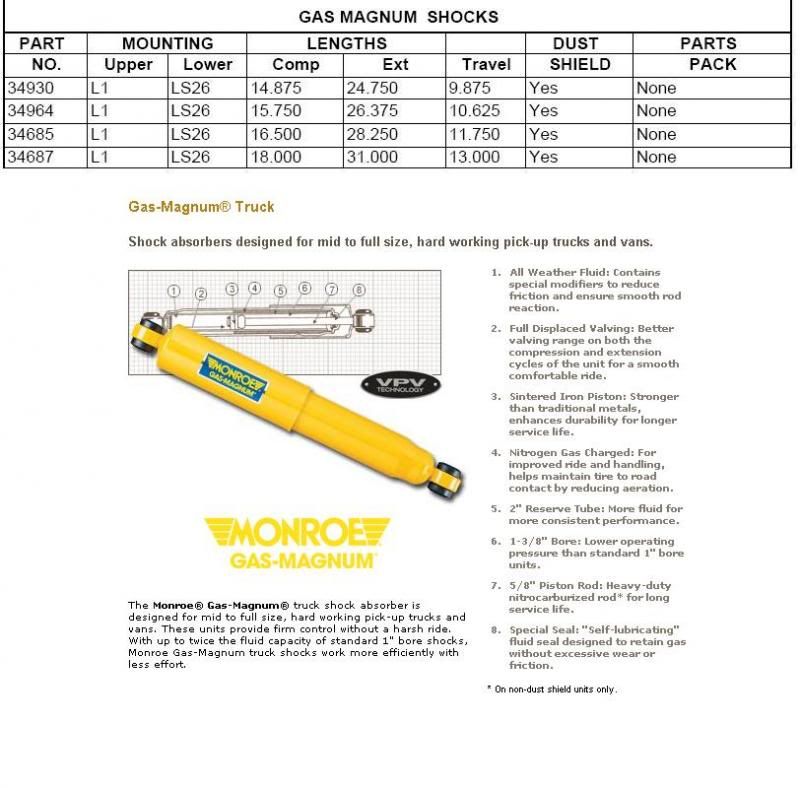
I have 22" between the bolt holes in the front at ride height. I'm thinking about going with either the 11.875 or the 13 in travel ones. Opinions? Anyone else on RUF's, how much compression did you set before the bump stops? Would the 4" of compression "all the shock would allow" I would get out of the 13" one be enough? I'd put bump stops just before the shock would bottom.
I have 22" between the bolt holes in the front at ride height. I'm thinking about going with either the 11.875 or the 13 in travel ones. Opinions? Anyone else on RUF's, how much compression did you set before the bump stops? Would the 4" of compression "all the shock would allow" I would get out of the 13" one be enough? I'd put bump stops just before the shock would bottom.
Trending Topics
06-12-2010, 09:14 PM
#8
Registered User
Thread Starter
Join Date: Jun 2006
Location: Ocean Springs, MS
Posts: 262
Likes: 0
Received 0 Likes
on
0 Posts
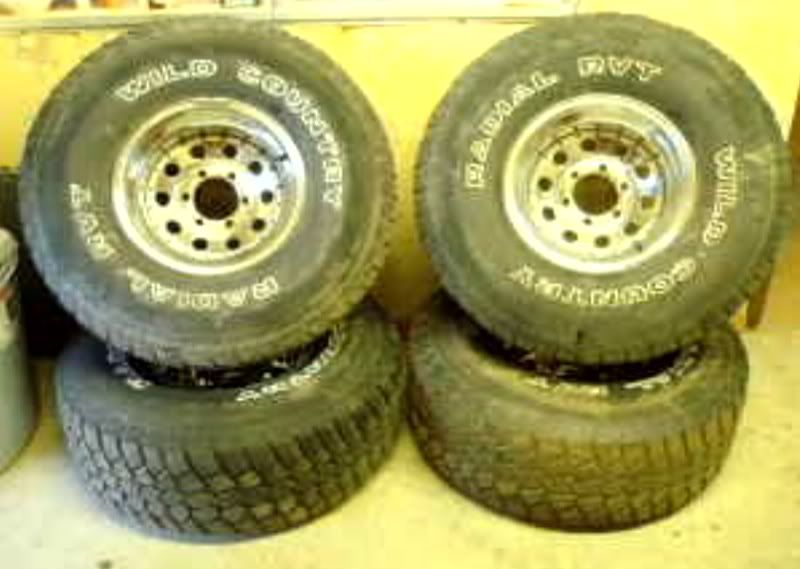
Well my steering mount still hasn't made it here. But, I did pick up a decent set of tires/wheels. I'm not really sure if I like them or not yet but they were a good deal so I bought them. We will see if they grow on me. I really wanted aluminum rims though.
This is the craigslist pic of the tires
On the truck
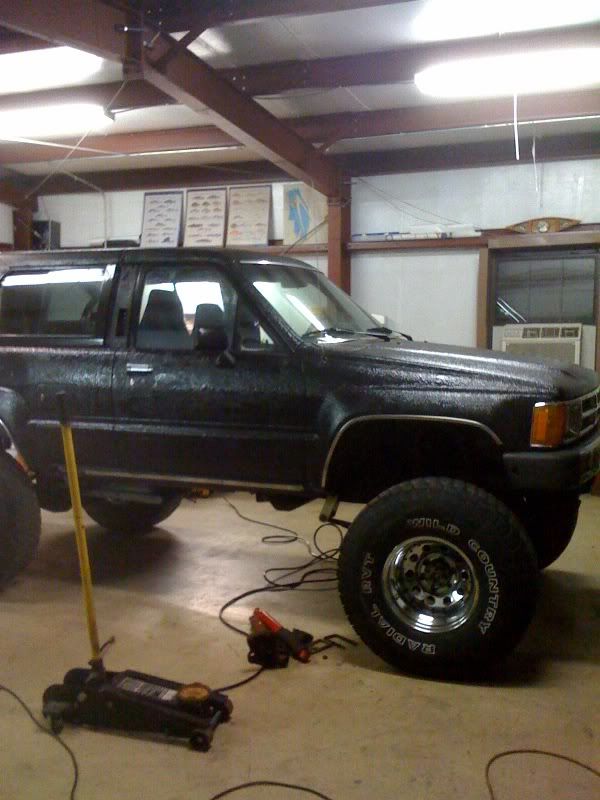
Sorry for the crappy pics, I forgot my camera at home and used my phone.
This is the craigslist pic of the tires
On the truck
Sorry for the crappy pics, I forgot my camera at home and used my phone.
08-23-2010, 04:28 PM
#10
Registered User
Thread Starter
Join Date: Jun 2006
Location: Ocean Springs, MS
Posts: 262
Likes: 0
Received 0 Likes
on
0 Posts
Well its been a while but here is a quick up-date.
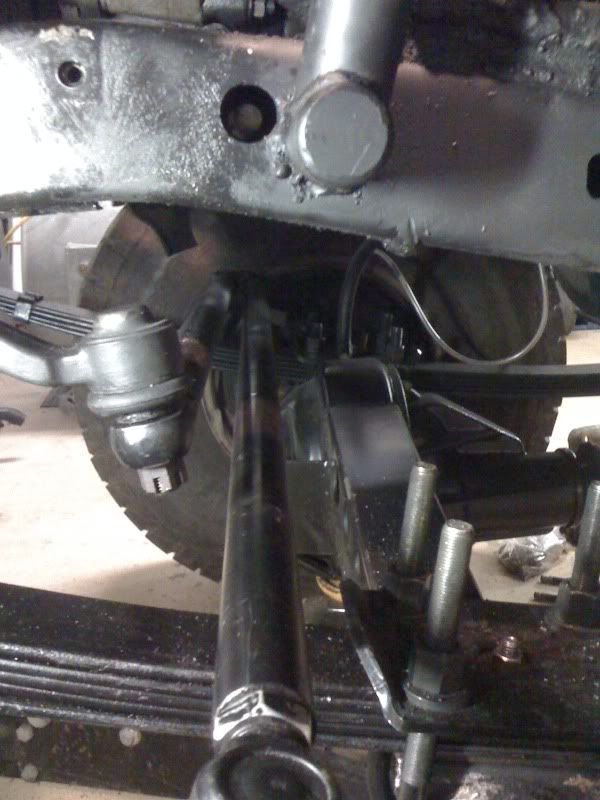
I ended up moving the steering box forward 2" and rotating the box a little. I did not have to cut the mount like most people do but I think thats because I don't have hydro.

The kit came without one so I had to wait for it to get here to finish up...
Testing the holes
I live in Mississippi on the coast so there isn't much to flex on...
Overall I like the SAS. Next on the list is a square drive shaft and homemade sliders. I'll post up when I get them done.
I ended up moving the steering box forward 2" and rotating the box a little. I did not have to cut the mount like most people do but I think thats because I don't have hydro.
The kit came without one so I had to wait for it to get here to finish up...
Testing the holes
I live in Mississippi on the coast so there isn't much to flex on...
Overall I like the SAS. Next on the list is a square drive shaft and homemade sliders. I'll post up when I get them done.
12-16-2010, 11:27 AM
#11
Registered User
Thread Starter
Join Date: Jun 2006
Location: Ocean Springs, MS
Posts: 262
Likes: 0
Received 0 Likes
on
0 Posts
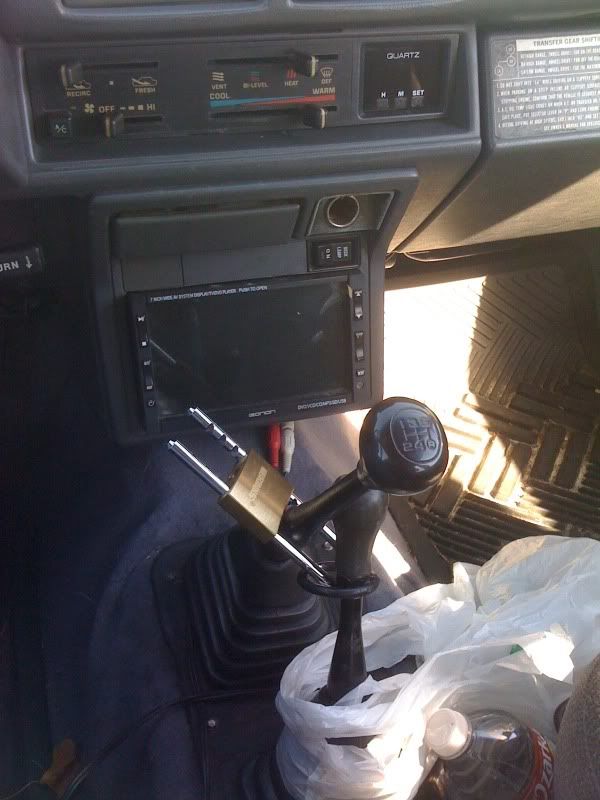
Here is a theft prevention that may help some of you. I went to Lowes and bought a 14mm x 1.25 nut and a 2" chain ring for about $3.00. I also bought an adjustable lock for about $10.00. I welded the nut to the inside of the ring and threaded it onto the 4WD shifter. The shift knob still fits on top of that. I put the truck in 4LO and REV and put the lock on. I try to back into parking spots when possible but if not and they manage to start the truck it will only go backwards about 5 MPH.
 12-23-2010, 07:14 PM
#15
Registered User
Thread Starter
Join Date: Jun 2006
Location: Ocean Springs, MS
Posts: 262
Likes: 0
Received 0 Likes
on
0 Posts
Thanks for the comments.
The wheels are called Cragar 3205160. Here is a link for them from summit racing
http://www.summitracing.com/parts/CRR-3205160/
The wheels are called Cragar 3205160. Here is a link for them from summit racing
http://www.summitracing.com/parts/CRR-3205160/
03-16-2012, 11:49 AM
#18
Registered User
Thread Starter
Join Date: Jun 2006
Location: Ocean Springs, MS
Posts: 262
Likes: 0
Received 0 Likes
on
0 Posts
Update: It's been a while but I have been really busy putting all my time/effort/money into finishing on my private pilot license.
Now for the truck:
The faded red durabak coating on the truck reacted with the duplicolor liner I put on top of it. Took about a year and a half and it split/blistered and started peeling off. Looked horrible! The truck is 25 this year and is considered an antique in MS now so I have decided to restore her. I have been grinding the liner off the truck little by little with plans to paint her. I have been through (2) brand new craftsman grinders and (5)cup'ed wire brushes. I am currently on my second orbital sander as well. Taking off liner SUCKS!
The input bearing in the W56 is shot and I am goint to rebuild that as well as install my other set of 5.29's and make a front driveshaft. I will be updating with pics as I get to work on these tasks.
03-17-2012, 06:50 PM
#19
Registered User
Thread Starter
Join Date: Jun 2006
Location: Ocean Springs, MS
Posts: 262
Likes: 0
Received 0 Likes
on
0 Posts
Finally have her all sanded down and primed. Going to make a temp. paint booth tomorrow morning and hopefully get her sprayed! The color is going to be smoke metallic.