When you click on links to various merchants on this site and make a purchase, this can result in this site earning a commission. Affiliate programs and affiliations include, but are not limited to, the eBay Partner Network.
So I recently made a trade for an 89 4Runner that I plan to turn into an overland/expedition vehicle. The goal is to save up over the course of the coming two years and drive my newly beloved Yota on down to Patagonia, or patagucci as some of them college kids call it.
She's a clunker compared to these Subaru I traded it for, but I've got no regrets considering the 4Runner came with a gun, some ammo, money and cv's. I figured I'll try to document the build as best as I can. I'm really not in any kind of hurry to finish it, so there's no telling how long some of yall would be willing to follow this, but hey that's part of the adventure.
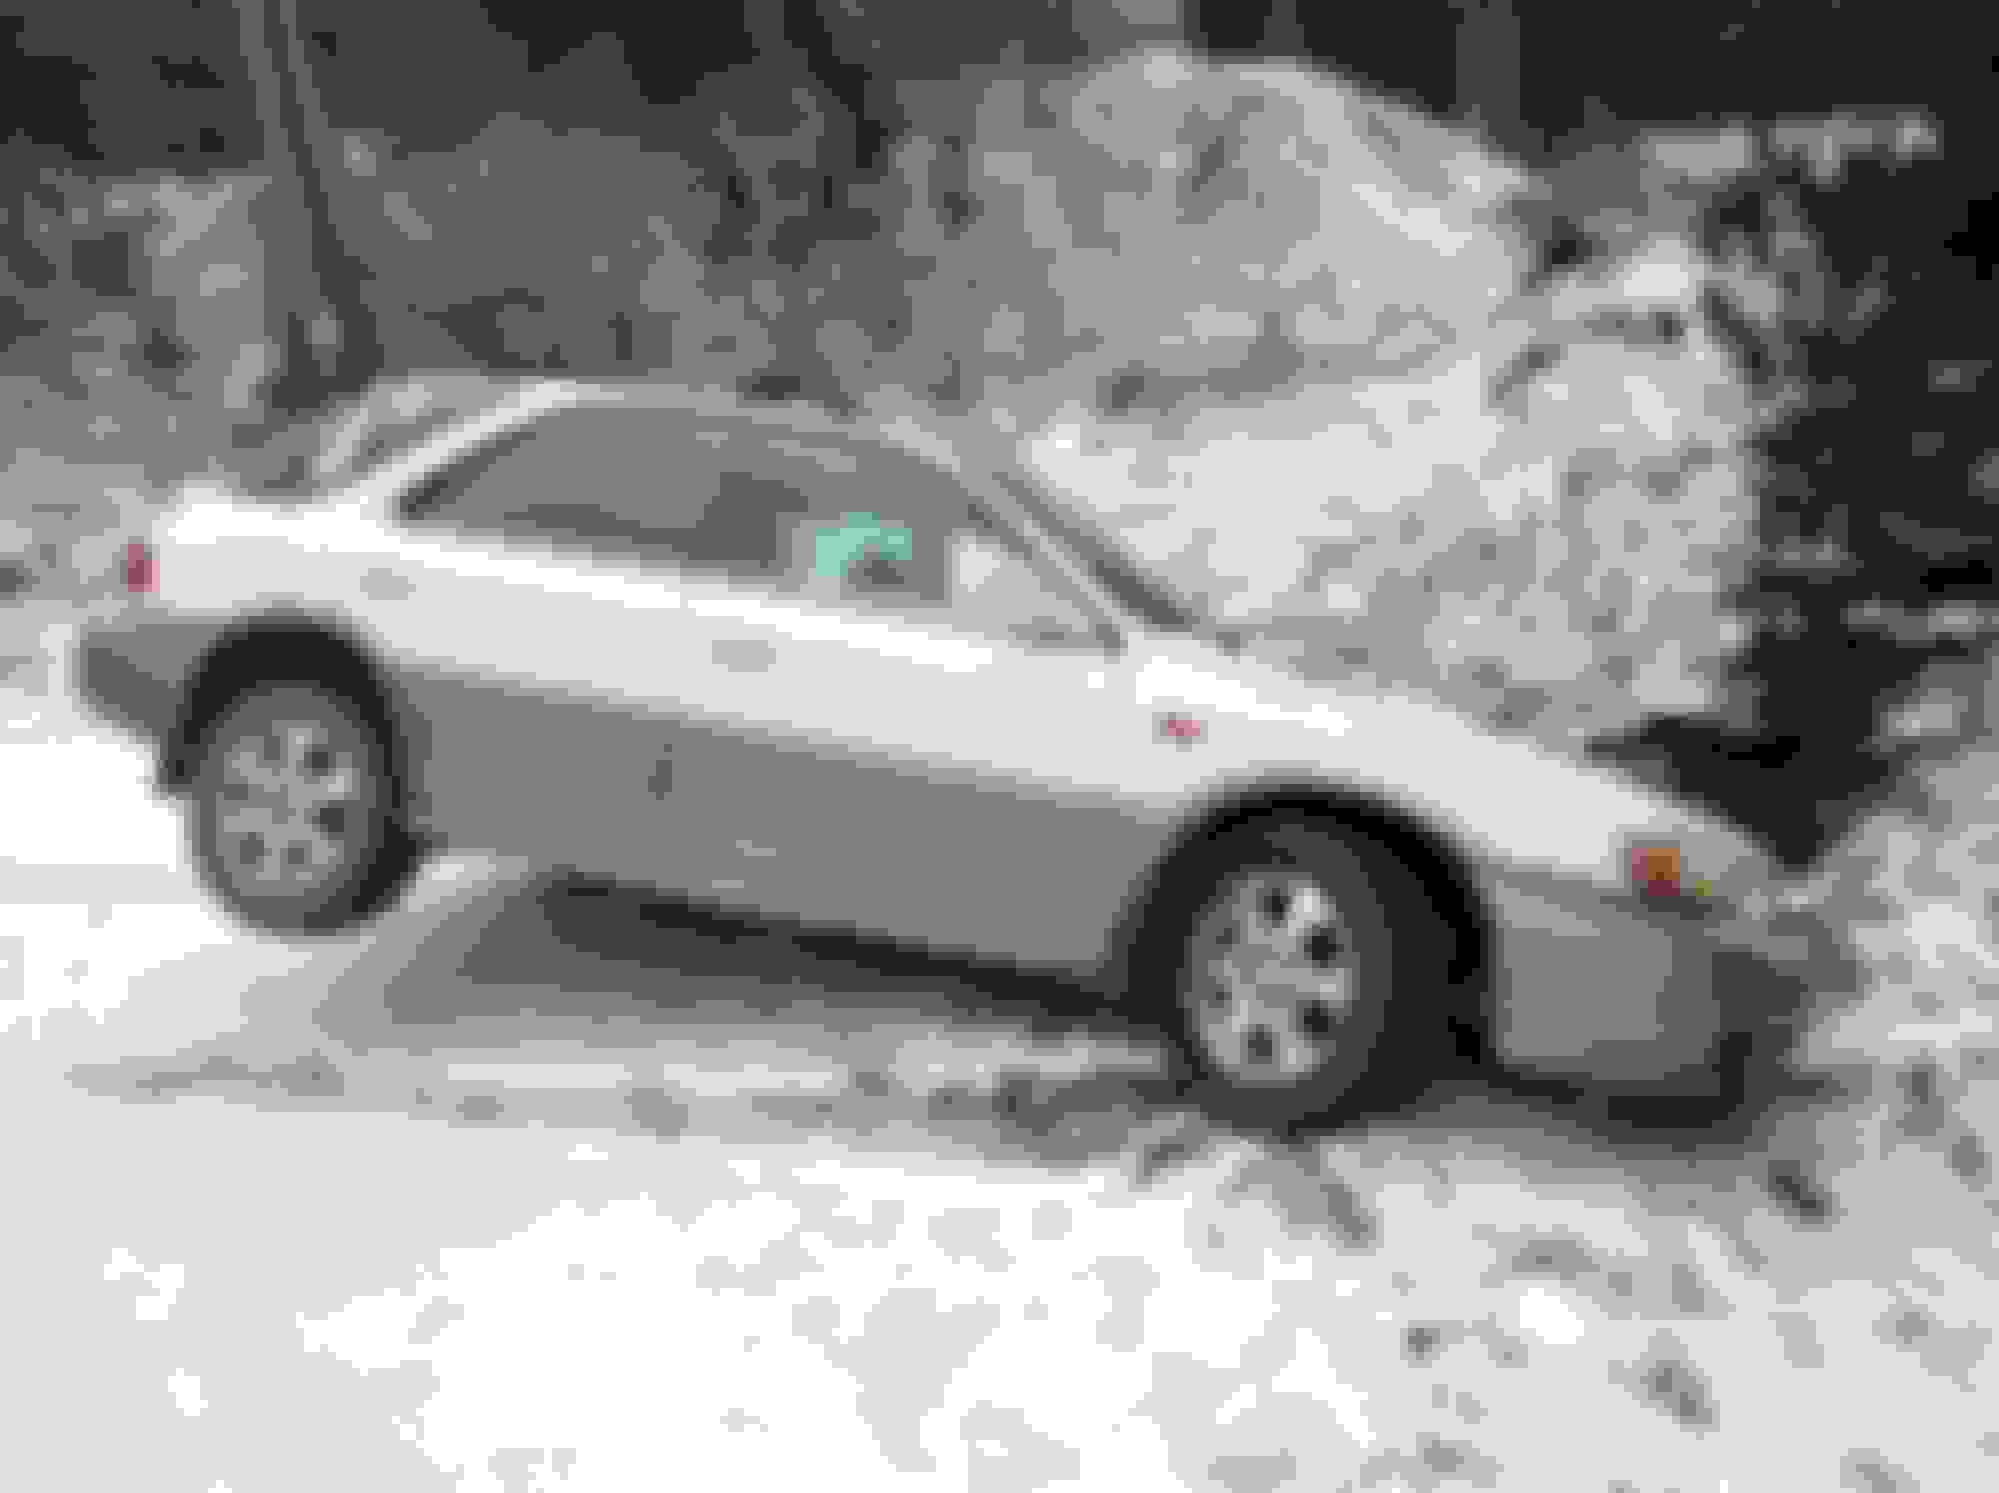
Anyways here's the car I traded it for! Look at that flex!
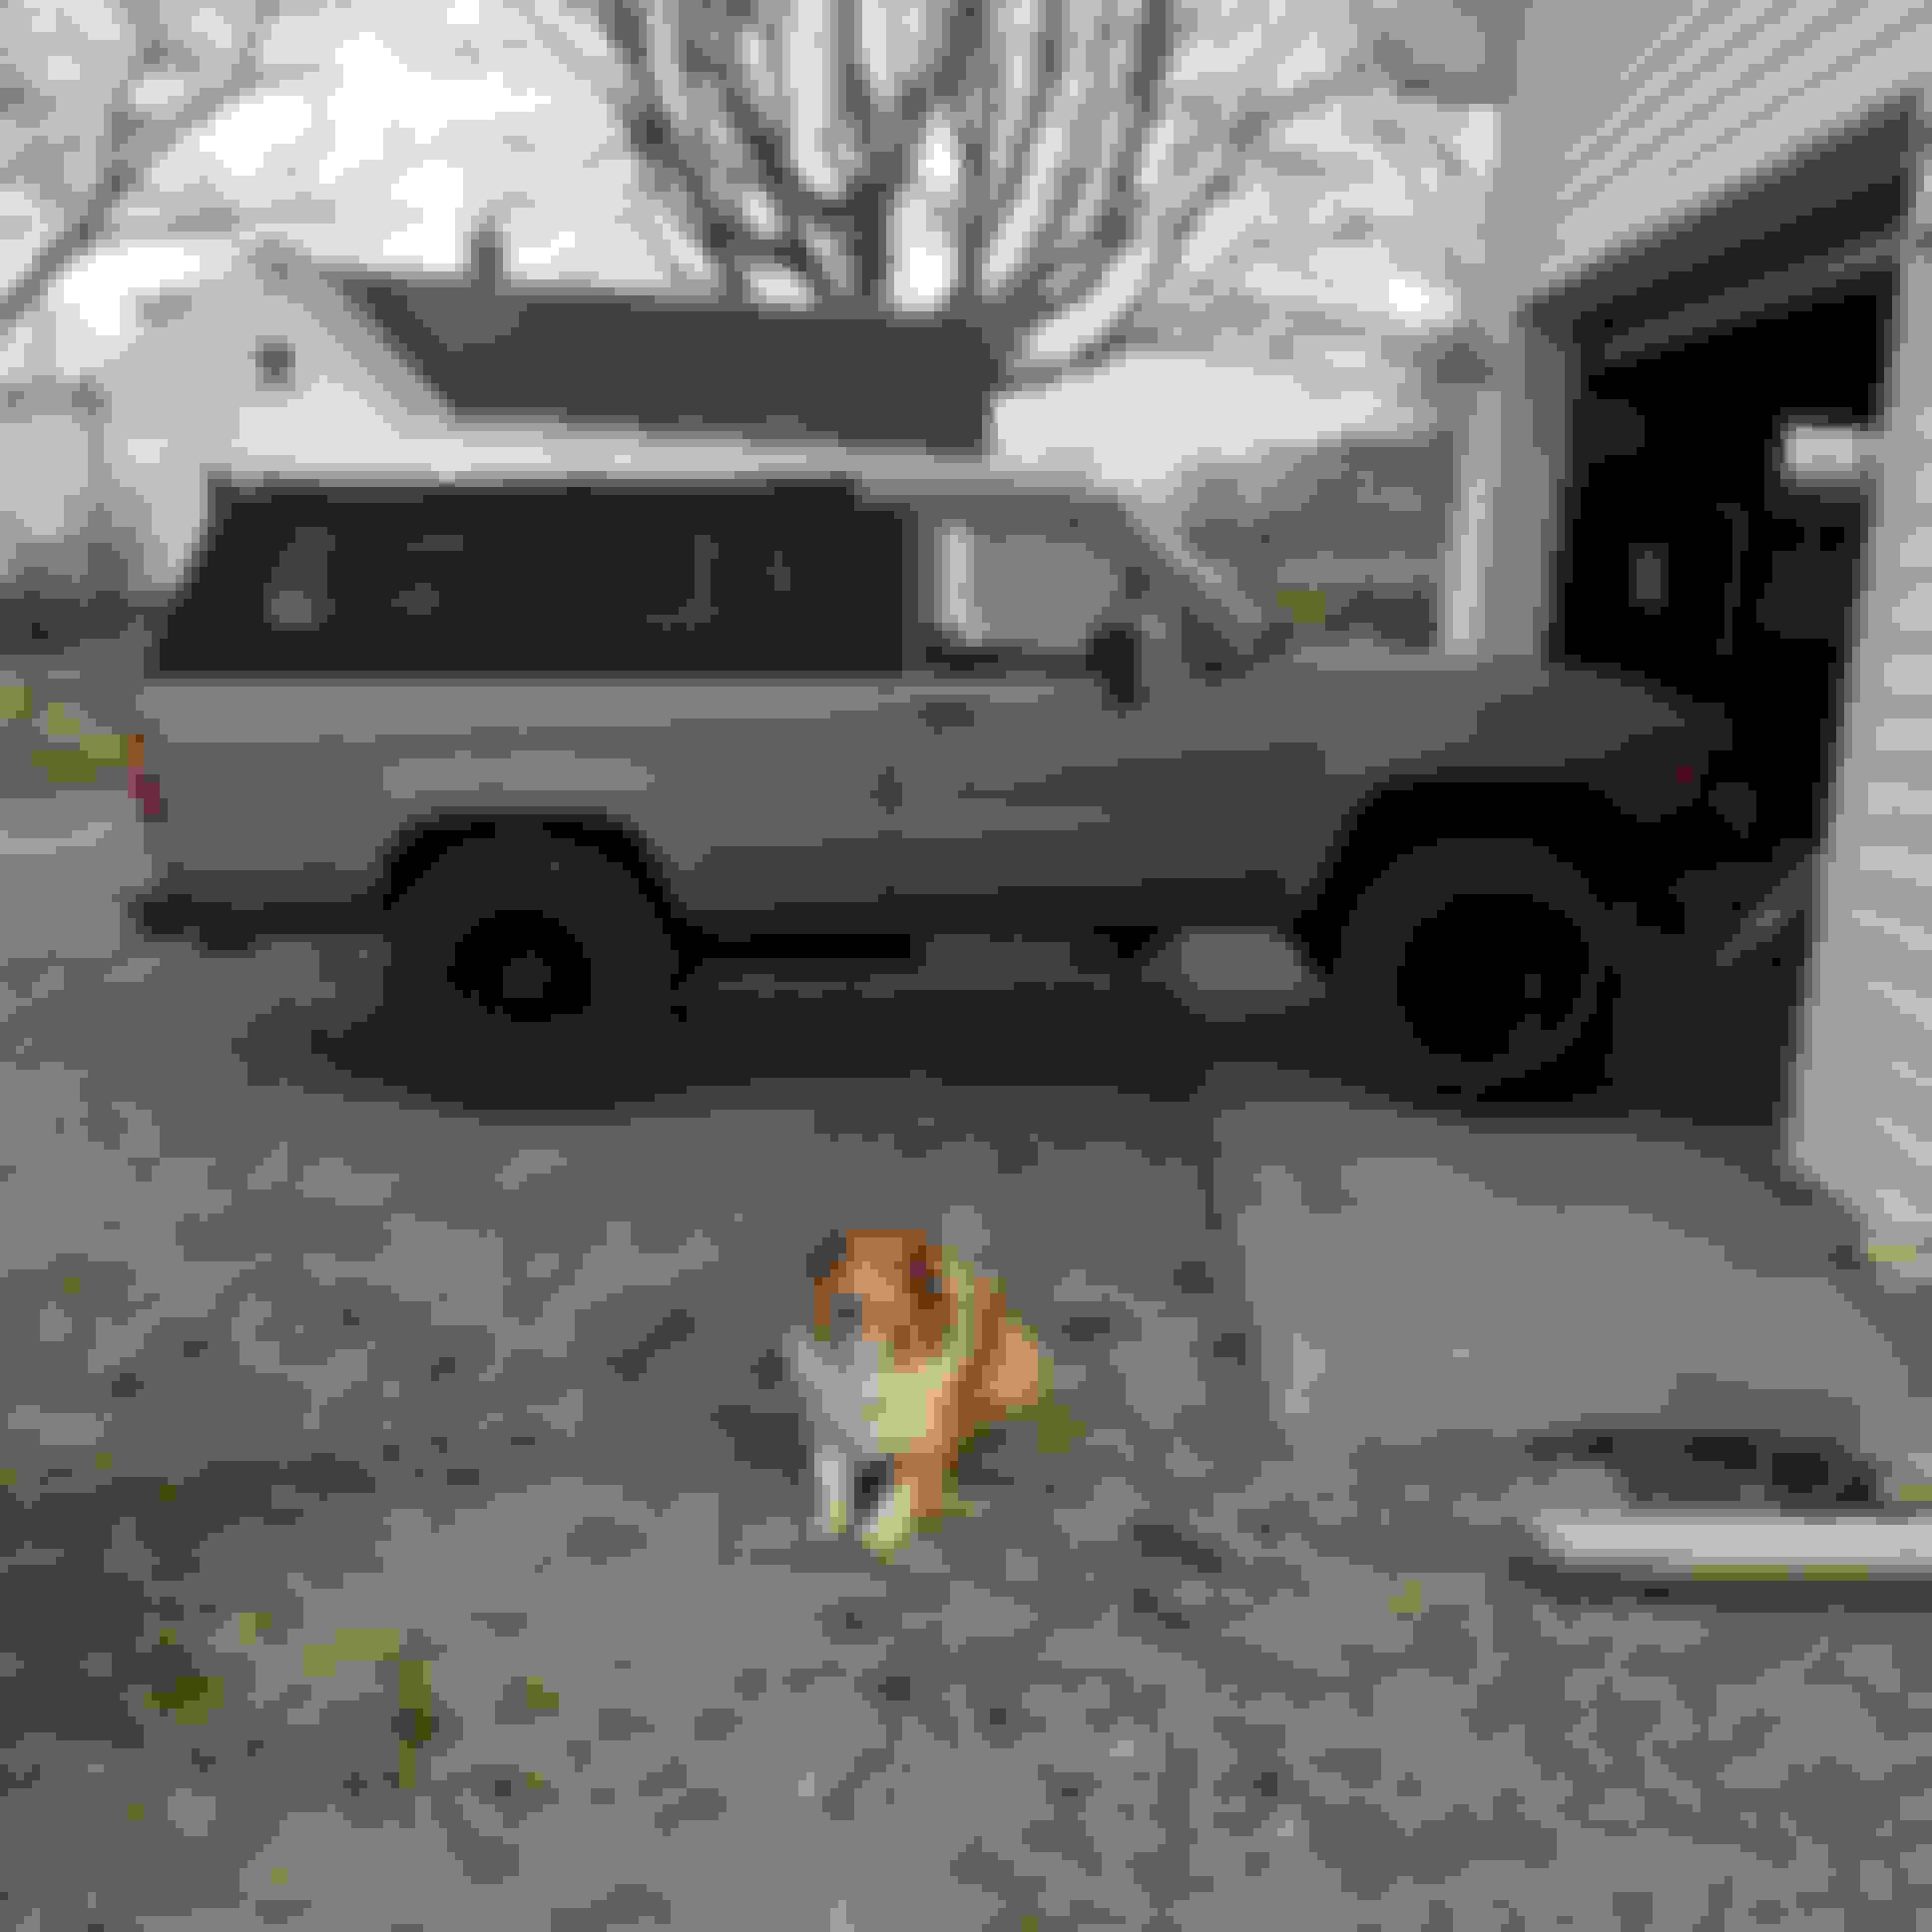
And here's my new baby.
I'll be installing the new cv axles on Monday, so that should be the next post from me.
Check to see if the stereo wiring is hacked and if trailer wiring has been added. I see alot of issues on those. Frames can be an issue but your looks to be a rust free truck. Probably a little surface rust on the frame but it nothing to be worried about. I like to go thru the intake system and get all of the carbon out from the EGR.
Clean and flush all fluid lines. They have a lot of build up in them. In the build threads at the bottom of my post, are links. I have several other things listed that can be done for little to no cost. The ventilation system could use a good cleaning and the cowl in front of the windshield collects alot of debri. If you have a lot of trash behind the front mud flaps, it is coming from the cowl.
Your antenna is not broken which is common on several trucks. It is actually standing straight up. That is about all I can really see looking at your truck at this time. That would of been an easy fix. Yours is good.
Check your floor boards for moisture. The metal trim around the windshield causes rust and leaks. On the drivers side check to see if there is clutch fluid leaks in the past. Most are easily fixed, just take some time to go thru them from one end to the other and get them cleaned up and running right.
Being an 89, part store will get confused as they changed the body on the trucks so I would just say you have an 88 when ordering parts. Only exception would be when it comes to the injectors as 89 injectors are a newer style then the 88. About everything else is the same.
After 1 day of driving here's what I notice so far that seems to be a concern. The back end is rough to say the least. I'm gonna be doing a Zuk mod before long to fix the ride height and some shocks to stiffen her up a bit.
CV axles definitely make some noise when making tighter turns. Good thing I'm doing those on Monday.
The most prominent issue I can tel right off the bat is the smell of exhaust fumes inside the cab. I'm going to check for a leak in the exhaust, but any ideas where I might want to look first?
Whoa buddy, changing them half shafts were nowhere near as easy as all these threads made it out to be. I must have a defective yota or a severe lack of brain cells from cold beer and big river!
Anyways after a whole 11 or so hours of work I was able to get the half shafts off and install the new ones. While I probably did something wrong to make this so hard on me, I still made it happen and that's what counts, but I never got the satisfaction of having the cv's drop out of the Control arm and wiggle past the dif.
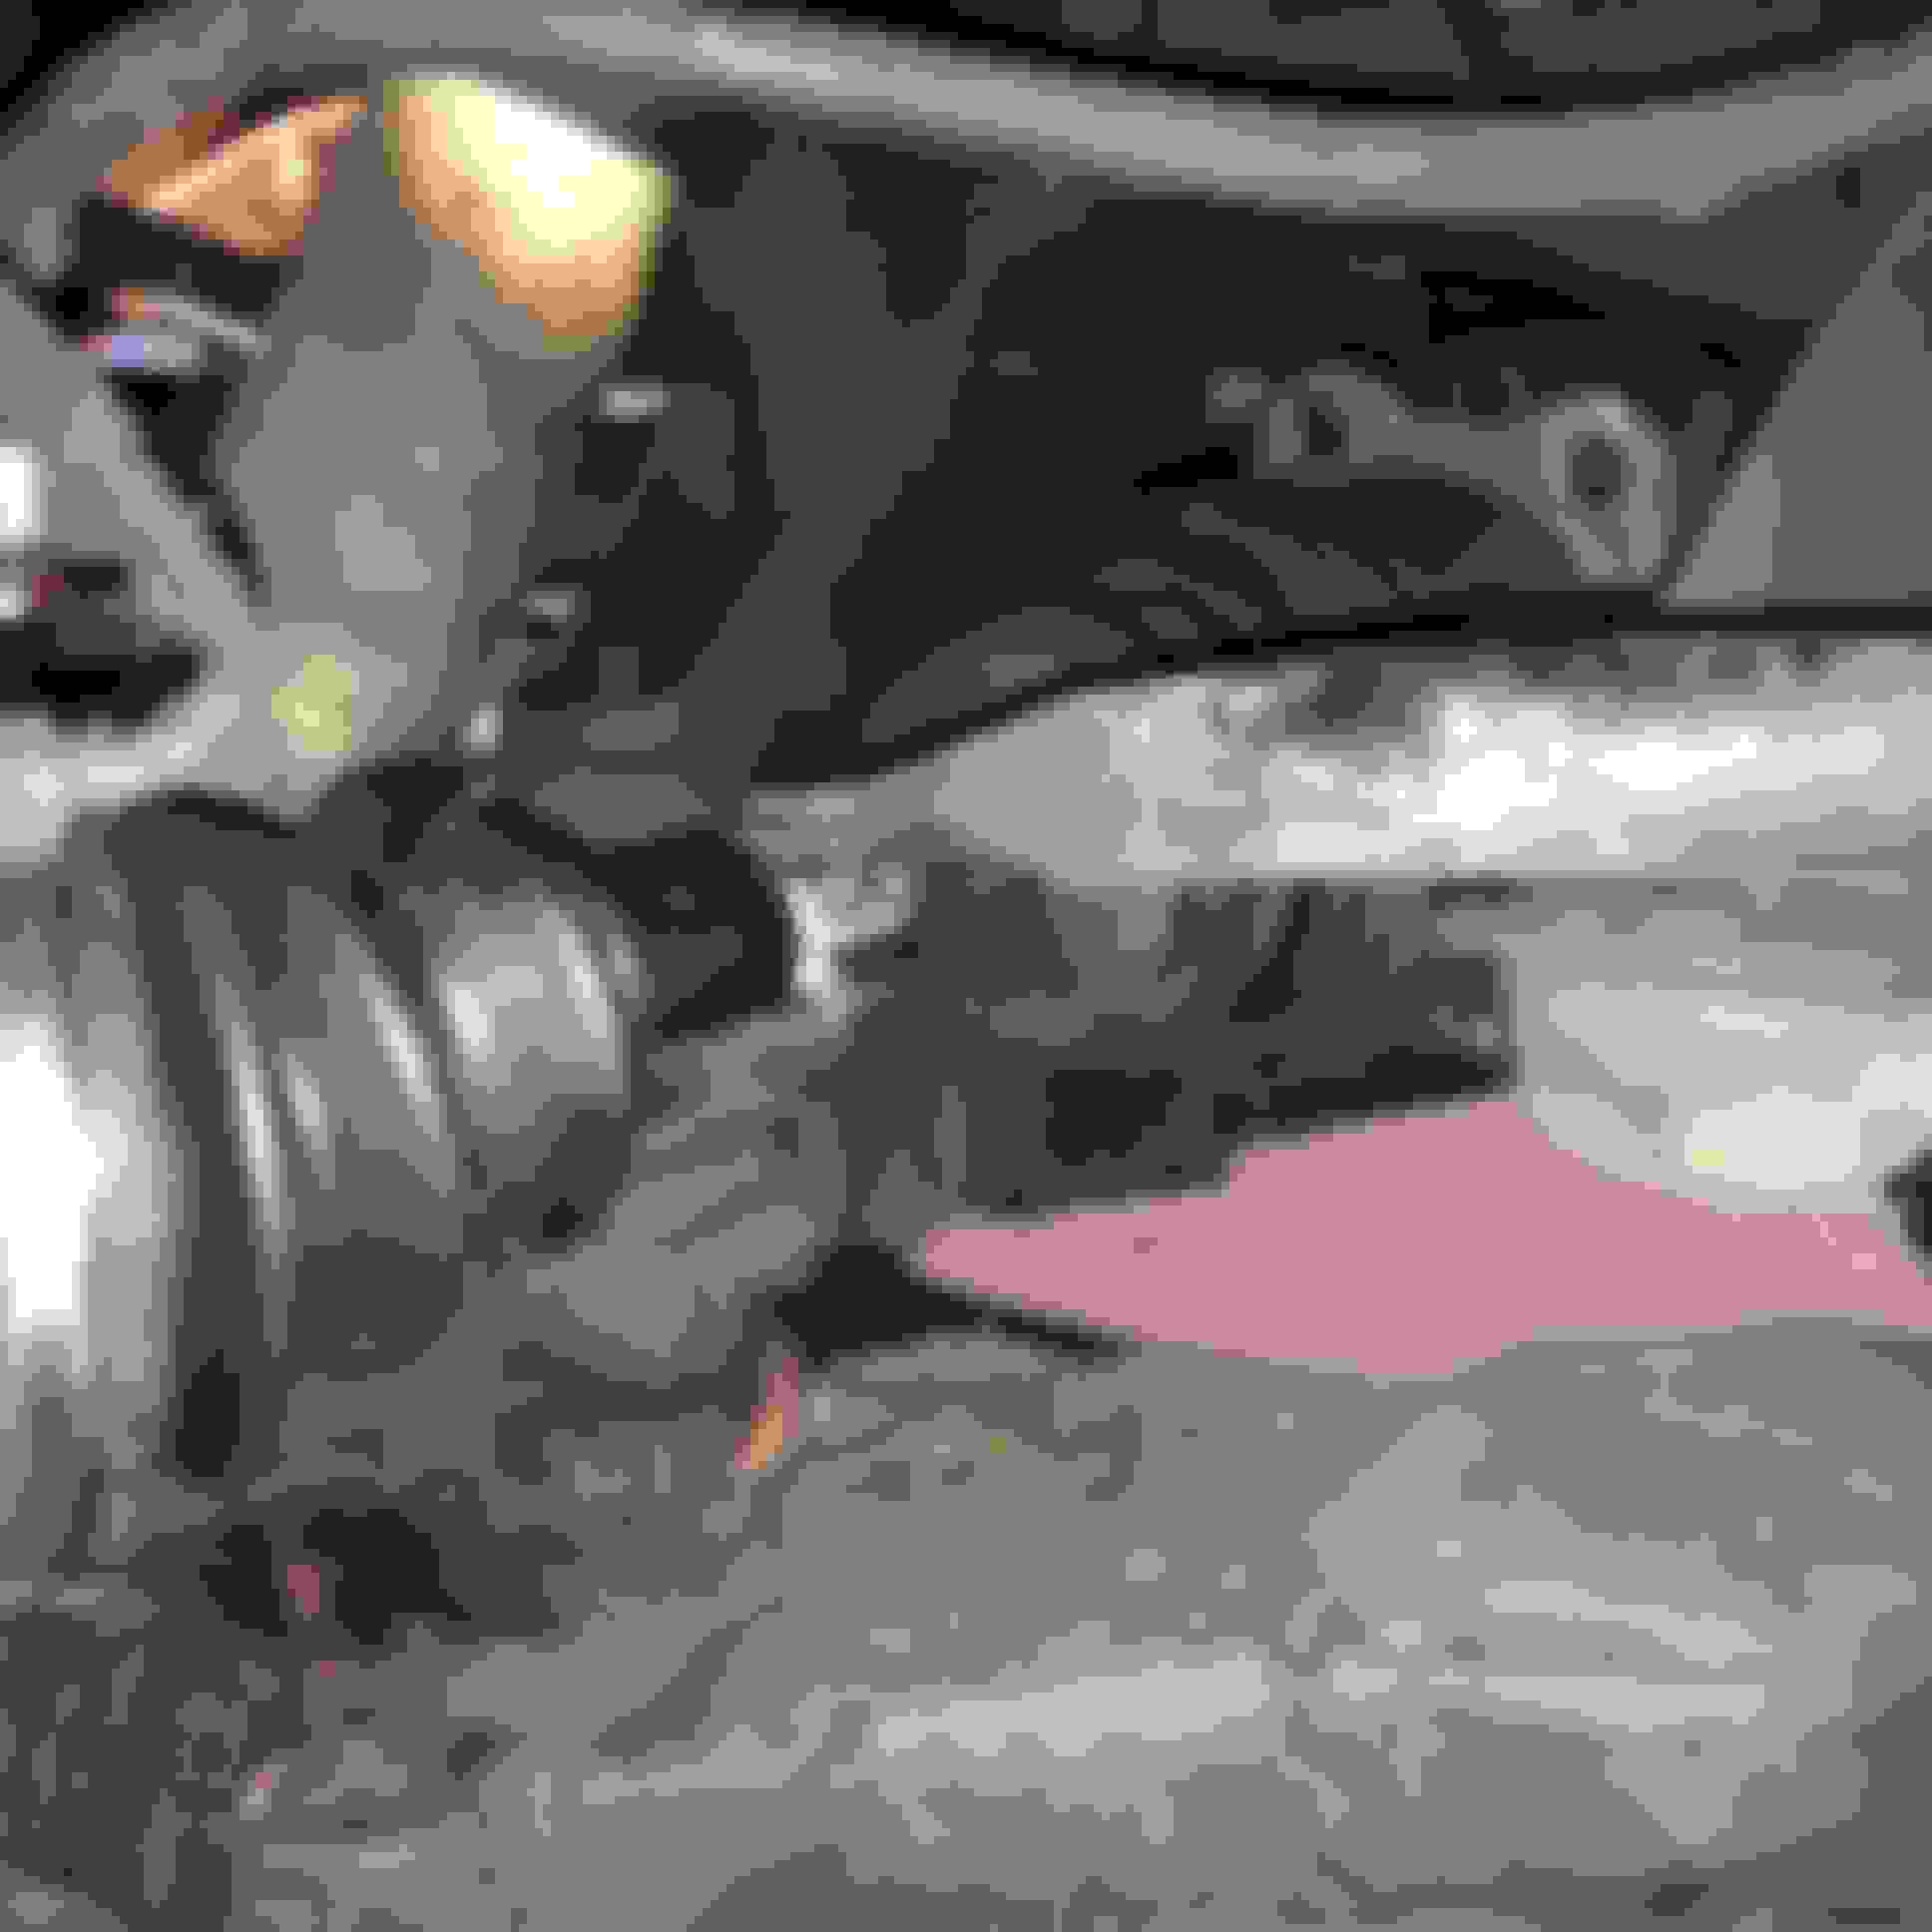
Here's pictures from my journey. Stoked to say this project is coming together!
Here's where the fun all started. I will say that laying on the gravel was not an ideal place to be working, but what are you gonna do when the garage is full?
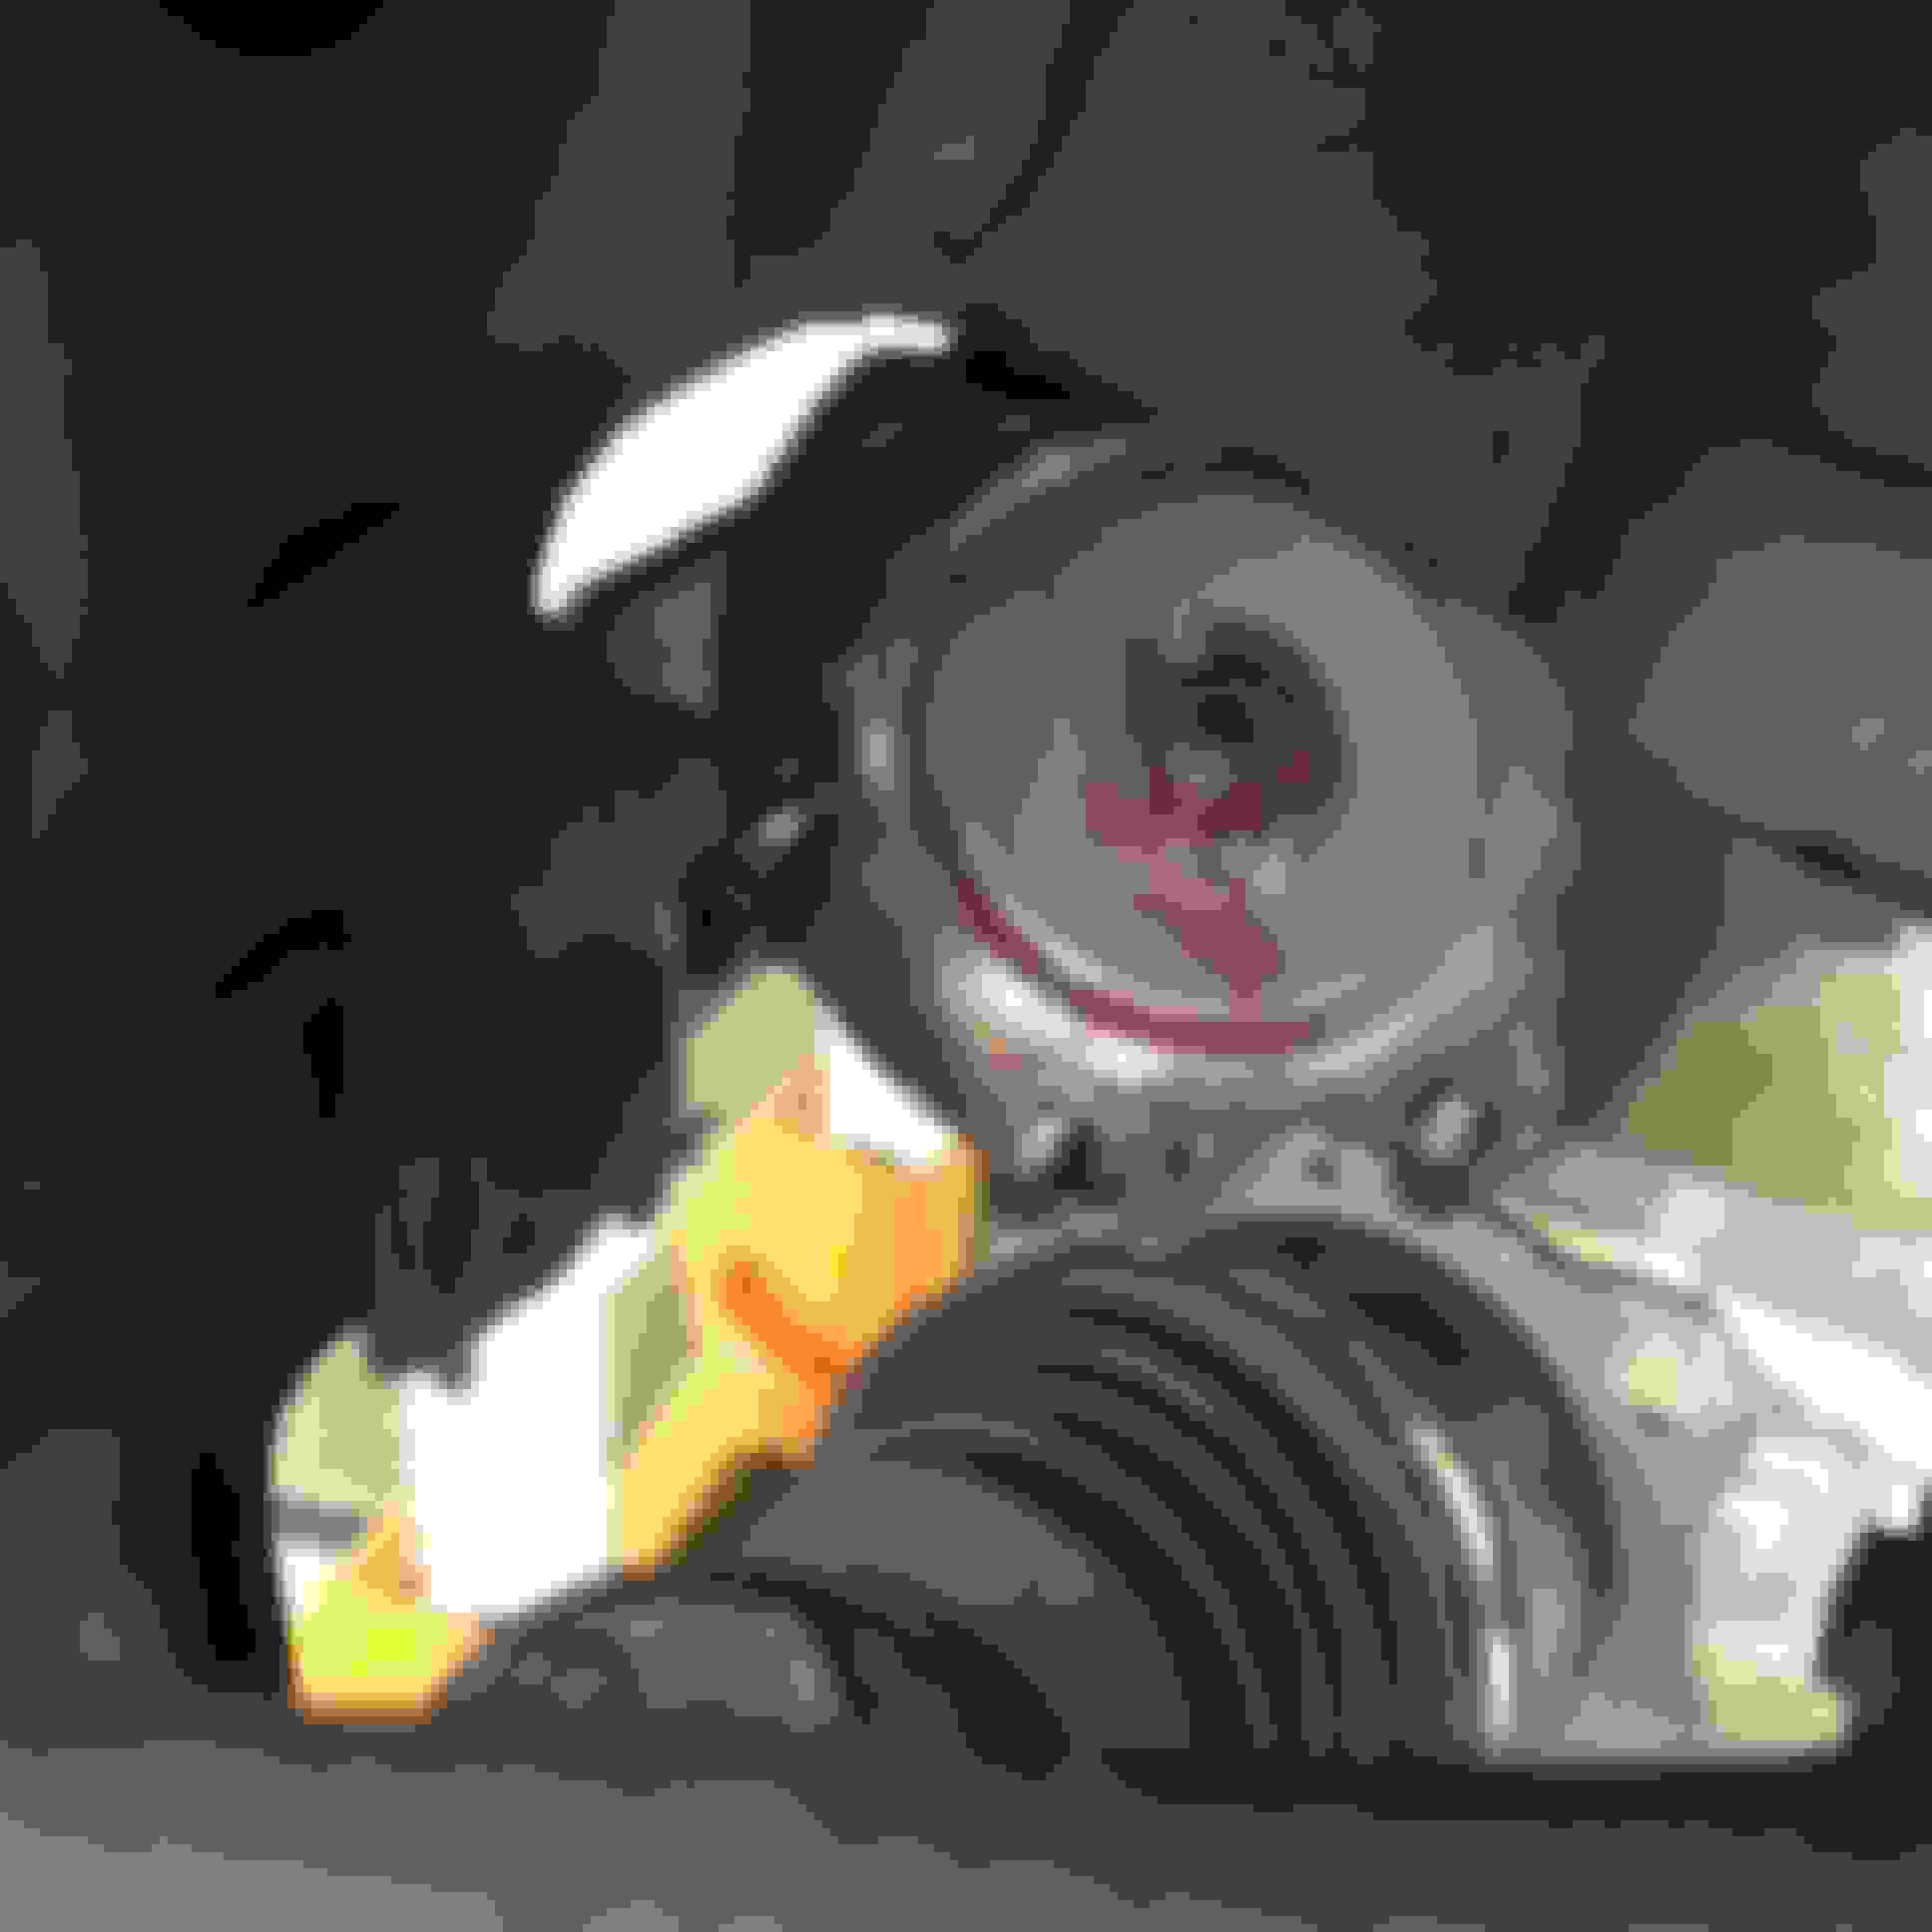
There's a good picture of the outer boot and the definite tear on the in-between the two outer ribs next to the metal boot ring.
First step while the truck was on the ground was to lose the bolts and connecting the differential shaft to the half shafts, and lose the lugs. By simply engaging the lockers to prevent the half shaft from turning. After those two it was time to tackle the hubs. While I thought the snap ring would be my biggest enemy, I would soon find out differently.
After that we placed the jack stands. One on the passenger rear corner, one on the crossmember underneath the diff, then the jack it's self was placed on the lower ball joint as to provide movement as every other thread told me it would be best to have the arm with load on it.
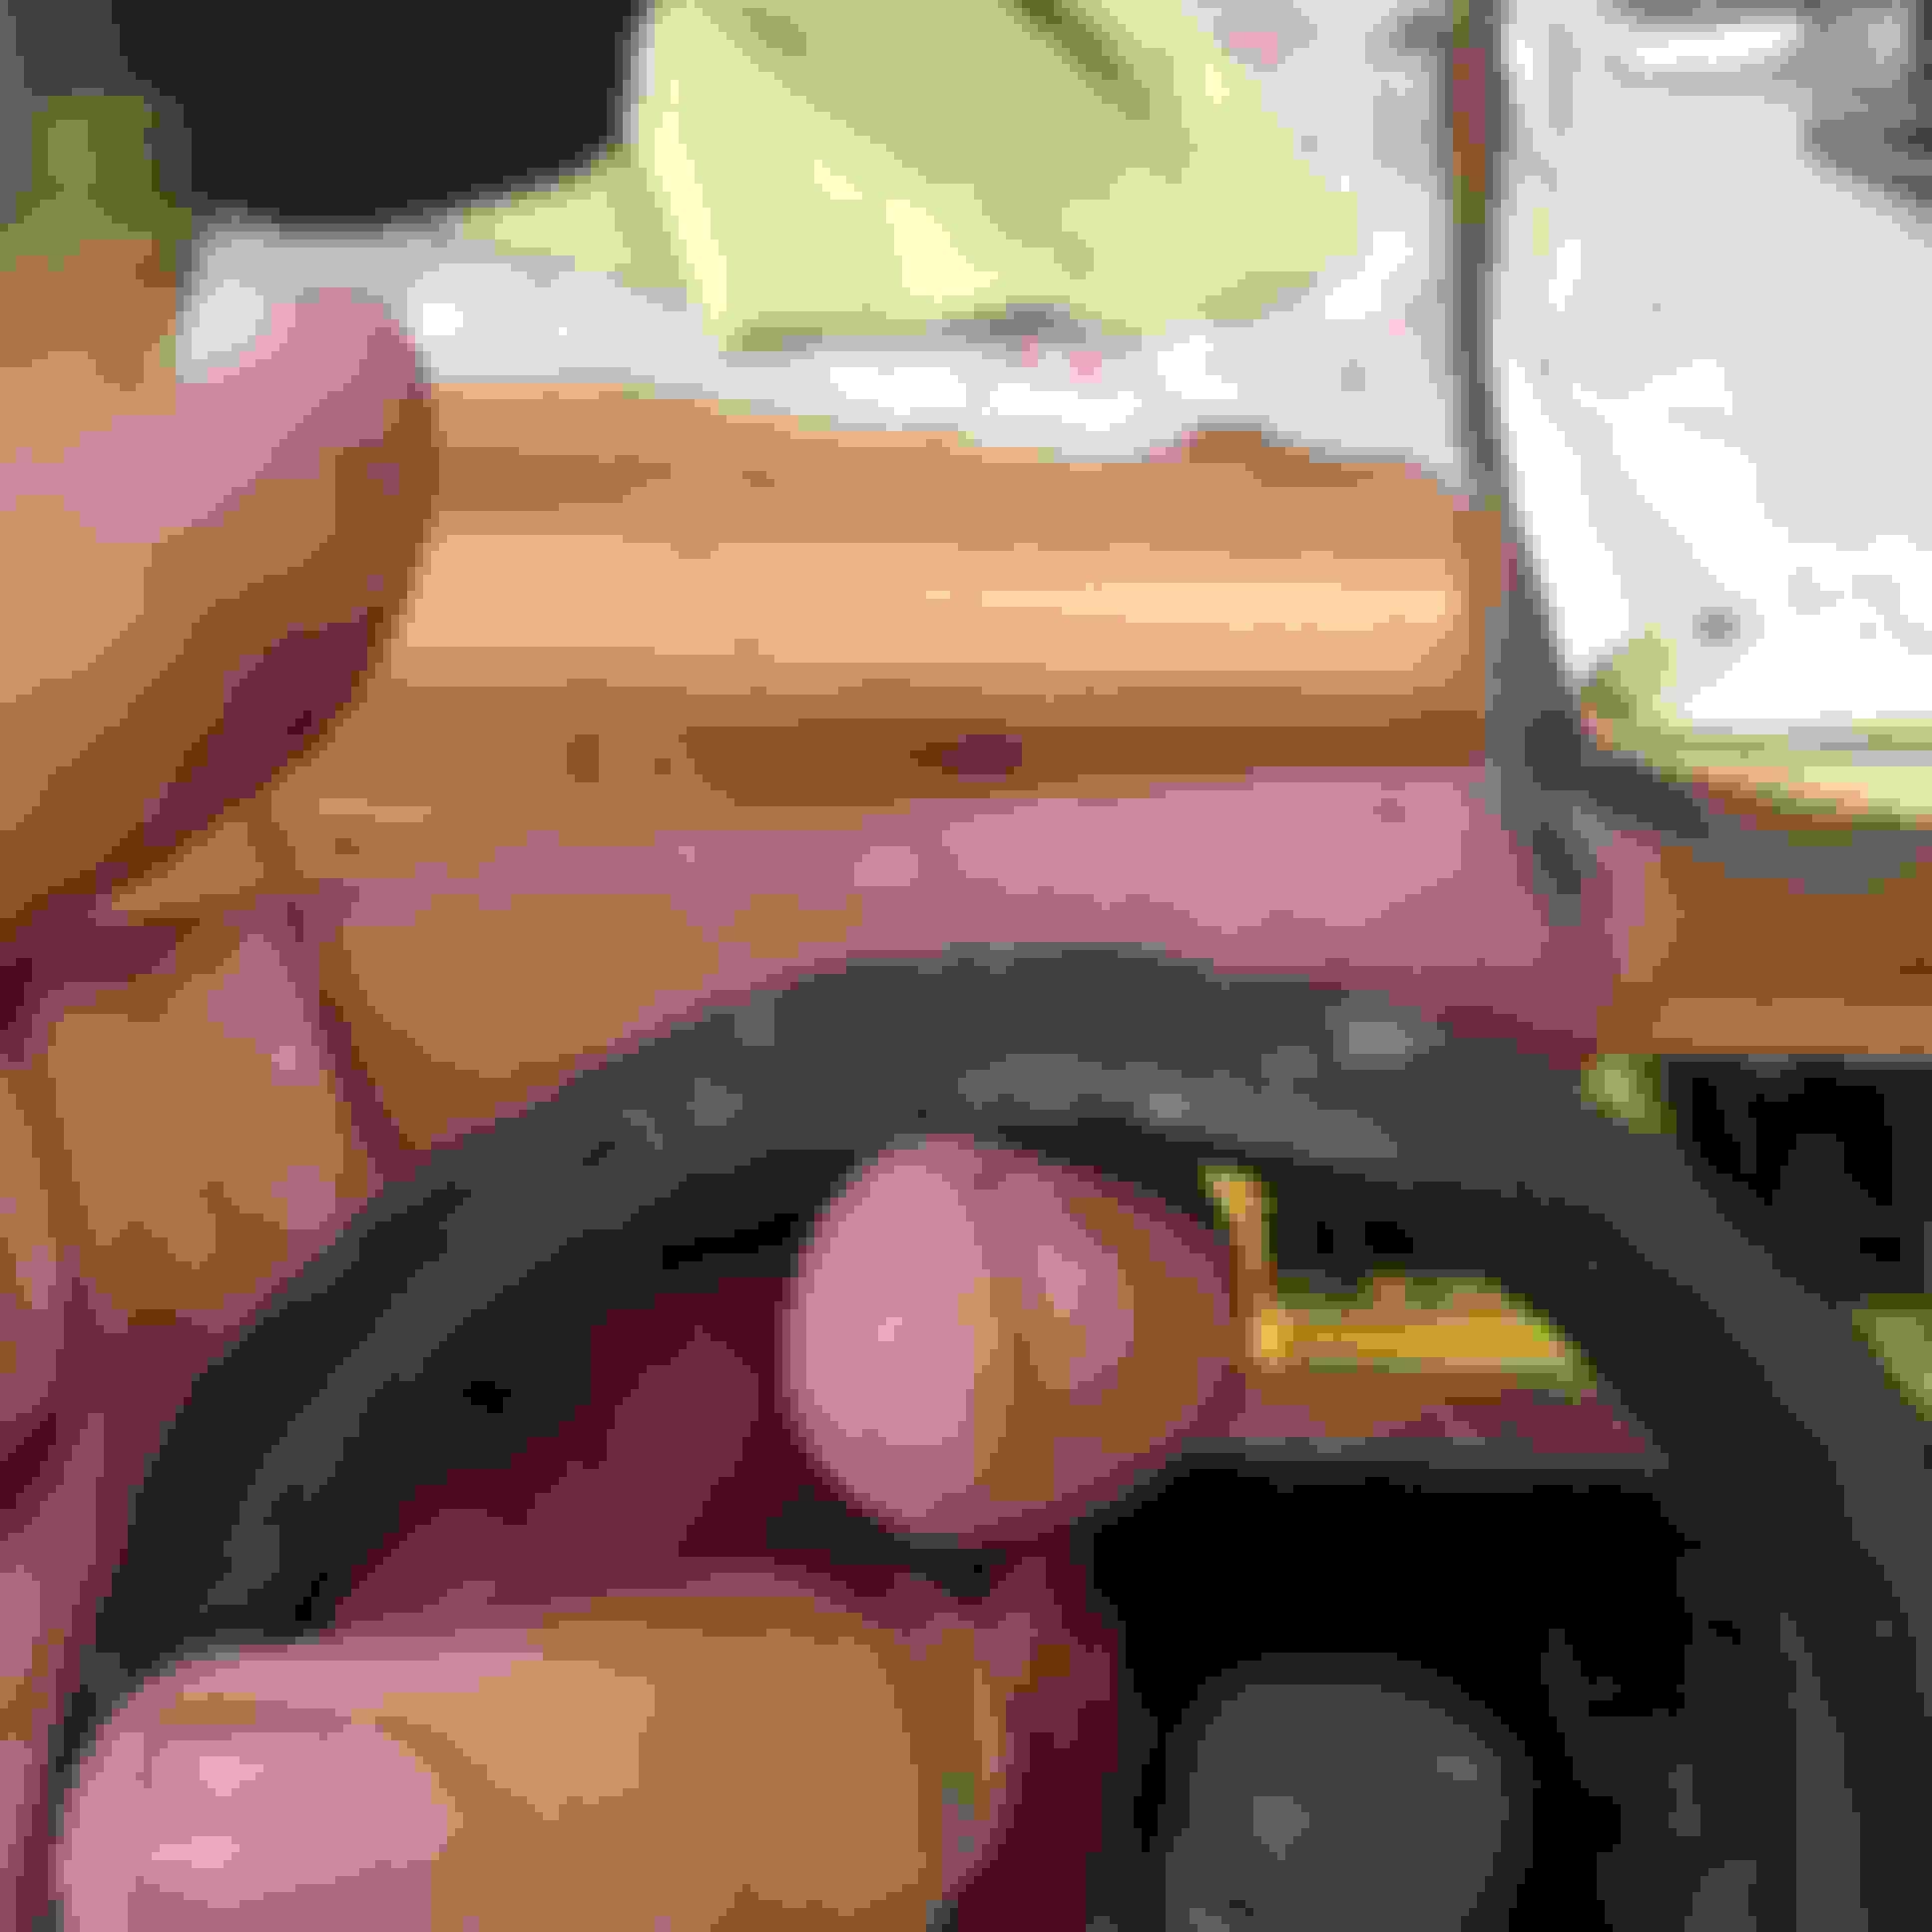
This is where problems started to arrive. No matter which way I articulated the control arm, turned the wheel or wiggled the life out of that half shaft, we could not get it free. Obviously the picture above is the opposite problem seeing as shaft is free, but it cannot be inserted all the way past the diff.
Insert big ass angle iron. Works great as a pry bar to lift the diff and squeeze the cv by with an act of brute force.
The tear
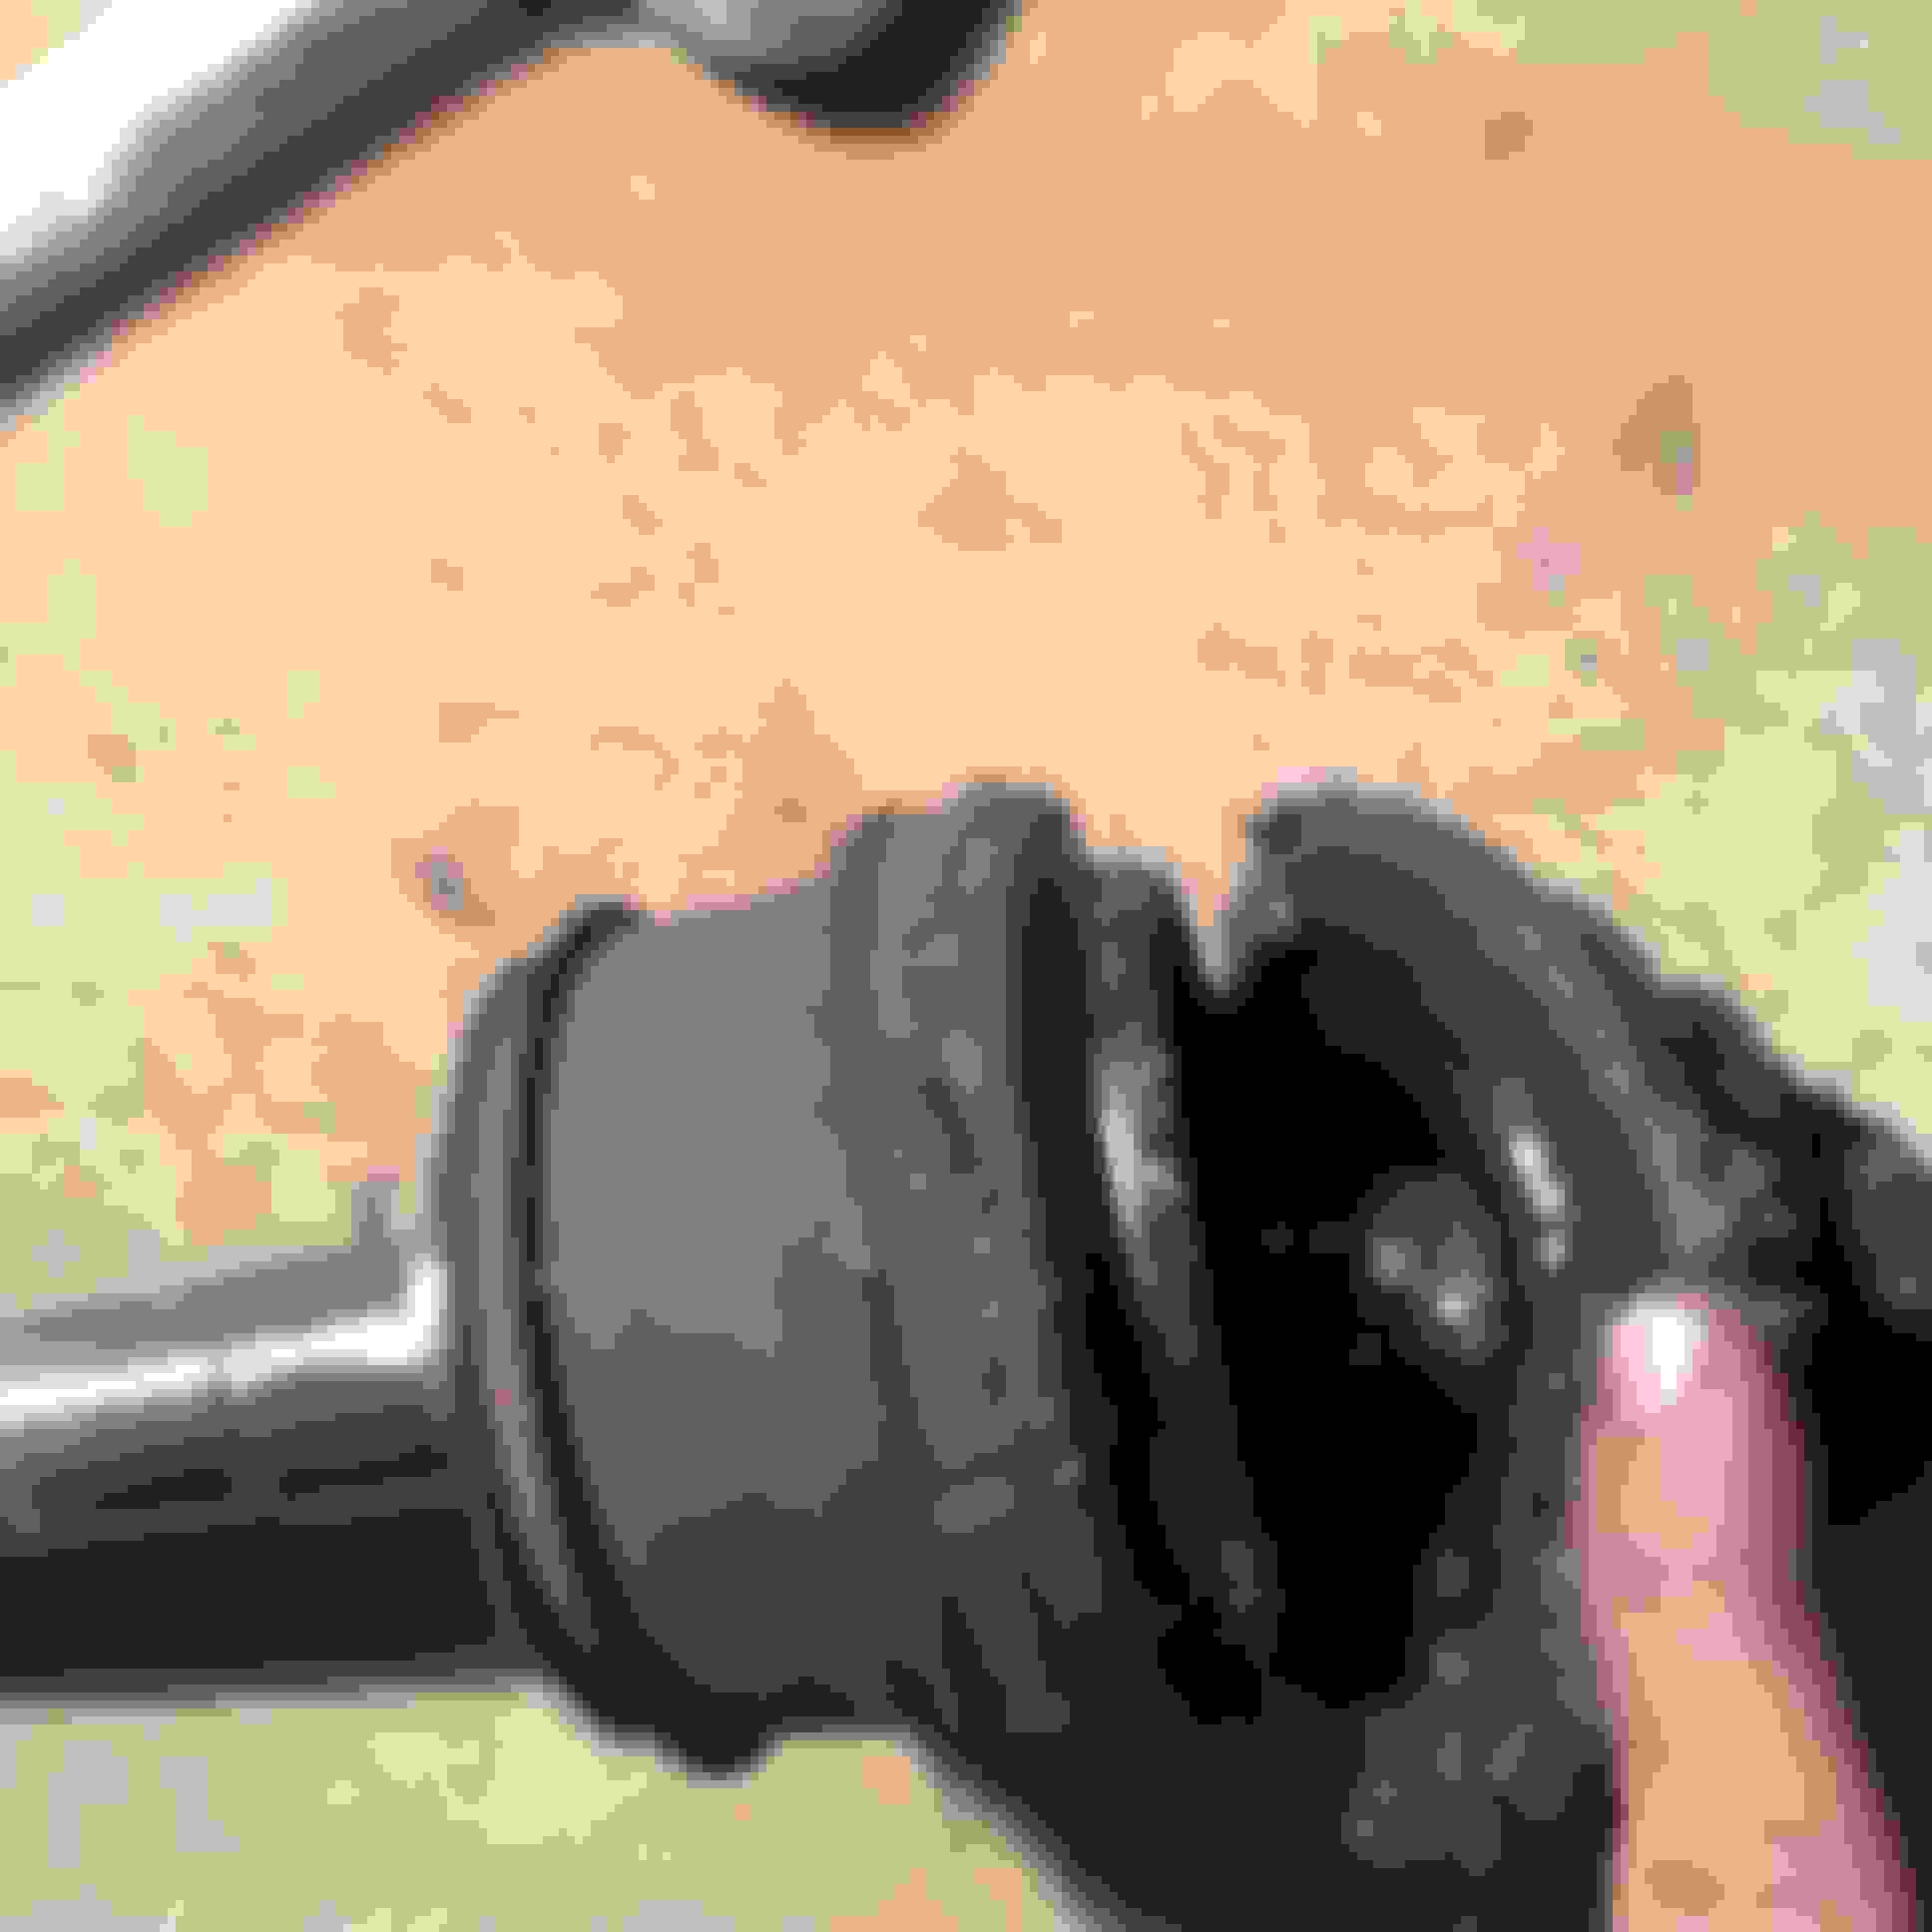
And a decent puncture.
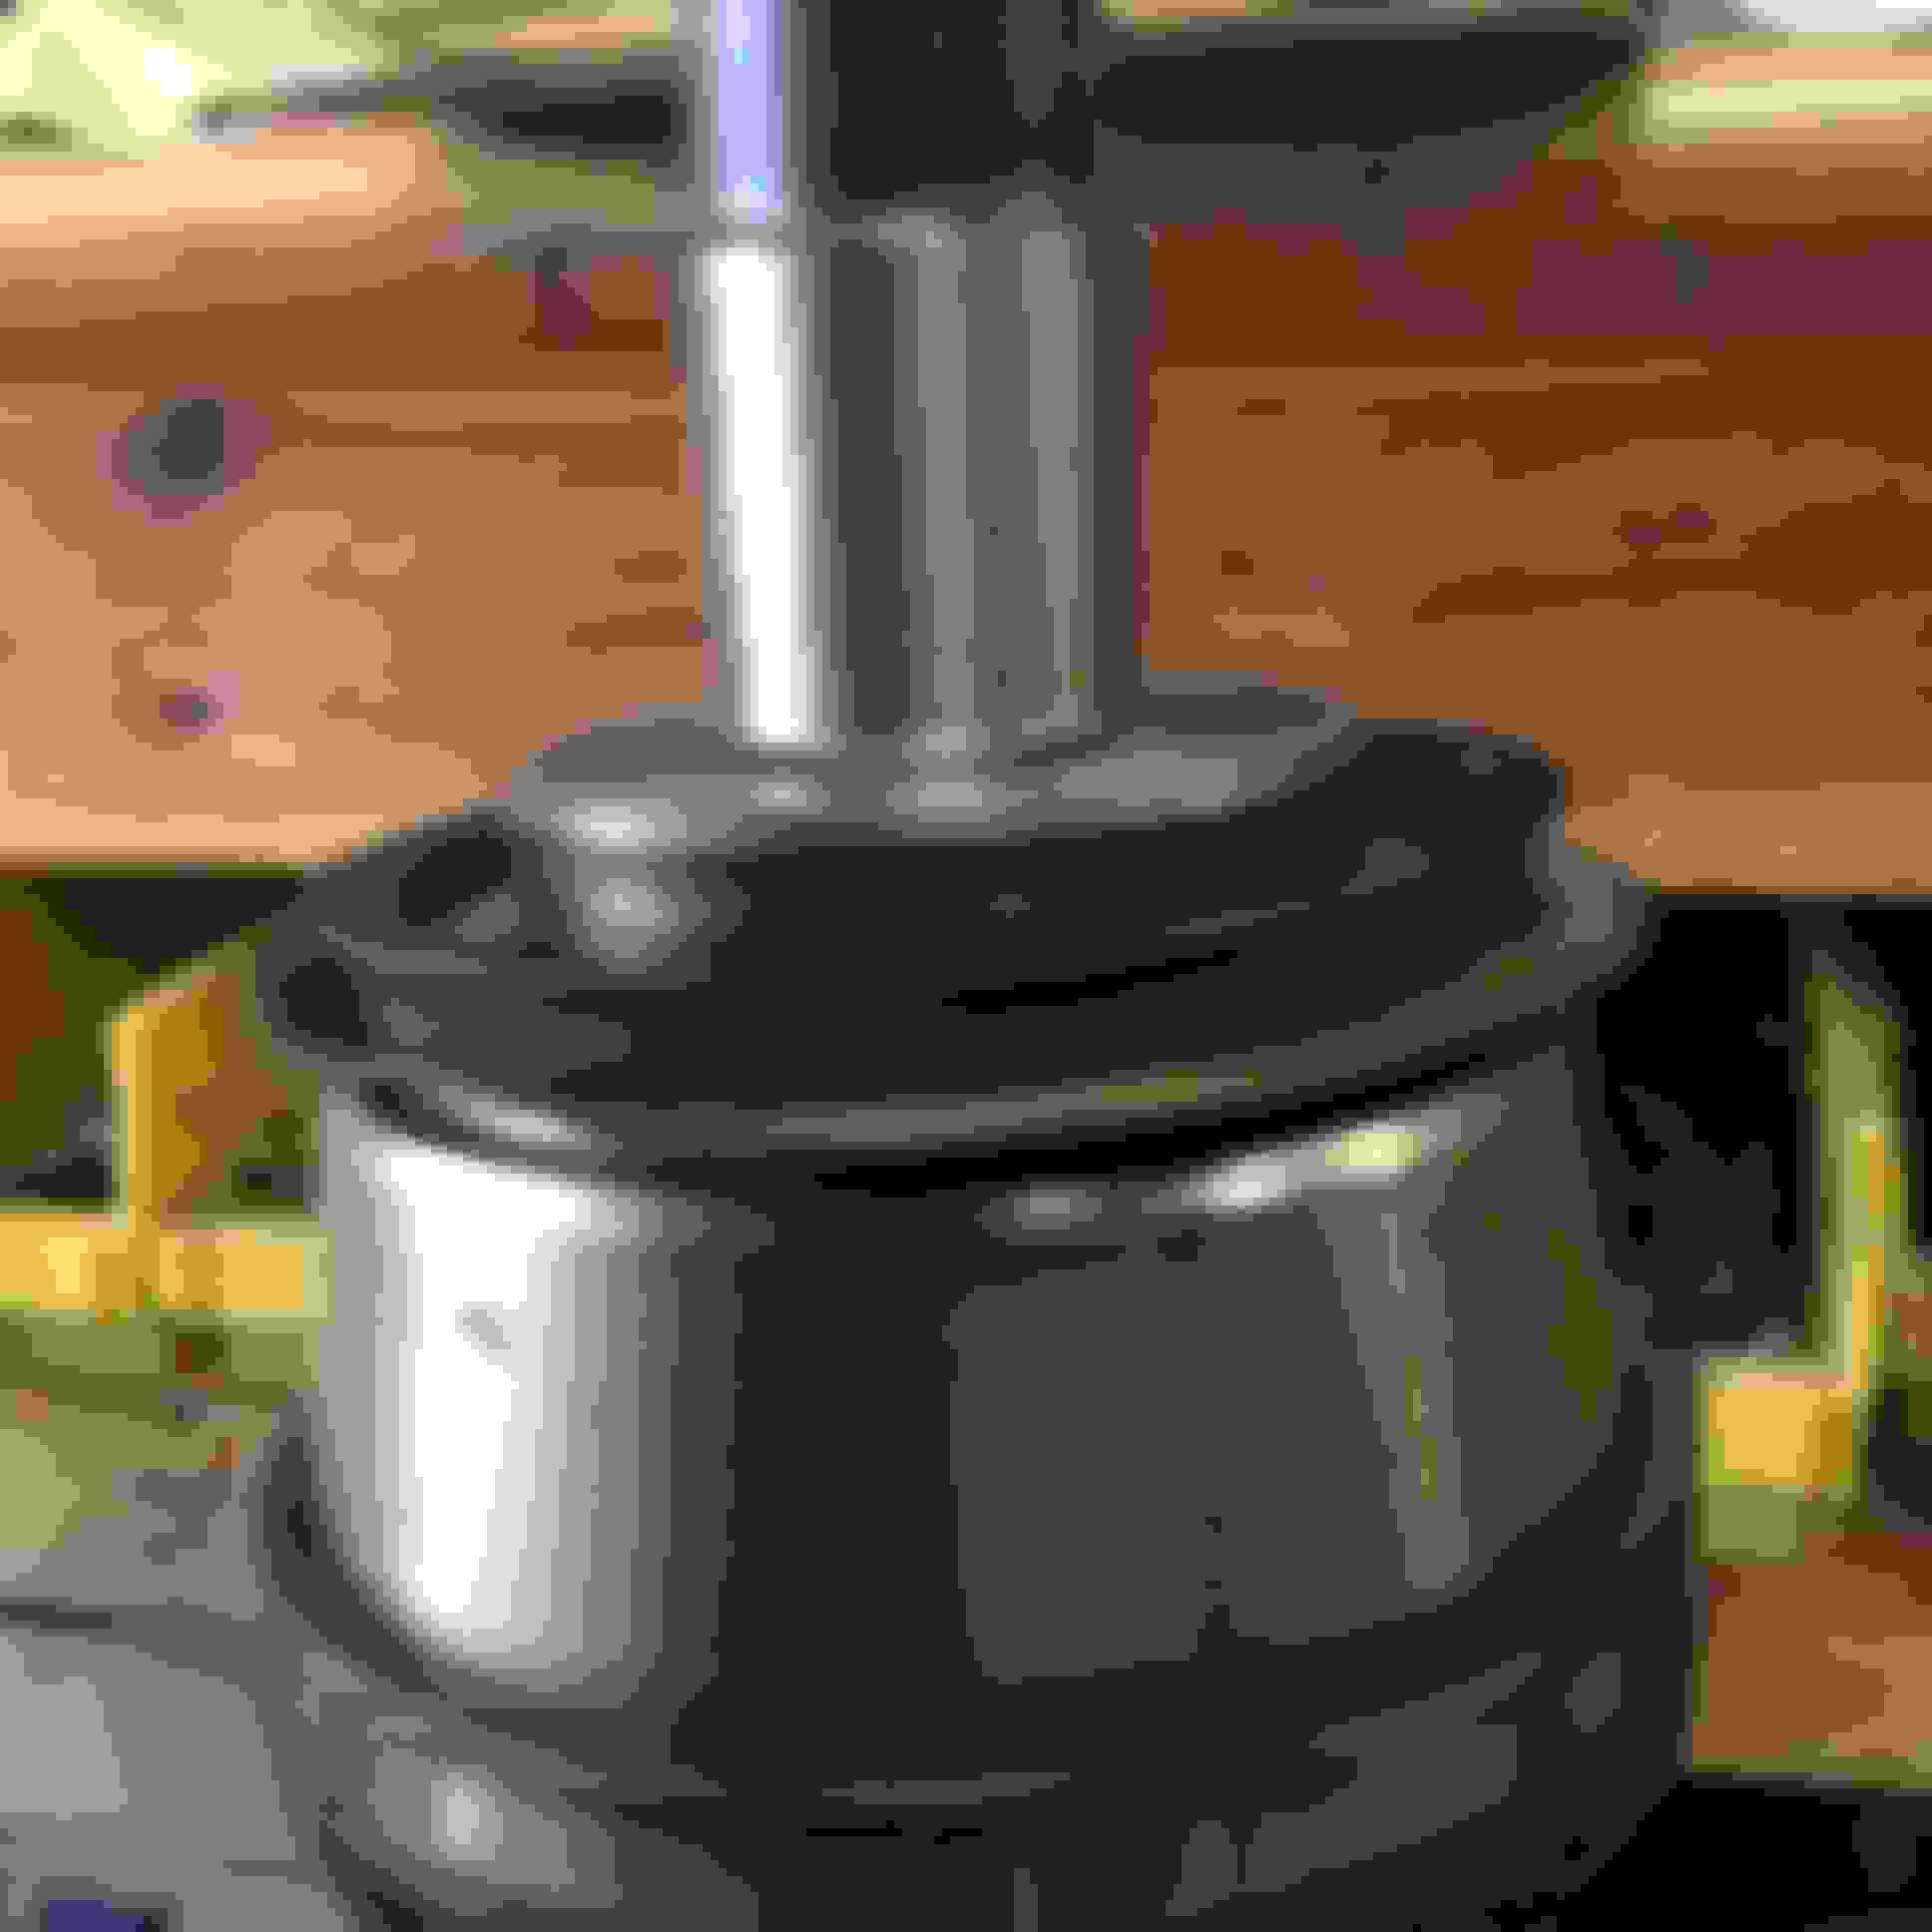
The old dust cover since reman axles don't come with them.
taking the old one off.
Putting it on the new axle.
Again we rain in to problems, but after struggling to replace the half shaft through the gap we decided on a new plan.
To the lift! Thank God for great neighbors.<br/><br/>With no axle or hub I remounted the wheel and tire and drove down the road where convenience lay before me with two great blue posts and some hydraulics. Made sure to check the fluid levels and change the oil while it was up there. Sure is nice having great neighbors!
Broke the swaybar linkage trying to remove it. Advance auto wants $50 for a pair of them!
Also removed the lower shock mount to open up more space for the cv to move around.
Punched out the studs to make remounting the axles that much simpler. A lot of people said replace them with bolts of the same size, but a good wrenching reseated the studs and they held down plenty tight to my liking.
Still ran into the problem where the axle would not slip past the diff. Again, no matter how many different articulations of the control arm, turning of the wheel, removing the studs, shock, sway bar, etc etc the half shaft refused to move past that diff. The solution was a bottle jack.
Simply drop the lift so the control arm sat on a jack stand until the angle was enough to squeeze the half shaft through, afterwards I placed a bottle jack directly under the diff until it was lifted enough so that the axle could just barely slip past.
This is the closest I could feed the splines through before moving to the bottle jack solution.
The final product. Reused the pressed studs with no concerns. Attached the swaybar linkage back, the shock, remount the locking hubs, put the tire back on and repeat for the other side.
Looking at it now I could probably do both sides in a little under 4 hours knowing the solutions to my problems, but I'm just hoping the axles don't need replacing anytime soon. Next task will hopefully be a Zuk mod for my saggy old woman booty , wiring up the Hella lights mounted to my bumper, and rewiring the rear window switch back to the factory switch since it was mickey moused with a GM switch out of an 80s suburban.
The stoke lives on!
Last edited by HaydenConQueso; 04-12-2015 at 05:55 AM.
Changing a CV shaft was not the easiest for me either. Apparently I am not doing something right. As far as exhaust leak, sounds like your shifter boot is not sealing well. Most common leakes are where the "Y" pipe connects to the manifold and where the "Y" pipe goes to the tail pipe. It can crack where the two pipes come together.
Changing a CV shaft was not the easiest for me either. Apparently I am not doing something right.
No kidding. Everything I had read made it seem so simple, but the reality was far from expectations. Again, if I had to go back and do it again, knowing that the bottle jack on the differential made the world of a difference, I would be able to get the job done a thousand times faster. Live and learn I guess.
Funny thing terry, when I put the truck on the lift, I saw no noticeable signs of exhaust leaks anywhere on the pipes. I treated it from manifold to tip and not a single thing. I'll have to check into it some more, but it could be an issue that fixes itself out, or perhaps an expert will have to look into it.
Put a teaspoon or so of ATF fluid in the Plenum. It will smoke badly. Have someone to cover the end of the exhaust pipe a few seconds at a time with a rag so as to put back pressure in the pipe. That should show some leaks if you have any.
Maybe too late for this. I just re-did the oil pan and went the suggested route of lowering the diff on a floor jack while still attached to the axles, in order to access the pan. First, I jacked up the front end until the wheels were off the ground, placed stands under frame, which let the arms droop. The pilot shaft needed to be disconnected. Then, I positioned the rolling floor jack under the diff and removed its (3) mounting bolts (a job). Once I got the front cross member removed I was able to lower the diff say 3-4" as well as roll it front to back a few inches on the jack.
Key is the floor jack or tranny jack.
I wasn't too focused on my leaky boots or shaft replacement as you were but I filed the range of motion away for these needed repairs.
Better late than never. Moving the diff was the difference between struggling to get the job done, and making it quick and easy like everybody had said it would be. My advice to anybody who changes the cv axles is to have a jack stand or bottle jack on the differential to make the swap go much smoother.
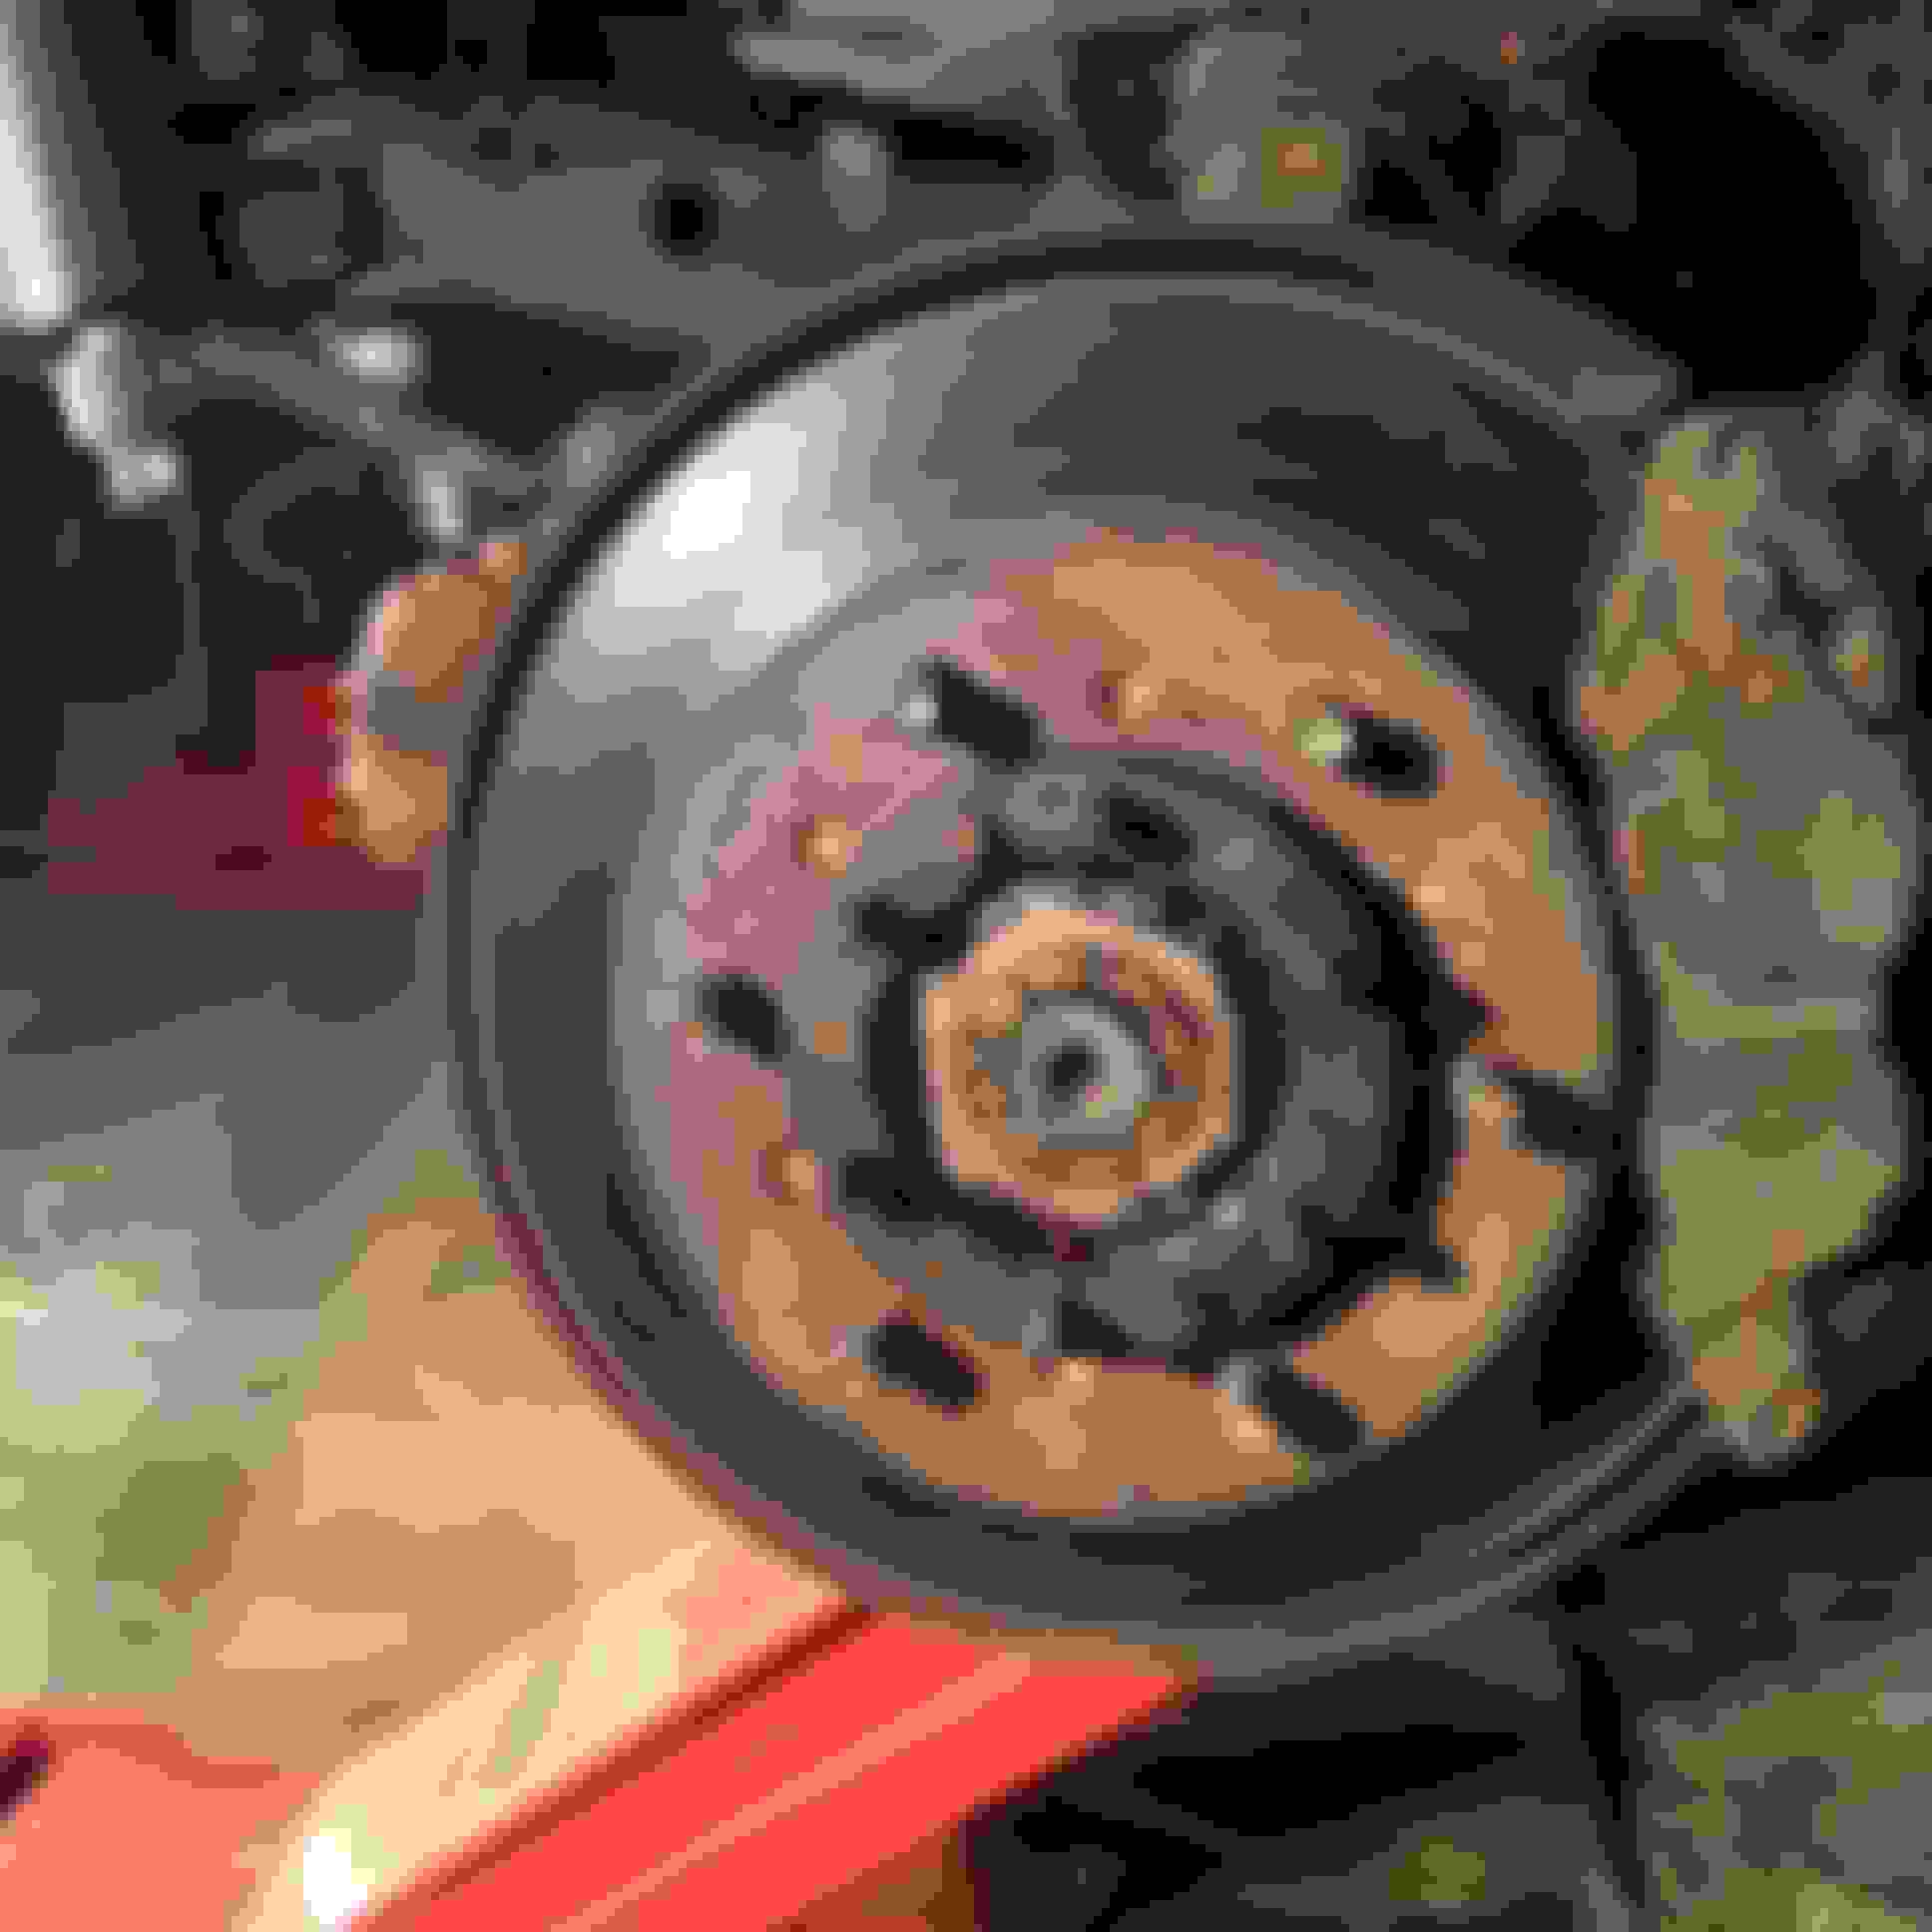
Anyways, I'm pricing out a full replacement of rotors, drums, shoes and pads. Didn't notice the wobbly rocking to a stop of typical warped rotors, and inspection of the pads upon lift showed evidence that at one point in time I had brake pads. Hoping to get them done in the next few weeks!
Cool build. Degreaser would be good too. Looks like the typical lack of maintenance these trucks get subjected to. 99% of people just put gas in them and ignore noises.
Cool build. Degreaser would be good too. Looks like the typical lack of maintenance these trucks get subjected to. 99% of people just put gas in them and ignore noises.
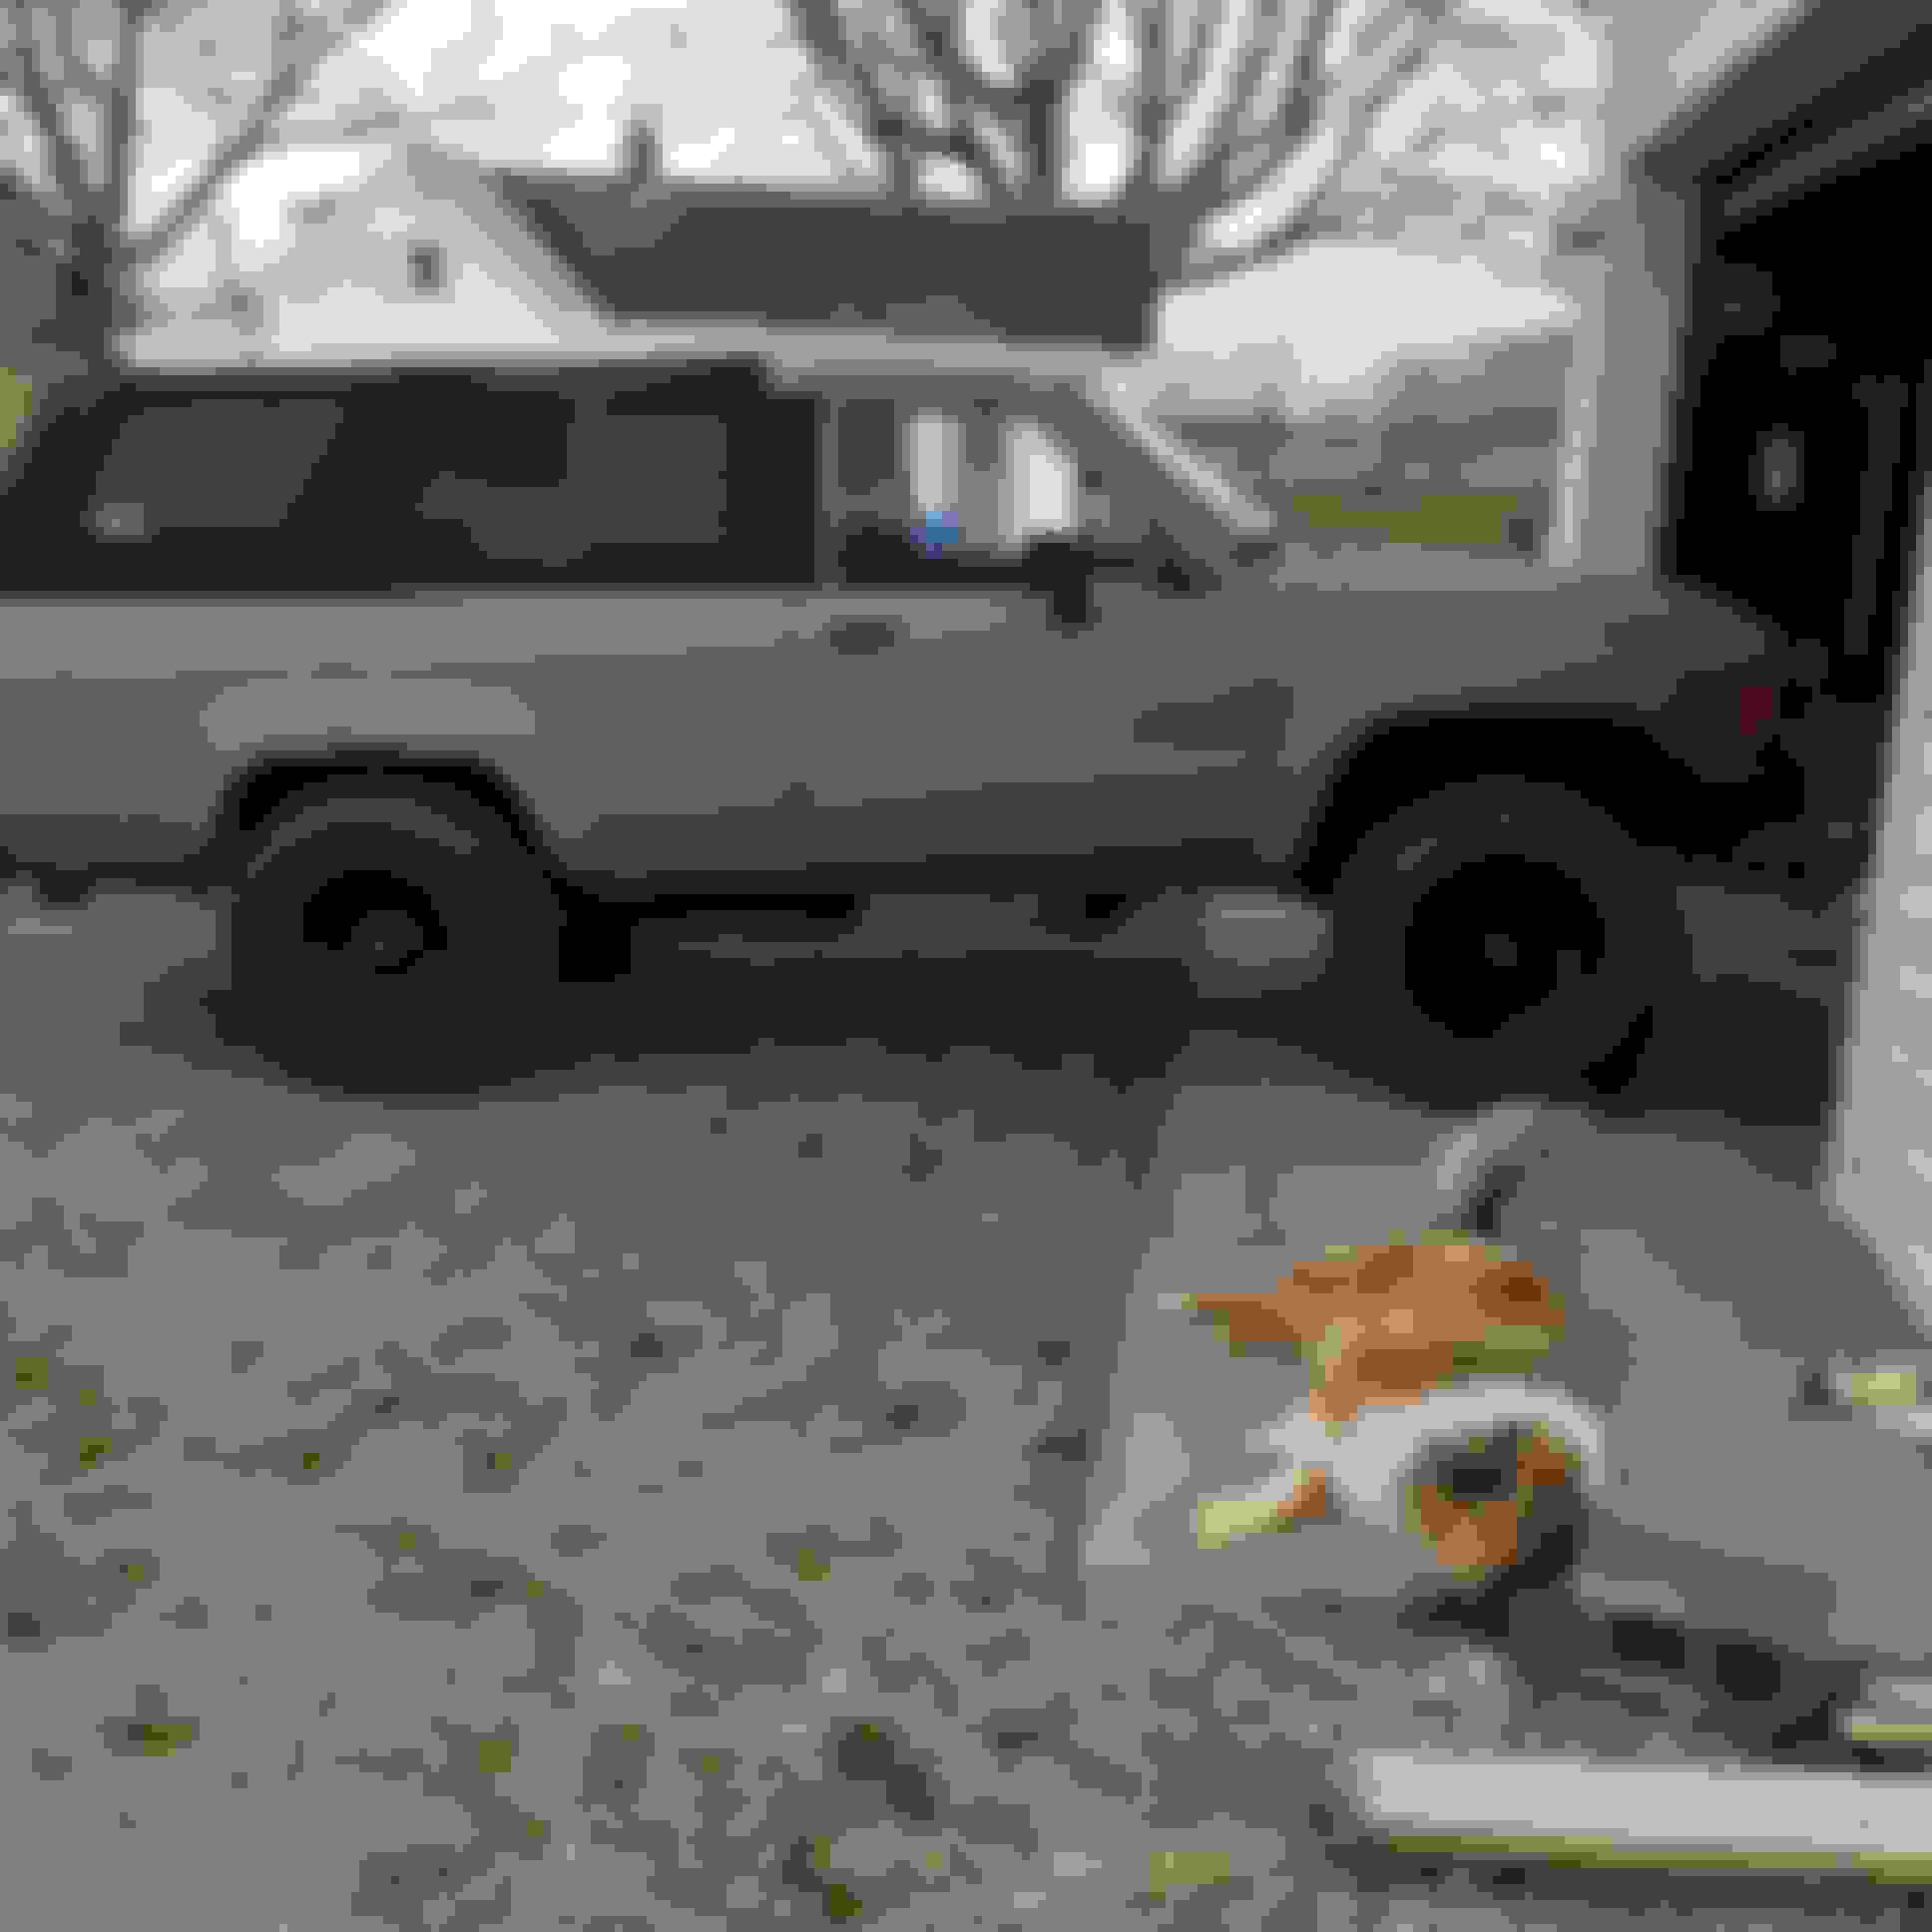
Cool pup
A thorough cleaning of the truck will happen after the brakes are done. I also found a wet spot on my carpet this morning while reaching in the back to fold the seats down. I'm planning on replacing the carpet anyways probably with herculiner or something of that nature, but now I need to pinpoint where the leak is coming from and deal with it. I did notice the gasket where the top meets the body seems to tuck back inward towards the fiberglass top around the B pillars, but I'm not entirely sure if that would cause the issue. I also found a small crack in the fiberglass top as well, which I will also be patching this coming weekend.
Sounds like solid trade to me, I would've thought the cash and guns would be flowing the other way, but perhaps I'm biased. Glad to see she's on her way back to health! Perhaps you're aware, there is another Panamerican highway thread going at this very moment where he was just in Patagonia - https://www.yotatech.com/forums/f100...a-next-285600/
Sounds like solid trade to me, I would've thought the cash and guns would be flowing the other way, but perhaps I'm biased. Glad to see she's on her way back to health! Perhaps you're aware, there is another Panamerican highway thread going at this very moment where he was just in Patagonia - https://www.yotatech.com/forums/f100...a-next-285600/
You would think that it'd be flowing the other way, but there was a lot of money tied up into the Subaru, and as far as the work needed for the 4Runner, well that's becoming evident as this thread grows.
I promise that a year from now, IT WILL NEED A SOLID FRONT AXLE....ok probably not.
This looks like a good thread, subscribed! That's a nice 4runner you got. And I've also a testament to the unavoidable reality that you'll always put more into a truck than you originally expected. The overlanding/expedition type build is somewhat what I'm going for with my build as well.
As far as your suspension goes, what would probably work the best, especially for an overlanding rig is Old Man Emu. It's pricey, and I saw that you were already planning on doing the Zuk mod, but OME would be worth looking into.
Thanks man! I'm absolutely loving this thing, except for the lack of gas milage in comparison to the Subaru, but I can deal with that.
I've looked into the OME suspension, and the price isn't all that bad, but I really feel that the Zuk mod will do exactly what I want it to for my rig, but if all else fails a new suspension wouldn't hurt too bad considering what I'm going to be putting the truck through.
I dig your restore by the way man. That thing is looking good!
 04-03-2015, 08:35 PM


 , wiring up the Hella lights mounted to my bumper, and rewiring the rear window switch back to the factory switch since it was mickey moused with a GM switch out of an 80s suburban.


