85 4runner for the VT woods
 02-04-2013, 10:37 AM
#21
Registered User
Thread Starter

Join Date: Sep 2012
Posts: 49
Likes: 0
Received 0 Likes
on
0 Posts
Ya i saw that i would start over unless you are sure its strong i can't tell from a pic.
you need this
http://frontrangeoffroadfab.com/nfos...products_id=63
you need this
http://frontrangeoffroadfab.com/nfos...products_id=63


 not a wnter rig, and has covered storage, rust wont be an issue
02-10-2013, 03:52 PM
not a wnter rig, and has covered storage, rust wont be an issue
02-10-2013, 03:52 PM
#31
Registered User
Thread Starter
Join Date: Sep 2012
Posts: 49
Likes: 0
Received 0 Likes
on
0 Posts
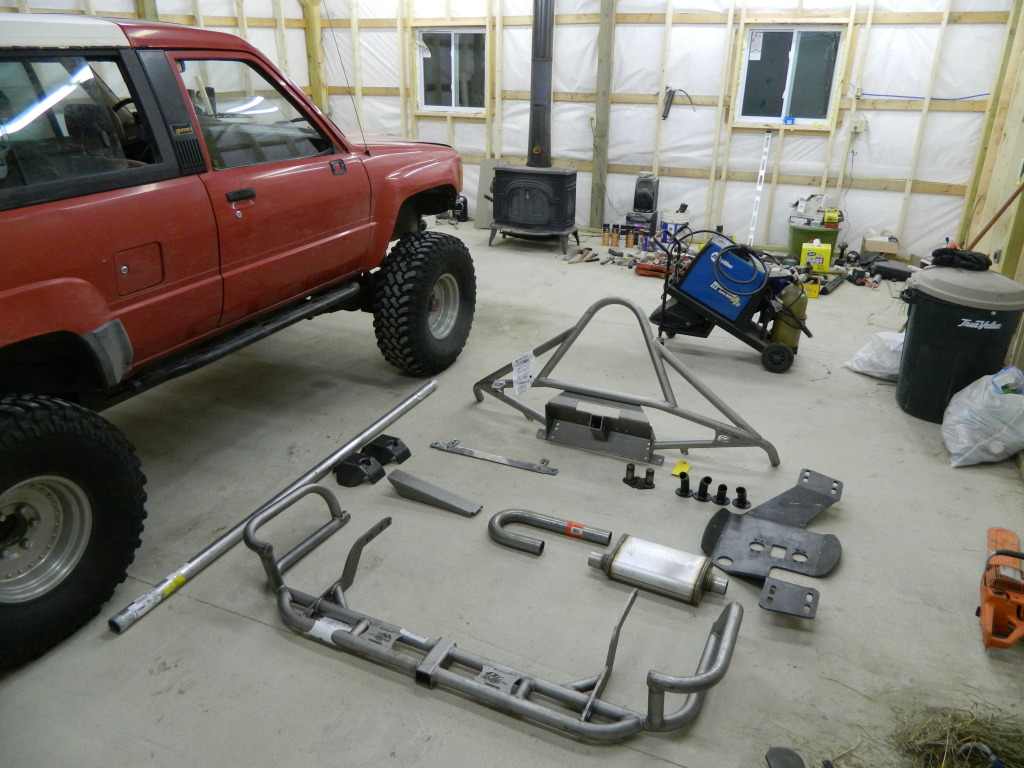
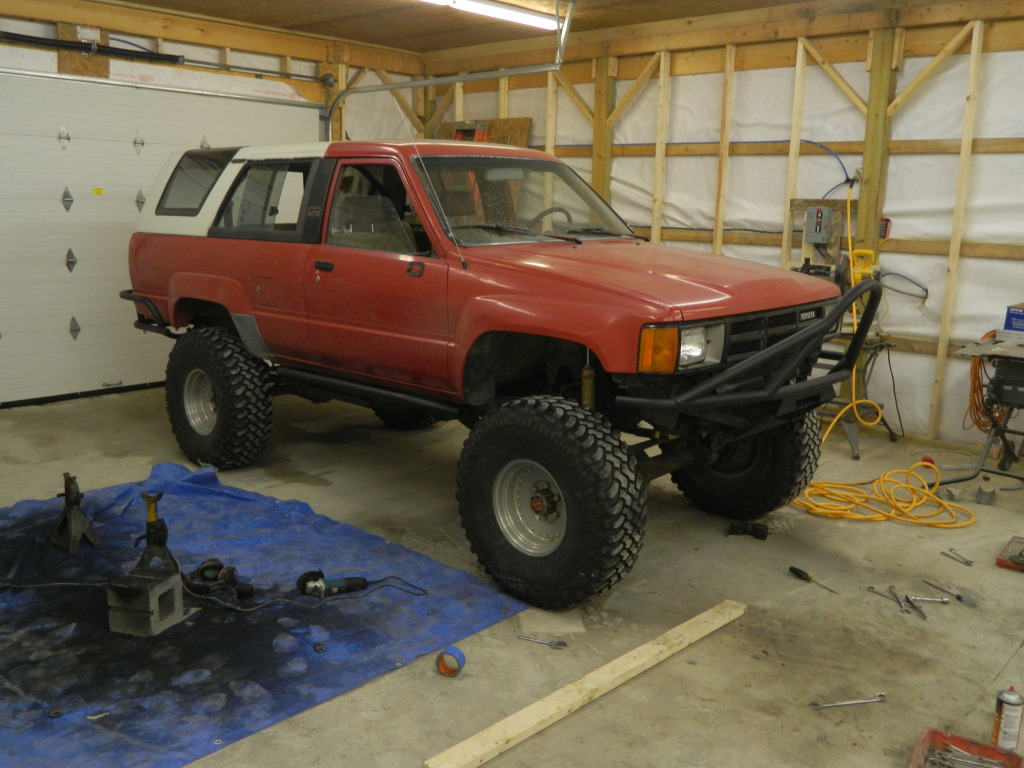
Brought the 4runner into the shop to take care of some of the little issues while i wait for my fun parts to arrive.
This thing was super clattery on the top end, so i started off by adjusting the valves. Wow, what a difference. It didnt seems like they were really loose, but after i set them correctly it sounds like a new machine (if you ignore the 100 various exhaust leaks).
I also have been having a misfire issue once it warms up, the plug wires were badly routed and rubbed a bit, going to start there, but I think i could be more dealing with the temp sensor or o2 sensor. Ill deal with that more later.
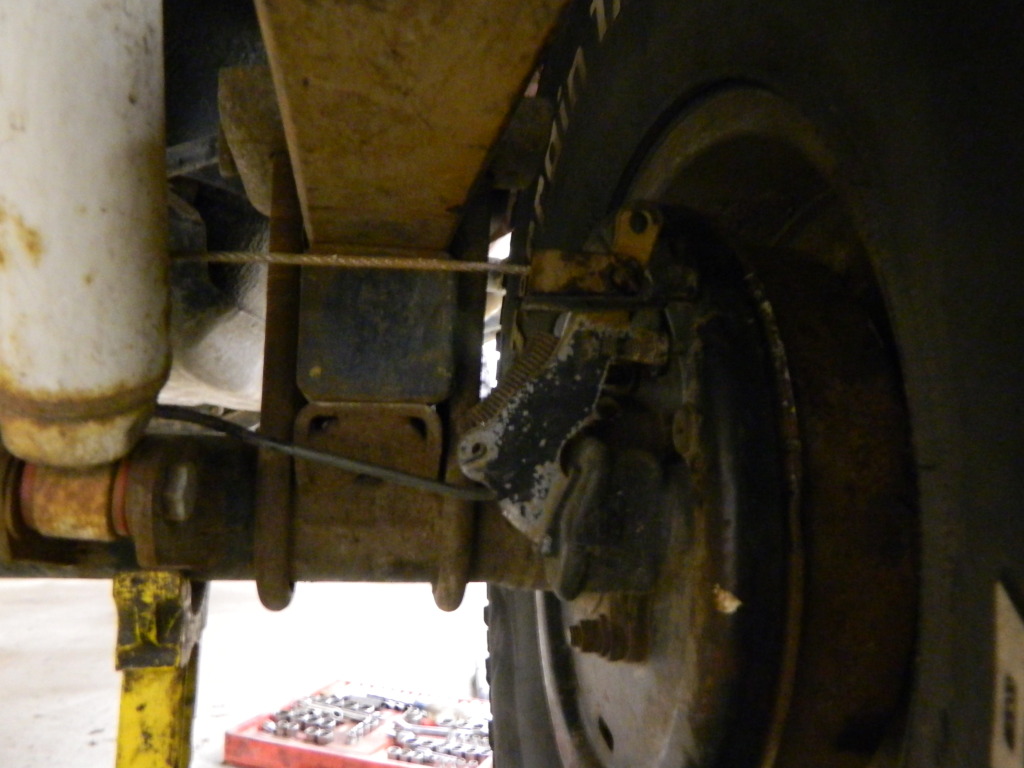
The third thing i worked on was the ebrake. It did not work at all, even though all the cables and springs appeared to function as they should. Upon closer inspection i found this stupid crapass lift blocks interfere with the ebrake mechanism.

i drilled new holes for the pins to mount that are lower and let the arm swing under the spring. Sucks because it decreases the amount of leverage you have on the brake. I am hoping to put some decent spring under it and dtich the blocks at some point, so then i can go back to the stock pivot hole. I adjusted the shoes and the brake actually works really well. Does need new brake shoes though, have to add that to my list.
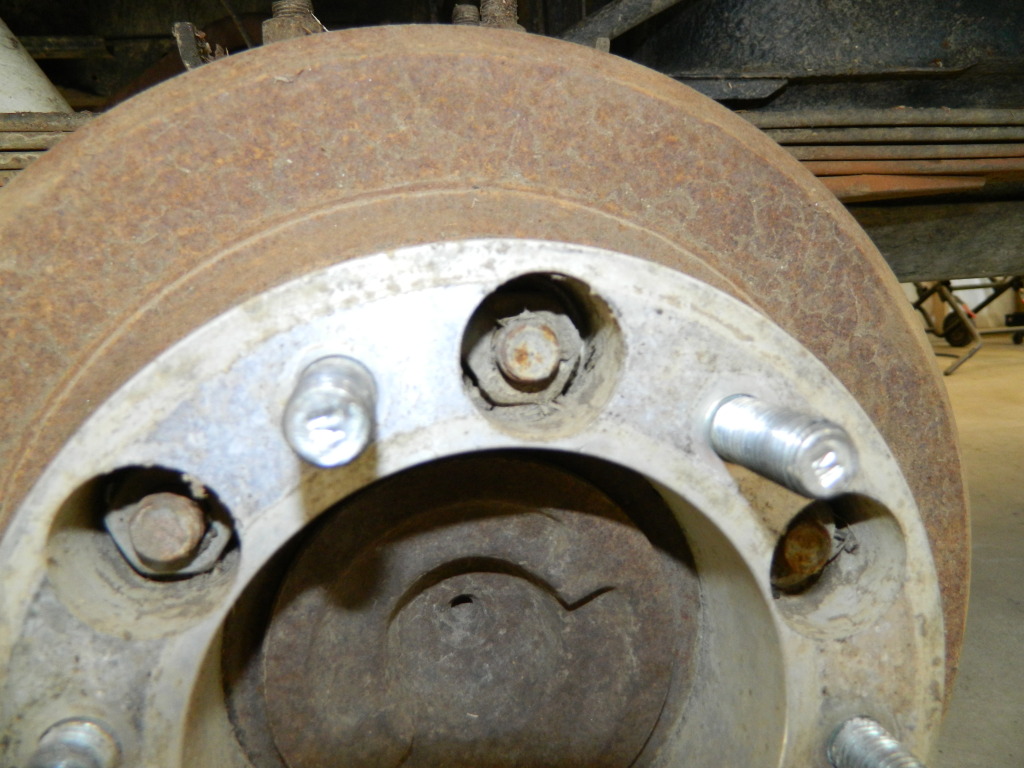
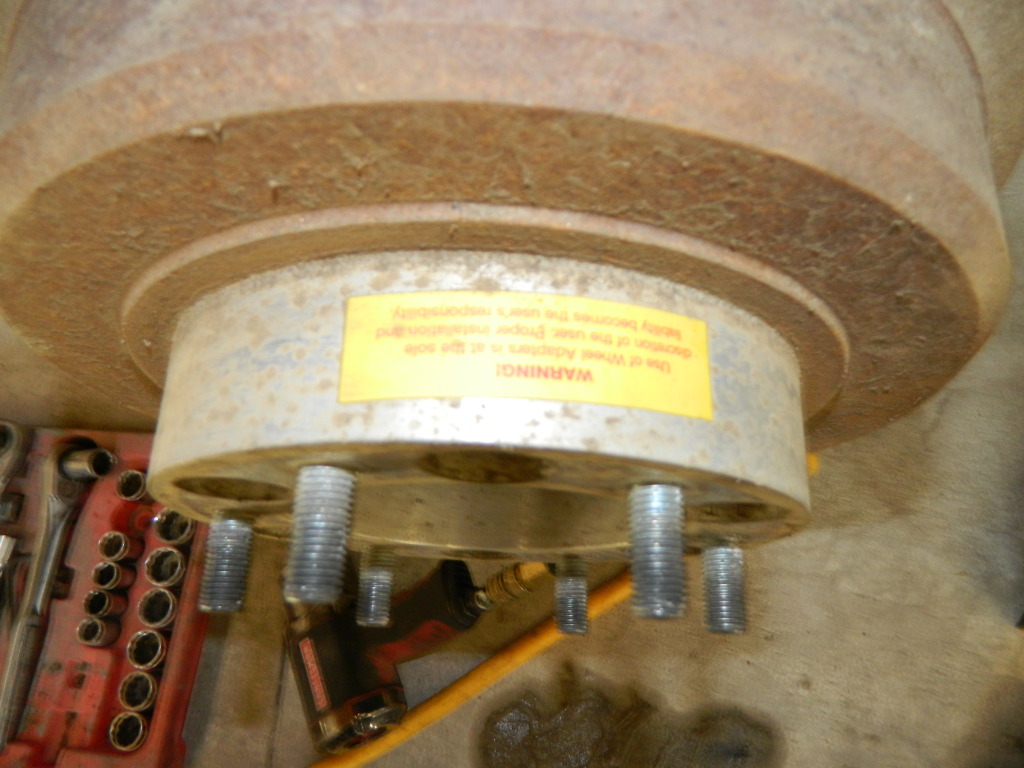
On a side note, these wheel spacers also sketch me out. The wheels have the wrong backspacing, so you need them, again hoping to ditch these fugly aluminum wheels at some point. For now I will leave the spacers and pretend the dont exist. I had to shave down a 21mm socket to fit in these tiny holes to get the spacers off.
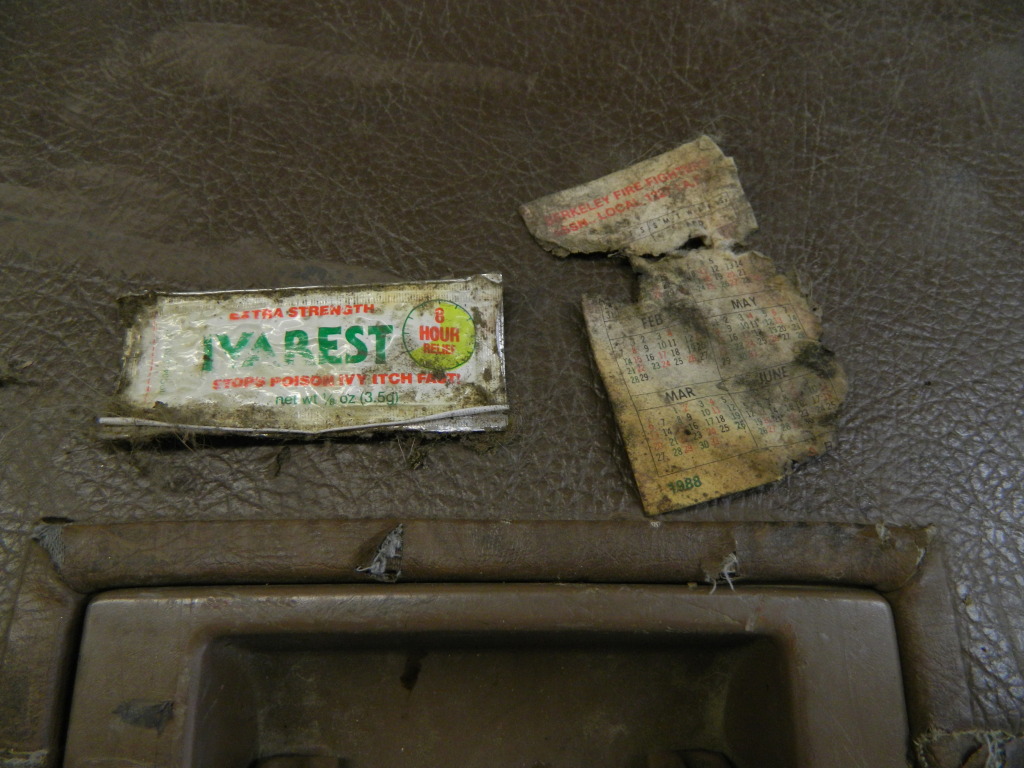
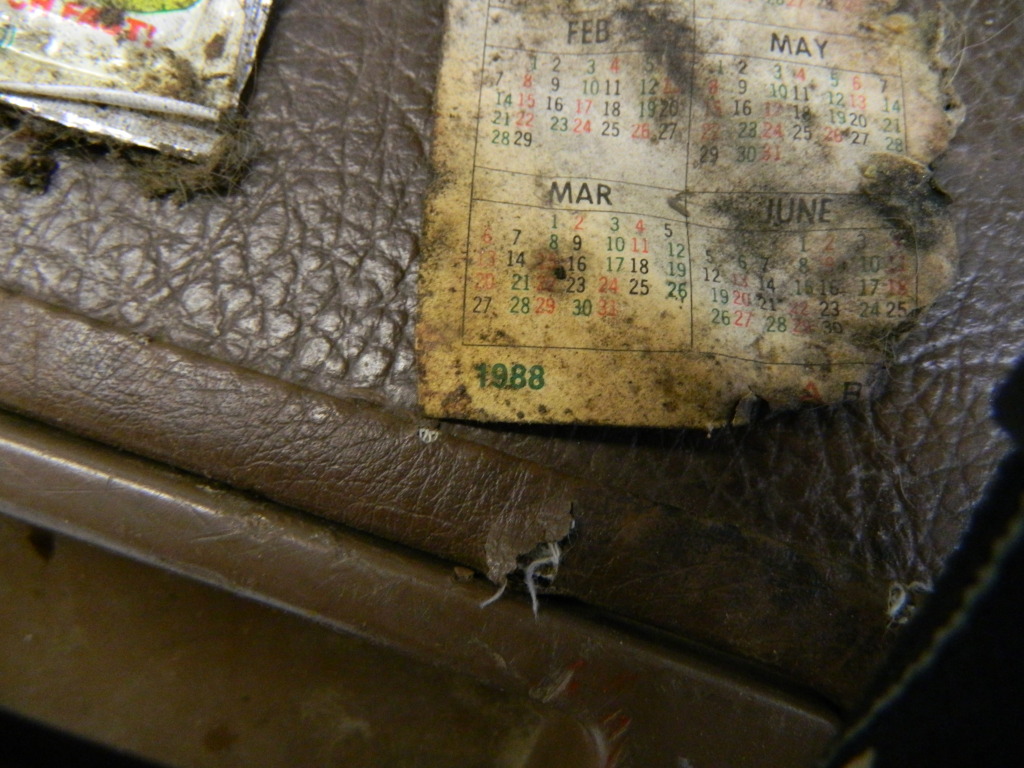
i dug around in the jack tool compartment and i found a chilton manual and the awesome 1000page toyota service manual. Score. The chilton sort of sucks, but the yota service manual is sweet. Nice thing to have around I suppose. I also found this Berkley California Volunteer firefighters 1988 pocket calender, and some weird 25year old ointment.
This was the first time that i really got to bring this thing in and look it over, it has become clear that it was totally somebodys mall crawler. Those days are over. Its pretty nice that its not all beat up, but it needs a little love before I hit the trains in the spring. Should be a fun mini project. Its super fun working on this thing, so simple, and no rust is key.
This thing was super clattery on the top end, so i started off by adjusting the valves. Wow, what a difference. It didnt seems like they were really loose, but after i set them correctly it sounds like a new machine (if you ignore the 100 various exhaust leaks).
I also have been having a misfire issue once it warms up, the plug wires were badly routed and rubbed a bit, going to start there, but I think i could be more dealing with the temp sensor or o2 sensor. Ill deal with that more later.
The third thing i worked on was the ebrake. It did not work at all, even though all the cables and springs appeared to function as they should. Upon closer inspection i found this
stupid crapass lift blocks interfere with the ebrake mechanism.i drilled new holes for the pins to mount that are lower and let the arm swing under the spring. Sucks because it decreases the amount of leverage you have on the brake. I am hoping to put some decent spring under it and dtich the blocks at some point, so then i can go back to the stock pivot hole. I adjusted the shoes and the brake actually works really well. Does need new brake shoes though, have to add that to my list.
On a side note, these wheel spacers also sketch me out. The wheels have the wrong backspacing, so you need them, again hoping to ditch these fugly aluminum wheels at some point. For now I will leave the spacers and pretend the dont exist. I had to shave down a 21mm socket to fit in these tiny holes to get the spacers off.
i dug around in the jack tool compartment and i found a chilton manual and the awesome 1000page toyota service manual. Score. The chilton sort of sucks, but the yota service manual is sweet. Nice thing to have around I suppose. I also found this Berkley California Volunteer firefighters 1988 pocket calender, and some weird 25year old ointment.
This was the first time that i really got to bring this thing in and look it over, it has become clear that it was totally somebodys mall crawler. Those days are over. Its pretty nice that its not all beat up, but it needs a little love before I hit the trains in the spring. Should be a fun mini project. Its super fun working on this thing, so simple, and no rust is key.
Last edited by VTPSD; 02-10-2013 at 04:24 PM.
 02-15-2013, 04:57 AM
#34
Registered User
Thread Starter
Join Date: Sep 2012
Posts: 49
Likes: 0
Received 0 Likes
on
0 Posts
yea man, i am really excited to see it all decked out. It looks real goofy right now with a bunch of autozone fog lights and some very nasty looking winch mount. I started hacking the old winch mount off last night, what a pita, its welded onto the front crossmember all the way across and no way to get a grinder in there. Had to cut all the weld along the bottom and smash it with a BFH to get to the top welds. Out with the old, in with the new!
02-17-2013, 06:00 PM
#36
Registered User
Thread Starter
Join Date: Sep 2012
Posts: 49
Likes: 0
Received 0 Likes
on
0 Posts
got some time to work on the runner.
Started off removing this ugly shatty winch mount that came on the truck

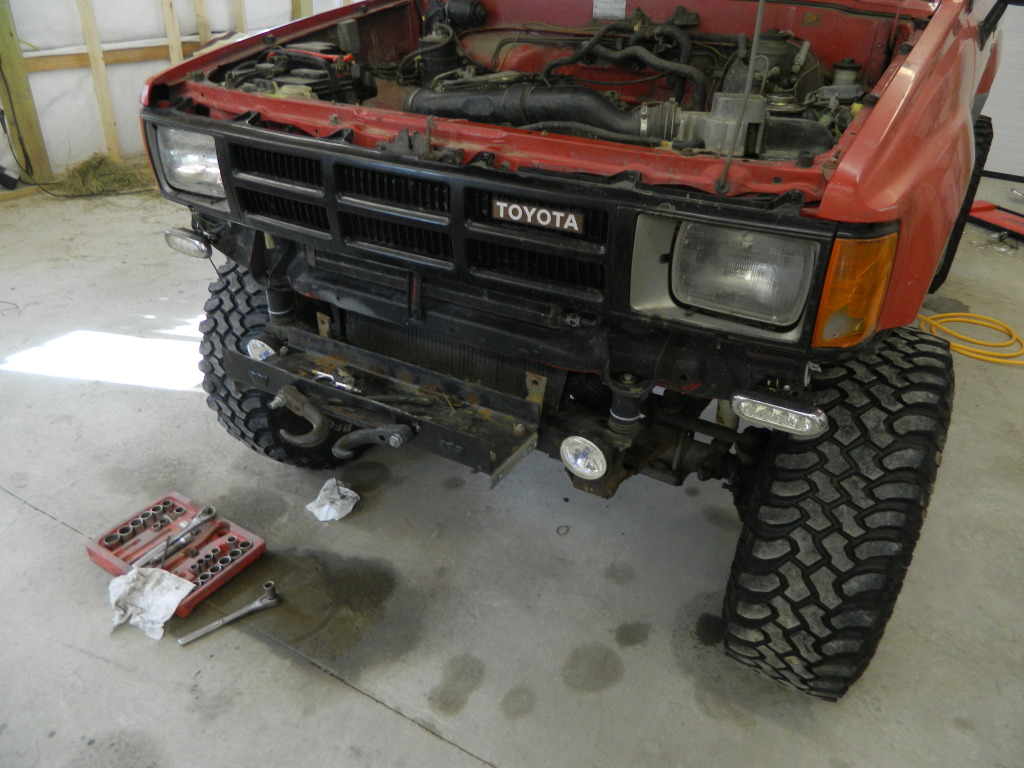
crap winch mount and autozone fog lights removed
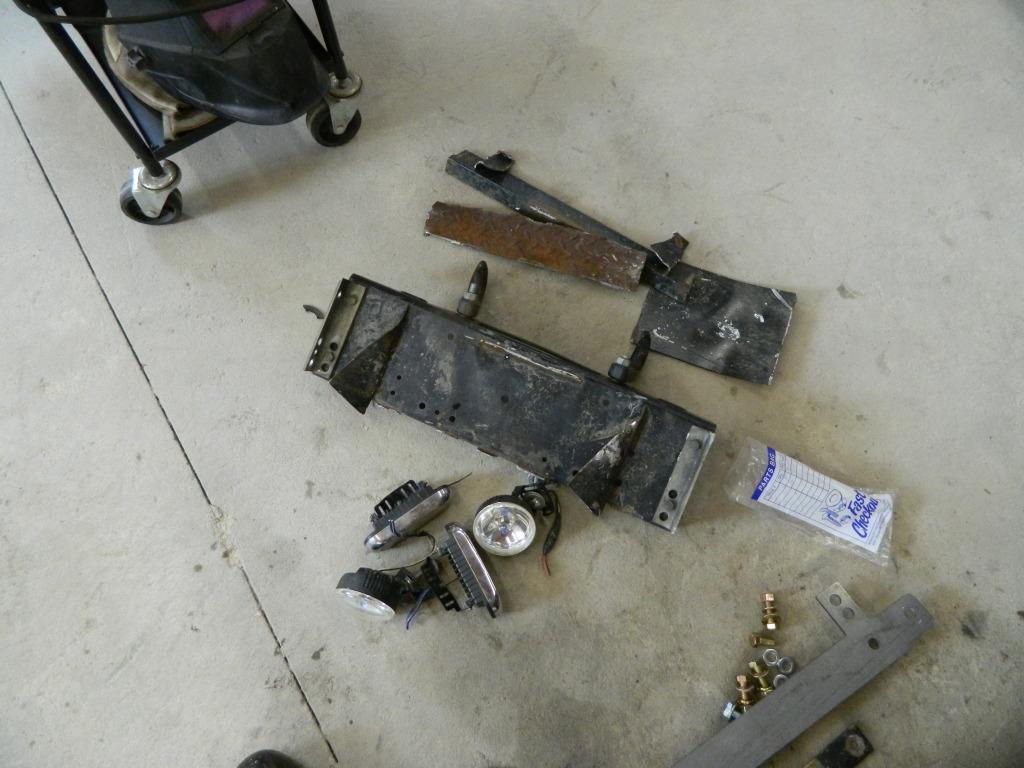
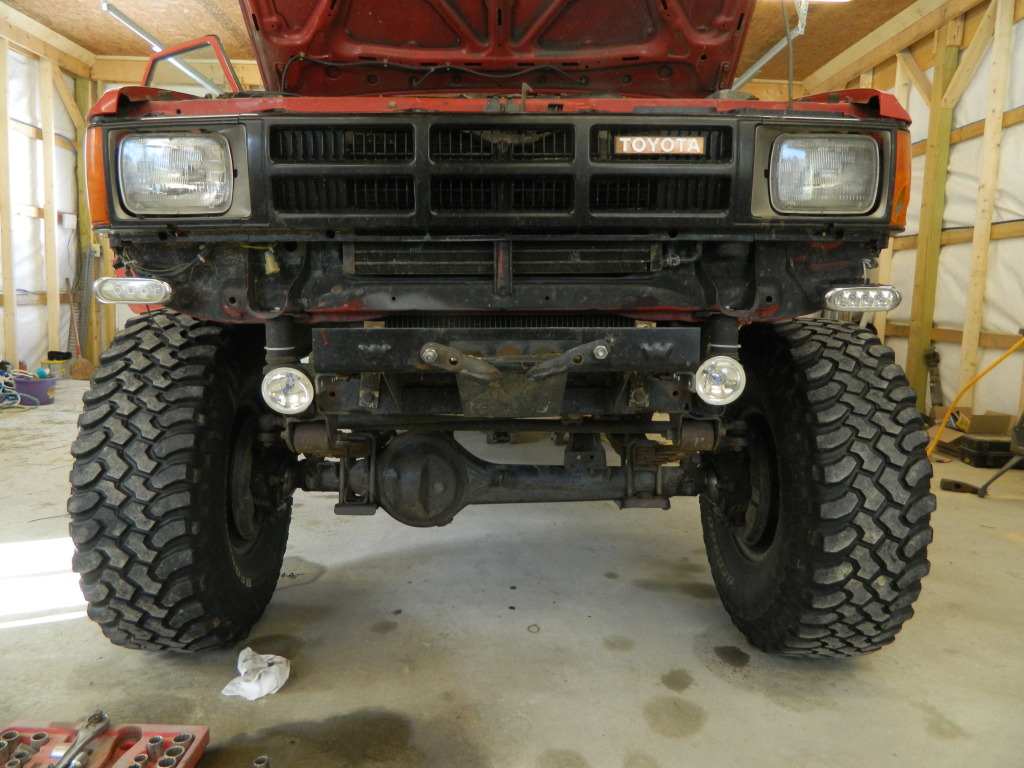
removed and old welds ground down
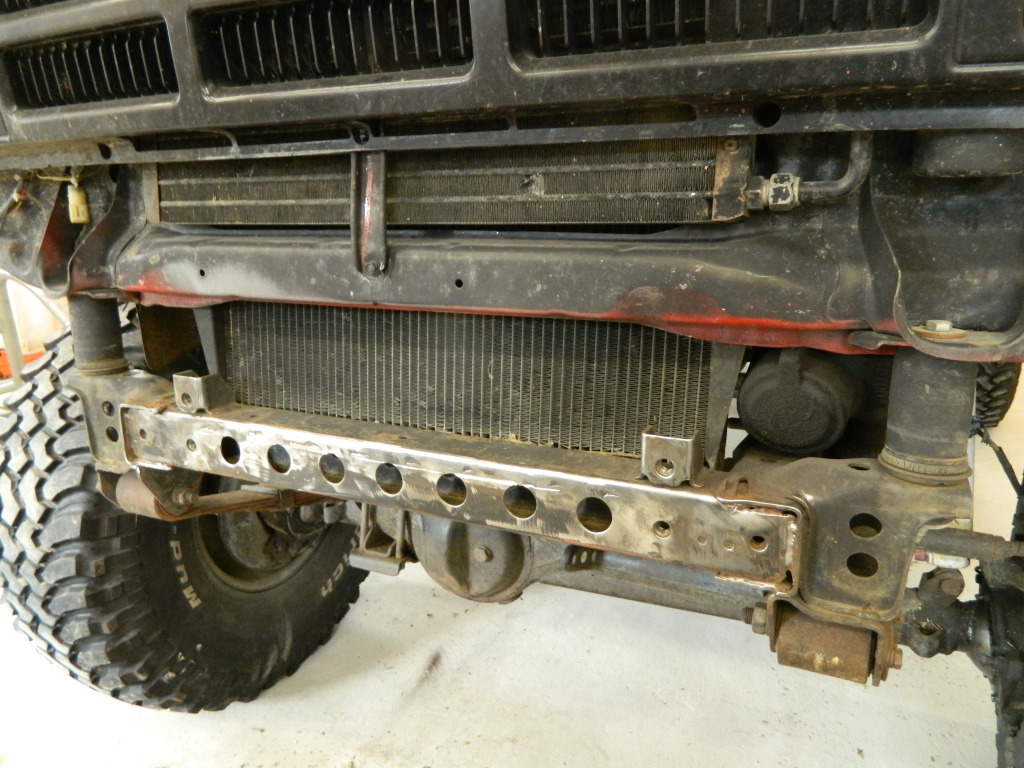
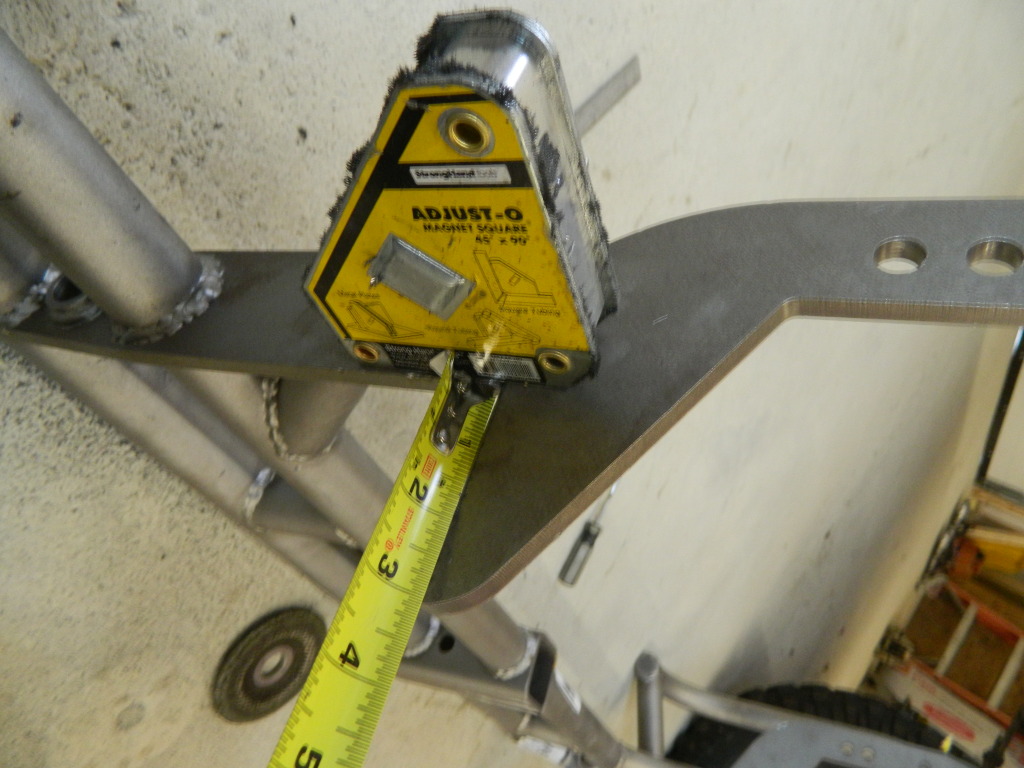
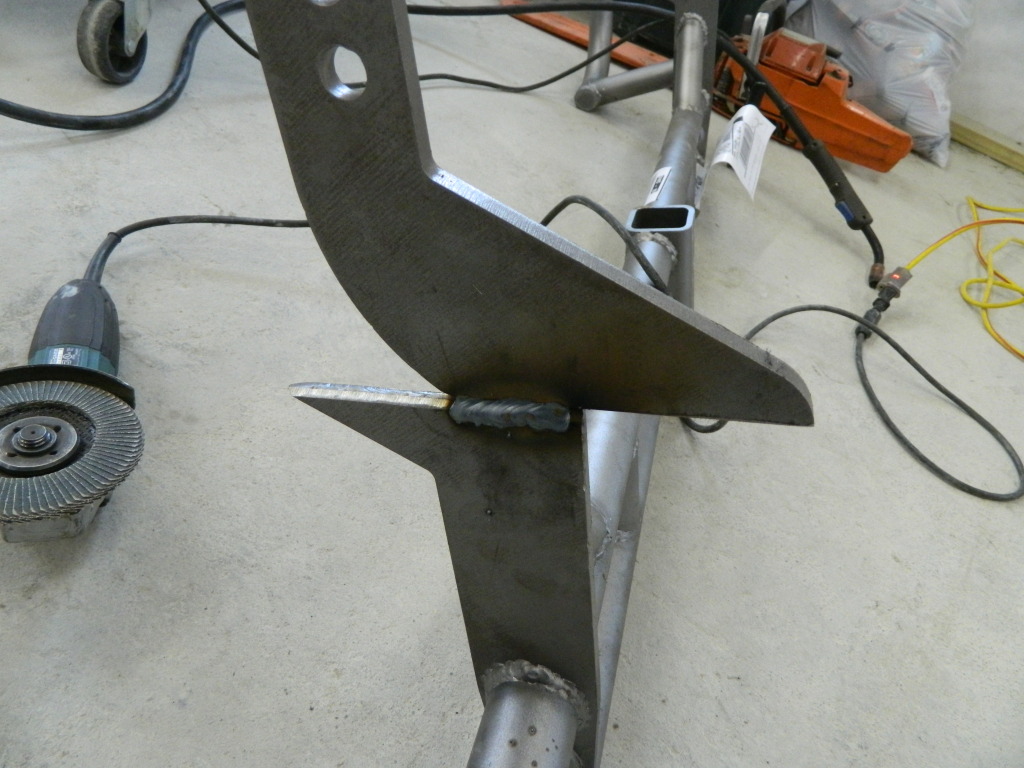
frame brace ready for welding
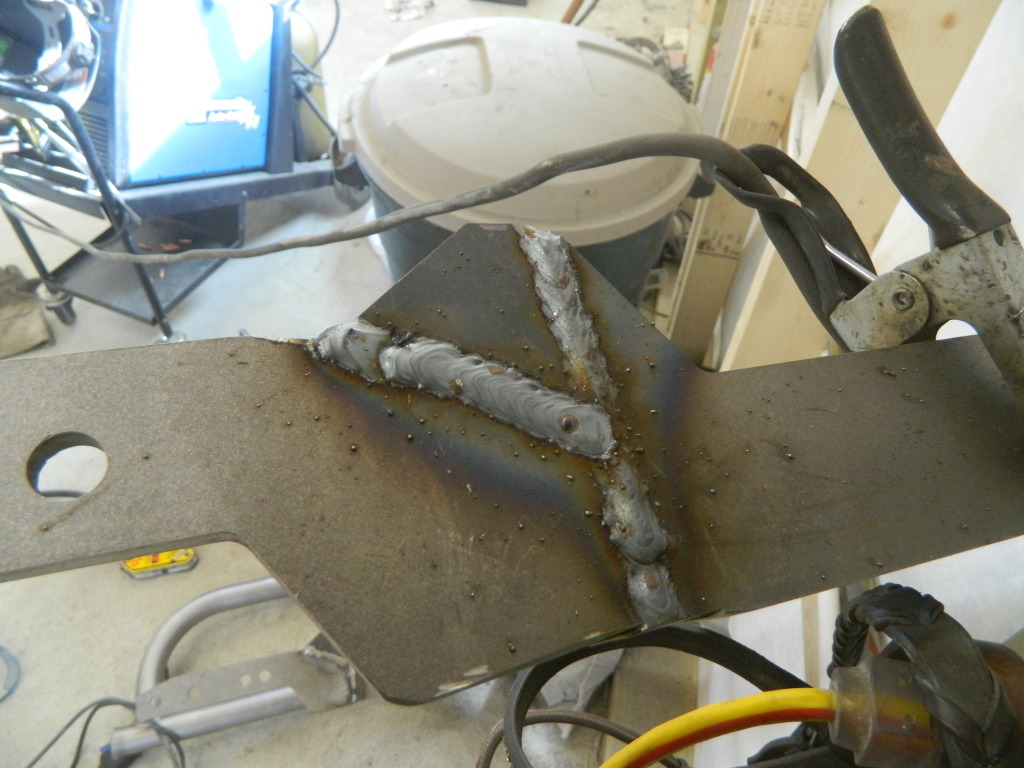
welded on and coated
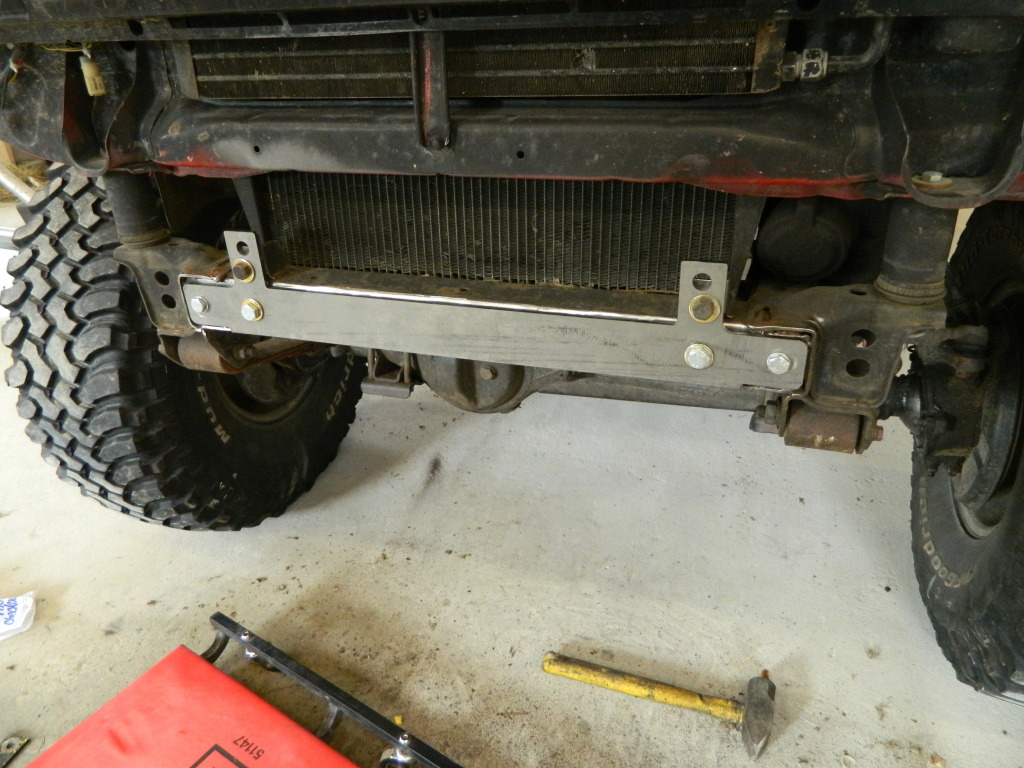
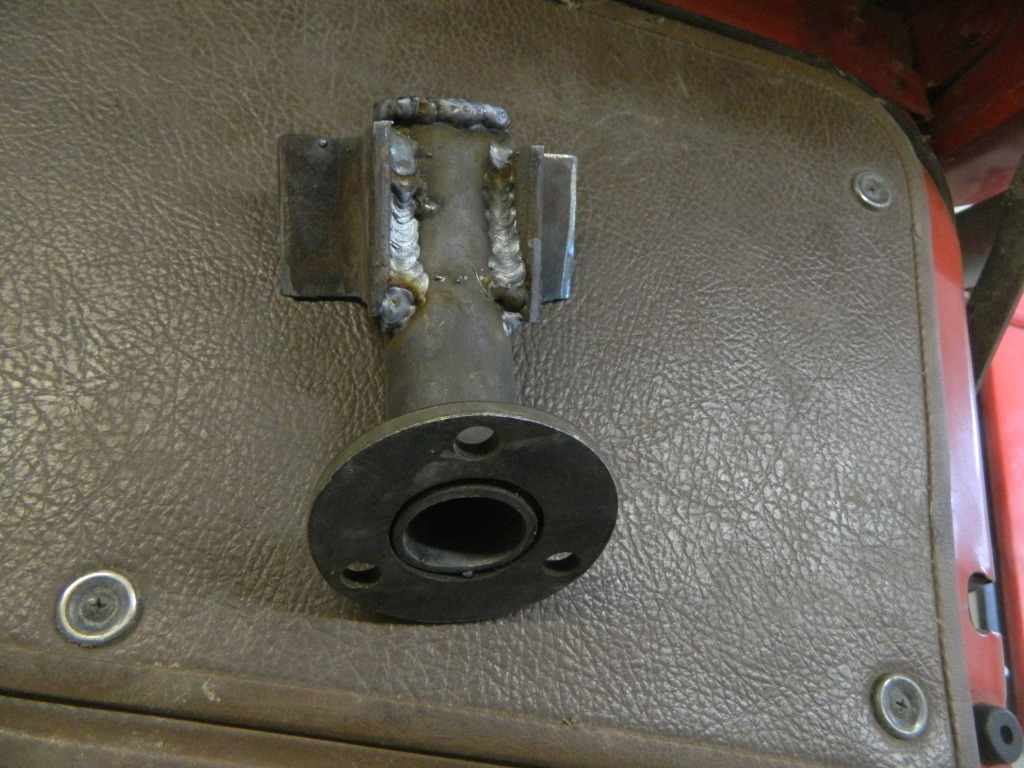
had to cut the brackets off the bumper and lowered them 3" so the bumper sits where it should with the crap body lift
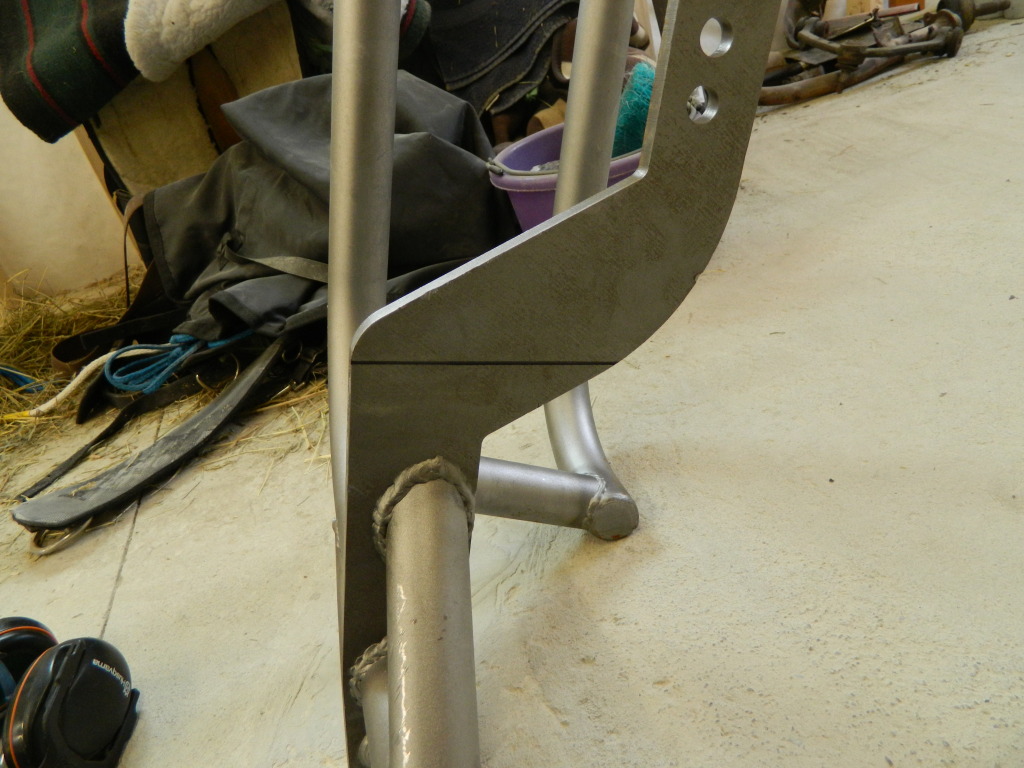
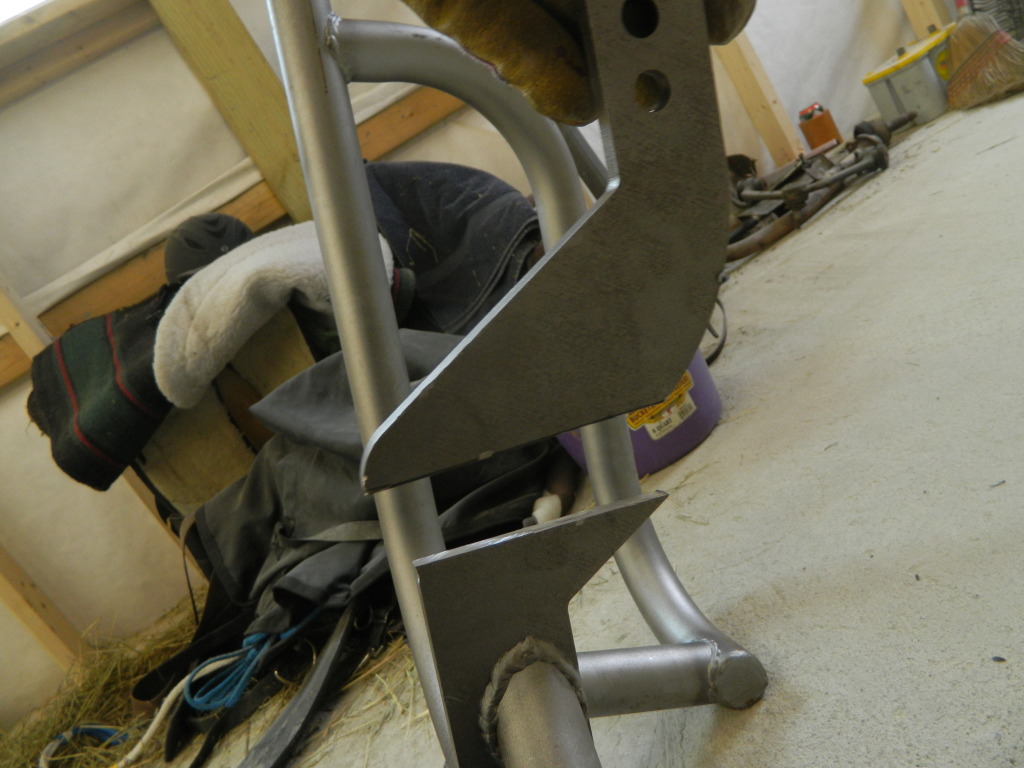
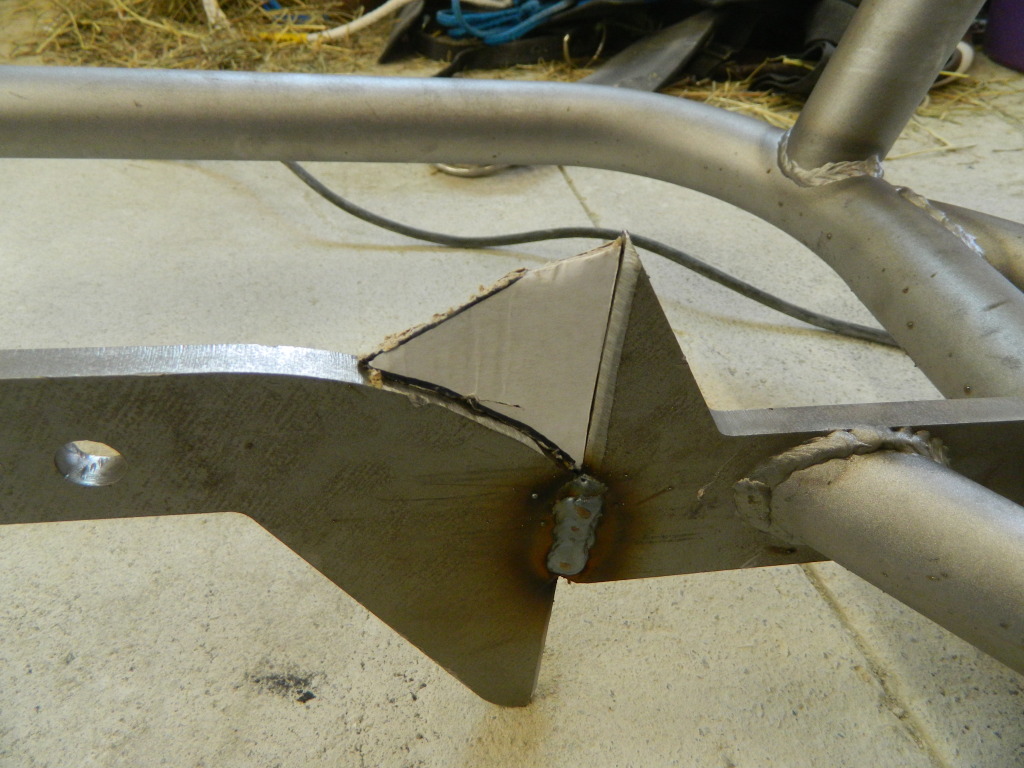
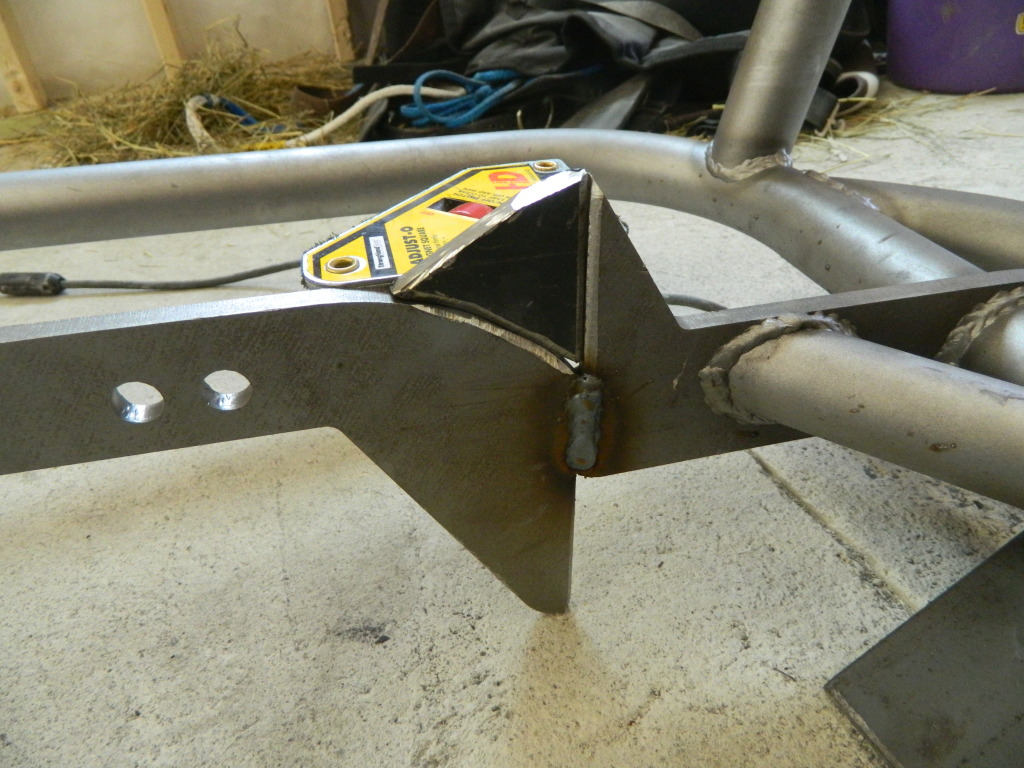
of course the frame braces dont fit as they should with the body lift, so here is my ugly solution

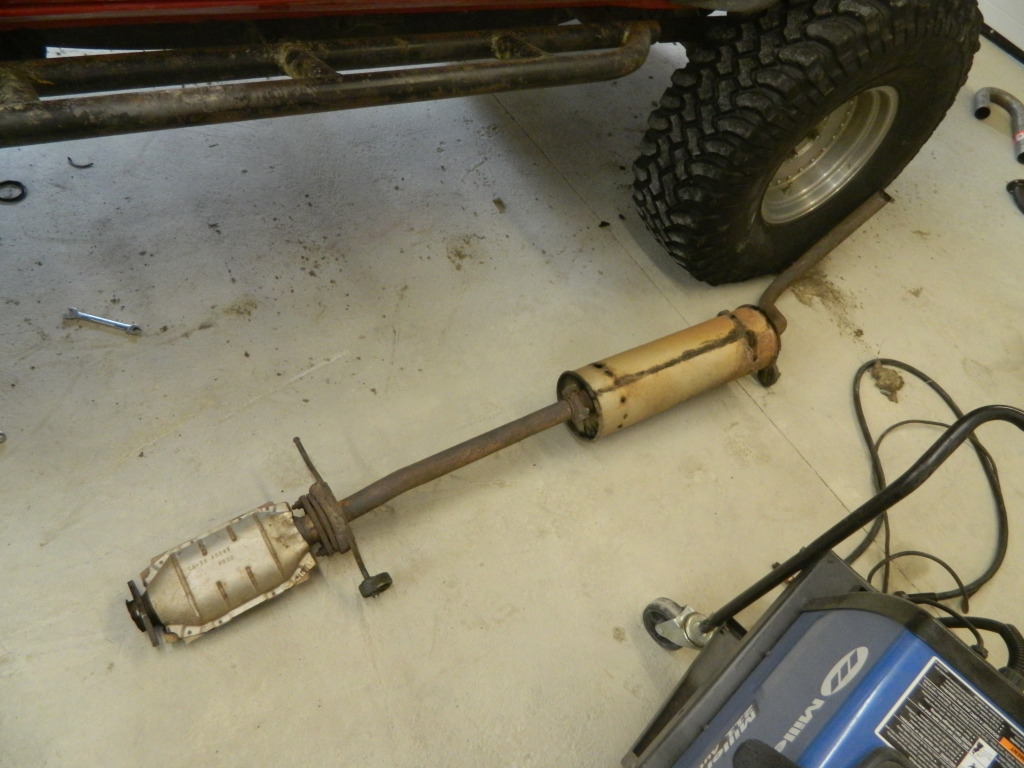
the exhaust had about 100 leaks in it
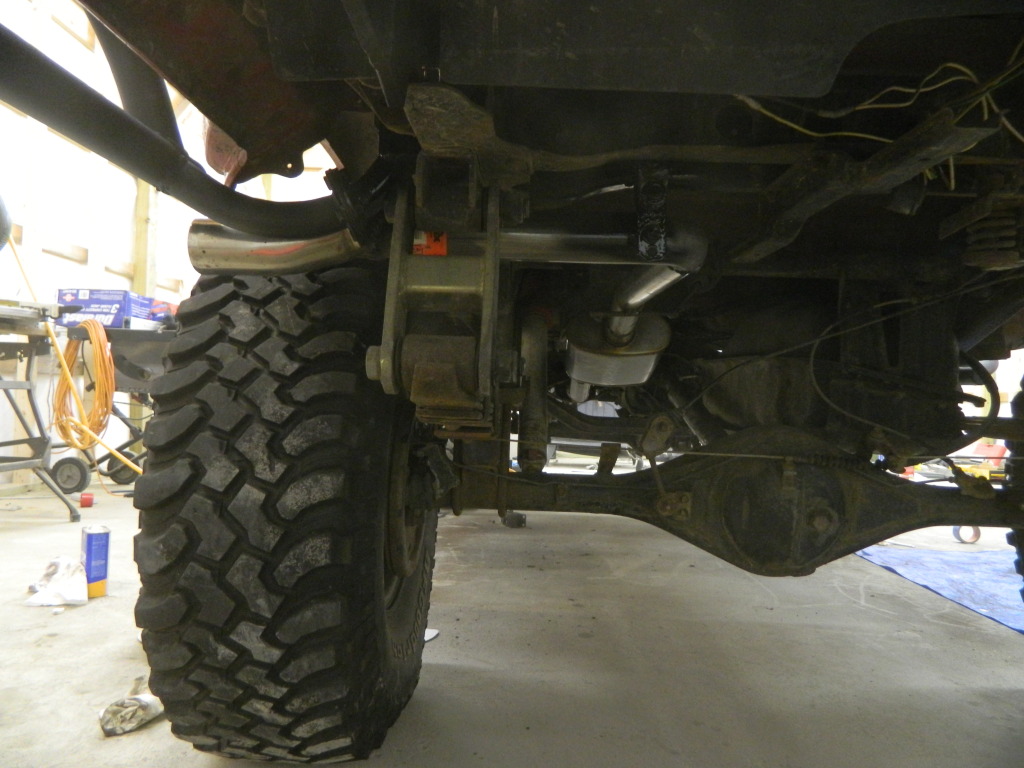
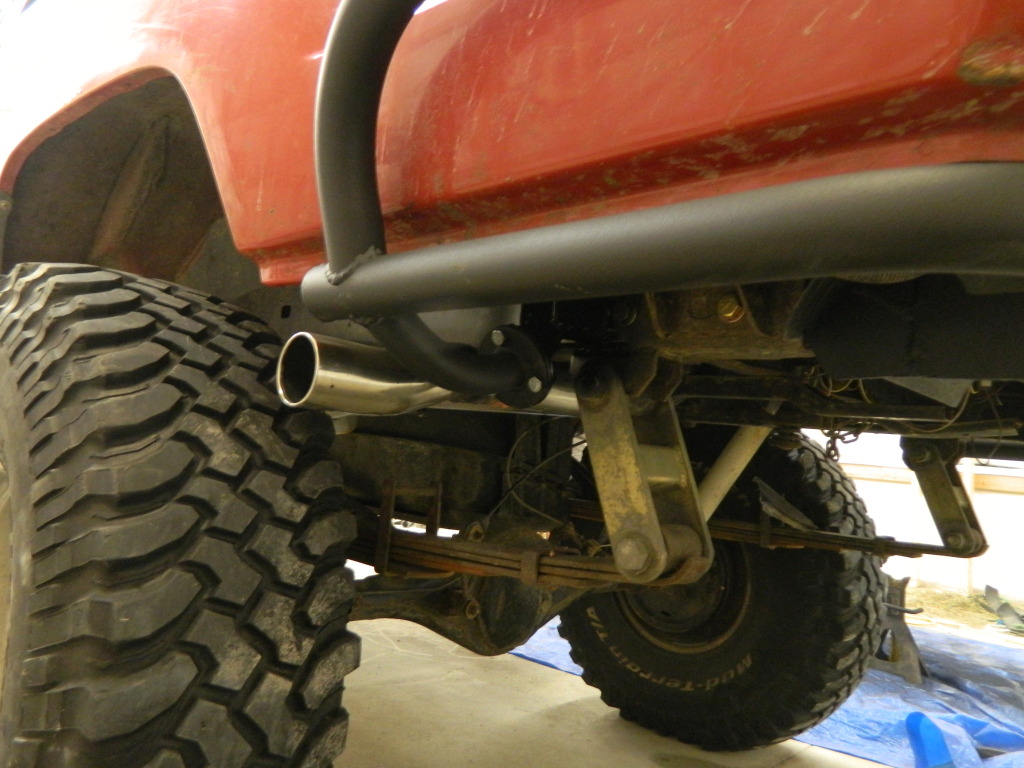
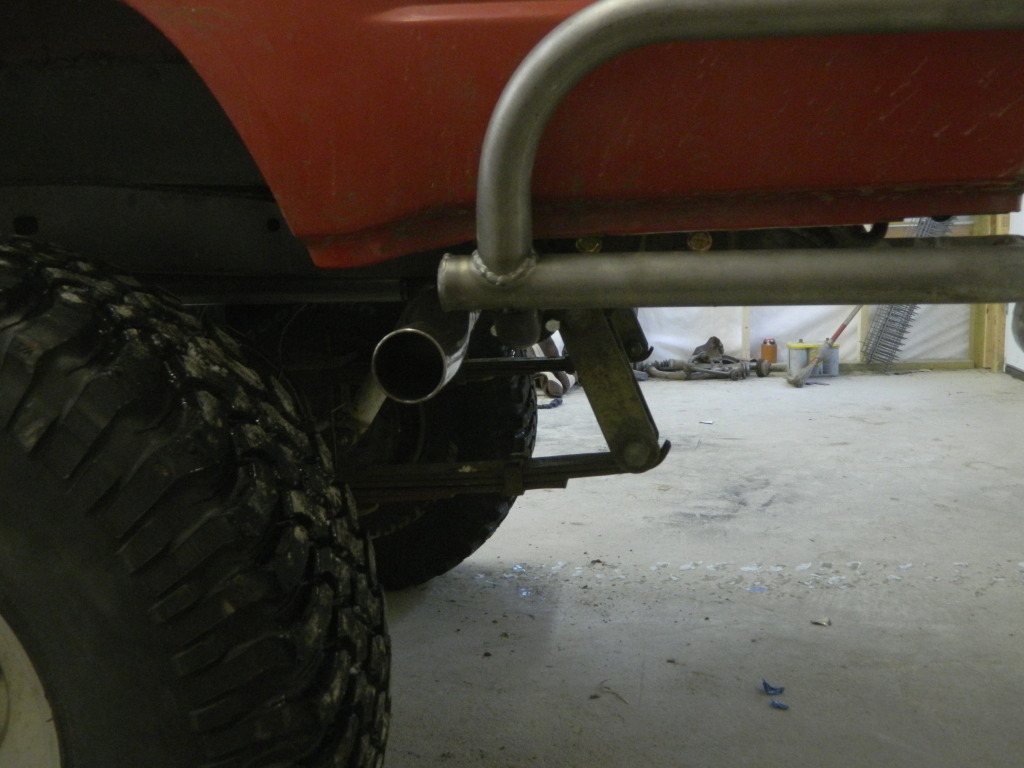
new exhaust

the tip is from a taurus SHO that I have had kicking around for the last 10 years
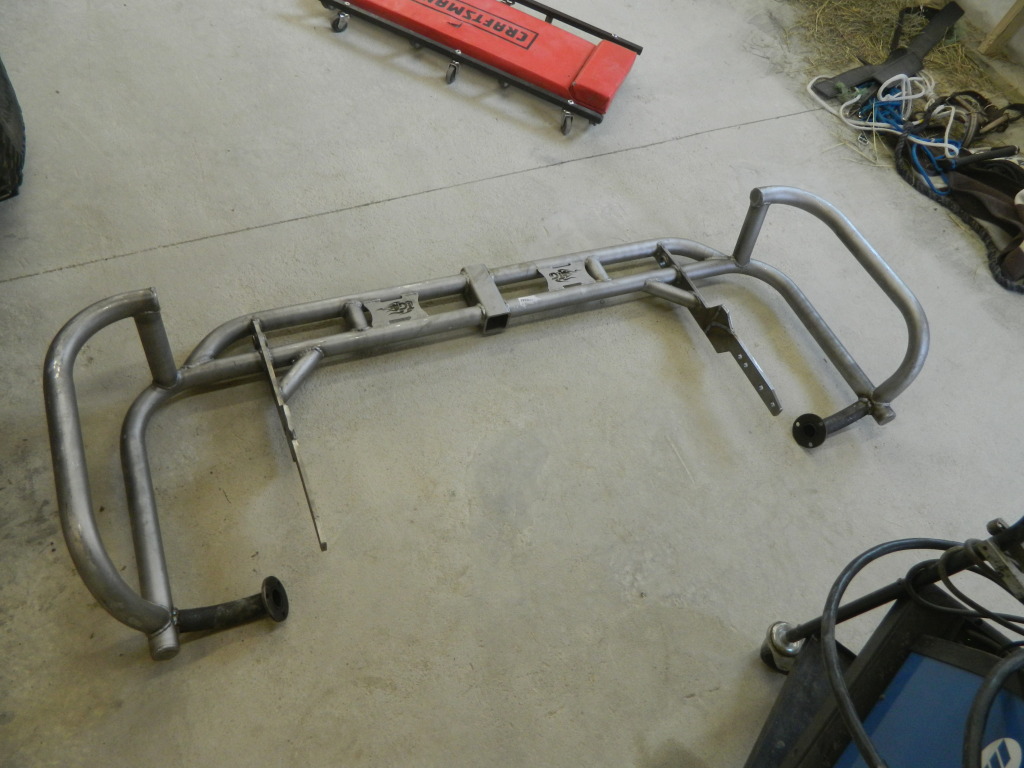
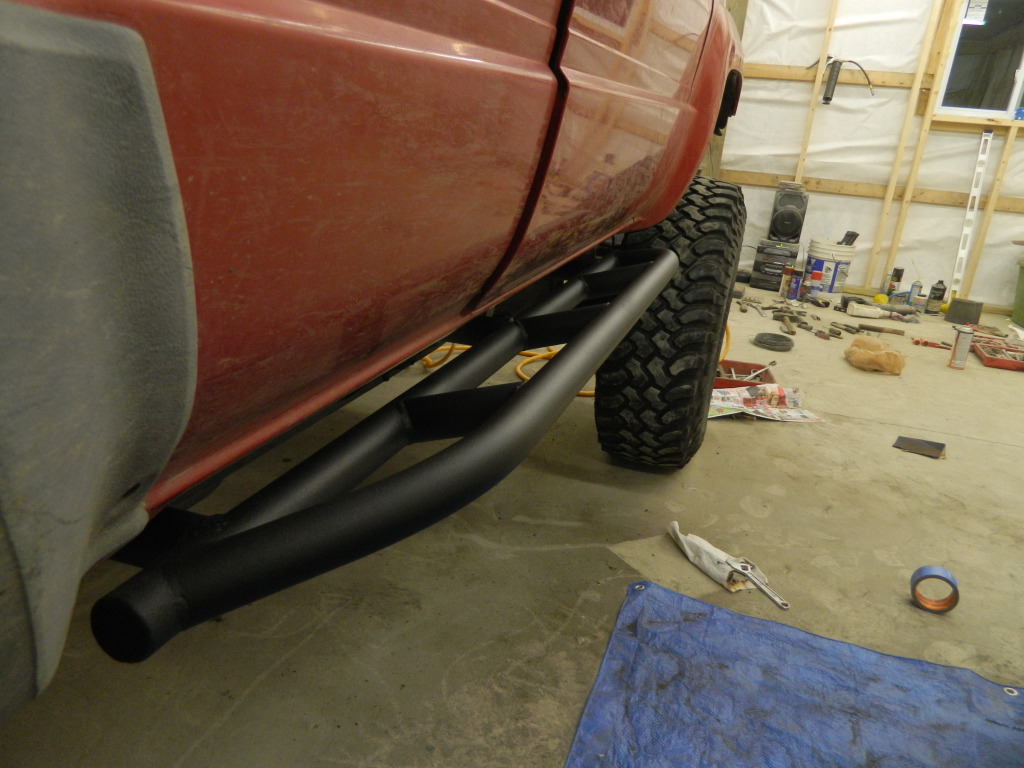
refinished sliders
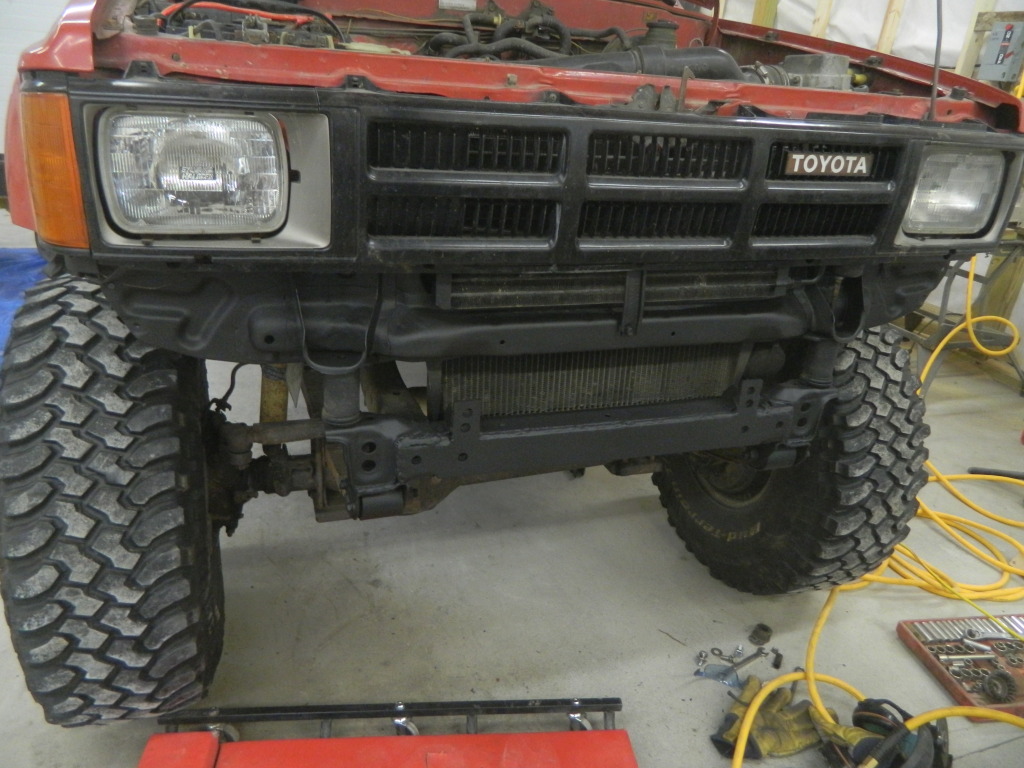
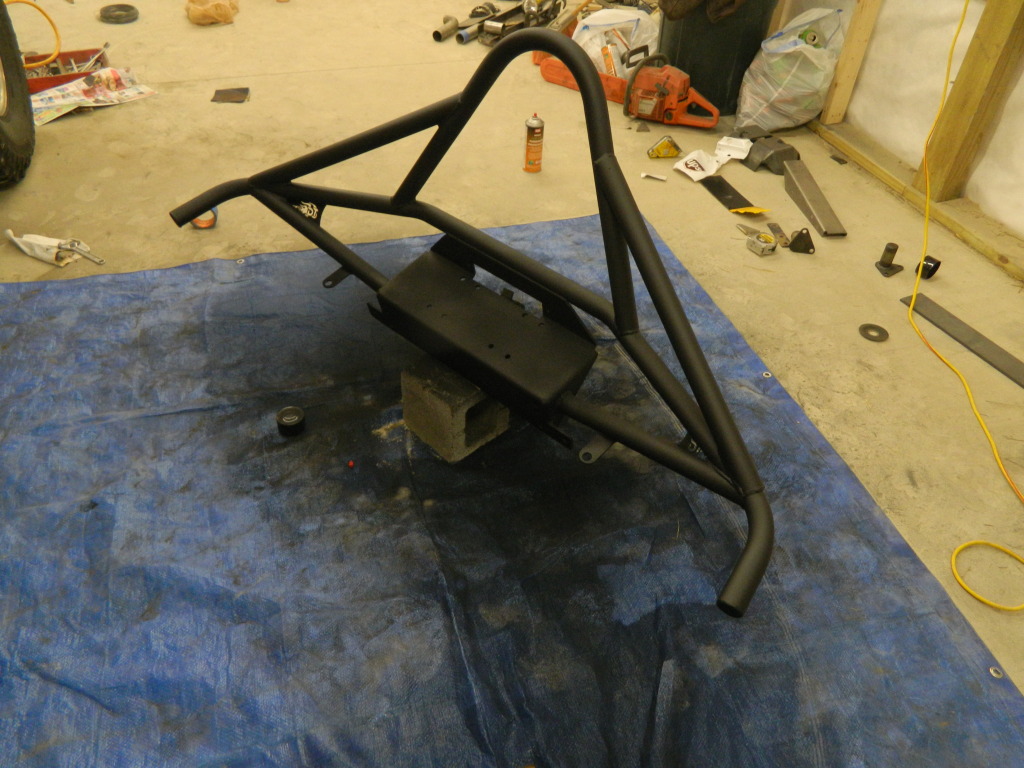
coated front bumper
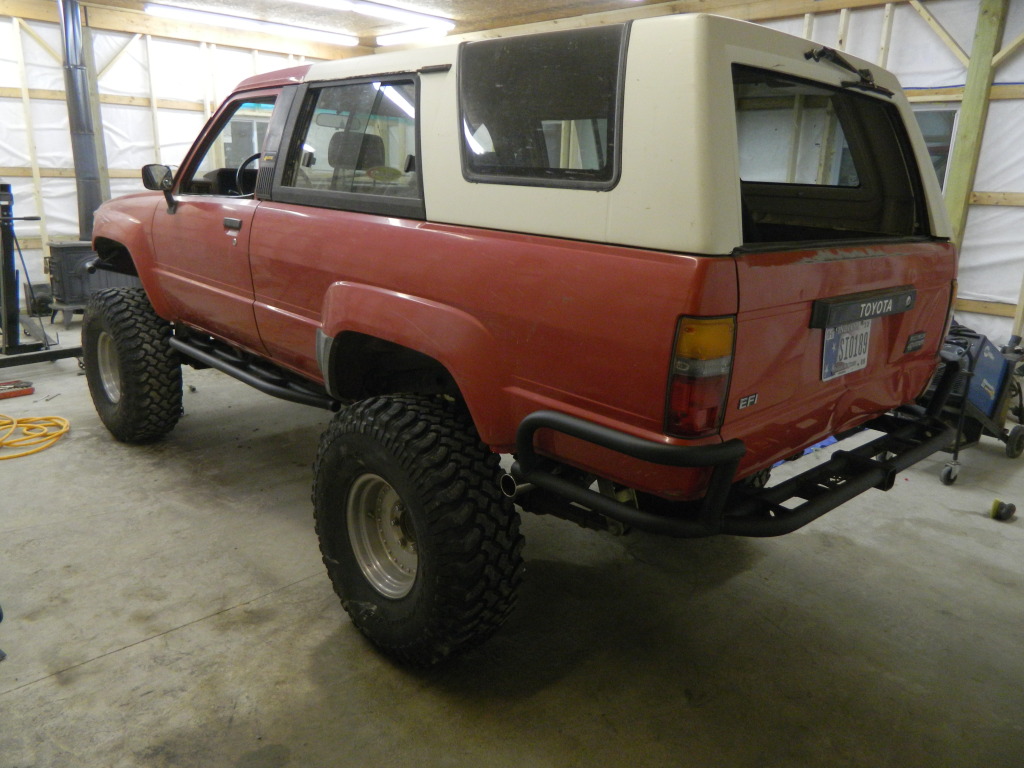
and thats as far as i got this weekend
Started off removing this ugly shatty winch mount that came on the truck
crap winch mount and autozone fog lights removed
removed and old welds ground down
frame brace ready for welding
welded on and coated
had to cut the brackets off the bumper and lowered them 3" so the bumper sits where it should with the crap body lift
of course the frame braces dont fit as they should with the body lift, so here is my ugly solution
the exhaust had about 100 leaks in it
new exhaust
the tip is from a taurus SHO that I have had kicking around for the last 10 years
refinished sliders
coated front bumper
and thats as far as i got this weekend
02-22-2013, 07:41 AM
#40
Registered User
Join Date: Mar 2011
Location: Massachusetts
Posts: 30
Likes: 0
Received 0 Likes
on
0 Posts
Your 4Runner looks Awesome man..! (Mines nearly identical to yours - only gray) I've got the same front and rear bumpers too and love them. Looking forward to seeing what else you have in store - Keep up the great work..!


