neockder's Ol Blue Build Thread
 04-28-2012, 10:11 PM
#21
Registered User
Thread Starter

Still waiting on some parts to button the new axle back up.. Here's some pictures of the dash replacement! I will probably put this in tomorrow or the upcoming week, pending axle parts showing up. I had a stock radio lines up, but the member i was buying it and other parts from, just stopped answering.. where are you Used Parts Emporium?!
I stripped the dash down to the plastic housing, and painted it a metallic color. There was some oil residue or something, because the paint was NOT happy sticking to the surface in some places. I wanted to neutralize the green-blue plastic, as i'm going to run RED dash lights and see how it looks.


Some red light thrown on to give it a test/look see:

Once AGAIN, to be continued!


 05-10-2012, 09:29 AM
#25
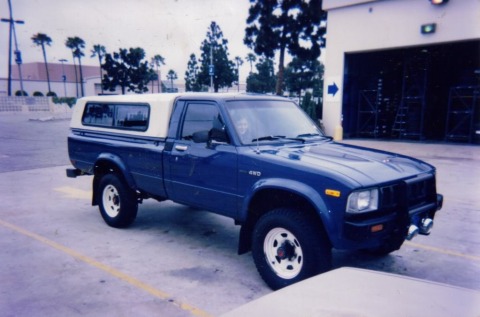
NICE WORK, MAN! Wow, really making me miss my ole blue! >>>
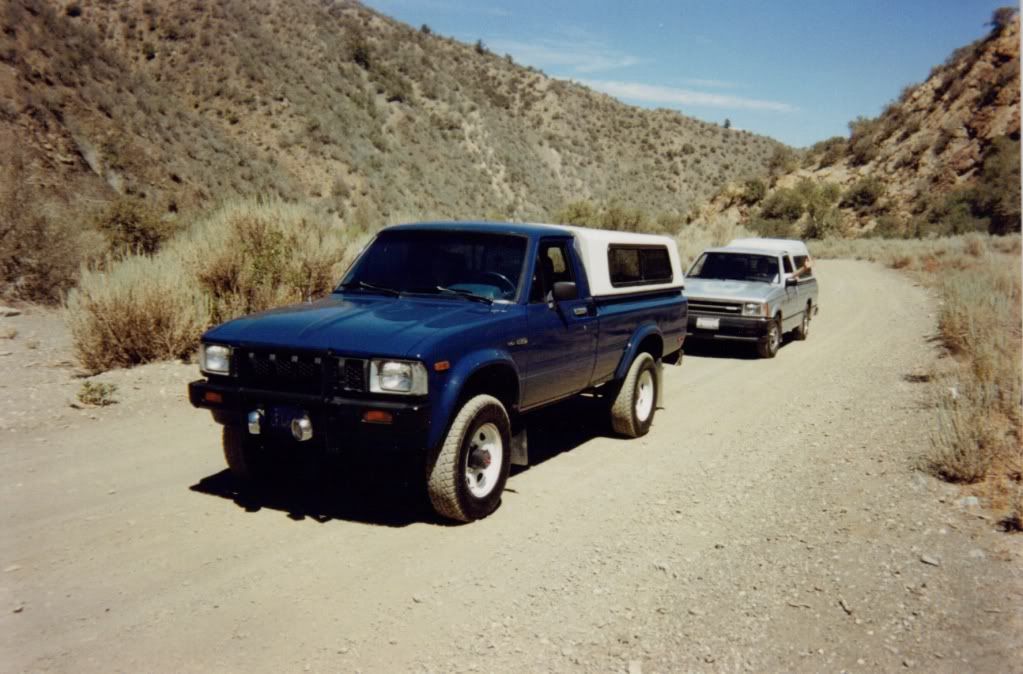

Bought it with 37K Miles on it.... So watching you do all this KILLER work is very inspiring/moving me to REALLY keep on the hunt for a 2nd Gen PU! (79-83 is second gen, right?) hehehe.
GREAT WORK, NEO!
Bought it with 37K Miles on it.... So watching you do all this KILLER work is very inspiring/moving me to REALLY keep on the hunt for a 2nd Gen PU! (79-83 is second gen, right?) hehehe.
GREAT WORK, NEO!
05-22-2012, 12:27 AM
#26
Registered User
Thread Starter
Thanks!
Cheers, more soon!
Apparently so.. The donor I got was from an '80 as well,. so the plugs should line up. It will be a photo finish if the running gear or dash is operational first! Can't seem to find a turbo brake booster anywhere for less than $175..
Dude, even I miss your old blue!!
Cheers, more soon!
Dude, even I miss your old blue!!
 05-28-2012, 01:46 AM
#28
Registered User
Thread Starter
Thanks!
I finished the axle rebuild..
continued..
...now!
I could have sworn this had drum brakes! I guess not.. a caliper must have been sticking, causing the problems.. one of the rotors was in pretty rough shape
Old Cruddy

Here's a close up of a cone washer if this is your first time..

OLD

Old OUT!!

Its Crazy how light this axle is stripped, easily manageable by yourself.

This was SUCH a pain in the ass. The bushings had essentially started to become metal, and the metal - rubber. I've heard conflicting advice on whether or not to grease the bushings when reinstalling.

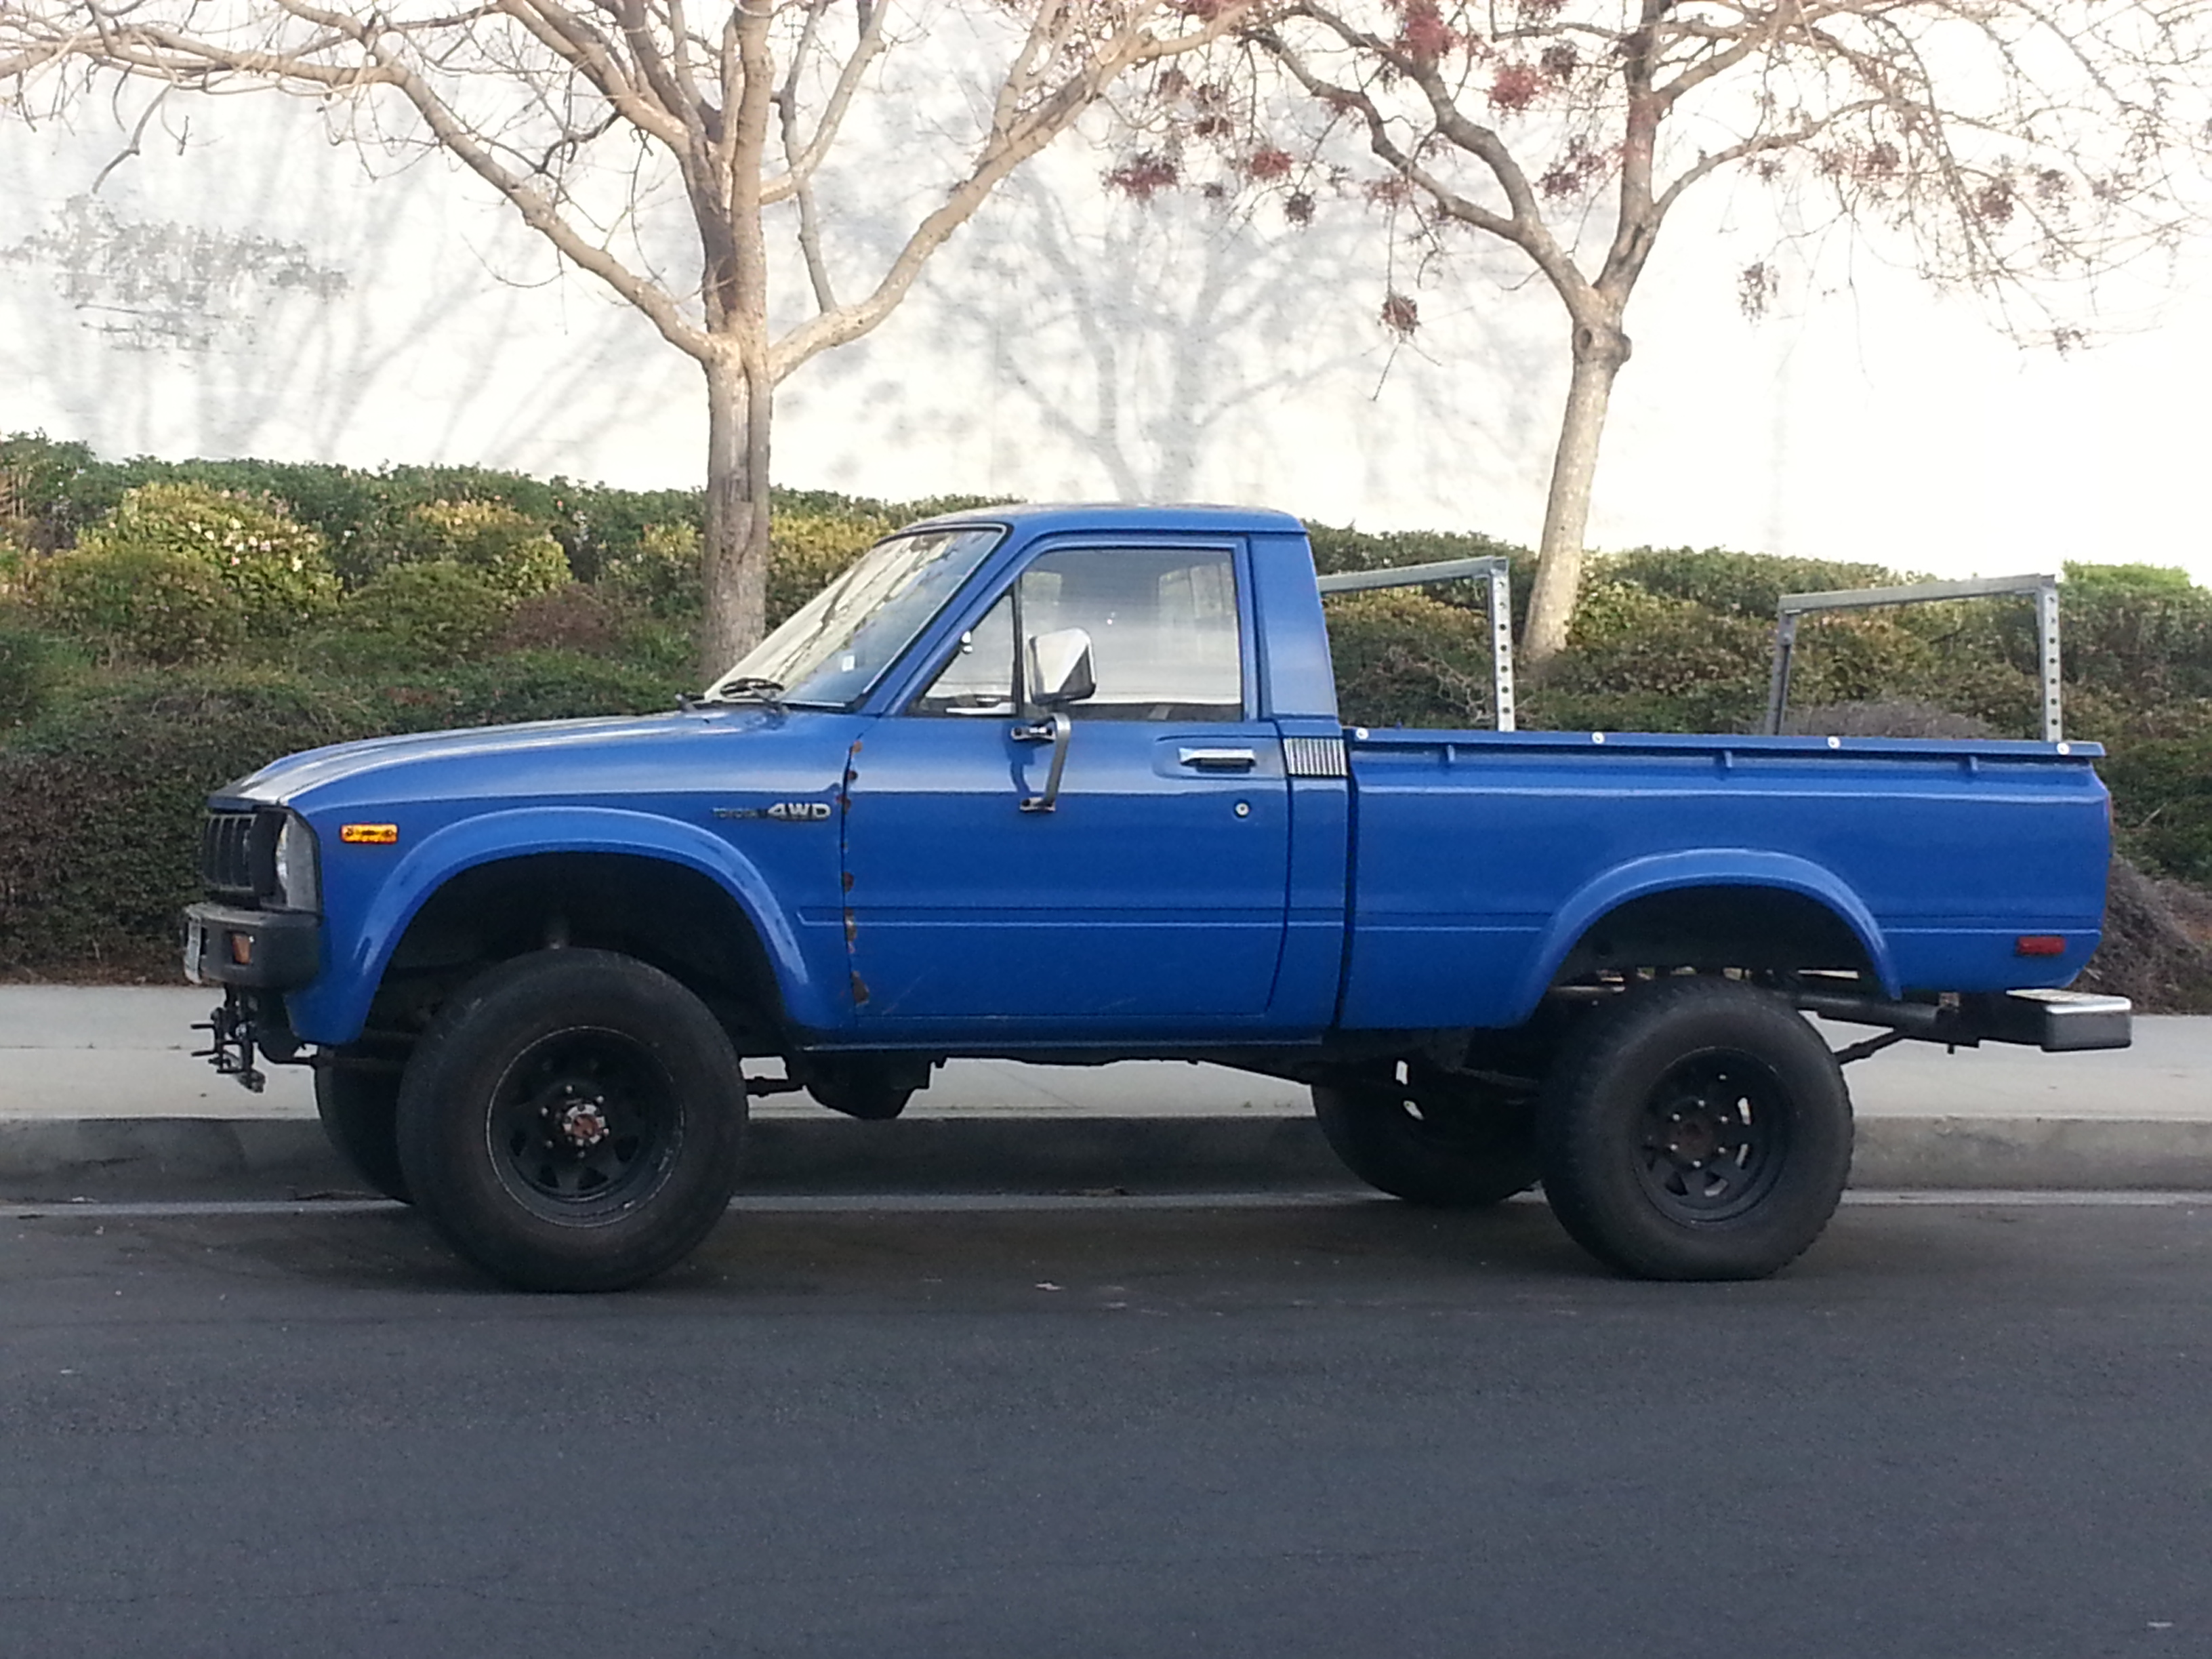
OME light duty! Probably will raise the front 3+",. from where the tired stock springs sat HA.

Third IN.

Whew! This was tough as my small jackstands were pretty much maxed, I couldn't even get the jack under the pumpkin with the new springs installed.


New knuckle bearings, races, and thrail gear seal kit.

Axle In, spindle on.. but I couldn't get the hub to pass the spindle seal, so I used the old ones that were actually in good shape.

Back side:

Done (almost)!

Damn look how she sits haha. Not sure what I should get for the back springs..


I finished the axle rebuild..
continued..
...now!
I could have sworn this had drum brakes! I guess not.. a caliper must have been sticking, causing the problems.. one of the rotors was in pretty rough shape
Old Cruddy
Here's a close up of a cone washer if this is your first time..
OLD
Old OUT!!
Its Crazy how light this axle is stripped, easily manageable by yourself.
This was SUCH a pain in the ass. The bushings had essentially started to become metal, and the metal - rubber. I've heard conflicting advice on whether or not to grease the bushings when reinstalling.
OME light duty! Probably will raise the front 3+",. from where the tired stock springs sat HA.
Third IN.
Whew! This was tough as my small jackstands were pretty much maxed, I couldn't even get the jack under the pumpkin with the new springs installed.
New knuckle bearings, races, and thrail gear seal kit.
Axle In, spindle on.. but I couldn't get the hub to pass the spindle seal, so I used the old ones that were actually in good shape.
Back side:
Done (almost)!
Damn look how she sits haha. Not sure what I should get for the back springs..
Last edited by neockder; 06-04-2012 at 10:47 PM.
06-04-2012, 11:45 PM
#29
Registered User
Thread Starter
dash continued..
The dash continued!
I started by removing the steering column covers, and then the cluster surround.
Simply.. as they say.. try to pull the speedo cable from the back of the cluster, accessed from below. PITA gold piece in center of picture

That will leave the four screws holding the cluster in, then two electrical plugs as well as two leads going to the back of the speedo.

Hey! for all this hard work and I only gain 100 miles back!

New one on bottom with tach components, top one without.

I cracked the good screen when drilling the trip switch =^x

Stock 194s (red) with an updated lens for the HVAC controls so they match red. This is rheostat turned all the way up!! Still way to dim..

I then pulled the whole cluster back out because it just didn't seem right doing all that work to end up with the same crappy lighting.
I removed the guages, and started cutting into the baffling around the light sockets. This helped emmensly. I played around with different light varieies, landing on two LEDs and two incadescent. Can you tell which are which?
The dimming capability still exists with two LEDS somehow.. even dims the LEDS?! All LED is too much light, and you lose dimming fuctionality. I need to eventually fix some of the baffling between gas guage and tach, and right of speedo.Too much light is now coming through. This is taken from an angle and dimmed about 25%, otherwise when looking straight on - the hotspots are almost unnoticeable.
So much better!!

I started by removing the steering column covers, and then the cluster surround.
Simply.. as they say.. try to pull the speedo cable from the back of the cluster, accessed from below. PITA gold piece in center of picture
That will leave the four screws holding the cluster in, then two electrical plugs as well as two leads going to the back of the speedo.
Hey! for all this hard work and I only gain 100 miles back!
New one on bottom with tach components, top one without.
I cracked the good screen when drilling the trip switch =^x
Stock 194s (red) with an updated lens for the HVAC controls so they match red. This is rheostat turned all the way up!! Still way to dim..
I then pulled the whole cluster back out because it just didn't seem right doing all that work to end up with the same crappy lighting.
I removed the guages, and started cutting into the baffling around the light sockets. This helped emmensly. I played around with different light varieies, landing on two LEDs and two incadescent. Can you tell which are which?
The dimming capability still exists with two LEDS somehow.. even dims the LEDS?! All LED is too much light, and you lose dimming fuctionality. I need to eventually fix some of the baffling between gas guage and tach, and right of speedo.Too much light is now coming through. This is taken from an angle and dimmed about 25%, otherwise when looking straight on - the hotspots are almost unnoticeable.
So much better!!
09-12-2012, 09:55 PM
#33
Registered User
Thread Starter

Here's the current one under the knife.. been searching for a Scout 800 for a few years.. came across one with great history and in decent shape. V8, bone stock aside from some glass packs, fully loaded - or 'Dolled Up' as it were back then ha. My dad had one just like it as one of his first cars. Towed it back from the mountains.. Lots of plans for this already!

Last edited by neockder; 09-12-2012 at 09:59 PM.
09-12-2012, 11:14 PM
#34
DAYUM! Those are BA, neo! My bro had one, .... 35's, Built 406(?) and I remember he needed a 1st gear..... HOLY CRAPULA did he have a hard time finding that. lol... He eventually got a 68 Bronco.. But we loved that! Another buddy had a Pick Up one.... VERY cool truck... all tricked out. They are STOUT, fo sho!
CONGRATZ ON THE FIND!
CONGRATZ ON THE FIND!
04-09-2013, 12:32 AM
#35
Registered User
Thread Starter
Scout Build has taken over most of my time! Lots of little things to come on the Yota soon enough though.. Soon!
Scout Build
Scout Build
 11-28-2013, 07:42 AM
#37
Registered User
Thread Starter
I swapped in a new clutch master cyl; $17.99 from autozone! Parts prices are amazing for this truck.. I think a whole clutch kit was under $100. I bled the clutch hydraulic line, but had my friend's shop do it again just in-case. One time it took me 3 days to correctly bleed one of my BMW's clutches,. Such a pita.
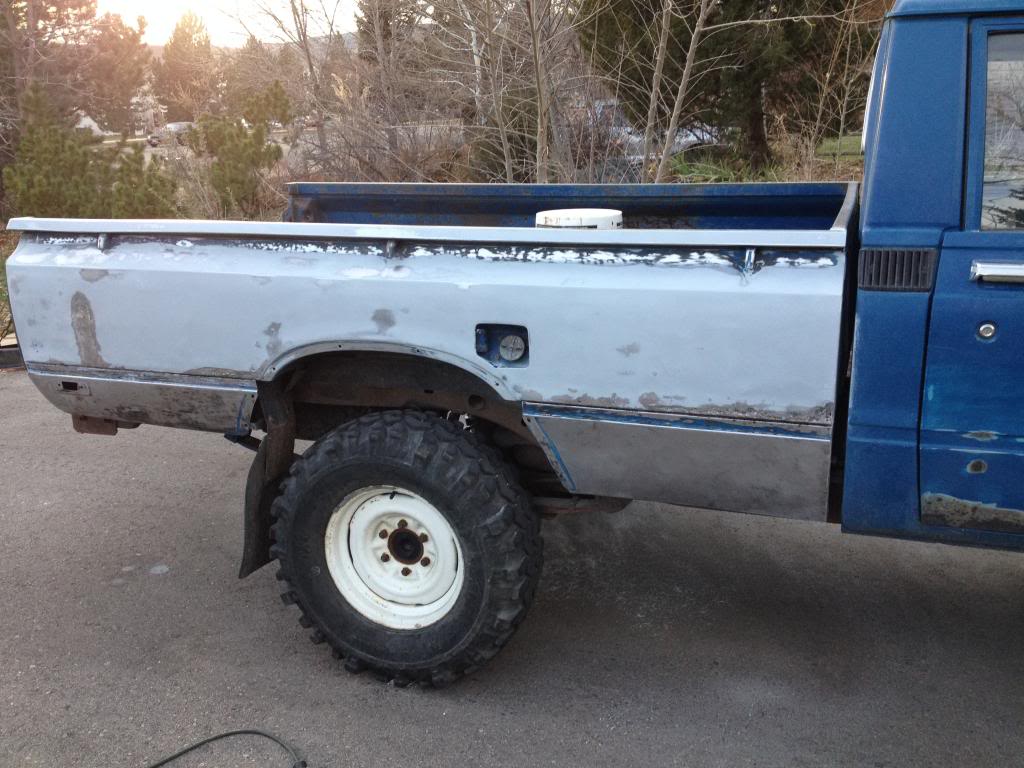
I've done a TON of work sanding down the surface rust on the bed sides, sorry I haven't gotten any pictures up yet! Did a light coat of primer over the rust free areas, and am now working on isolating the few spots of pinholes and deeper than surface rust. I will do more primer and a top coat of something, but am going to leave whatever battle wounds are present, and elect to not use any bondo (I used USC All Metal on my Scout - great stuff but $$). I'd rather keep it bondo free and let a professional work from scratch some day. And if/when I sell this pickup, there won't be any hidden surprises; I hate those!
Future projects:
- Upgrade to married 5spd � �83 from my friend�s parts yard, swap out 4spd.
- I�ll have an extra RF1A to double up the t-cases if I want later.
- From there I�ll move onto the cab surface rust, and the small sections of floor that need to be replaced (windshield gasket was cracked when I bought it, and allowing rain to collect in the front foot wells
- Finish the new interior (door panels, headliner, and carpet)
- Soda Blast and Rhino Line the bed, add internal bed panels with access panels for storage. At this point I would probably remove the bed, soda blast the underside and protect that as well, while cleaning up and repainting the rear frame.
This truck has very little rust, so it�s been a great project thus far, focusing on mechanical. My Scout has been a different story, needing the rust repair from the beginning. In about 6 months my Scout will be ready/need some $$ to finish the job so at that point I may consider selling this pickup .
.
We�ll see. If I get a big raise this year, maybe that won�t happen! Buying a house soon as well, so money is tight. Hopefully I finish everything on the list above before I sell it! Someone will get a bargain.
I've done a TON of work sanding down the surface rust on the bed sides, sorry I haven't gotten any pictures up yet! Did a light coat of primer over the rust free areas, and am now working on isolating the few spots of pinholes and deeper than surface rust. I will do more primer and a top coat of something, but am going to leave whatever battle wounds are present, and elect to not use any bondo (I used USC All Metal on my Scout - great stuff but $$). I'd rather keep it bondo free and let a professional work from scratch some day. And if/when I sell this pickup, there won't be any hidden surprises; I hate those!
Future projects:
- Upgrade to married 5spd � �83 from my friend�s parts yard, swap out 4spd.
- I�ll have an extra RF1A to double up the t-cases if I want later.
- From there I�ll move onto the cab surface rust, and the small sections of floor that need to be replaced (windshield gasket was cracked when I bought it, and allowing rain to collect in the front foot wells
- Finish the new interior (door panels, headliner, and carpet)
- Soda Blast and Rhino Line the bed, add internal bed panels with access panels for storage. At this point I would probably remove the bed, soda blast the underside and protect that as well, while cleaning up and repainting the rear frame.
This truck has very little rust, so it�s been a great project thus far, focusing on mechanical. My Scout has been a different story, needing the rust repair from the beginning. In about 6 months my Scout will be ready/need some $$ to finish the job so at that point I may consider selling this pickup
.We�ll see. If I get a big raise this year, maybe that won�t happen! Buying a house soon as well, so money is tight. Hopefully I finish everything on the list above before I sell it! Someone will get a bargain.
11-28-2013, 08:02 AM
#38
Registered User
Thread Starter
I forgot to mention,. the over-powerful Weber 38 ended up being the perfect choice. My friend ordered the High Altitude Jet Kit, ran it on the dyno and found the correct jets to use, after the third try. He ended up needing to use the leanest jets in the high altitude kit. No reduction of power, and now I'm getting 16/21 mpg with these 31" swampers!
10-17-2014, 10:27 PM
#39
Registered User
Thread Starter
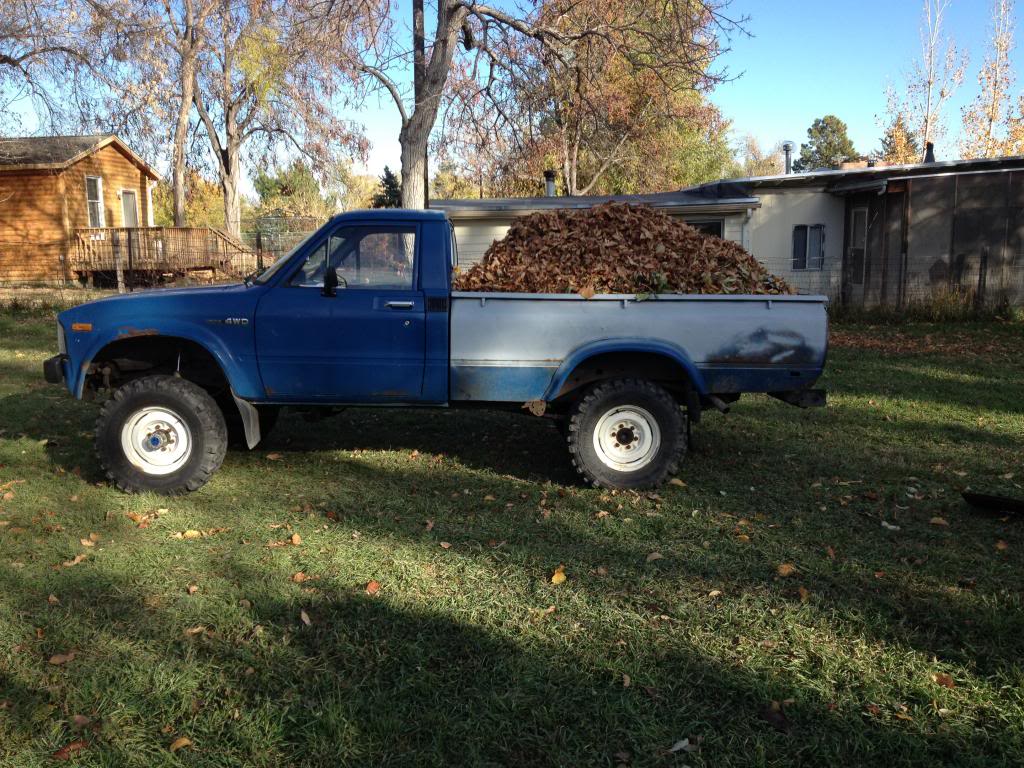
Well it's been awhile, but I've been taking pictures of the progress. I think I'm missing some, probably on another phone or computer, but that's ok this will work.
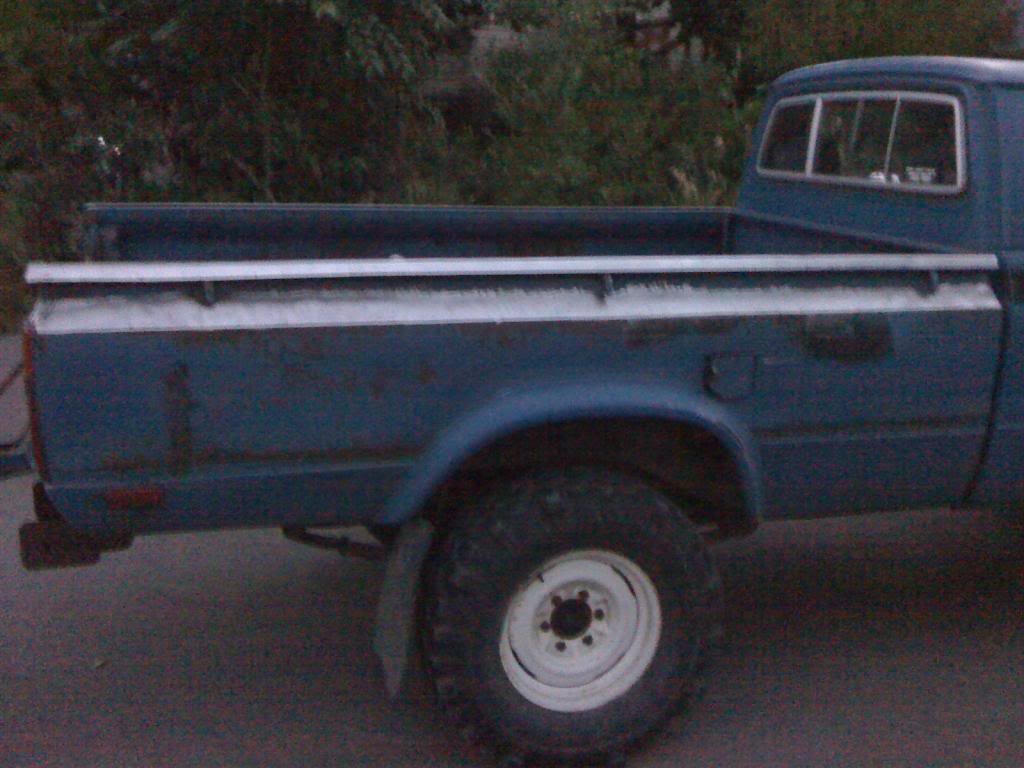
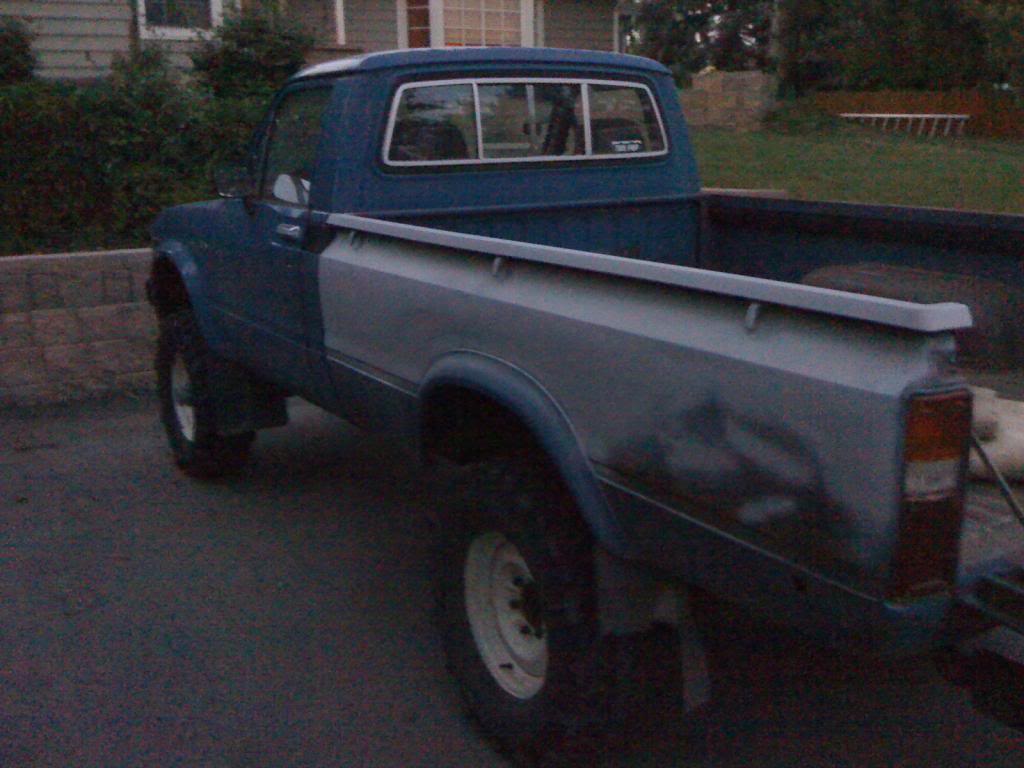
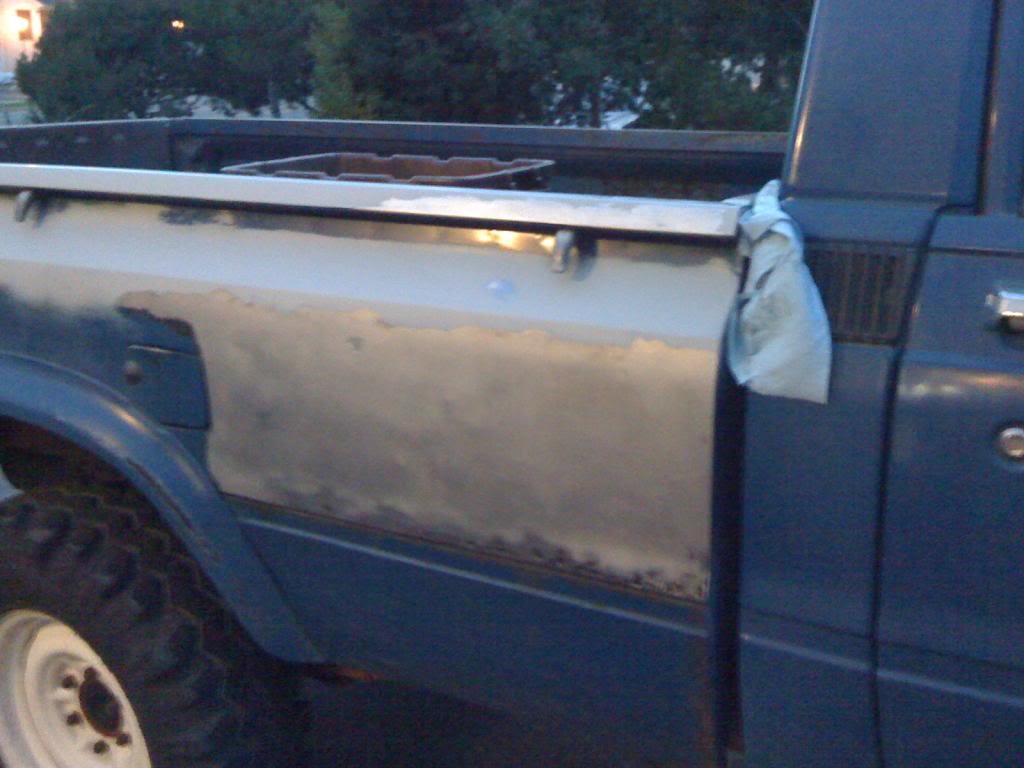
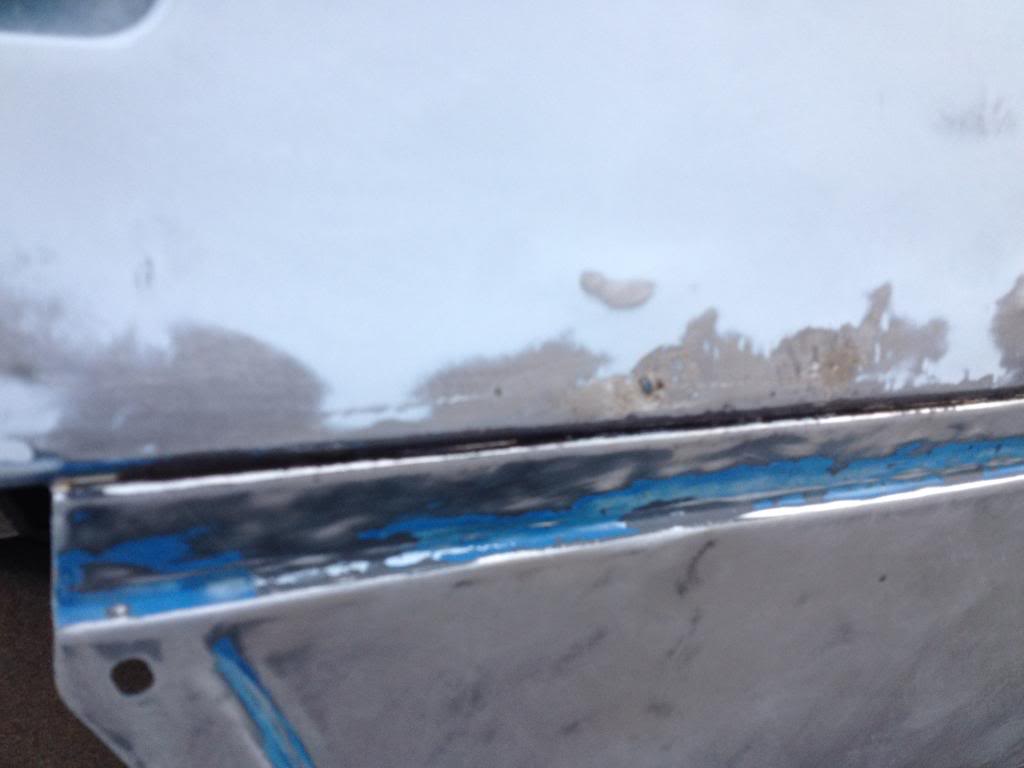
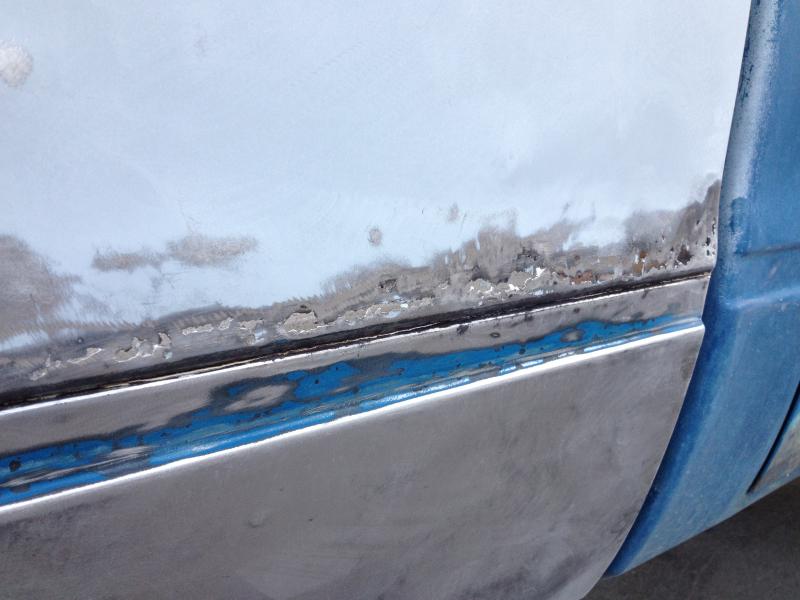
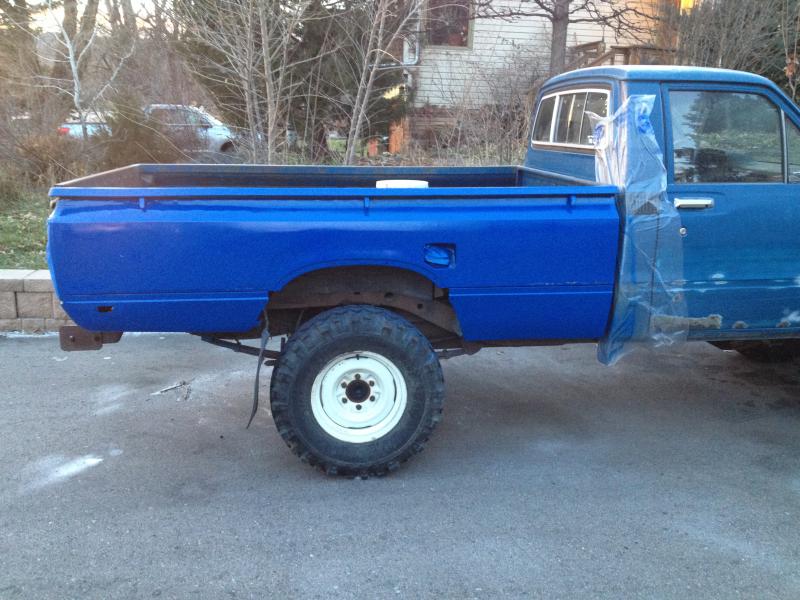
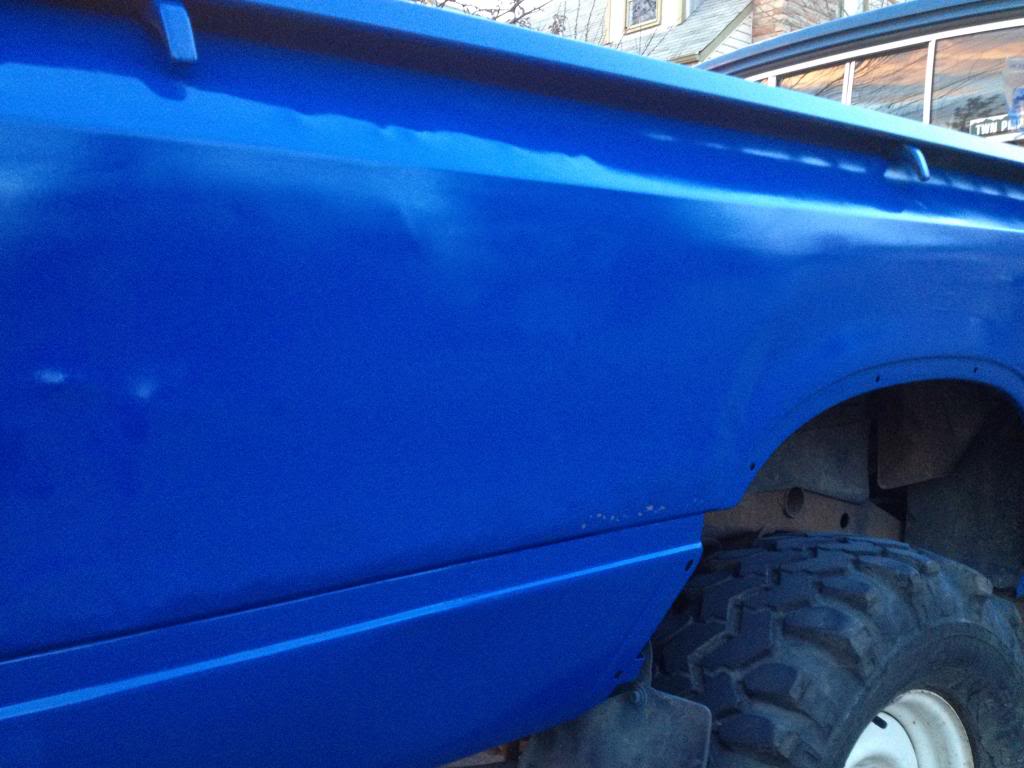
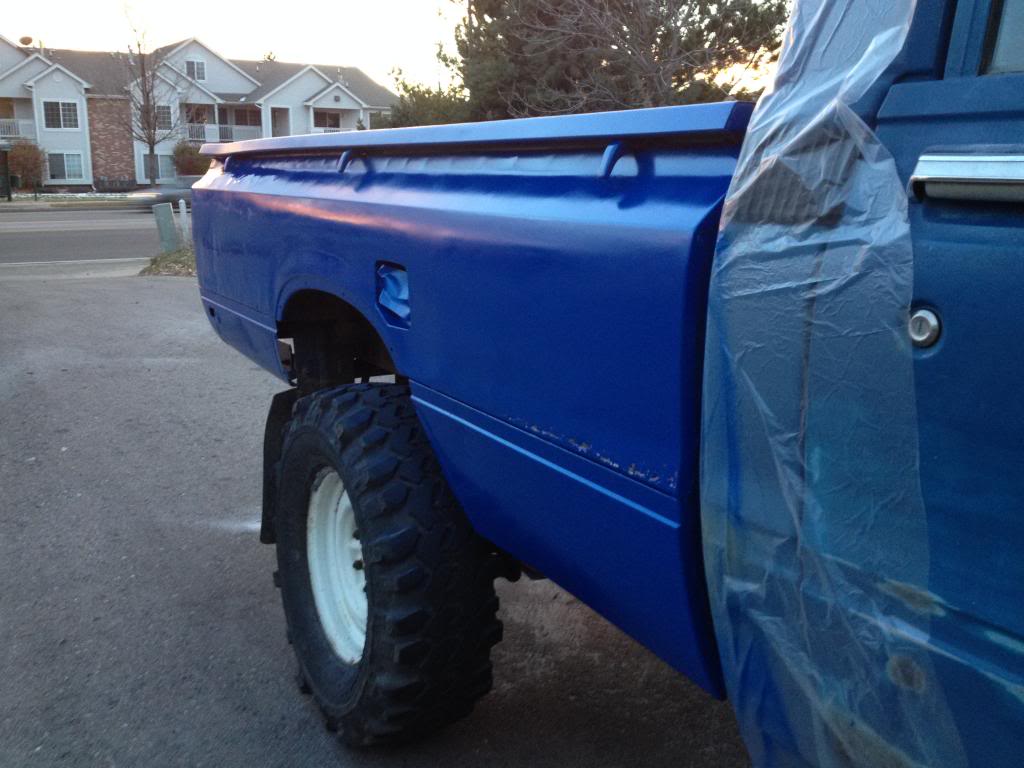
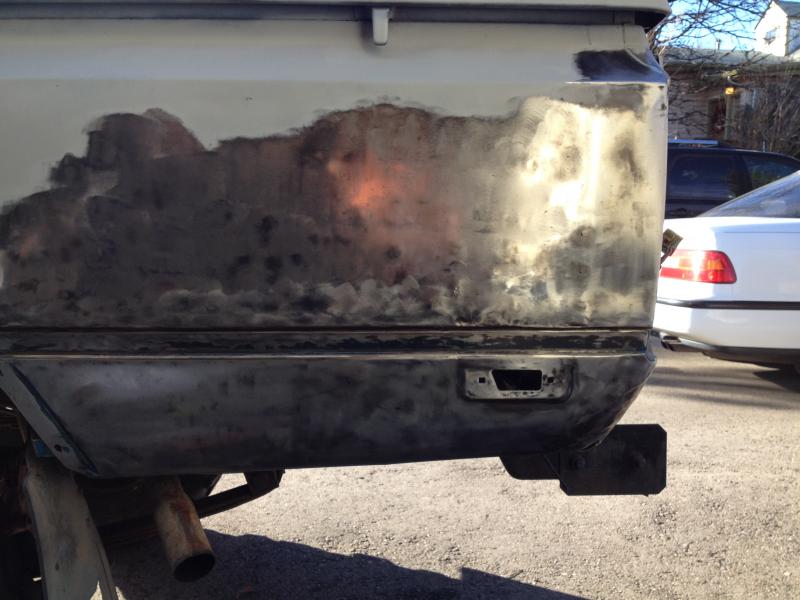
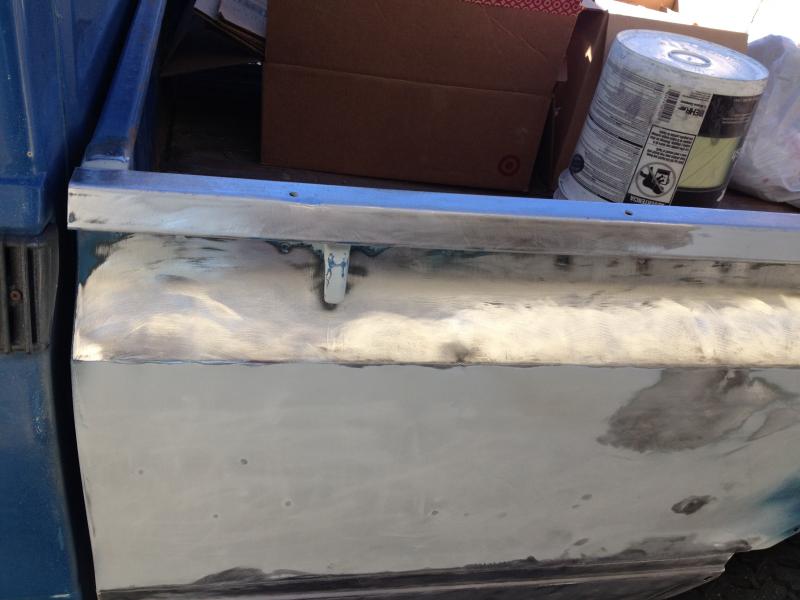
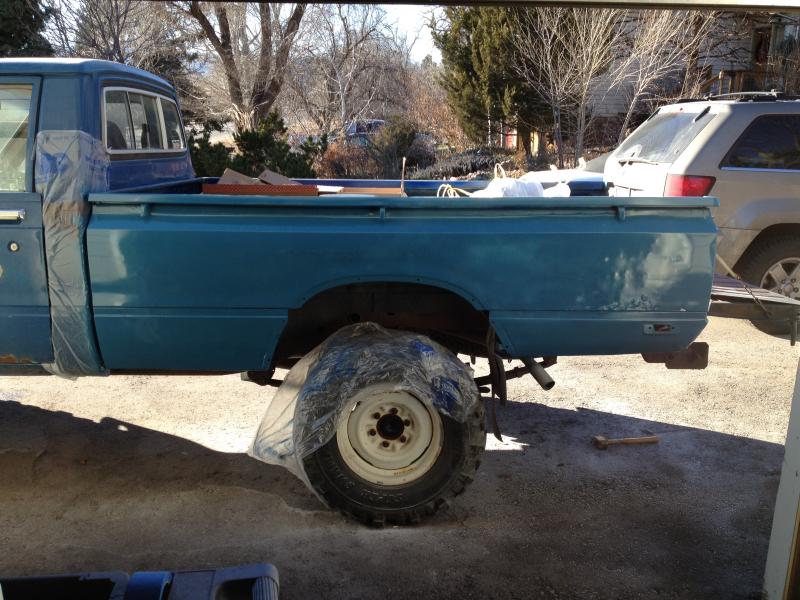
I sanded down all of the surface rust on the bed sides, and isolated the few (3) strips of cancer that need to be cut out. I then primered the sides to keep the rust off. A few weeks later I came back and finished the job, this time wet sanding and touching up a few small spots.
I chose to use ZERO bondo, and leave the dents as is so there aren't any hidden surprises. Not the best pictures as I can't seem to find any that show the bare metal right before painting.
Last edited by neockder; 10-17-2014 at 11:31 PM.
10-17-2014, 10:44 PM
#40
Registered User
Thread Starter
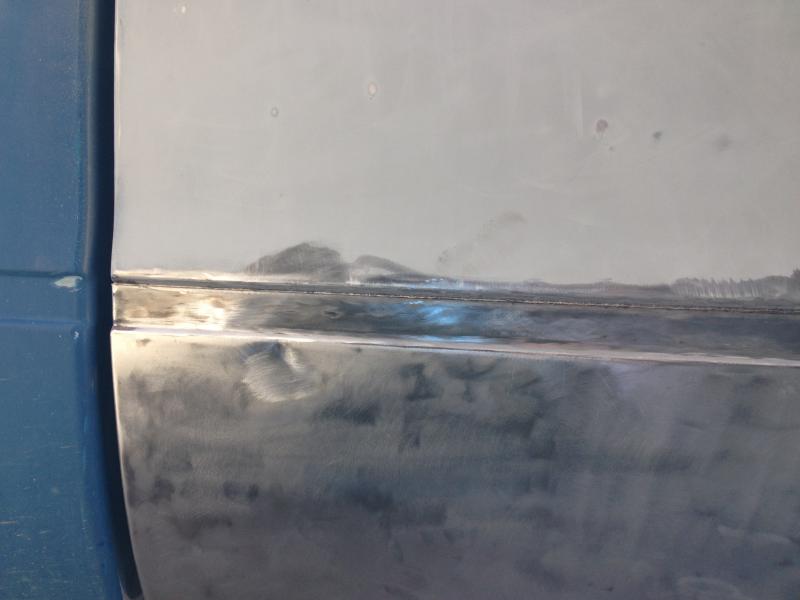
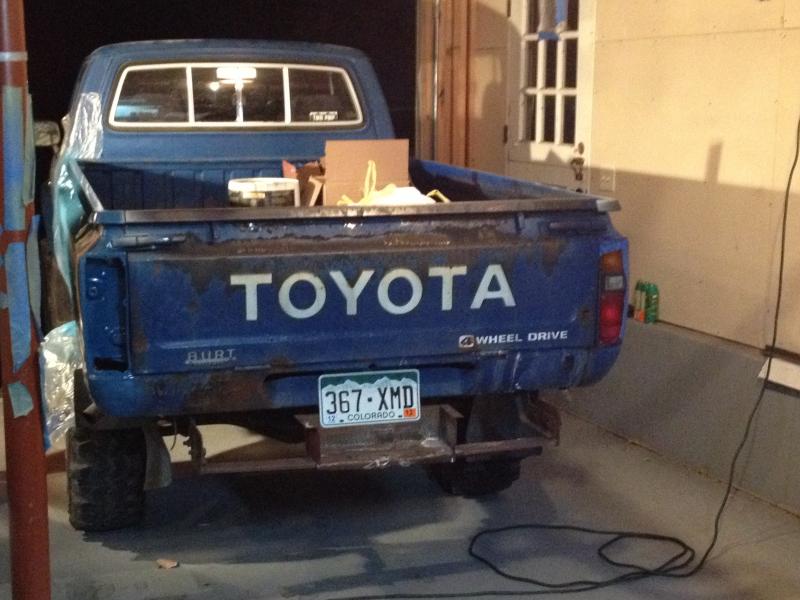
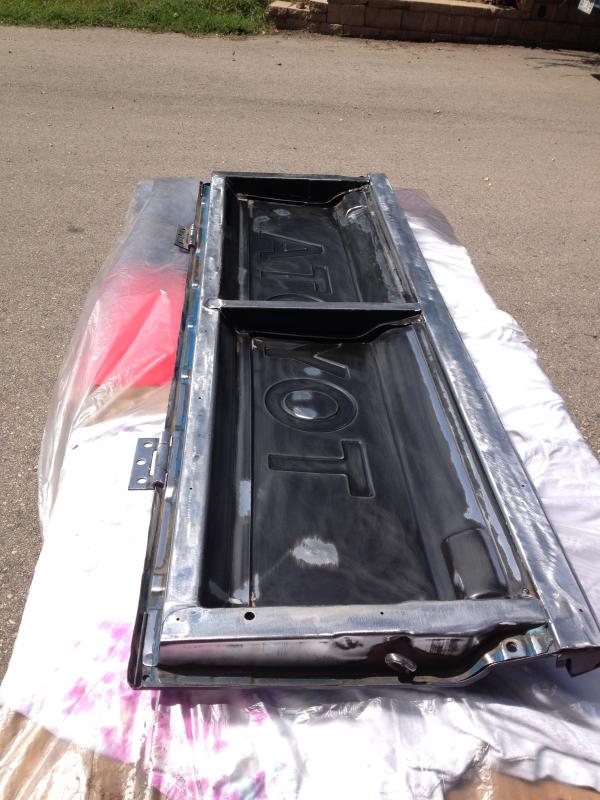
From there, I chose to remove the tailgate and start stripping it. I was on the fence, as I really liked the patina and original decals, but there was one spot of rust that needed to be cut out, so I decided to remove interior panel, strip rust, patch hole, primer and paint.
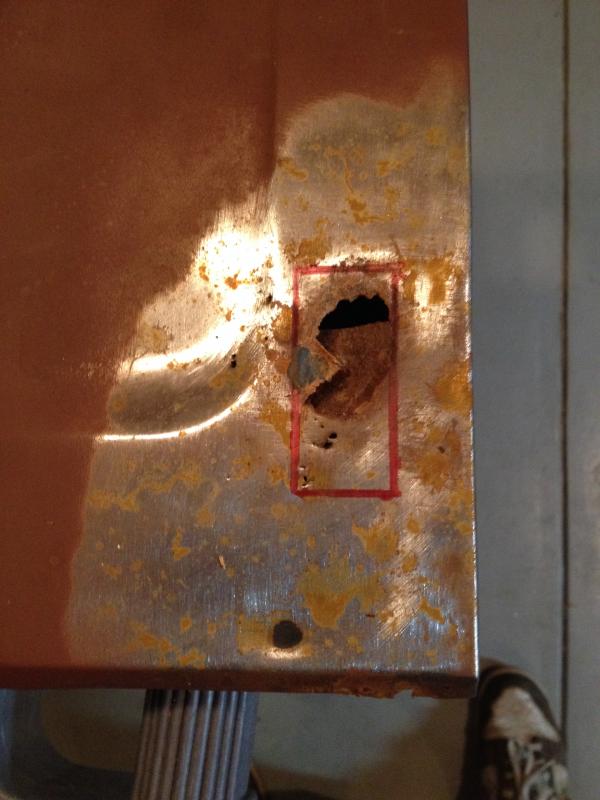


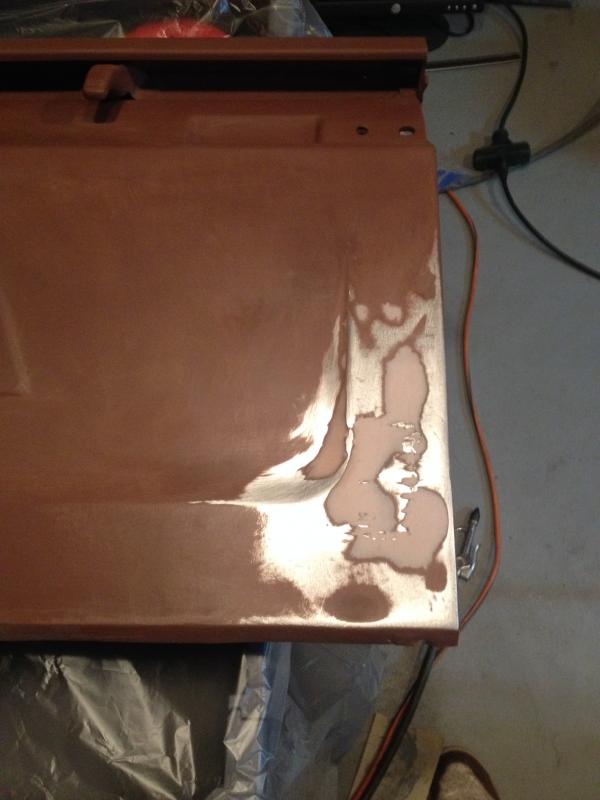

I went through about 6 iterations with the bondo. This is the first bondo project I've really had to do, at least in a high profile location. I wanted it to look good, and it's about a 9/10. I wish I had more pictures in the process.

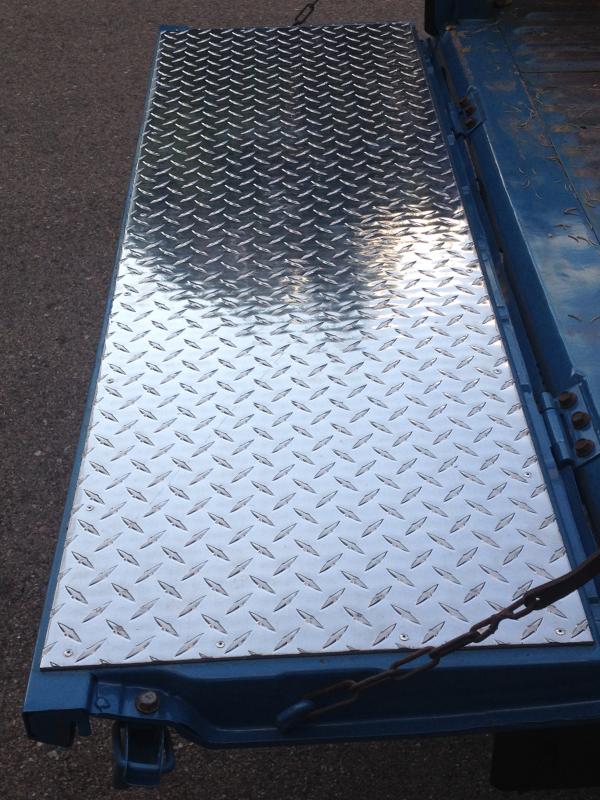
I added some fairly think, prob 3/16" aluminum diamond plate. I'm not a fan of diamond plate at all, but it works on the inside of the bed - and really stiffens up the tailgate.
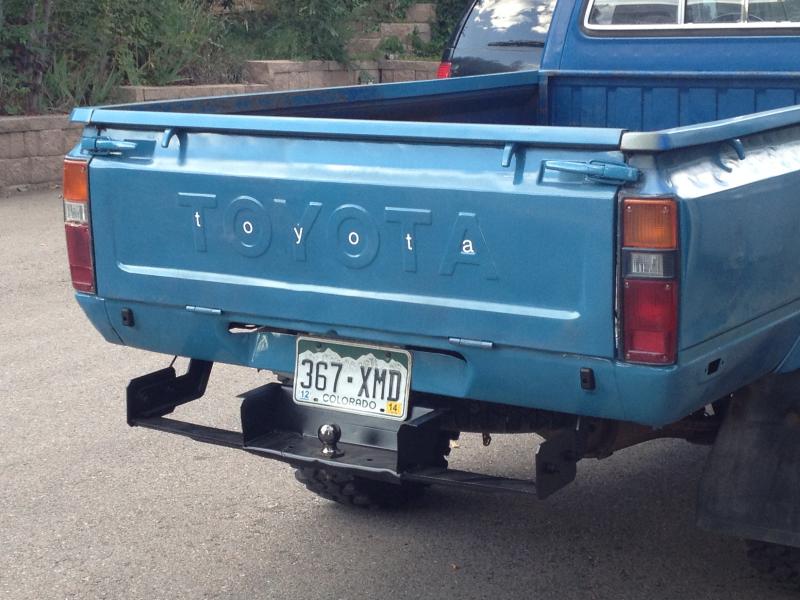
toyota dealership decal from wife's prius I still have the original CO dealership badge, but didn't reinstall.
I went through about 6 iterations with the bondo. This is the first bondo project I've really had to do, at least in a high profile location. I wanted it to look good, and it's about a 9/10. I wish I had more pictures in the process.
I added some fairly think, prob 3/16" aluminum diamond plate. I'm not a fan of diamond plate at all, but it works on the inside of the bed - and really stiffens up the tailgate.
toyota dealership decal from wife's prius
I still have the original CO dealership badge, but didn't reinstall.


