93 runner 1 ton'd

 10-12-2007, 12:38 PM
#22
Registered User
Thread Starter

Join Date: Nov 2006
Location: Oregonian in Utah
Posts: 71
Likes: 0
Received 0 Likes
on
0 Posts
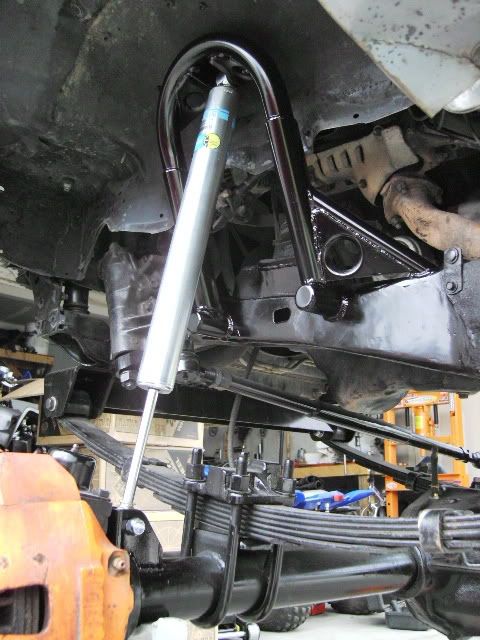
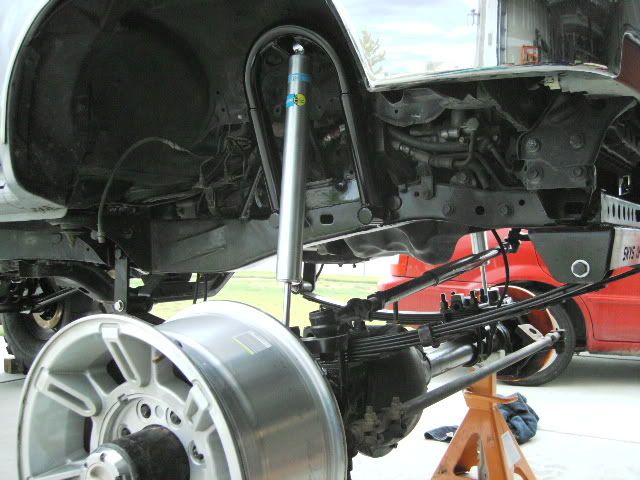
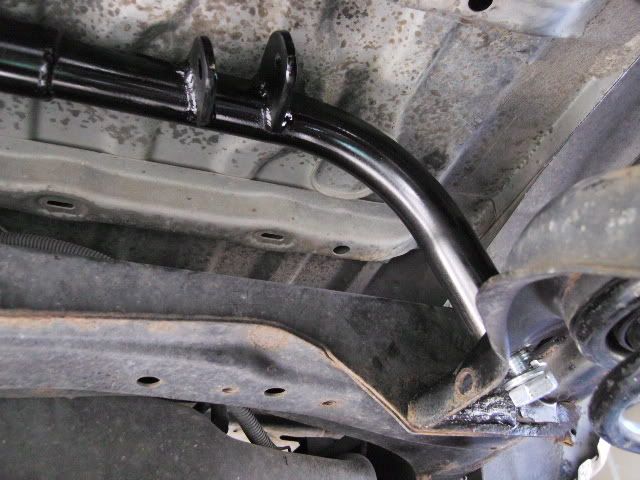
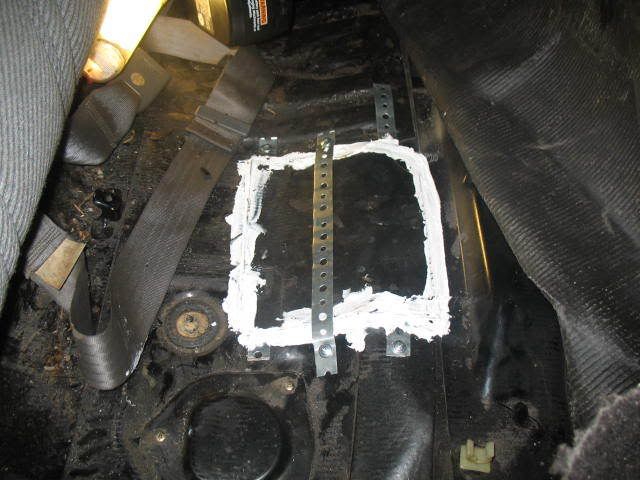
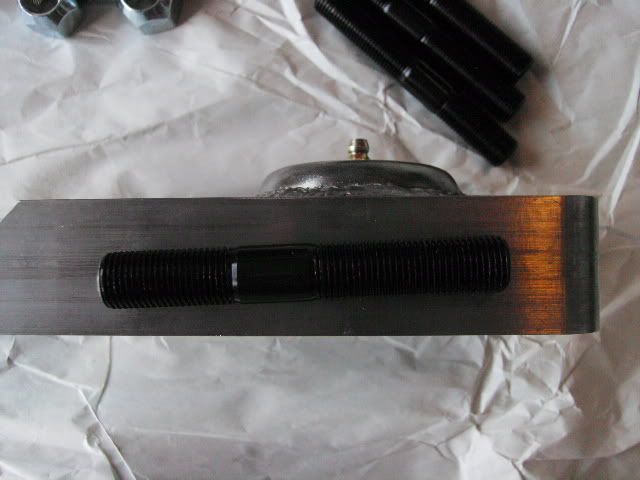
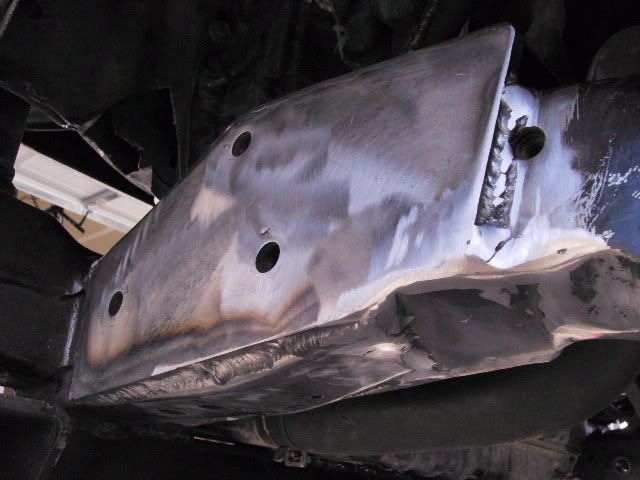
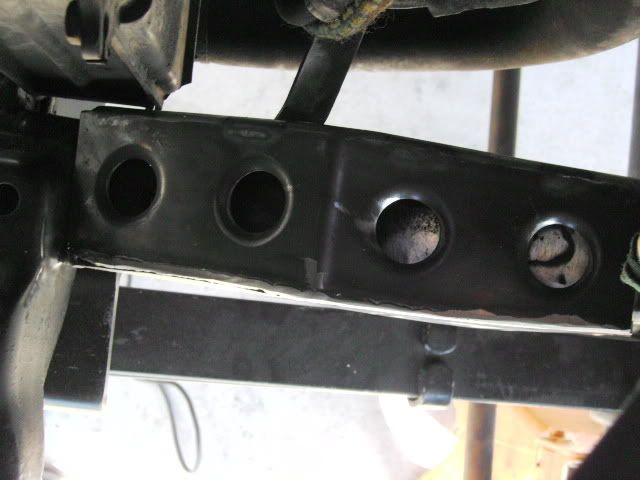
Rear shock are done! using the factory upper shock locations I build a new crossmember that I could bolt the shocks to. I used 1.5" tubing bent 2 peices at about a 65 degree angle and sleeved the 2 peices together with some 1.75" tubing. After finding where I wanted everything I welded a 3/4 x 10 nut into the ends so I could bolt everything up. worked out pretty slick I must say!
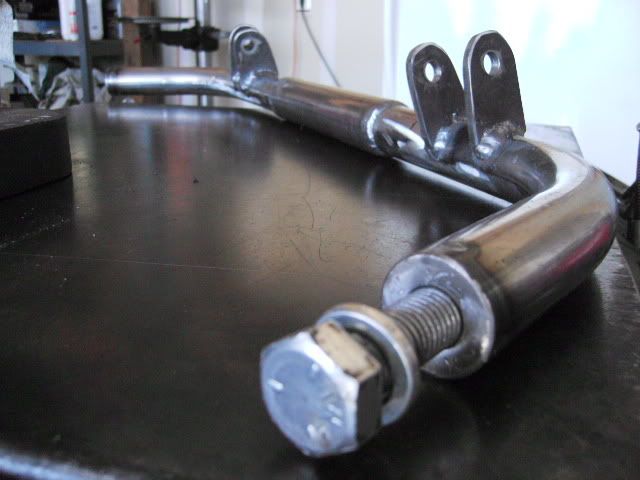
Notice the lower Rt of the pick to see where the bolt threads in and where the old upper shock mount is.
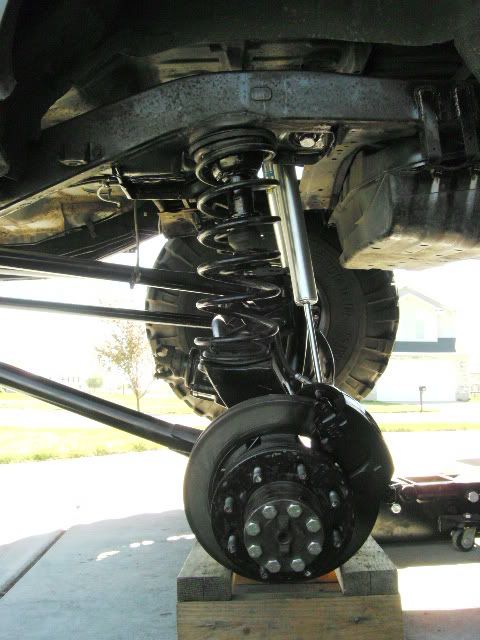
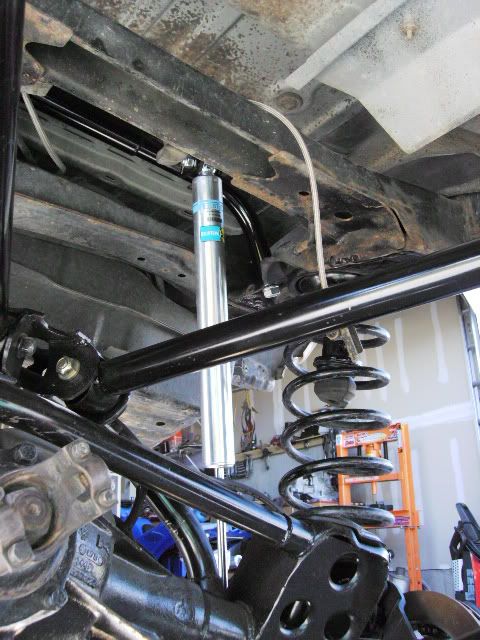
Notice the lower Rt of the pick to see where the bolt threads in and where the old upper shock mount is.
Last edited by smashmetal; 10-12-2007 at 12:39 PM. Reason: info
01-04-2008, 11:44 AM
#23
Registered User
Thread Starter
Join Date: Nov 2006
Location: Oregonian in Utah
Posts: 71
Likes: 0
Received 0 Likes
on
0 Posts
Been a while but here ya go!
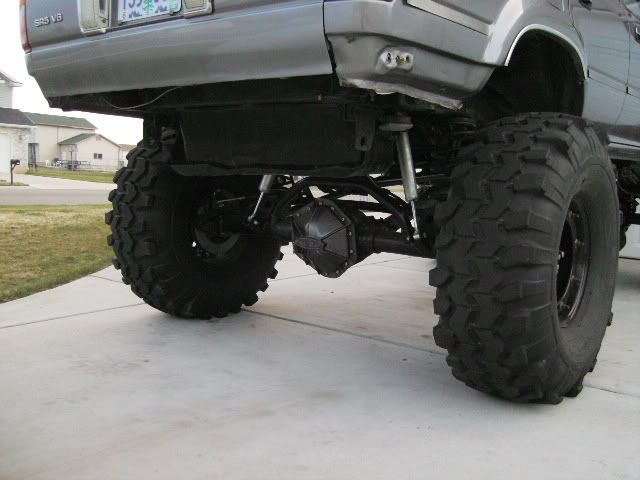
Made a rear D-shaft with some left over parts.
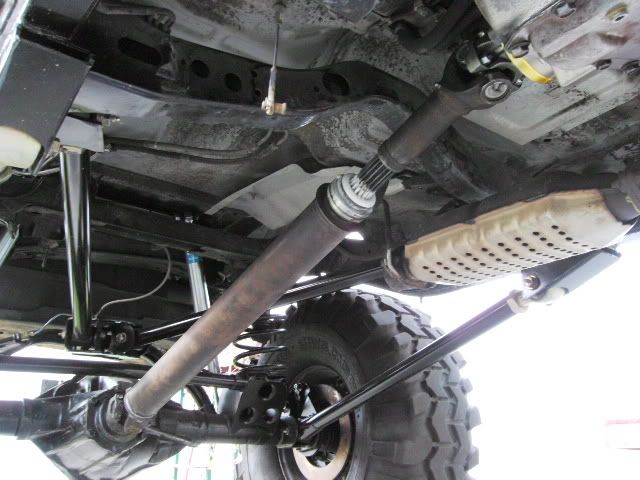
Got the brakes done.
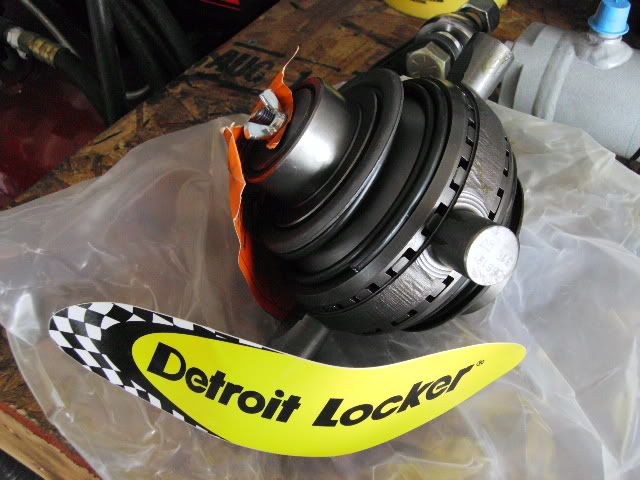
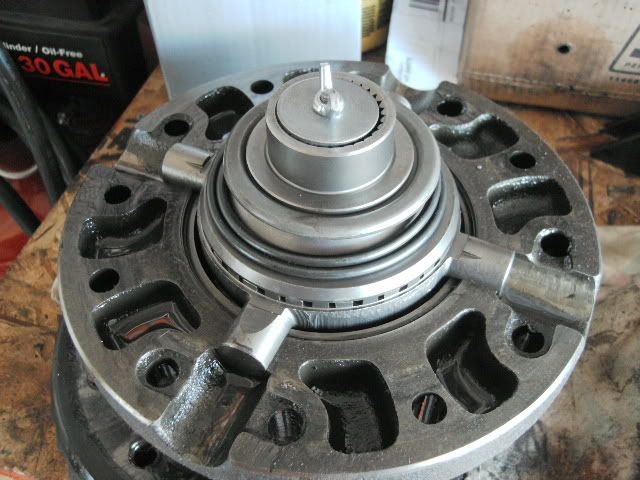
Detroit is in the front, along with a Tom Wood shaft.
Made a rear D-shaft with some left over parts.
Got the brakes done.
Detroit is in the front, along with a Tom Wood shaft.


 01-20-2008, 07:51 AM
#26
Registered User
Thread Starter
Join Date: Nov 2006
Location: Oregonian in Utah
Posts: 71
Likes: 0
Received 0 Likes
on
0 Posts
The height issue was an unexpected problem that I dident realize untill I had it rolled out of the garage. Seamed normal too me cause I had full size chevy's for so long. I have an LT1/ 700r4 that I will trans plant into it later, hopefully the V8 weight will bring it down a bit. Im not to keen on the 2" body lift the previouse owner installed either. If possiable Ill be taking it off or atleast lowering it by an inch.
Last edited by smashmetal; 01-26-2008 at 08:22 AM. Reason: adding words
 the tank kinda reminds me of how I did mine. Keep it up its a sick 4runner
01-26-2008, 08:27 AM
the tank kinda reminds me of how I did mine. Keep it up its a sick 4runner
01-26-2008, 08:27 AM
#30
Registered User
Thread Starter
Join Date: Nov 2006
Location: Oregonian in Utah
Posts: 71
Likes: 0
Received 0 Likes
on
0 Posts
Born and raised in Oregon, Im military and just can't give up my residency to my home state. Needless to say I get great opertunitys to go wheelen in other states!
01-26-2008, 08:34 AM
#31
Registered User
Thread Starter
Join Date: Nov 2006
Location: Oregonian in Utah
Posts: 71
Likes: 0
Received 0 Likes
on
0 Posts
I'll probably be steeling some of your tank idea's later on down the road. Like I mentioned before I need to ditch the body lift on mine but the fuel tank is going to need some rework. I will have to lower the tank so I can bring the body back down and the stock 4runner tank is a bit tall to be lowering it any more than I have it now.
01-26-2008, 11:14 AM
#32
Registered User
Join Date: Dec 2007
Location: Corvallis, Ore
Posts: 36
Likes: 0
Received 0 Likes
on
0 Posts
I have to say, I hate the gas tank location/size. Only thing I did to is was cut an access hole under the back/pass seat so I can reach my fuel pump.. I do NOT want to to have to drop that stupid thing again..

 05-10-2008, 06:51 AM
#35
Registered User
Thread Starter
Join Date: Nov 2006
Location: Oregonian in Utah
Posts: 71
Likes: 0
Received 0 Likes
on
0 Posts
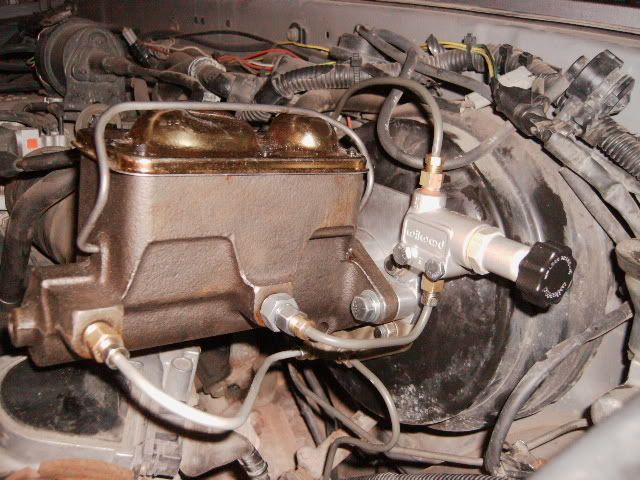
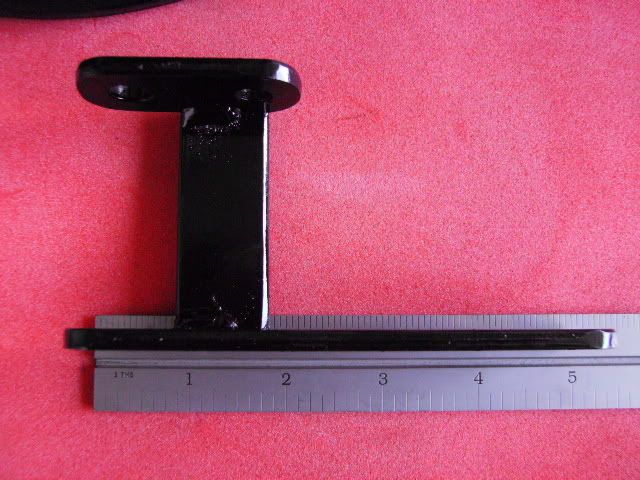
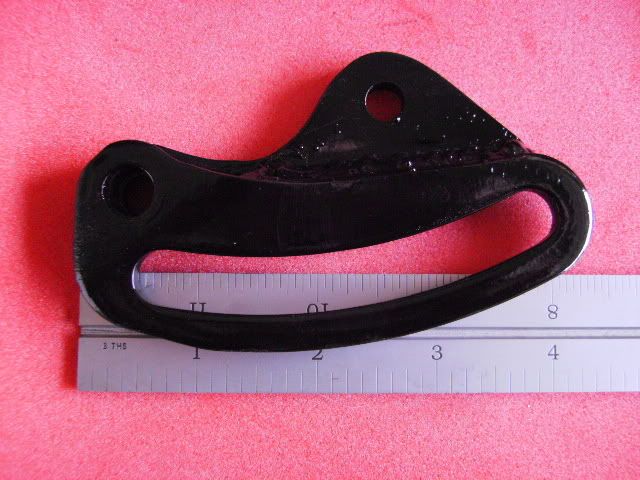
Sreering
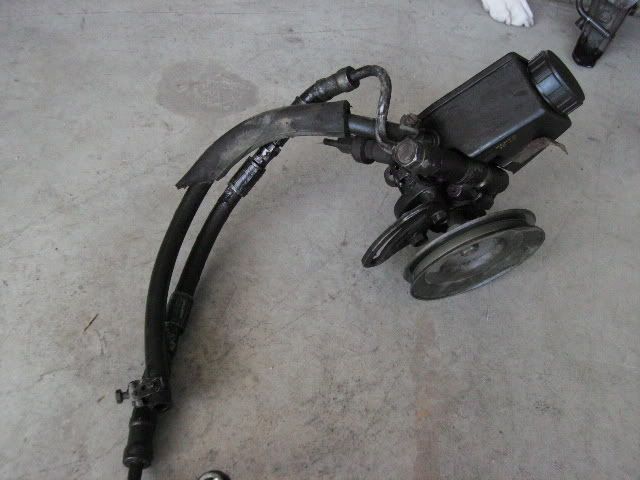
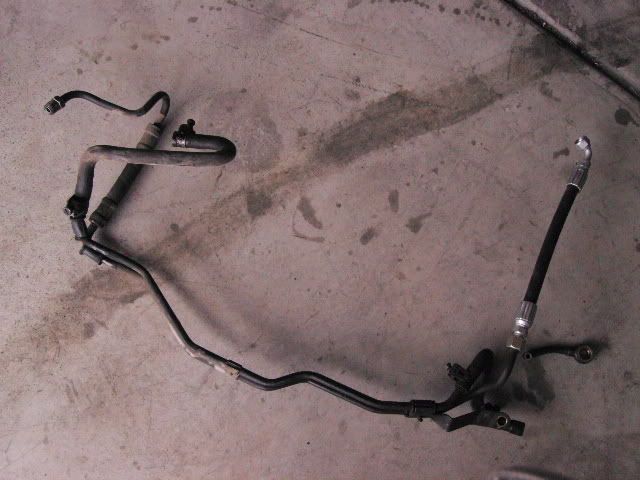
All the parts for moving the steering box foward, saginaw style pump, hydro assist and high steer.
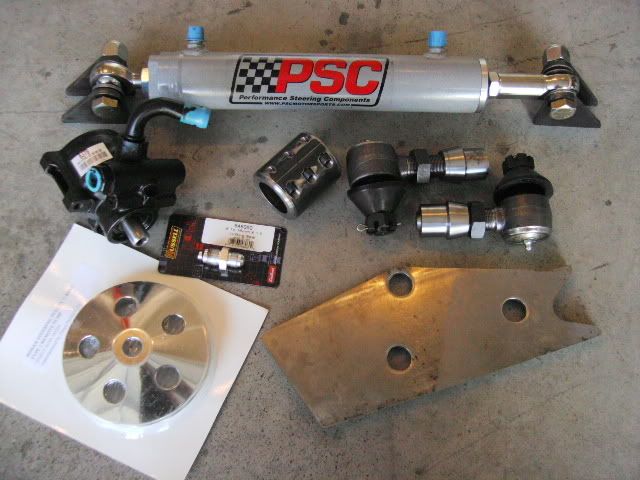
I already had the Rt side arm.
I already had the Rt side arm.
Last edited by smashmetal; 05-10-2008 at 06:53 AM. Reason: pics
 05-10-2008, 06:58 AM
#37
Registered User
Thread Starter
Join Date: Nov 2006
Location: Oregonian in Utah
Posts: 71
Likes: 0
Received 0 Likes
on
0 Posts
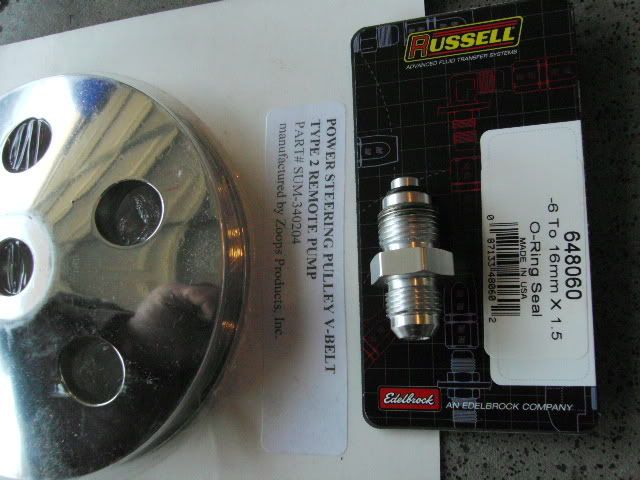
Removed the ABS bracket from the bottom of the ABS pump to reuse, the stock steering pump hoses clap to this bracket. So to make it easy I just put it back.
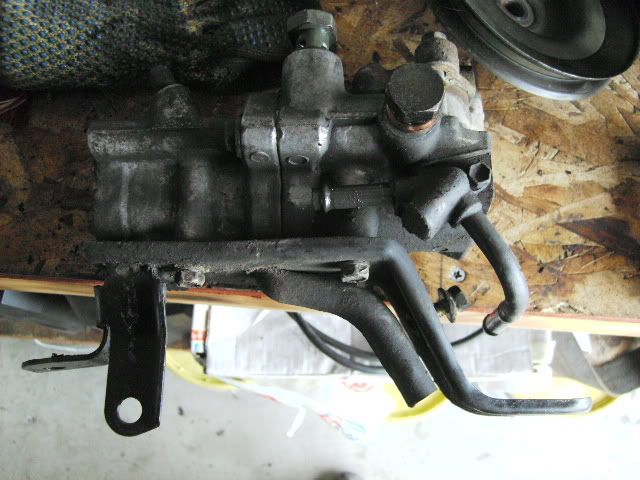
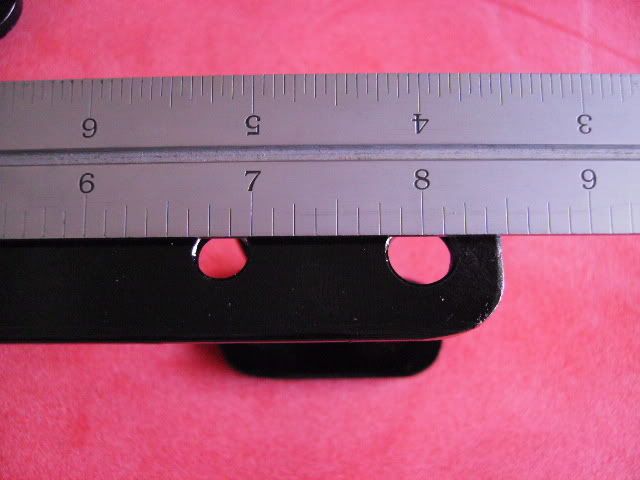
Made some brackets for the Saginaw steering pump from 3/16 plate.

Moded the original ajustment bracket a bit.
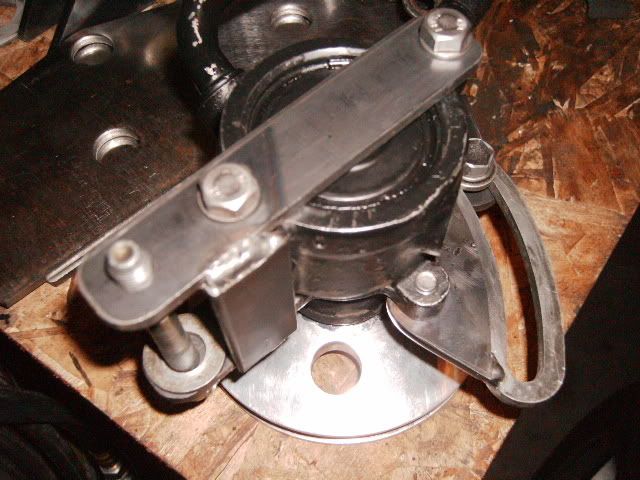
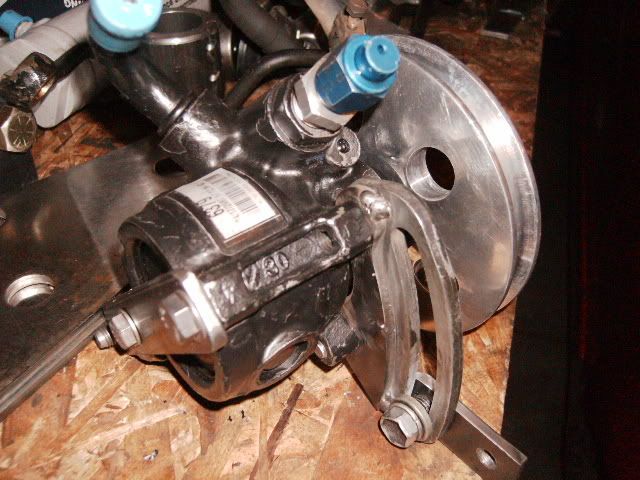
Made some brackets for the Saginaw steering pump from 3/16 plate.
Moded the original ajustment bracket a bit.
Last edited by smashmetal; 05-10-2008 at 07:27 AM. Reason: More pic's
05-10-2008, 07:01 AM
#38
Registered User
Thread Starter
Join Date: Nov 2006
Location: Oregonian in Utah
Posts: 71
Likes: 0
Received 0 Likes
on
0 Posts
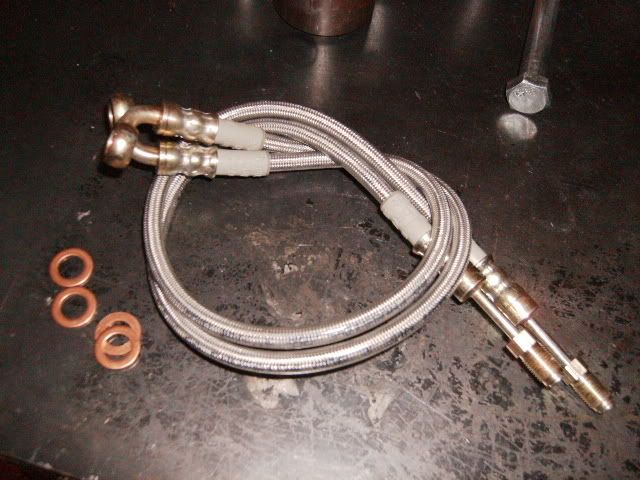
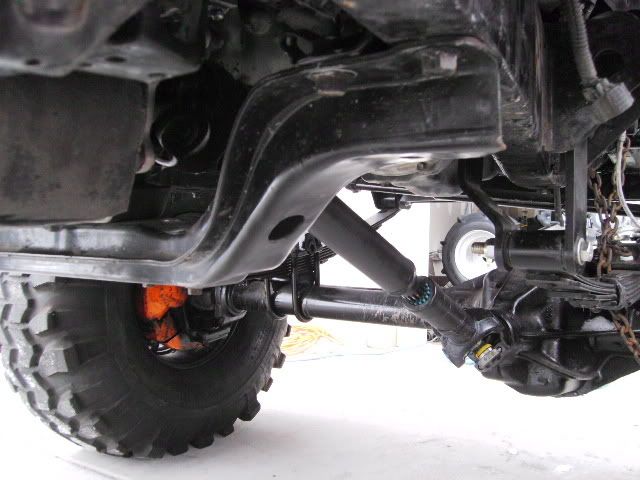
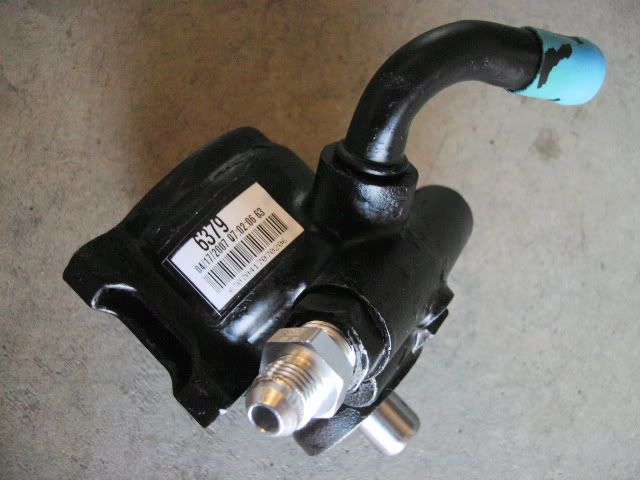
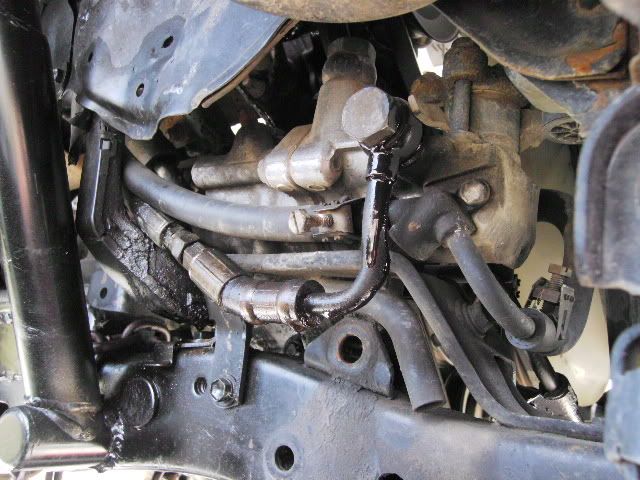
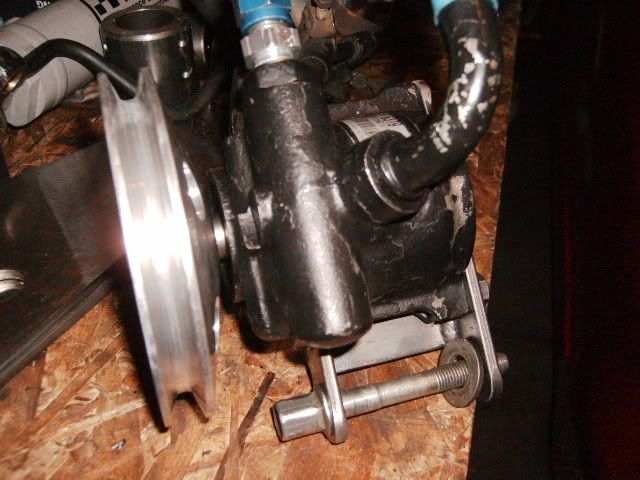
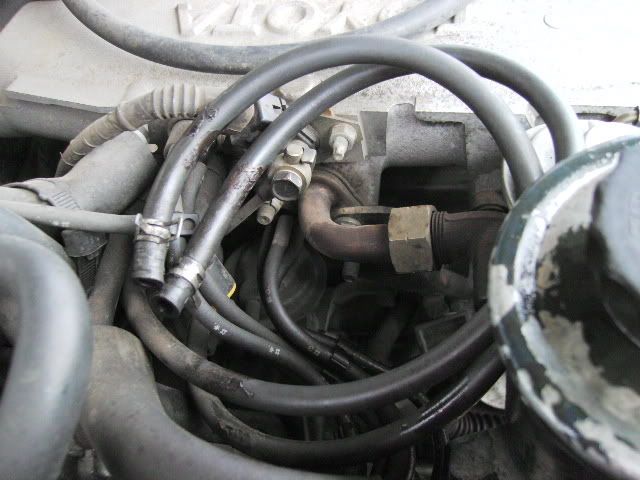
Mounted pump, still uses stock size belt and had the stock hydro lines for pump moded to fit.
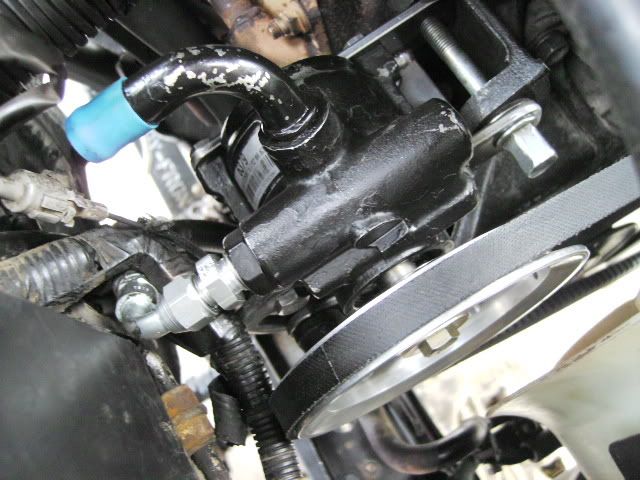
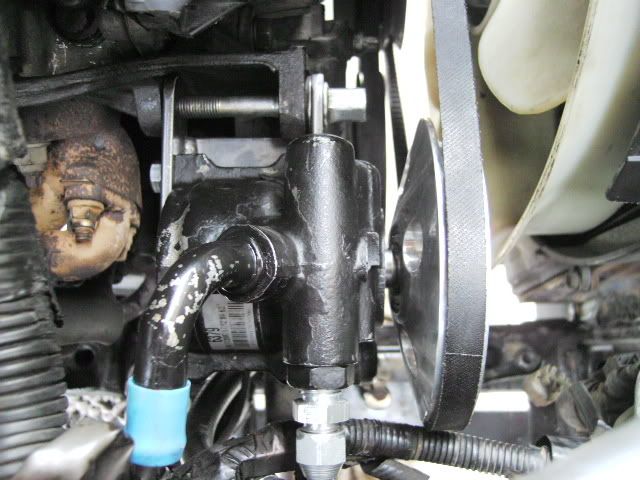
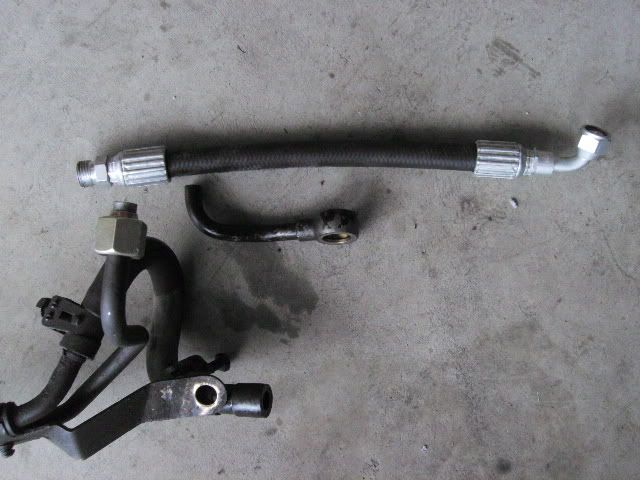
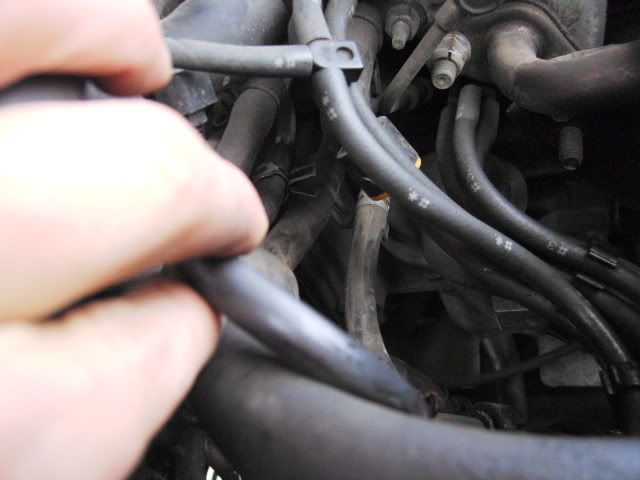
The stock steering pump has 2 vacum lines running into it, simply remove one and loop the other on into the empty port.
The stock steering pump has 2 vacum lines running into it, simply remove one and loop the other on into the empty port.
Last edited by smashmetal; 05-10-2008 at 07:25 AM. Reason: Info adding
05-10-2008, 07:07 AM
#39
Registered User
Thread Starter
Join Date: Nov 2006
Location: Oregonian in Utah
Posts: 71
Likes: 0
Received 0 Likes
on
0 Posts
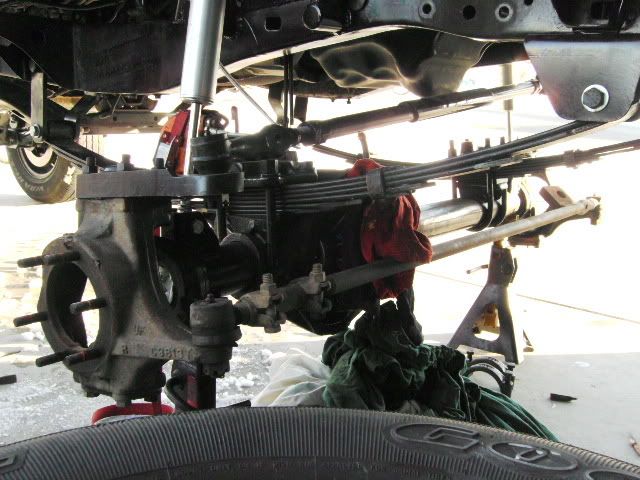
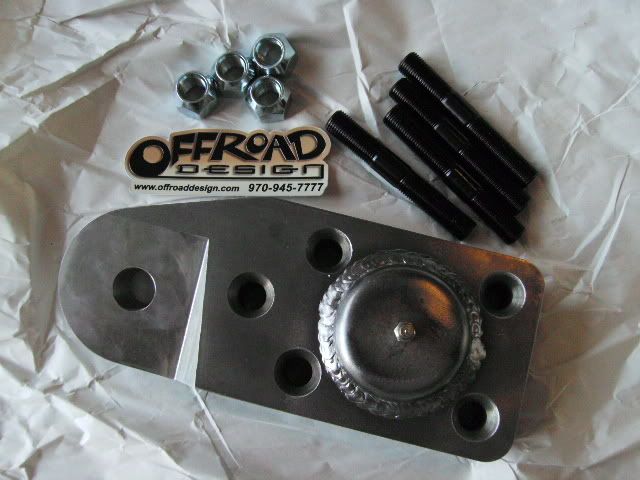
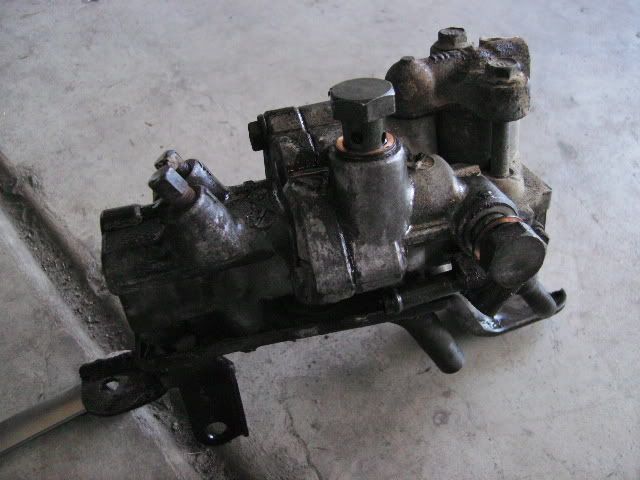
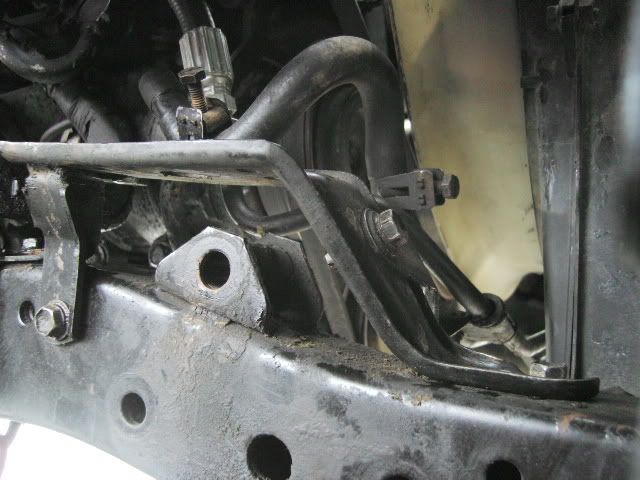
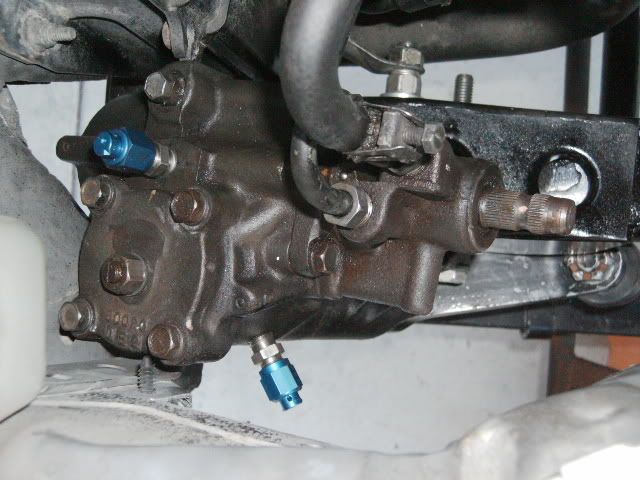
Moved the steering box foward.
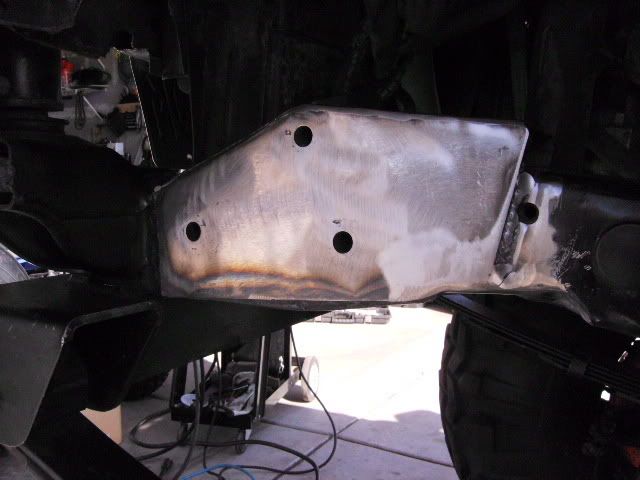
Had to clearance the frame on the bottom side so the tie rod nut on the pitman arm would clear.
Added a plat across the top with some flared holes.
Poerted the steering box for hydro assist and clearanced the core support and fender-well a bit.

Had to clearance the frame on the bottom side so the tie rod nut on the pitman arm would clear.
Added a plat across the top with some flared holes.
Poerted the steering box for hydro assist and clearanced the core support and fender-well a bit.
05-10-2008, 07:12 AM
#40
Registered User
Thread Starter
Join Date: Nov 2006
Location: Oregonian in Utah
Posts: 71
Likes: 0
Received 0 Likes
on
0 Posts
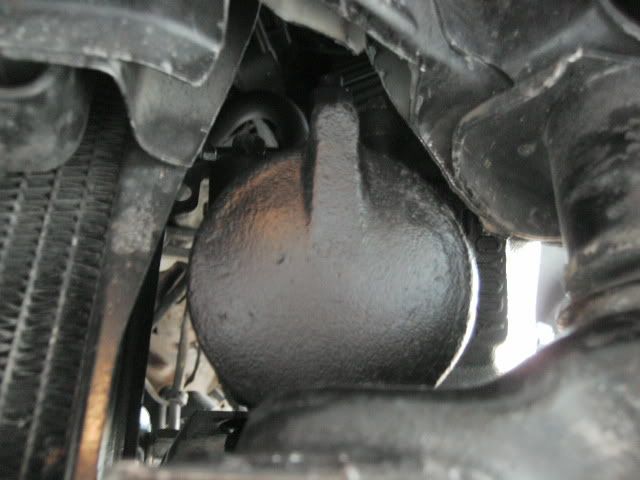
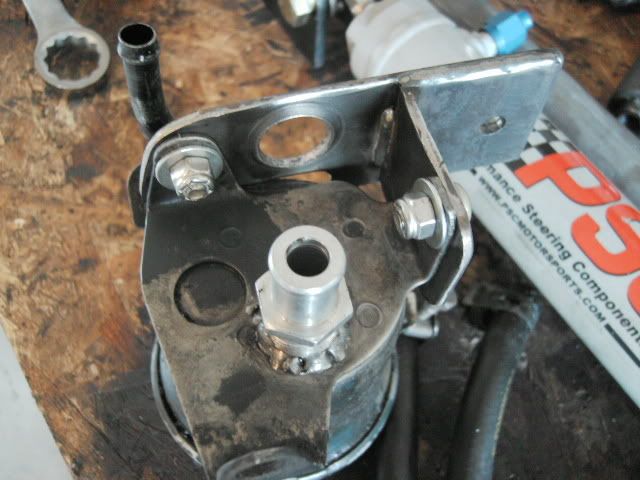
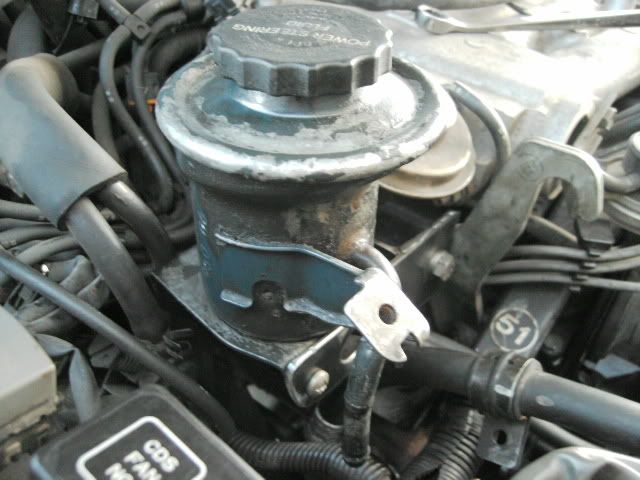
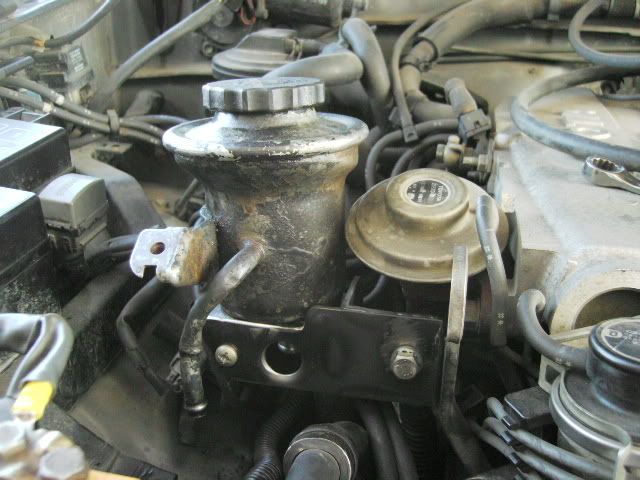
Using a stock toyota V6 power steering resivor I moded it for the cost of a $5 heater hose fitting to fit my application.
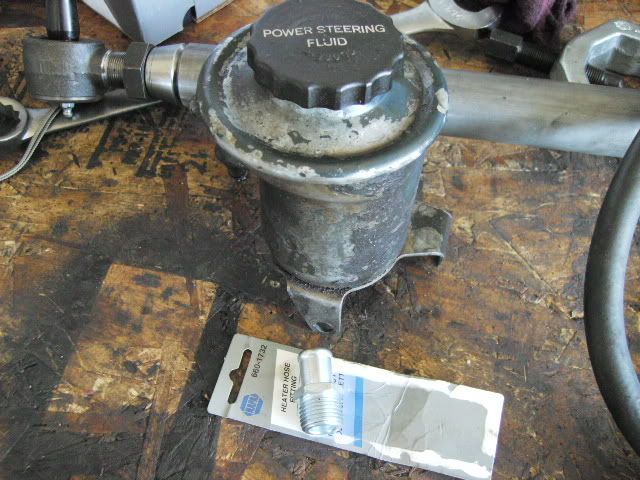
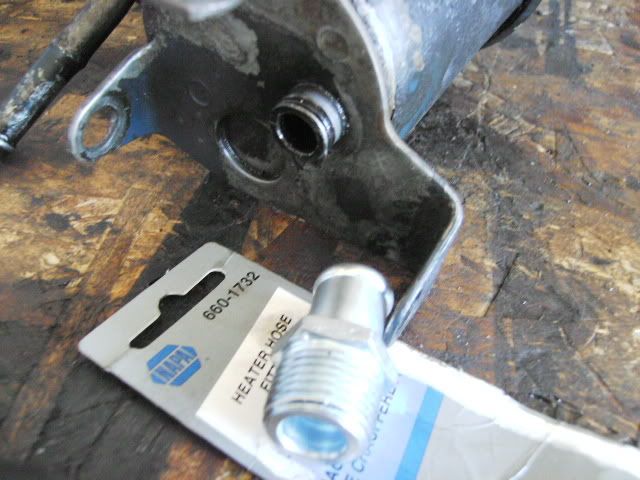
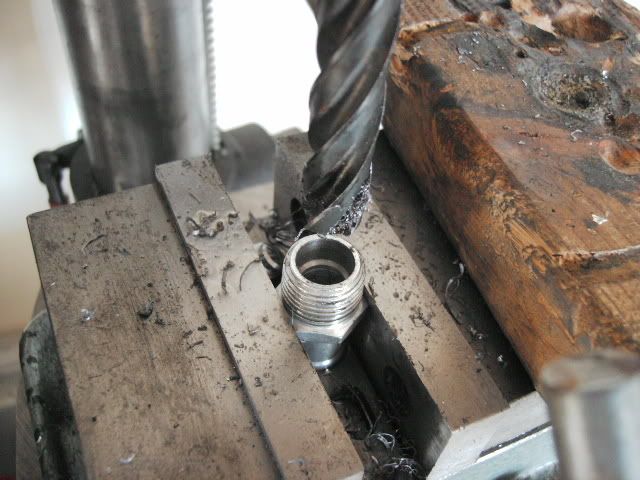
Drill out to 9/16, makes a nice fit later.
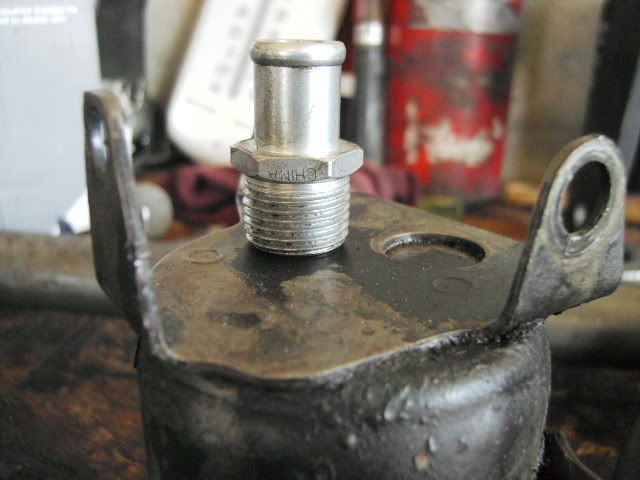
Made a quick mounting bracket and booger welded the fitting on the bottom, looks like crap but it dosent leak.
Drill out to 9/16, makes a nice fit later.
Made a quick mounting bracket and booger welded the fitting on the bottom, looks like crap but it dosent leak.


