When you click on links to various merchants on this site and make a purchase, this can result in this site earning a commission. Affiliate programs and affiliations include, but are not limited to, the eBay Partner Network.
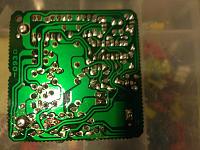
Here you go, attached. The two bars are high current parts of the circuit. The small trace between them is what blows. Put silver solder over that trace and you are good.
Oh, I almost forgot. Make sure your window motors are not shorted or seized.
So Duff has solved a huge problem here, and I wanted to post the big photo blown up as well so that you guys would know where to look on your board. All you have to do is dab a little solder on there to bridge the trace, and you are back in business.
A great man once said the more you know, the less you need. That is the case here, for sure!!
Ok, so the saga continues. I bought a new driver's side switch from Switch Doctor to replace the 28 year old worn out switch. Color matches and everything, and it is so shiny and new. Love the switch...but I plug it in, and everything is jacked up. Two different switches operate the door locks, and another trips the circuit breaker. So, I mapped the old switch wires against the new switch wires, and only two match on each plug. Crazy.
So I have talked to Switch Doctor this morning, and I sent them my maps to show them the plugs as they compare to one another, as well as how the wires come out of the switches. I have attached these maps for you guys, so if you run up against this, you will know that you are not insane.
I see two solutions. Cut the plug off the old and new, and solder things up correctly, or b) figure out how to disconnect the wires from the new plug, and plug them back into the correct slots. Not sure how to do that without trashing the plug. It may be easy. Any thoughts?
Switch Doctor is going to get back to me, and so far, they are being very cool about it, and said that a couple of other 4Runner switches have come back to them this week, so I am not alone in my switch issues.
Thanks guys. I am very close to having working windows...
Switch Doctor just got back to me, and provided instructions for rewiring the 4Runner switches that in 'rare instances are not wired the same as the original'.
Here are Maureen's words:
'In rare cases for 1986, 1987, and 1988 model years you may find that your stock switch has different wire configurations in the gang wire clip. Please compare your stock switch wiring to this switch after removal of your stock switch and before installation to verify a match by following the wires from their positions on the back of this switch to their positions in this gang wire clip. You will only need to rewire if there is a difference in positions with your stock switch wiring. If you need to rewire simply use your stock switch to find the correct positions in the gang wire clip and move wires to those positions. You are welcome to call with any questions regarding this. We have written instructions with diagrams for this and for Australian customers in particular to convert to right hand drive 4Runners. (You are always welcome to a full refund if you find you have one of these rare rewiring issues and can't do it).'
See instructions she sent along for correcting the wiring, attached. This seems like a lot of work when all you really need to do is get a jeweler's screwdriver and release each of the wires from the new switch connector, and put them back into the connector in the right places, which I did. Their advice is to cut everything apart, and solder, which is creating opportunity for failure in the future. Better to just swap wire positions in the plug itself, and that takes all of like 2 minutes.
Switch Doctor has been responsive and helpful, so I have to give them a good rating here. I wish the switch was correct in the first place, but if these things were simple, I would not get to be part of the Yotatech community now would I?
... Their advice is to cut everything apart, and solder, which is creating opportunity for failure in the future. Better to just swap wire positions in the plug itself, and that takes all of like 2 minutes.
Like this: http://www.autoshop101.com/forms/h5.pdf (page 8)? Good for you. You might want to pass that on to Switch Doctor; it sounds like they care, and the method they recommend, as you point out, is not too good.
Thanks Scope103! Nice work with this supplement to the conversation!
Scope103 provided an excerpt from www.autoshop101.com for this connector issue, and I highly suggest checking out this site. The site provides an exceptional general education on Toyota vehicles, in an easy to understand format. I found the electrical section especially good for providing a plain English way to begin to understand electronic systems. There are a lot of great illustrations to make instruction/concepts even more clear. I have used the Google to look up electrical stuff, and it seems that most sites I have found assume that you already know the basics, which I do not, so this site to me is a goldmine.
Click on Technical Articles to be taken to an index of Toyota Automotive Technical Training Series articles.
See Scope103's sweet illustration attached for the proper way to disconnect the pins from the connector.
In my 89 4Runner SR5 both PW's stopped working. I found the Power window module (85930-89101) but I am thinking that this door control module I am hearing about (85980-89101) is the culprit. where do I find this in the truck? having a hard time and the wire prints I have are not helping. Living in Hawaii and not having working windows is not fun.
Like this: http://www.autoshop101.com/forms/h5.pdf (page 8)? Good for you. You might want to pass that on to Switch Doctor; it sounds like they care, and the method they recommend, as you point out, is not too good.
In my 89 4Runner SR5 both PW's stopped working. I found the Power window module (85930-89101) but I am thinking that this door control module I am hearing about (85980-89101) is the culprit. where do I find this in the truck? having a hard time and the wire prints I have are not helping. Living in Hawaii and not having working windows is not fun.
It sounds like to me that the Door Lock Control Relay is bad.
As I write this I am looking at the FSM Schematic and there are no part numbers. On the Schematic the Front Power Windows and Door Locks have a: Door Lock Relay (under passenger side dash), Power Window Master Switch (driver's door), Power Window Switch (passenger side door), and 2 window motors.
The Rear Power Window has a: Power Window Relay, Rear Power Window Switch (console), Rear Wiper Motor Switch (Console), Rear Back Door Control Switch (back door keyed) and a window motor.
OK wow thats some good info. i will take a look at the relay module for sure. once i find it will try to fix it myself and also get the part number for it too. i just cant believe that the autoshop guys i took it to said that the power window relay was bad.
The power window relay is located on the passenger side kick panel. It's a little black box tucked way up out of sight. Grab the factory service manual and it will tell you how to check to see what is causing the problems.
808 4Runner: I would suggest that you start simple and move up from there. I would check your board, see photo above, and confirm that the solder trace is good. Look closely. Even an almost invisible break in that solder can cause the problem. One little dab of solder on there while you have it out of the box for good measure is not a bad idea, because eventually it will fail. Once I knew that was fixed, I moved on up the chain to the switches, which were toast, so I replaced those. Since then, I have had no issues.
Buck87: I did end up popping the wires out of the plug and swapping them. I went up to Radio Shack, borrowed a tiny screwdriver, and released them from the plug in like 20 seconds. Once I put them all in the proper places, I was good to go!
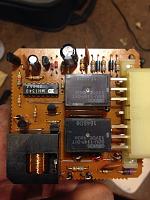
hey guys, sorry i took so long. just had a lot of work to do. so i nabbed the door control relay from behind the engine control module. and ya i had a bit of a burn out. should i drop solder on there or try to rebuild? or is it really fried?
I have an extra box that I'm planning on putting in once I fix all the soldering problems. Just wondering which spots need it. I've gone through my switches and cleaned all the contacts. It works Id say atleast 70% of the time, but other times the passenger window will refuse to go up until you give up. Then just randomly will work again. All wiring appears good. And like I said switches are good. So I figured fix the box. If anyone can reply and show me the spots to fix if appreciate it greatly, thanks!!
Like the original post on this thread, my passenger side window started working intermittently. At some point controlling it with the passenger switch stopped, then at a later point controlling it with the driver's side switch stopped, too.
- Driver side window powers up and down just fine
- Locks work great on both sides
- Pressing the driver or passenger switch does nothing (and makes no noise whatsoever)
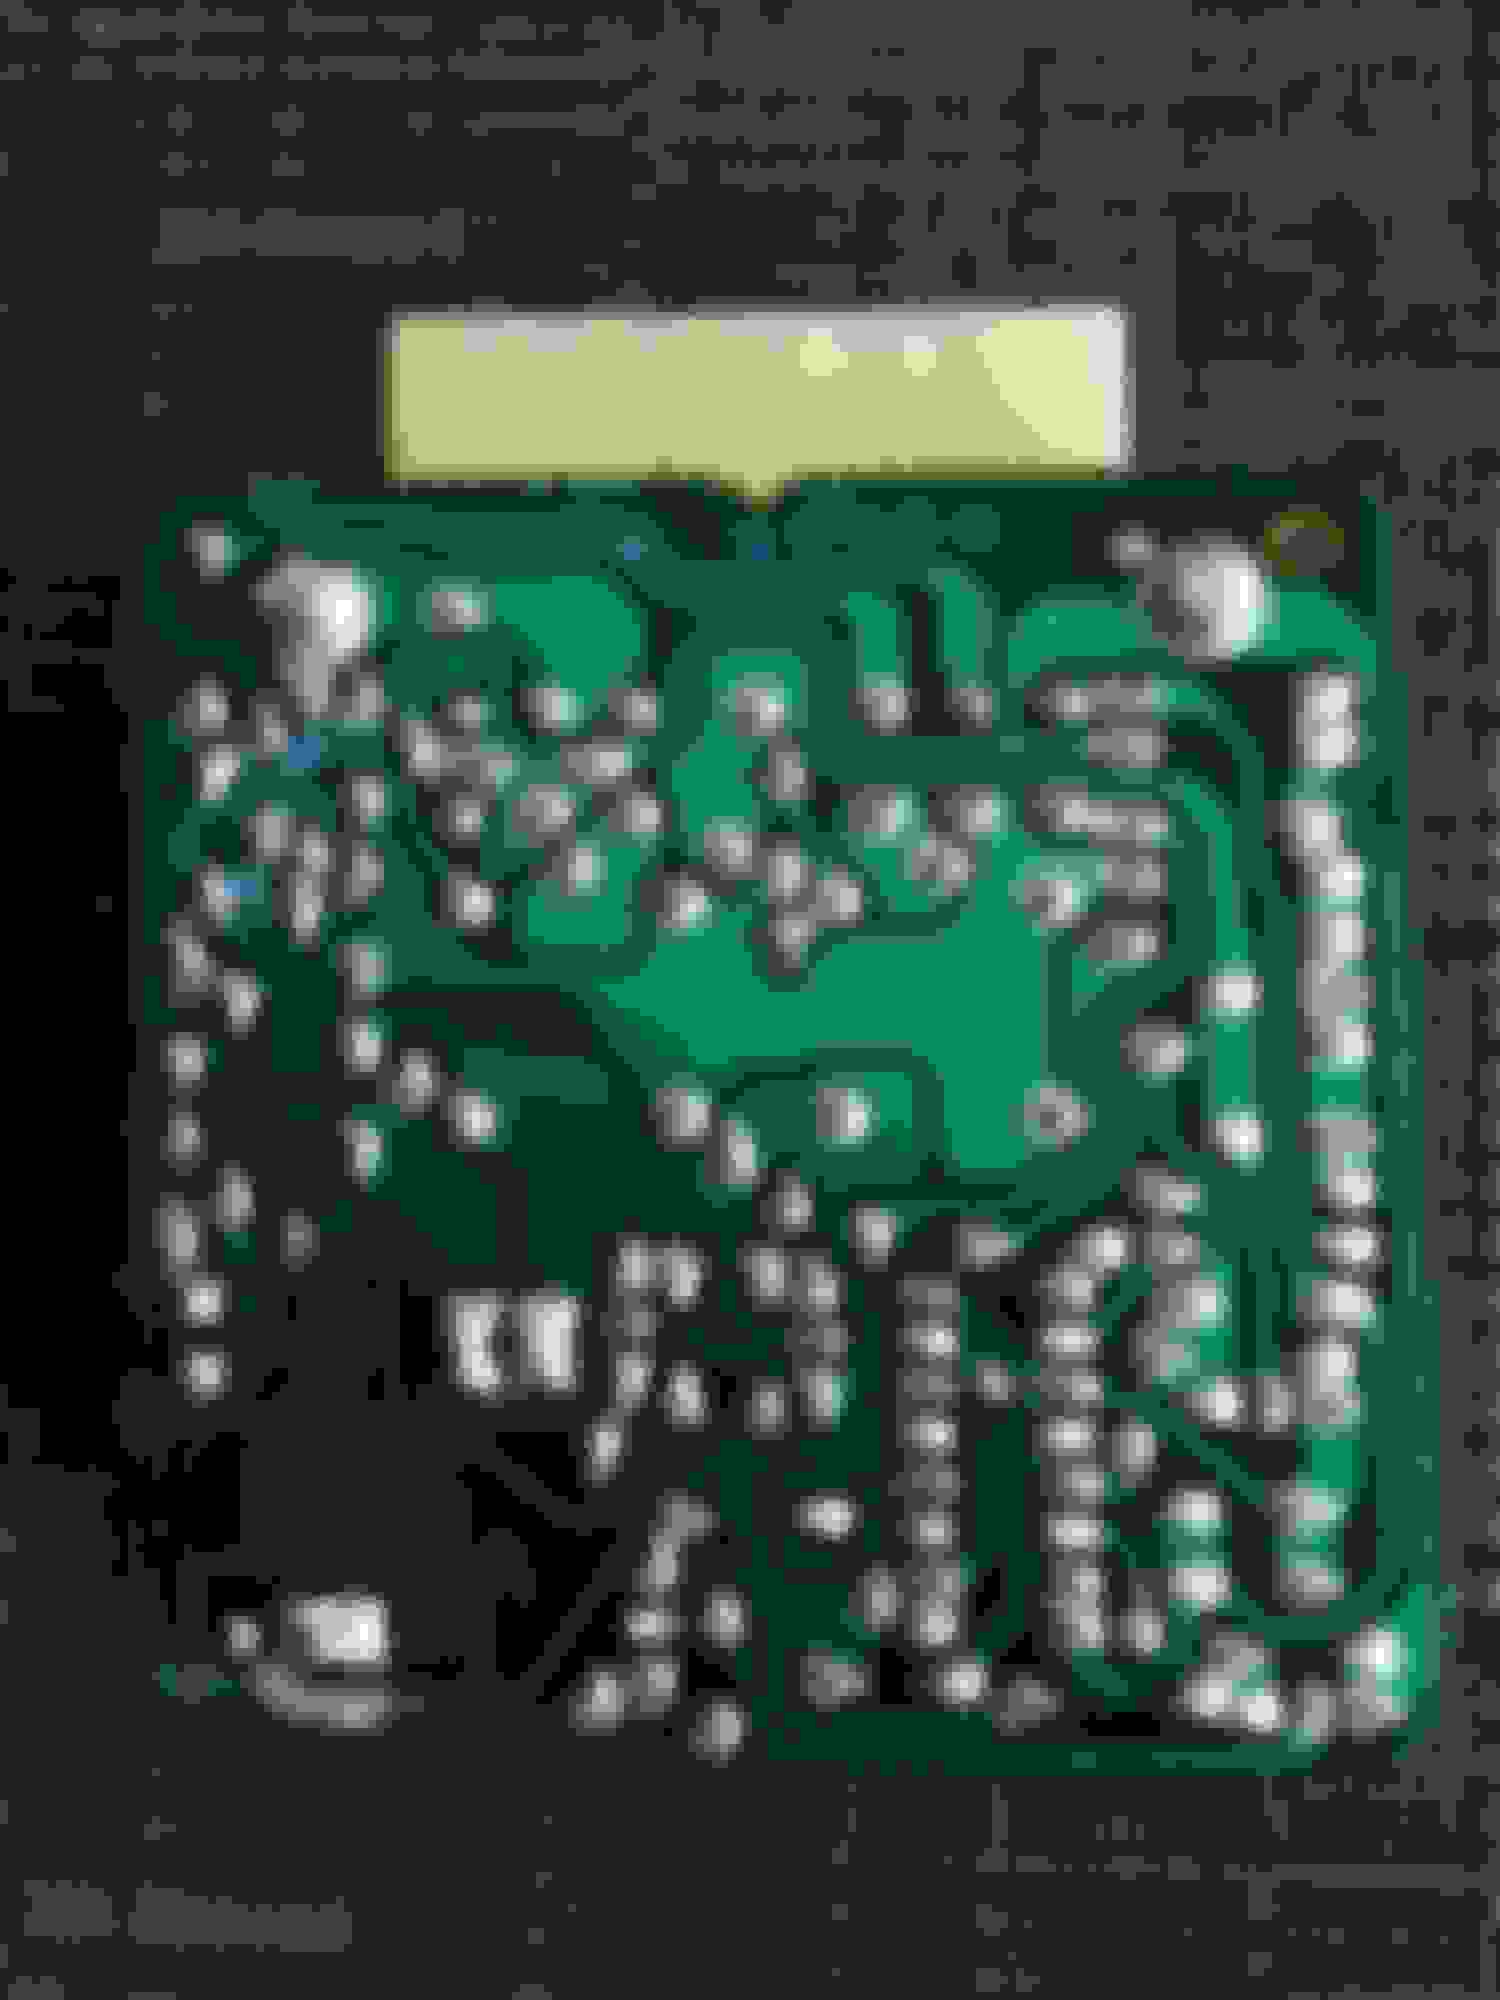
- So I pulled the Door Control unit to look for open solder runs...
My 89 board looks similar but different from the example posted earlier. I don't see any solder issues � aside from what looks like a connection that's missing entirely.
Anyone see something that I'm missing? Not sure what to try next. Thx for your help!
Low resolution images are not helpful, if you can not even read the large print how do you expect to see a blown trace or bad solder joint let alone a burnt component..
Start with the easy stuff, continuity and resistance checks of wires and switches, and manually power in the actuator. Any problems there will add stress to the circuit on the board.
Reflow any suspicious joints on the board, they should be a bright shiny mirror like surface not brown (flux contamination) or dull. Then you can retest it, don't forget to clean the flux (acid) off or it may errode again..
Low resolution images are not helpful, if you can not even read the large print how do you expect to see a blown trace or bad solder joint let alone a burnt component..
Thanks for the reply. Did you click the images? They're pretty huge!


 09-21-2014, 06:04 PM