Toyota Tundra: How to Replace Brake Line
Learn how to replace the brake lines in your Toyota Tundra with the help of this article.
This article applies to the Toyota Tundra (2000-Present).
The brake lines in your Toyota Tundra perform the important role of housing and directing the brake fluid through the brake system where necessary. If it wasn't for the brake lines, nothing would happen when you step on the brakes. Brake lines can become frail with age and must be replaced. Learn how to replace your brakes lines with the help of this article. It's simple.

Materials Needed
- New brake line kit and brake fluid
- 10, 12mm open wrench
- 16mm socket and ratchet wrench
- Drip pan
- Lug nut wrench and floor jack with jack stand
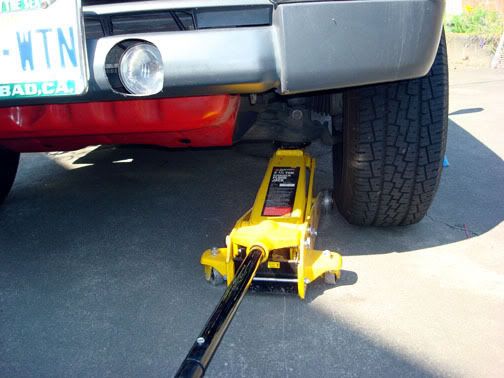
Step 1 – Jack up truck
Begin by lifting the truck and removing the wheels. Follow these steps:
- Loosen the lug nuts partially with the lug nut wrench.
- Locate the appropriate jacking spot and use the floor jack to jack up.
- Secure the truck on jack stand.
- Finish undoing the lug nuts.
- Finally, remove the tires.
Step 2 – Flush brake system
All the brake fluid must be flushed before the brake lines are removed. Follow these steps:
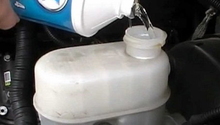
- Open the hood and locate the brake fluid reservoir.
- Remove the lid from reservoir.
- Open the bleeder screws located on the brake calipers.
- Let the system flush.
- Pump the brake pedal slowly to expunge the fluid more quickly. Make sure that the line is facing or sitting in your drip pan. The pressure from pumping the pedal may cause the free line to wiggle around and shoot brake fluid everywhere.
- Place drip pans to collect dirty brake fluid.
Step 3 – Remove old brake lines
With the system dry, now you can remove the brake lines. Follow these steps:
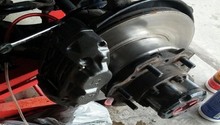
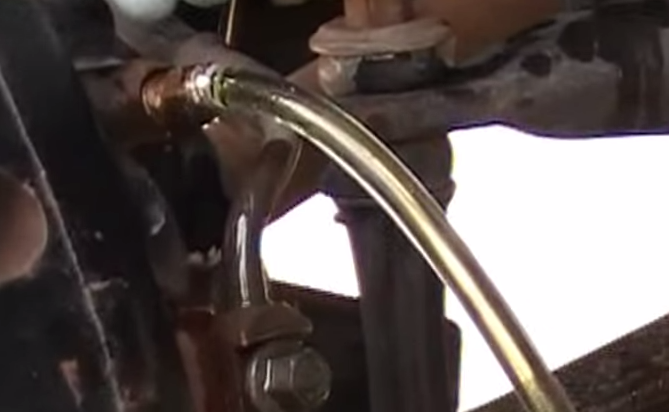
- Locate the stock brake lines.
- Remove brake calipers using the 16mm socket and ratchet (not always necessary).
- Use the 12mm wrench to undo the brake line joints on both ends.
- Remove the brake lines (more fluid will drip out).
- Repeat on all the wheels.
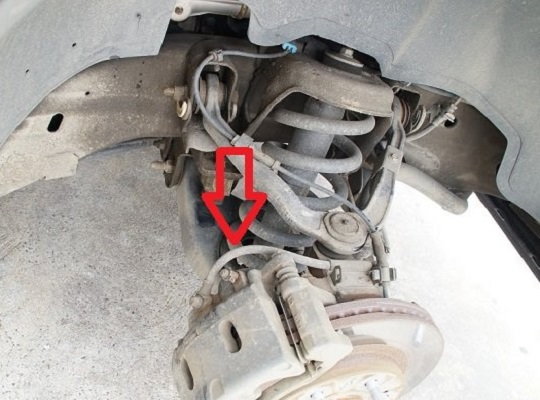
Figure 3. Locate brake lines. 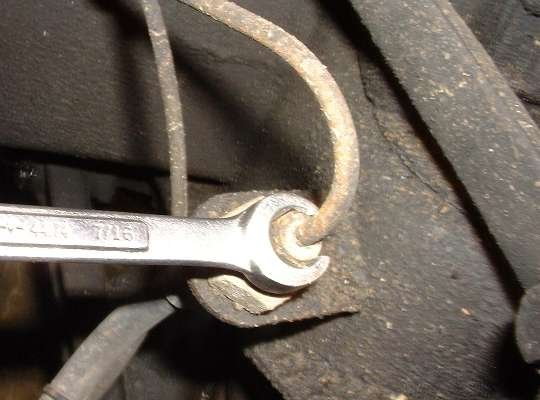
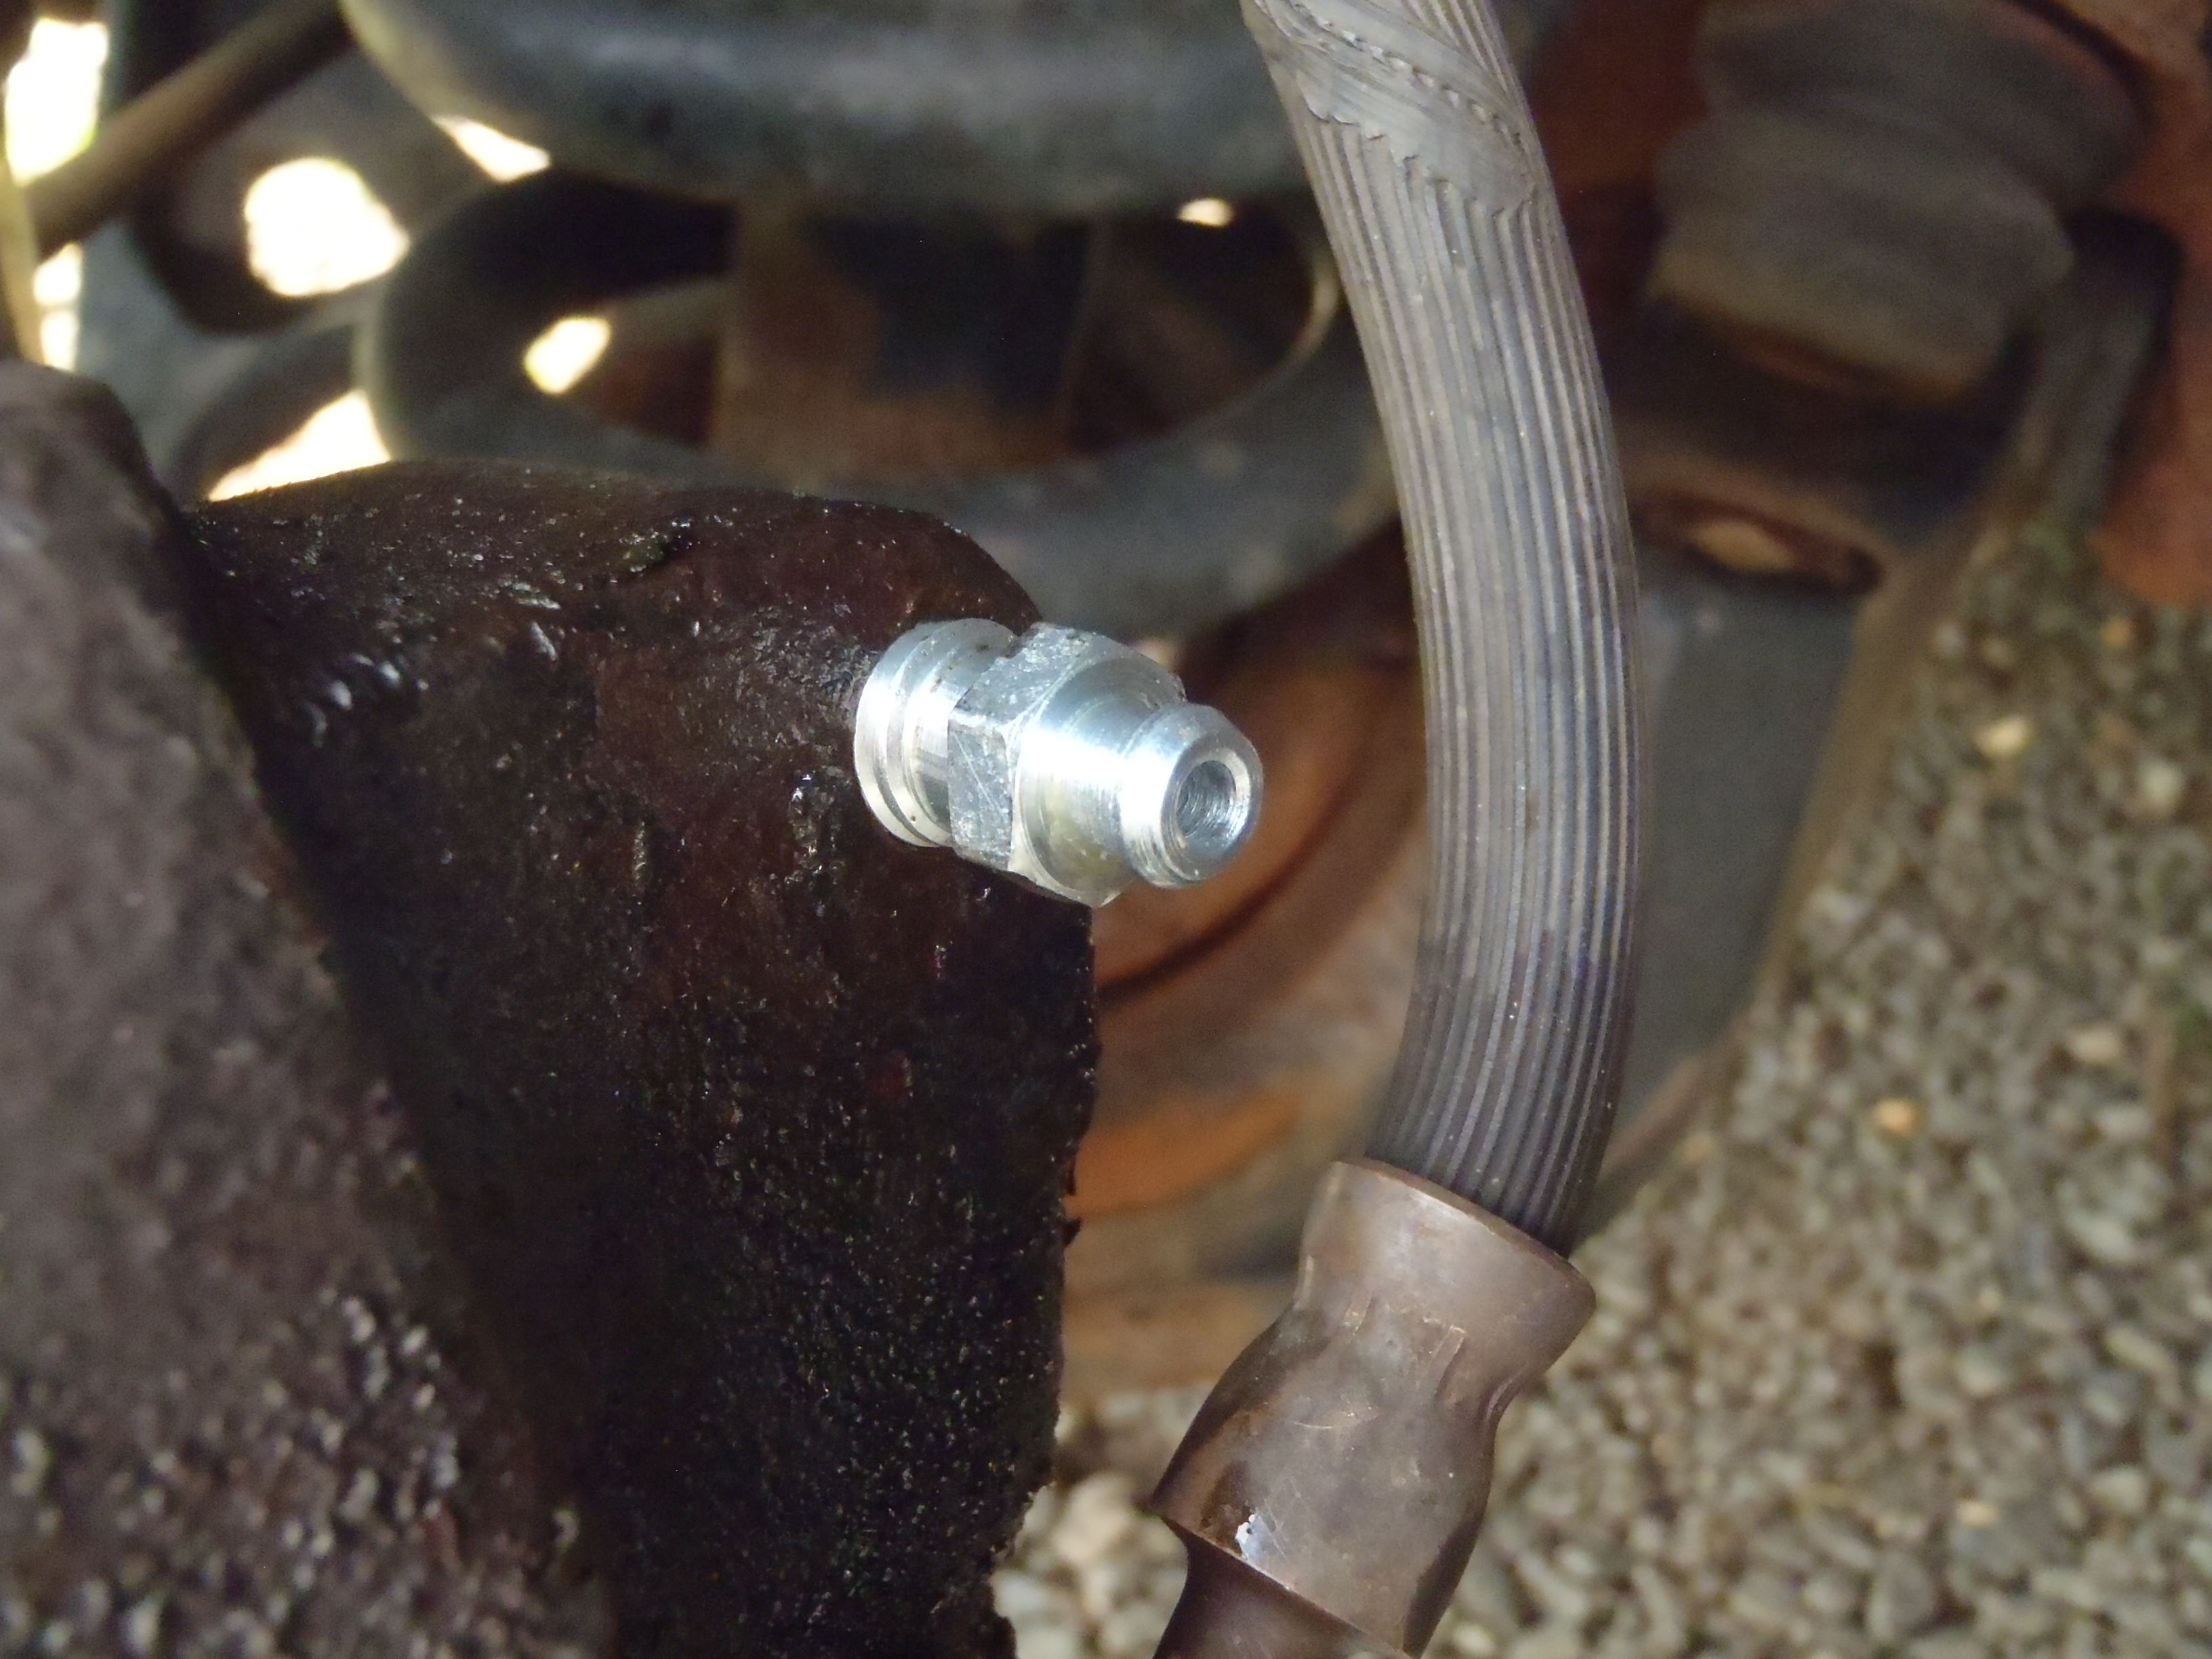
Figure 4. Undo brake lines.
Step 4 – Install new brake lines
With the old brake lines out, install the new ones in the same manner. Follow these steps:
- Use the 12mm wrench (or new size of new brake lines) to attach the new lines.
- Make sure to not over-tighten the brake line connections.
- With the bleeder screws open, pour new brake fluid into the reservoir.
- Close bleeder screws once the new fluid flows out, and replace cap on reservoir.
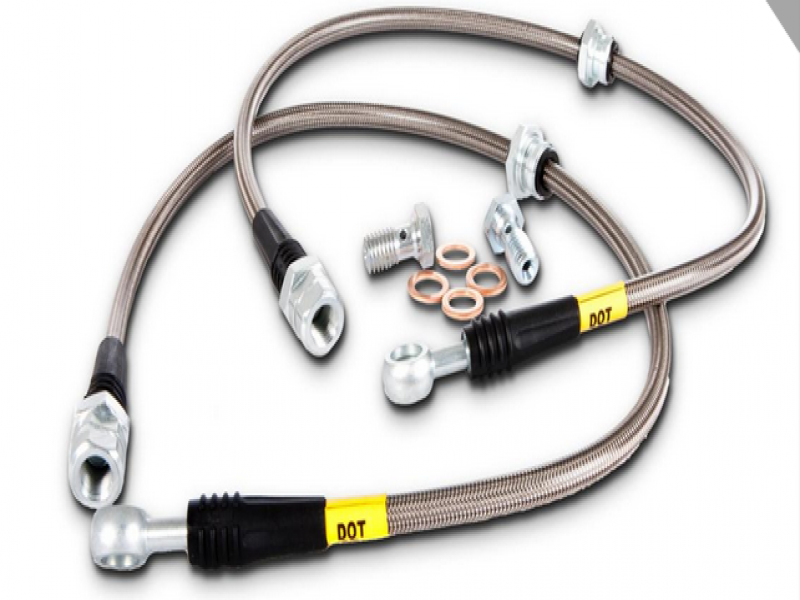
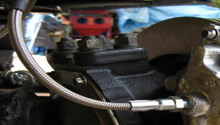
Figure 5. New brake lines. 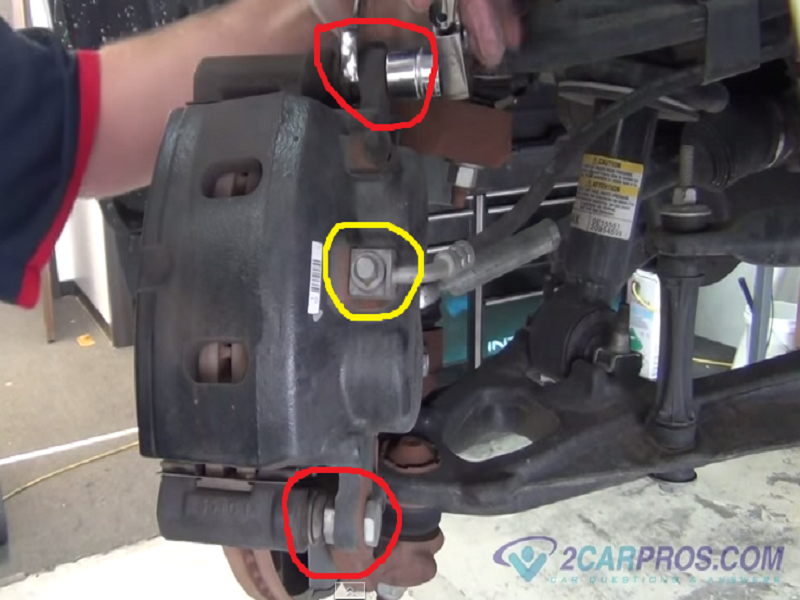
Figure 6. Make sure to tighten new lines, and caliper bolts if necessary.
Step 5 – Bleeding the brakes
With the new brake lines installed and the fluids topped off, it's time to wrap up. Follow these steps:
- With the bleed valves closed, pump the brake pedal until it firms up.
- Attach your brake fluid tube and catch pan to the bleed valve, making sure that the tubing is submerged in the brake fluid.
- Open the valve, then wait for the residual old brake fluid to flow out, along with any bubbles.
- Repeat this process several times until the fluid comes out clear and bubble-free.
Related Discussion
- Toyota Tundra Brake Line Upgrades - YotaTech.com